Preface
As this is a continuation of my last project, please refer to http://ideate.xsead.cmu.edu/gallery/projects/umbrella-handle-redesigned to see my ideation and design process.
Purpose
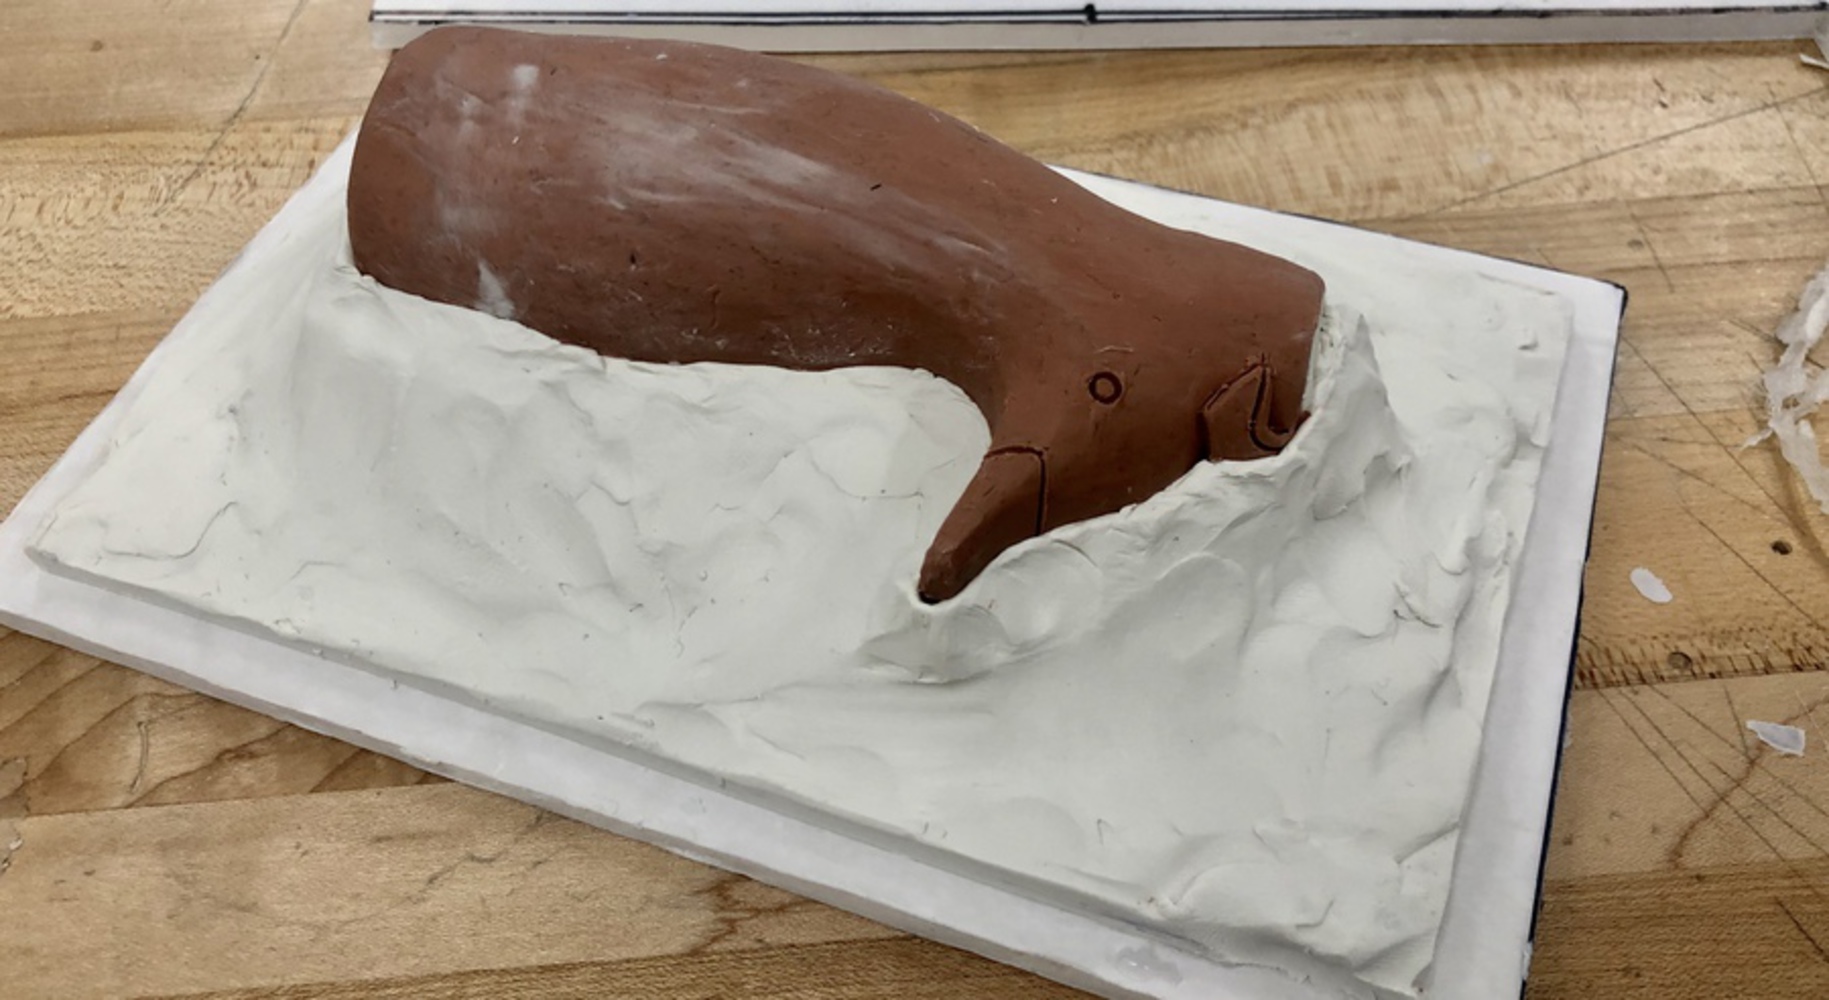
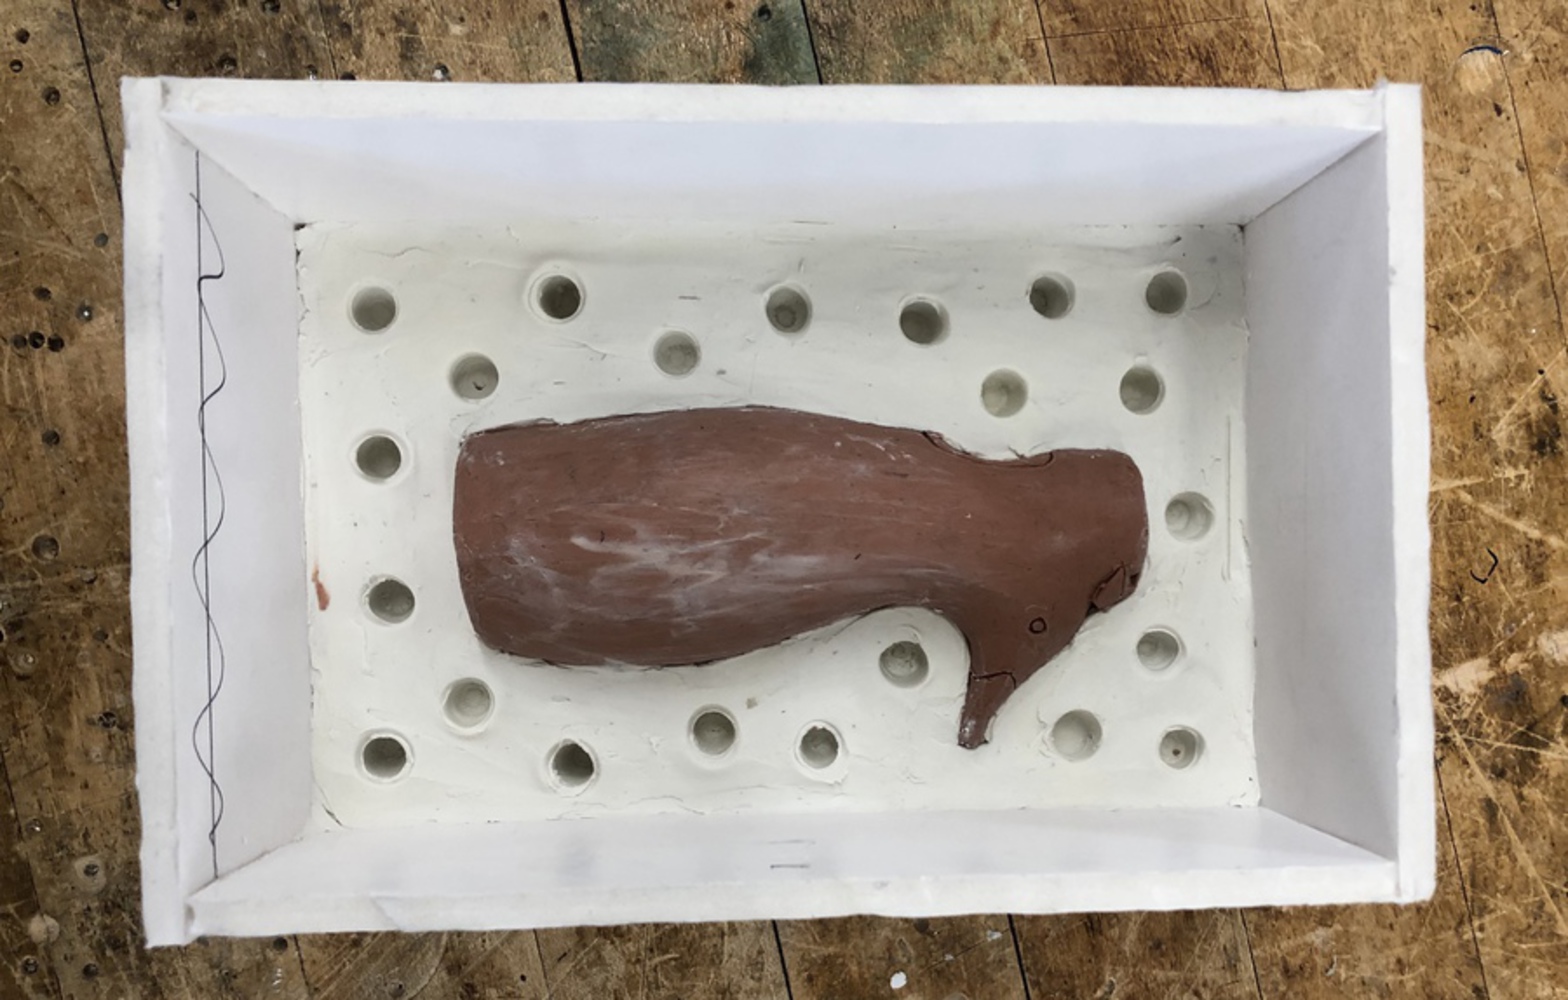
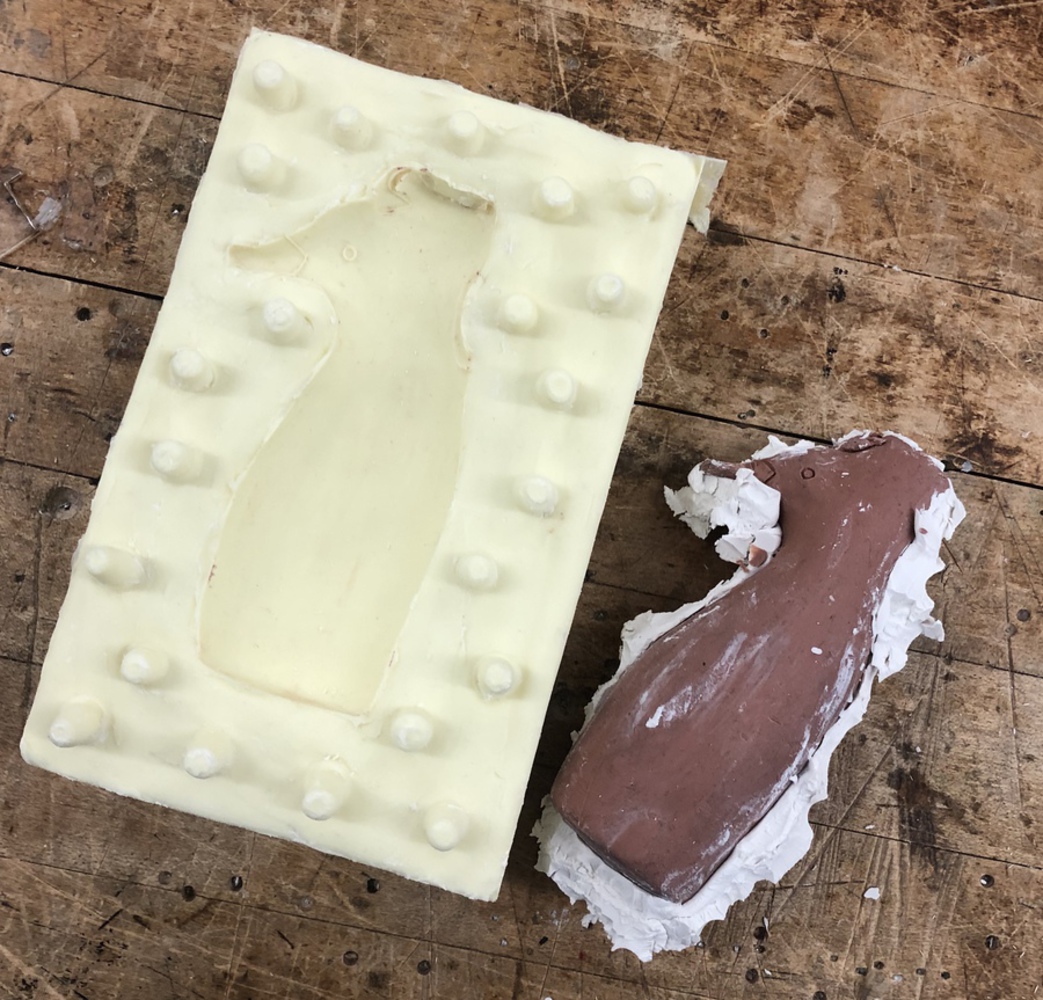
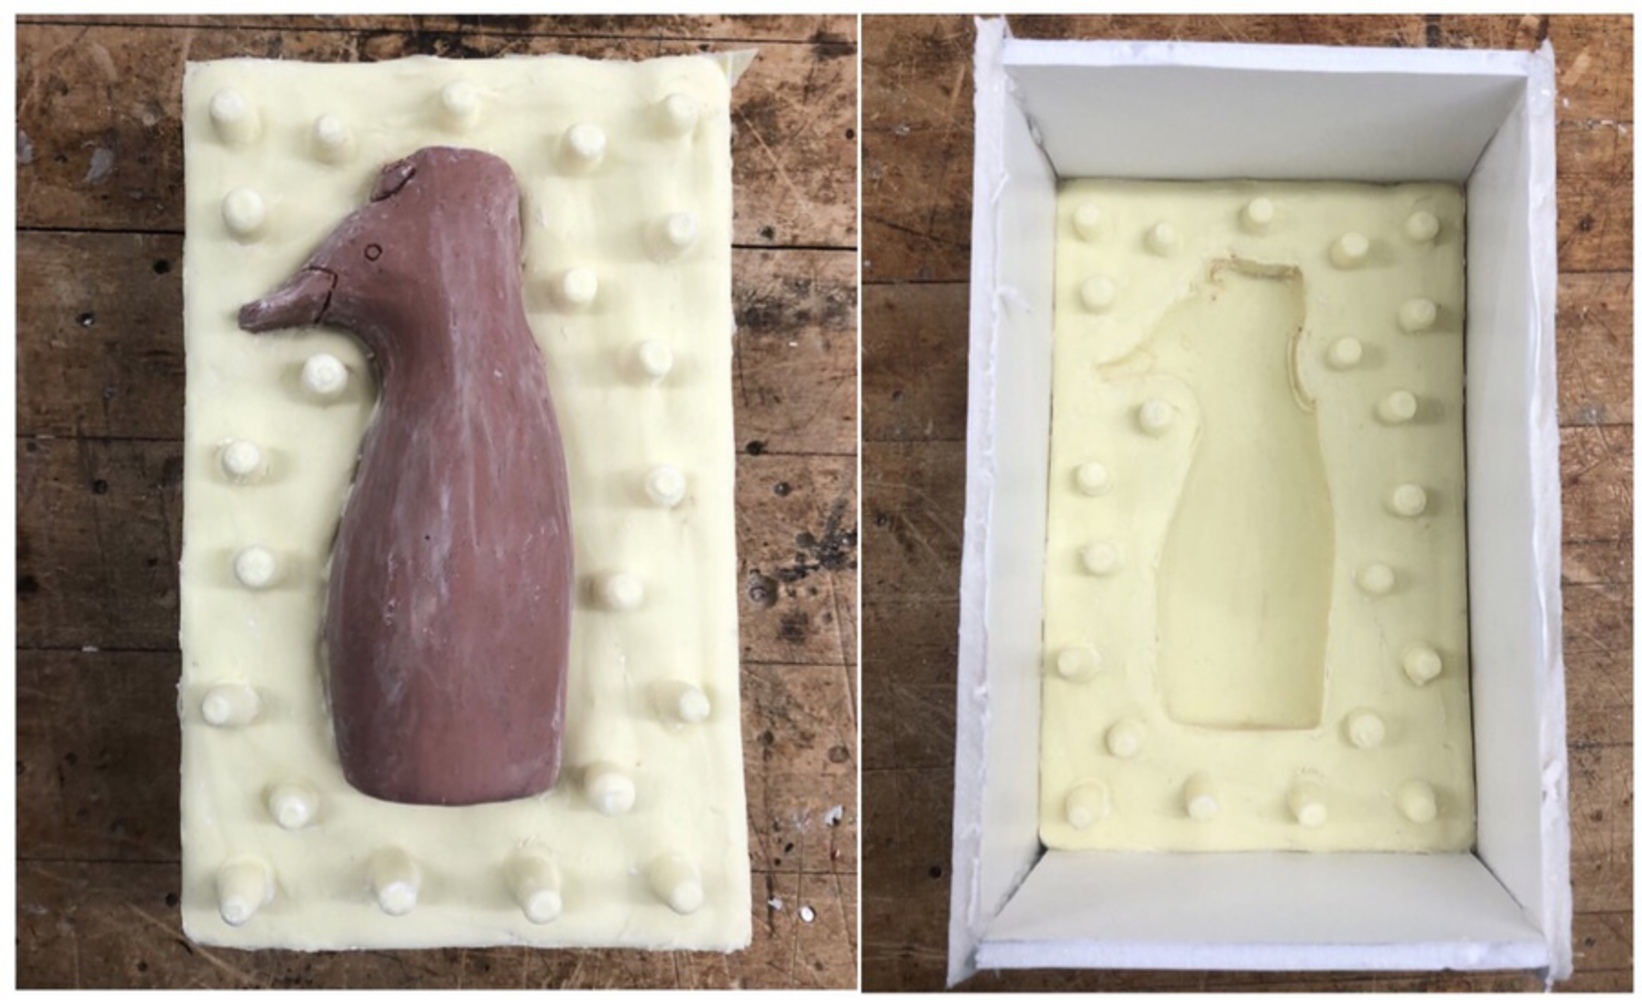
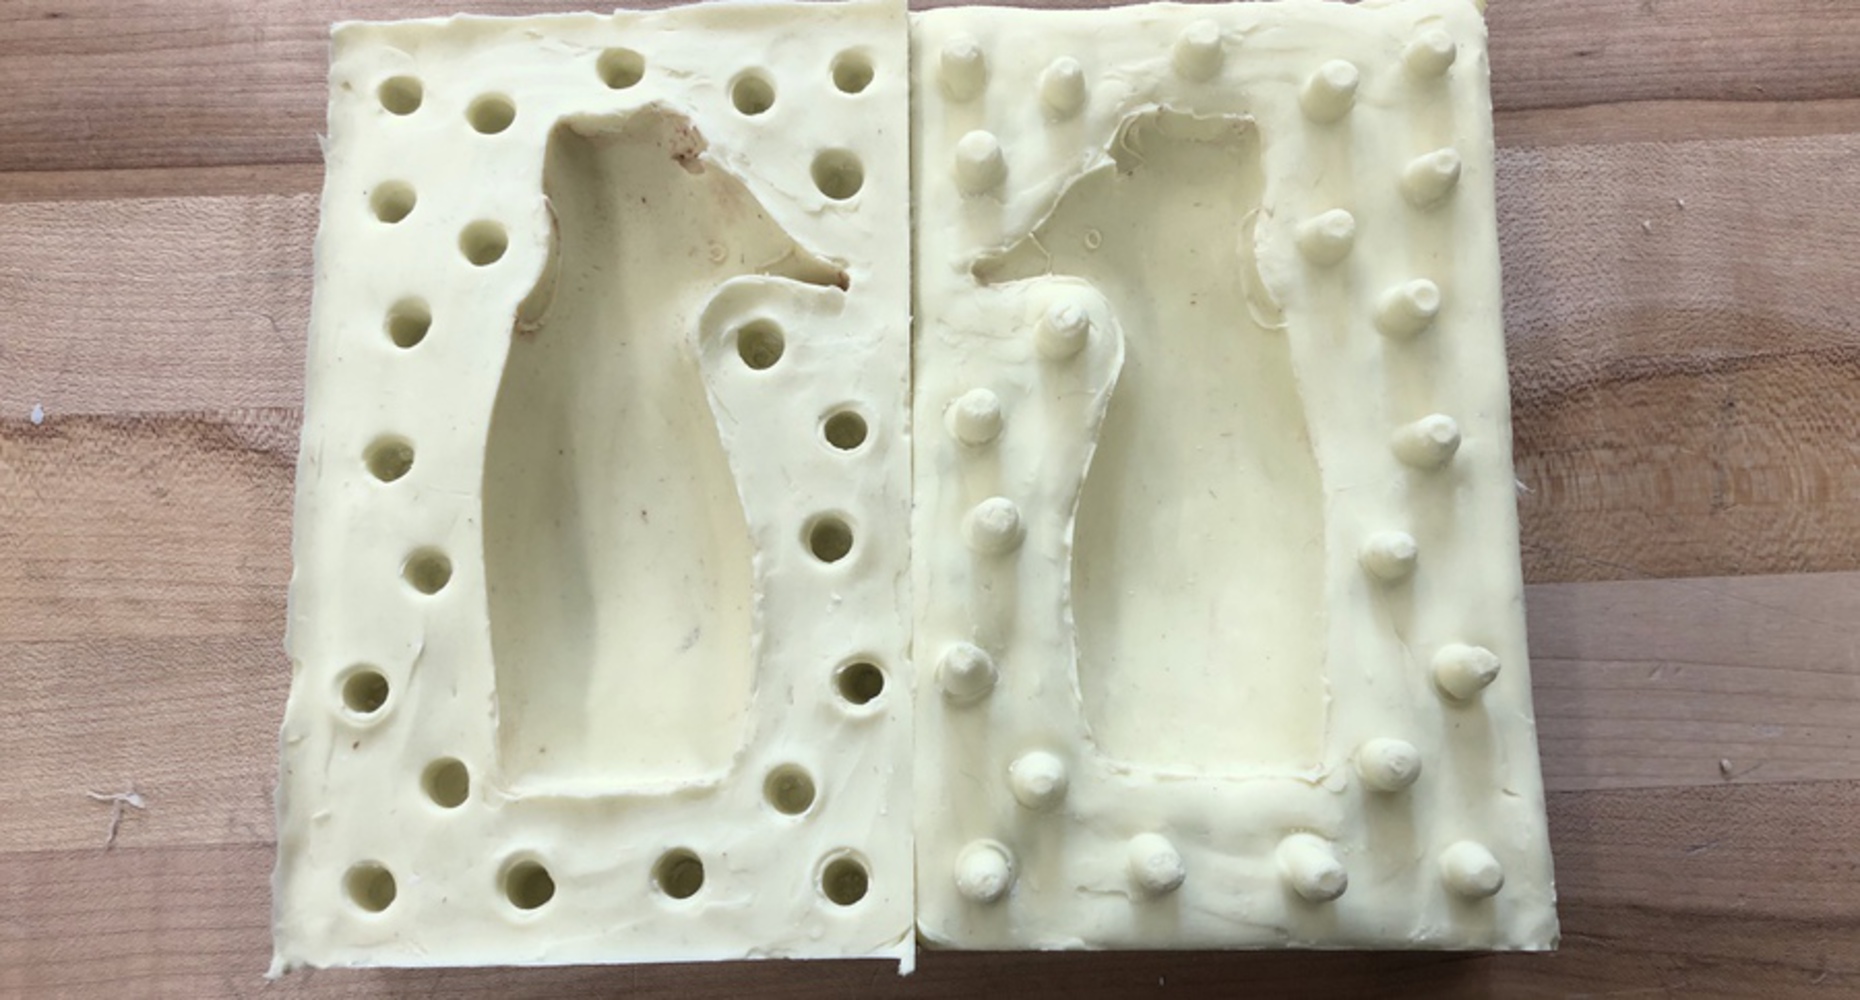
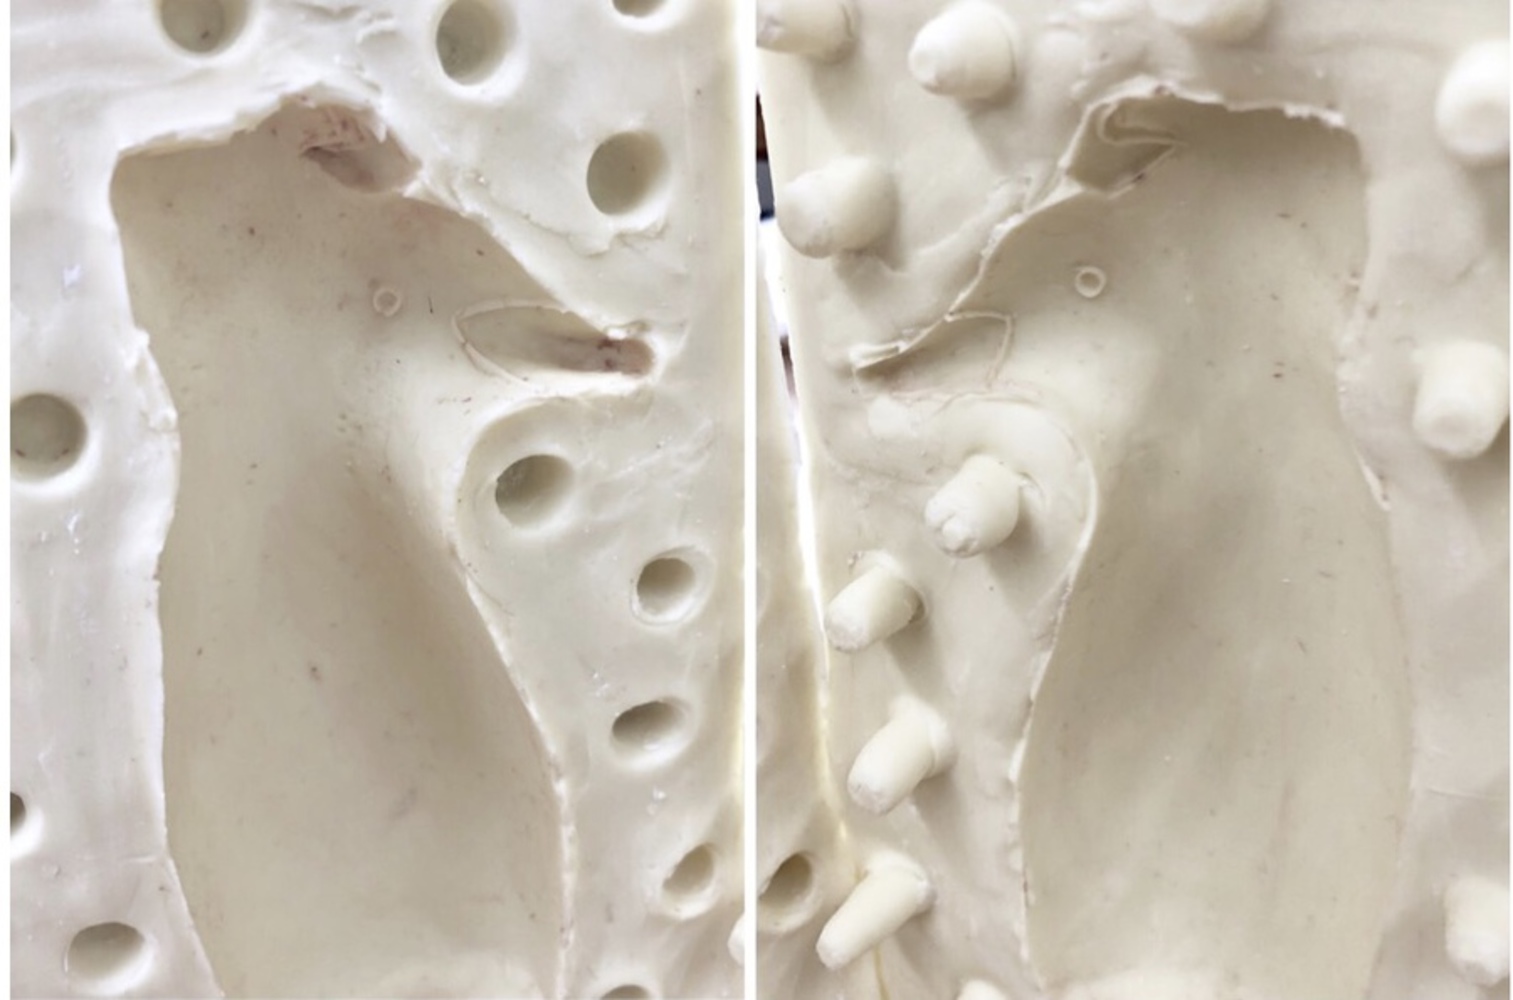
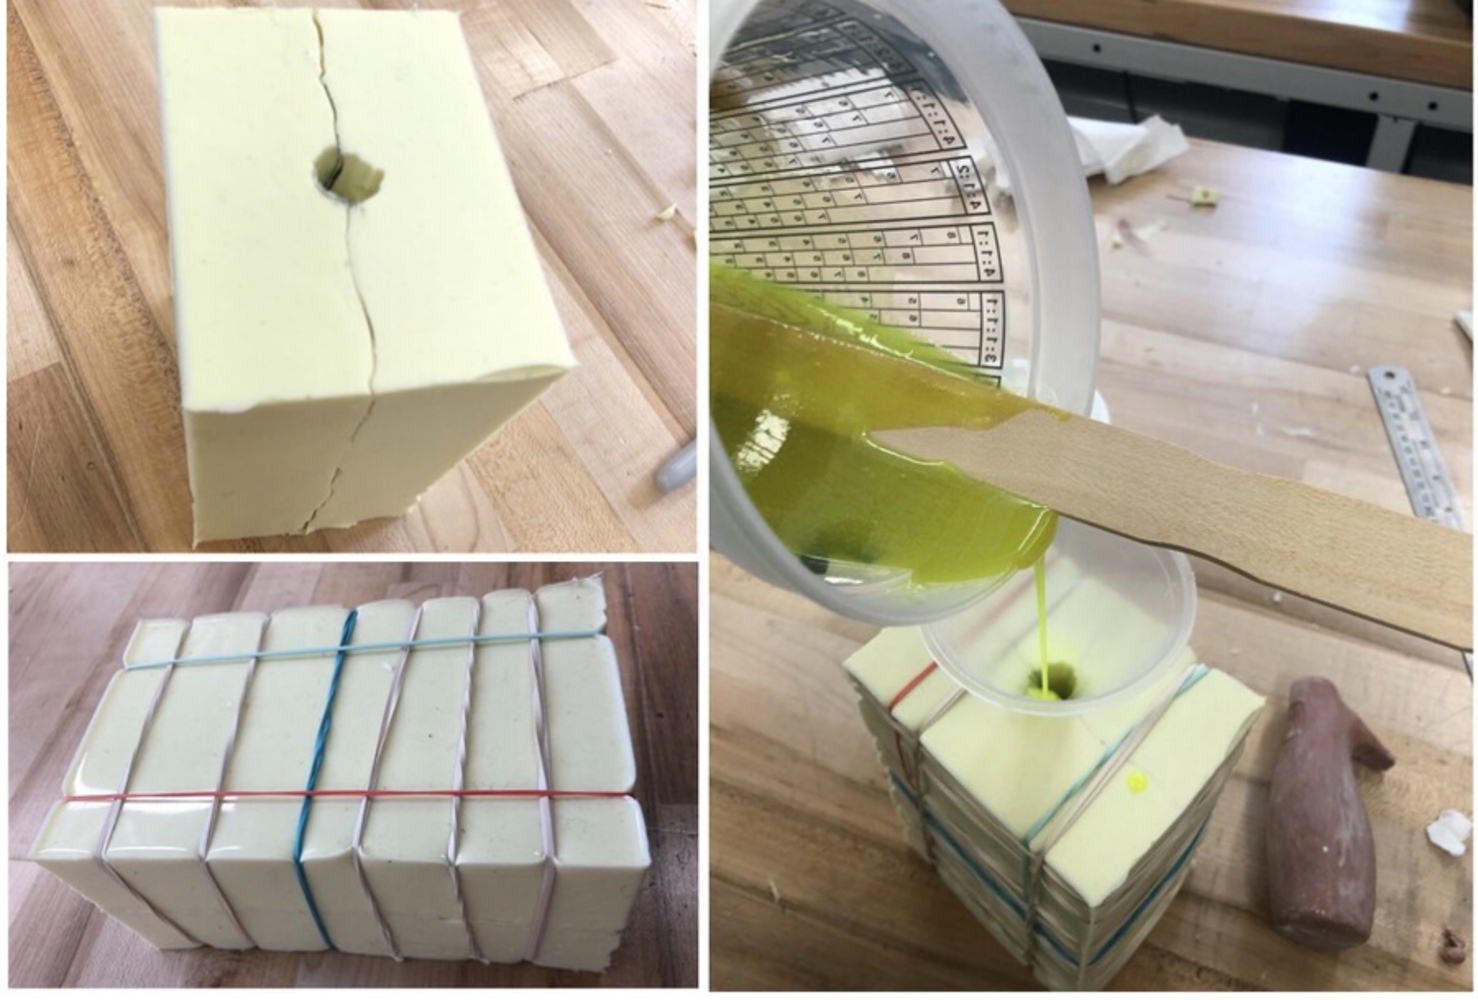
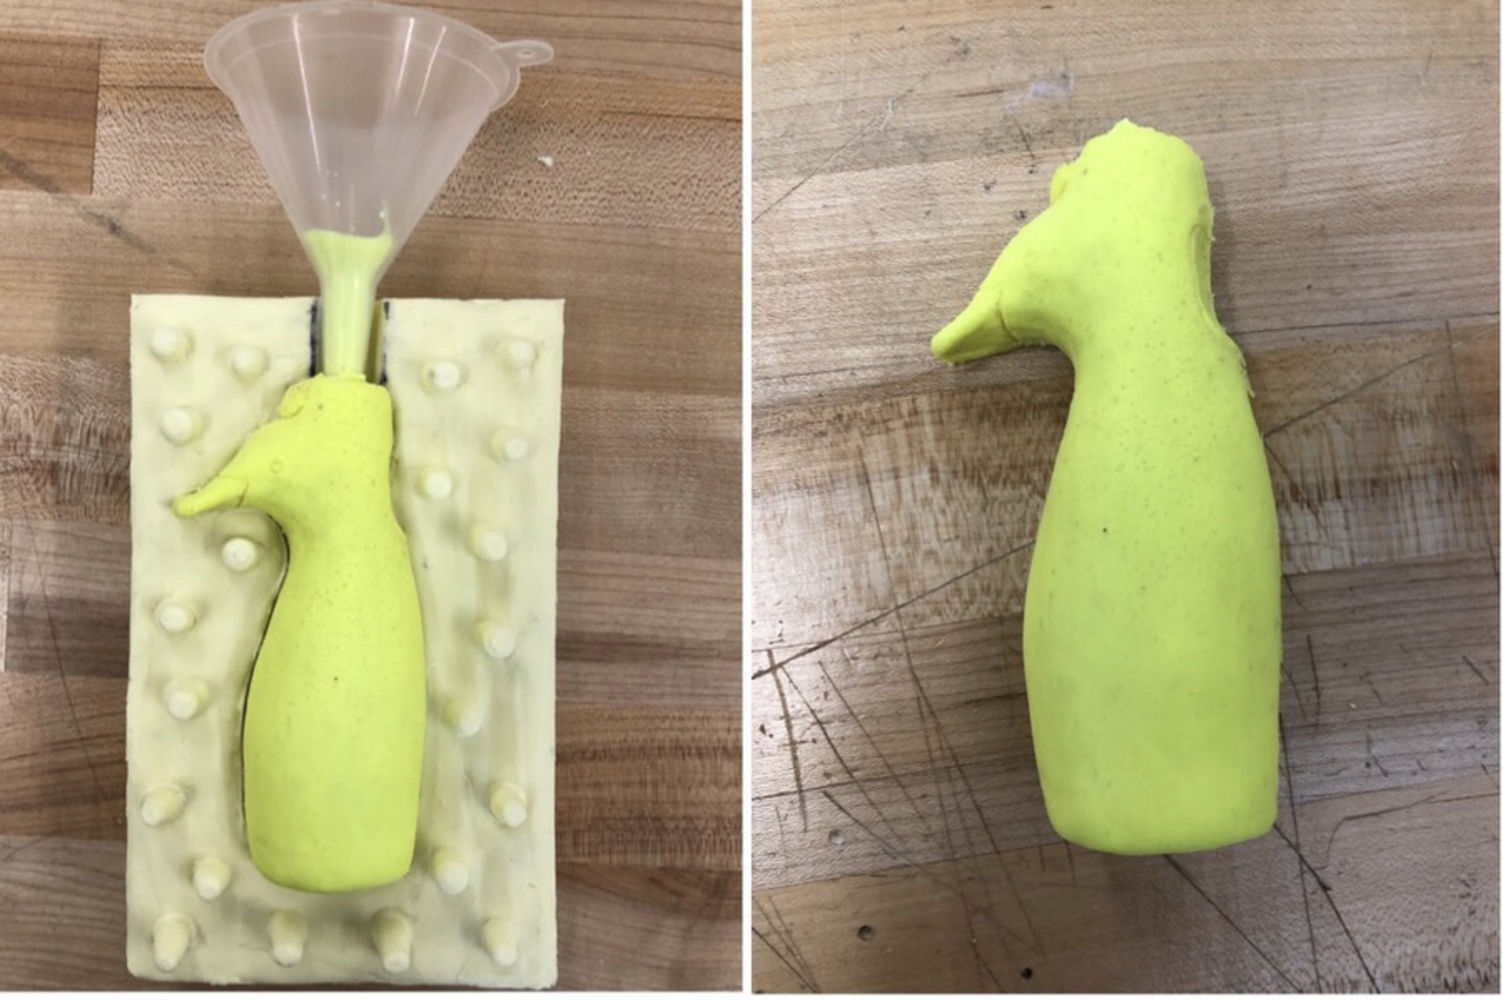
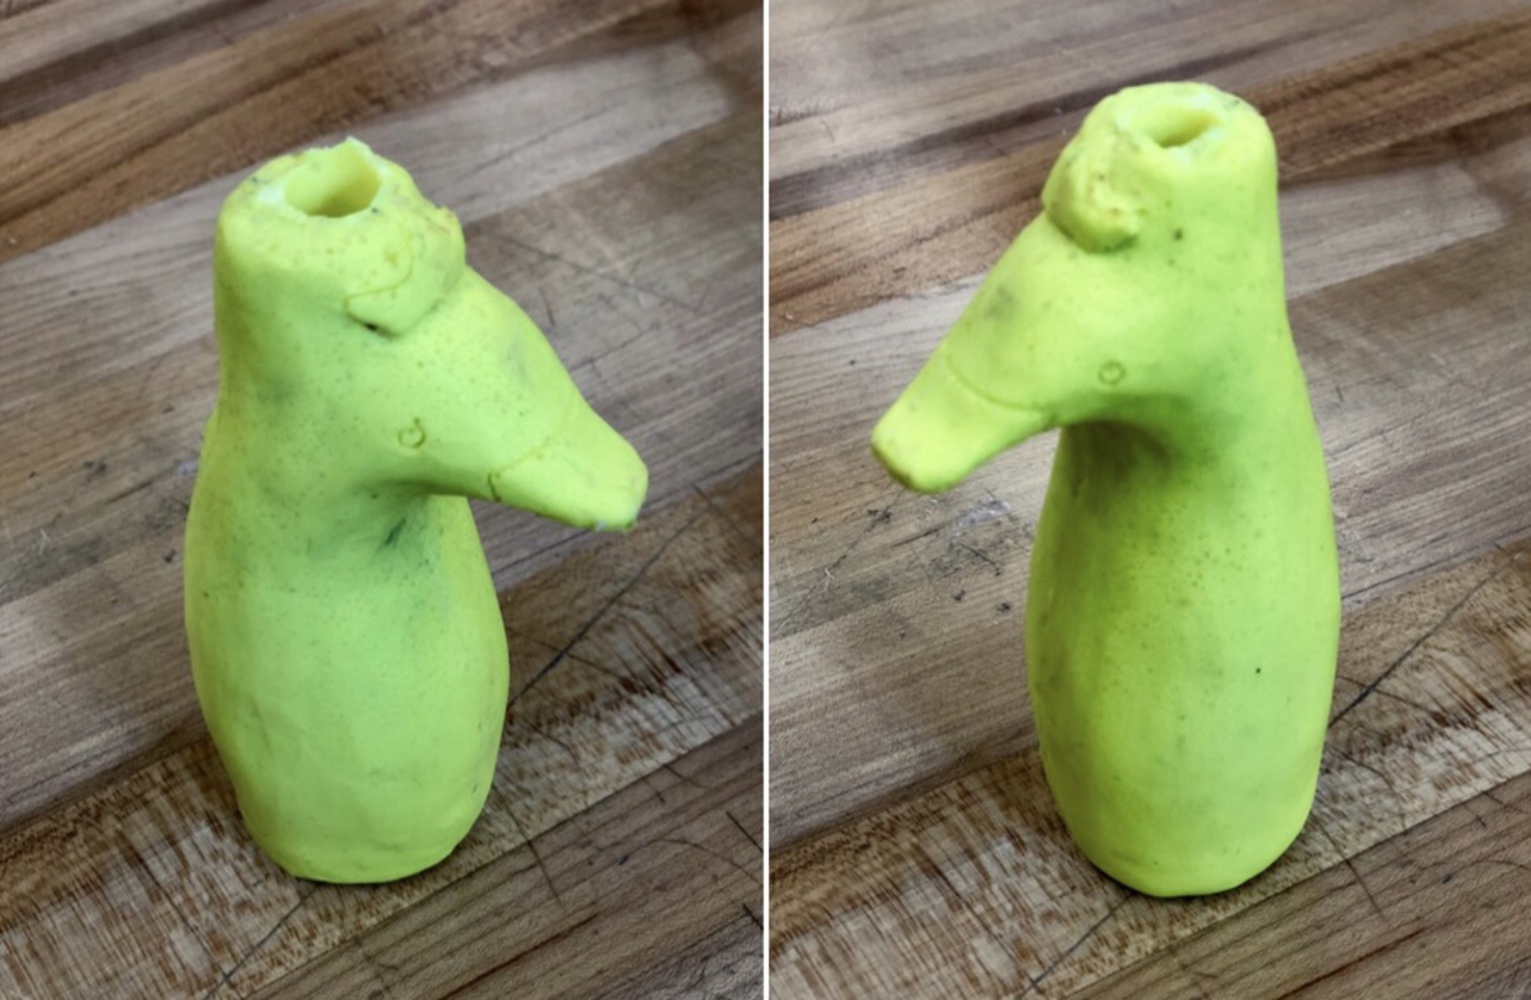
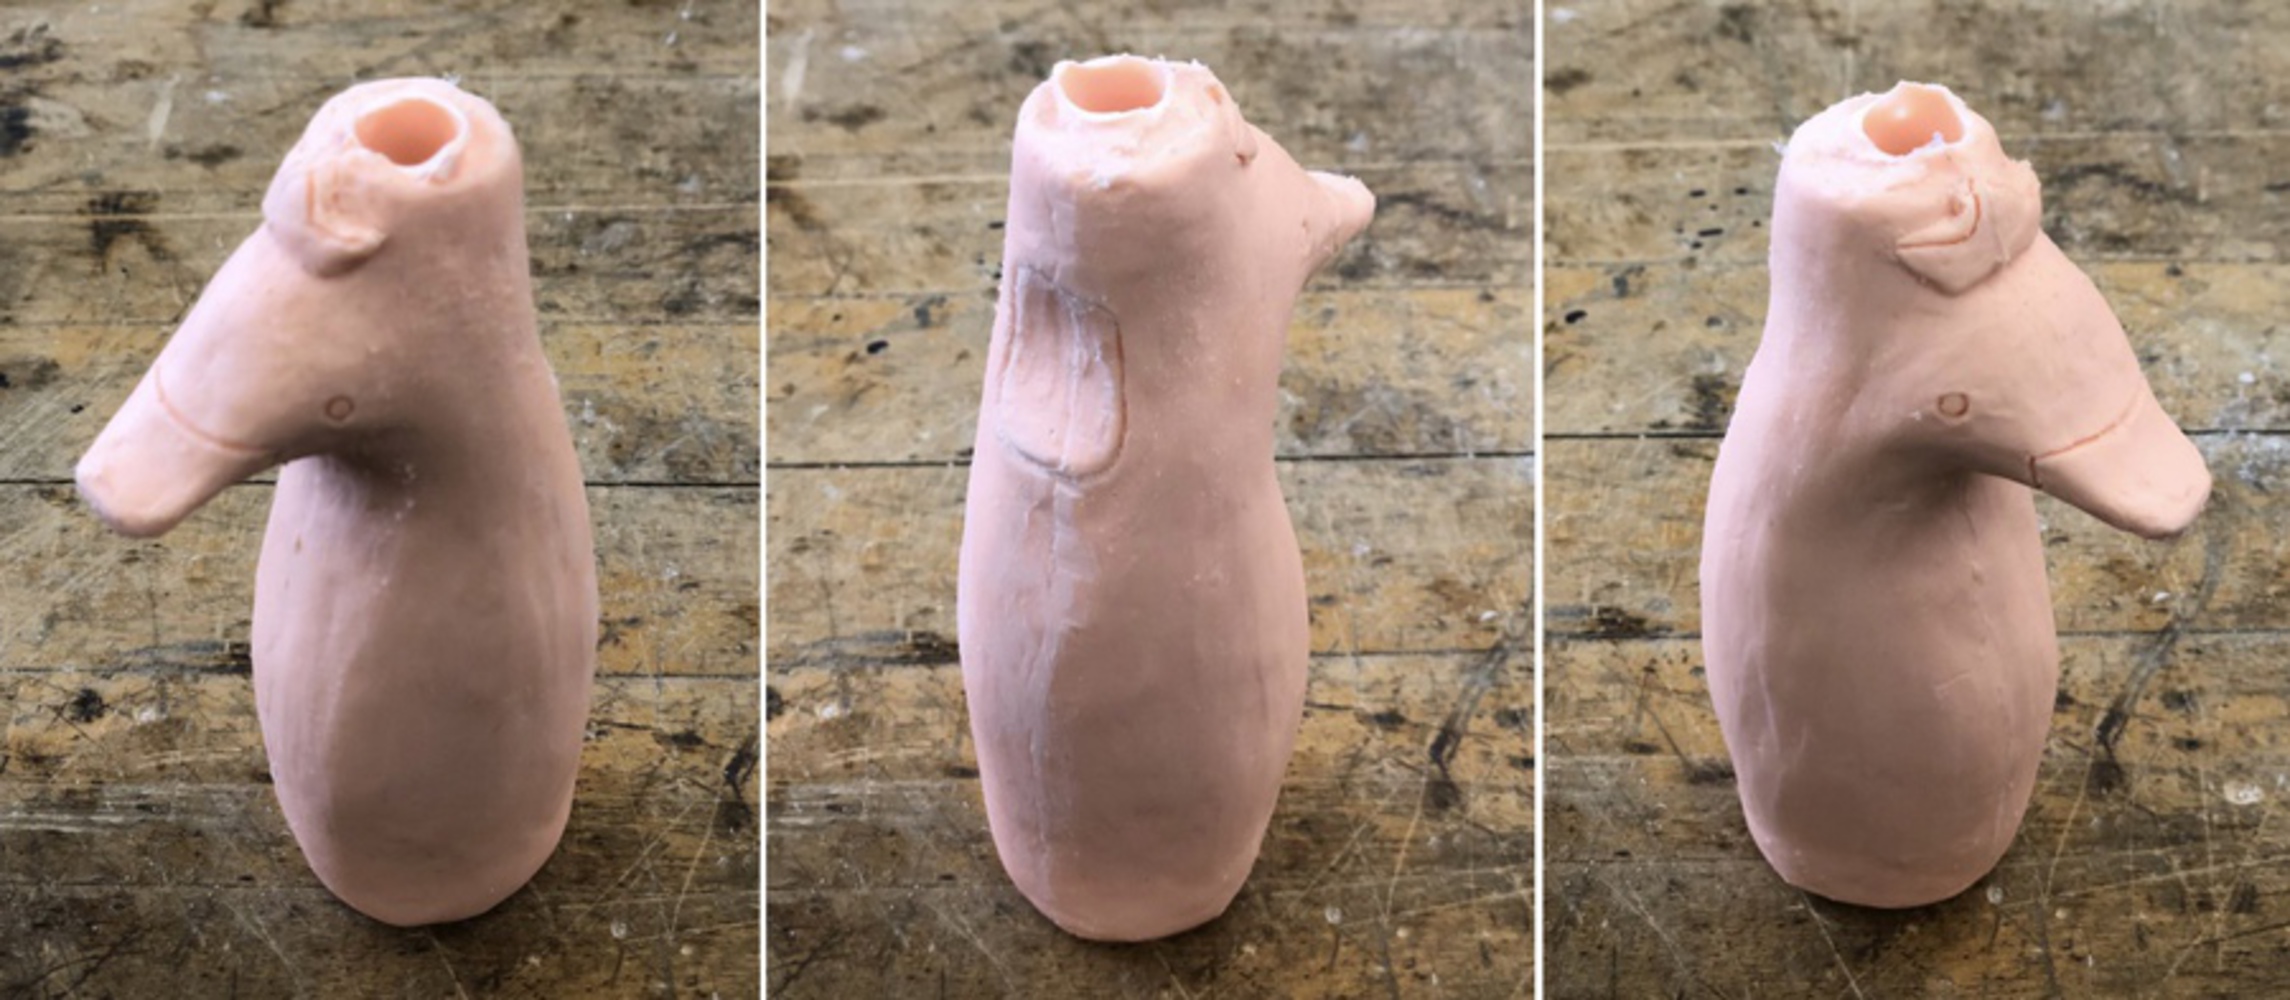
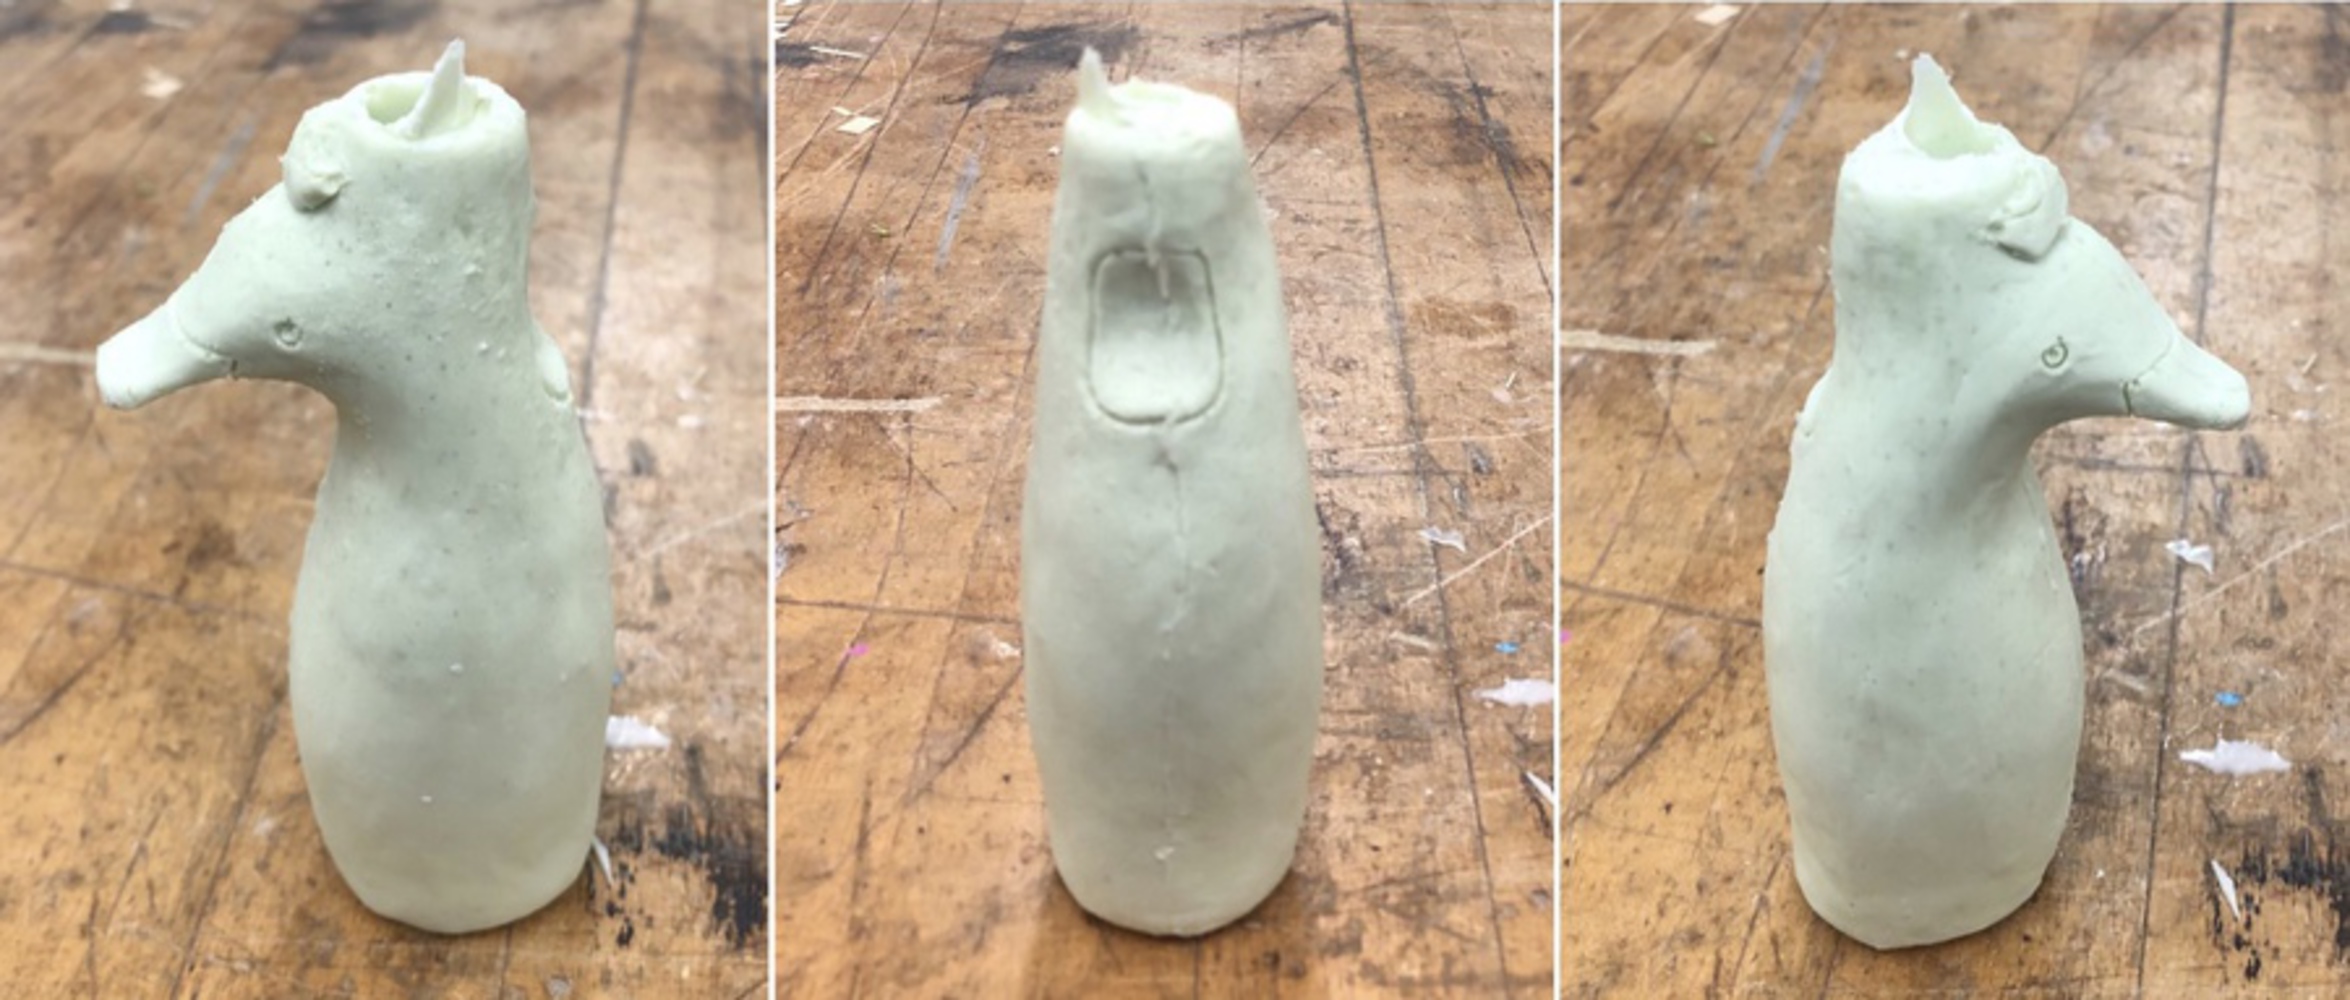
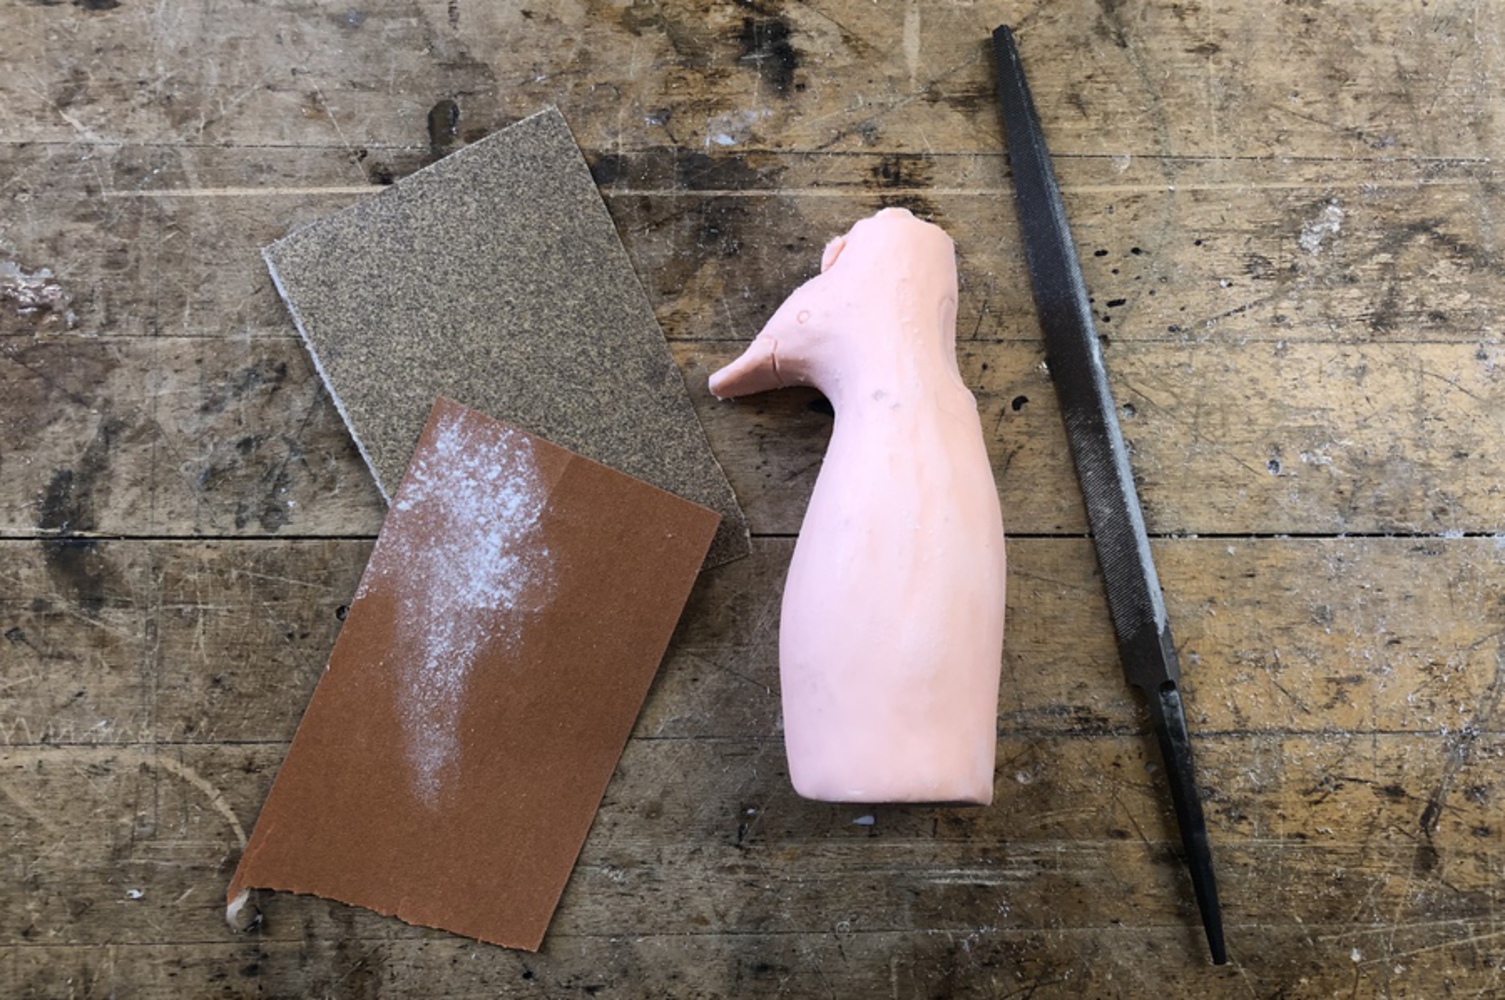
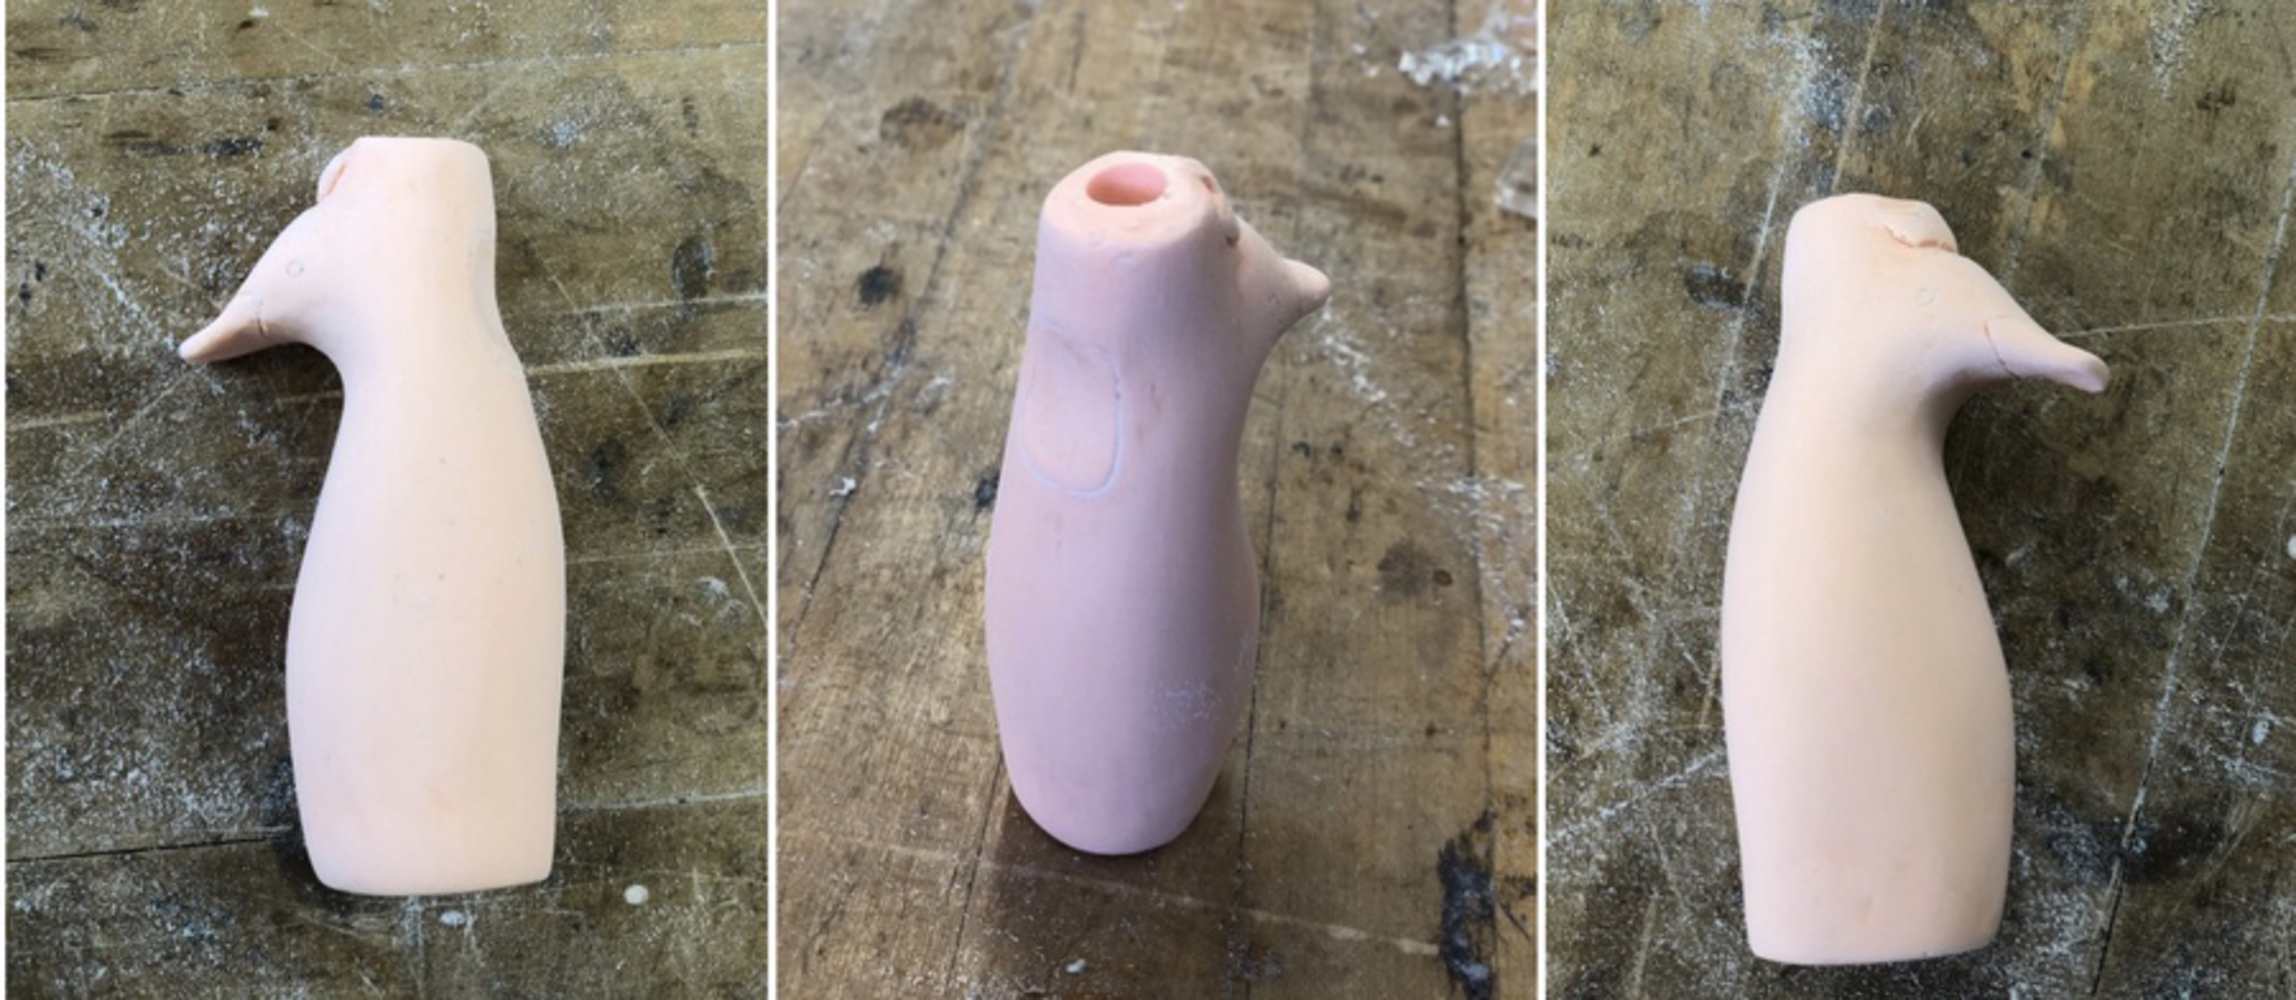
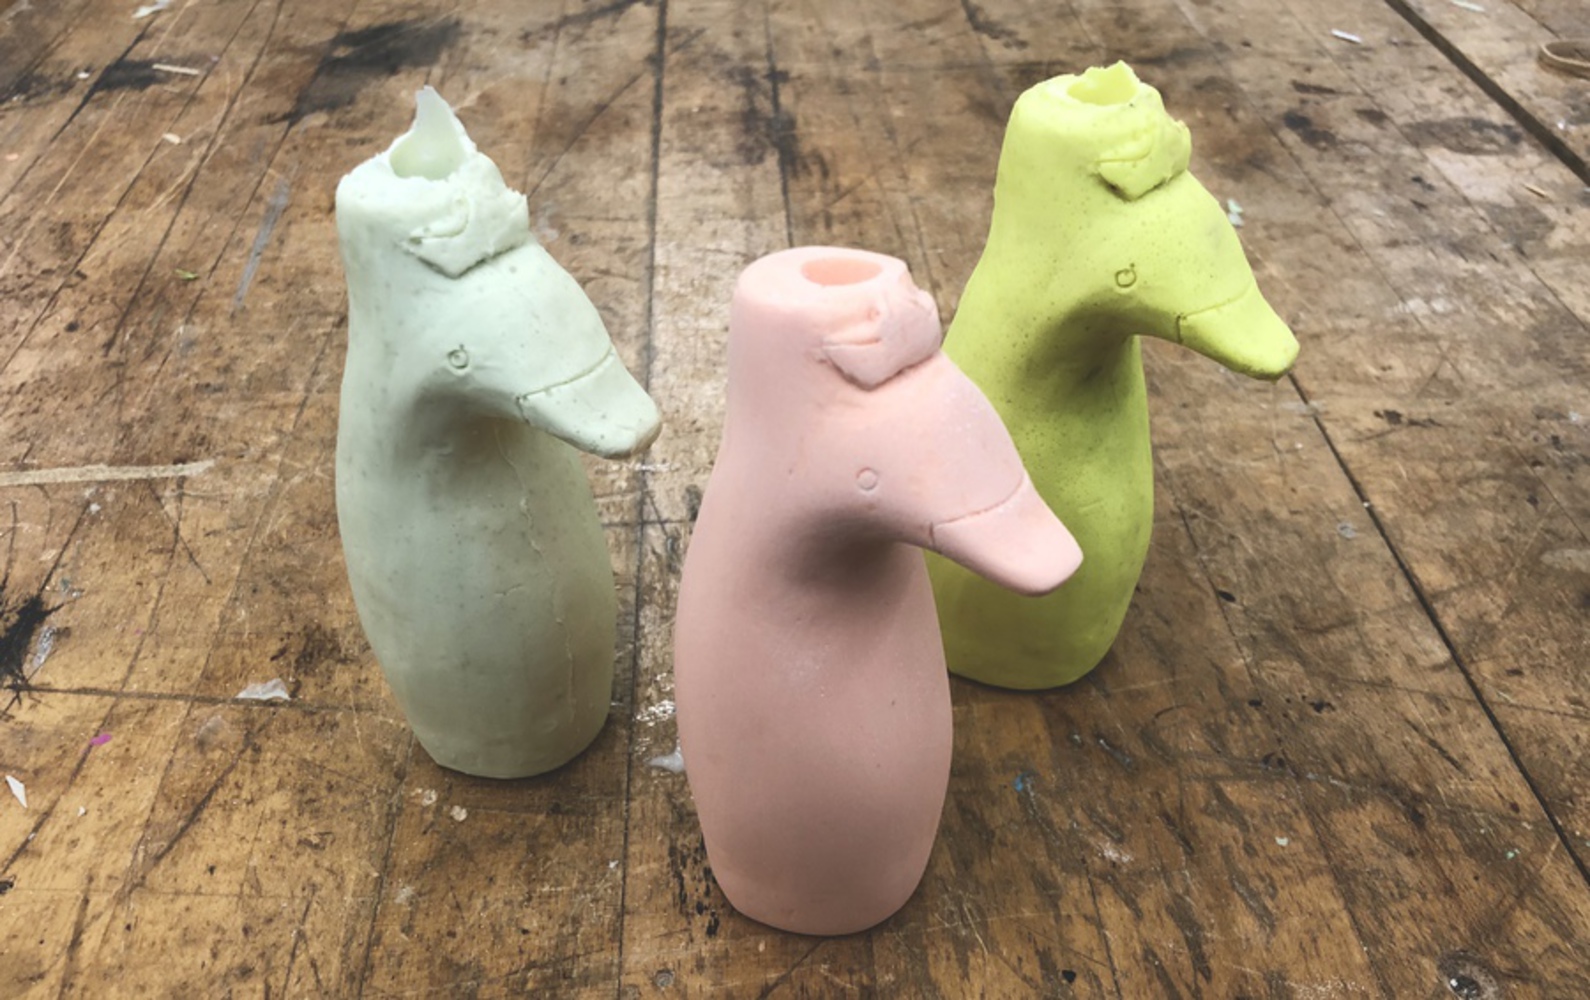
I used the clay model from my last project to cast three resin copies of my umbrella handle design using a silicon mold.