Back to Parent

Outcome


Capture.jpg.thumb
Show Advanced Options

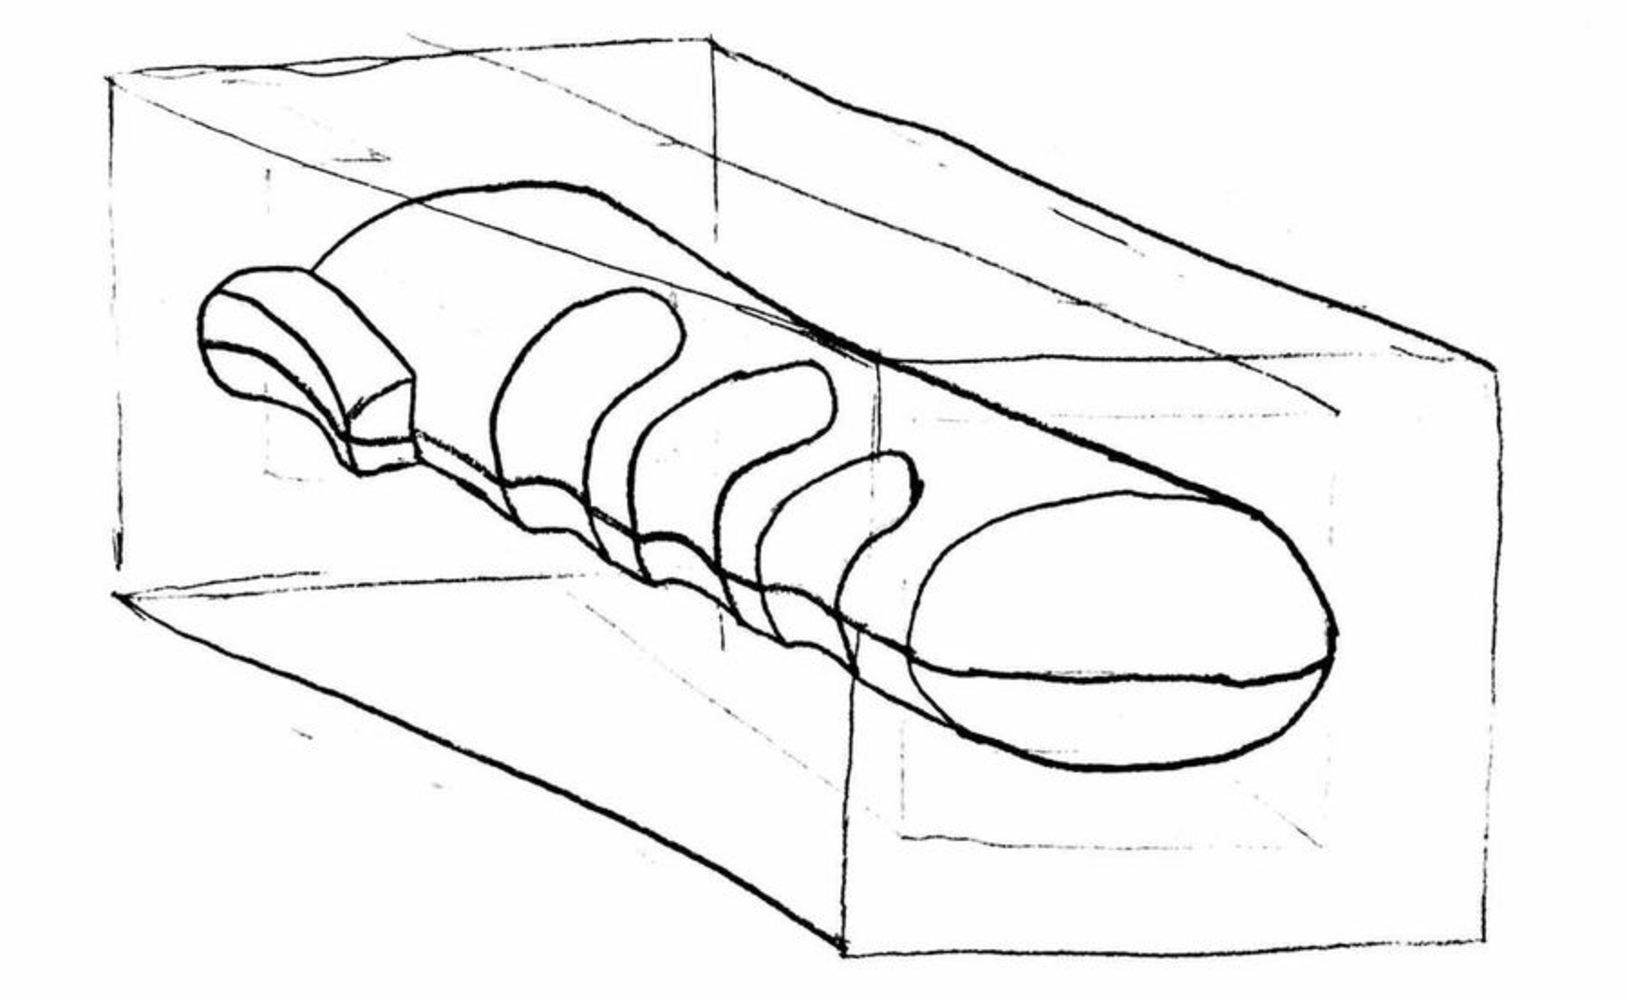
This drawing shows where I planned to put the parting line in the mold. 

Img 0238.jpg.thumb
Show Advanced Options

I started by packing clay around the model of my grip.

Img 0239.jpg.thumb
Show Advanced Options

Once this was done, I smoothed out the clay using tools and cut it to fit in the box. I was careful to make sure that there was a well defined edge where the clay met the model.

Img 0248.jpg.thumb
Show Advanced Options

I then built a box around the part to pour the silicone into. I made sure that the clay sealed well to the edges of the box to prevent leaks.

Img 0254.jpg.thumb
Show Advanced Options

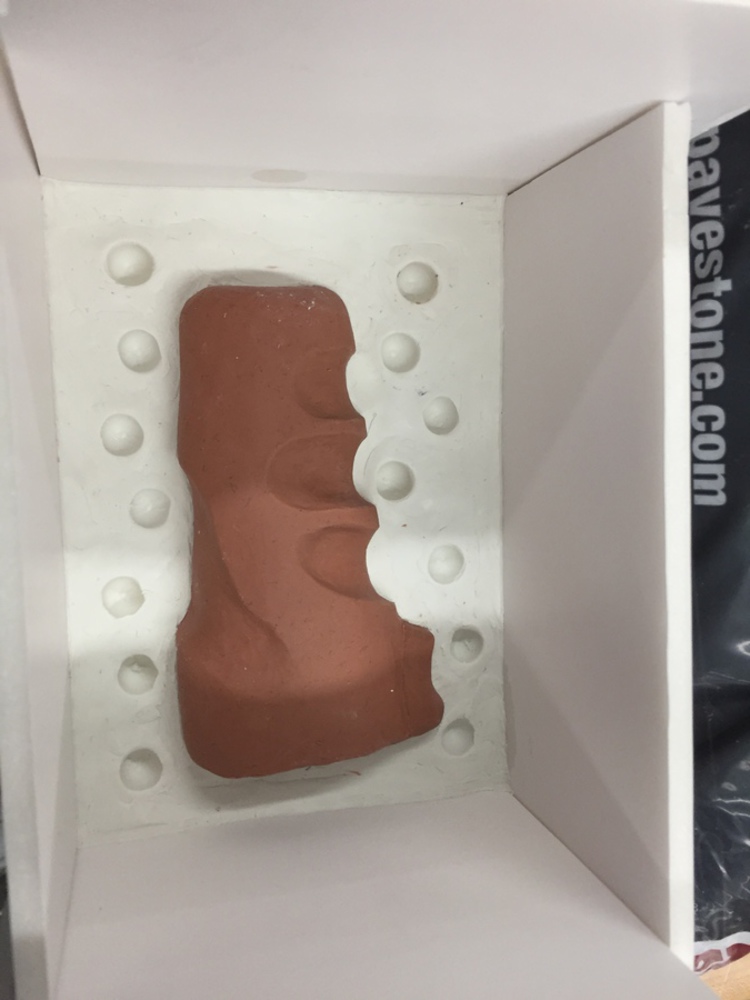
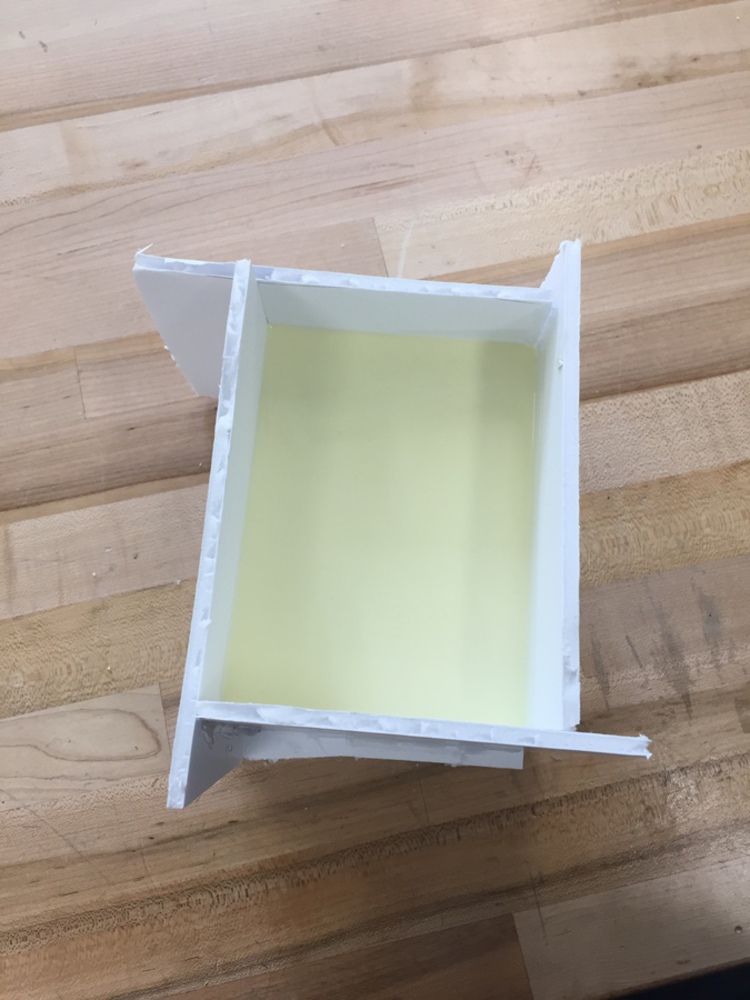
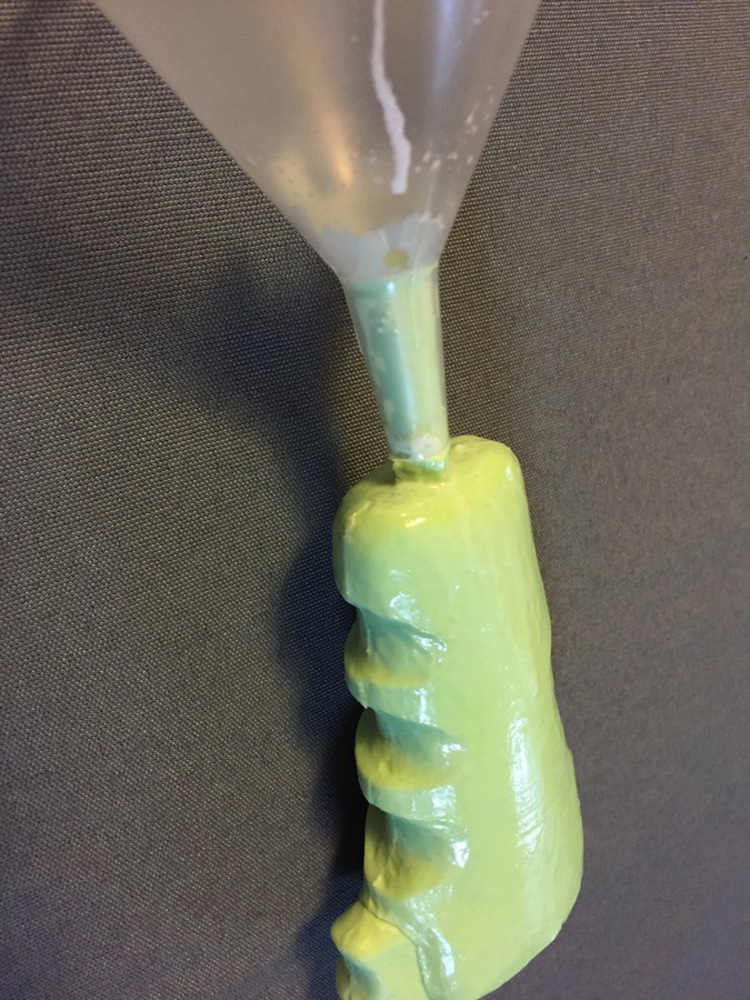
This is the box after pouring silicone. For the second half of the mold, I removed the clay and then built the box around the bottom half of the mold. While removing the clay, I slightly damaged the model of my part. I made the box slightly smaller than the mold in order to compress the silicone and ensure a good seal around the edges of the box and between the mold and the clay part.

Img 0258.jpg.thumb
Show Advanced Options

This is the completed mold after removing it from the box.

Img 0260.thumb
Show Advanced Options

To prepare for casting, I cut a pour spot into the end of the mold, and secured both halves together using rubber bands.

Img 0265.jpg.thumb
Show Advanced Options

On my first casting, I accidentally stuck the funnel too far into the mold, creating a hole in the part. For the next cast, I cut the end off of the funnel and marked how far I should put it into the mold.

Img 0286.jpg.thumb
Show Advanced Options

Despite the issue with the funnel, the finish on the rest of the first cast was very good.

Img 0287.jpg.thumb
Show Advanced Options

With the second cast, I think had the ratios for the resin slightly off. The part had many small bubbles all over the surface, which are visible in the image above. The part was also somewhat oily.

Img 0274.jpg.thumb
Show Advanced Options

My final casting did not have these issues, and I chose to do some finishing work on it in order to make it neater. I used a little bit of waste resin to try to fill in the air bubbles near the pour spout. 

Img 0276.thumb
Show Advanced Options

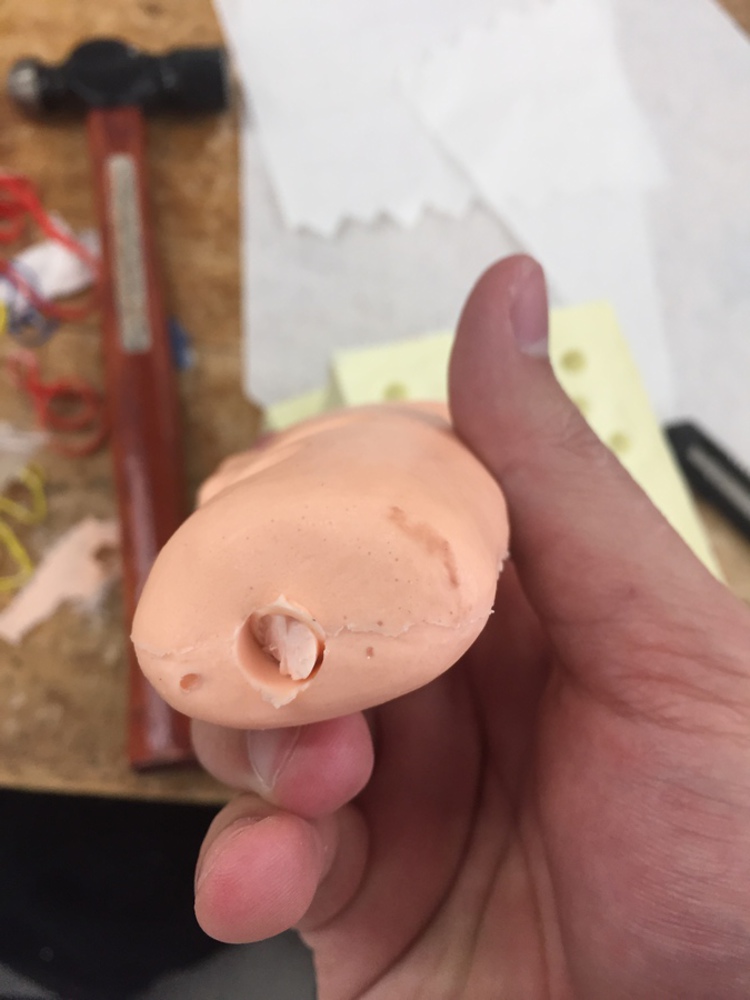
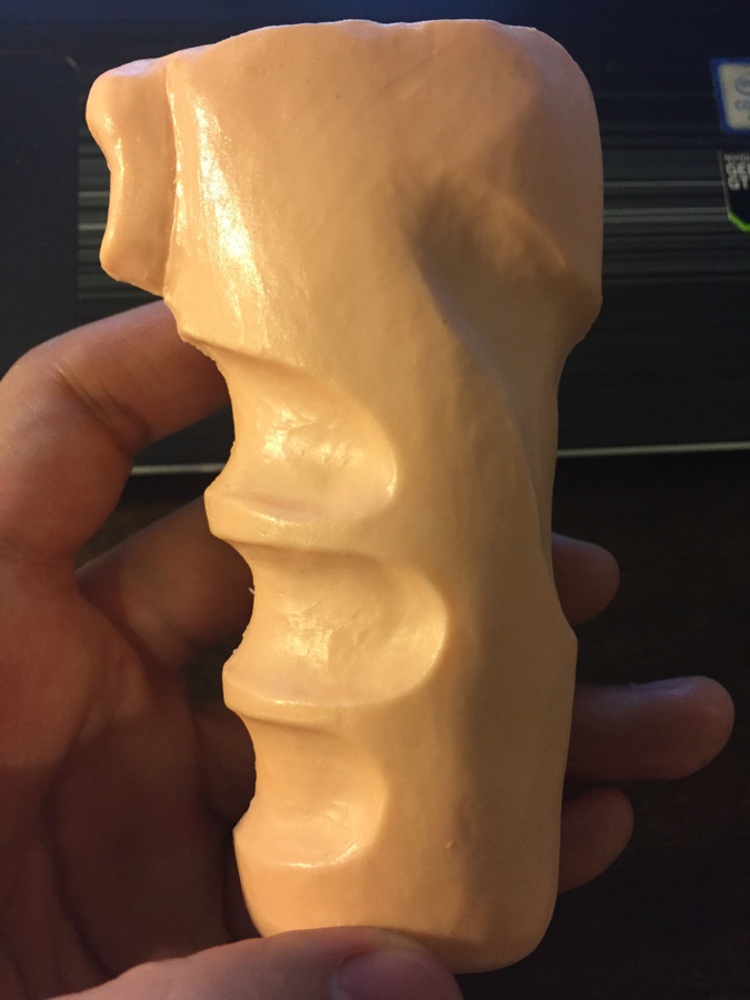
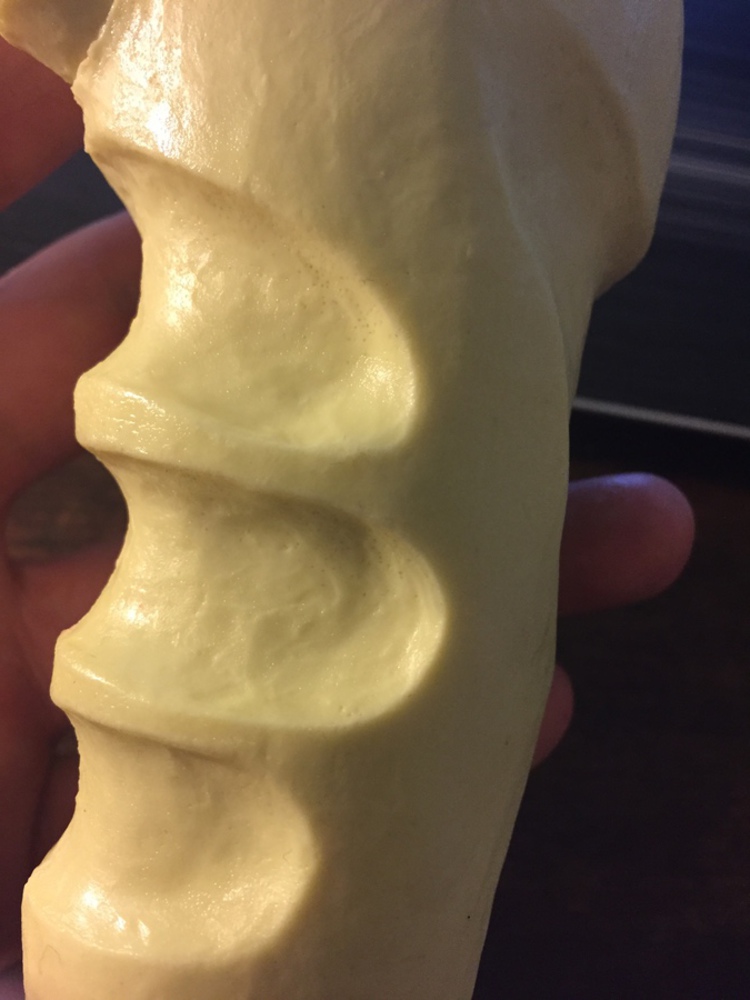
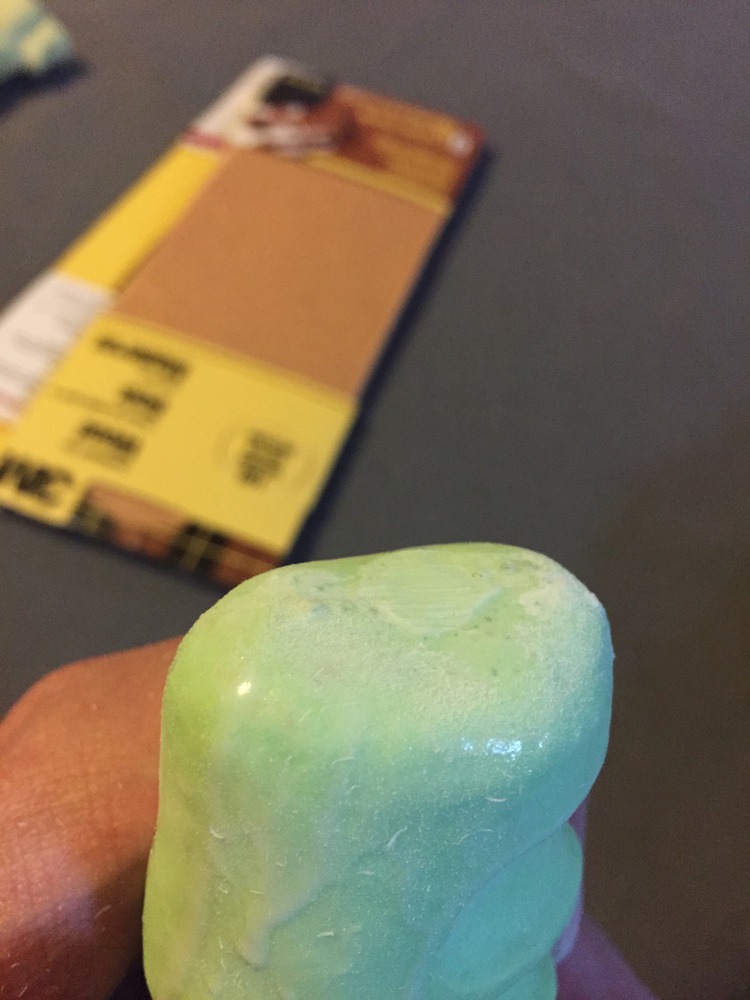
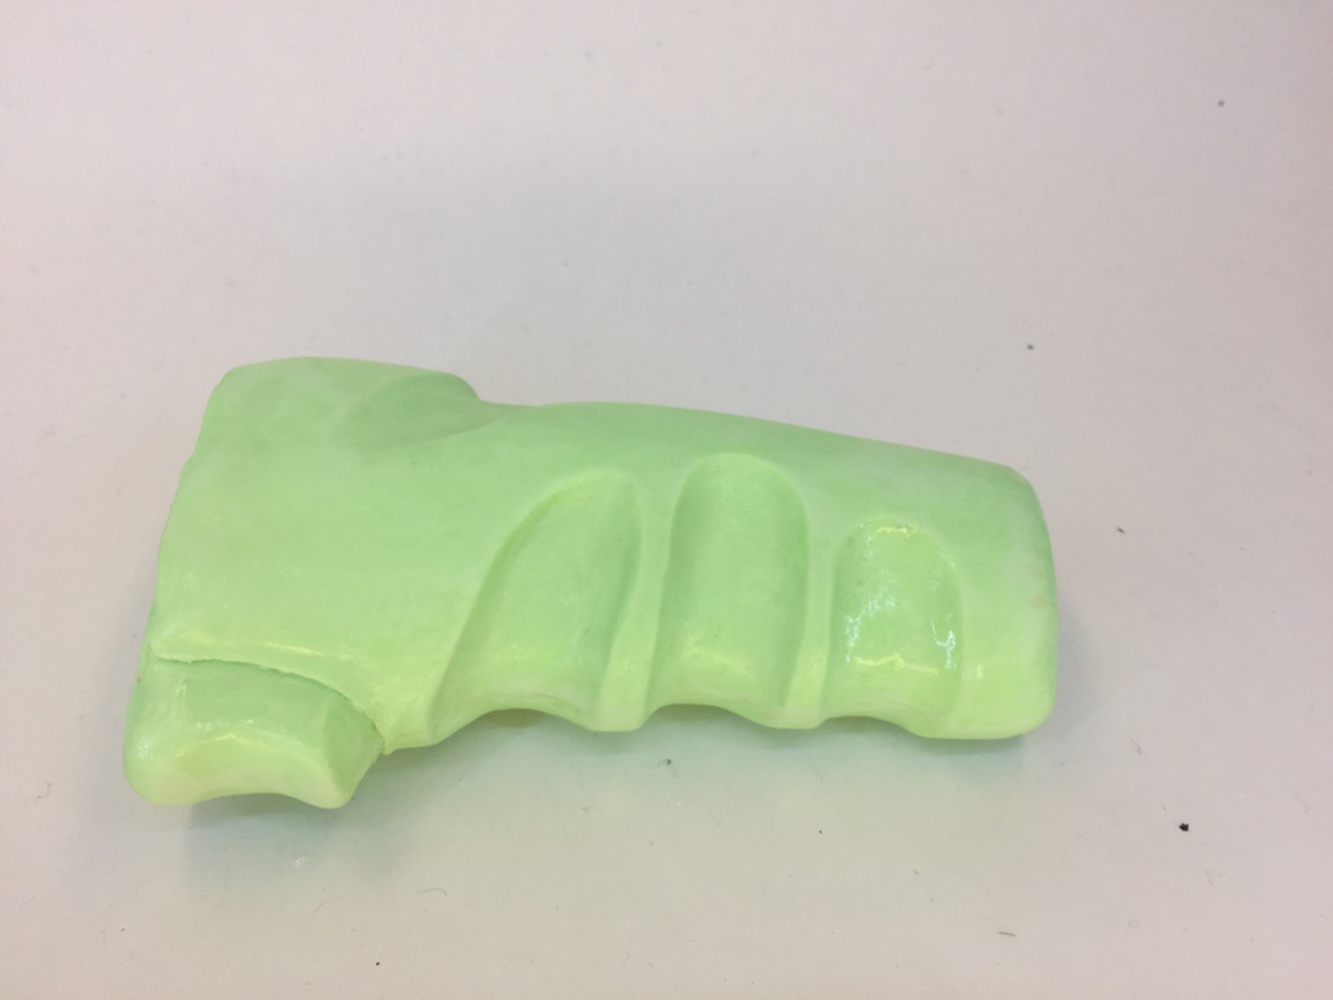
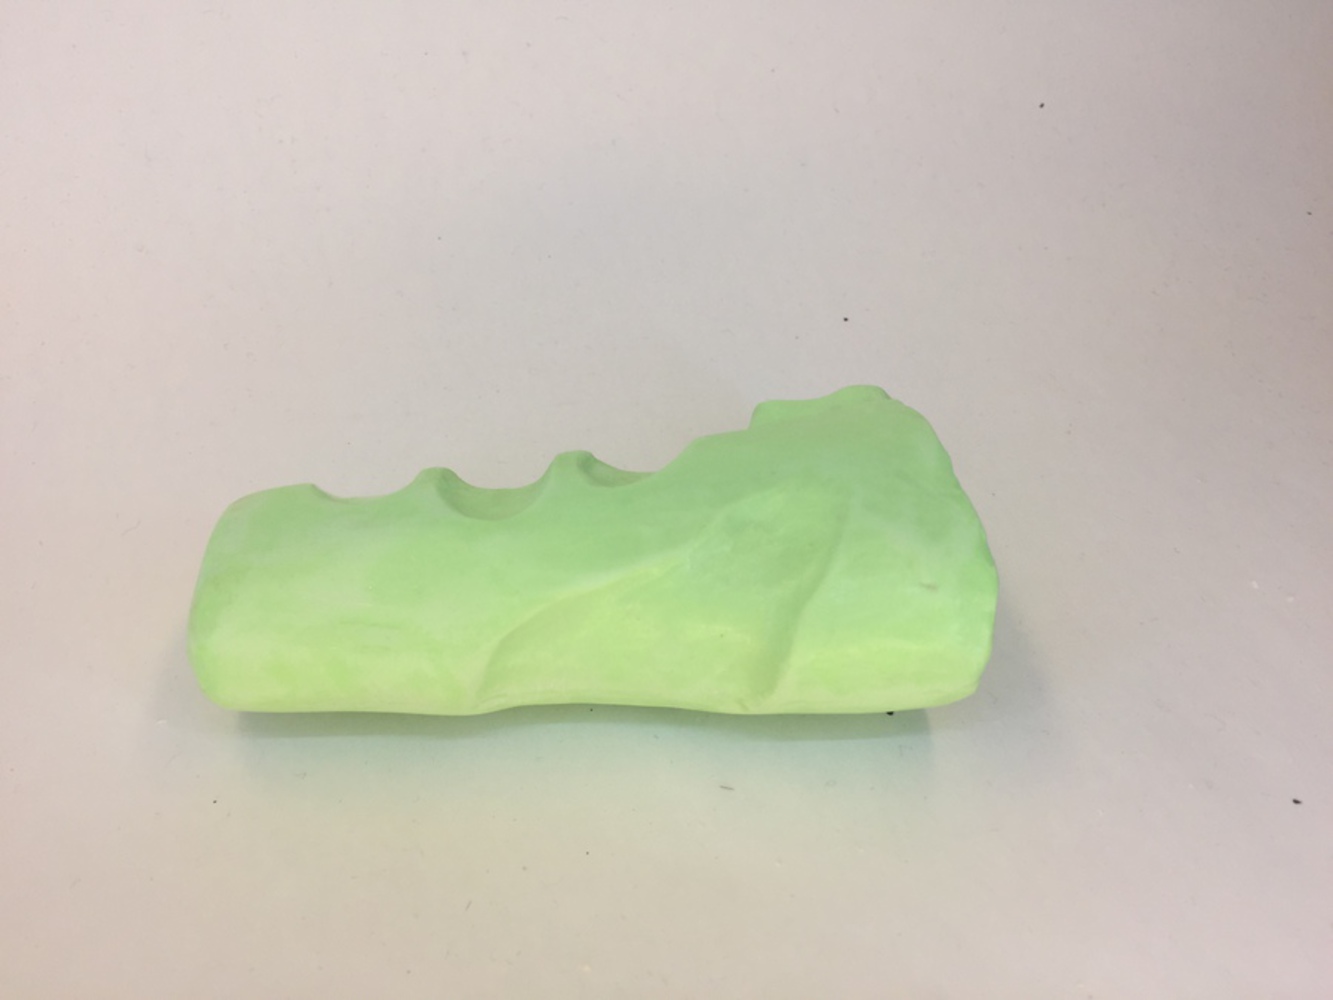
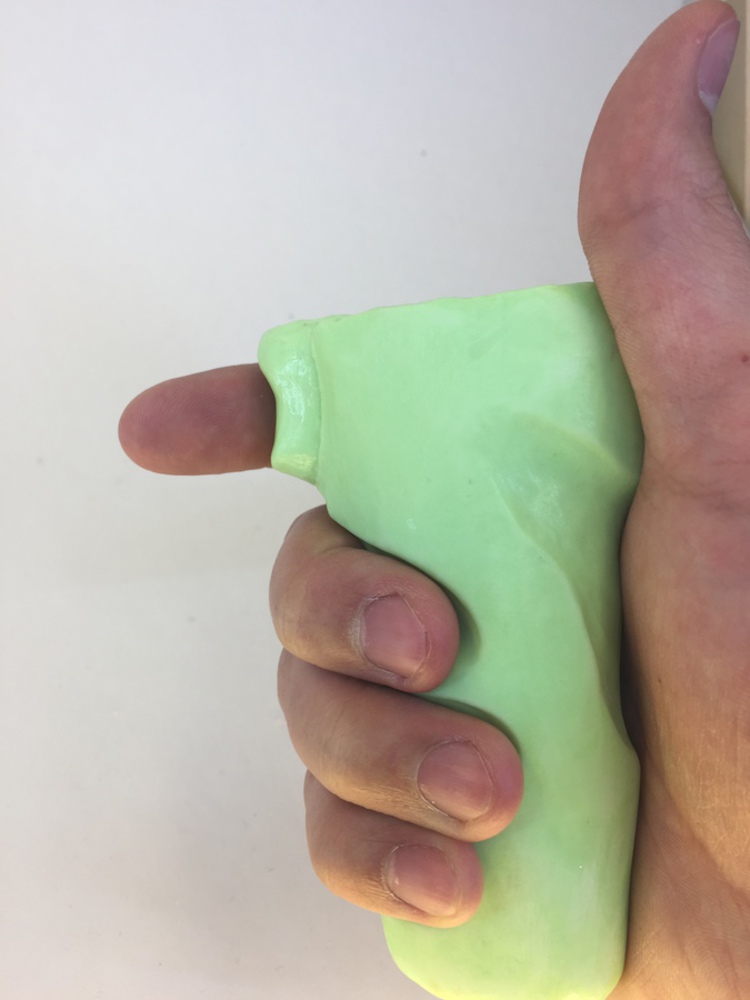
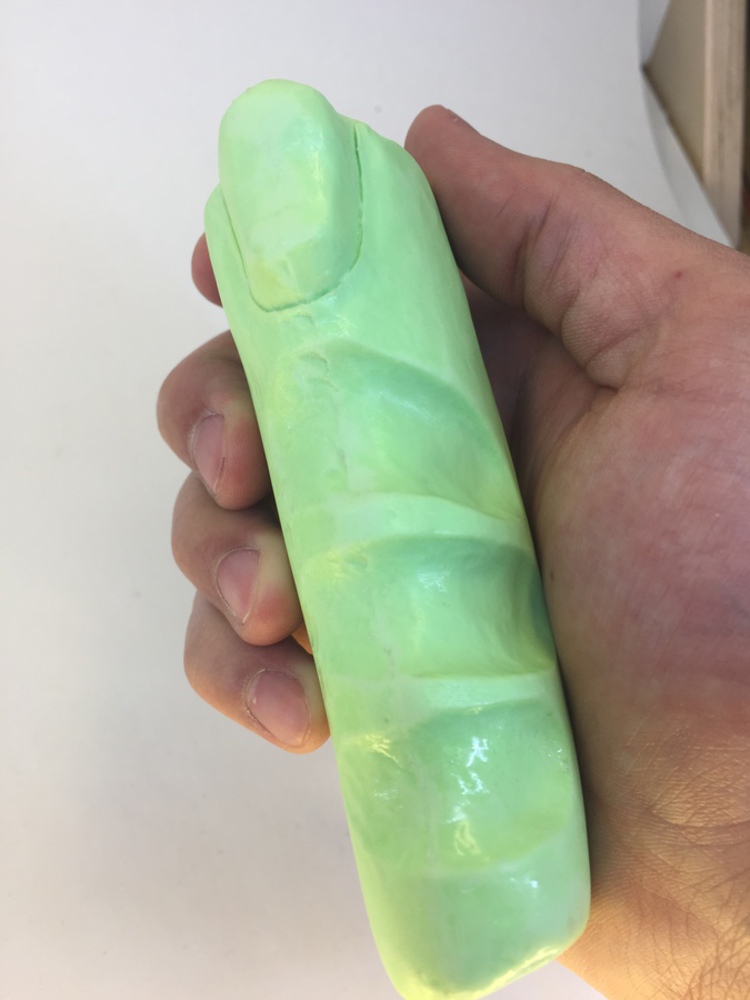
I started by cutting off the pour spout and grinding it down with a dremel. The air bubbles are still visible despite the coating of extra resin. If I was making another casting, I would cut a couple vent holes near the pour spout to help air escape. I tried to rotate the mold to help the air escape, but that was clearly not enough.

Img 0279.jpg.thumb
Show Advanced Options
Img 0280.jpg.thumb
Show Advanced Options

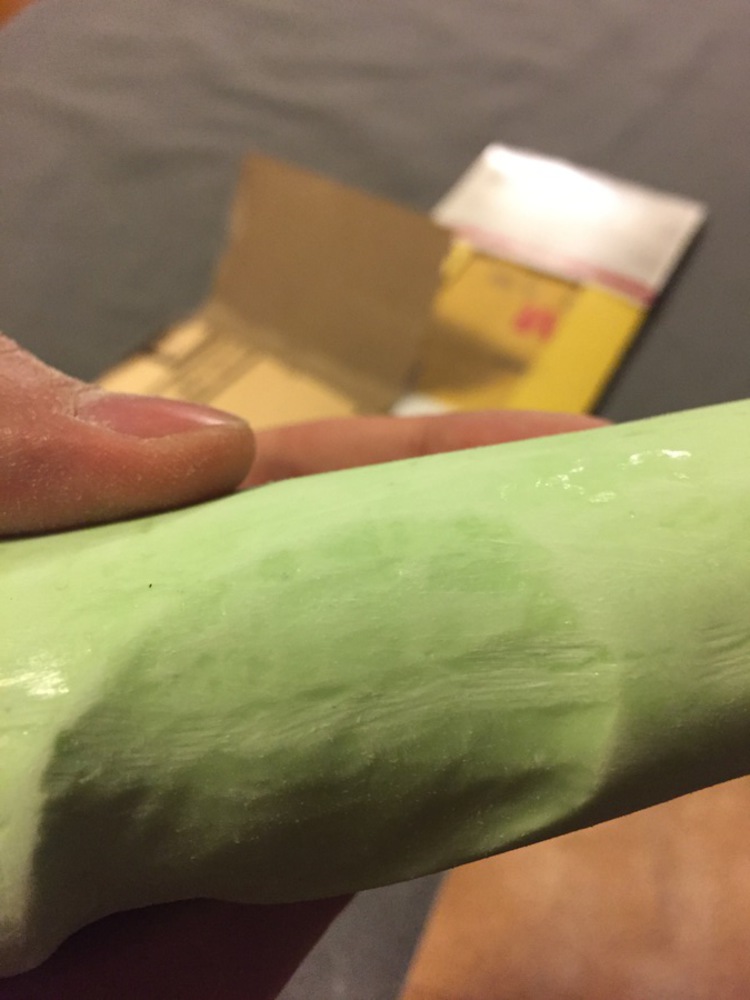
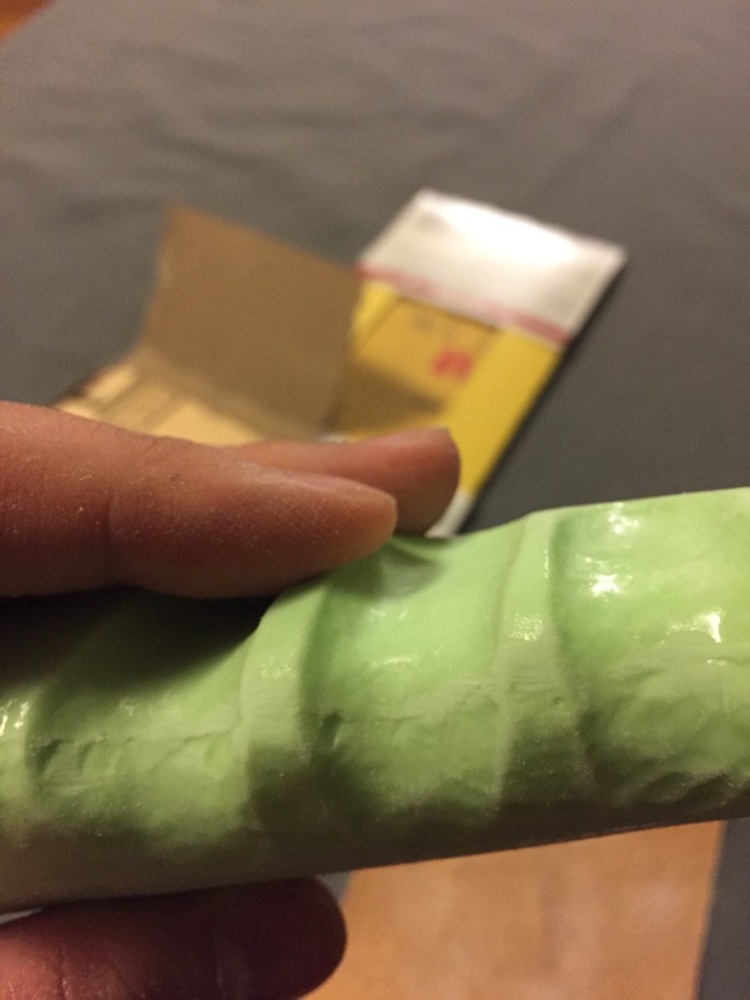
I then ground off the parting line. I finished the part by sanding with 200 grit and then 1000 grit sandpaper. I discovered that using such a large gap in types of sandpaper isn't a very good idea, since the part still has some visible scratches in it. However, it still feels very smooth.

Img 0281.jpg.thumb
Show Advanced Options
Img 0282.jpg.thumb
Show Advanced Options
Img 0283.jpg.thumb
Show Advanced Options
Img 0284.jpg.thumb
Show Advanced Options
Drop files here or click to select

You can upload files of up to 20MB using this form.