Back to Parent

Outcome


Img 6182.jpg.thumb
Show Advanced Options

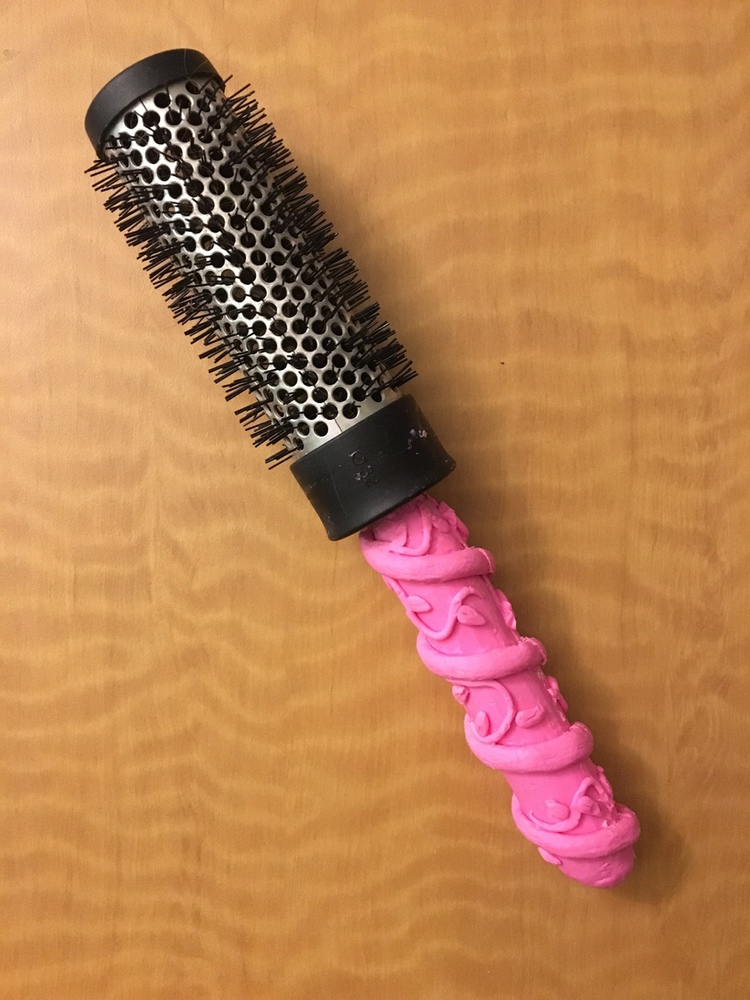
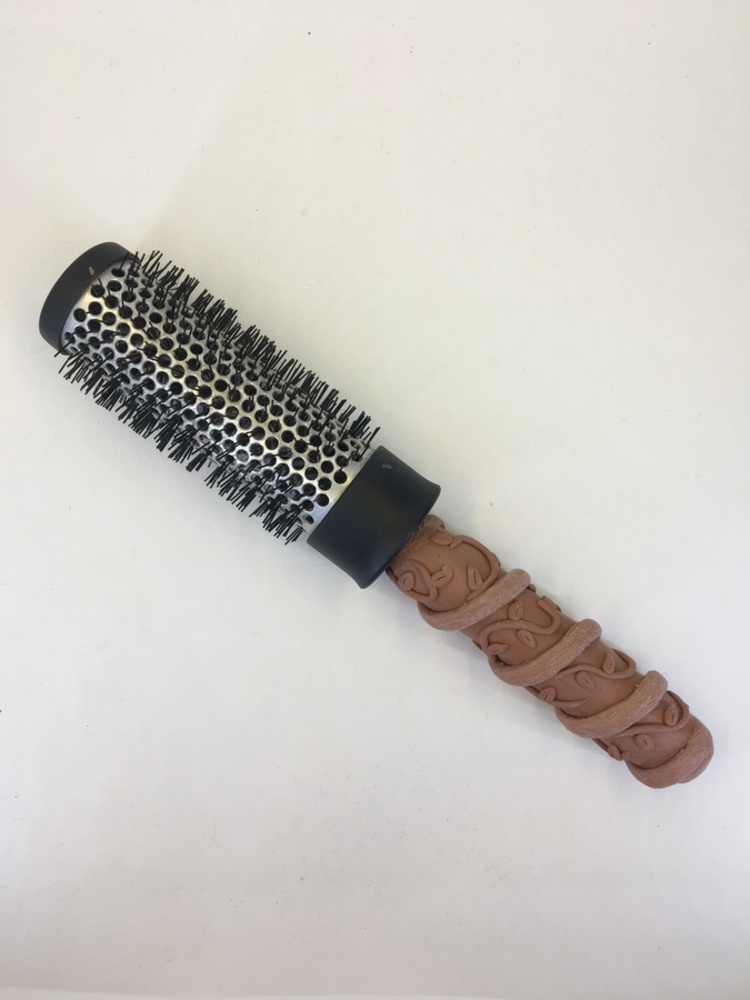
Hairbrush: Re-imagined

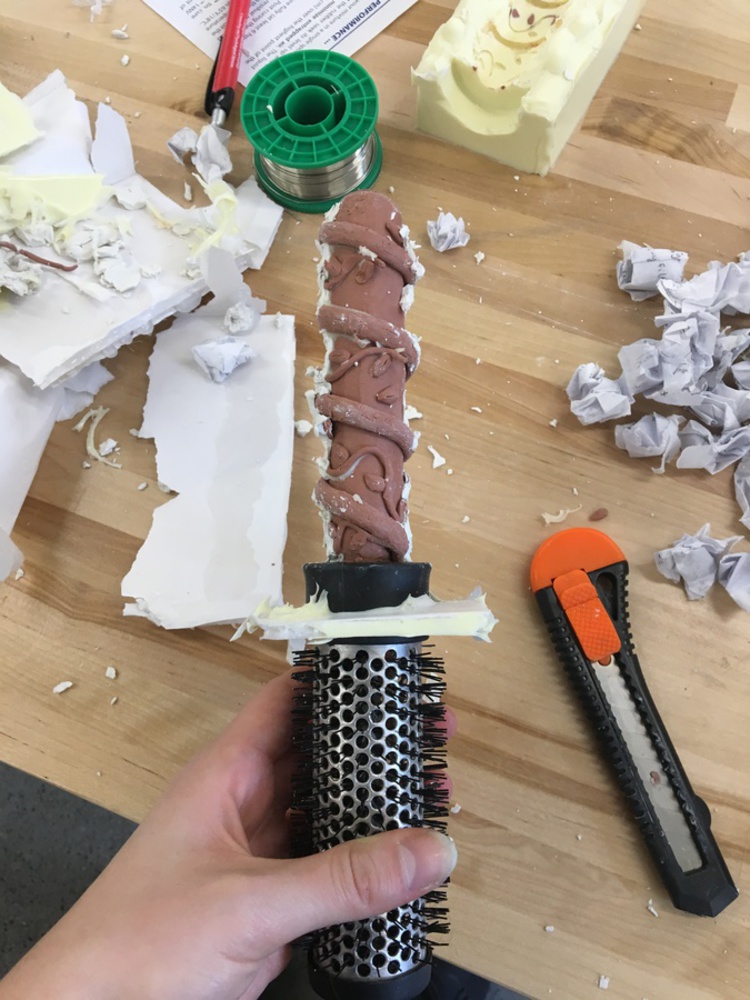
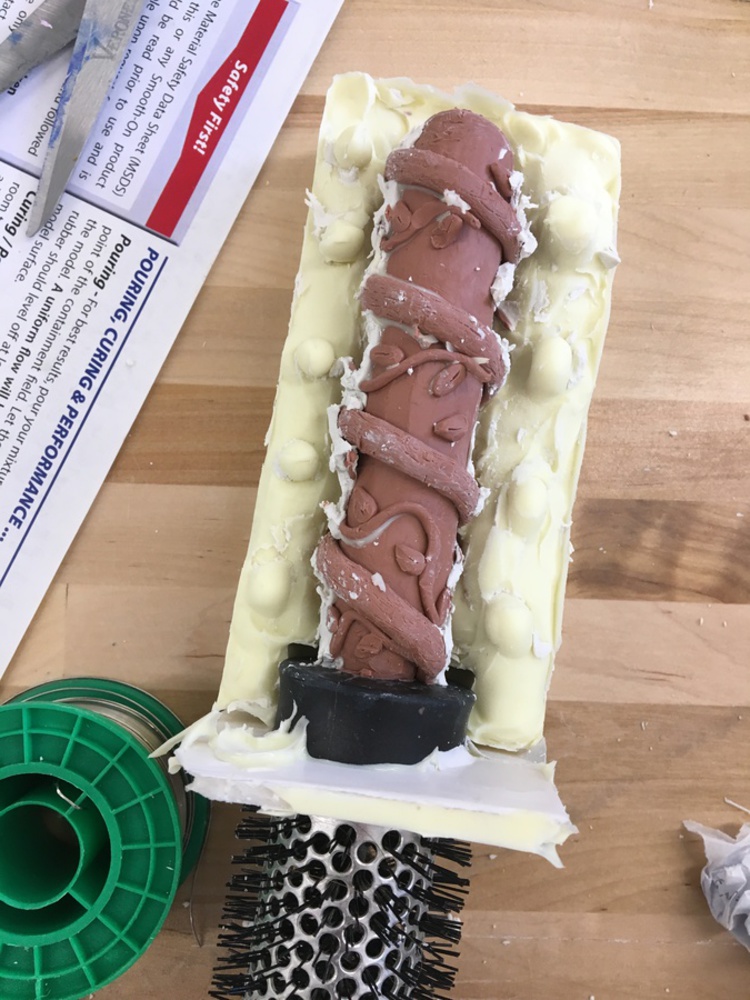
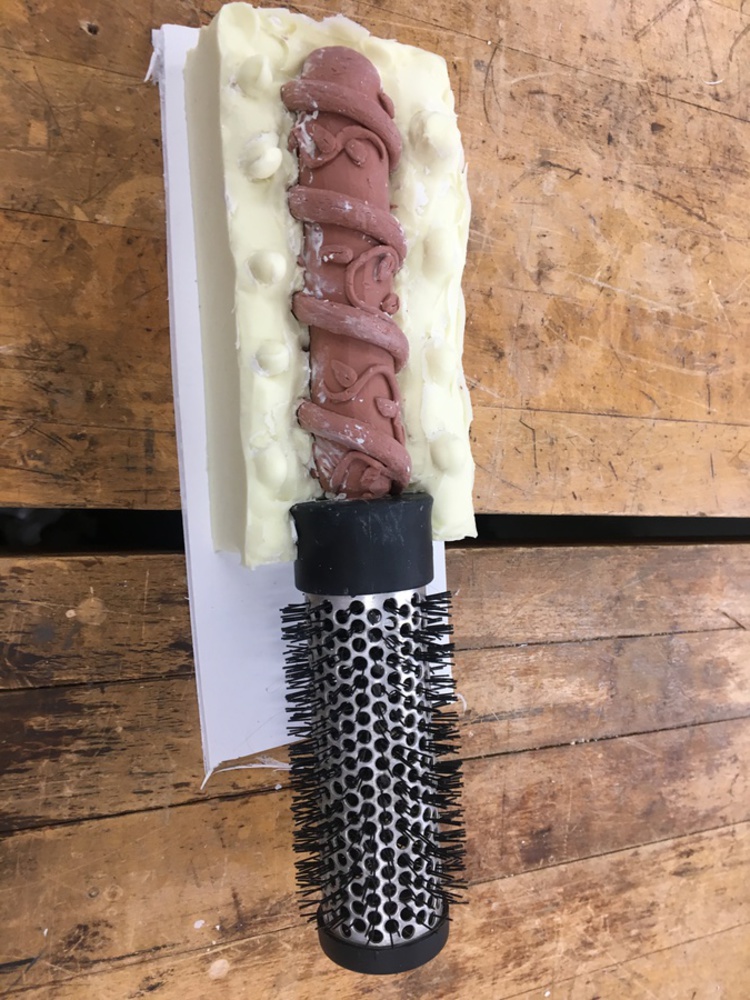
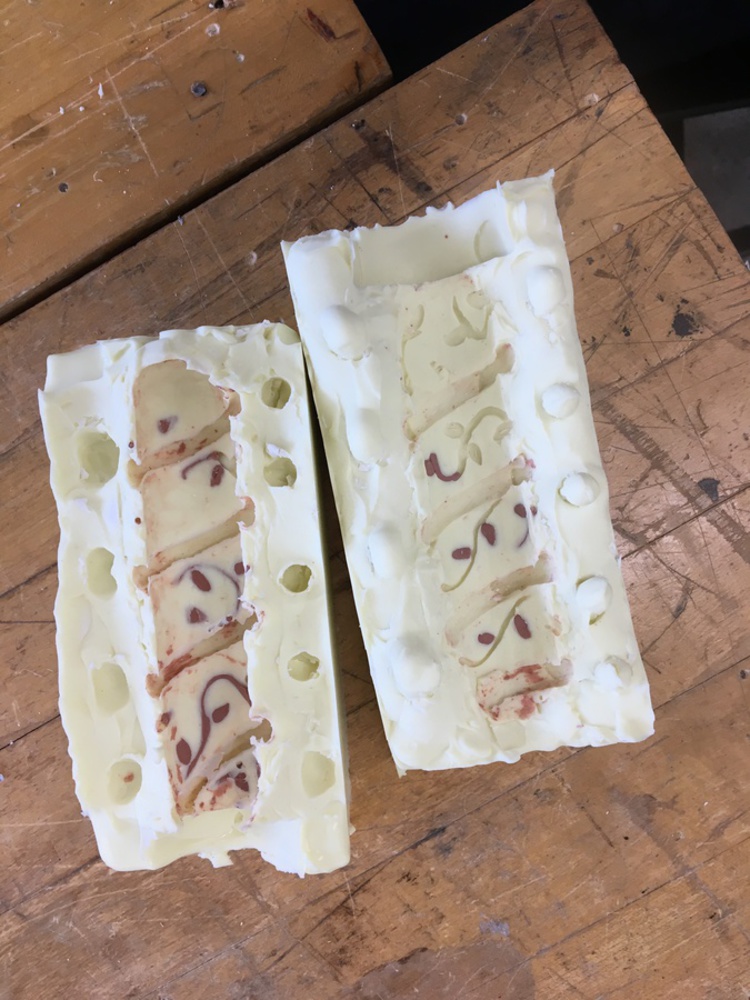
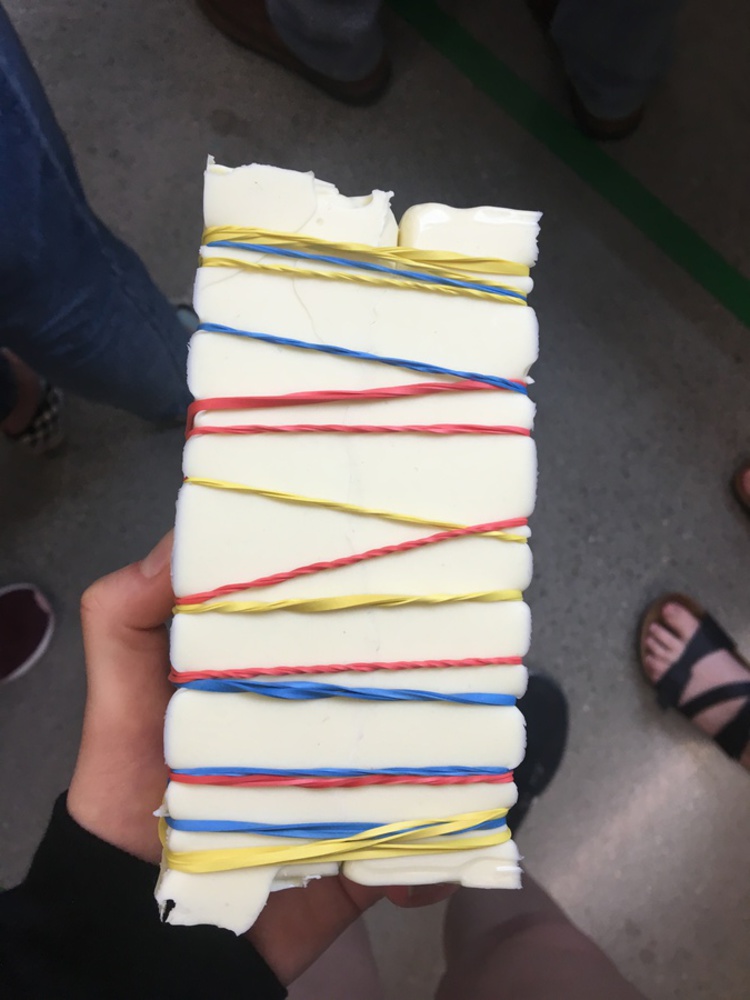
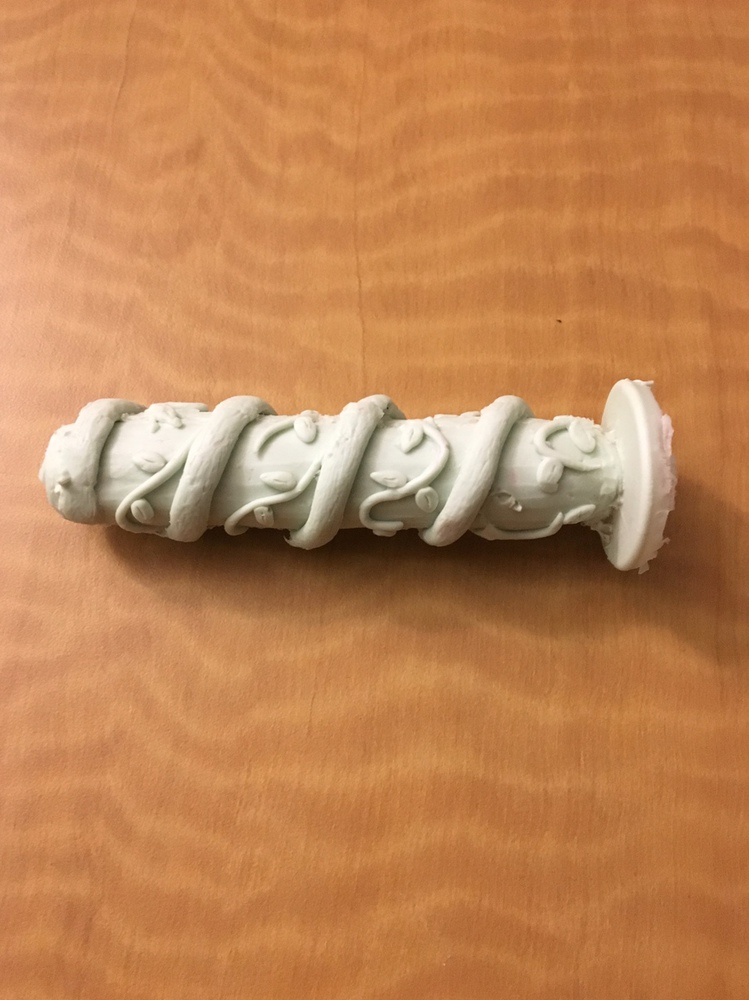
In order to cast my clay hairbrush handle, I had to carefully apply soft white clay to the desired parting line for my project. Once this layer of clay was placed, I was able to fill the rest of my box where I would later pour my silicone. Placing the parting line onto my brown clay was difficult and it led to white clay sticking onto my brown clay. This became problematic after I poured the first half of the silicone. It was difficult to then remove all the white clay without destroying my original patterning. 

Img 6434.jpg.thumb
Show Advanced Options
Img 6436.jpg.thumb
Show Advanced Options
Img 6460.jpg.thumb
Show Advanced Options
Img 6491.jpg.thumb
Show Advanced Options
Img 6524 %281%29.jpg.thumb
Show Advanced Options
Img 6650.thumb
Show Advanced Options
Img 6651.thumb
Show Advanced Options

Once both halves of my mold were made, I had to clean up details that had gotten stuck in the silicone. Then, I closed up the mold and used rubber bands to keep it tightly closed. Once this was done, I poured the resin in order to cast my part. I repeated this process three times, and on the third time, I casted it directly onto my hairbrush. My hairbrush is now more functional and is more aesthetically pleasing. 

Drop files here or click to select

You can upload files of up to 20MB using this form.