Back to Parent

Outcome


Preface


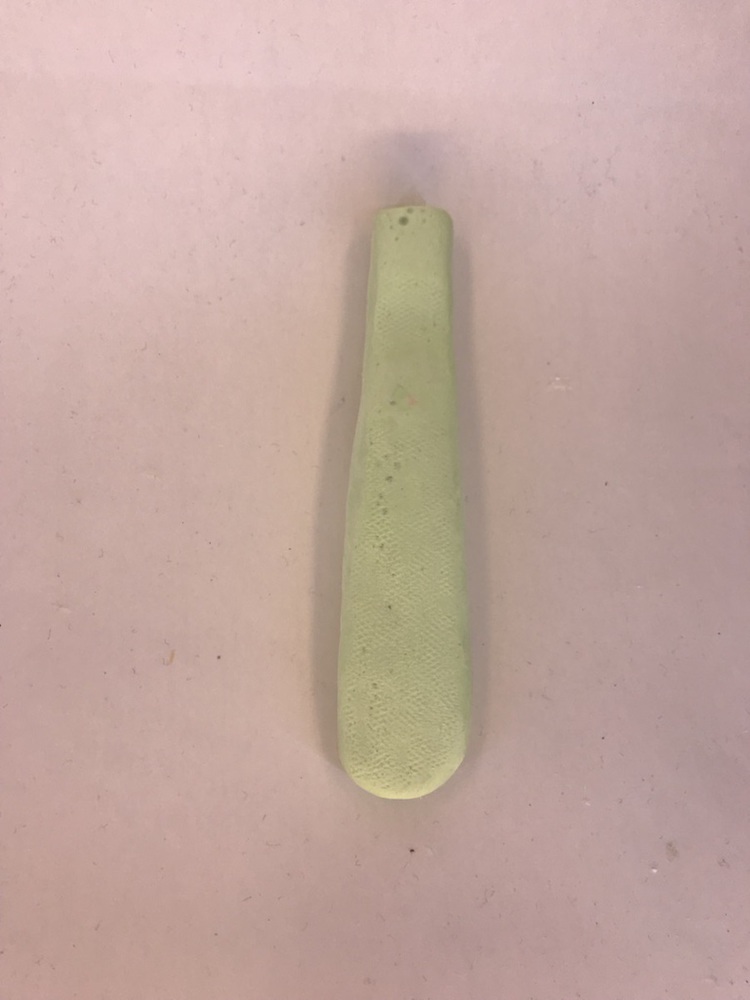
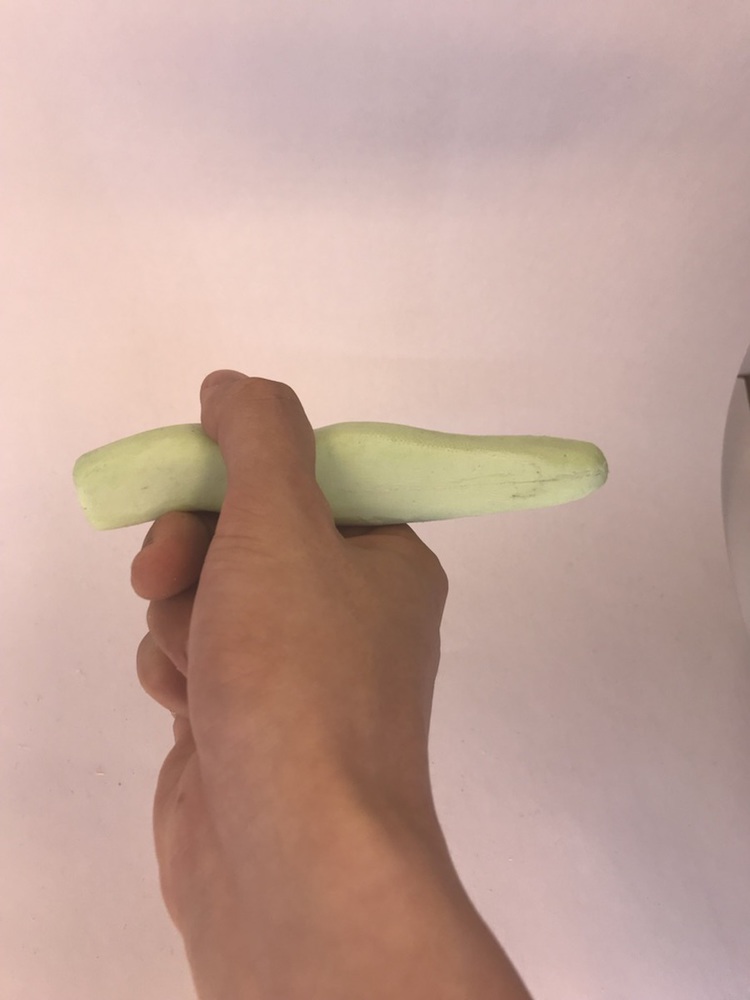
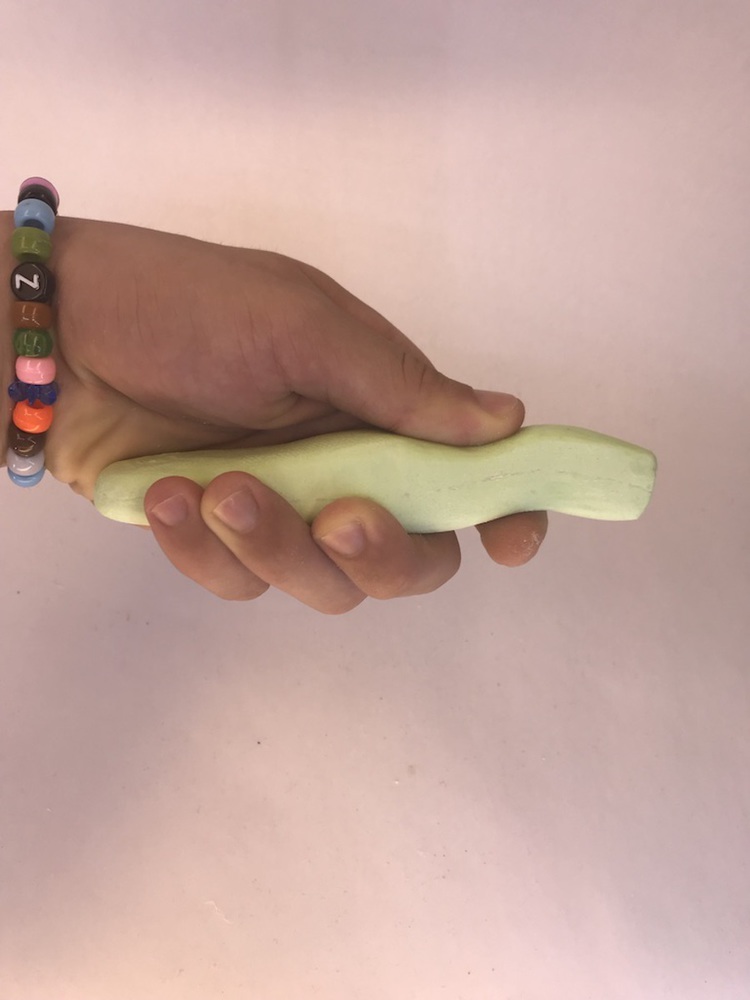
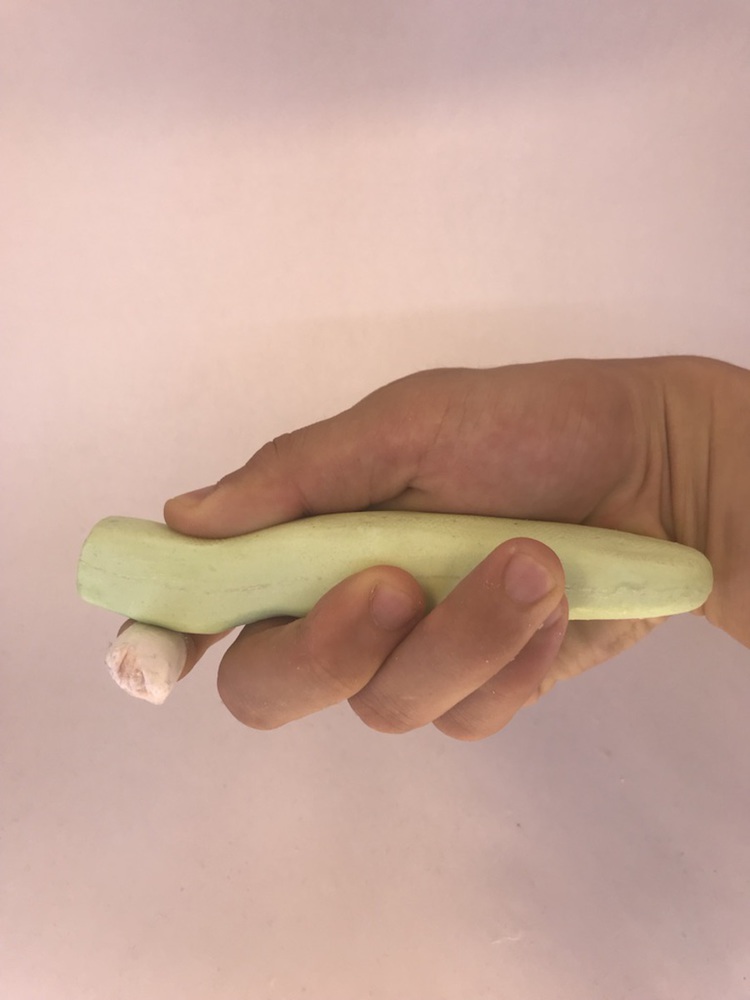
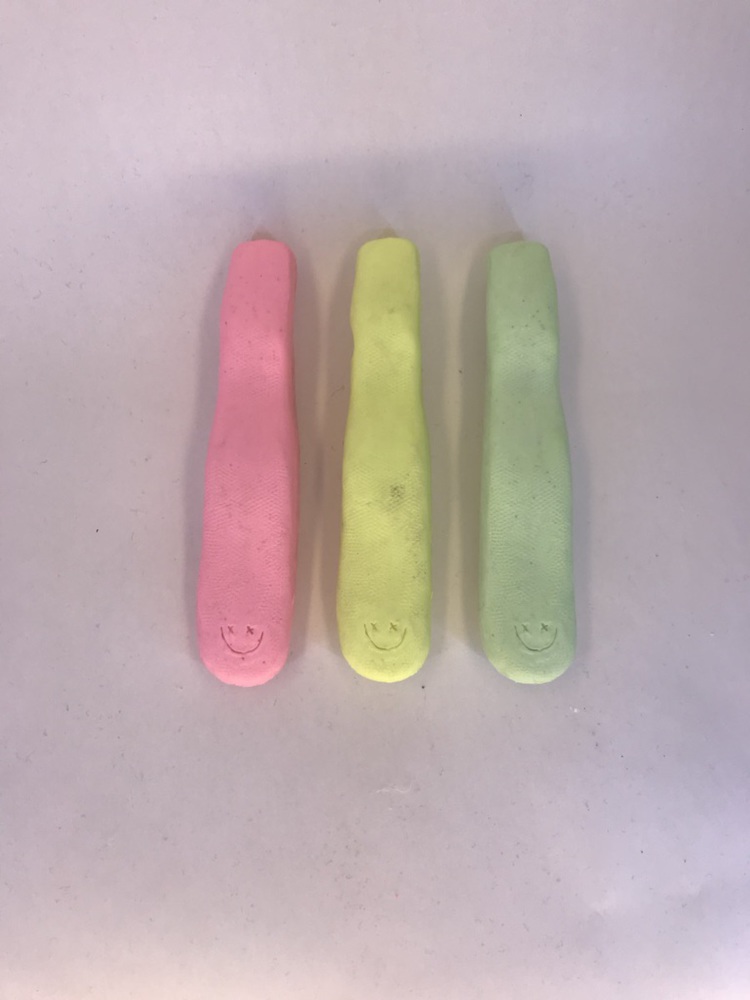
To view my final tri-grip clay model that was used to create my final product, click here: http://ideate.xsead.cmu.edu/gallery/projects/the-tri-grip.


Process


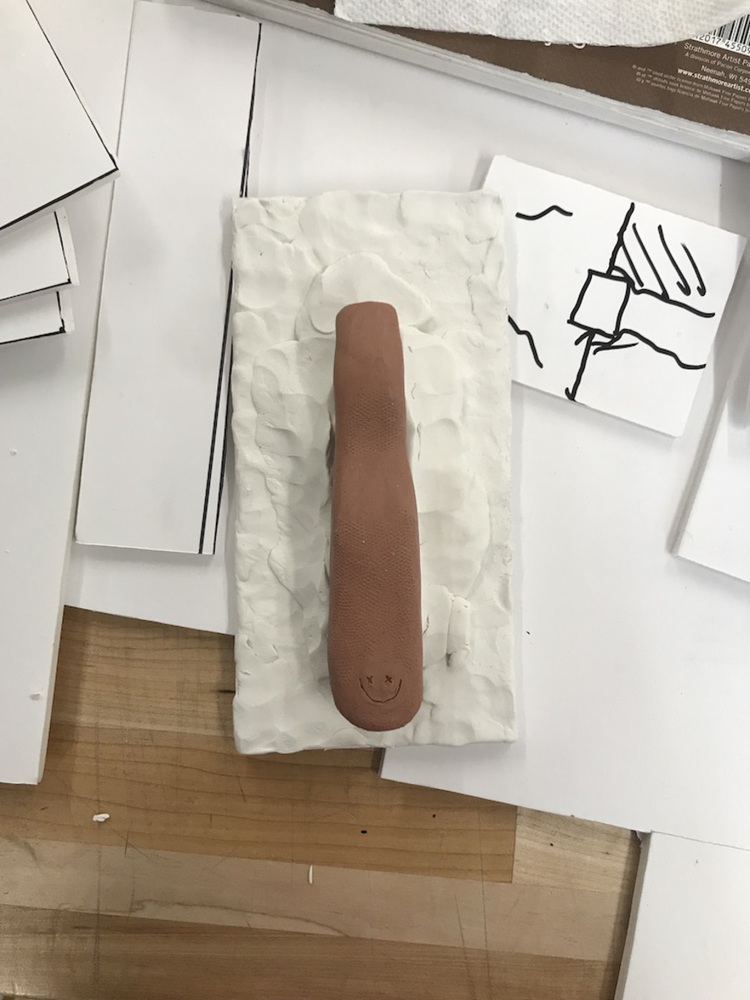
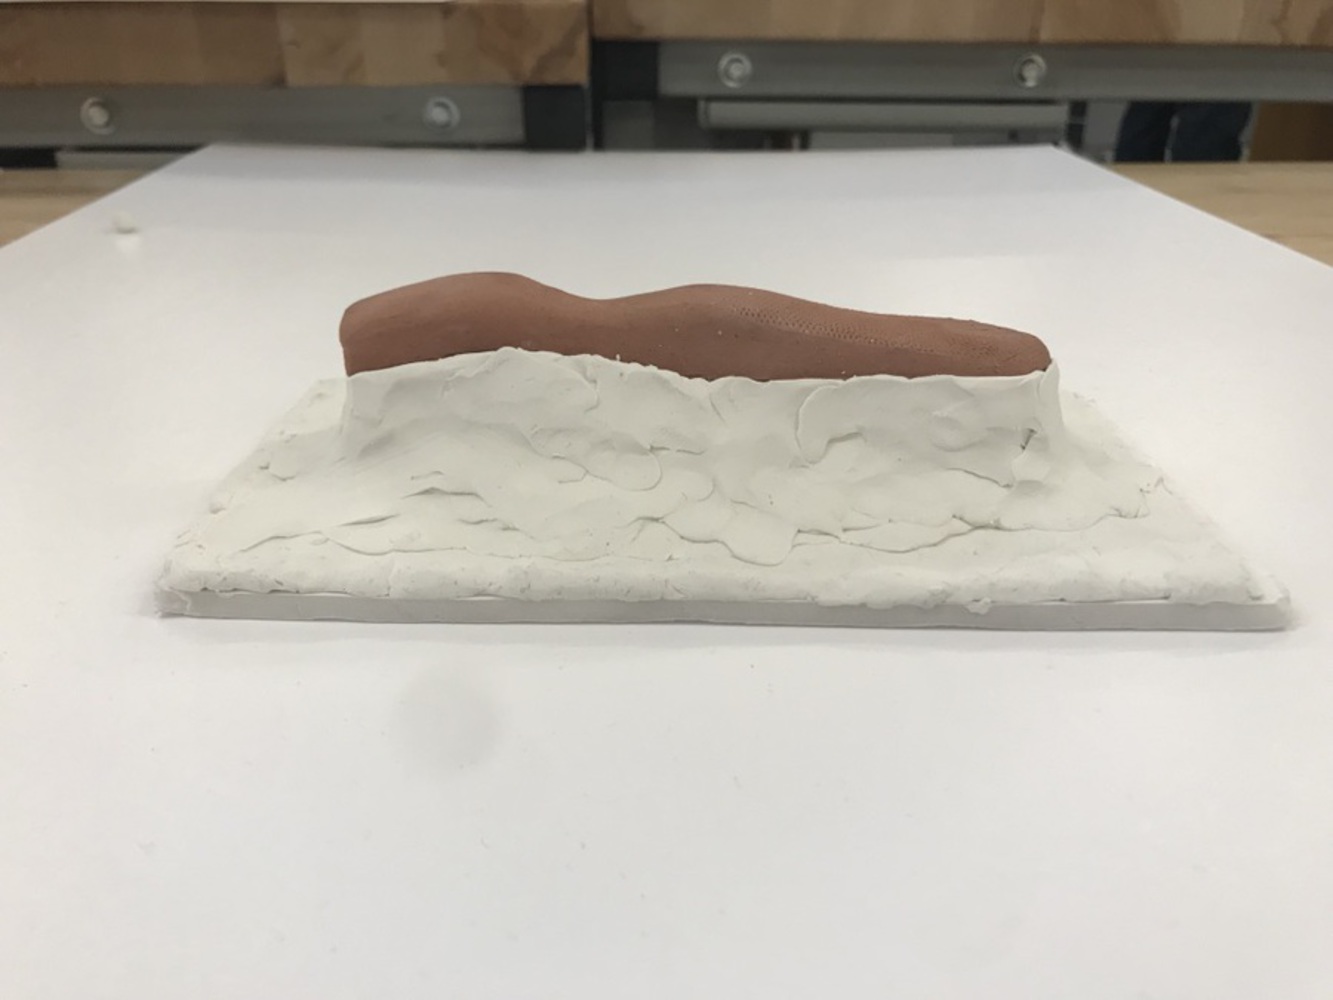
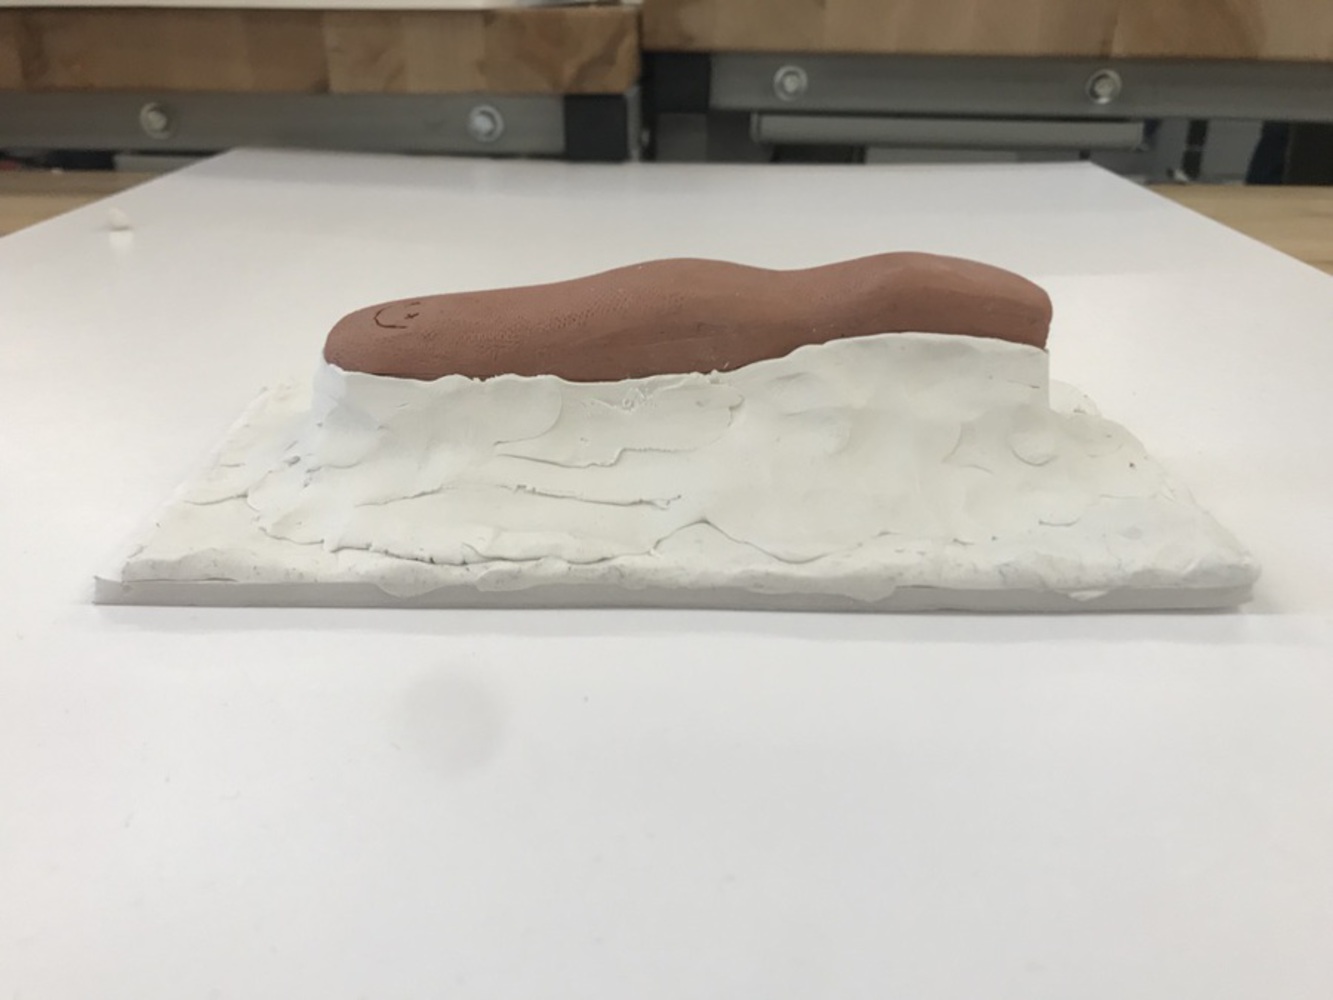
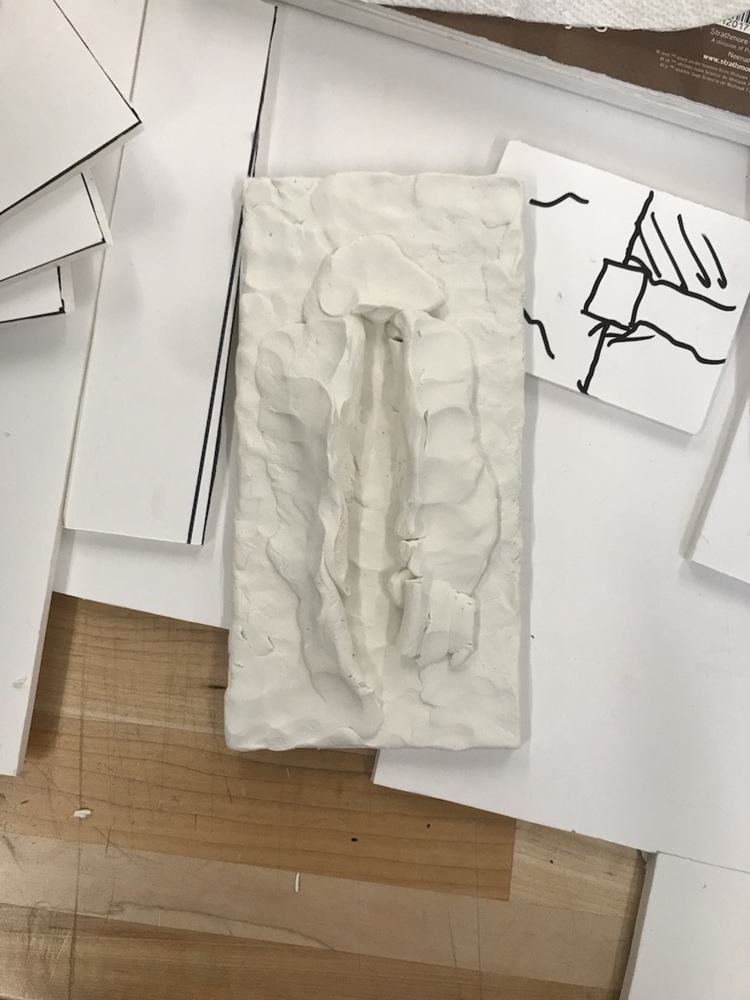
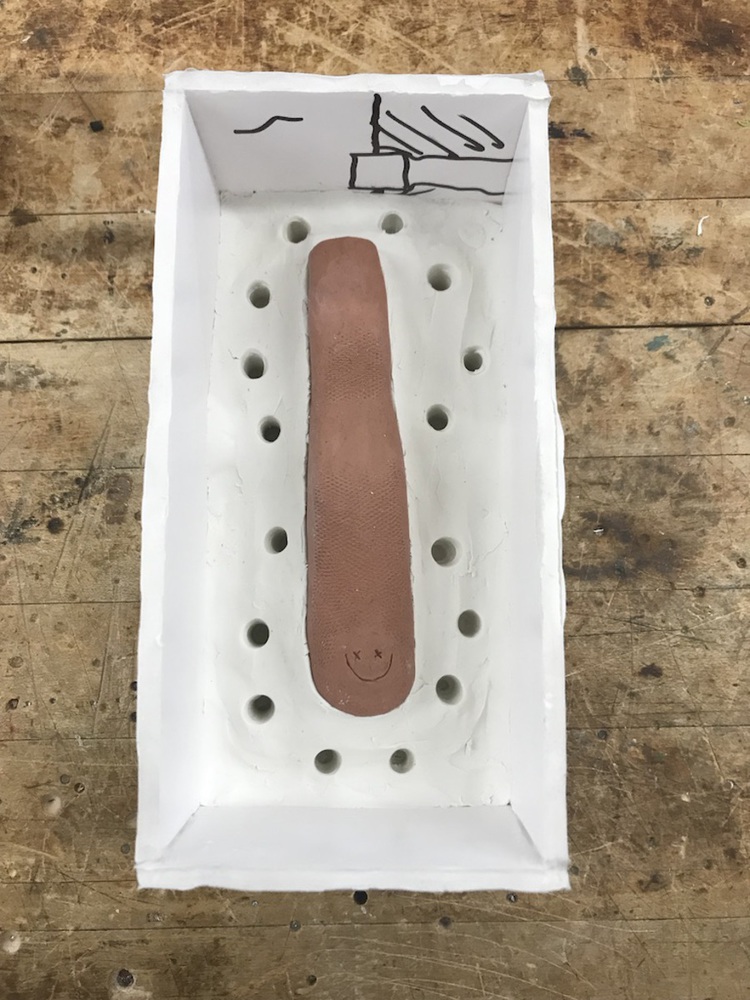
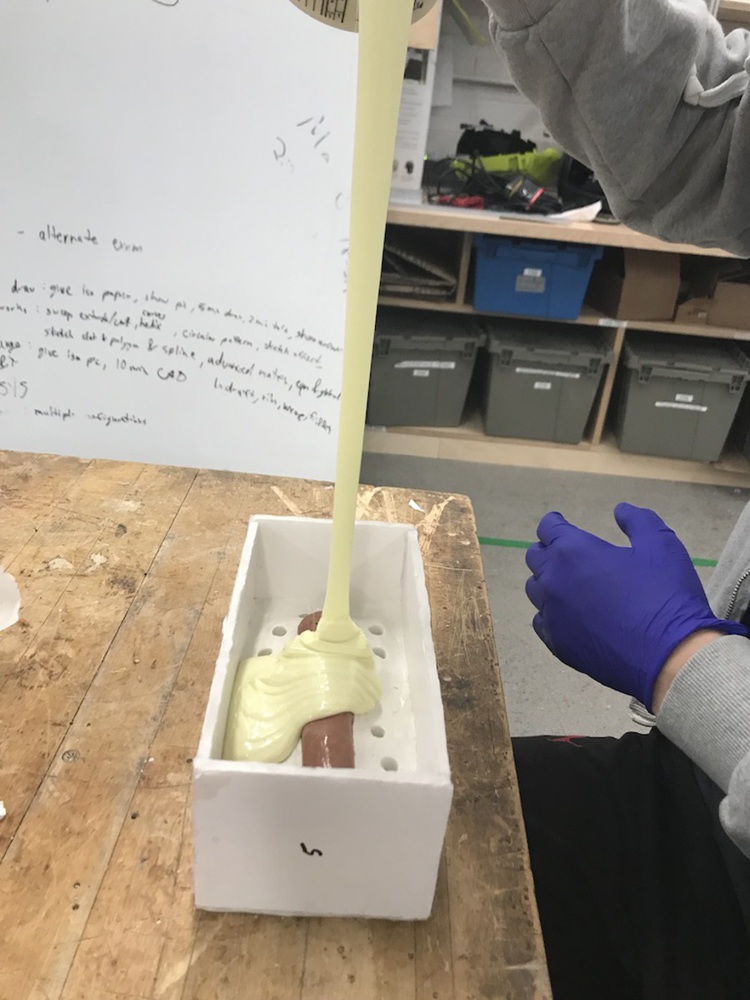
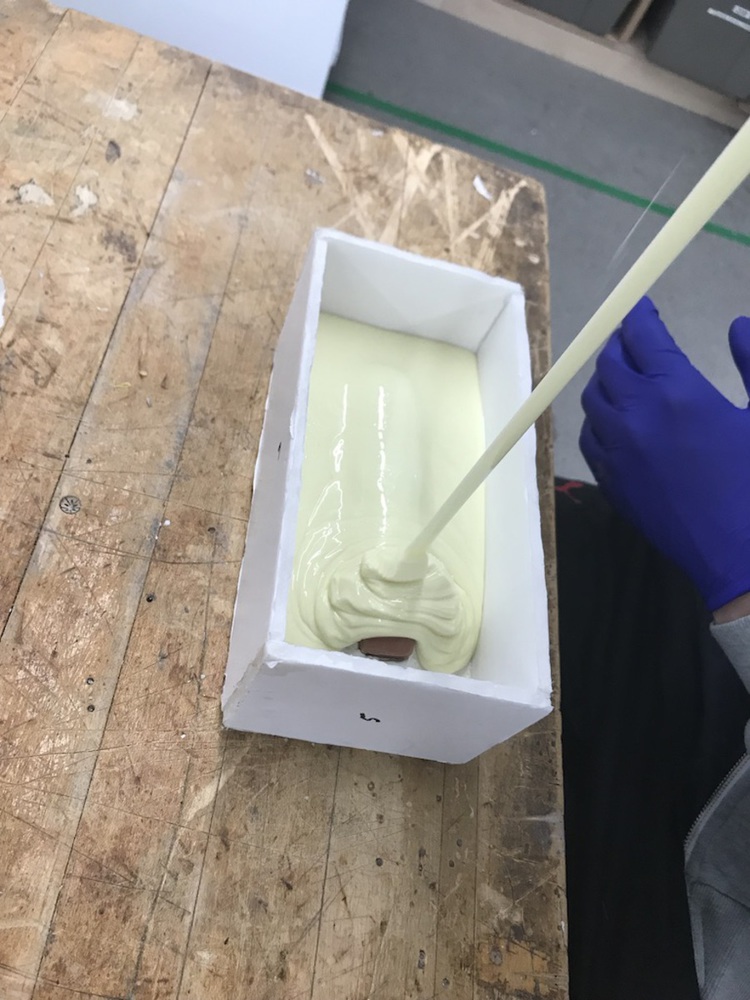
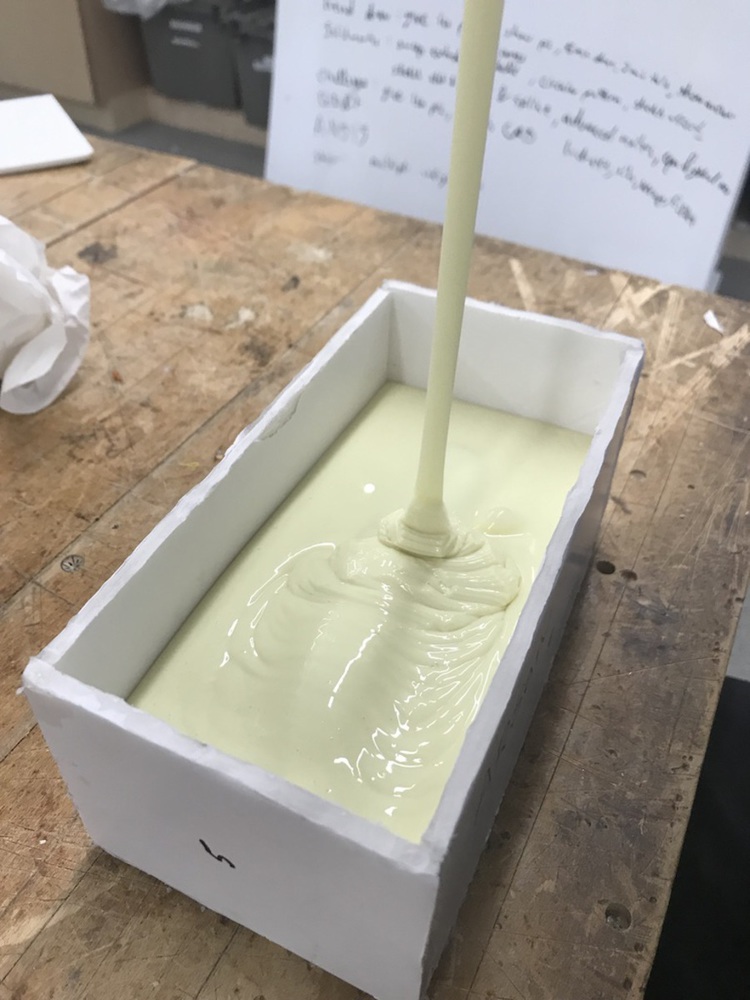
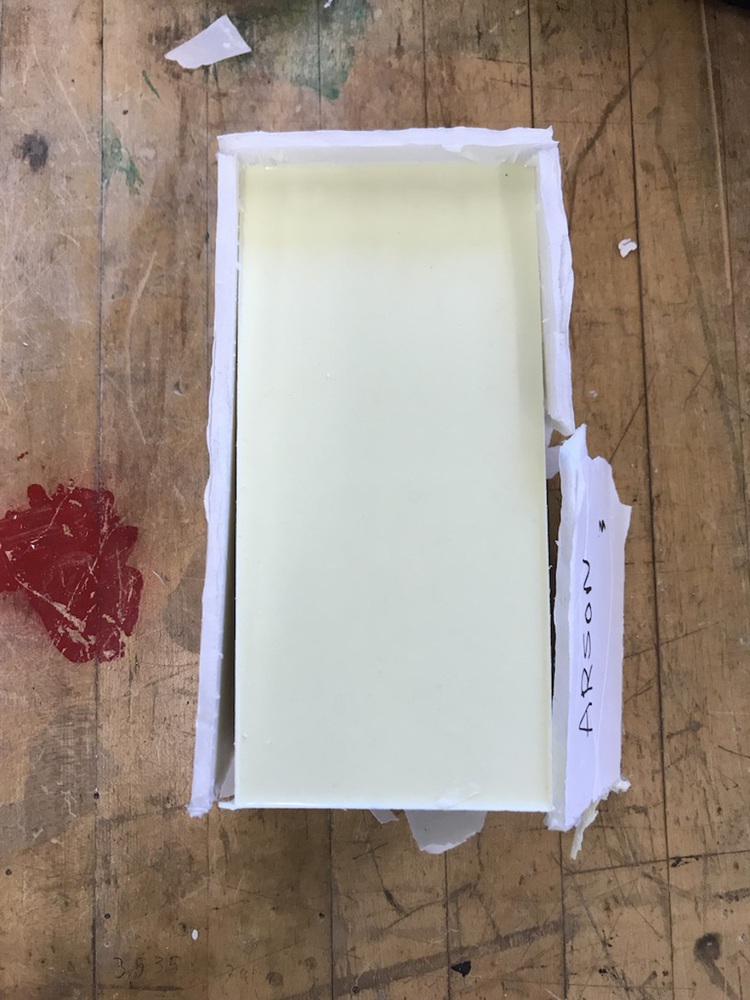
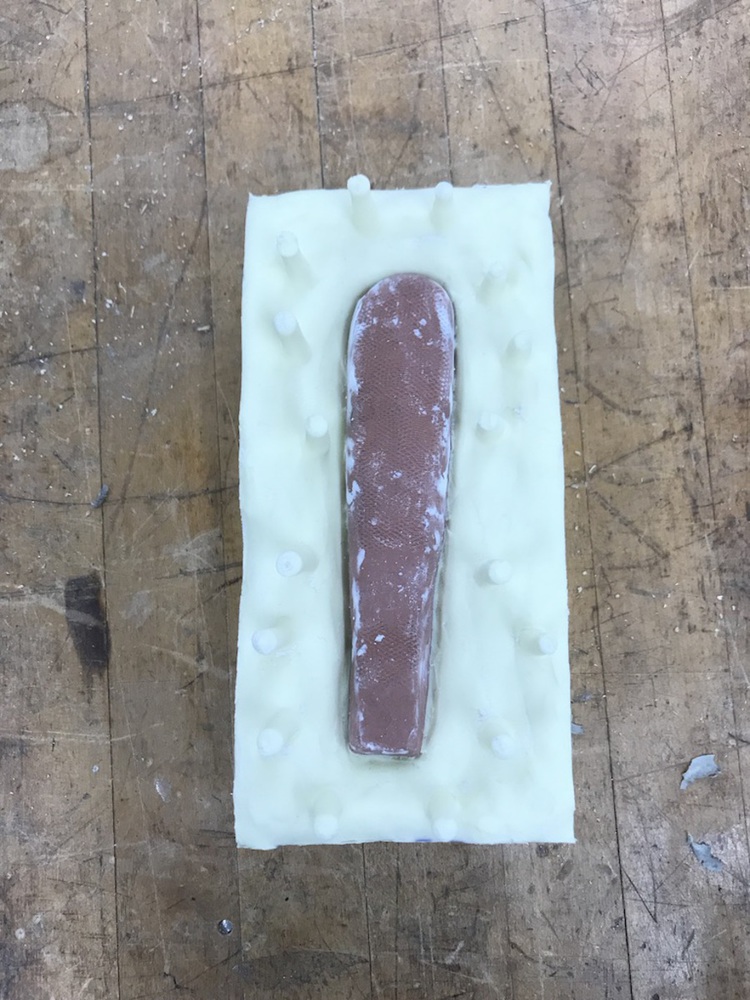
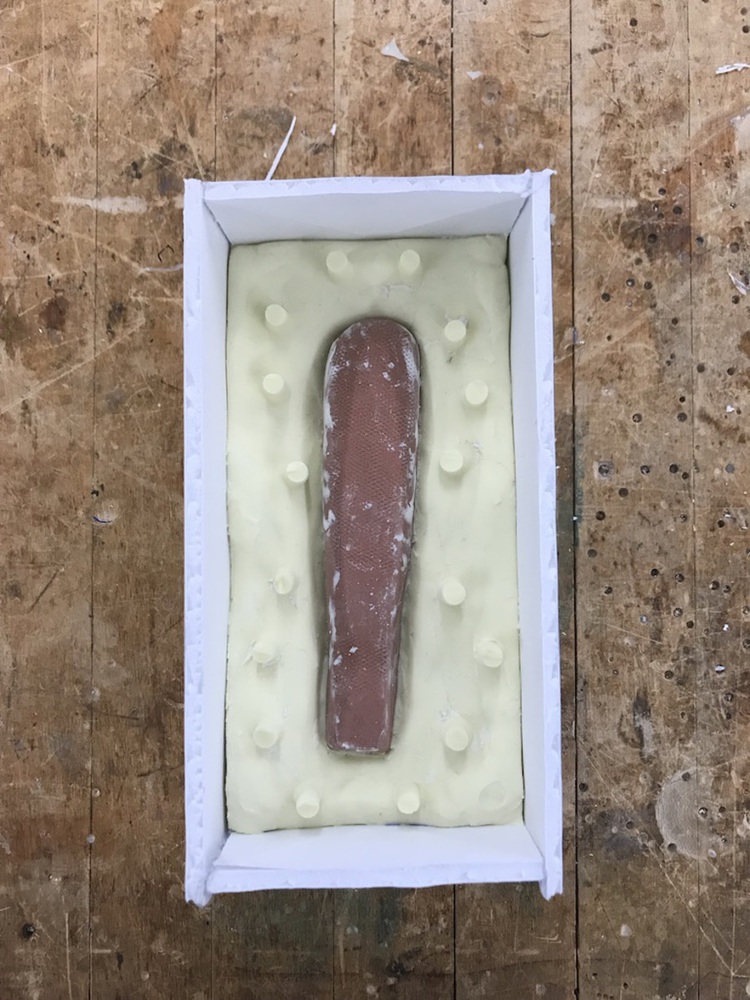
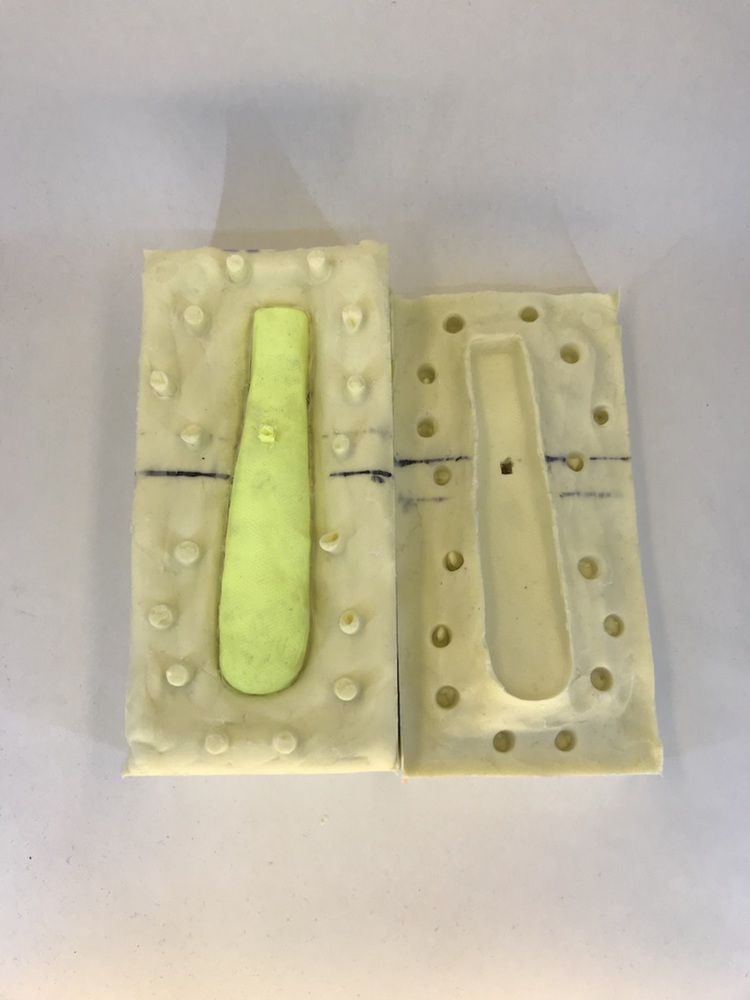
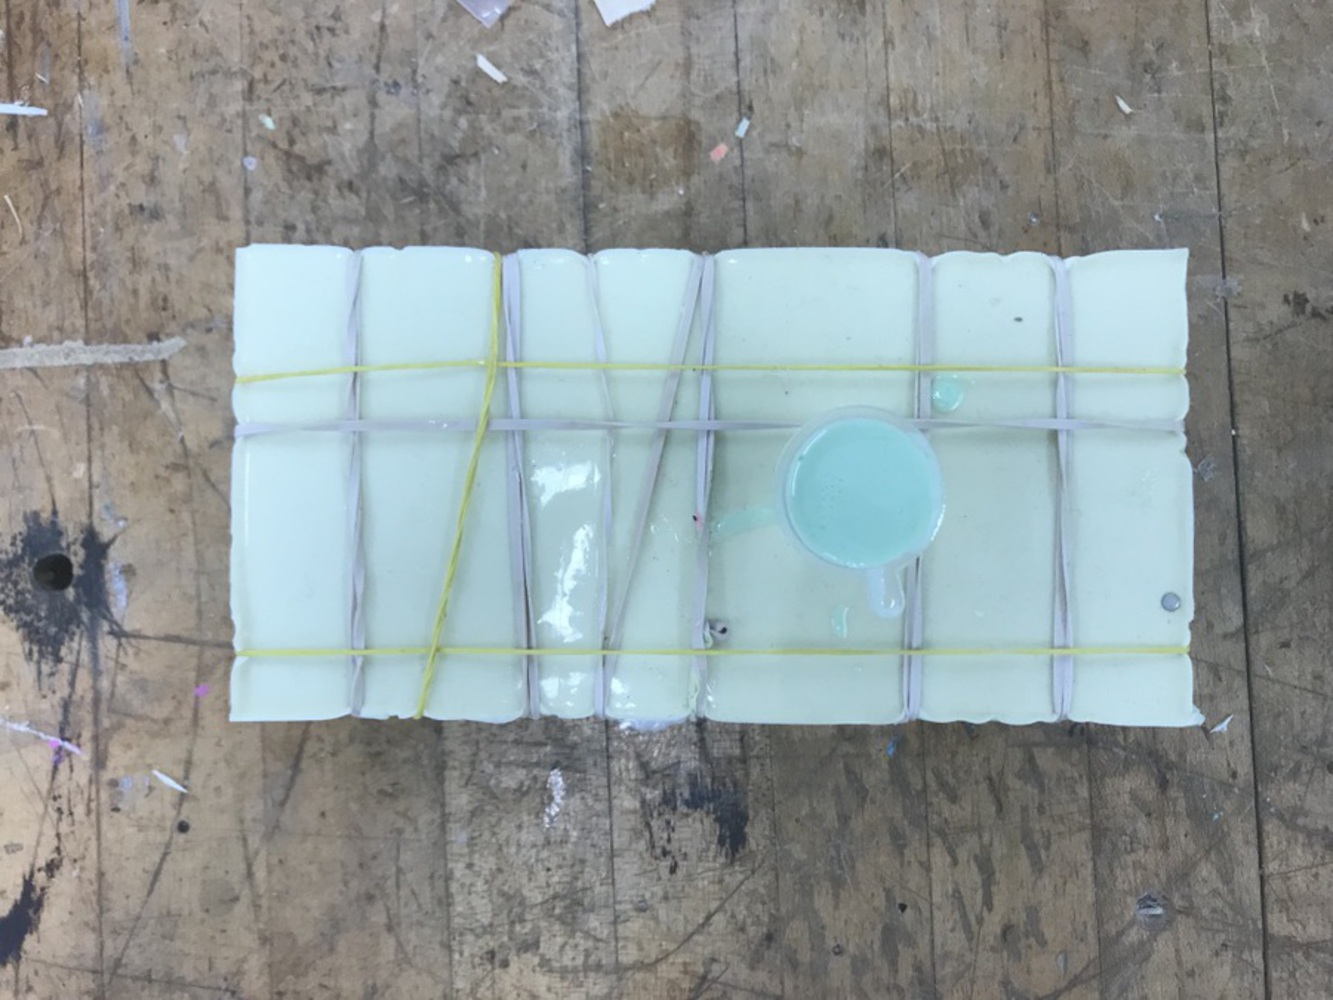
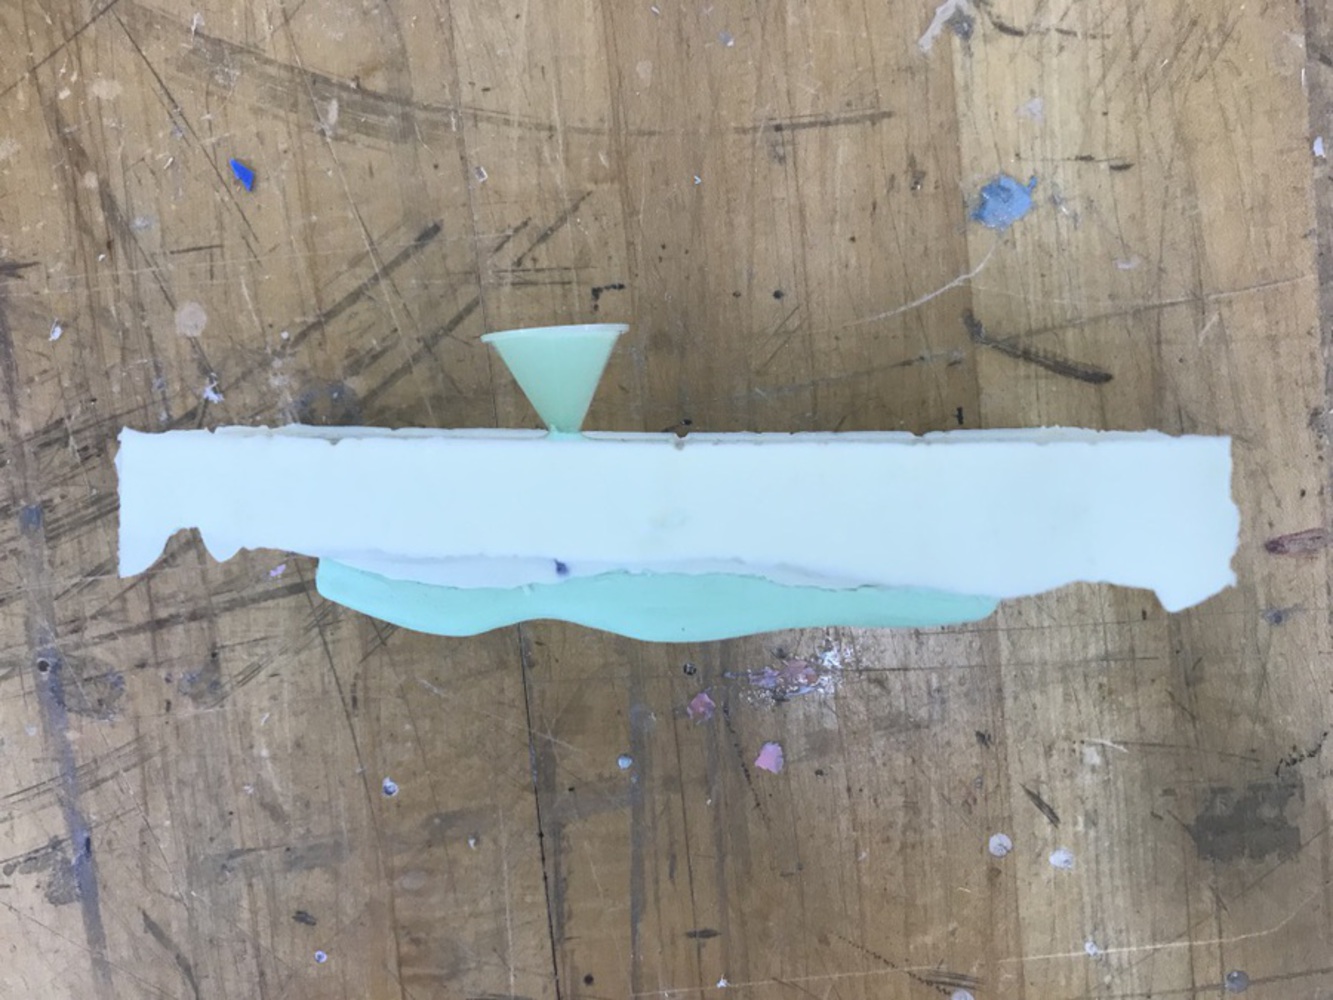
With my existing clay model of the tri-grip, I started by creating a base for my silicon mold using a softer, more malleable clay than the modeling clay used to create the clay model. I packed the white clay around my handle up to the dividing line between the bottom and upper halves so that I could pour the silicon mixture and initially create one half of my silicon mold. 

Unadjustednonraw thumb 43f.thumb
Show Advanced Options
Unadjustednonraw thumb 43d.thumb
Show Advanced Options
Unadjustednonraw thumb 440.thumb
Show Advanced Options
Unadjustednonraw thumb 43e.thumb
Show Advanced Options
Unadjustednonraw thumb 449.thumb
Show Advanced Options

Once I packed enough clay, I smoothed out the surface to create a nice even texture for my silicon mold. From there, I boxed in my clay with tight measurements and hot glue so that the silicon would not leak outside of the cracks while it was drying. I then used a pen to poke holes in the clay so that the two halves of the silicon mold could fit together and prevent leaks when creating my final product. 

Unadjustednonraw thumb 445.thumb
Show Advanced Options

Once I was confident that the silicon would not be able to leak outside of my box, I started to create my silicon mix, measuring how much I would need by volume. After thoroughly mixing, I sprayed an anti-stick spray over my clay parts and poured the first half of my silicon mold. 

Unadjustednonraw thumb 448.thumb
Show Advanced Options
Unadjustednonraw thumb 447.thumb
Show Advanced Options
Unadjustednonraw thumb 44d.thumb
Show Advanced Options
Unadjustednonraw thumb 44e.thumb
Show Advanced Options
Unadjustednonraw thumb 450.thumb
Show Advanced Options
Unadjustednonraw thumb 45b.thumb
Show Advanced Options
Unadjustednonraw thumb 457.thumb
Show Advanced Options
Unadjustednonraw thumb 45a.thumb
Show Advanced Options

I returned the next day after the first half of my mold finished drying and began to take apart my box. I then recreated the measurements of my previous box so that I could immediately begin creating the second half of the mold, which would, if done correctly, create a perfect mold of my tri-grip. 

One of the issues I ran into, however, was that parts of the white clay used to create the base for my first pour stuck to my tri-grip model design, adding clay parts that I did not want. To fix this, instead of attempting to remove the small bits of white clay, I shaped them to be a part of my grip and used my clay modeling kit to recreate the textured grip that was essential to my final product's design. 

From there, I mixed another measurement of silicon and started pouring for the second half of my mold. 

Unadjustednonraw thumb 464.thumb
Show Advanced Options
Unadjustednonraw thumb 45f.thumb
Show Advanced Options

I returned the next day and found that for the most part, the silicon created the shape of my design nicely. However, it would be hard to tell without first testing how accurately it could recreate my design. 

To start pouring the resin mix, I first secured my silicon mold with rubber bands to prevent the resin from leaking between the cracks of my two halves. Then I determined where to puncture a hole in my mold, which is where the resin would be poured. Because my design was covered in textured grip, which I didn't want to mess with, I chose a smaller area around the middle where the smooth texture of the grip would be. 

Unadjustednonraw thumb 462.thumb
Show Advanced Options
Unadjustednonraw thumb 461.thumb
Show Advanced Options
Unadjustednonraw thumb 460.thumb
Show Advanced Options

After measuring out how much resin I would need, I then placed a small funnel inside and began to pour. For my first prototype, I poured the resin until the funnel was filled and no more bubbles visibly surfaced to the top. However, the next day, when I pulled out the resin prototype, I realized I made a mistake by not adding enough. 

Unadjustednonraw thumb 47d.thumb
Show Advanced Options

Because my funnel was placed in an area that could be classified as a "valley" and not a "hill", the "hill" parts of my resin prototype had formed giant bubbles where the rest of the resin should have been poured. I also did not use a pressure chamber while the resin dried, which is why small bubbles formed around the entire backside of the grip, which created a textured grip, but defeated the purpose of my design's carefully placed textured areas. 

Unadjustednonraw thumb 46f.thumb
Show Advanced Options
Unadjustednonraw thumb 47b.thumb
Show Advanced Options
Unadjustednonraw thumb 466.thumb
Show Advanced Options

Another flaw I found later in my silicon mold was that the area for the spatula to enter, which I'll call the "mouth", did not fully form, allowing resin to fill what should essentially have been an empty space. 

Unadjustednonraw thumb 475.thumb
Show Advanced Options

When creating my second resin prototype, I used the pressure chamber this time and tilted my mold to fill all crevices of the mold. When I first looked at it, it looked like a perfect recreation with one small flaw: a small bubble that formed on its side, which told me that I had again not poured enough resin. Upon taking a closer look, my resin had some soft spots and it was actually hollow in these areas because I had not poured enough. 

Unadjustednonraw thumb 483.thumb
Show Advanced Options
Unadjustednonraw thumb 474.thumb
Show Advanced Options
Unadjustednonraw thumb 47a.thumb
Show Advanced Options

So for my final rendition, I decided I needed to more carefully pour my resin, tilt my silicon mold, and triple-check that it definitely could not possibly fit any more resin than I could pour. 

Unadjustednonraw thumb 471.thumb
Show Advanced Options
Unadjustednonraw thumb 484.thumb
Show Advanced Options
Unadjustednonraw thumb 468.thumb
Show Advanced Options
Unadjustednonraw thumb 46d.thumb
Show Advanced Options
Unadjustednonraw thumb 477.thumb
Show Advanced Options
Unadjustednonraw thumb 472.thumb
Show Advanced Options

My final product came out how I wanted with the exception of some small air bubbles. However, these bubbles surfaced on the textured parts of my grip and did not affect my design's purpose. There were also no hollow areas because I had finally poured enough resin to cover the entire volume of my mold. 

Unadjustednonraw thumb 46c.thumb
Show Advanced Options
Unadjustednonraw thumb 47c.thumb
Show Advanced Options
Unadjustednonraw thumb 476.thumb
Show Advanced Options

With my final resin pour finished, I just needed to fix some small imperfections with my resin design. I used a filer to sand away at the fixture where I poured my resin and to smooth out the sides and smoothly textured areas of my grip. 

Ulovf7fqr3i007w vsxc g thumb 469.thumb
Show Advanced Options

Conclusion


I had a lot of fun bringing my clay model to life, and if I were to do this project again, I would have chosen a more convenient location to pour my resin, simply to avoid creating giant air pockets or hollow areas of my product. 

Drop files here or click to select

You can upload files of up to 20MB using this form.