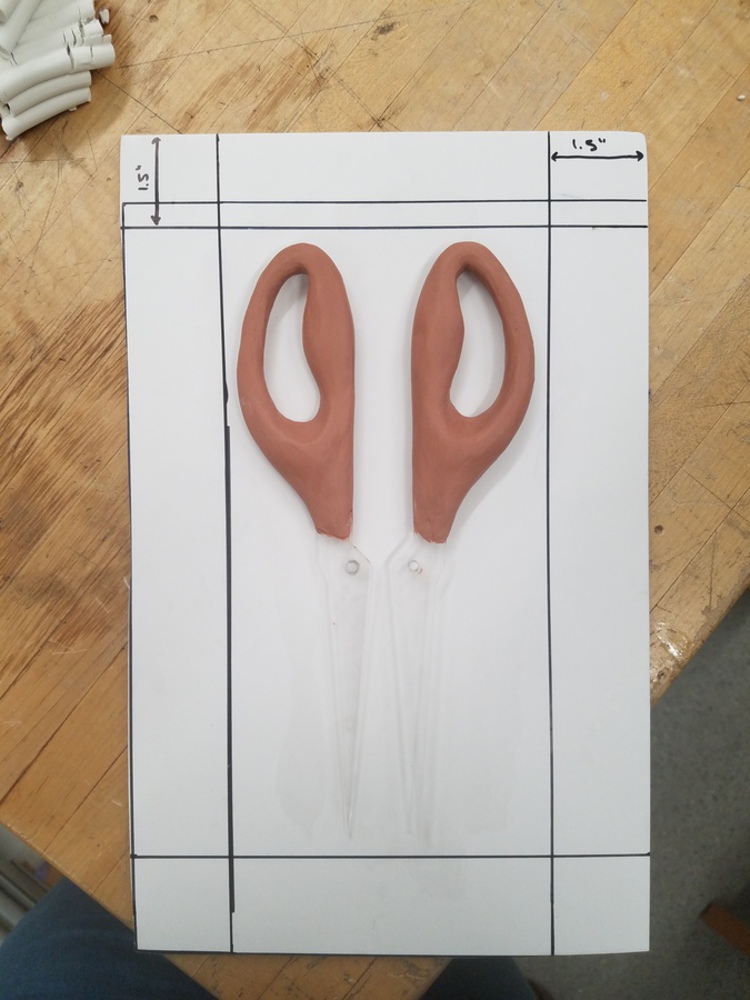
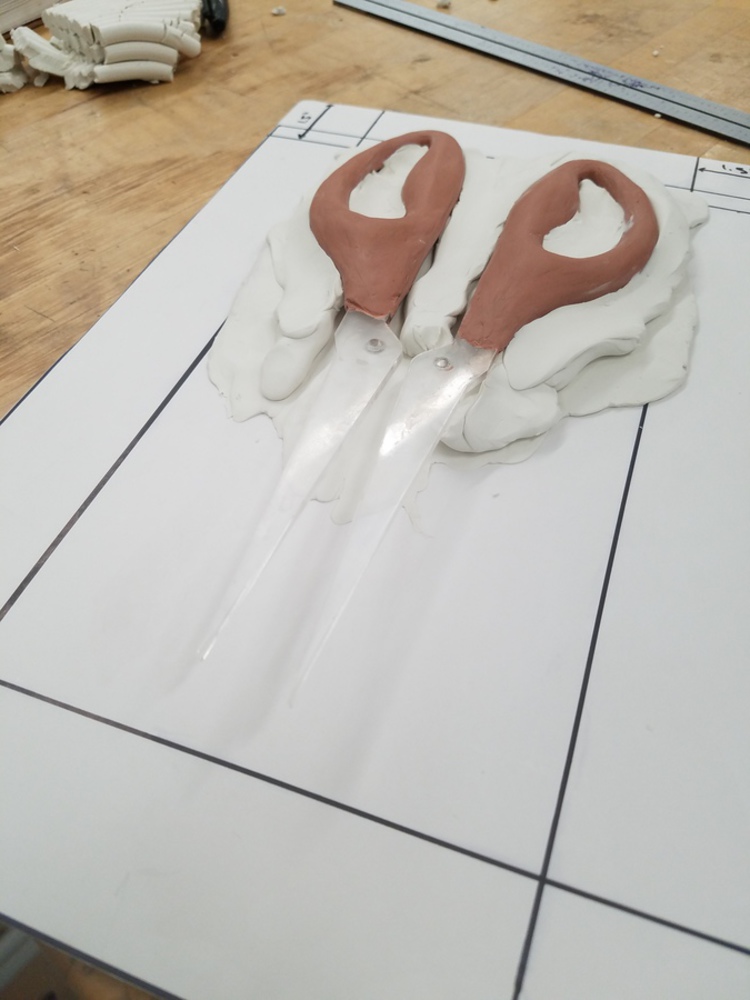
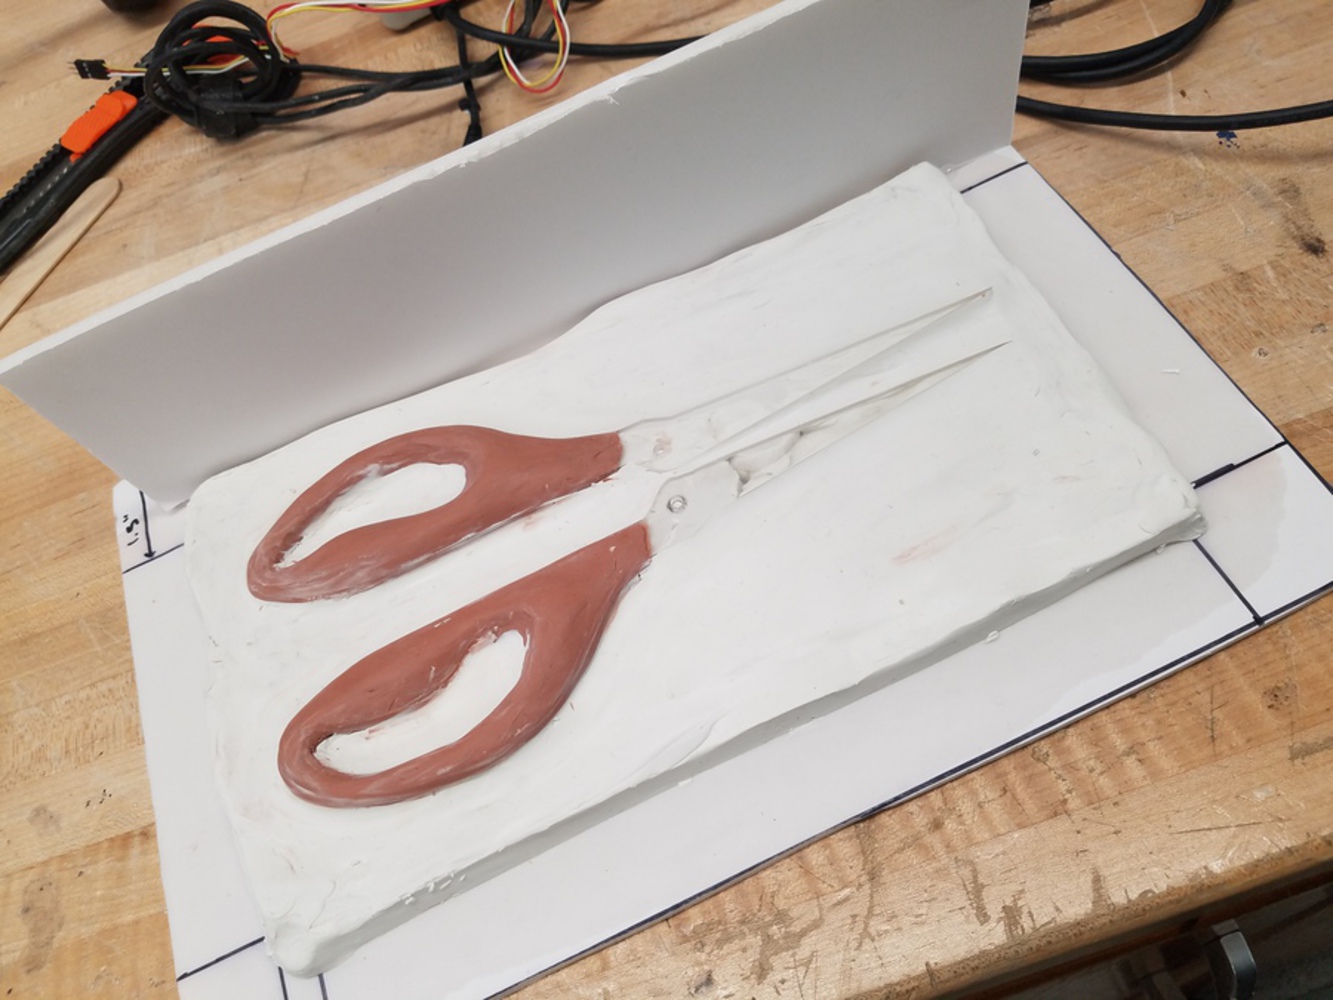
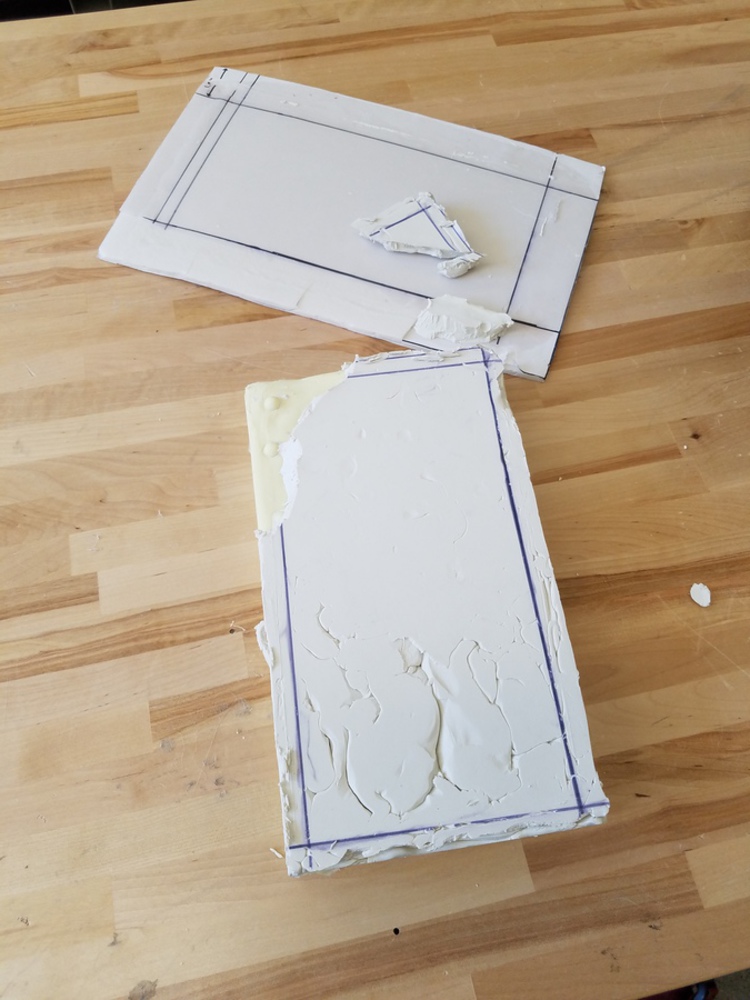
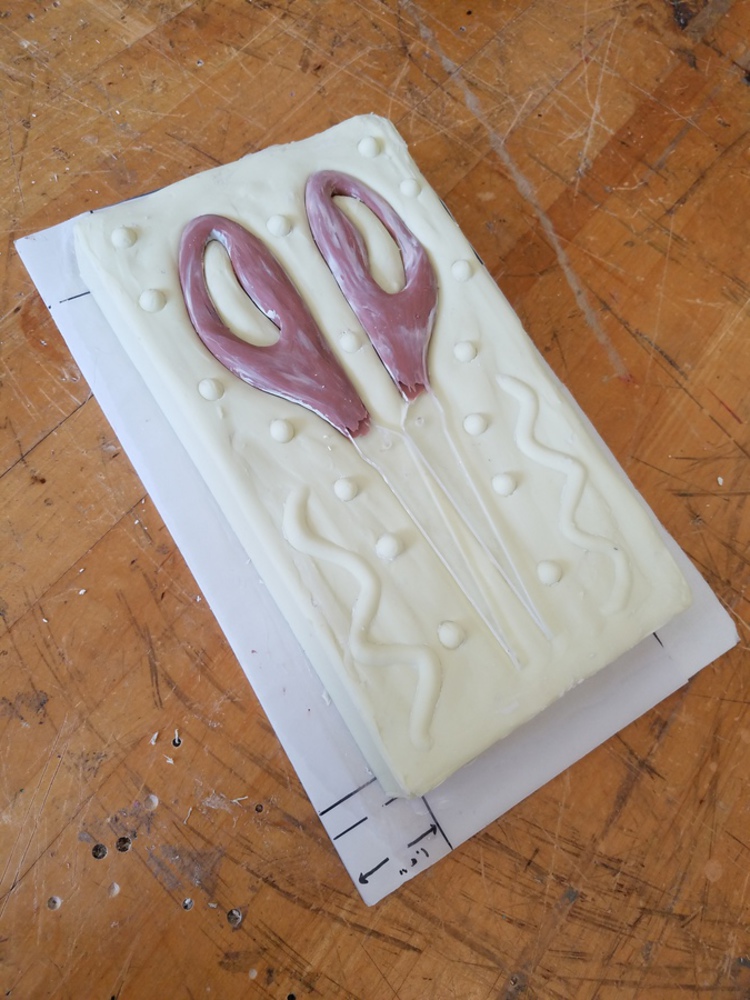
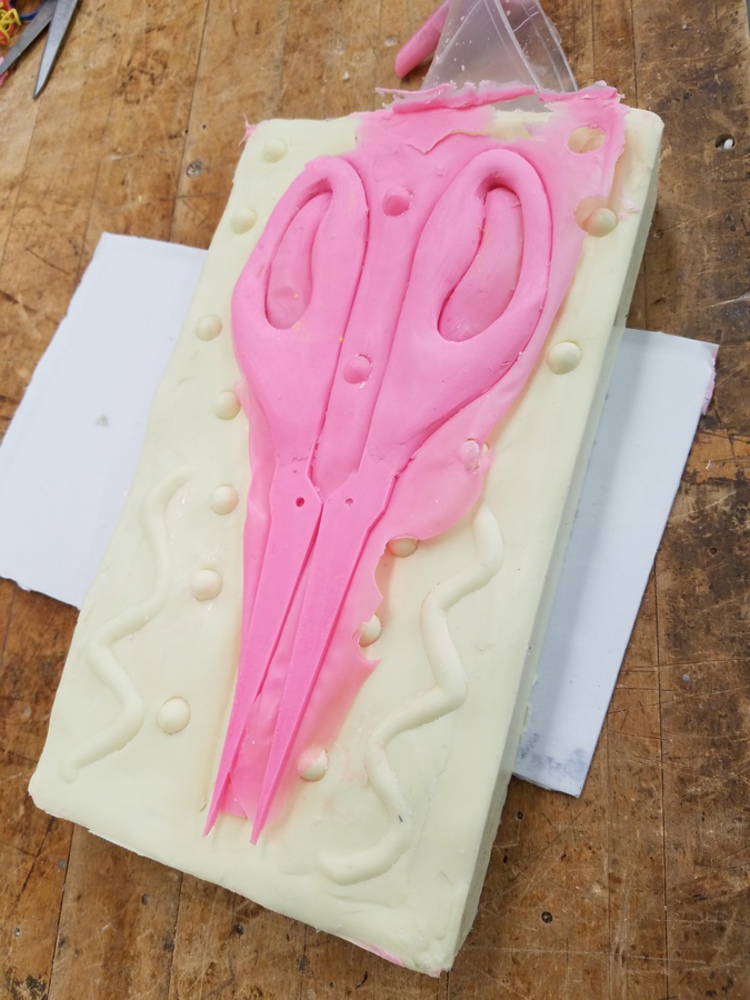
After smoothing out the features in the clay model of the scissors, I set up foam core to begin preparing to make a 2-part mold of them. To create a 2 part mold, I first lay down soft clay to cover up to half of the scissors.
Outcome
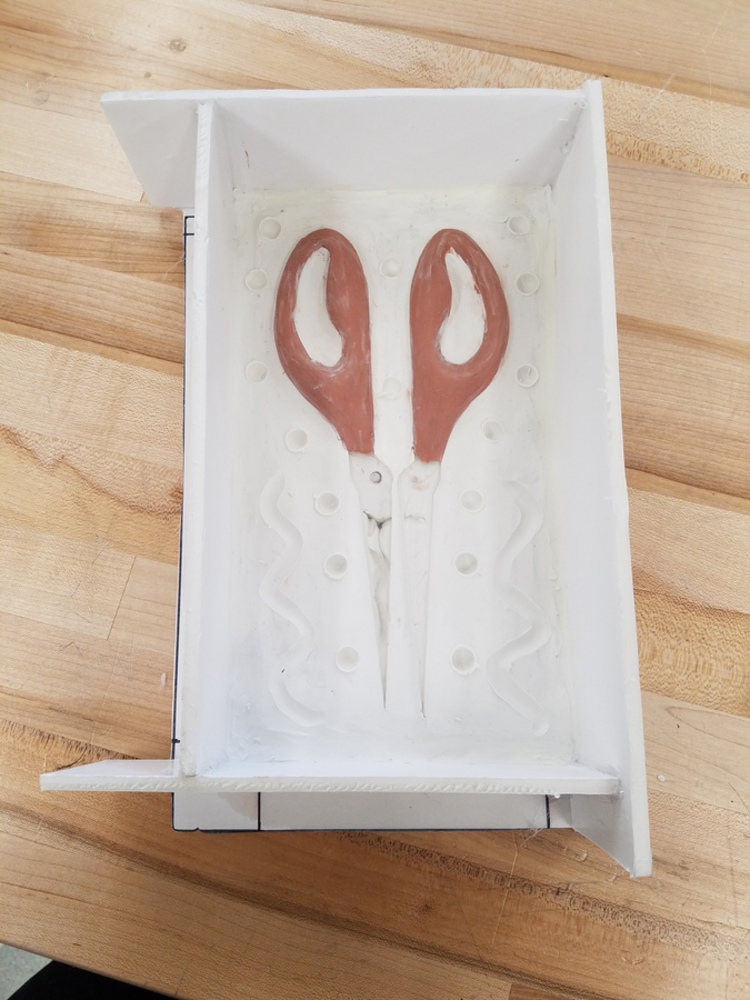
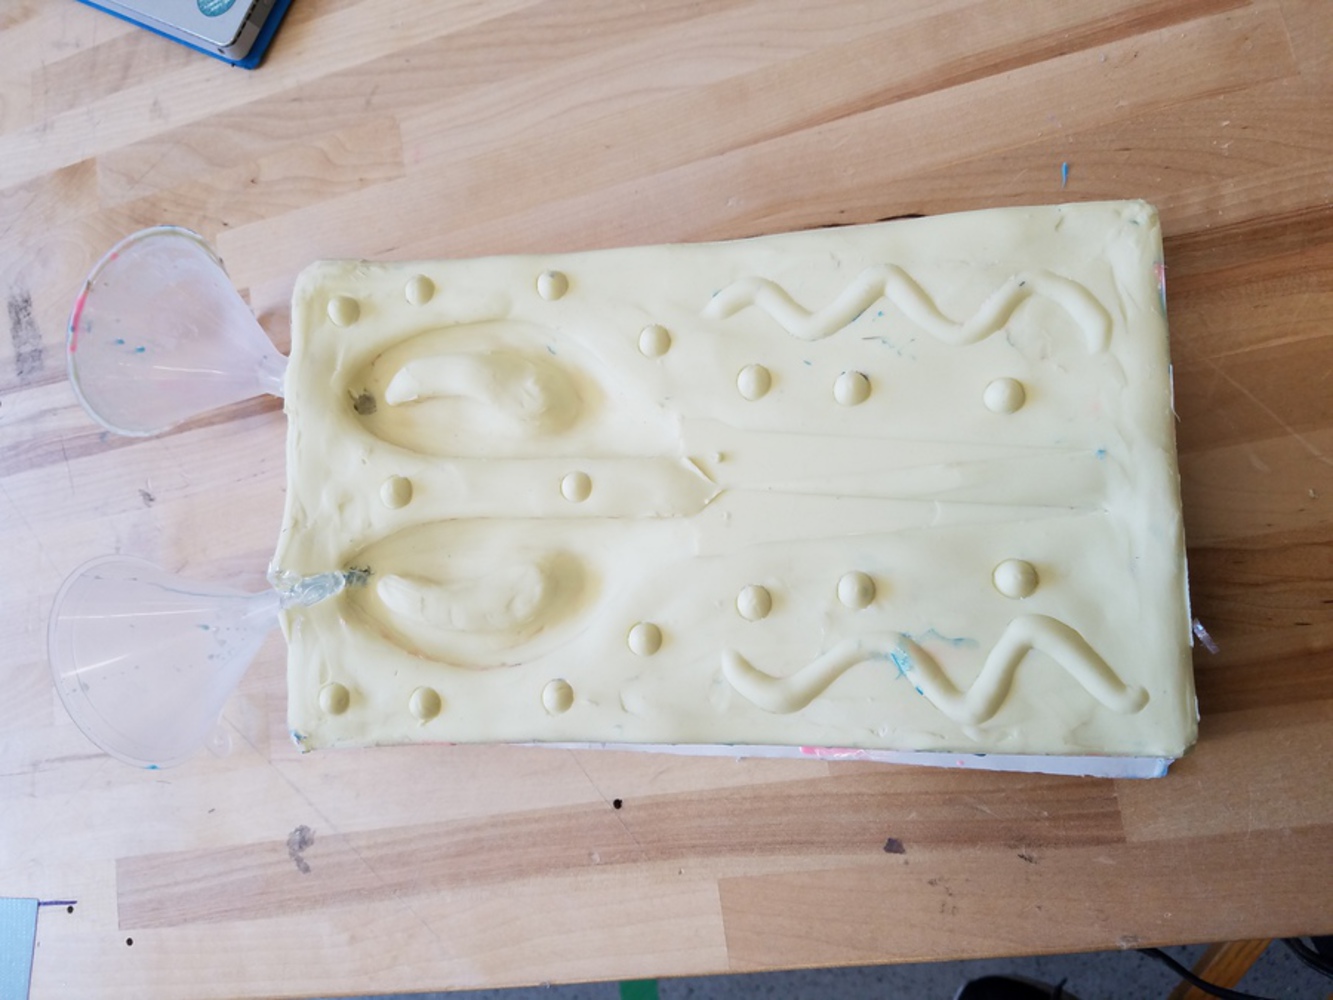
I poured a silicone mixture into the box and let it sit over night. Once the silicone hardened into a rubbery material, I broke open the box and removed the soft clay from the part. This left me with the first half of my 2 part mold, which I formed another box around and again filled with a silicone mixture.
Once my 2 part mold had been created, I needed to make pour holes for the resin to fill the mold. I put the pour holes at the top of the handles so that gravity would allow the resin would fill up the mold from the tip of the shears up to the top of the handles. I made two pour holes in order to create two separate shears that would be put together after being cast.
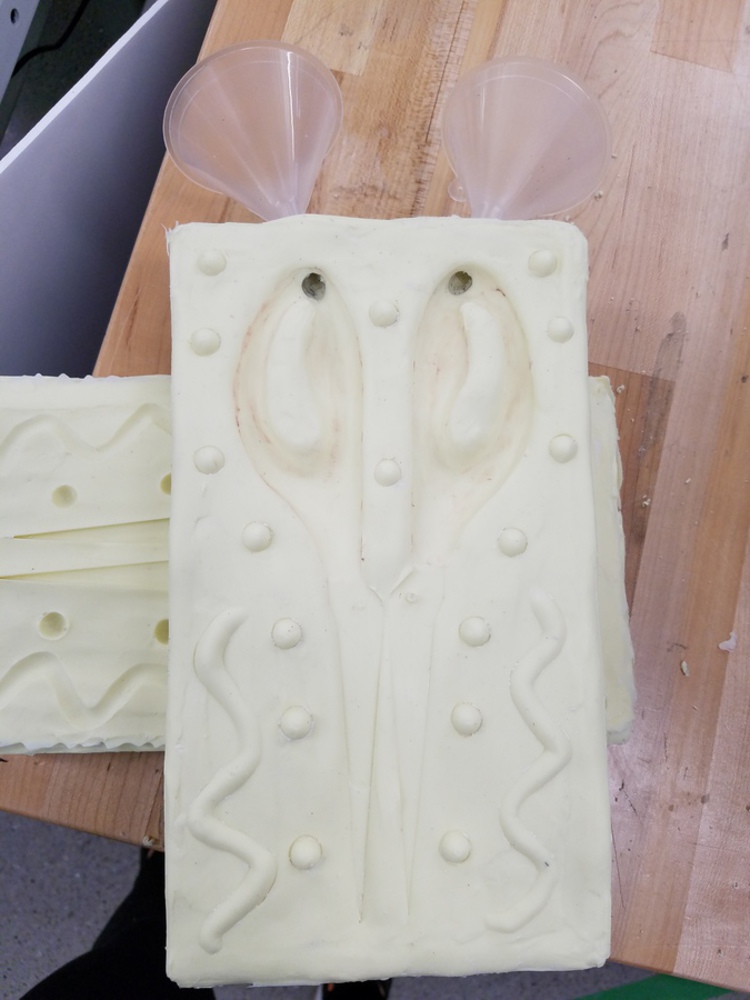
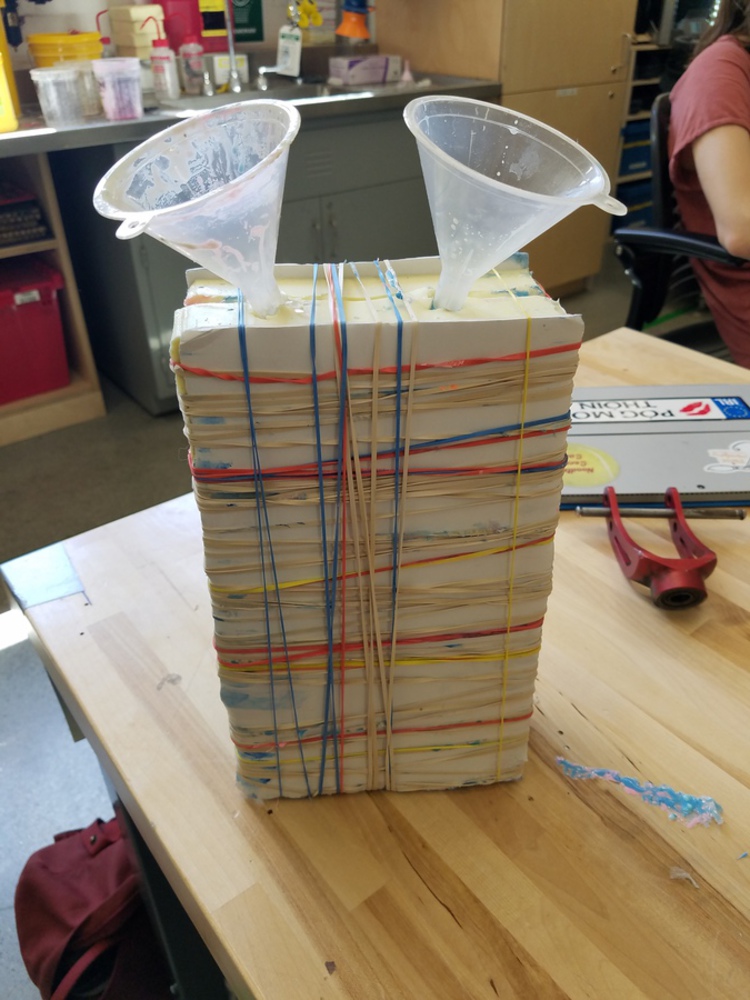
I experienced some problems with leaking. The mold leaked for two reasons, one was that I initially did not use enough rubber bands to hold the two parts tightly together. The other reason was that the funnels were so close to the edge of the mold that they tore the top of it a little bit, allowing some resin to leak out the top. I fixed this problem in my last mold by hot gluing the tear. In both cases, the resin leaked out the top and, therefore, wasn't a huge issue once it had settled into the mold.
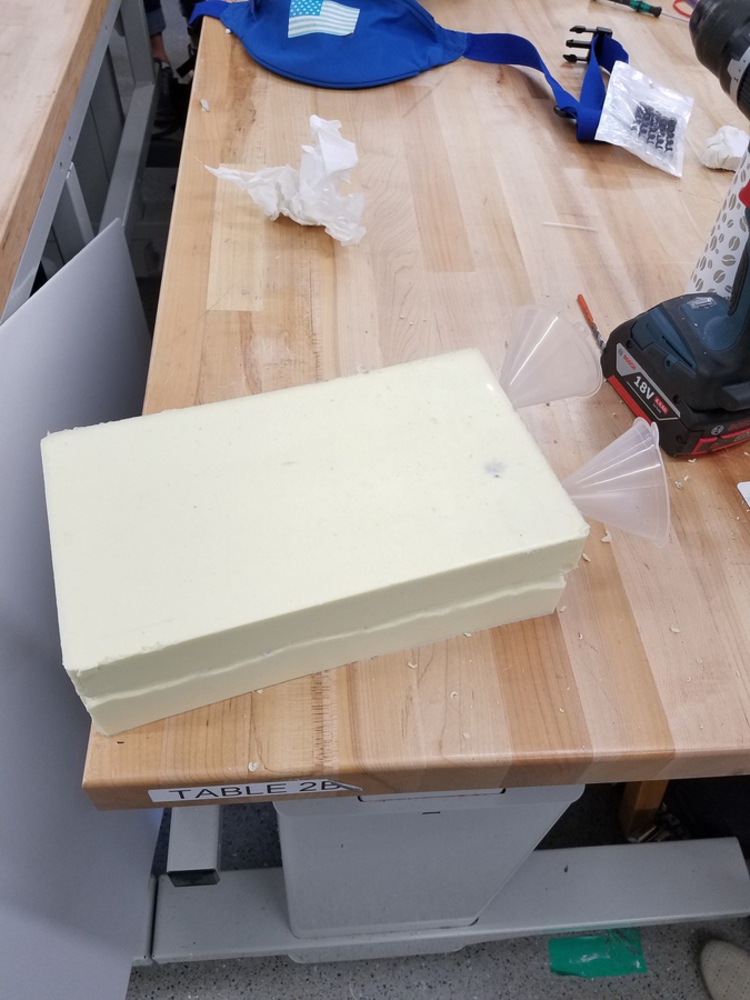
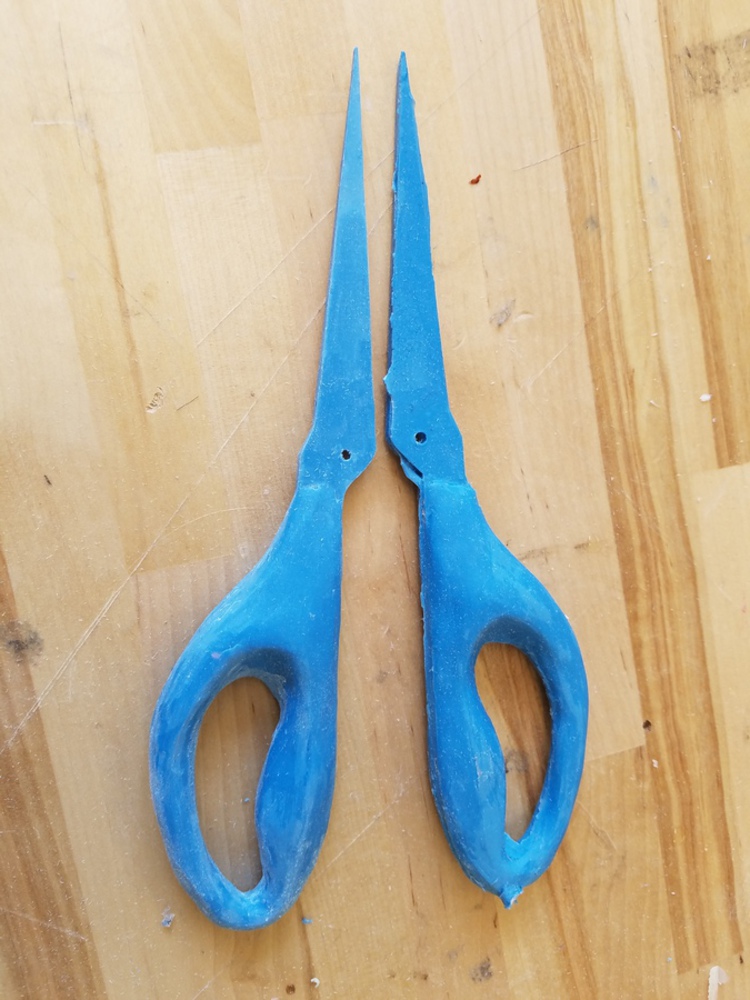
For my final product, I created 3 molds: 1 blue, 1 pink, 1 orange. I decided to use a dremel to smooth out the edges of my mold as the thinner ergonomic features of the scissors were difficult to manipulate using sand paper. The photo of the two halves of the blue mold shows the comparison of a finished part (left) and one that hasn't been sanded down at all (right).
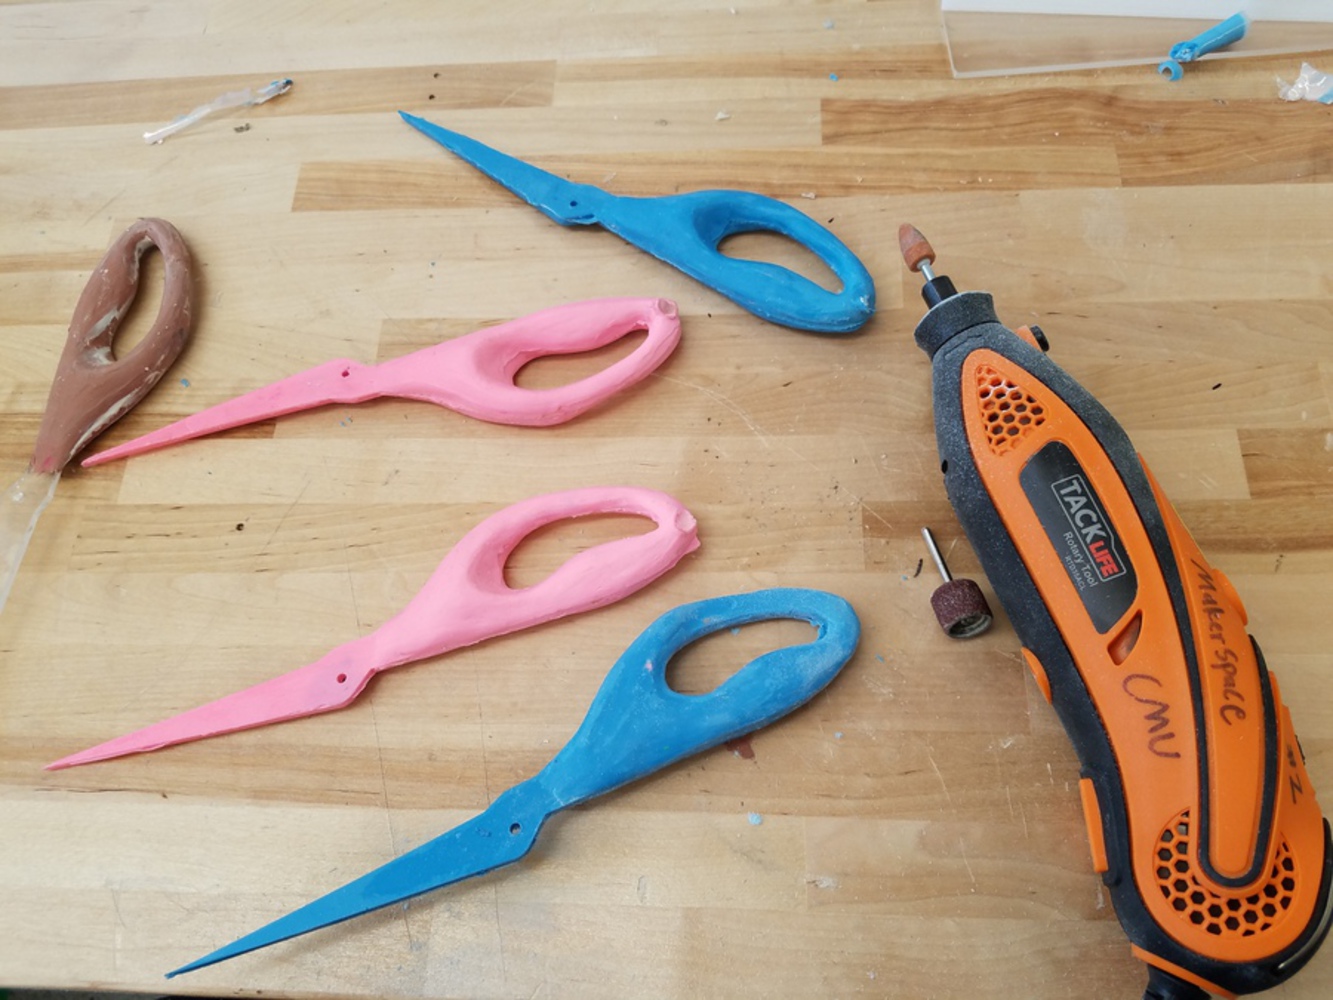
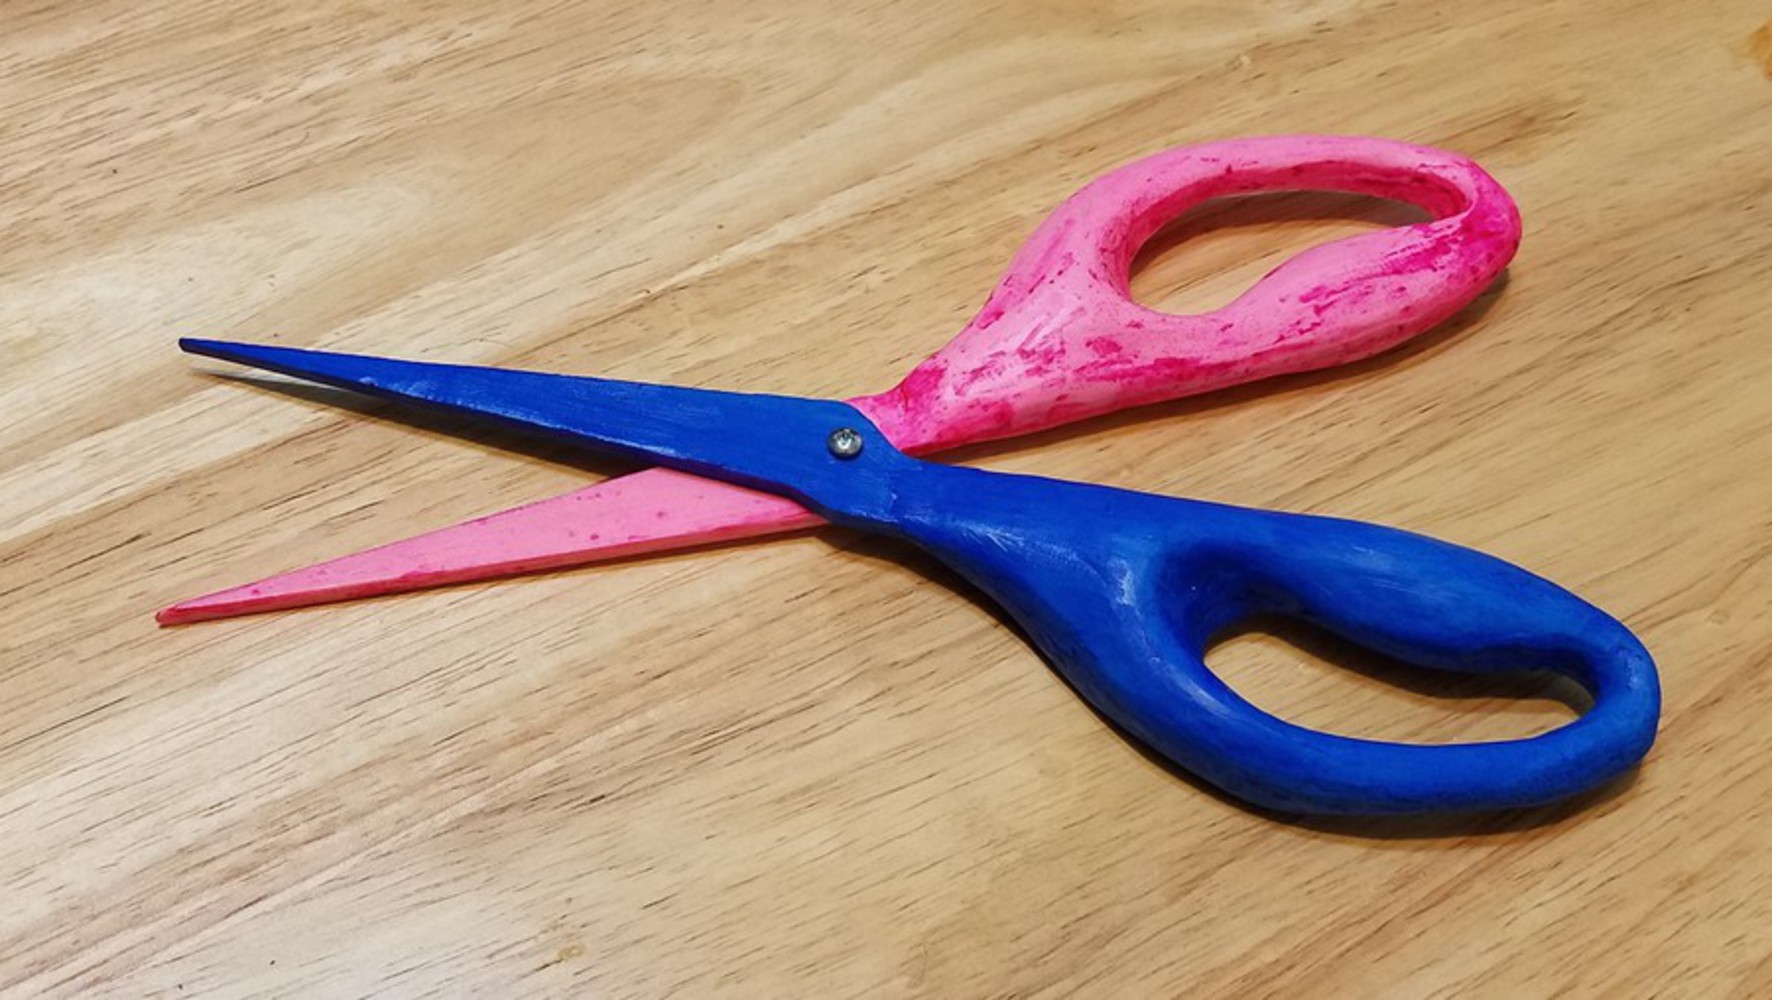
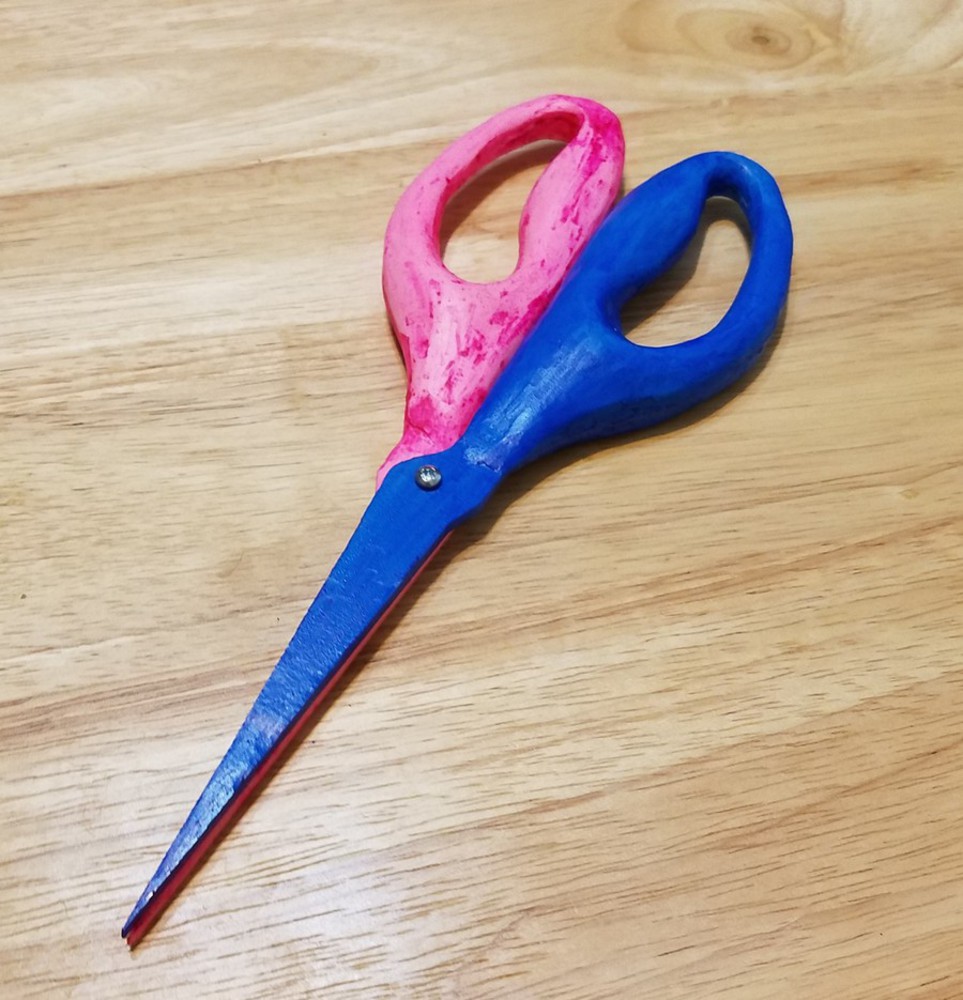
For the final finish, I rubbed dye into the shears to make their colors more vibrant. For some reason, the pink dye did not dry over night although the blue one did. I rubbed the pink dye off the scissors so that people holding them wouldn't stain their hands, however, some brighter pink residue was left after doing this. Pictured below is a final pair of scissors created from this molding and casting process.
You can upload files of up to 20MB using this form.