Back to Parent

Outcome


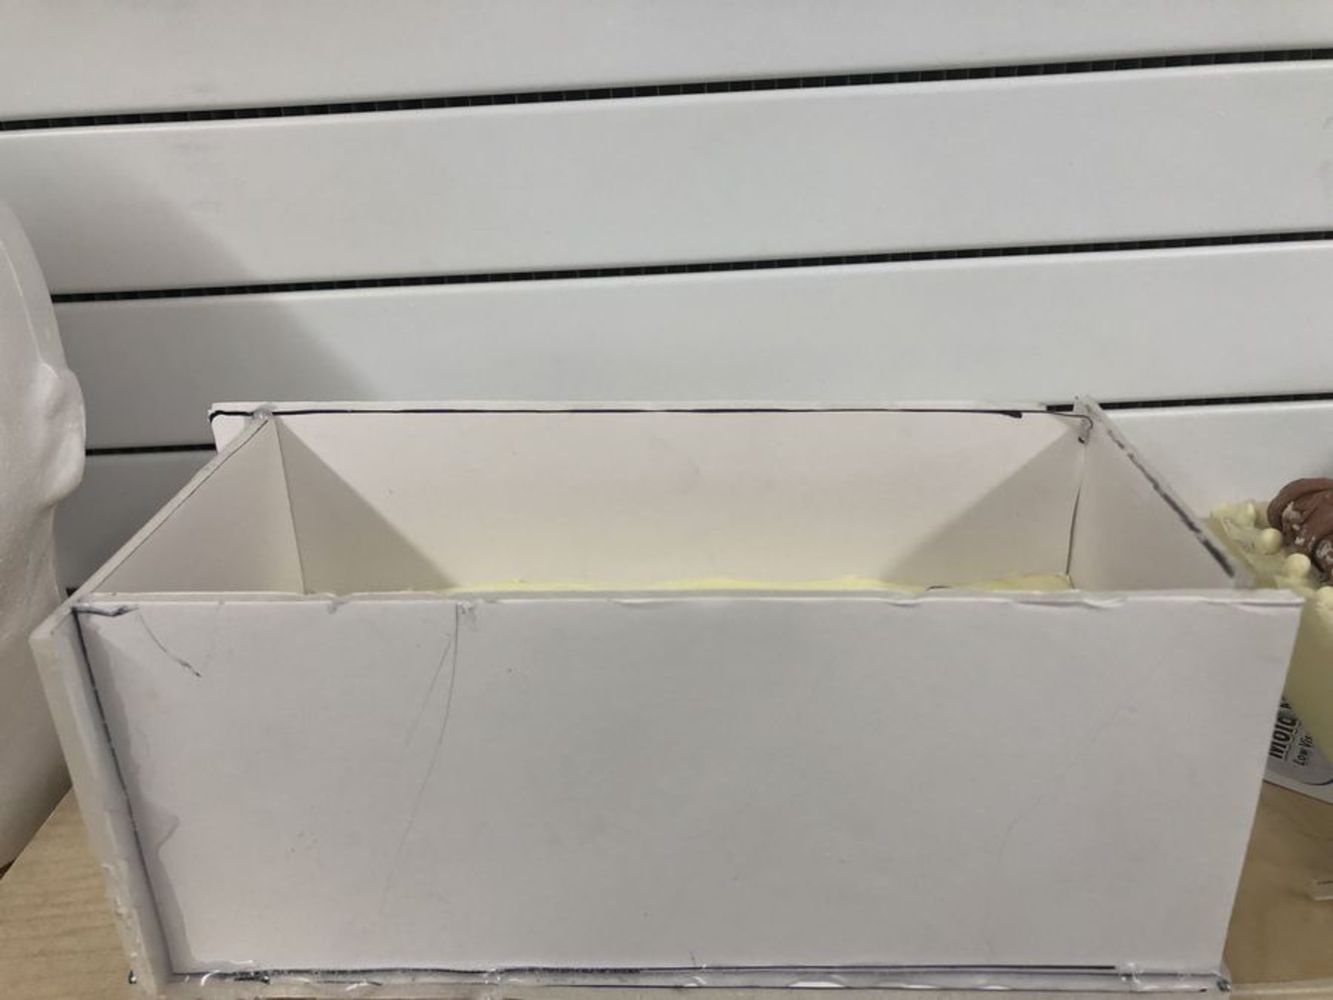
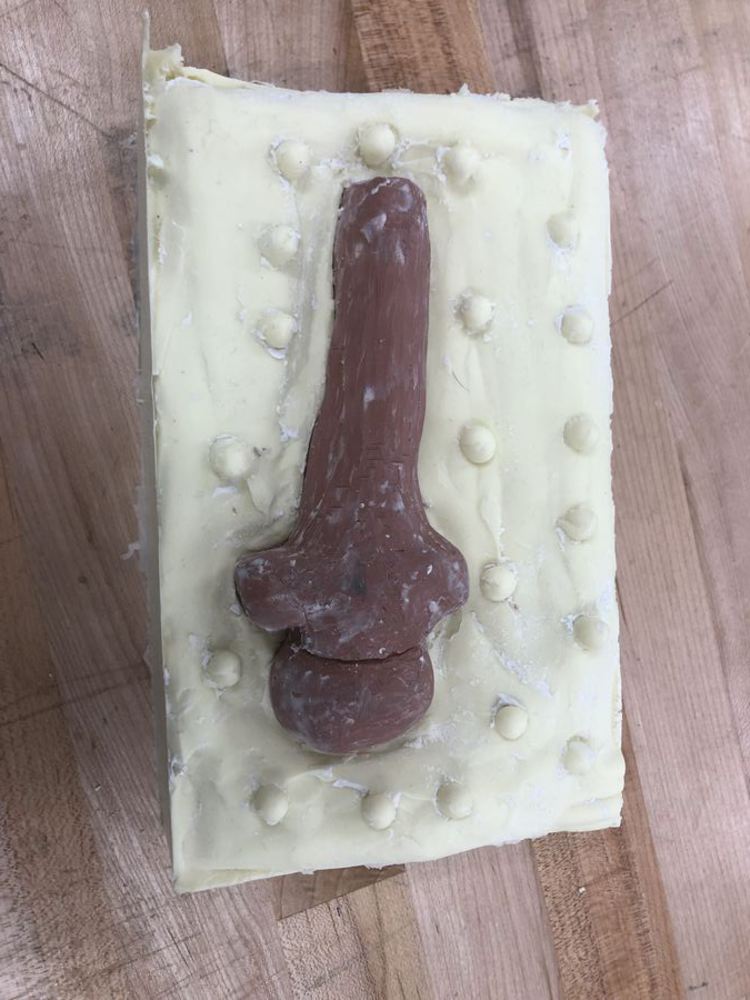
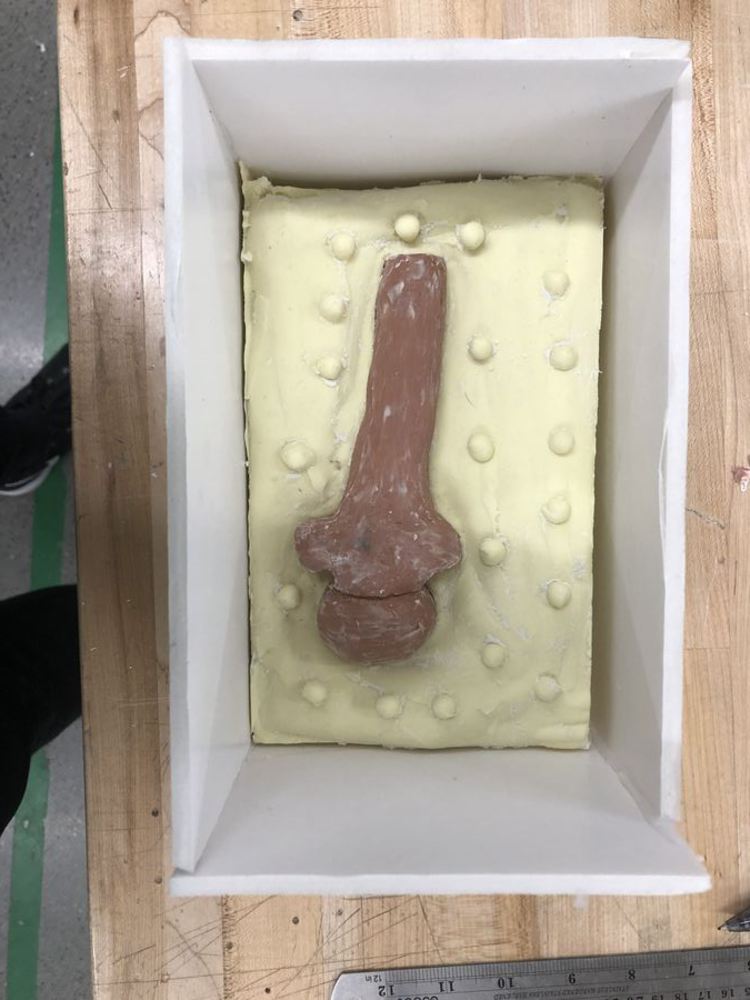
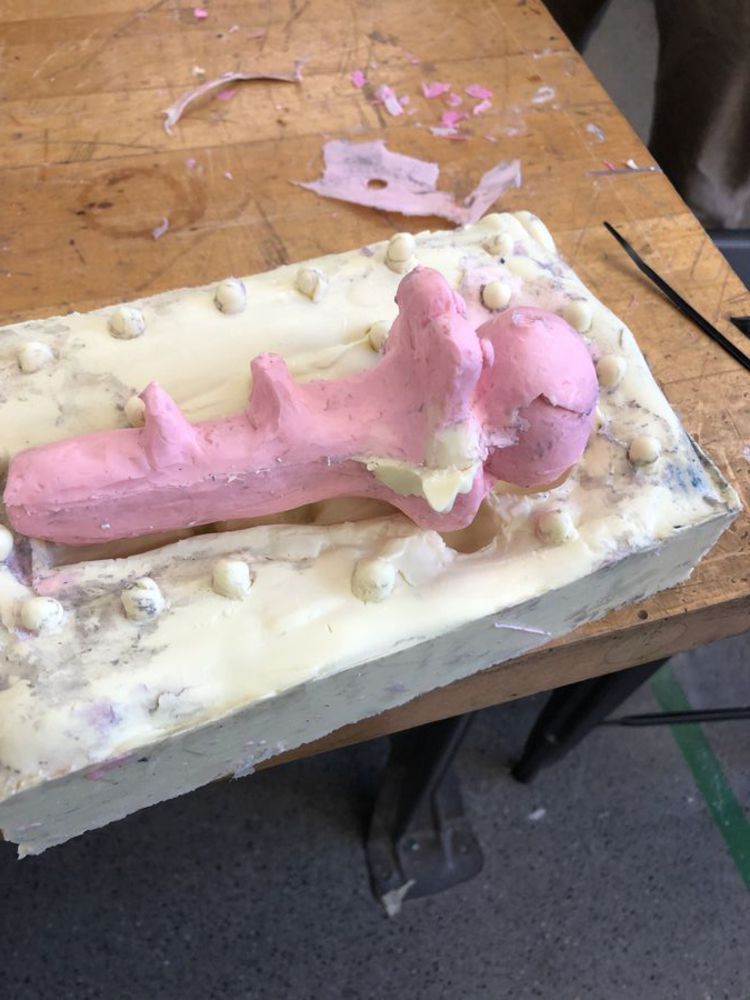
The project began by making the mold for which our cast will be poured into. The mold was made by a different white clay  which we fitted into a foam core box. I decided to make my mold into a two part mold where I divided my handle into two halves. The process is done by covering half of the handle with white clay and then pouring silicon over to create half of the mold. Once half of the mold sets, the handle is placed in another foam core box with the first silicone mold and silicone is then poured again to produce the second half that will create the entire mold.

Img 8335.thumb
Show Advanced Options

Foam core box with silicone setting to create first half of mold.

Img 8336.thumb
Show Advanced Options

First half of silicone mold with clay model removed.

Img 8337.thumb
Show Advanced Options

Clay model in first silicone mold with registration marks to allow for fitting with second half silicone mold.

Img 8338.thumb
Show Advanced Options

Second foam core box with clay model flipped and set in first silicone mold. Silicone was poured over this arrangement to make second half of mold. 

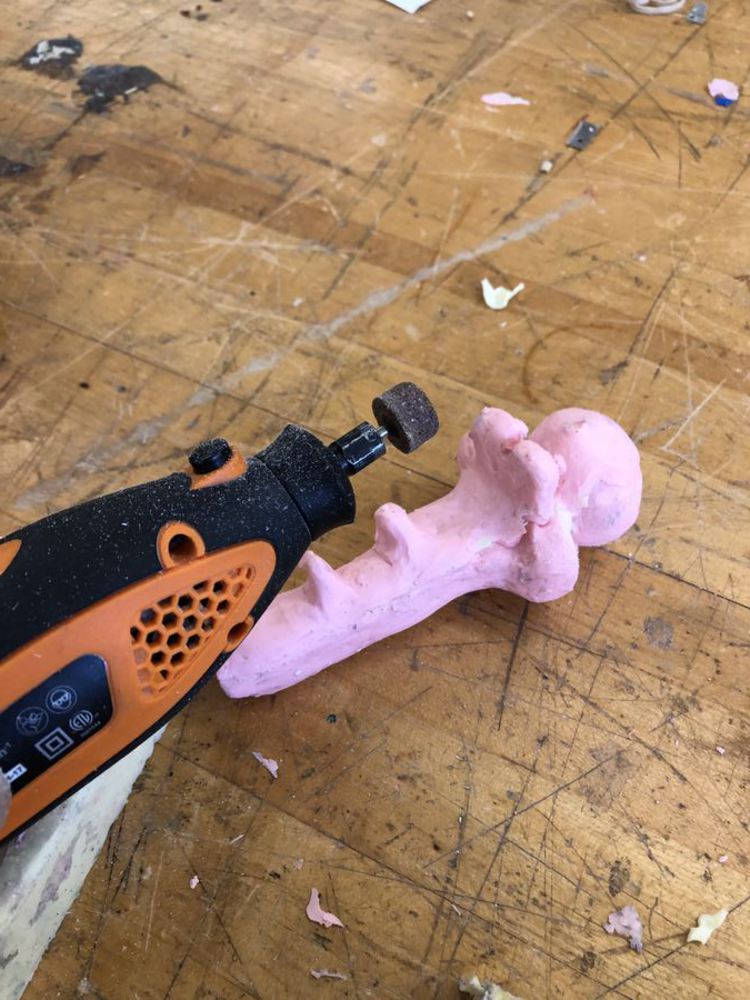
After both sides of the mold were made. the process of casting could begin. A hole was made using a drill and a small drill bit to allow for a funnel to be inserted. The hole led to the open space in the mold so that when the two part resin was poured, the space would be filled, creating the mold. 

Img 8408.thumb
Show Advanced Options

Pouring of two part resin to create mold. Rubber bands were used to squeeze the two mold together and release any air.

Img 8407.thumb
Show Advanced Options

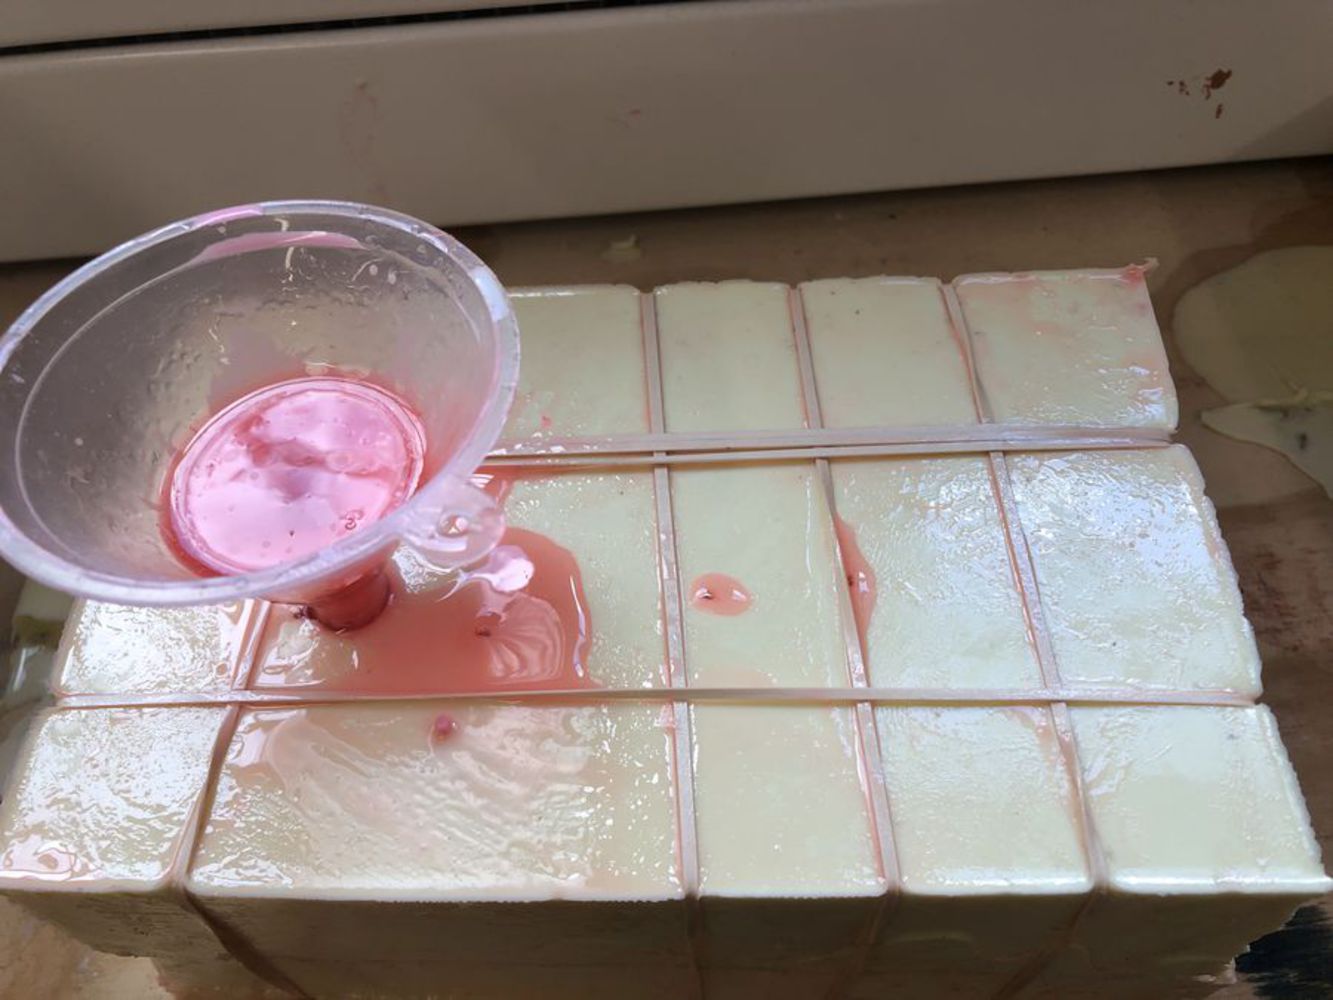
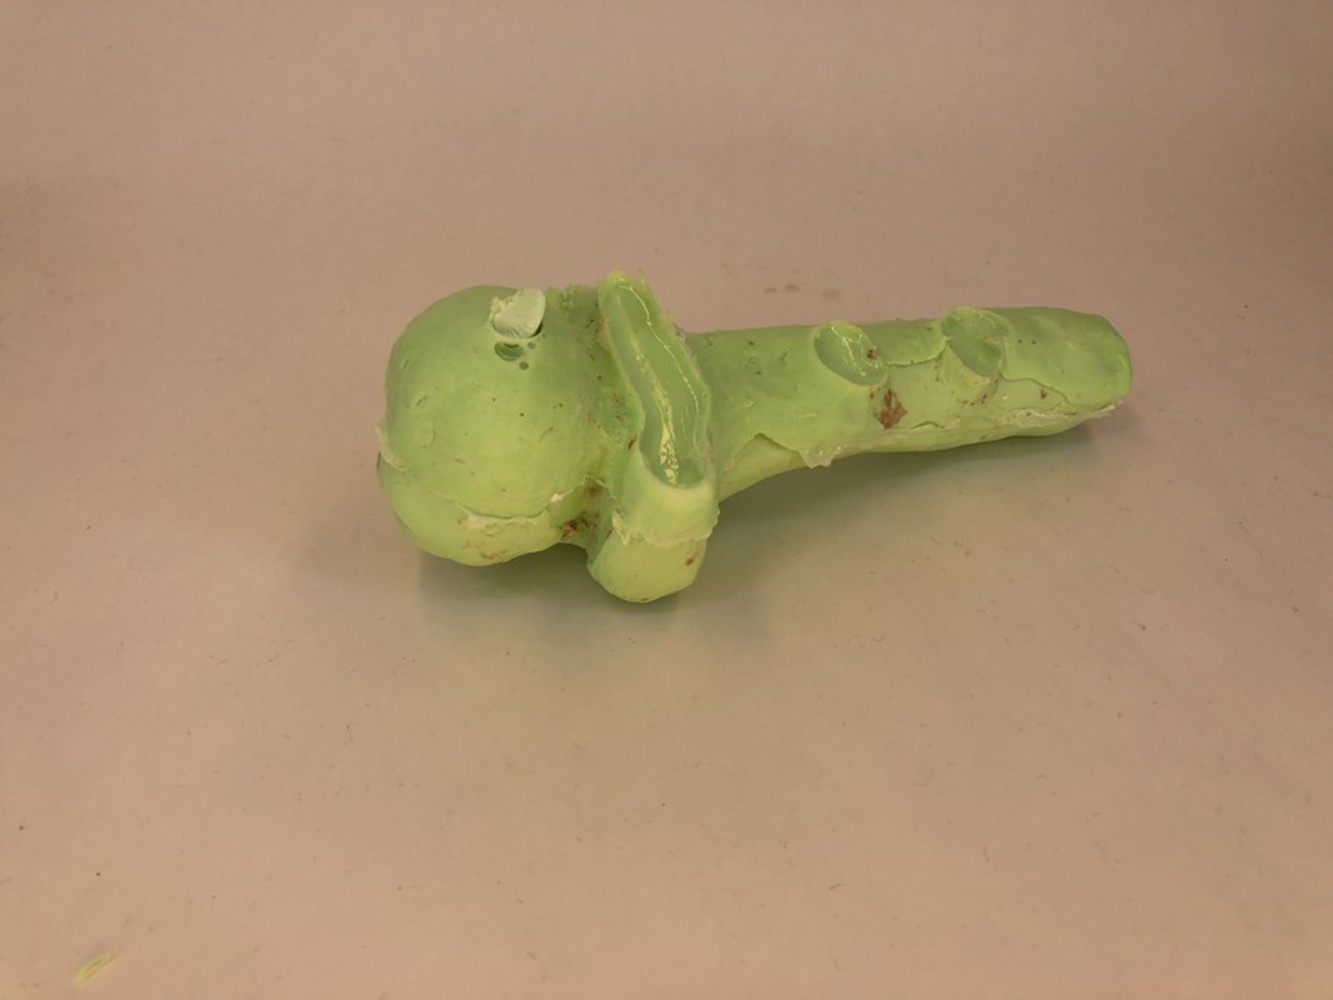
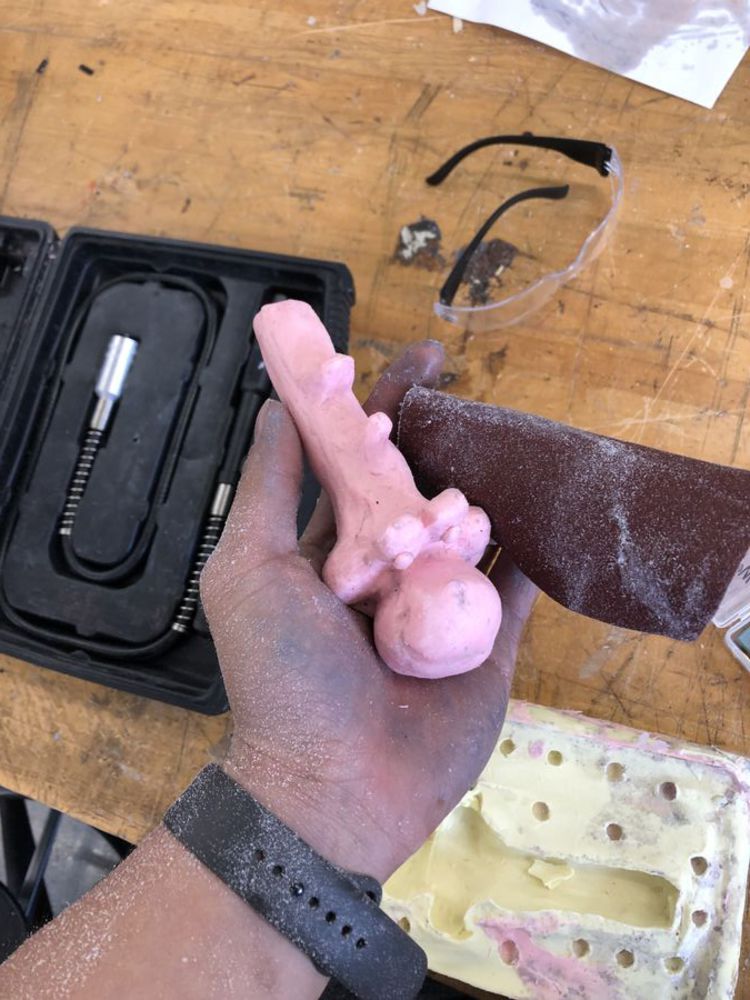
First attempt of casting. Note the lack of features that was higher than the centerline. After this cast, additional holes where those feature protruded were made so air could escape as the resin was poured. This is seen in the sample picture where noticeable resin was leaking from the top.

Img 8411.thumb
Show Advanced Options

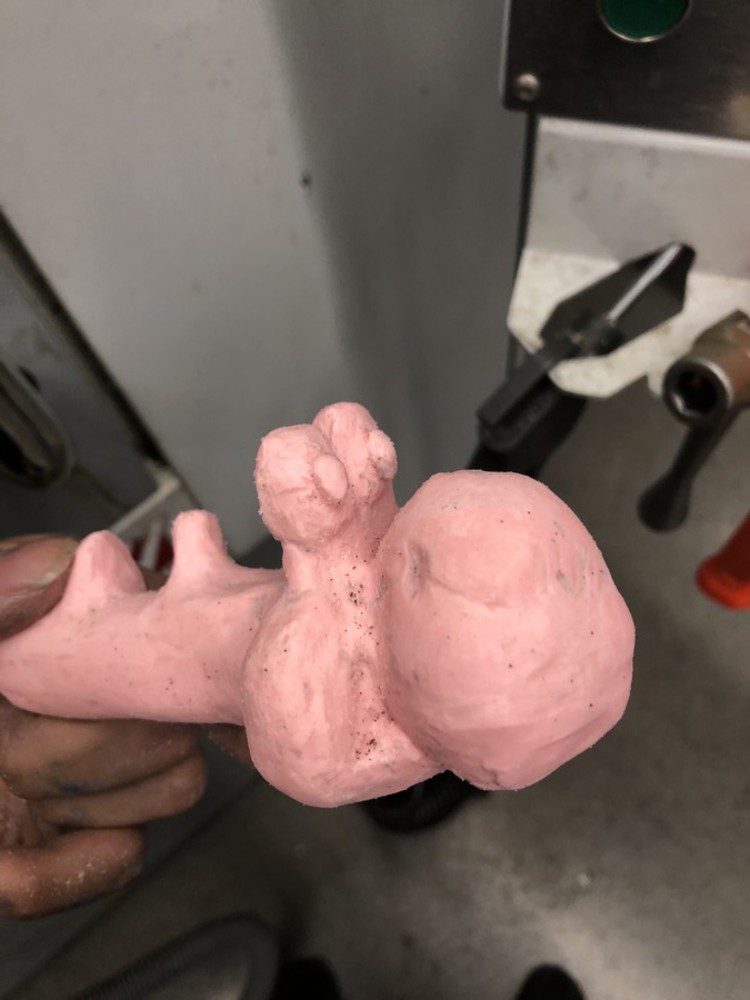
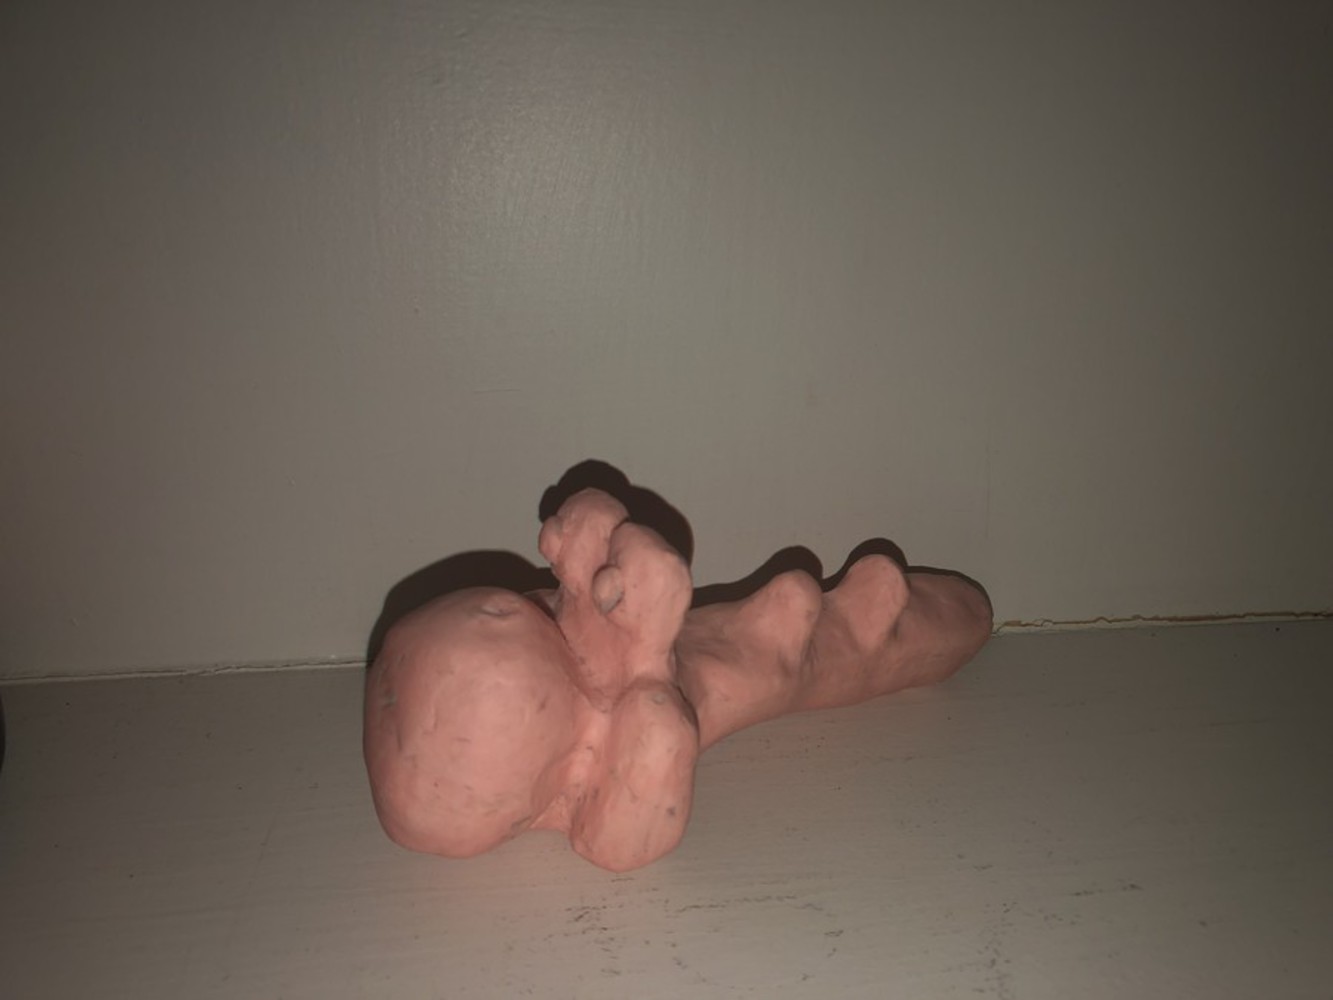
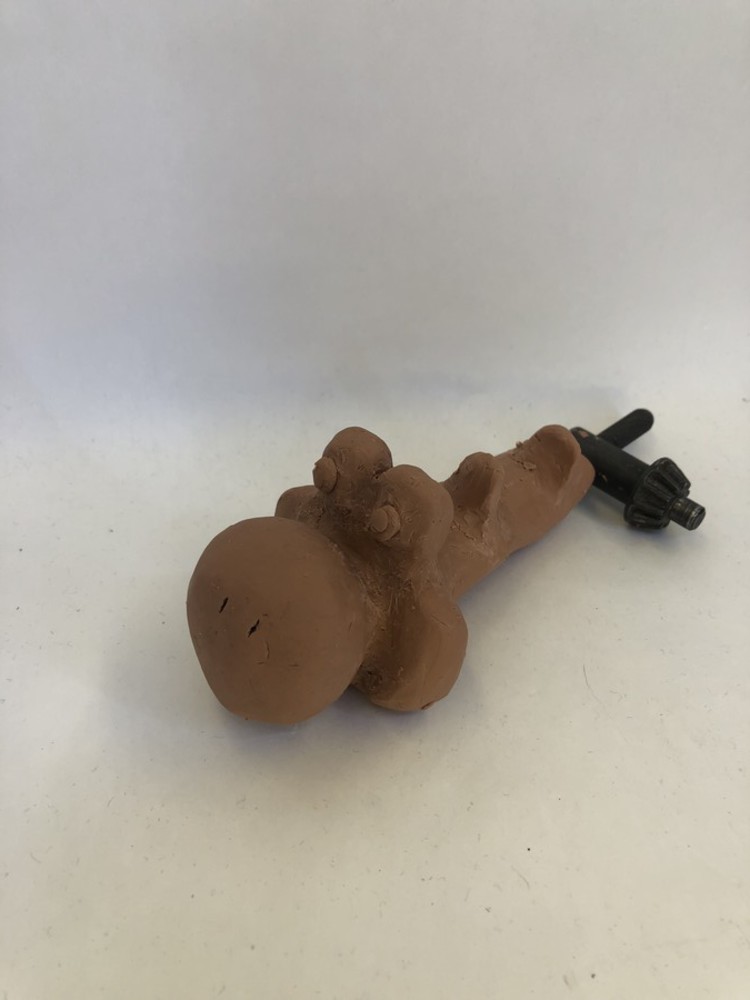
Second cast. This cast was more successful in creating the spine and eye features that were absent from the first cast. However, silicone that was not part of the molds were stuck onto the cast that made undesirable features. The last cast made sure to make the cavity of the molds as clean as possible.

Img 8410.thumb
Show Advanced Options

The third case had the same casting process. However, the third cast was put into a pressure chamber to help remove air bubbles and expel extra air.

Img 8414.thumb
Show Advanced Options

The third cast came out smoother with less undesired features than the second.

Img 8412.thumb
Show Advanced Options

To improve the appearance of the part, a Dremel kit was used to remove large chunks of cast that were undesirable along with the dividing line that was caused by using a two half mold.

Img 8413.thumb
Show Advanced Options

In addition, 60 grit sandpaper was used to remove small cracks and bumps and give the cast a smooth surface. Pressurized air was used to remove all dust particles from the cast after smoothing.

Img 8417.thumb
Show Advanced Options

The result of the extra finishing steps resulted in a Yoshi with smooth surfaces and resembling the original!

Img 8304 2.thumb
Show Advanced Options

Original handle for comparison

Drop files here or click to select

You can upload files of up to 20MB using this form.