Back to Parent

Outcome


THE CONCEPT

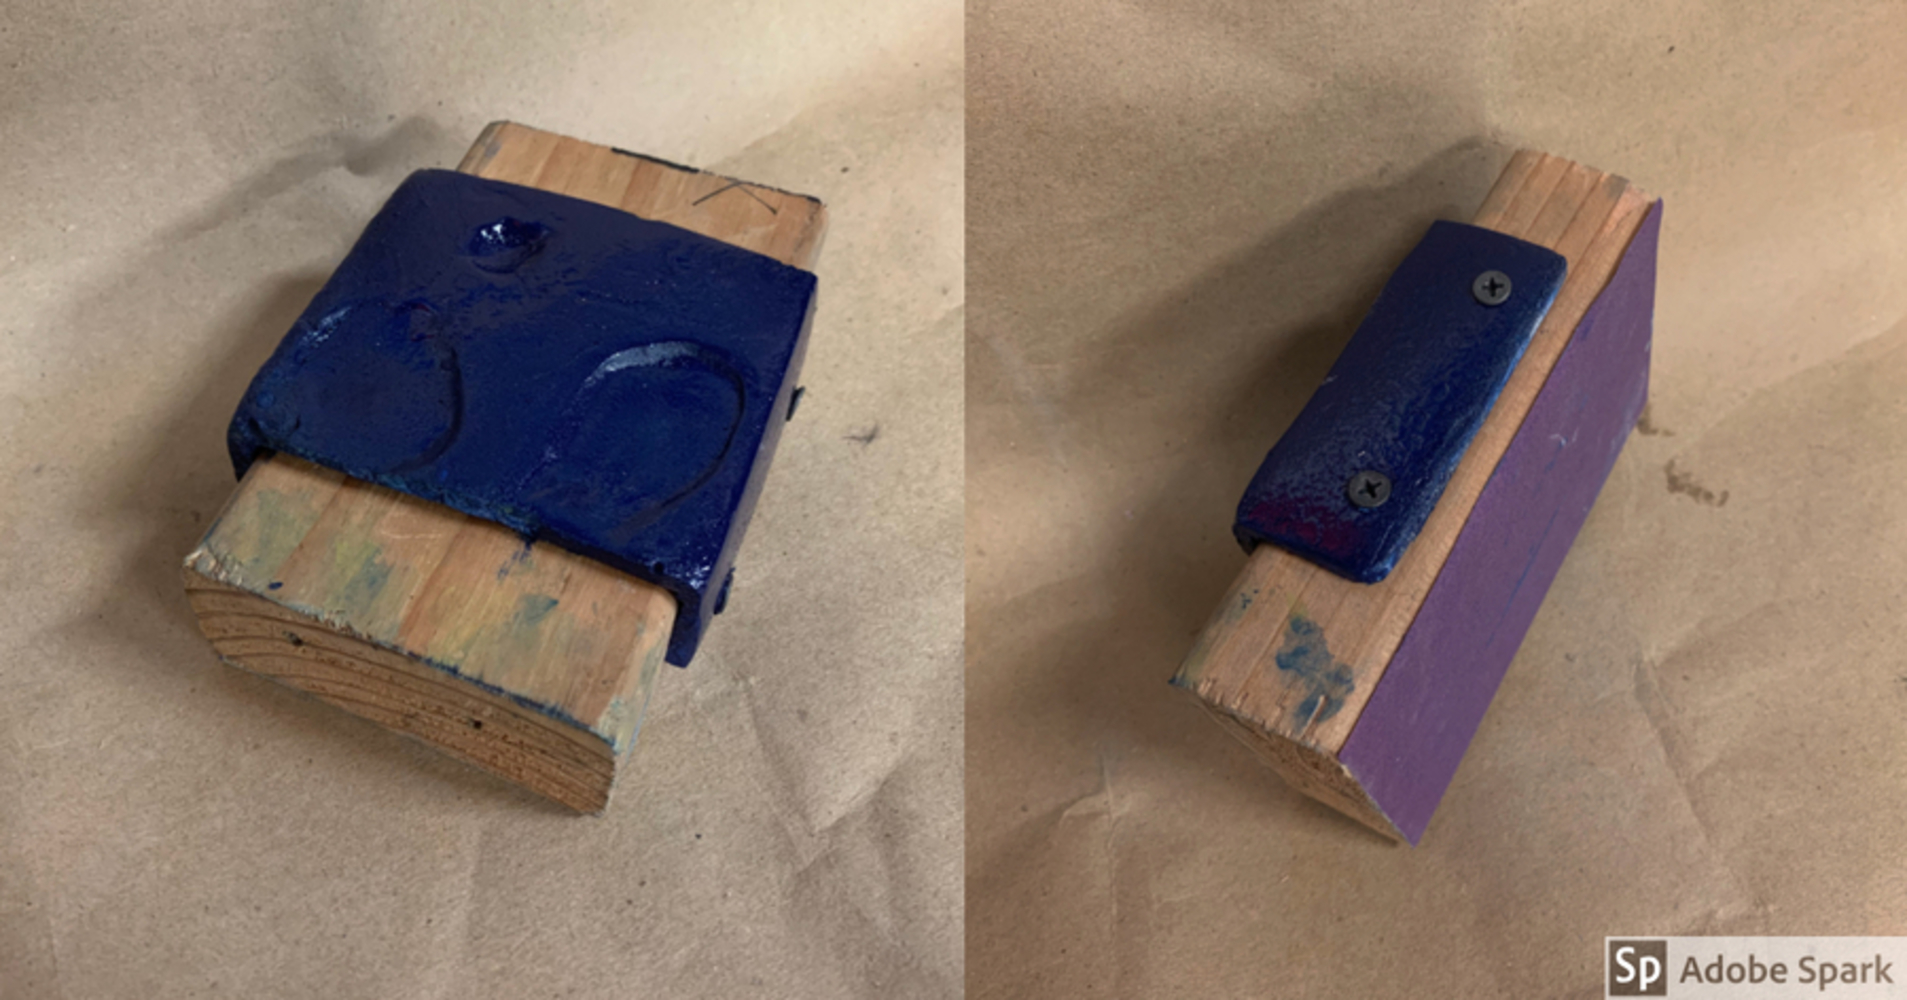
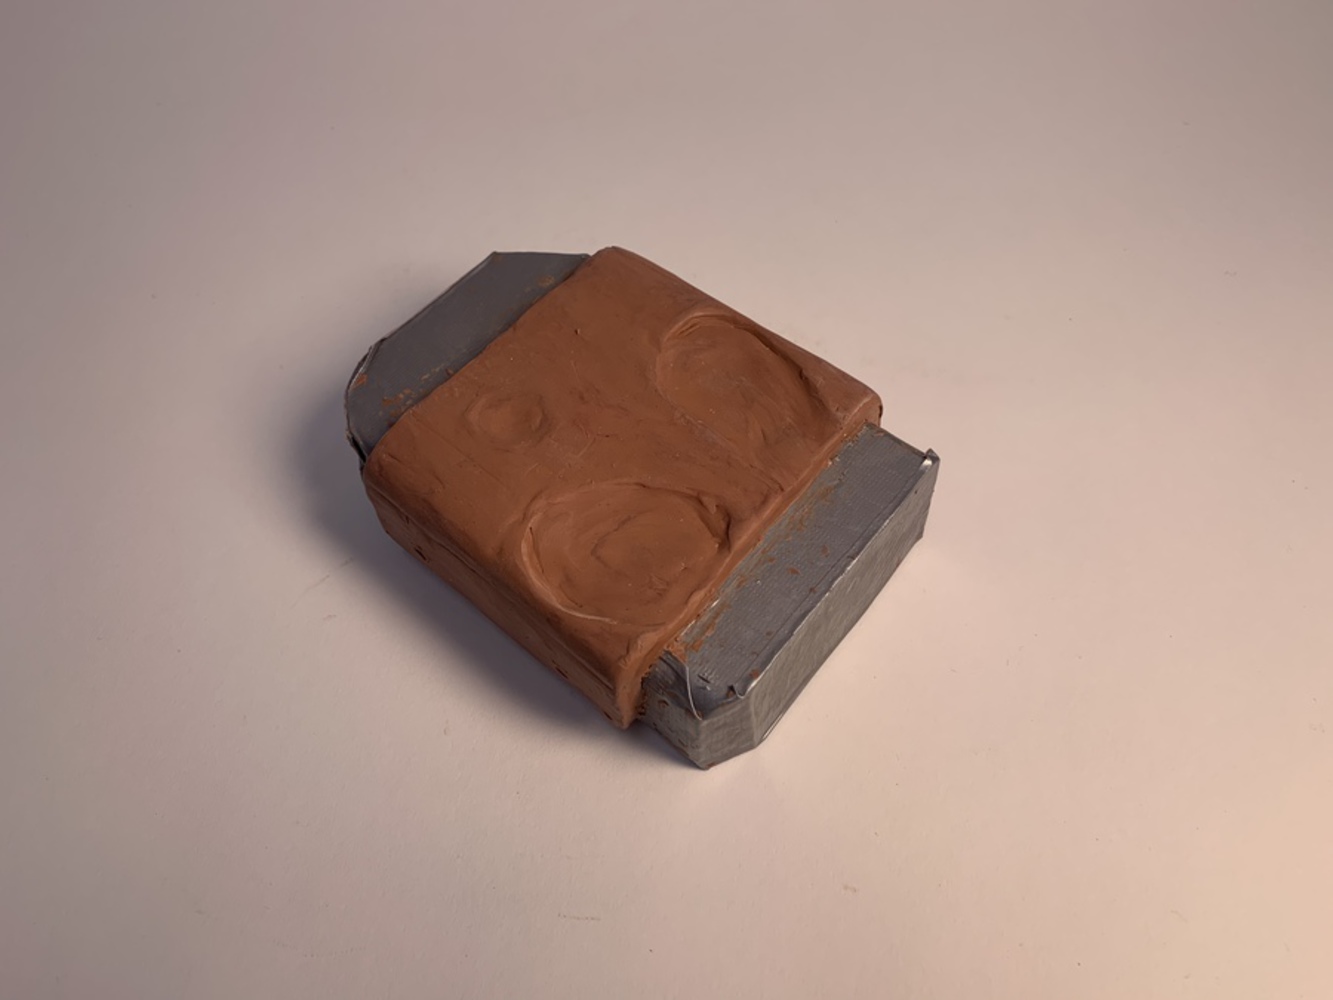
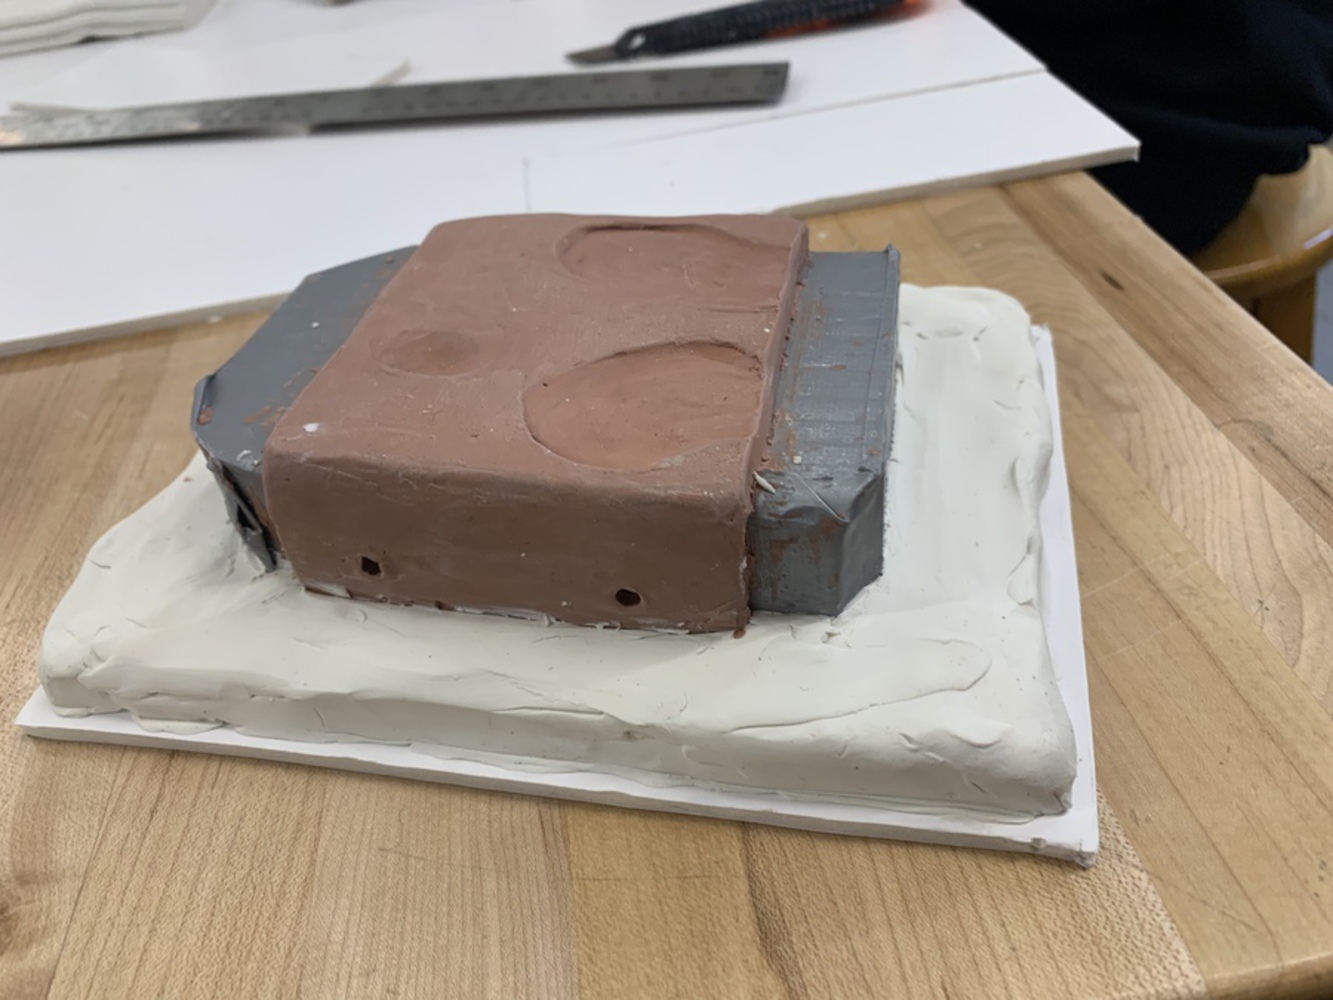
The idea of this project was to make a sanding block grip that could be easily screwed onto a foam or wood sanding block, the size of a 2x4. The hand imprint on the grip is optimized for an average sized right hand, but I kept the imprints simple to ensure that other hand sizes, and even someone using their left hand, can benefit from the imprints on the block.
Img 0051.thumb
Show Advanced Options

MAKING THE MOLD


Because of the indents on the top face of the grip, a two-part mold was necessary.

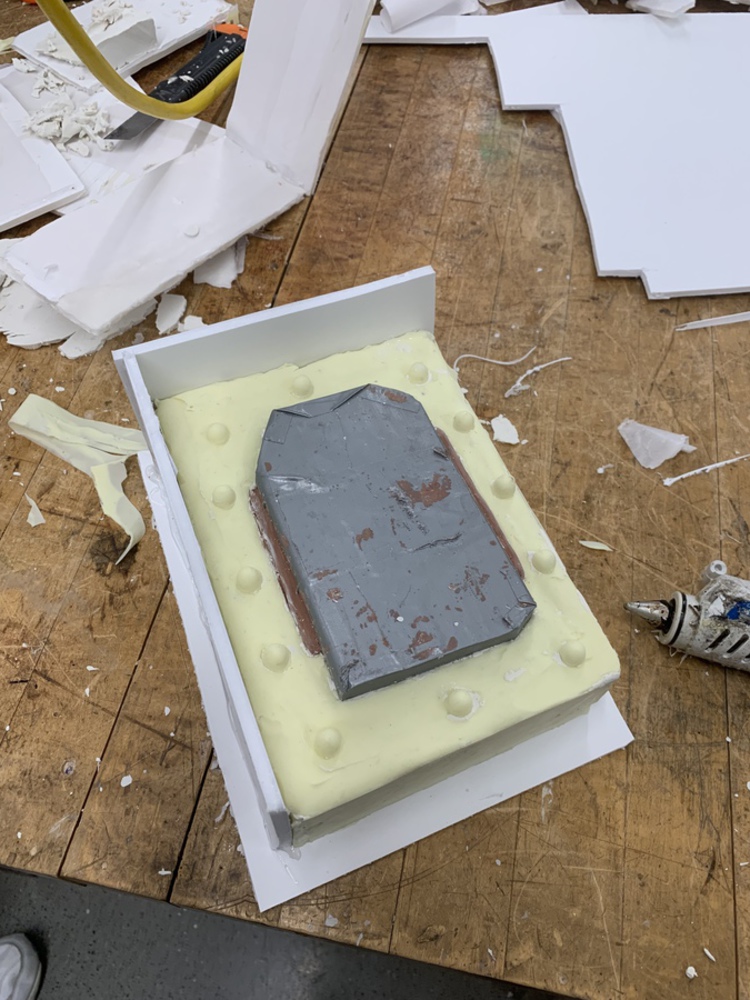
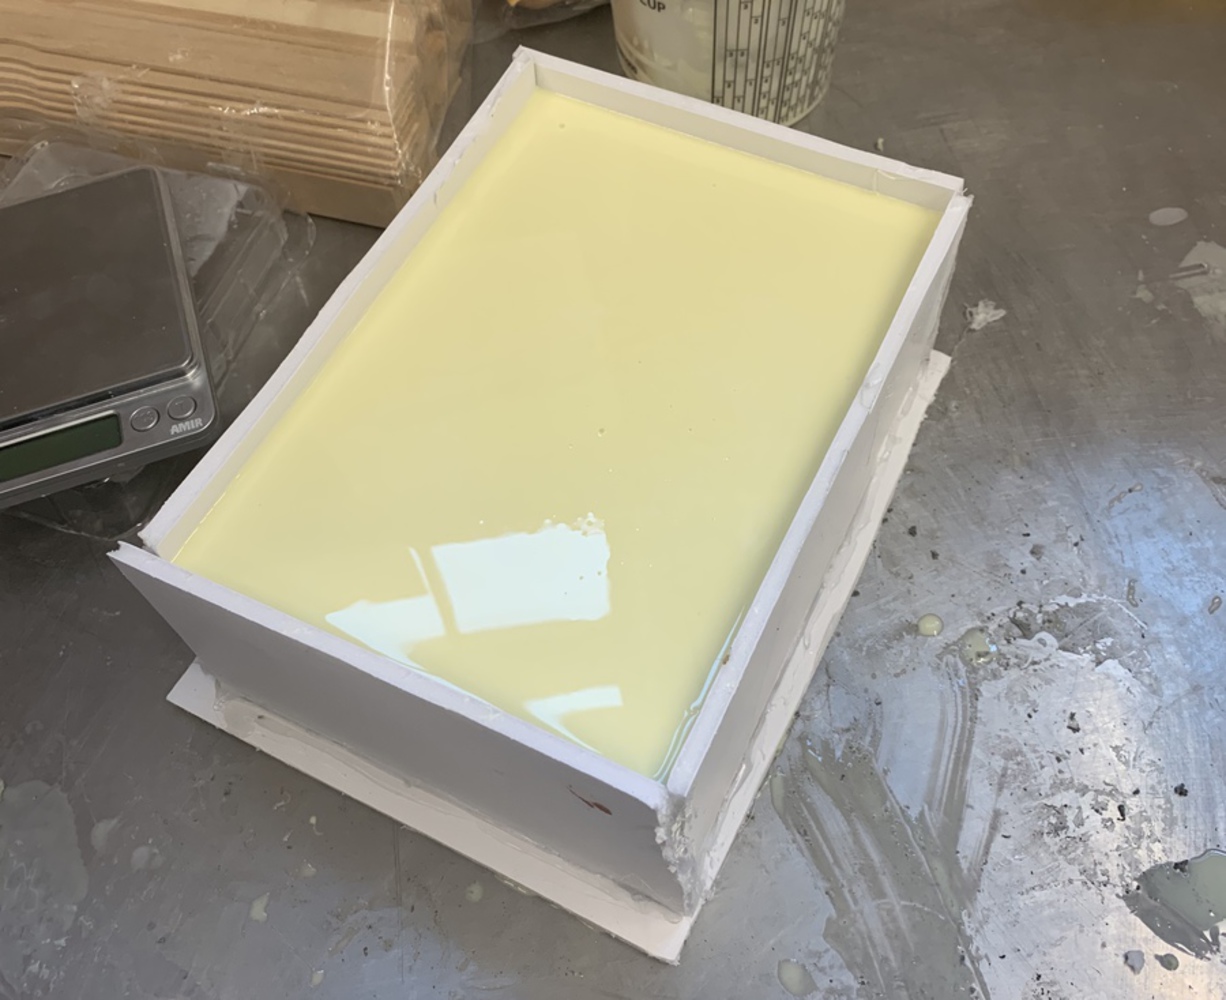
The first step of the molding process was to embed the bottom half of the block in clay, built a foamcore box to contain the mold, and added eight registration marks around the edges of the object (shown below). I then filled the rest of the box with two part smooth-on silicone, which I had de-gassed in a vacuum chamber. I submerged the part, with a funnel embedded in the clay to create a pour spout.

Img 0192.thumb
Show Advanced Options
Img 0304.thumb
Show Advanced Options

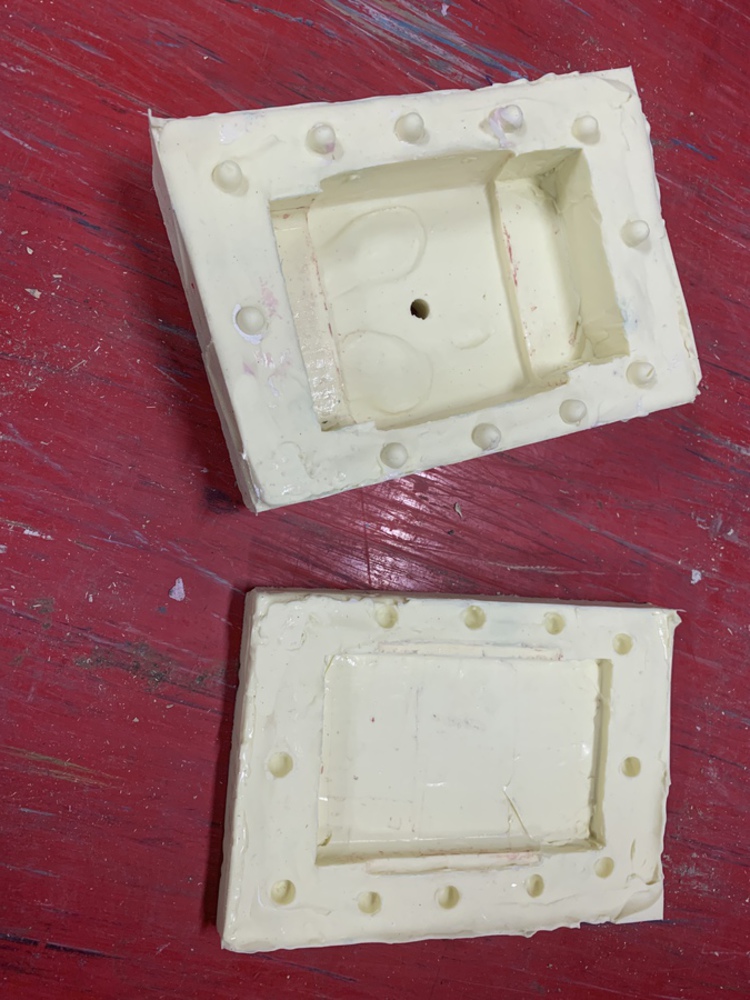
Once silicone that made up the first part of the mold was cured, I peeled aside all of the clay and re-boxed the mold. I poured in the silicone for the second part of the mold, and let it cure.

Img 0305.thumb
Show Advanced Options
Img 0543.thumb
Show Advanced Options

ITERATION 1: HERE'S WHERE IT GETS TRICKY


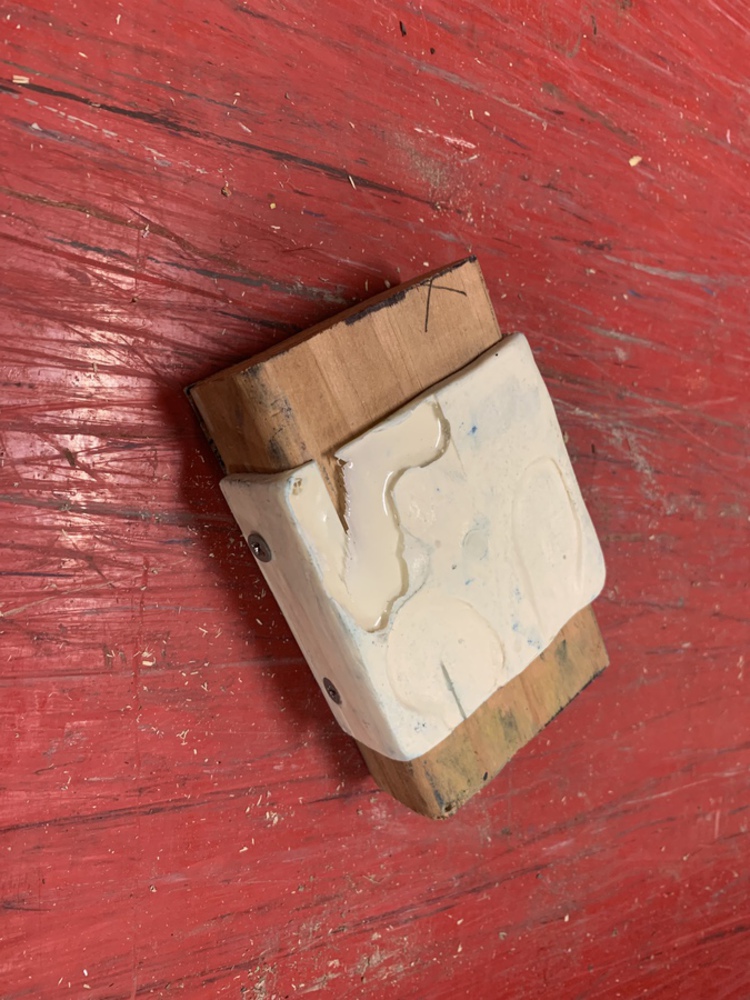
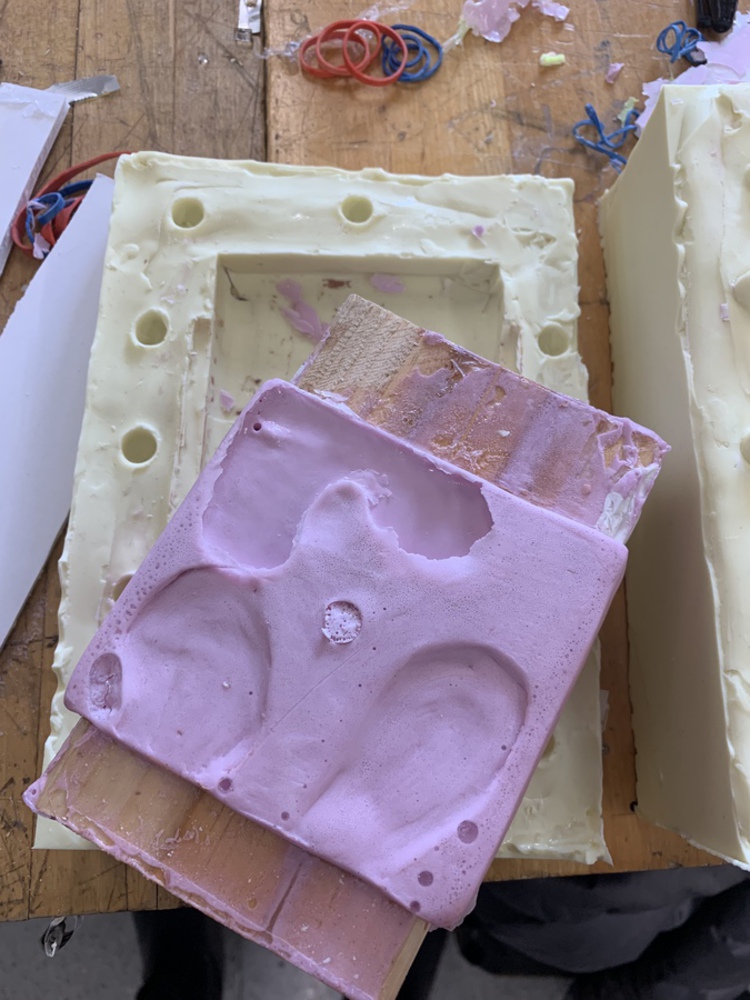
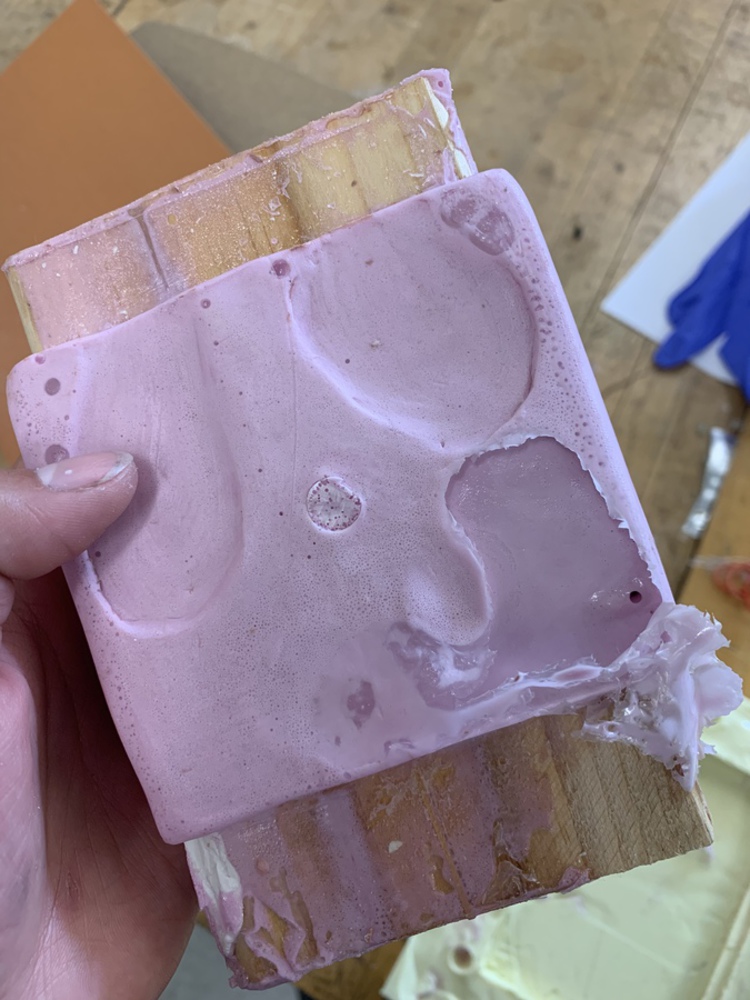
My first iteration of my part didn't turn out quite as planned. The largest problem was an enormous bubble by the finger grip, that had never filled with resin. The next noticeable issue was that the grip was entirely stuck to the block. In order to remove the grip, I had to fully cut apart the 2x4, and in the process I made 3 visible cracks in my part.

In order to get rid of the air bubble, I cut two very small air slits in the mold with a box-cutter knife, to keep air from getting trapped in the mold. I was nervous to cut a larger chunk out of the mold as an air hole.

To deal with the 2x4 problem, I covered the block with Partall wax paste as a mold release before putting it in the 2 part mold.

CASTING THE GRIP


Once the mold was complete, I moved onto casting the grip. I placed a 6" long 2x4 (identical to the one the clay grip had been around) in the indent for the block, then closed and sealed the mold with a combination of hot glue, foam core, and rubber bands. After the resin's four hour cure time, I opened the mold to find my first part.

Img 0539.thumb
Show Advanced Options

ITERATION 2: (VERY SLOW) PROGRESS


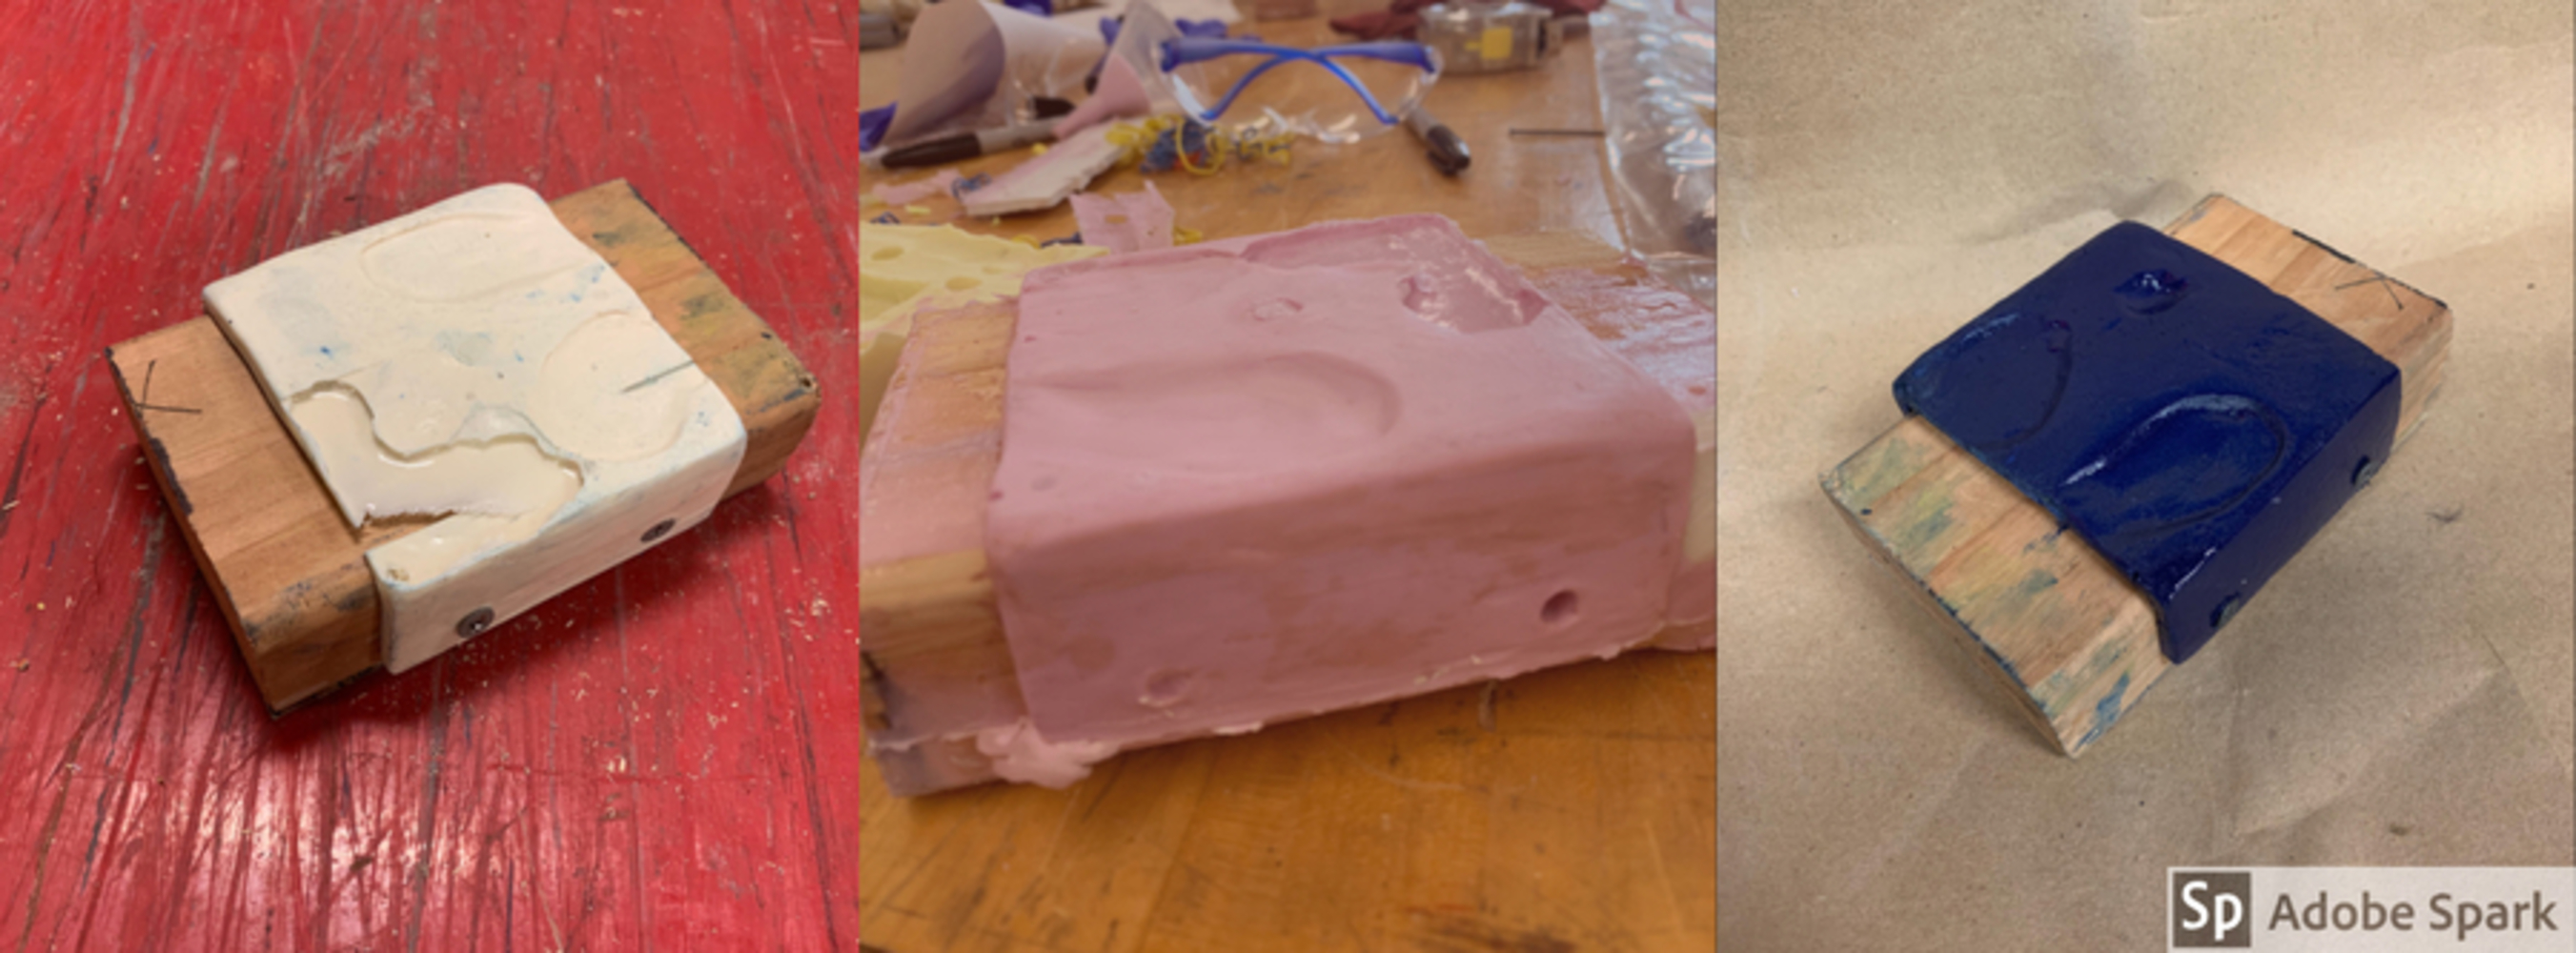
The good news is that the grip detached from the block much easier. A small amount of cutting around edges was still required, but then the grip popped out.

However, this iteration showed that the "air holes" I had added after the past iteration were not nearly large enough. In addition, there were many more microbubbles in the resin, as I had not been able to degas the resin beforehand. The combination of the large bubble by the finger grip (notice: in the same place as last time) and the microbubbles made this part unusable.

Img 0476.thumb
Show Advanced Options
Img 0474.thumb
Show Advanced Options

ITERATION 3: ALMOST THERE


Before the final iteration, I drilled air holes instead of small slits in the culprit corner of the mold. The two iterations had shown me that the very specific area of the mold, next to the finger indent, was the biggest risk for air bubbles.

This approach finally got rid of the large bubble almost entirely. The mold-release once again did its job, and the block came off of the grip without any damage to the grip.

The below picture shows the grip, screwed onto a sanding block and ready to use. By my final iteration, we were running low on dye and I didn't like the (very diluted) final color of my part, so I spray painted it a dark blue.

My post 3.thumb
Show Advanced Options

FUTURE ITERATIONS


The biggest challenge in this project was the limit on number of iterations, because of the cure time of each prototype. Thus, even after the completion of the project, there are things I wish I could have tried to make the molding process smoother.

Although it didn't happen in my last iteration, I could envision air holes forming along the outside edges of each indent. To remedy this, I would add more air holes along the edges of each of the palm grips.

In addition, using saran wrap could have made the removal of the wooden block even simpler. It may have added an unusual texture, but this would only have occurred on the inside of the block.

My post 4.thumb
Show Advanced Options

USE OF THE SANDING BLOCK


While in the end, I only had one usable iteration of this block, my mold was in very good shape. The buggy shop frequently has an excess of epoxy after a wrap, and mechanics have been discussing how to use it. I left the mold with the mechanics, and showed them how to use it, so that after each build they can pour their excess epoxy into the cup, and potentially make a few new grips over the course of the year out of their excess epoxy.

Drop files here or click to select

You can upload files of up to 20MB using this form.