
For my final project, I wanted to make a prop or costume piece for the CMU RPG Association's on-campus LARP, Zenith! I really enjoy making props, so this was a fun project for me that was also something I'd use a fair amount.
Outcome
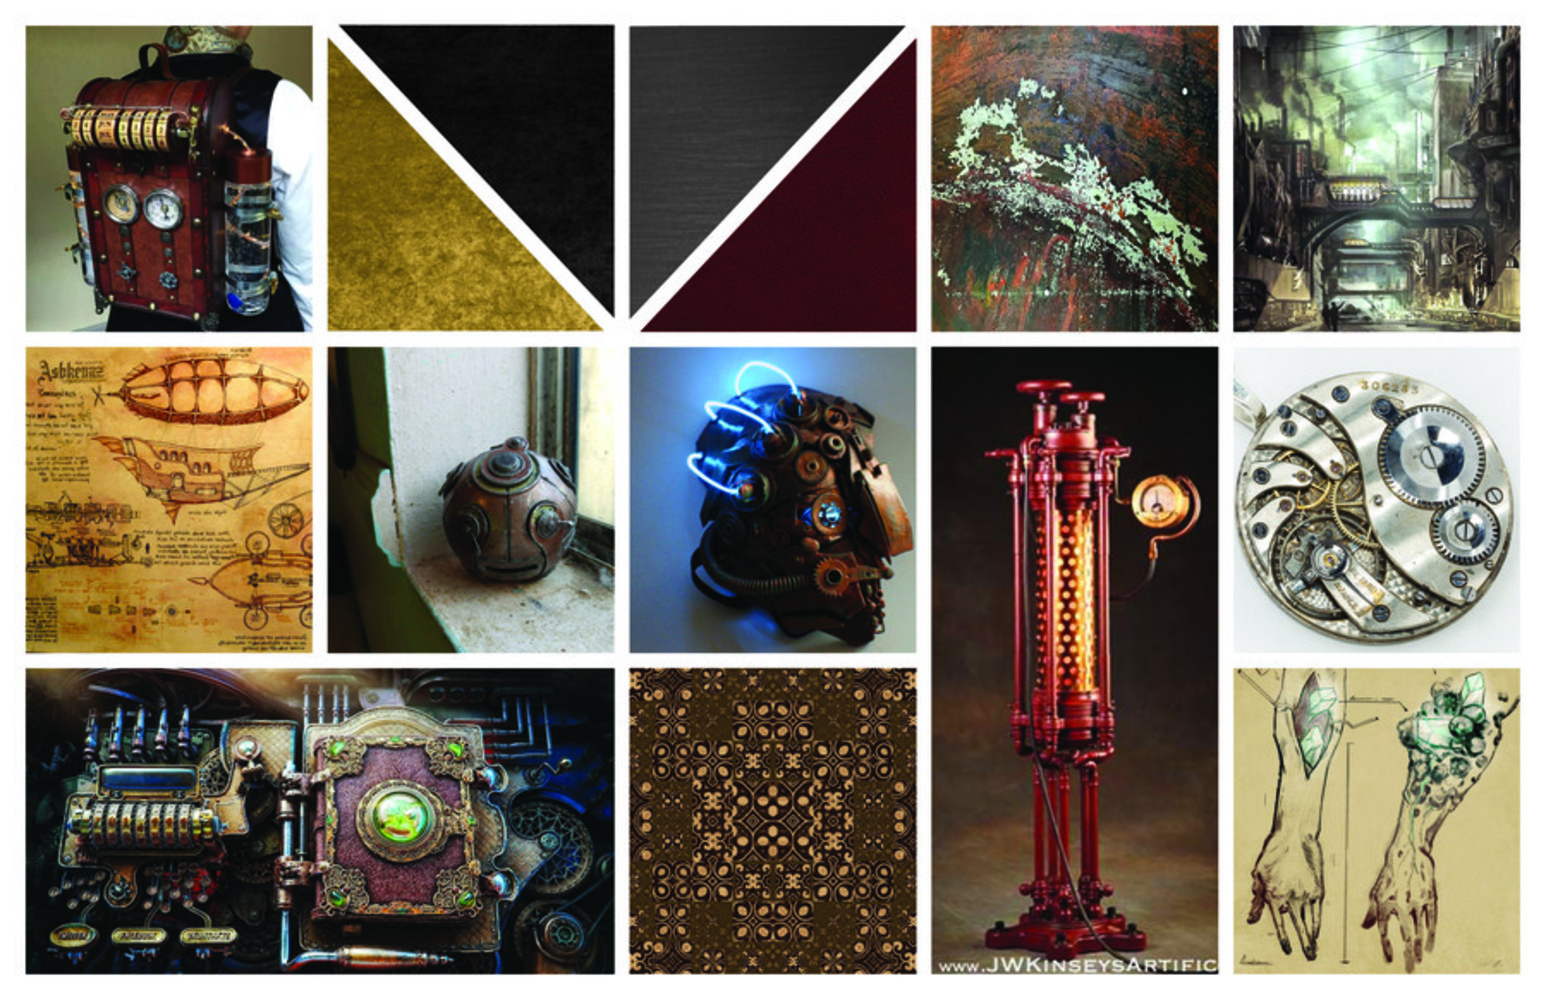
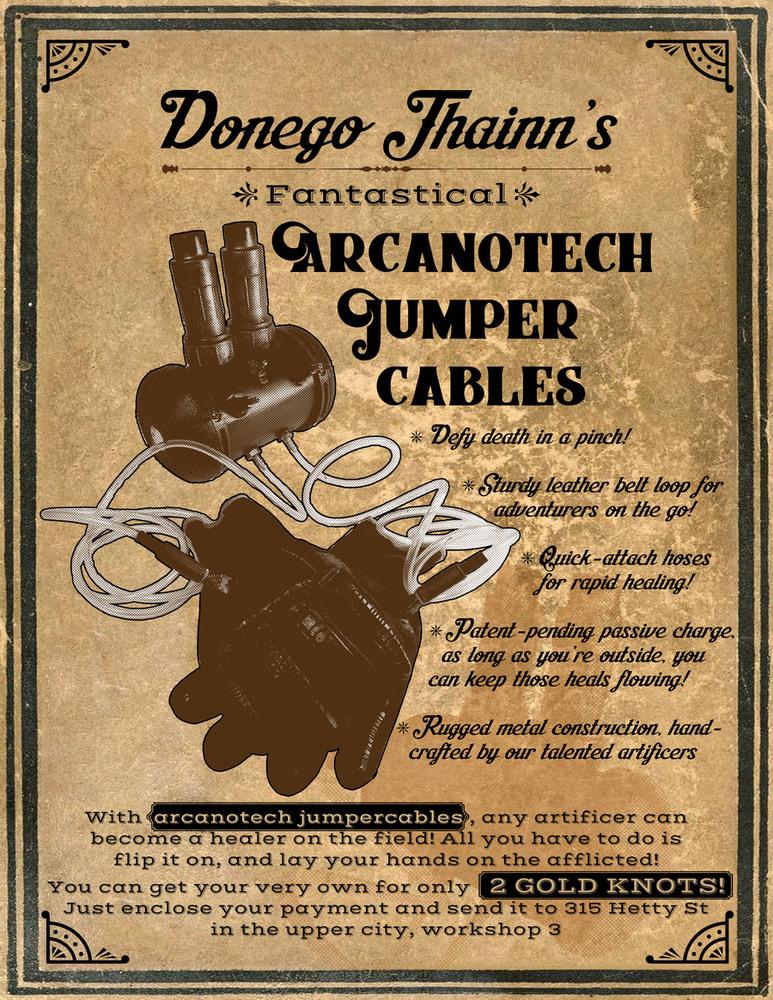
Since this object would exist in our LARP system, this meant that it had a world already made. The setting is in Zenith, the City of Wonders, where cutting-edge tech is a combination of machinery and magic, steam meets sorcery and steel. The aesthetic is similar to steampunk, but in the game's case the steam is through fusing water and fire elementals, and there's generally more magic than a traditional steampunk setting.
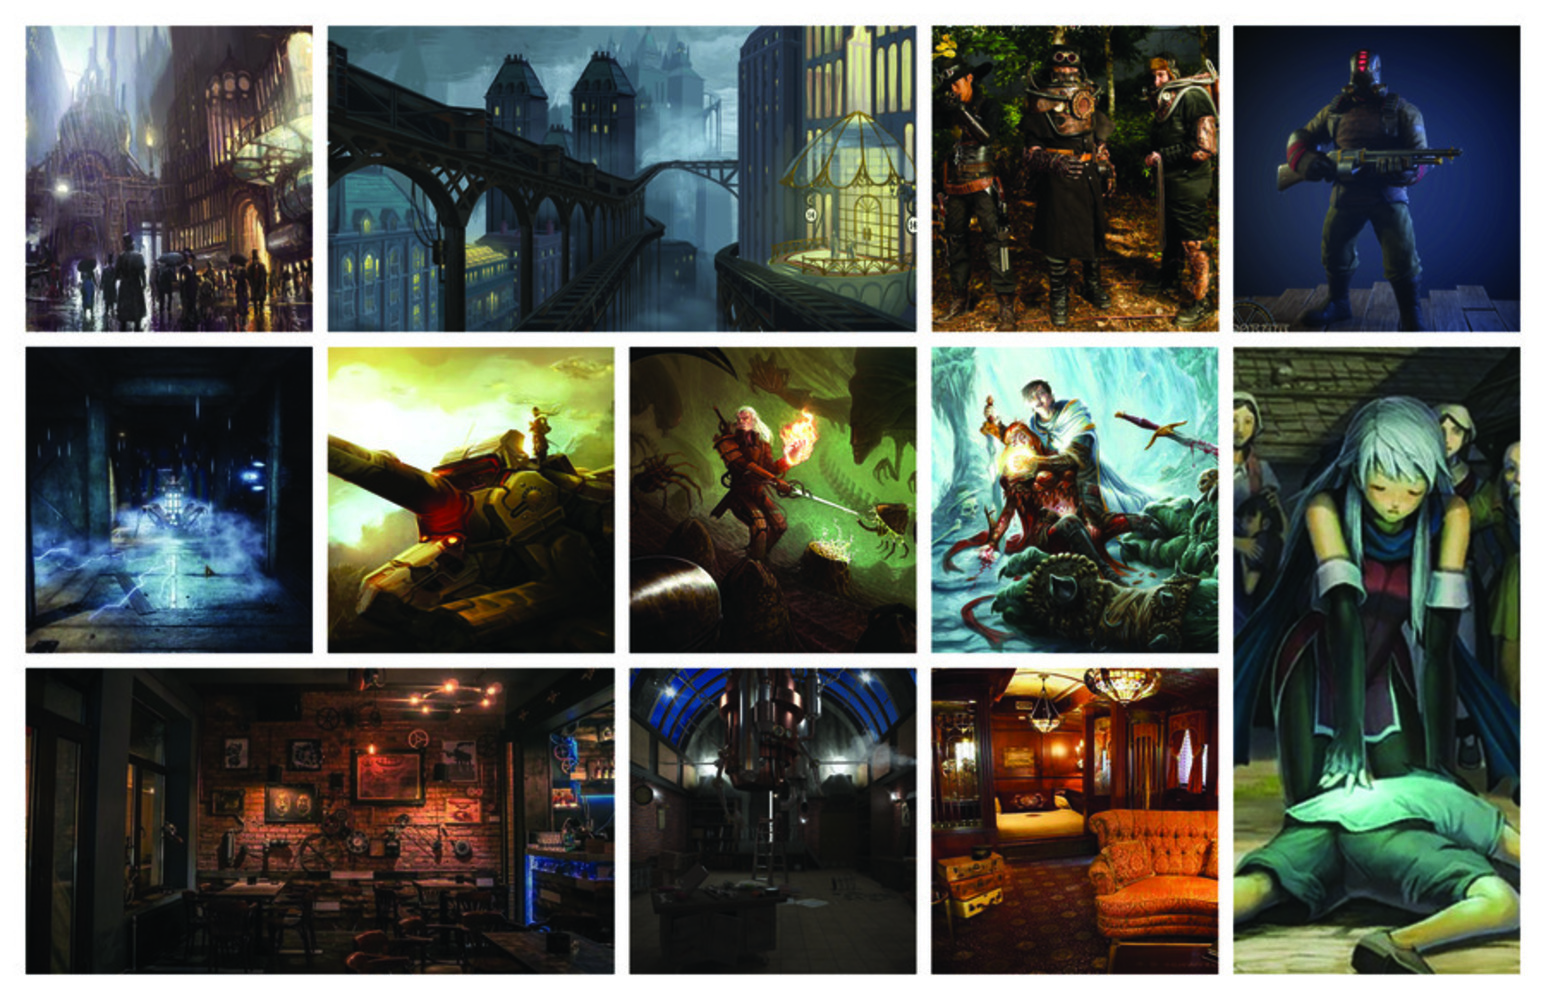
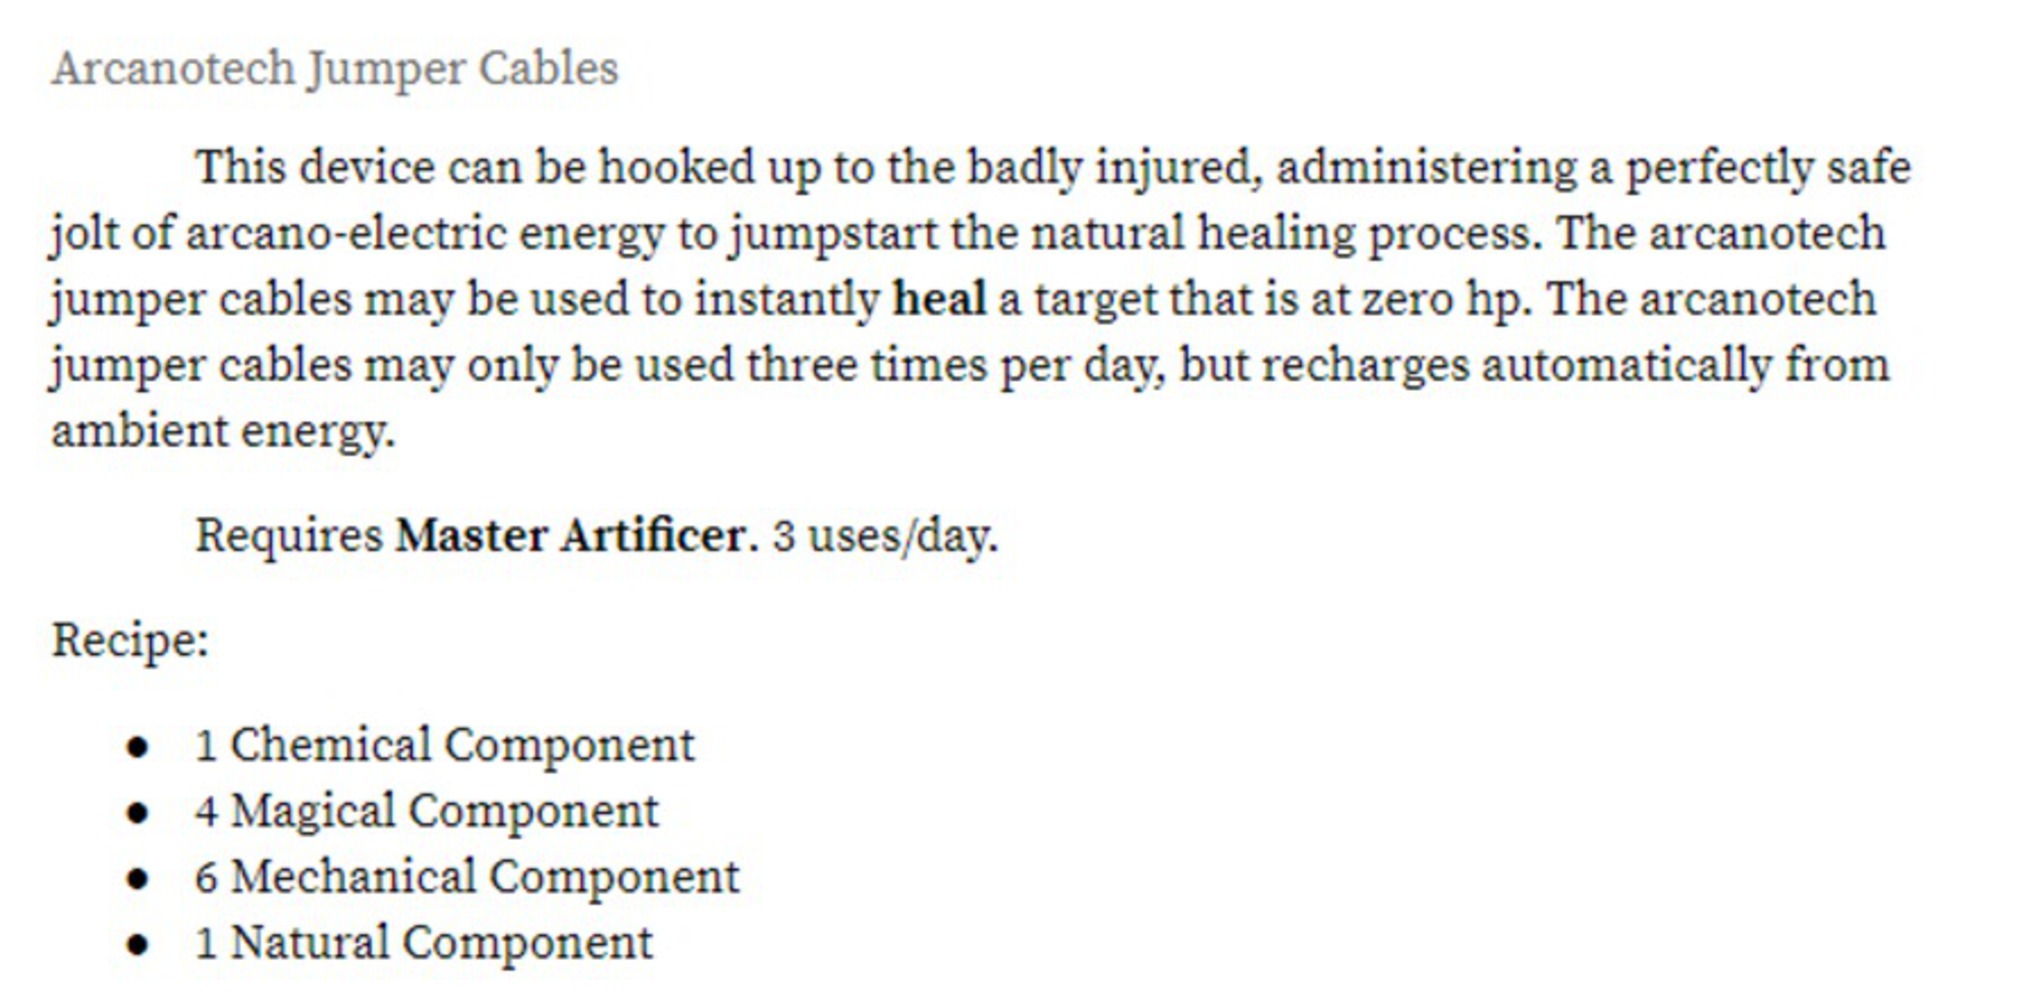
The users would be the adventurers of Zenith, the heroes tasked with going out and solving the city's problems, more often than not with combat prowess and brute force. In combating hostile forces in the city, adventurers get injured, and the Arcanotech Jumper Cables can be used by Master Artificers to revive their allies, like the steampunk equivalent of a combat medic with a defibrillator.
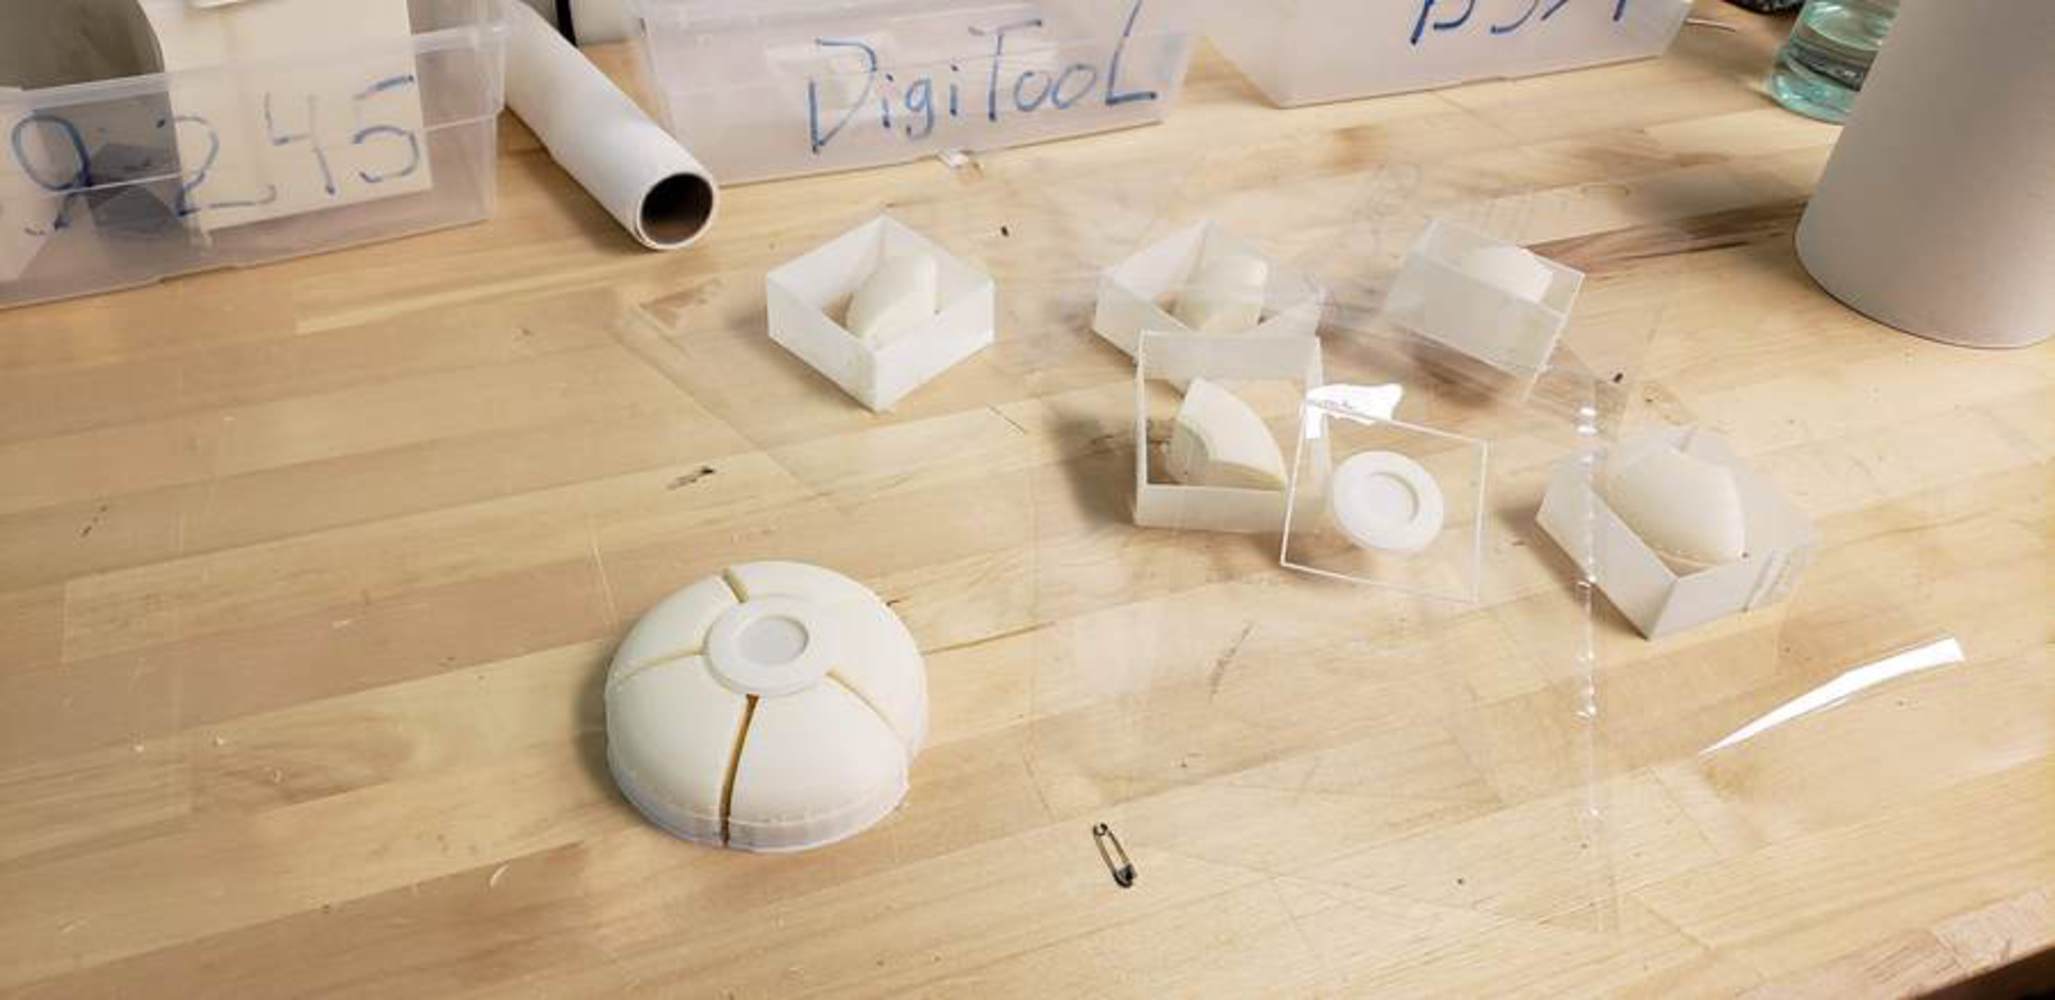
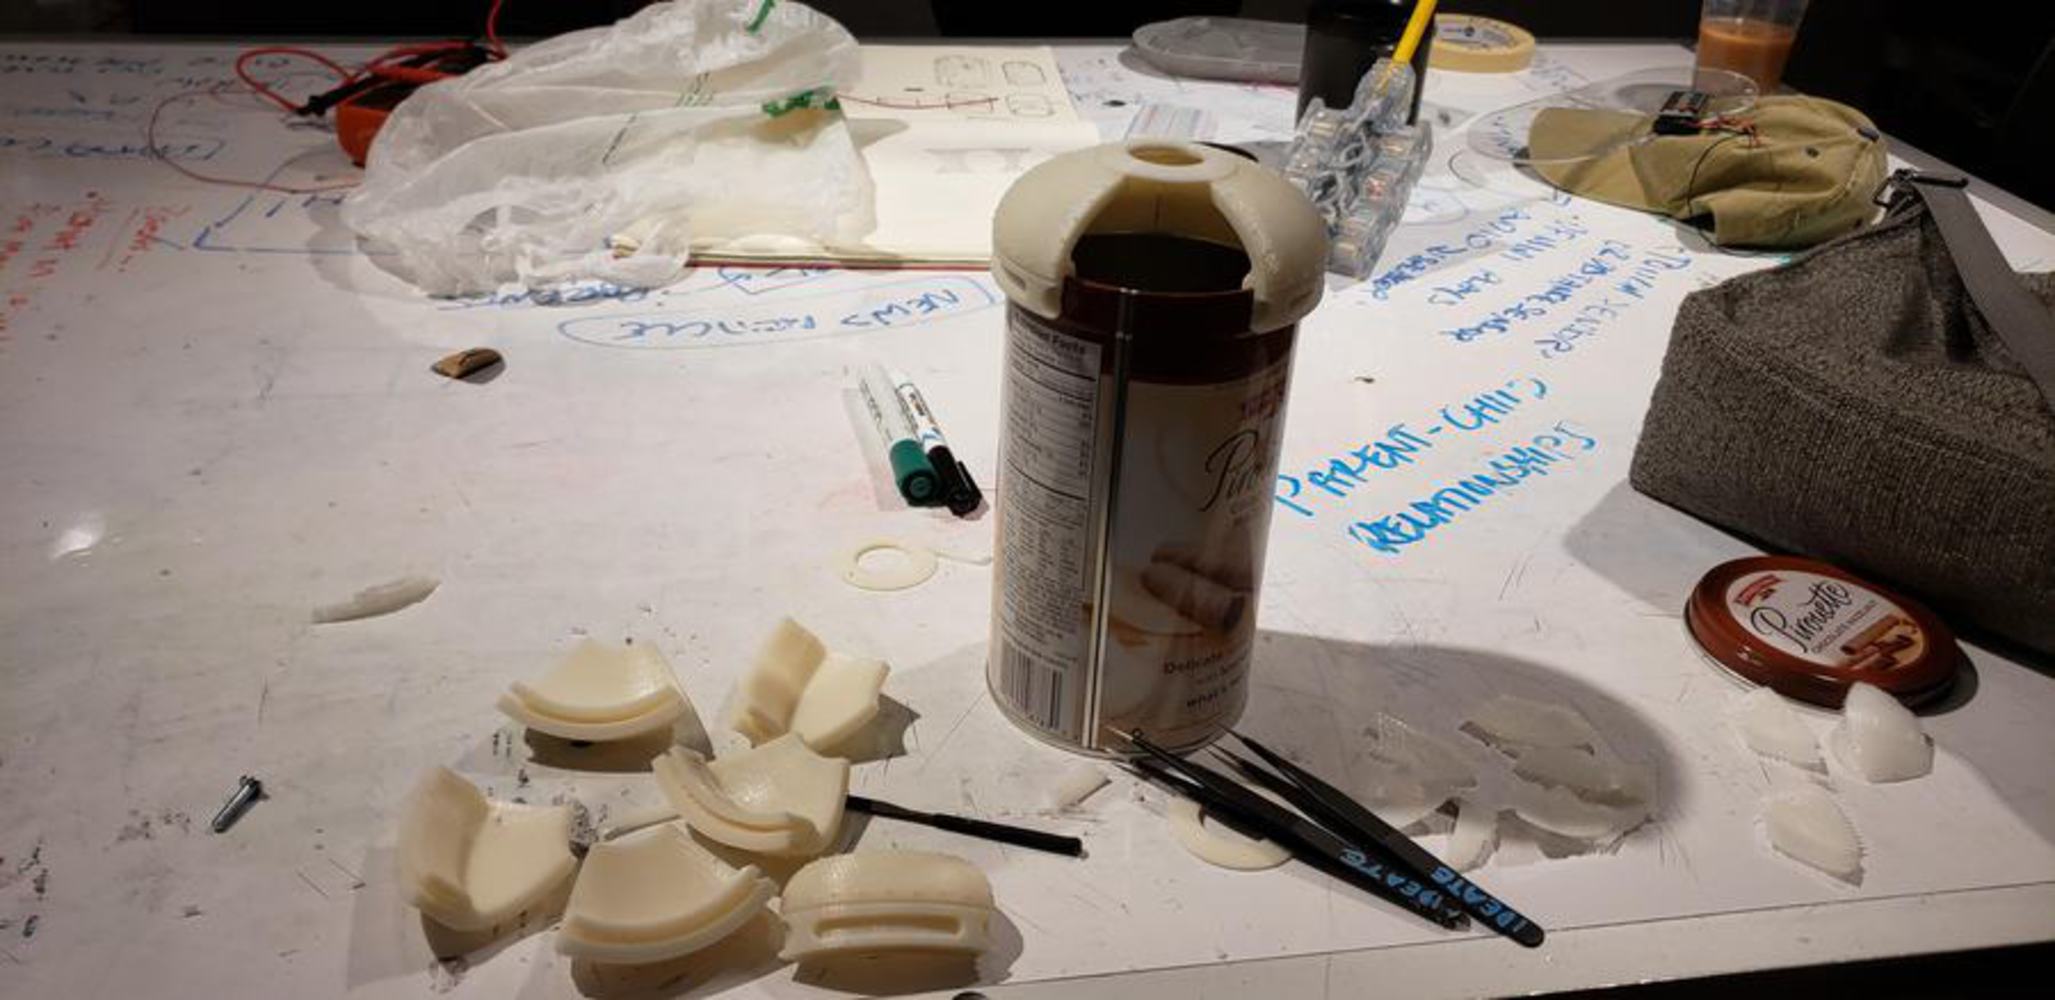
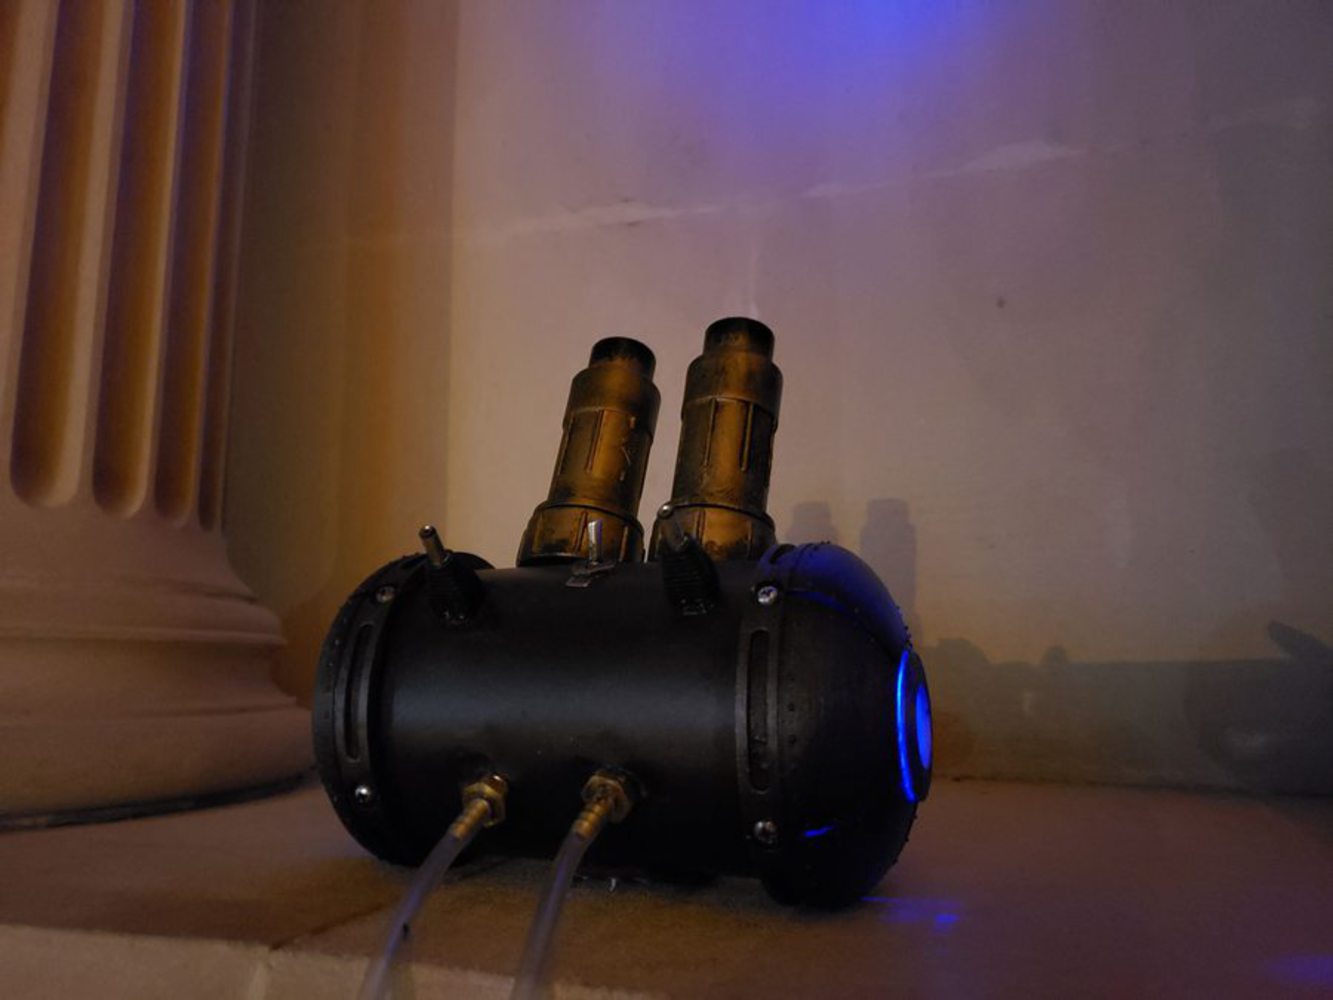
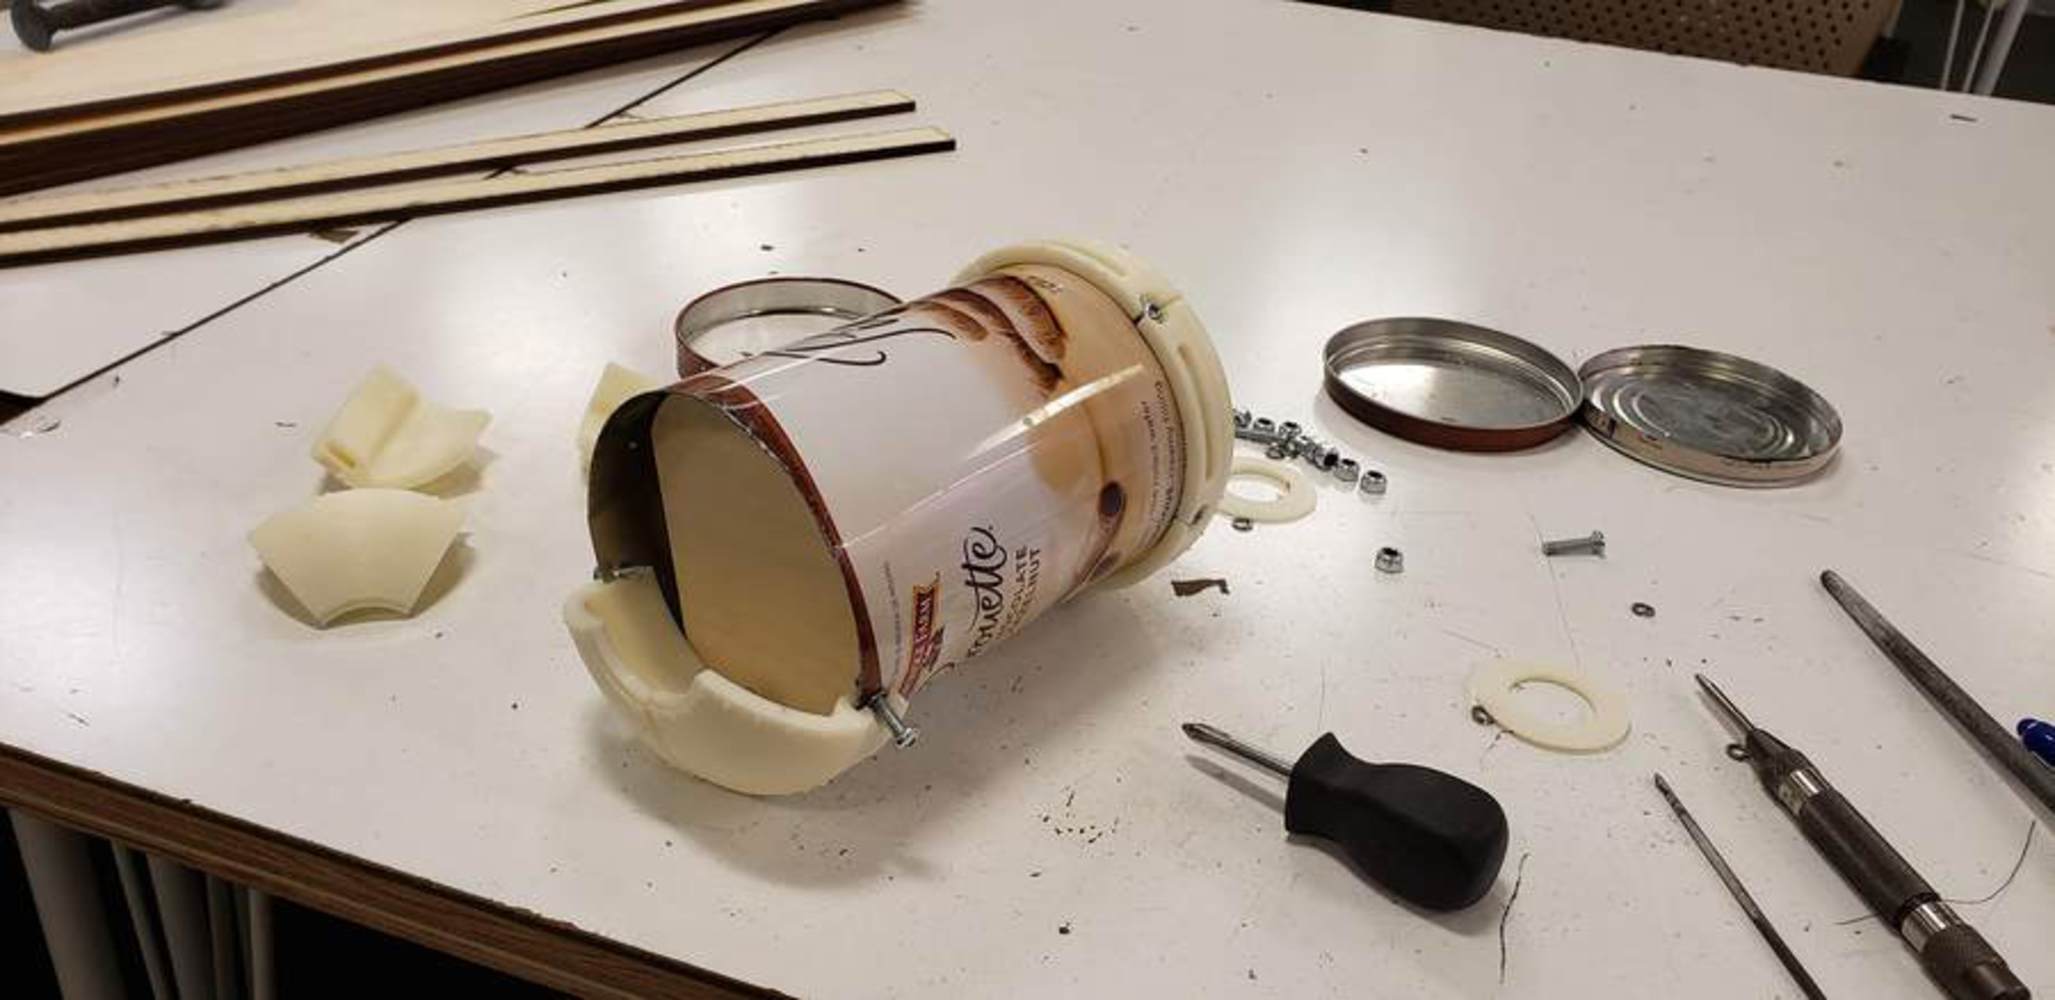
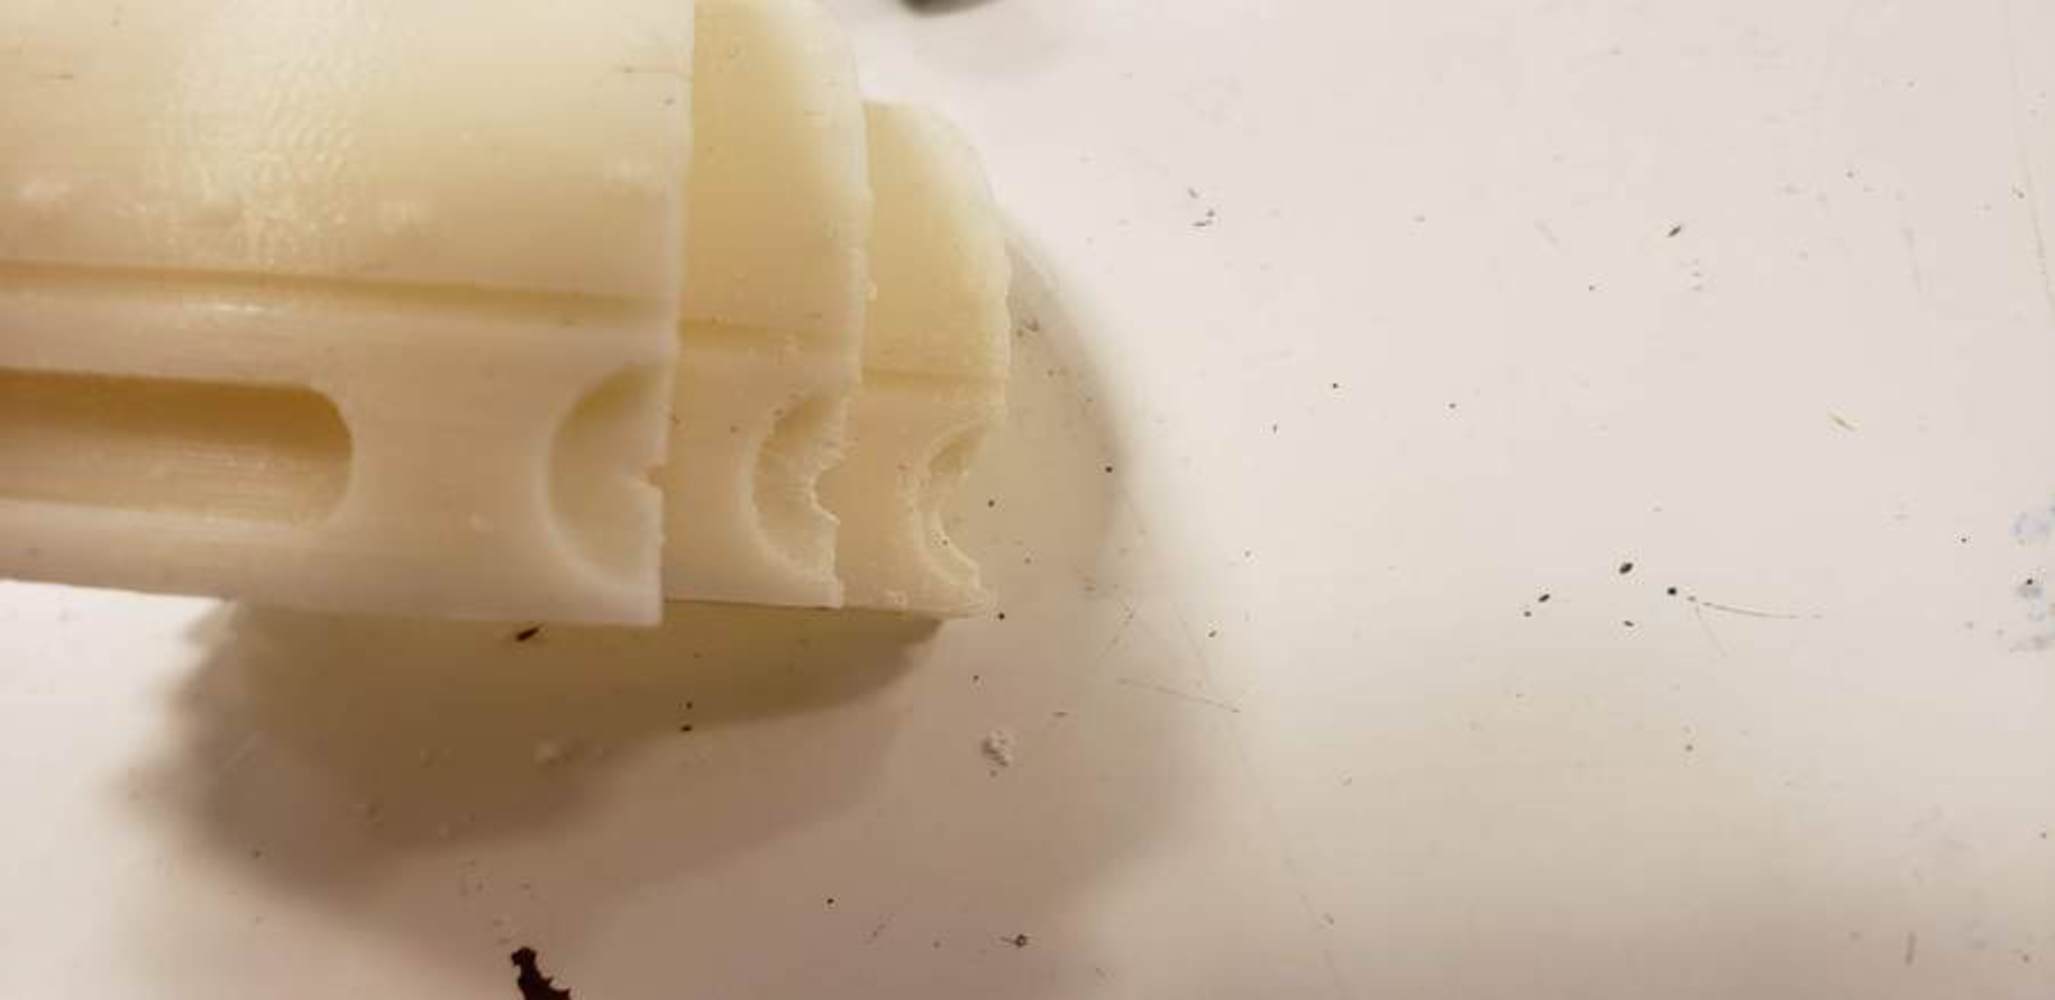
The fabrication process started with a Pirouette can, measured with calipers, and built on top of in cad. The Stratasys printers were limited to a 4" x 4" print bed, so I printed it in segments that were meant to evoke riveted sheets of metal. The parts were washed in the parts washer, and I ultimately decided not to filler prime and then sand the parts due to running low on the paint itself, and to cut down on the time it would take.

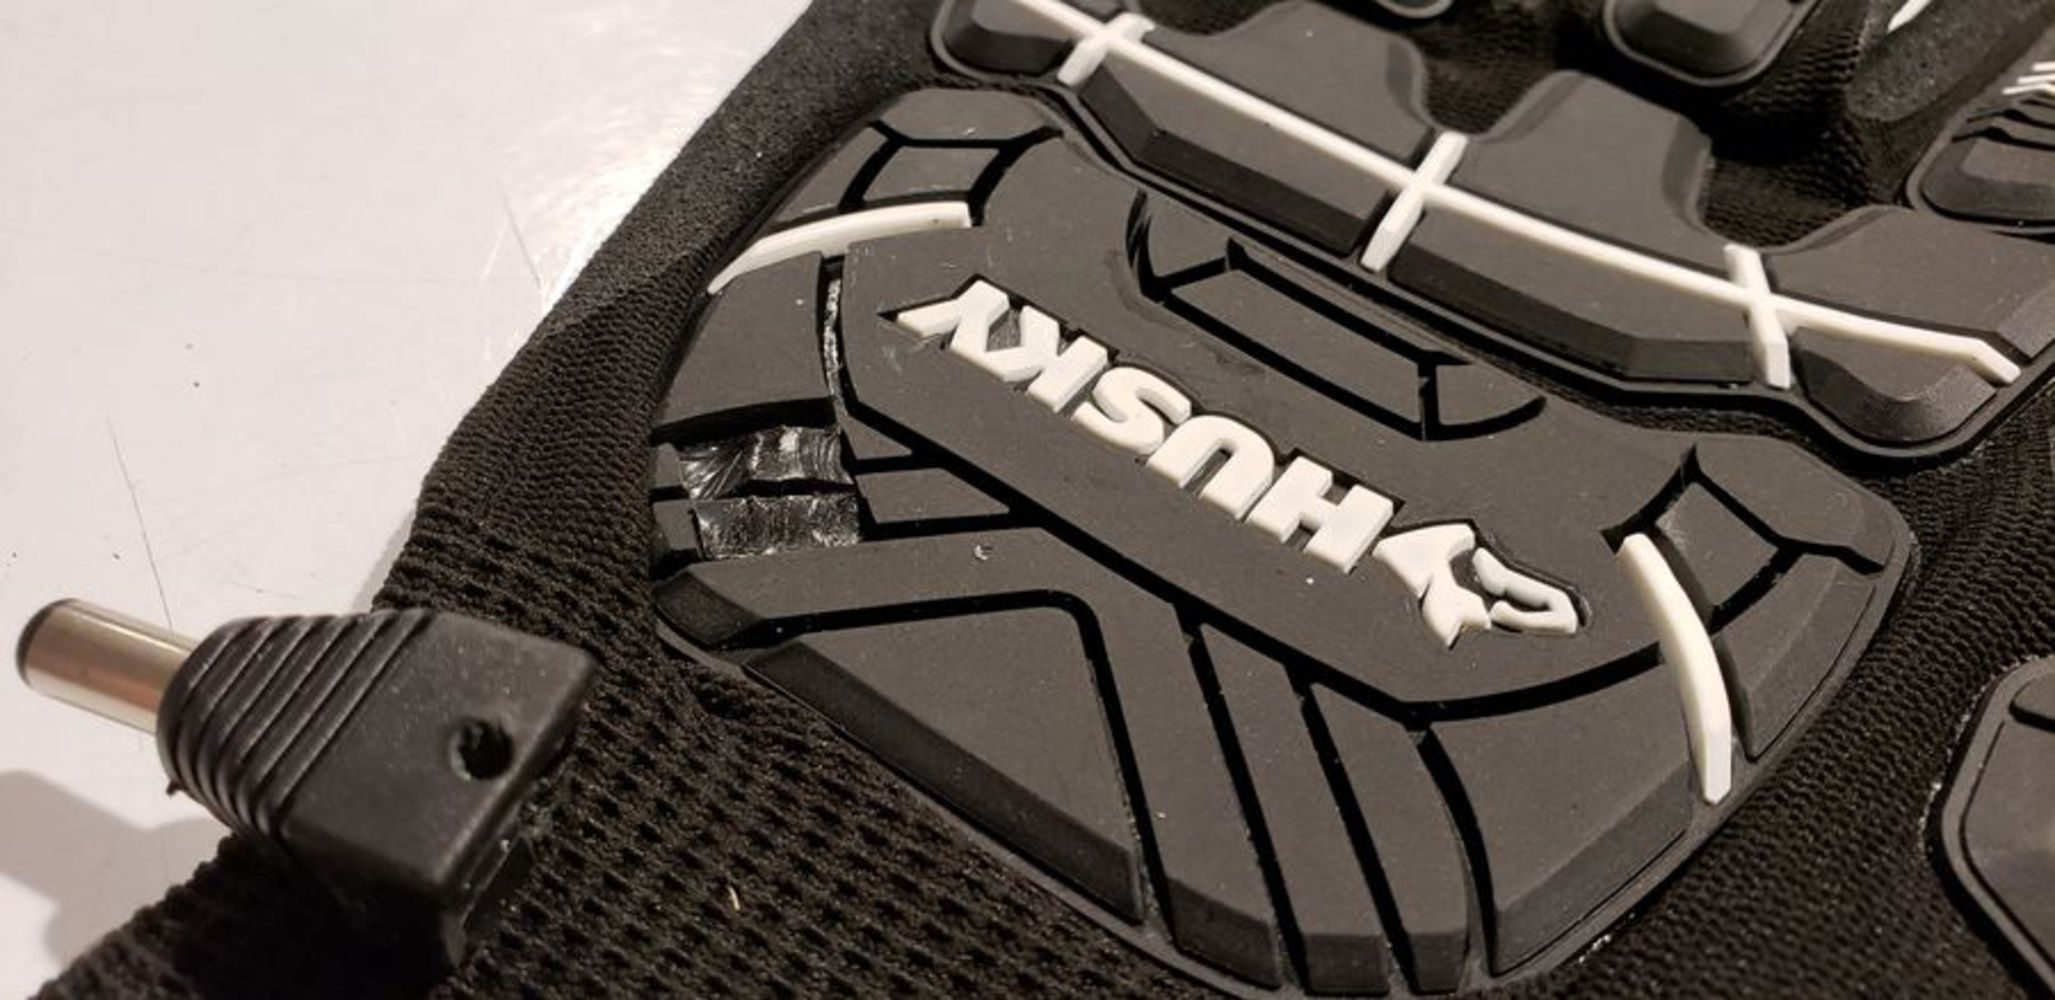

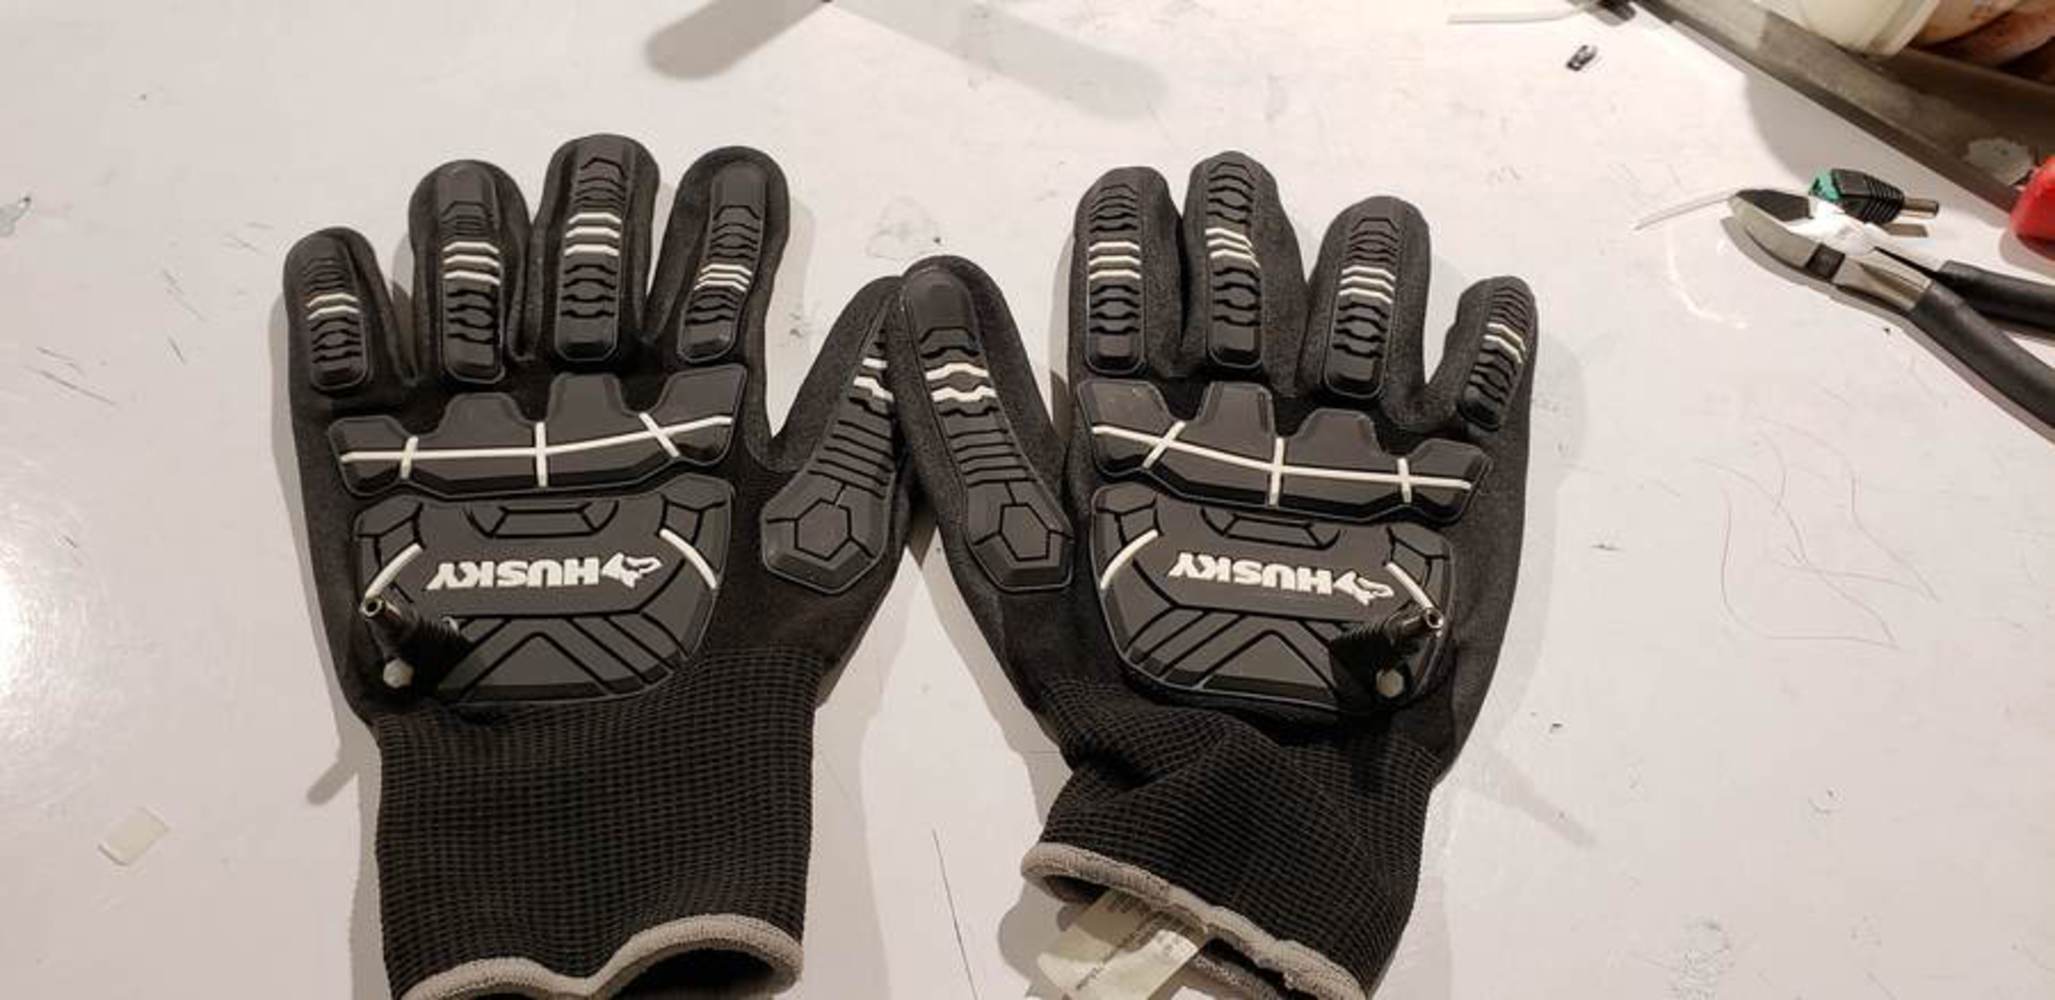
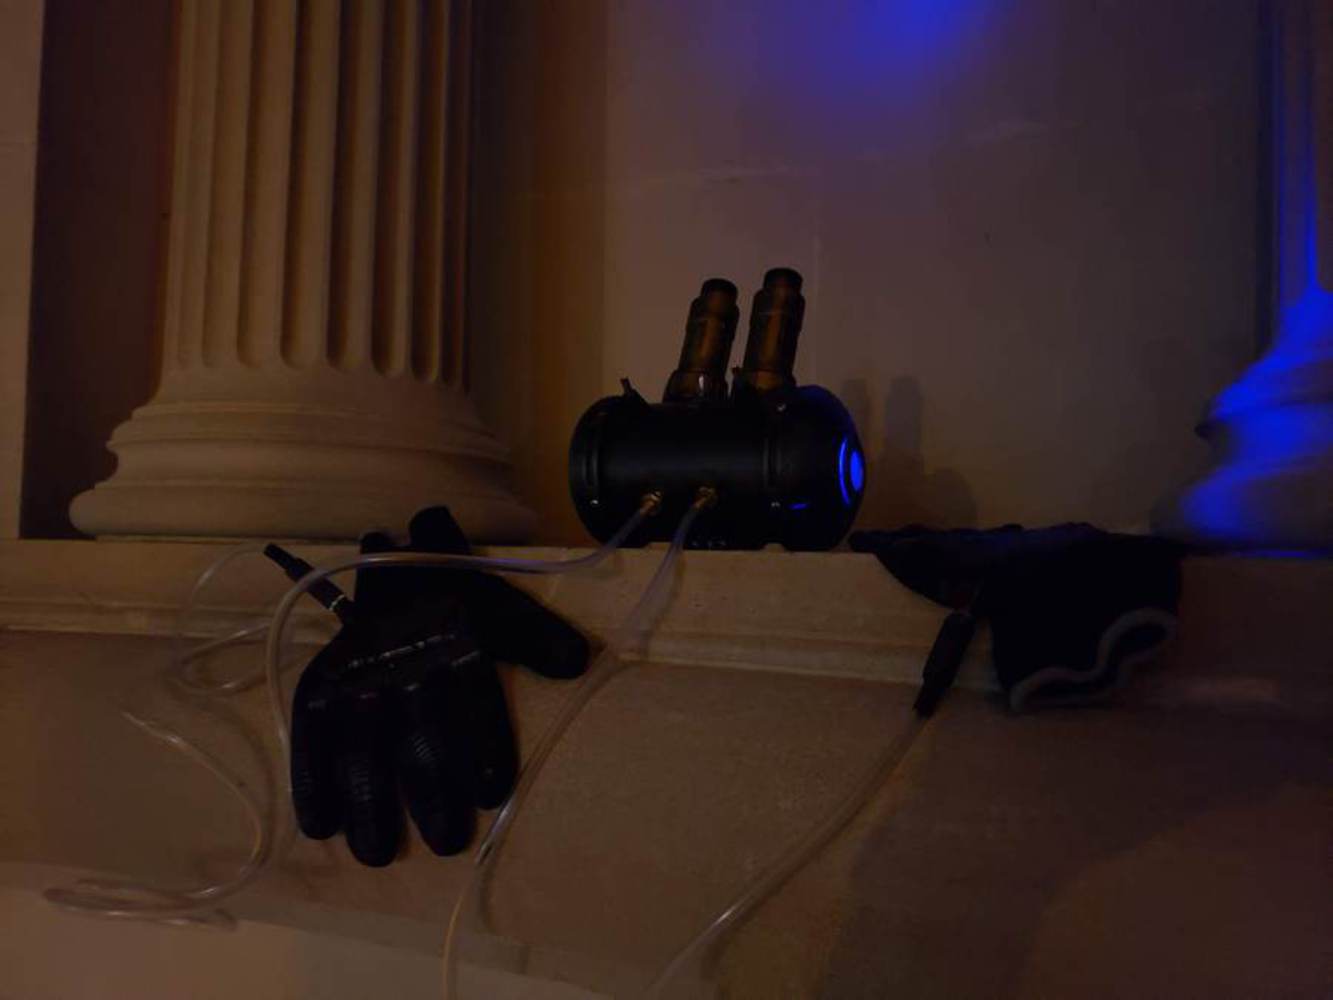
After a quick run to Home Depot and $30 later, we have some hardware and a pair of gloves to work with. Some of my earliest thoughts on this project had them as a pair of gloves with some built-in electronics, and I gravitated back to that idea as I worked, since my design process comes out of making and seeing what's around. Step 1 was to rig these gloves up.
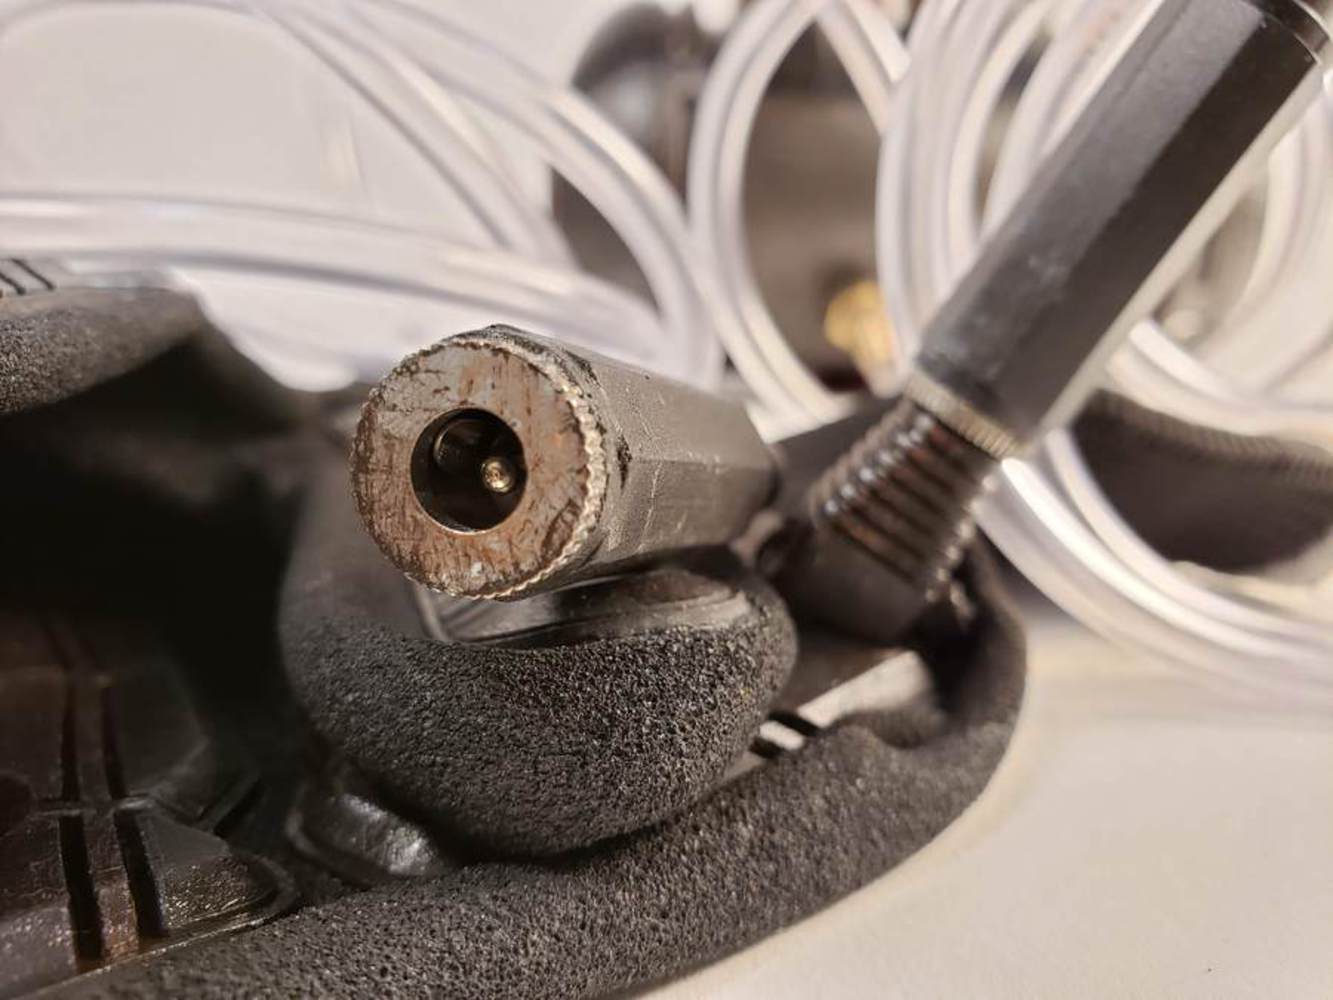
Physical Computing had some female barrel jack connectors that looked perfect for the end of the tubes that'll come later, and while they didn't have the male ends, they had these things, which were the perfect size. They were cut down to a better angle and installed into the gloves through some creative cutting, drilling, and application of zip ties. Zip ties are one of a maker's best friends.
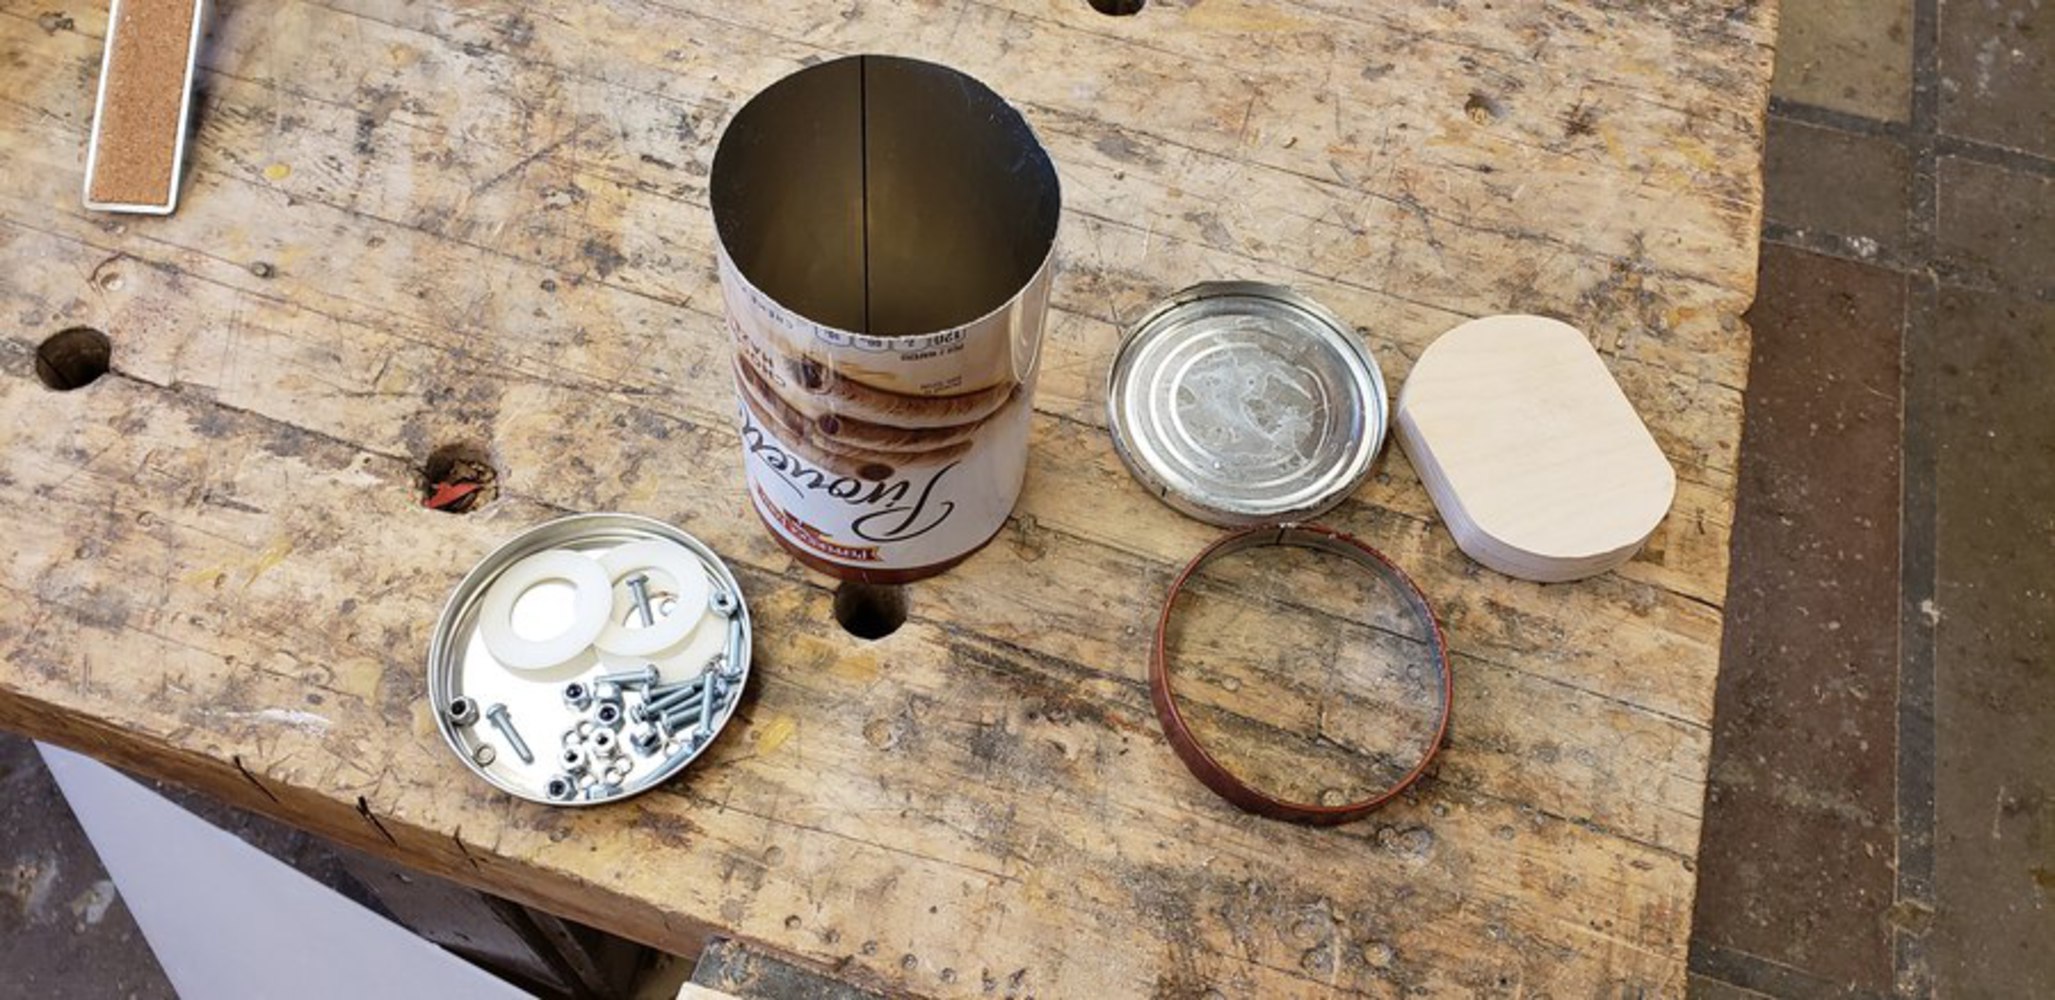
The tubing was plugged on one end using epoxy putty, and actual plumbing hardware was installed into the can itself, so that the gloves could be connected to the can, but also disconnected. The tubing was measured to be a good length so that they wouldn't impede my movement, but not much more than that.
Cue a quick stop at woodshop for sanding the pieces for increased adhesion, and we can move onto the painting! I got to use some leftover Rustoleum Metallic paints, which are some of my favorites. My #1 is the darker color, their "oil-rubbed bronze", and I also got to use some of their "aged copper". These paints are a rattlecan primer meant for basically any material, and produce a great metallic finish. While it's not chrome, it's enough to use on its own, or build up layers on top of that for some really complex finishes.

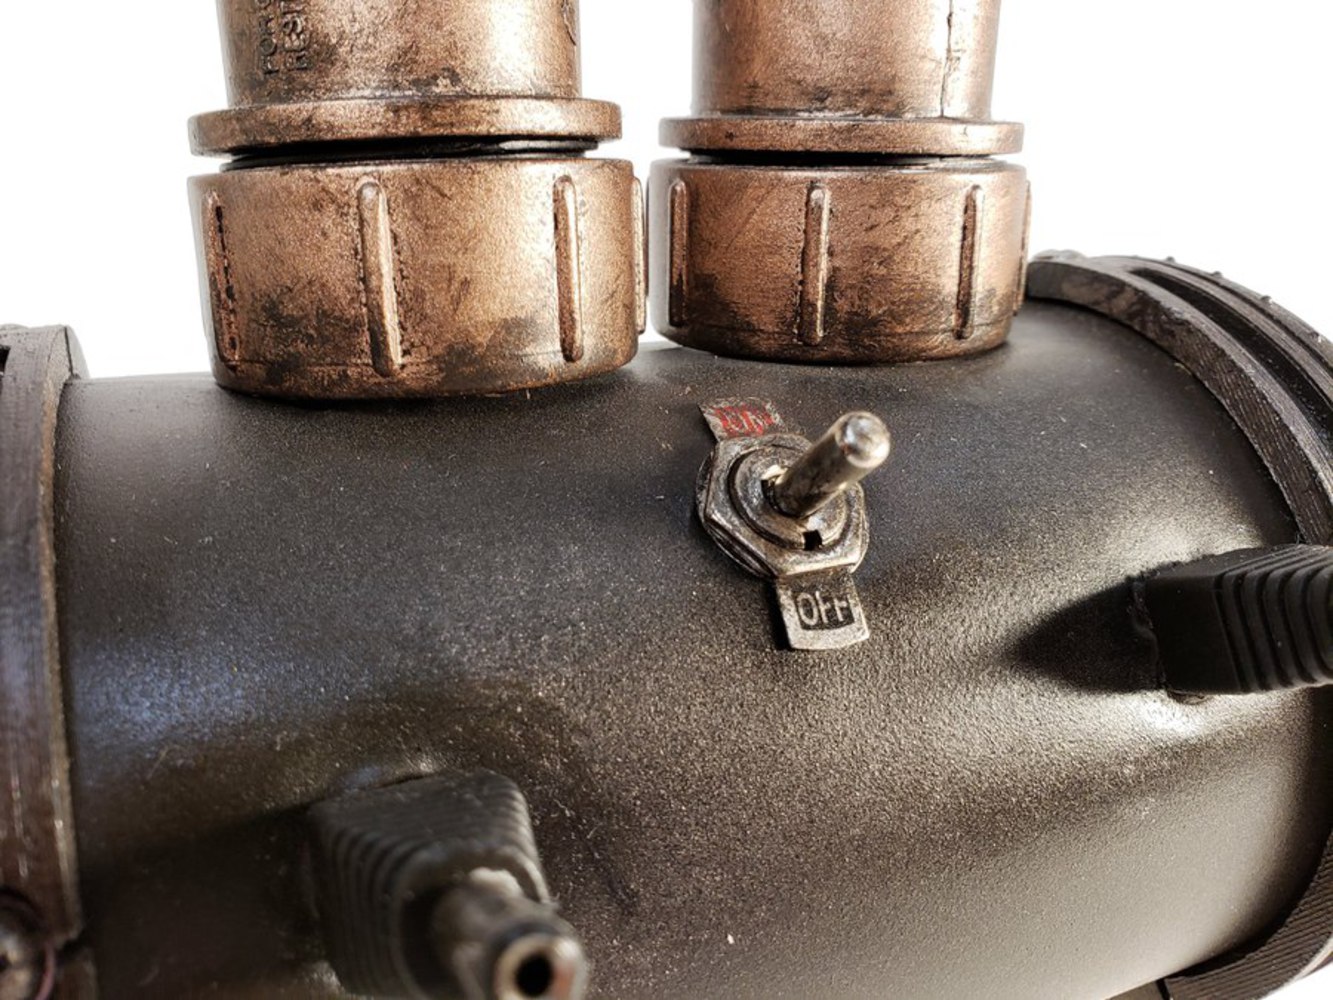
Then there was some wiring. It adds a lot of weight, and I really loved one of the on/off switches in Physical Computing. However, I noticed a flickering light, which doing fixes turned into two lights that were off, and fixes to that became all the lights burning out. It's a good reason to not use conductive tape in your design so close to the wiring. Honestly, that one's on me, but I could also replace it all with a bit of elbow grease. Silver lining: I had everything documented. As they say in Architecture - "Document everything"
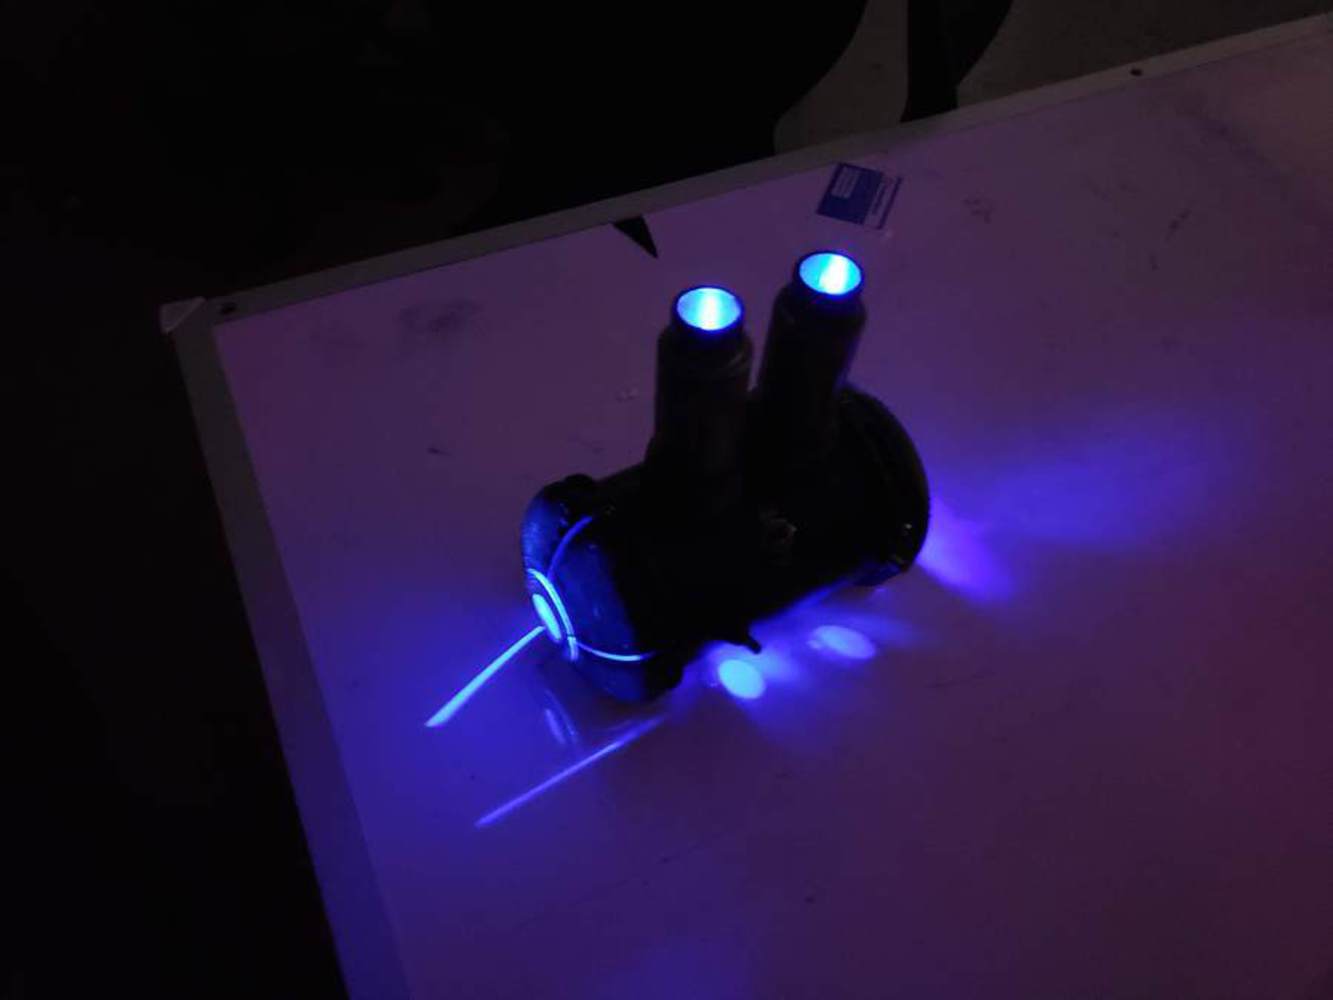
Looking forwards, this is something I'll likely be iterating upon. The vinyl tubing is already almost watertight, and with some quick epoxy or even just hot glue plugs, I could fill them with a UV or glow-in-the-dark liquid, I'd just want to do some material testing to make sure it doesn't stain the tubing. Additionally, the lights are on a super easy to swap platform, and I might try to change the pipes back to a flickering red/orange at some point, and I could always use addressable RGB LEDs if I want some extra versatility. I could also add in a small bluetooth speaker to play sfx or something like that, and I do wonder how the acoustics are, given that the original can worked so well as a drum.
You can upload files of up to 20MB using this form.