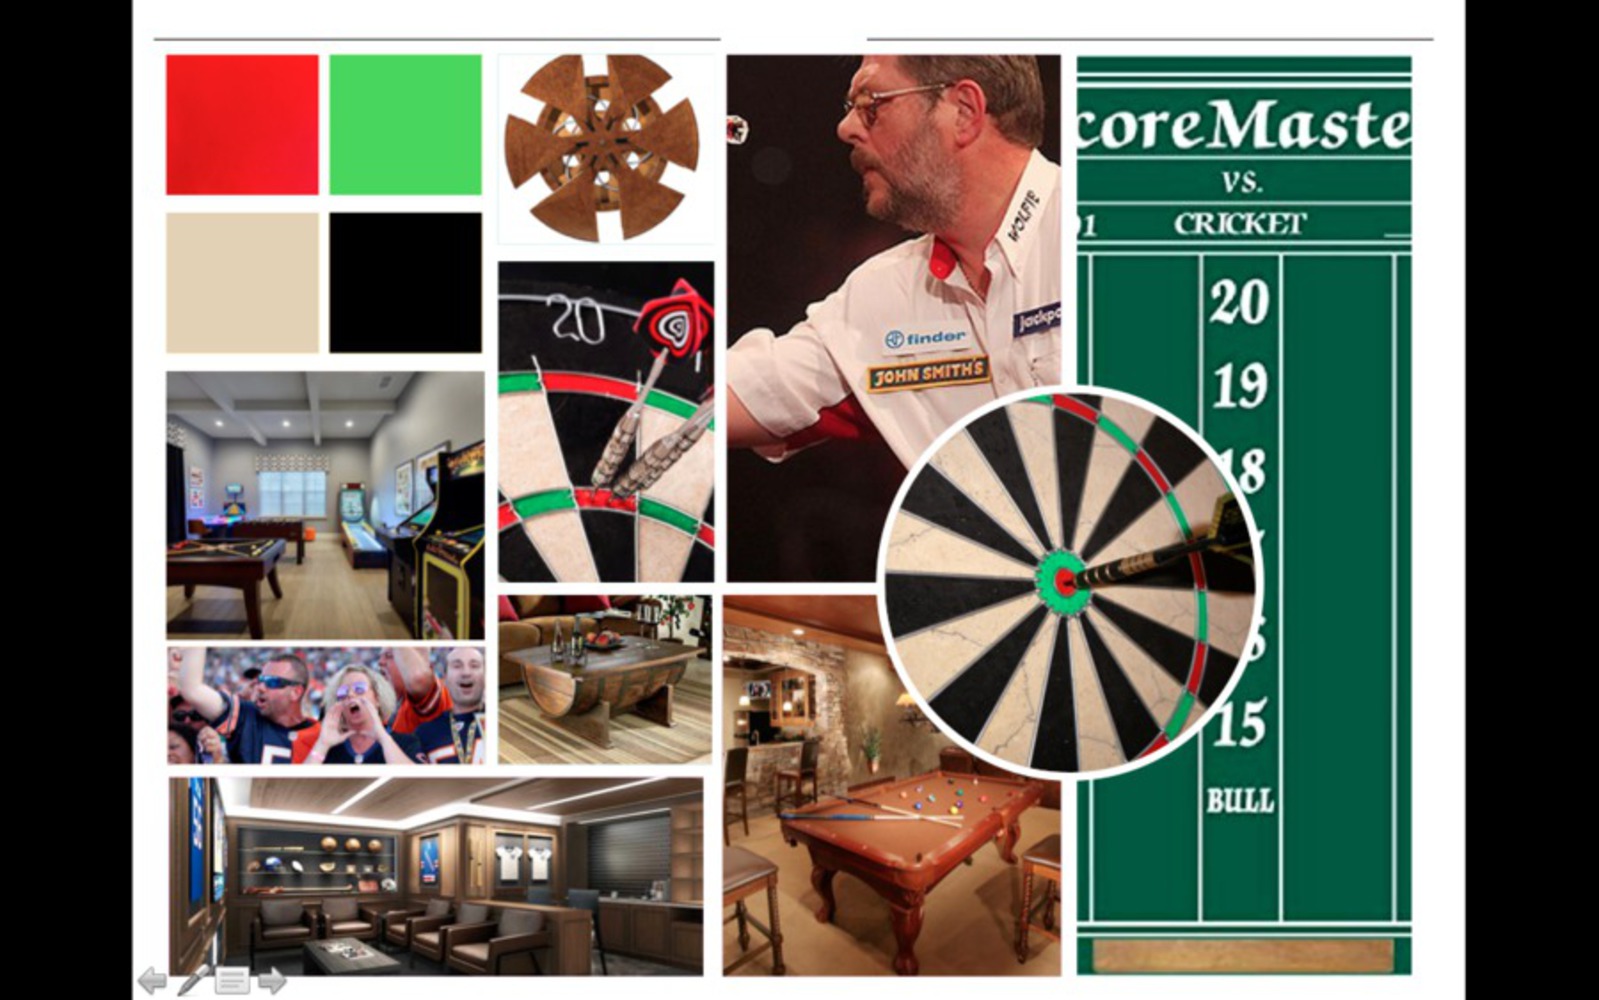
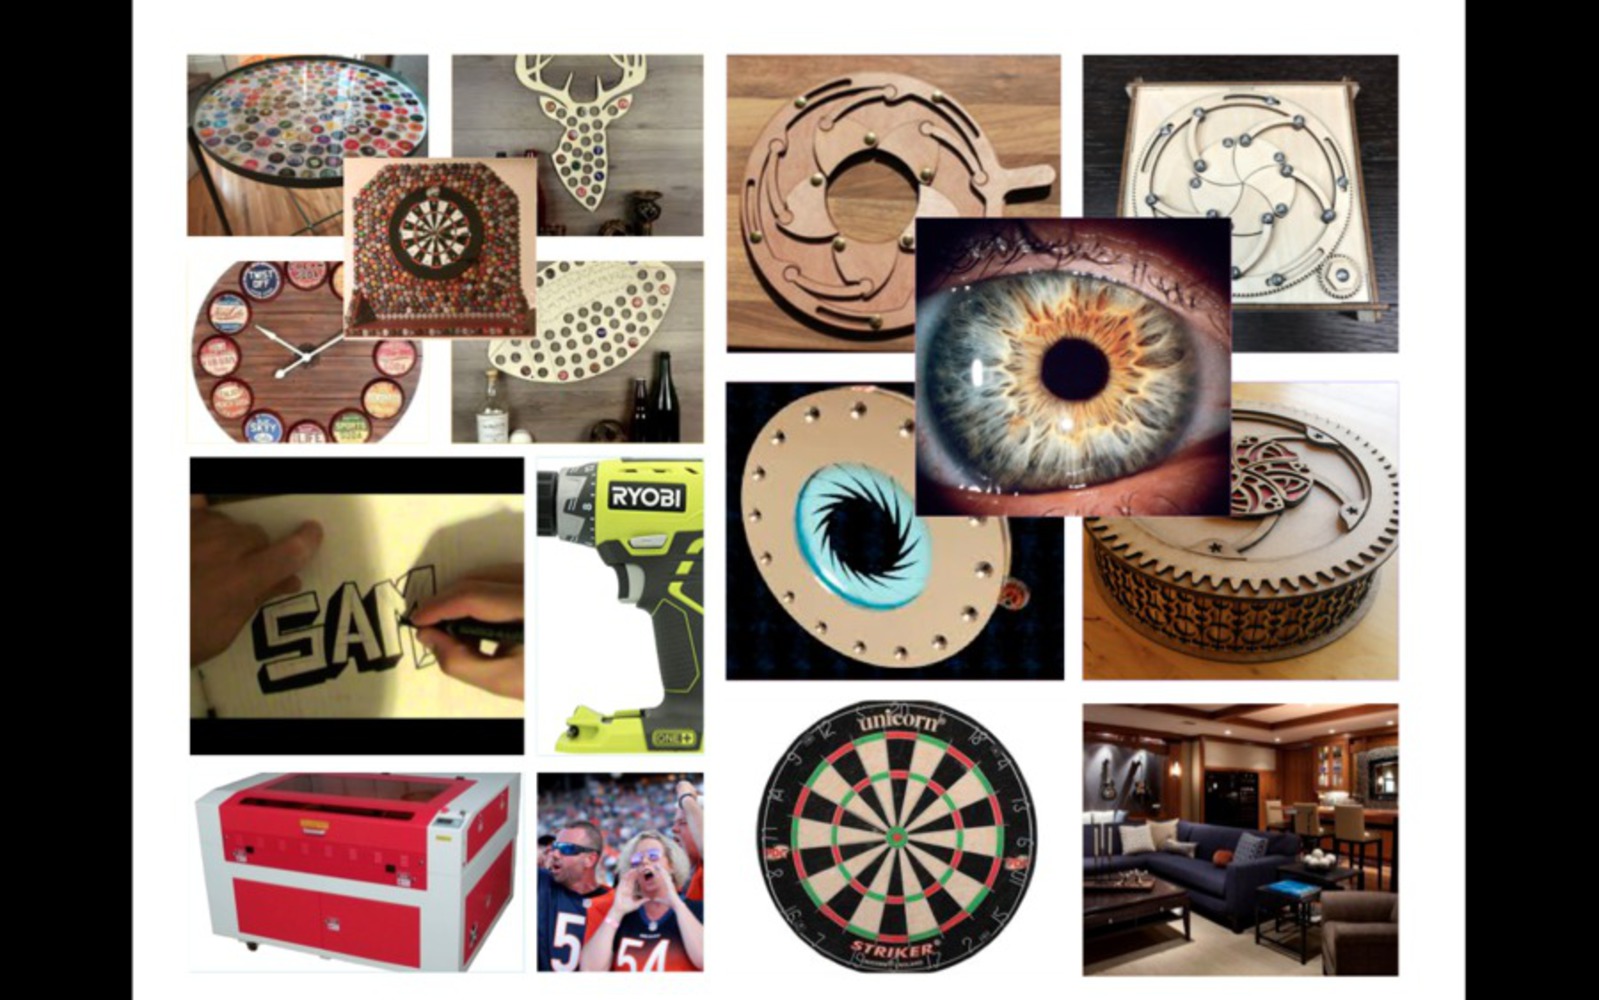
The following pictures, moodboards, product flyer, and video will walk you through how I came up with my idea, how I designed it, and how I manufactured it. I started off brainstorming fun project ideas, moved onto Solidworks to design, protoyped, made mistakes, refined my design, and landed on a pretty fun final product that you can see below.
Outcome
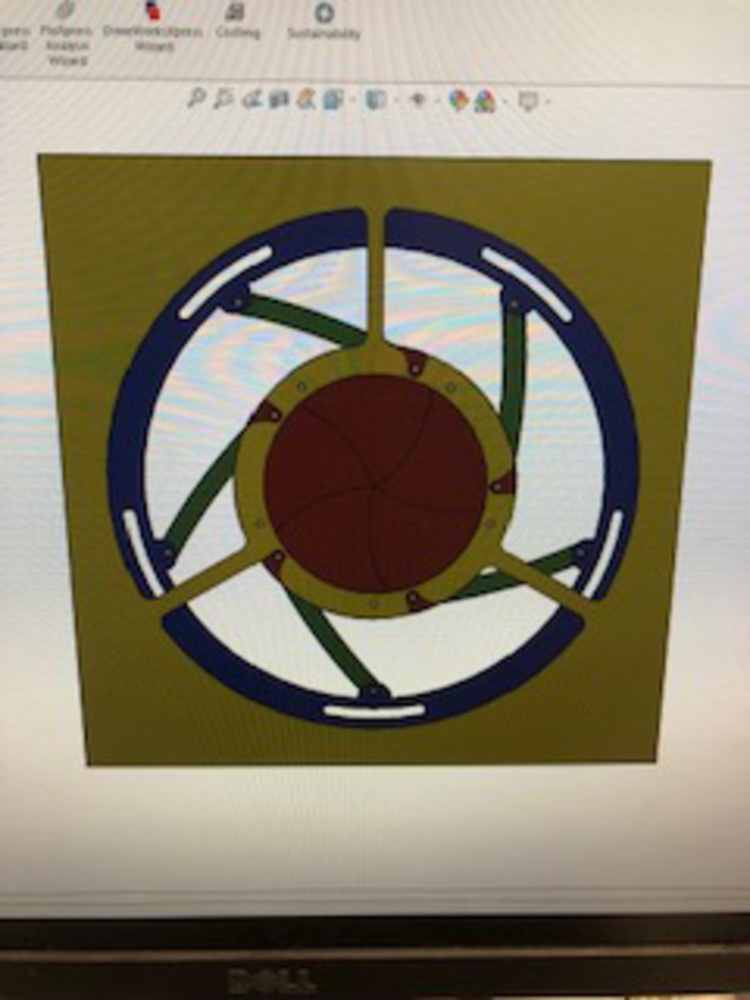
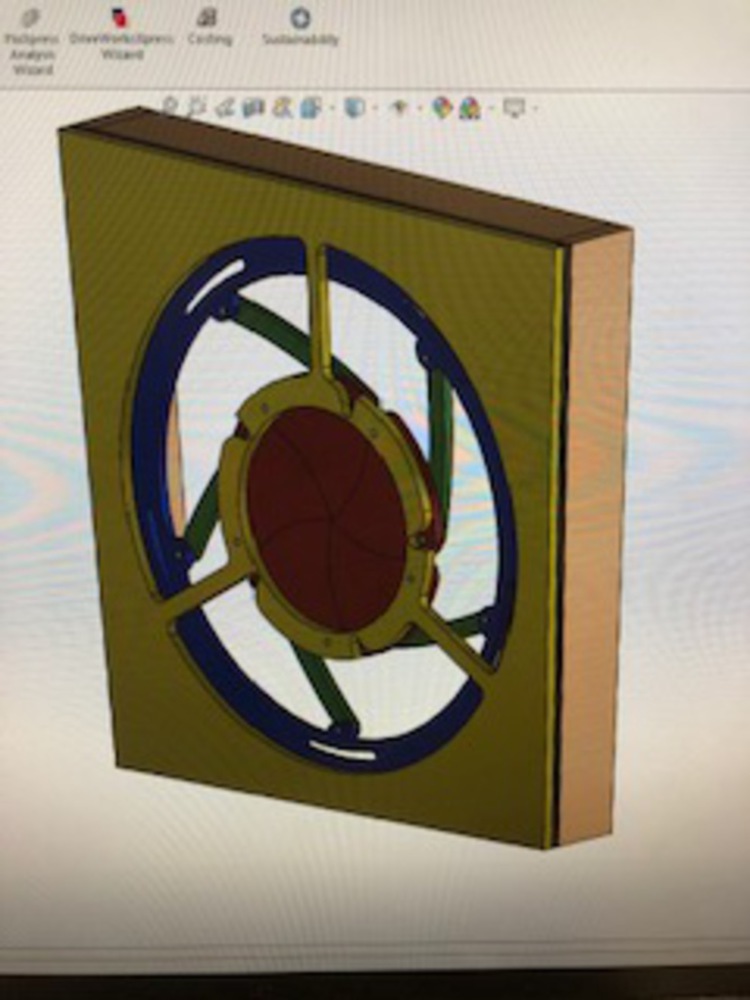

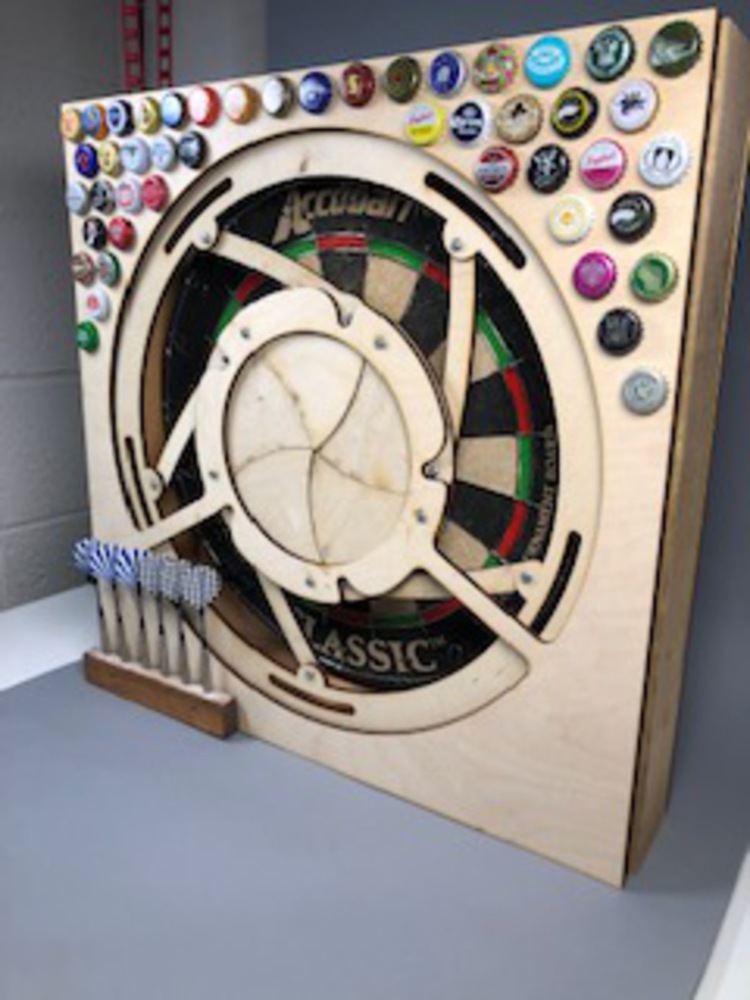
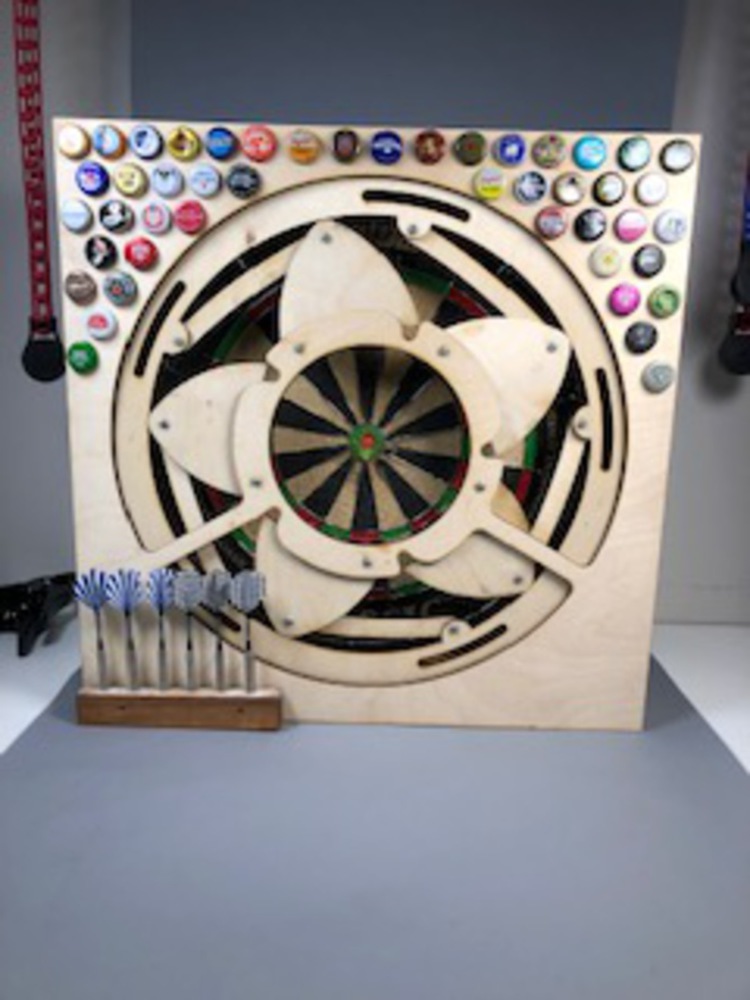
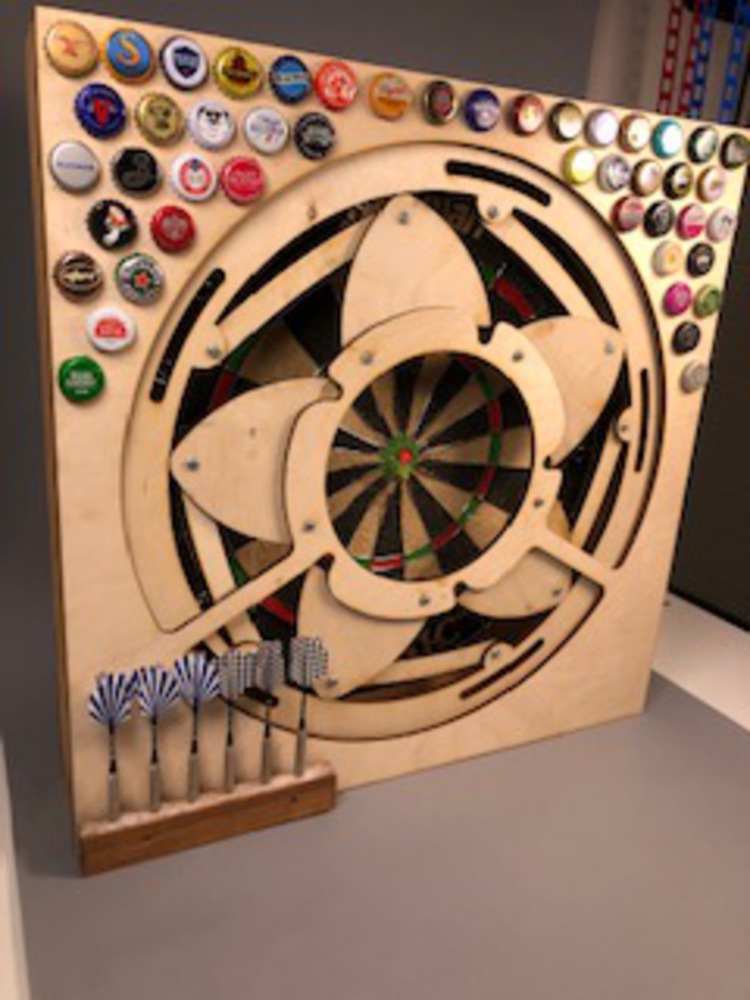
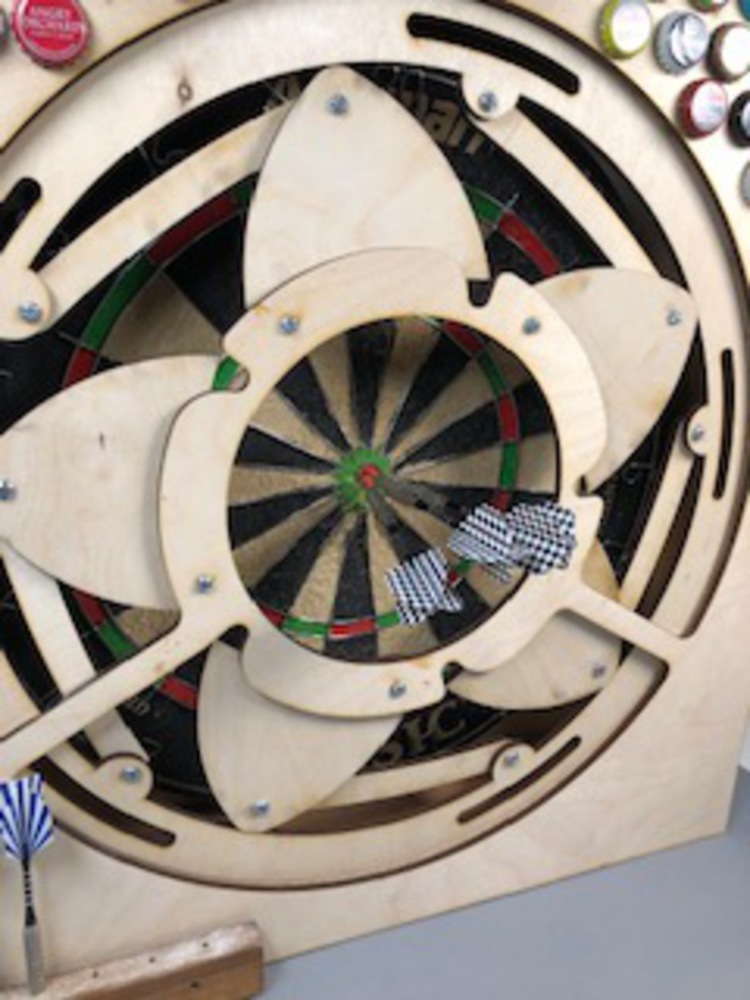
I began by designing the iris in Solidworks. This was a bit of a challenge. I needed to make sure everything was dimensioned properly and moved smoothly. Each time I laser cut a part and it didn't work out, I would have to go back to the drawing board and make tweaks to each part to account for tolerances and other design changes that would improve the product.
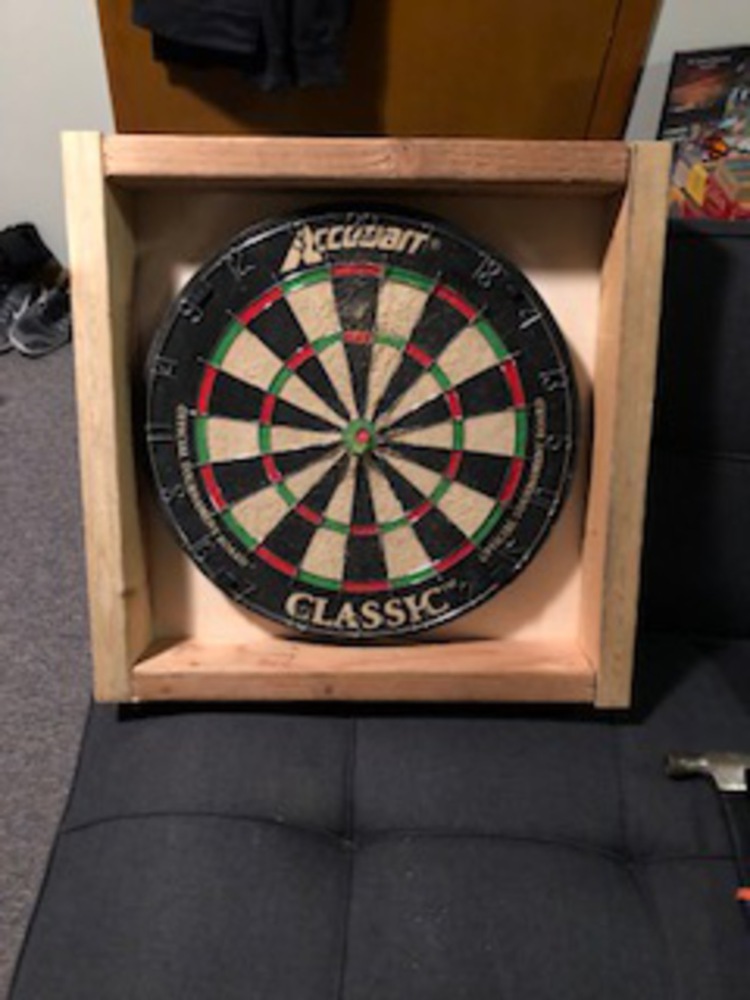
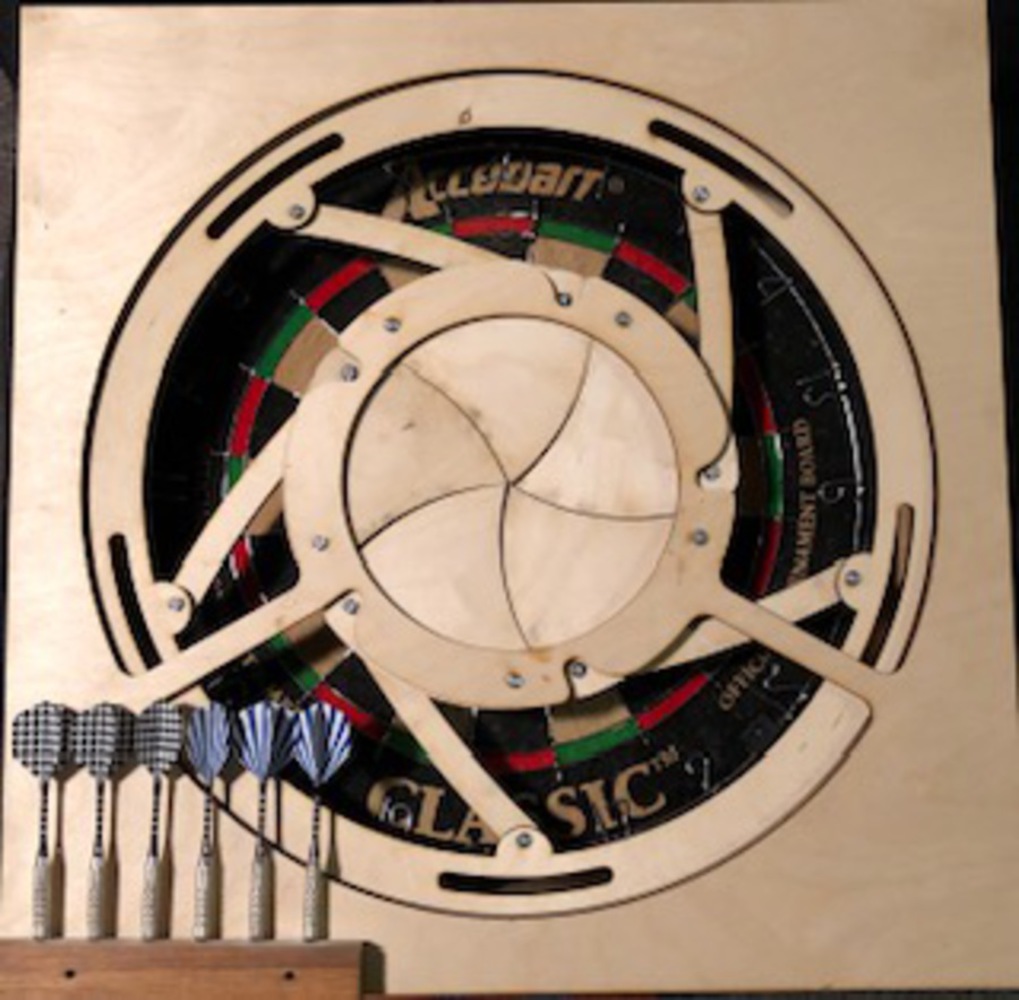
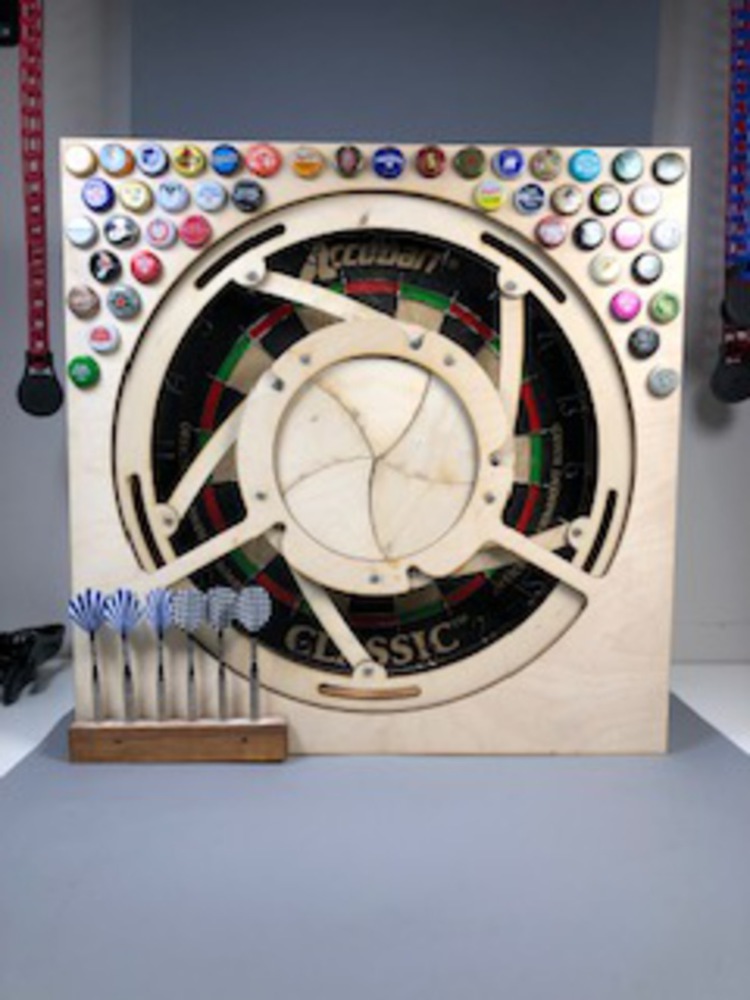
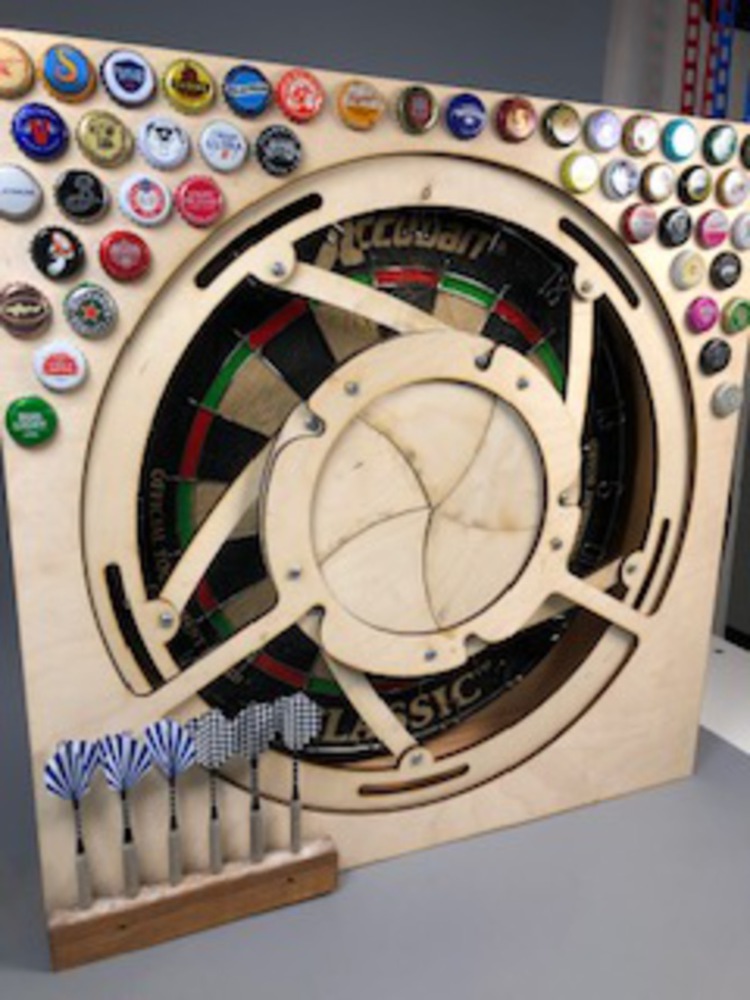
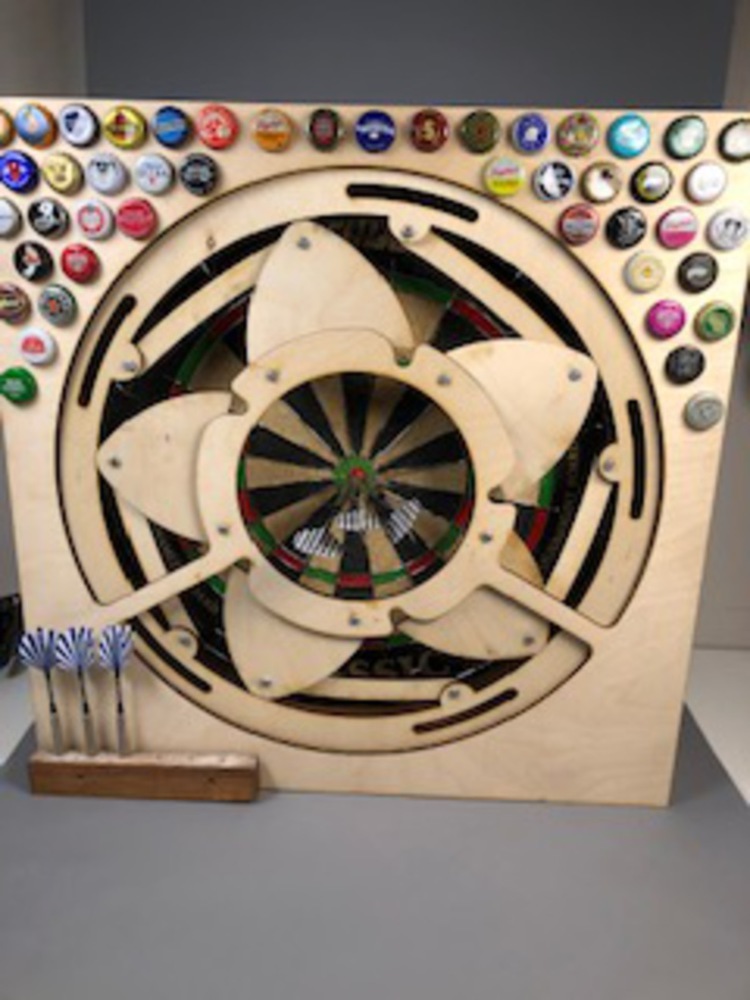
I then made the surrounding box for the dartboard. This was pretty simple. I laser cut the back piece to be exactly 22x22 inches. I then attached 2x4 planks to the sides for stability. They were the perfect width to allow the dartboard to fit nicely inside. You can't see in this photo, but the dartboard is mounted to a U shaped bracket that a screw on the back of the dartboard sits nicely in.
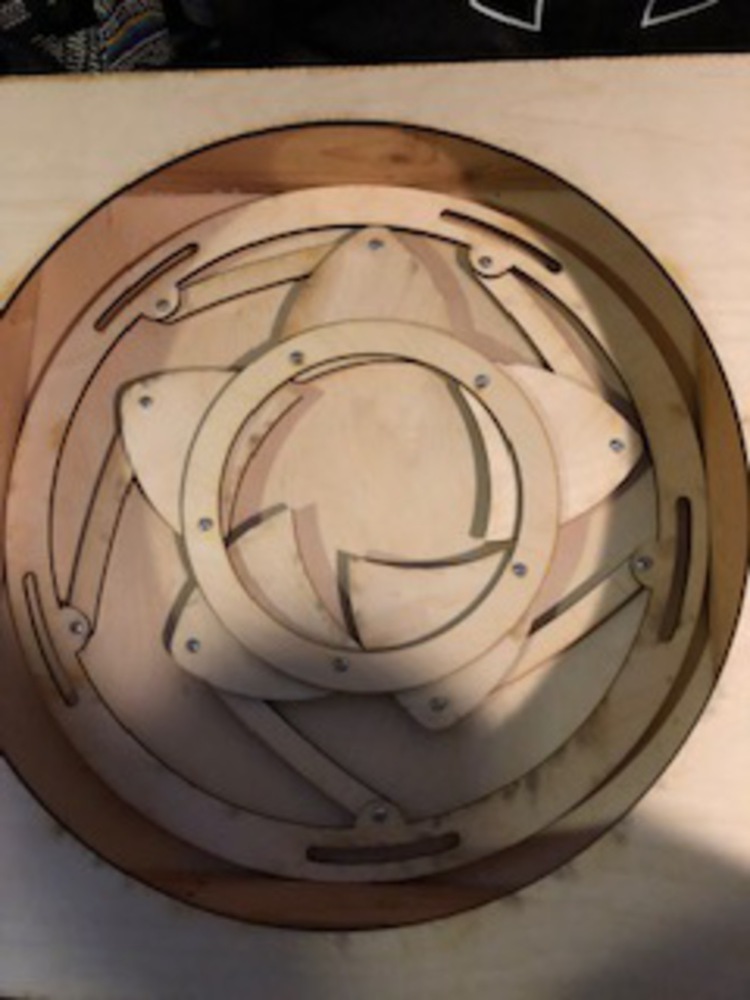

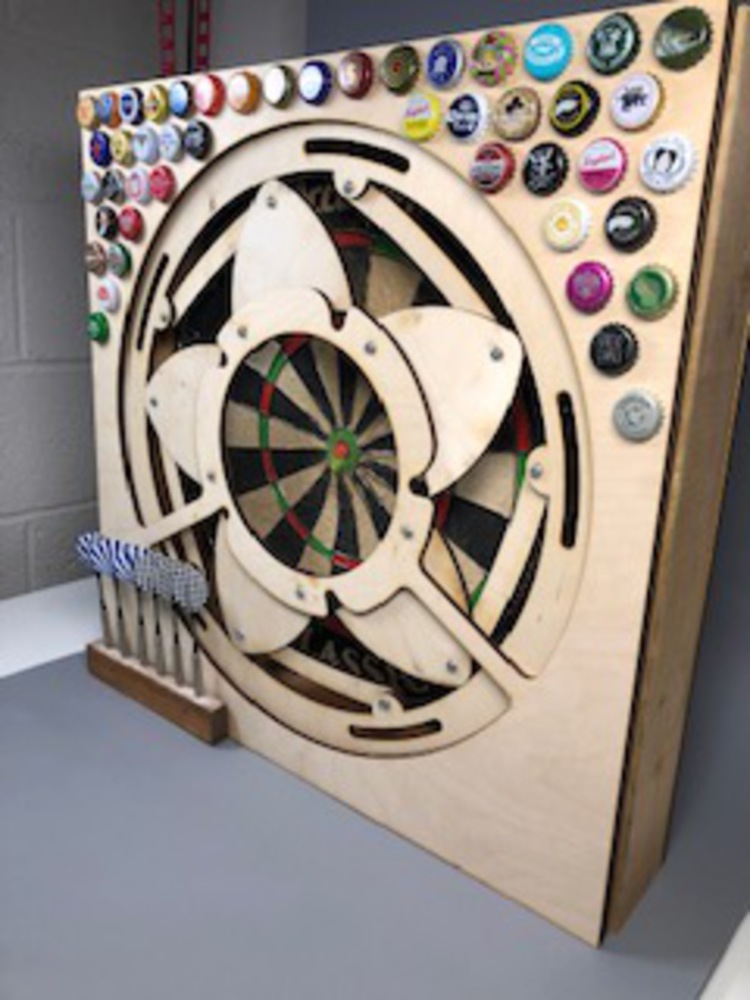
After a bunch of iterations on the center mount and outer mount, I landed on this design. I had to think about the clearance of the bolt heads and the nuts when the iris is closed, open, and everywhere in between. I actually had to remove on of the supporting arms so that the iris would move more smoothly.
DIY_Product_Flyer.pdf
631.524 KB · Download / View
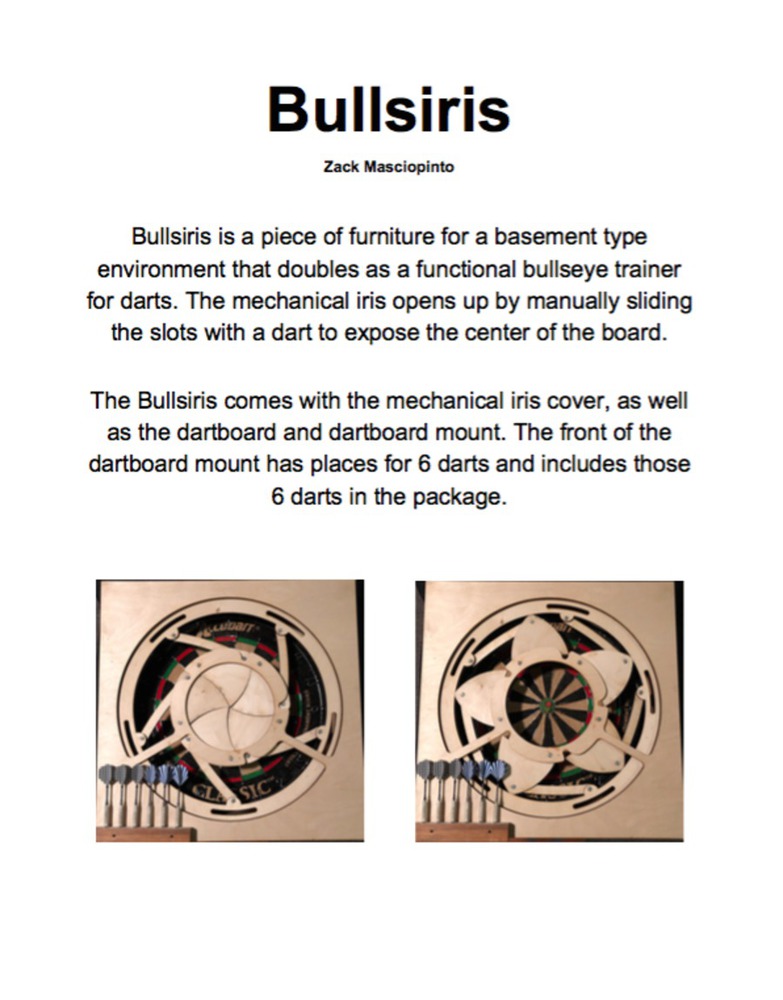
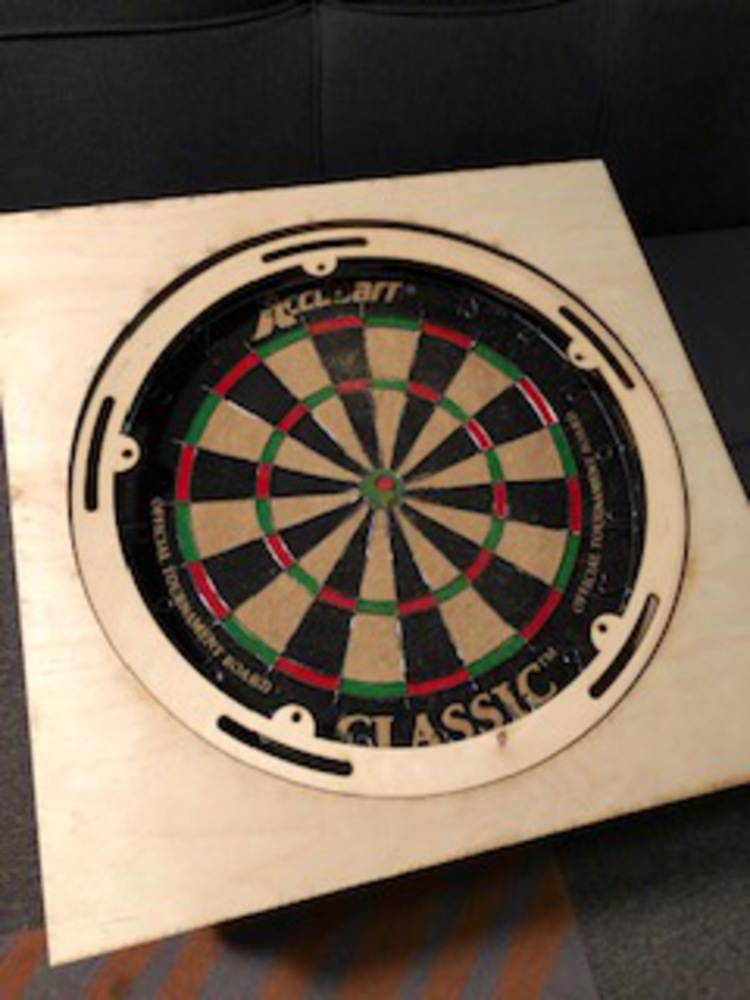
This is a video of me opening and closing the iris. In order to operate it and practice your bullseye shot, simply grab a dart, put it into one of the slots, and slide the iris open. Follow the same procedure to close. Usually the more force you use to close will result in a more satisfying visual.
You can upload files of up to 20MB using this form.