I was inspired to make this wall clock for my boyfriend's mom after our trip to the Wizarding World of Harry Potter in Universal Orlando. She kept the family together throughout our 14 hour visit to the park and told me all about how she would take her kids to see all the Harry Potter movies whenever they came out.
Outcome

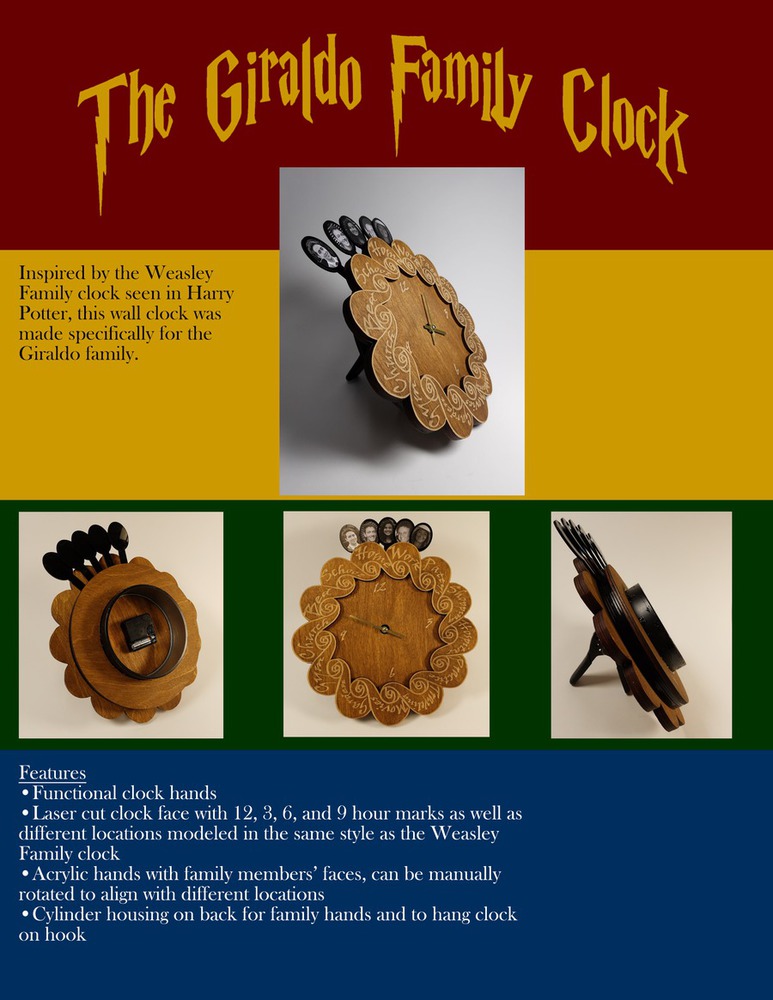
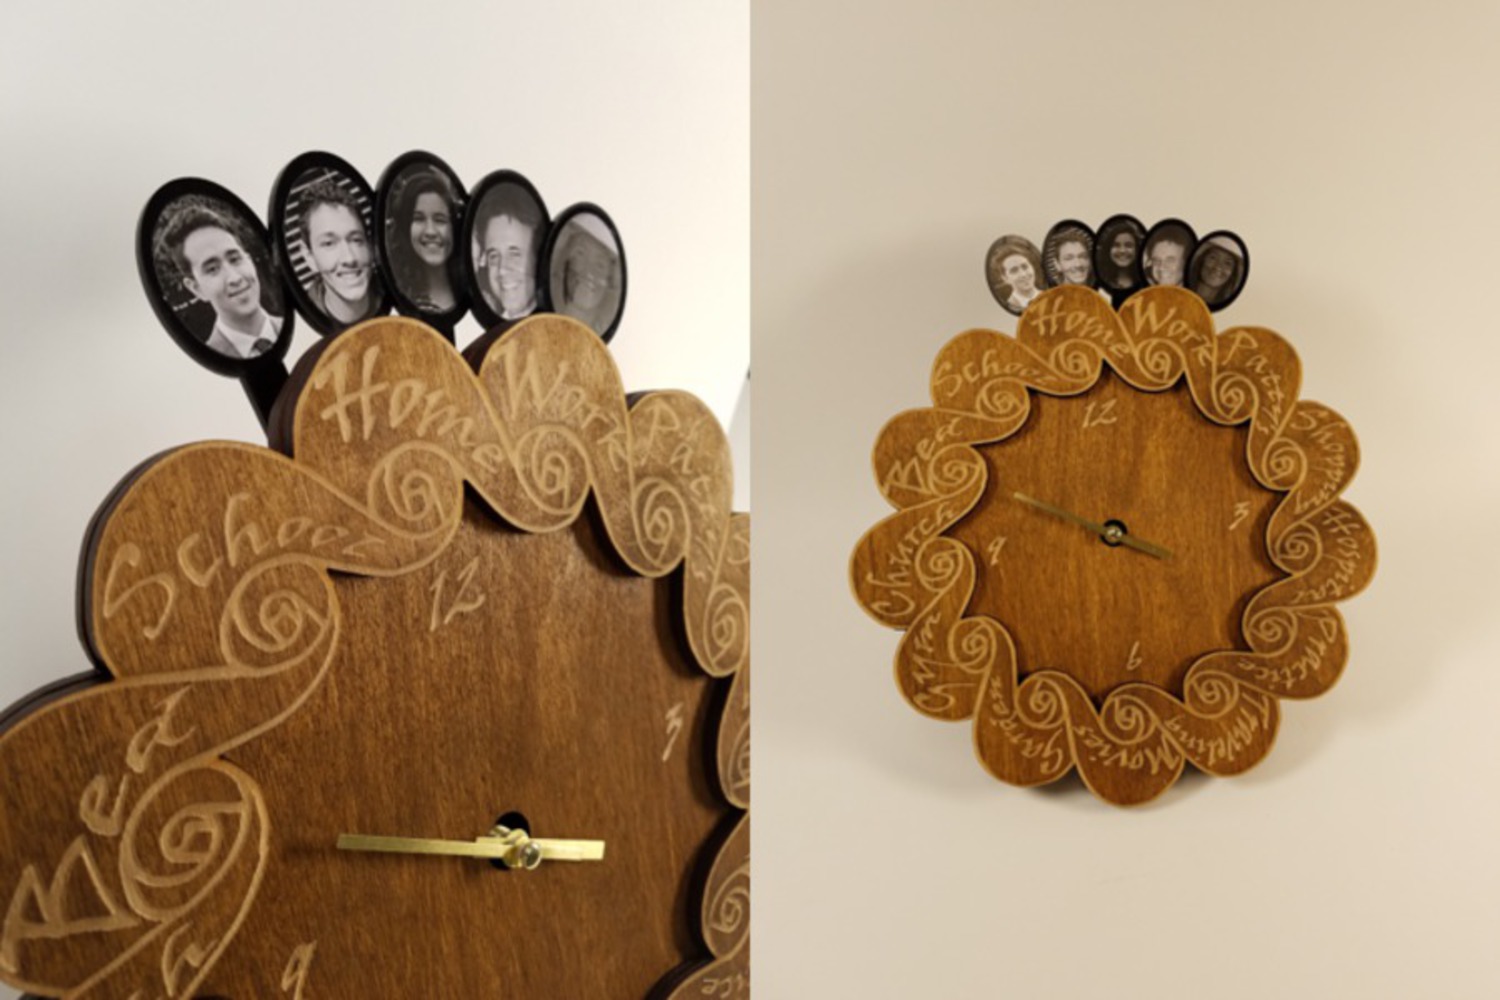
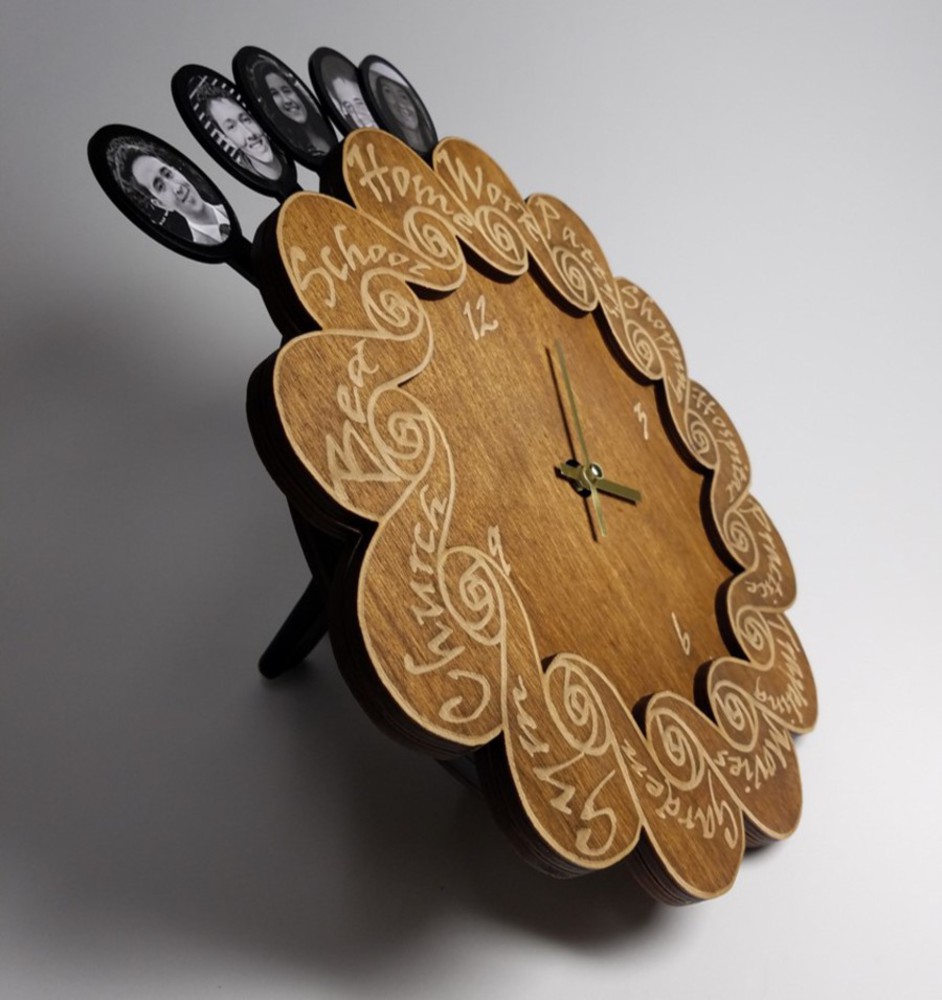
My goal for this clock was to make a finished product that could be hung up in her office that was easily identifiable as being a Harry Potter reference. I wanted it to function as a wall clock as well as allow her to physically change the family member hands so that it was fun to interact with.

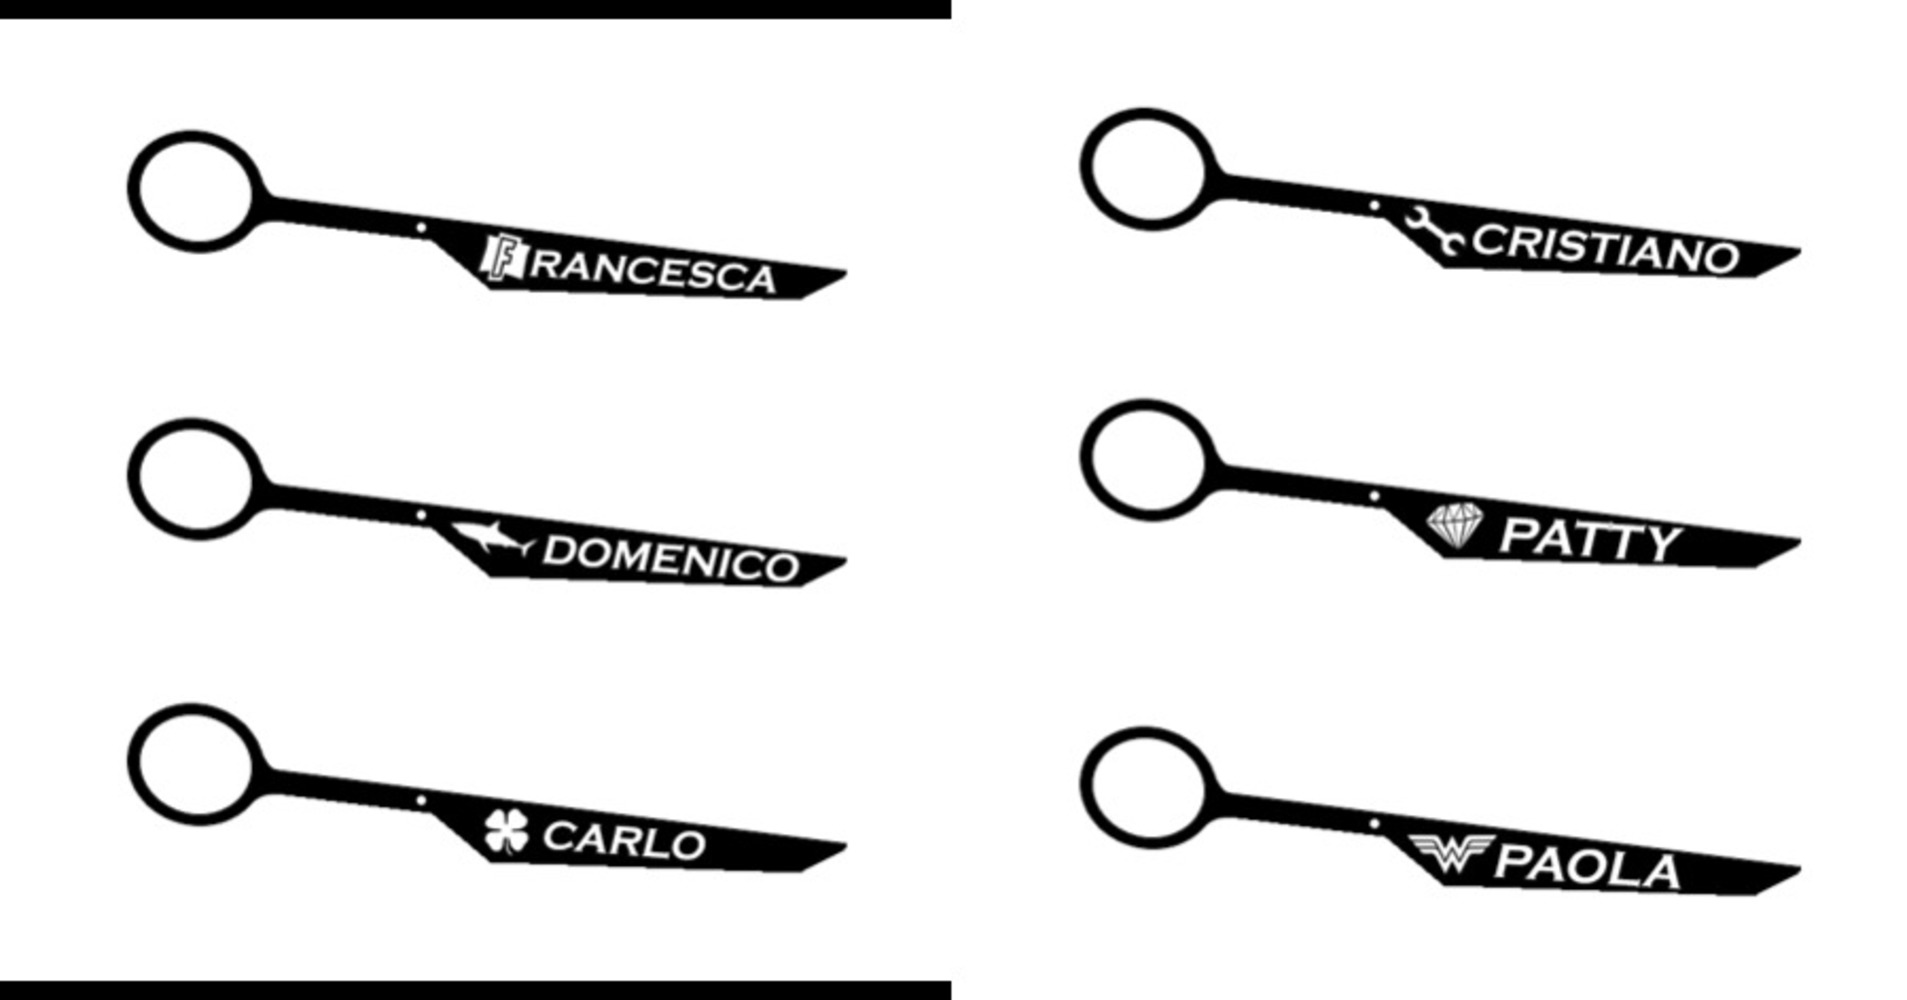
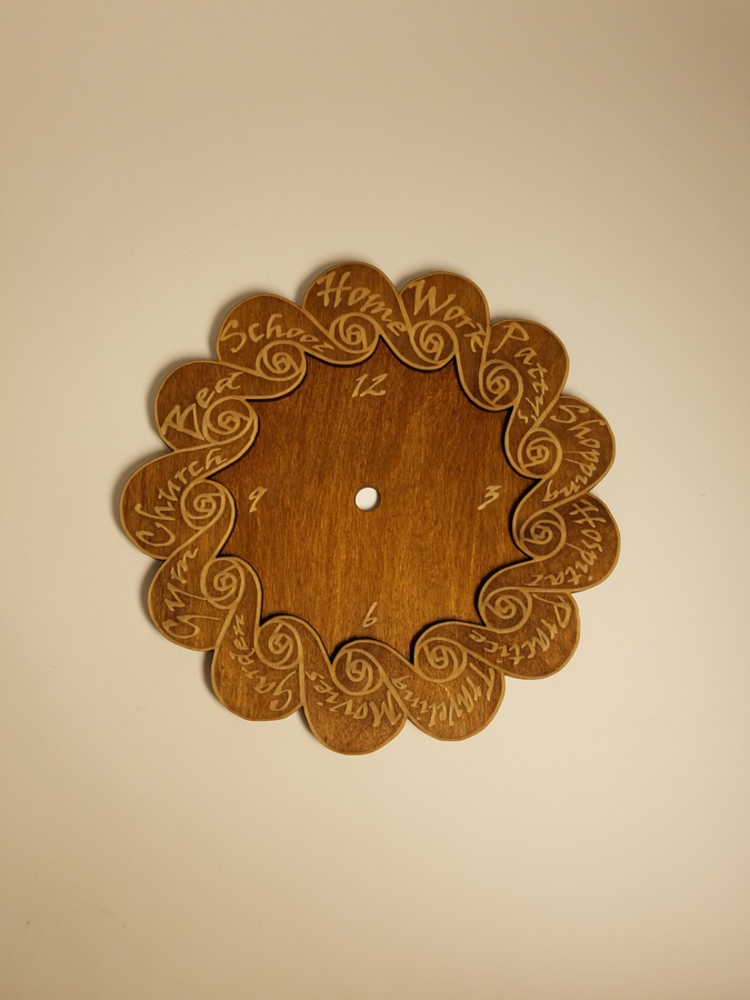
The first thing I did was draw the face for the clock and family clock hands in Photoshop. I made a customized hand for each family member with a symbol that was supposed to represent them in some way. I also left an oval that I would engrave to create an inlet to place each person's picture in.

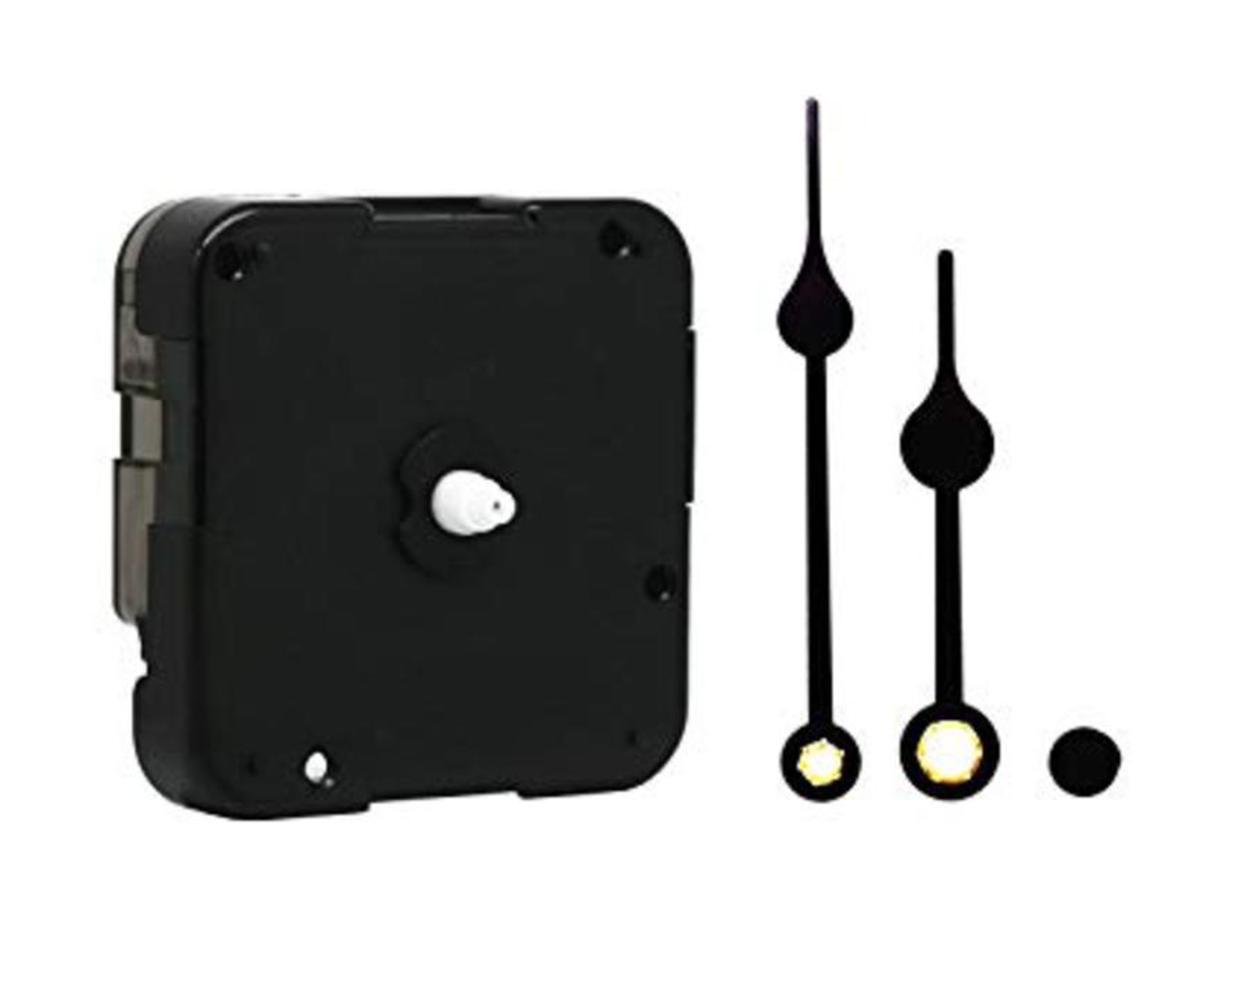
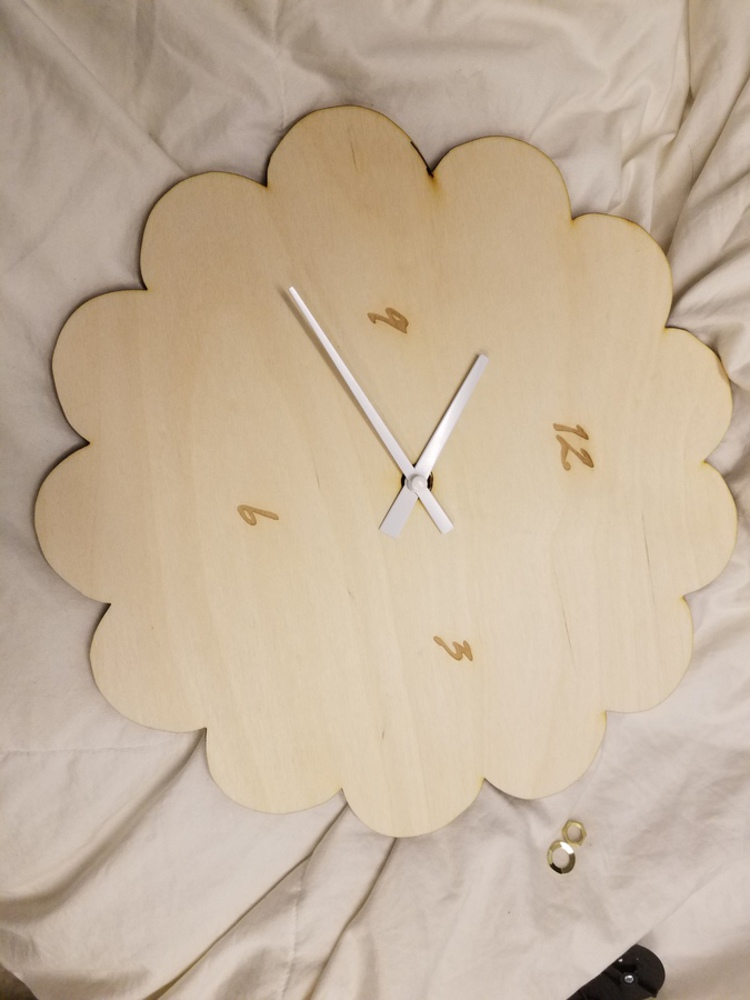
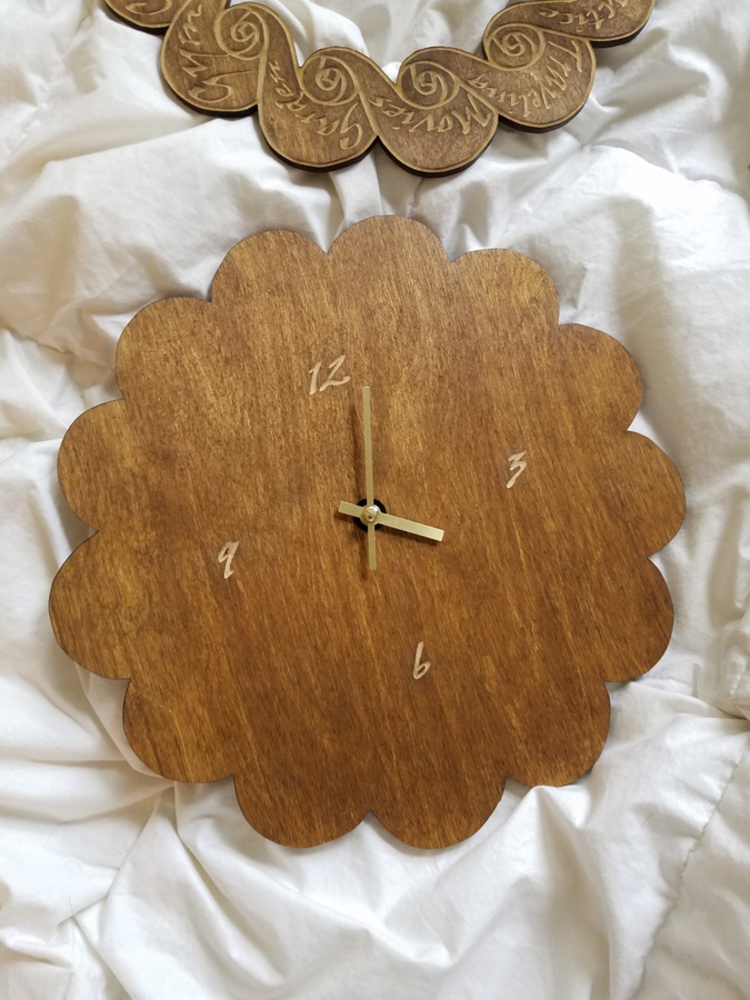
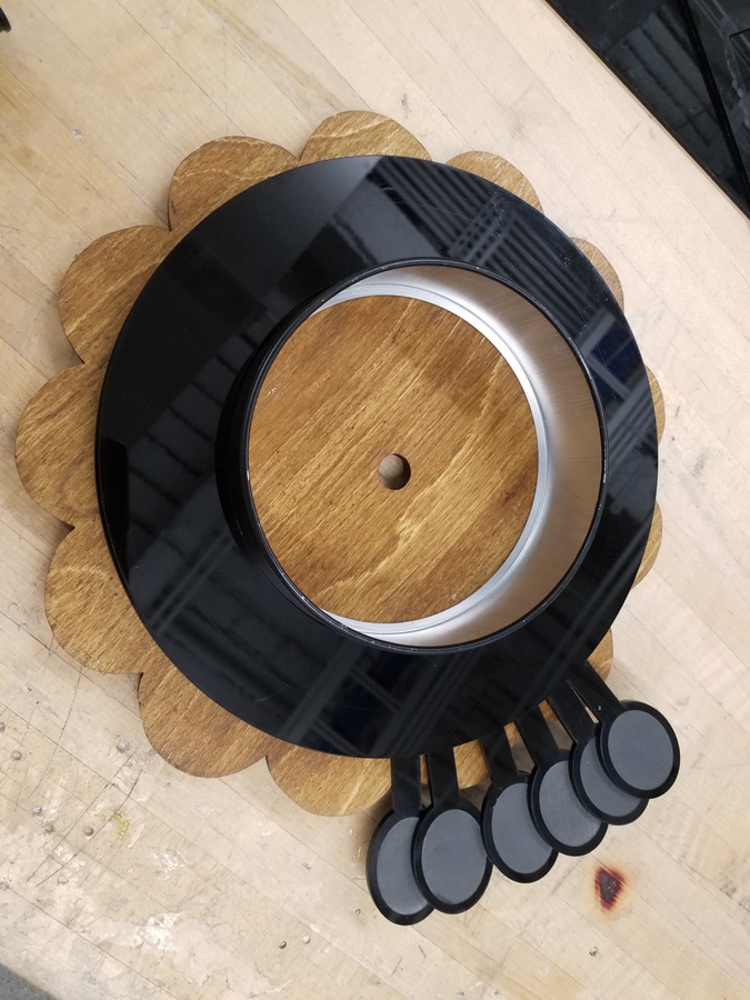
I laser cut the clock face and integrated it with the quartz mechanism. However, after doing this I looked into staining the plywood, but found that doing this after the wood had been engraved made the color of the engravings the same as the wood stain, so they didn't stand out as well.
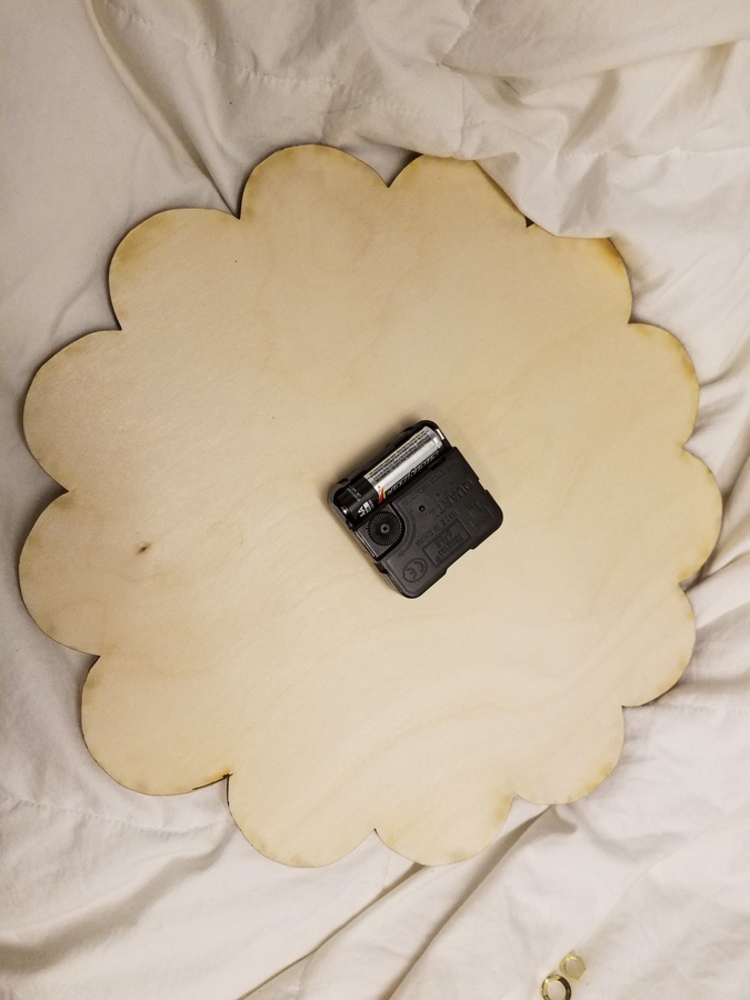
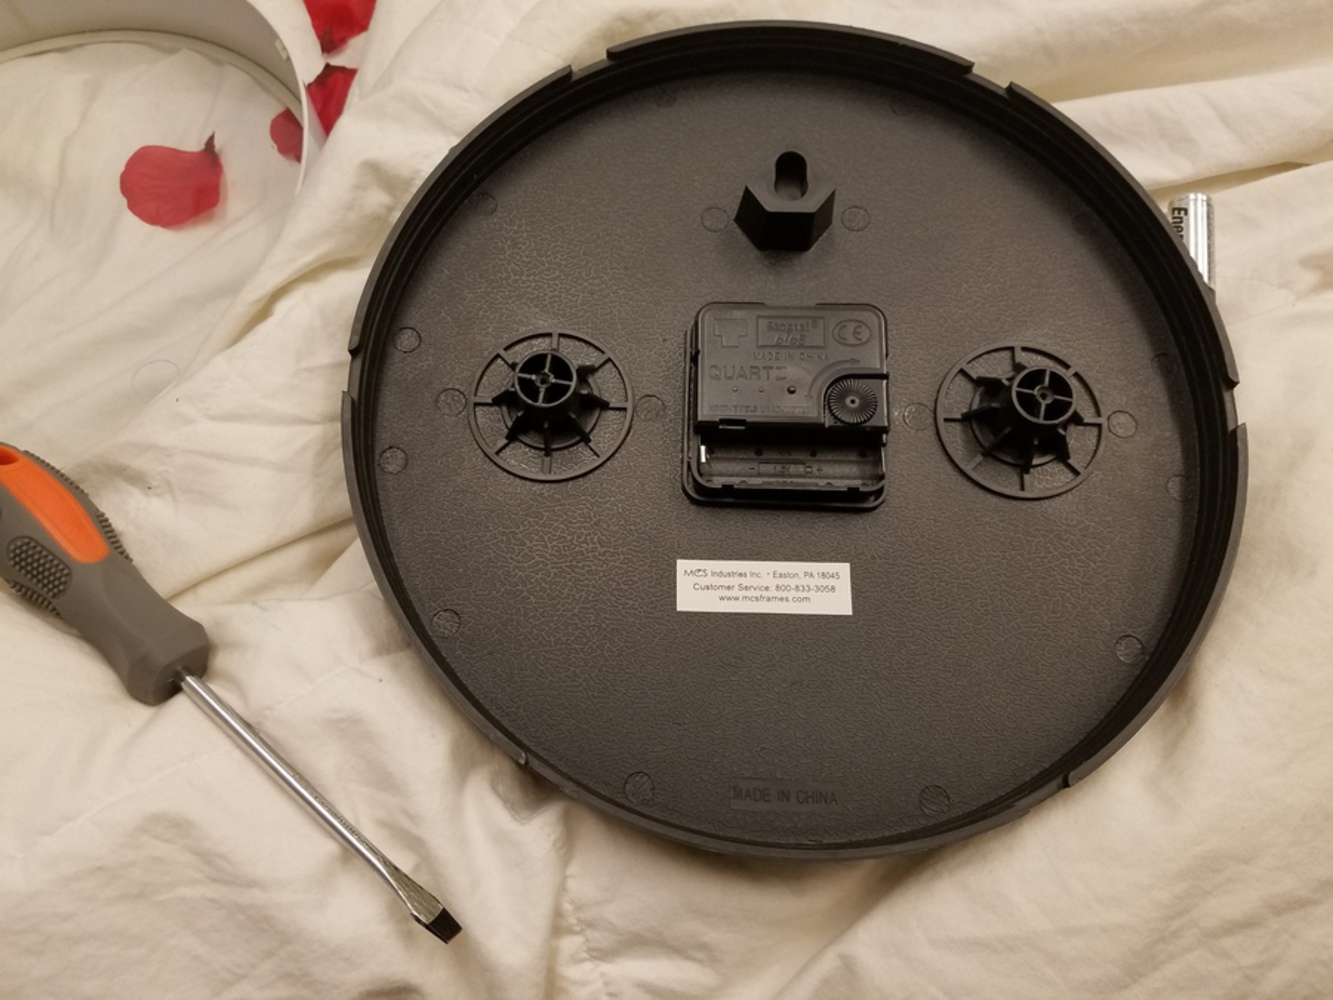
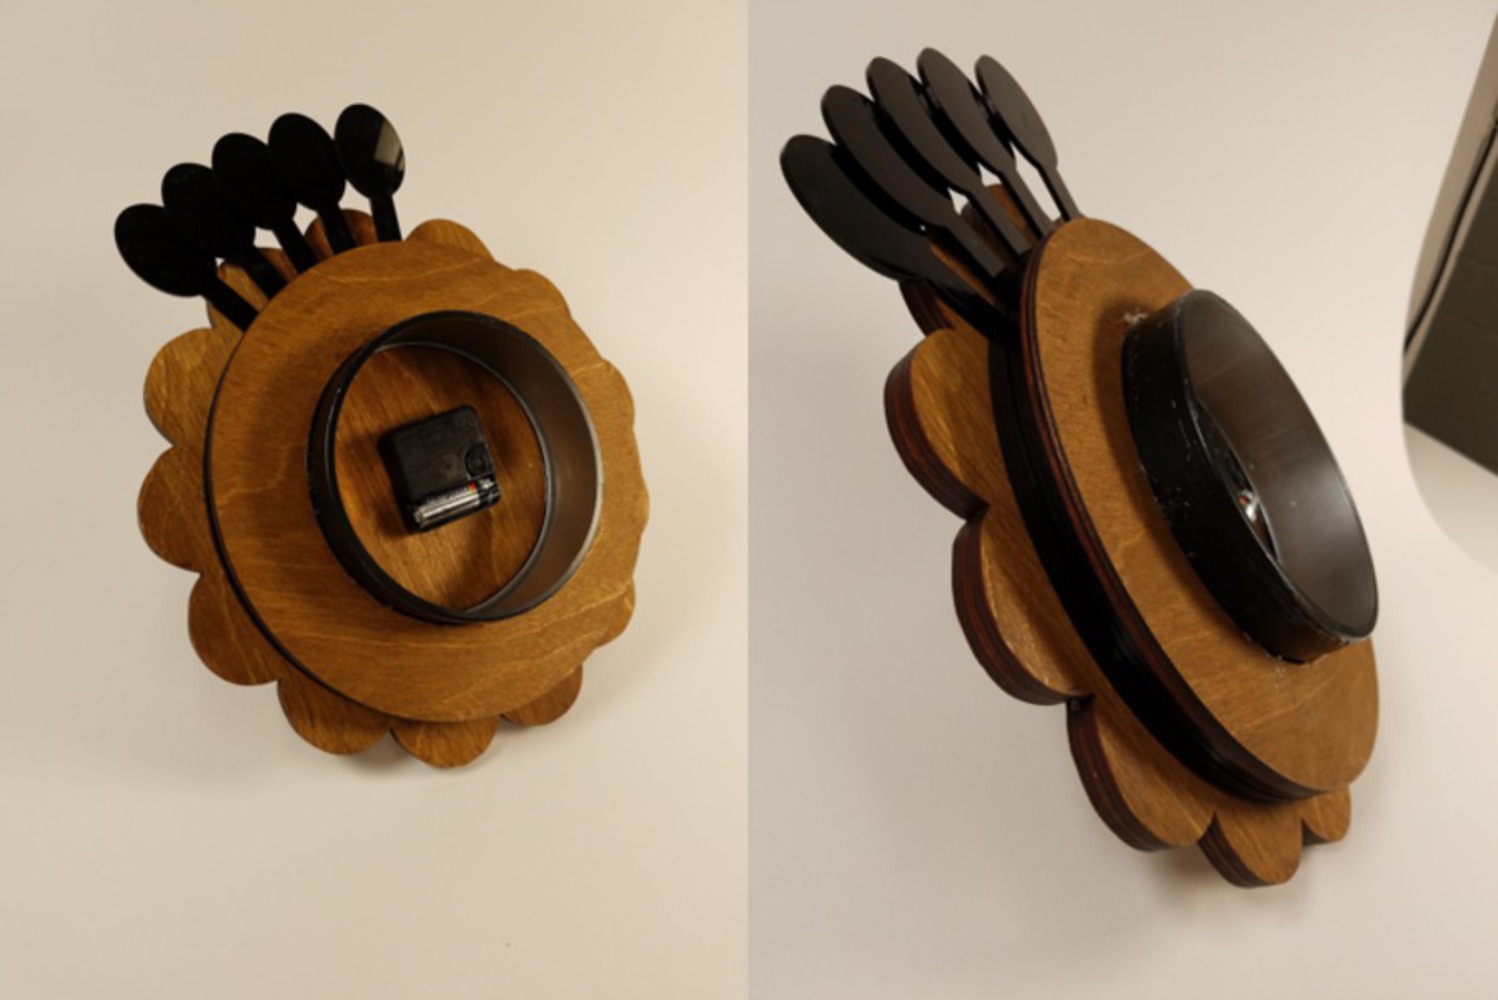
After recognizing this problem, I had to come up with a solution that allowed the family hands to move behind the clock face. I chose to cut a set of rings, each with an inlet sticking out from it (to put picture in), that could rotate around a housing I re-purposed from another clock body. I attached this housing to the back of the clock with an epoxy. The housing ended up having multiple purposes: it keeps the rings centered, protects the quartz mechanism, and can be used to hang on hooks.
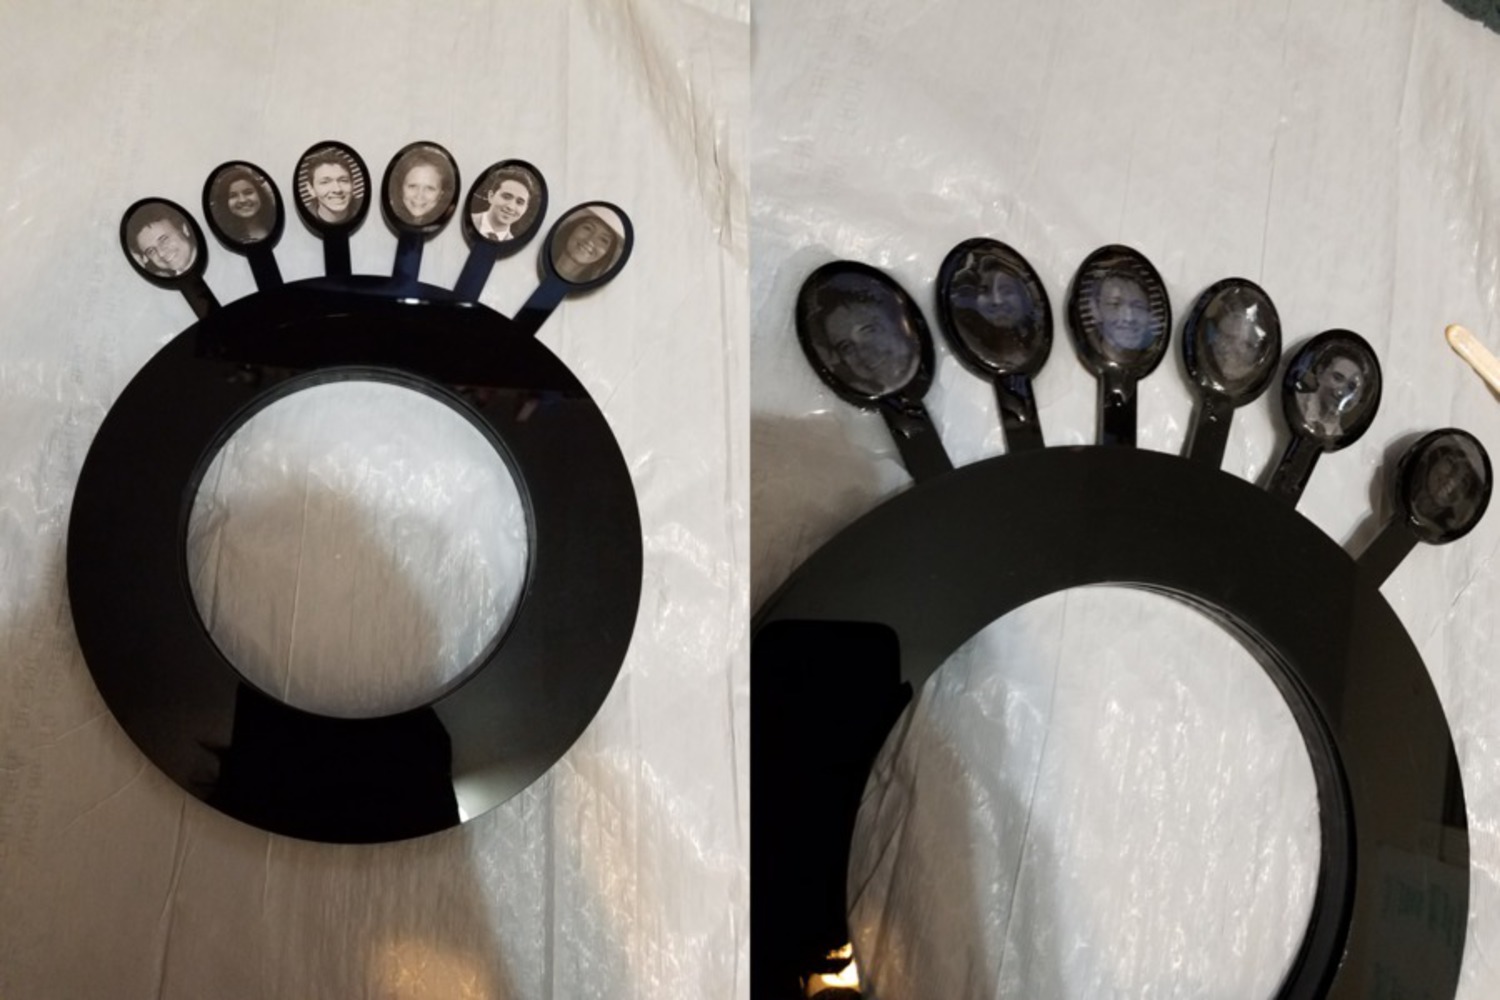
After making the rings, I printed and cut out the family photos. I placed each one in an inlet and poured clear resin over them to set them in place and protect them from future wear and tear. However, the resin darkened the images and seeped around to the back of the family hands, giving them a very messy finish. I tried to remove the resin from the back of the rings using acetone, but it made what was let of the substance gummy.
You can upload files of up to 20MB using this form.