Back to Parent

Outcome


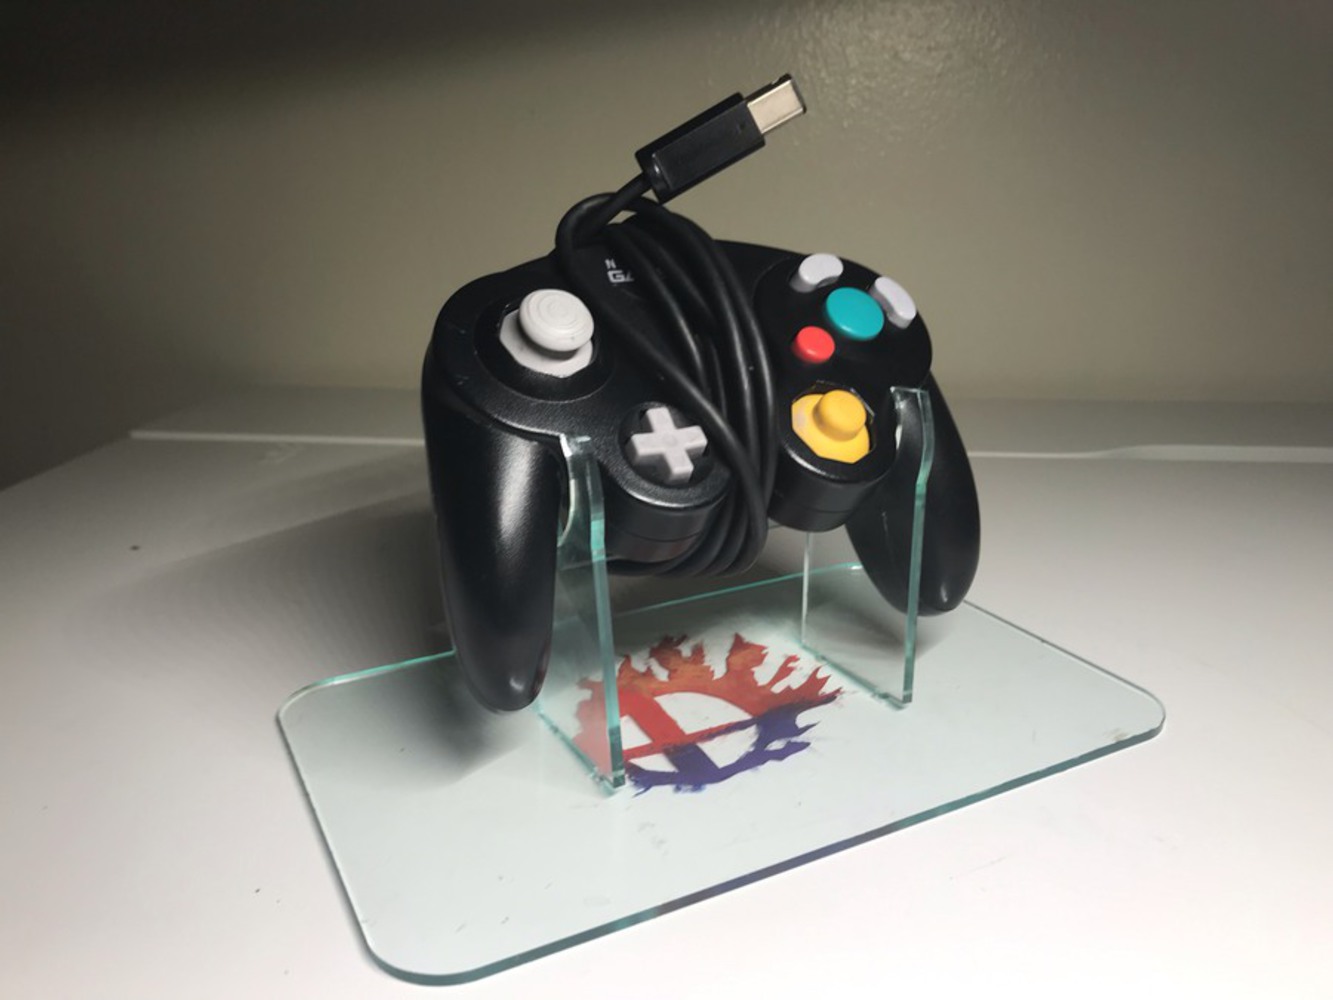
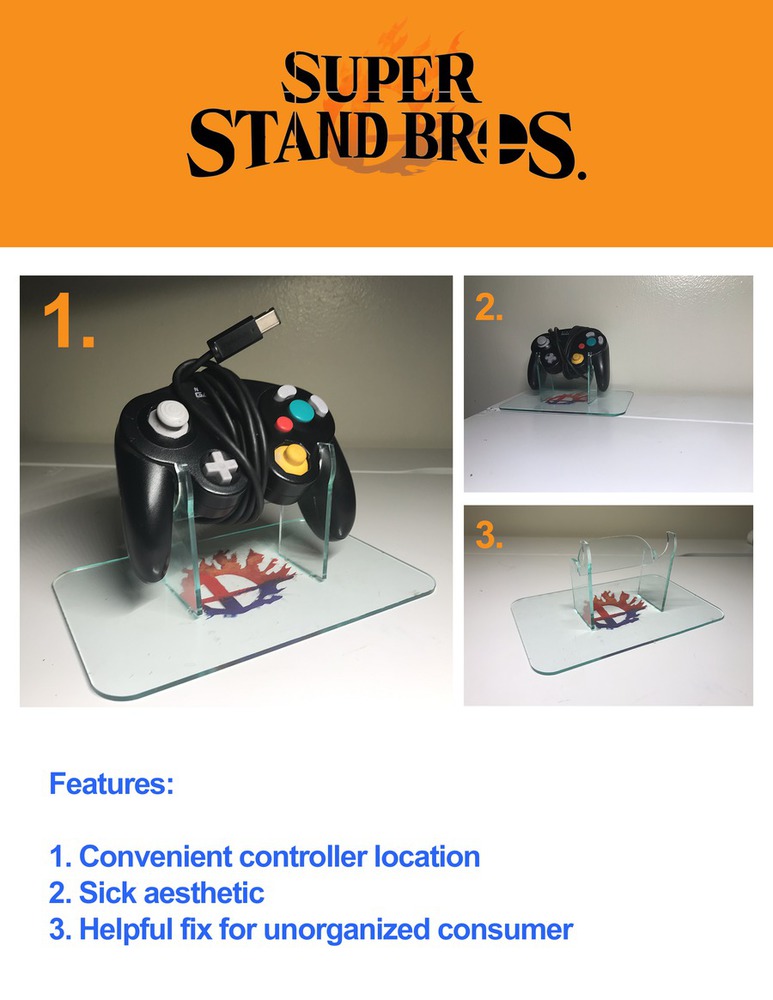
For this project, I wanted to create a Nintendo GameCube controller stand. For competitive Super Smash Bros. players, having a personal controller is a must. And for those who play online from home, having a controller stand is extremely useful. It'll keep the controller safely in one location, and allow the player to always access it easily from that location. This product is especially helpful for those with perpetually messy, unorganized desks.


Process


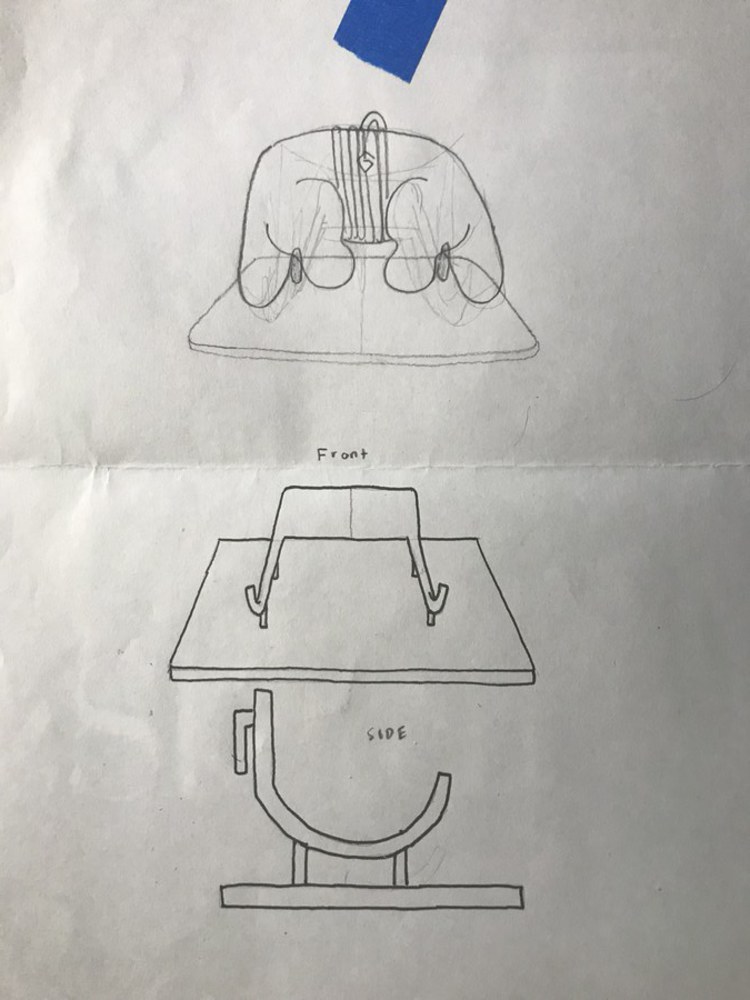
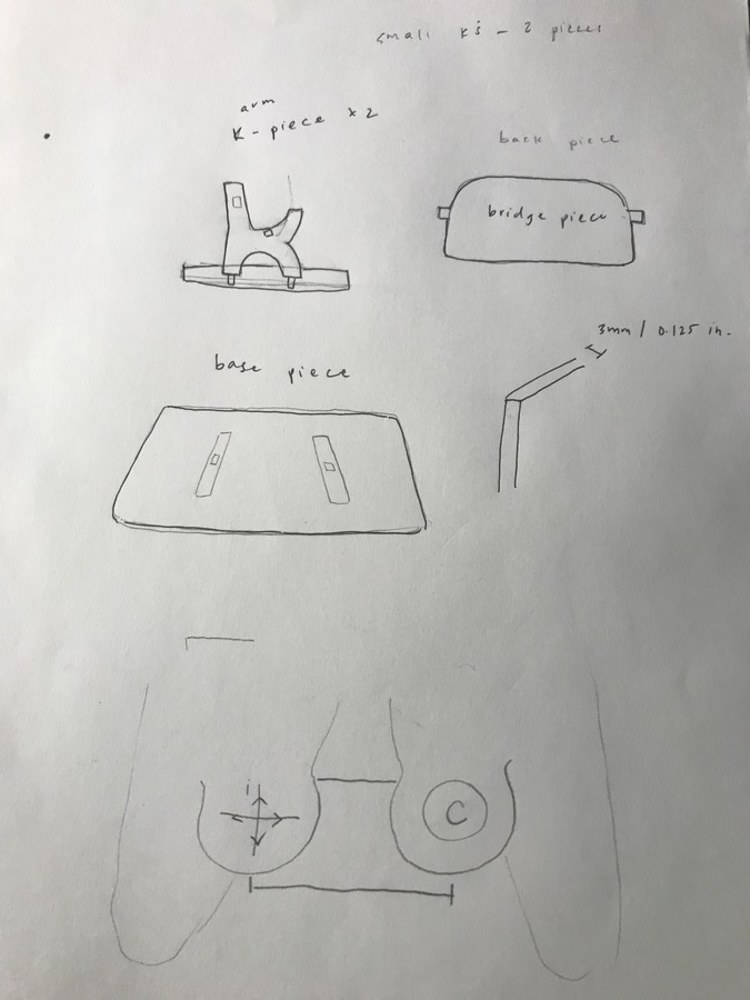
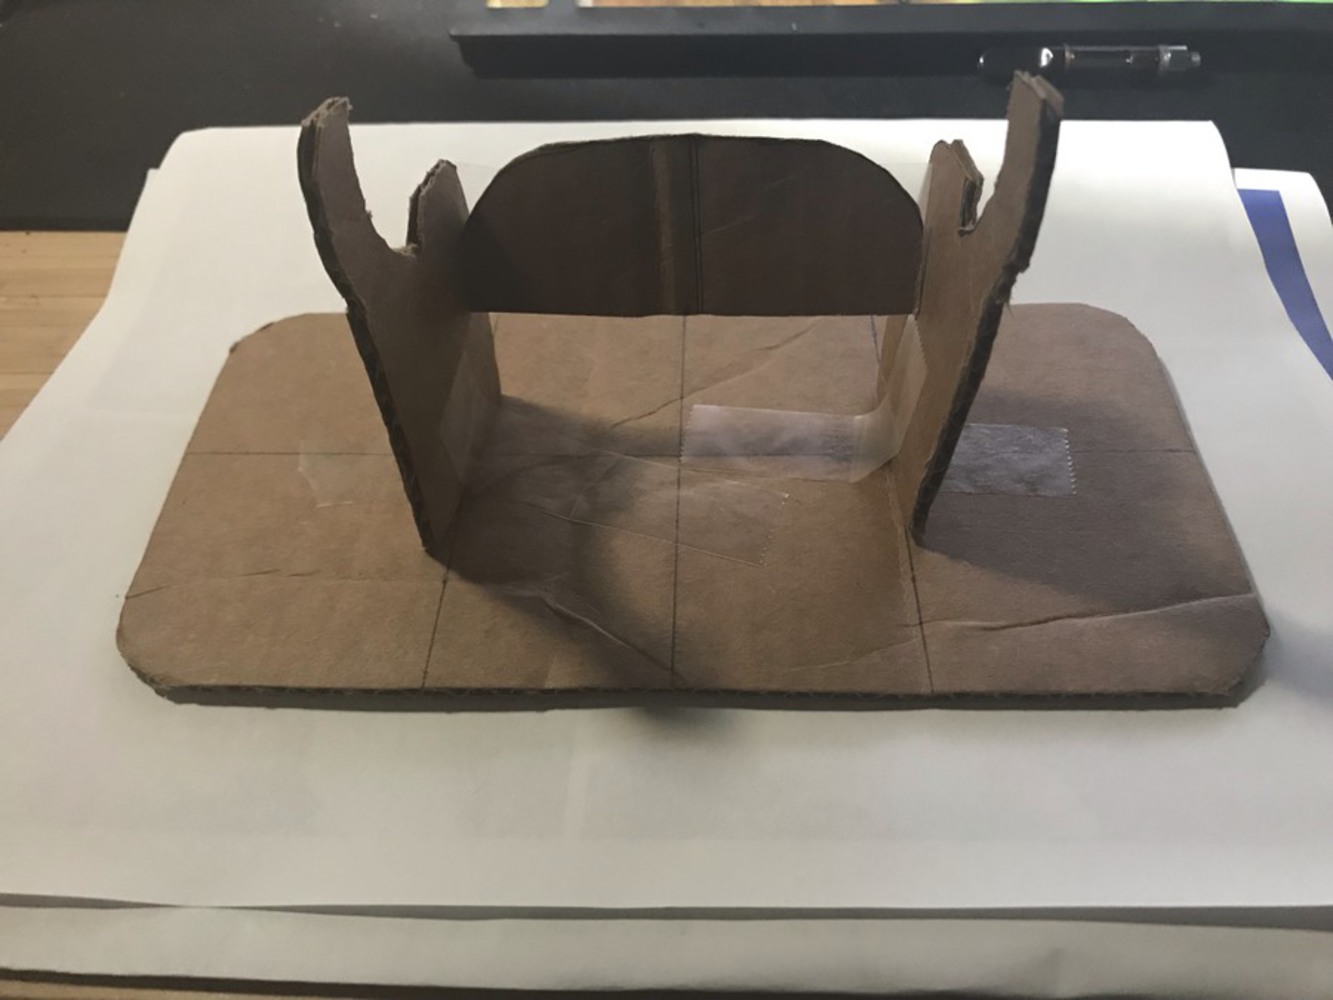
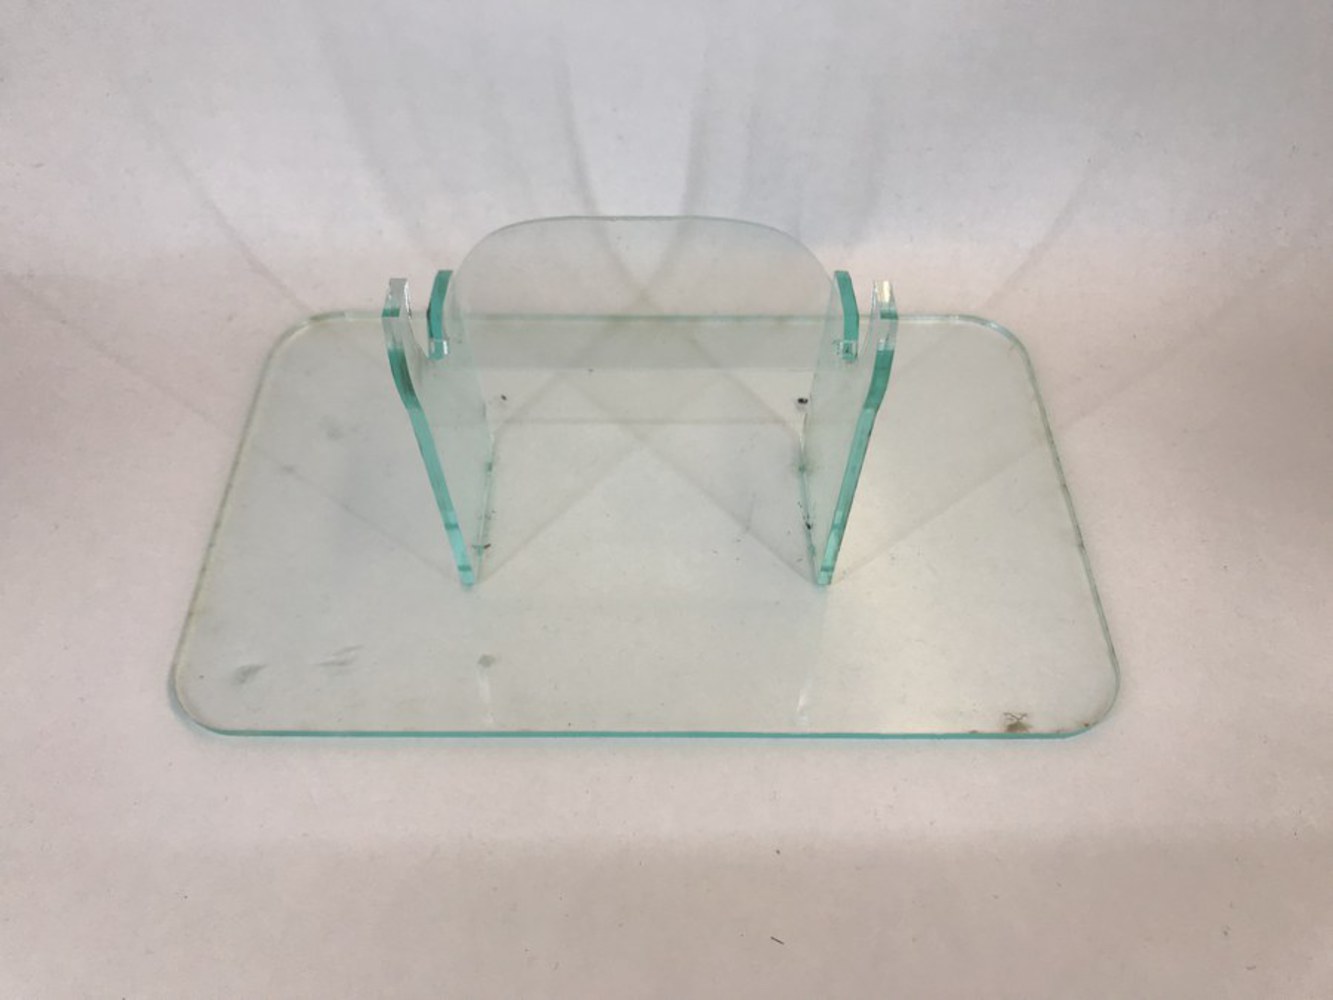
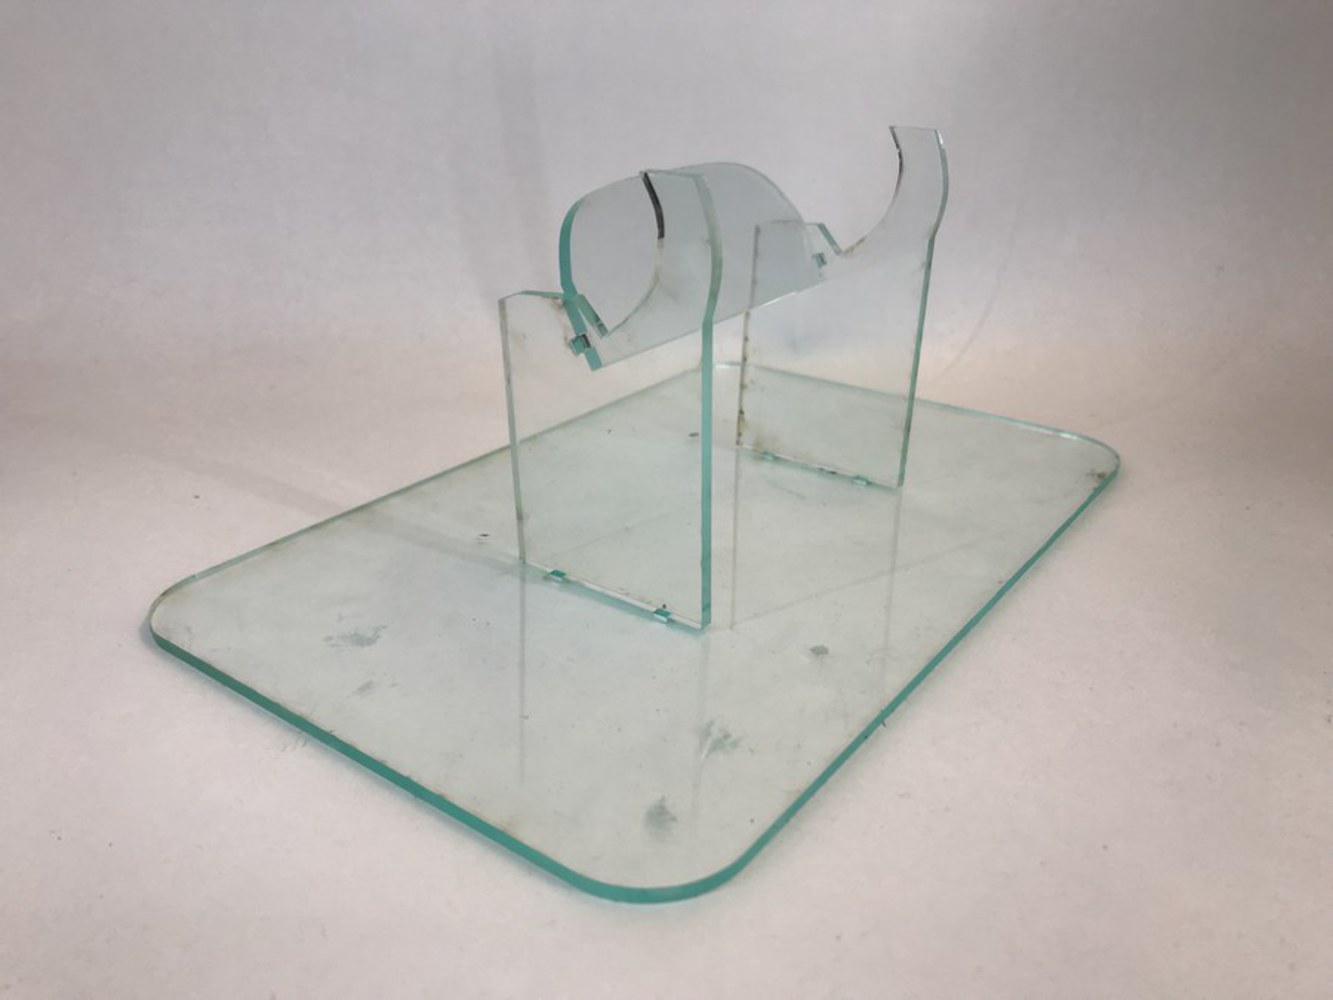
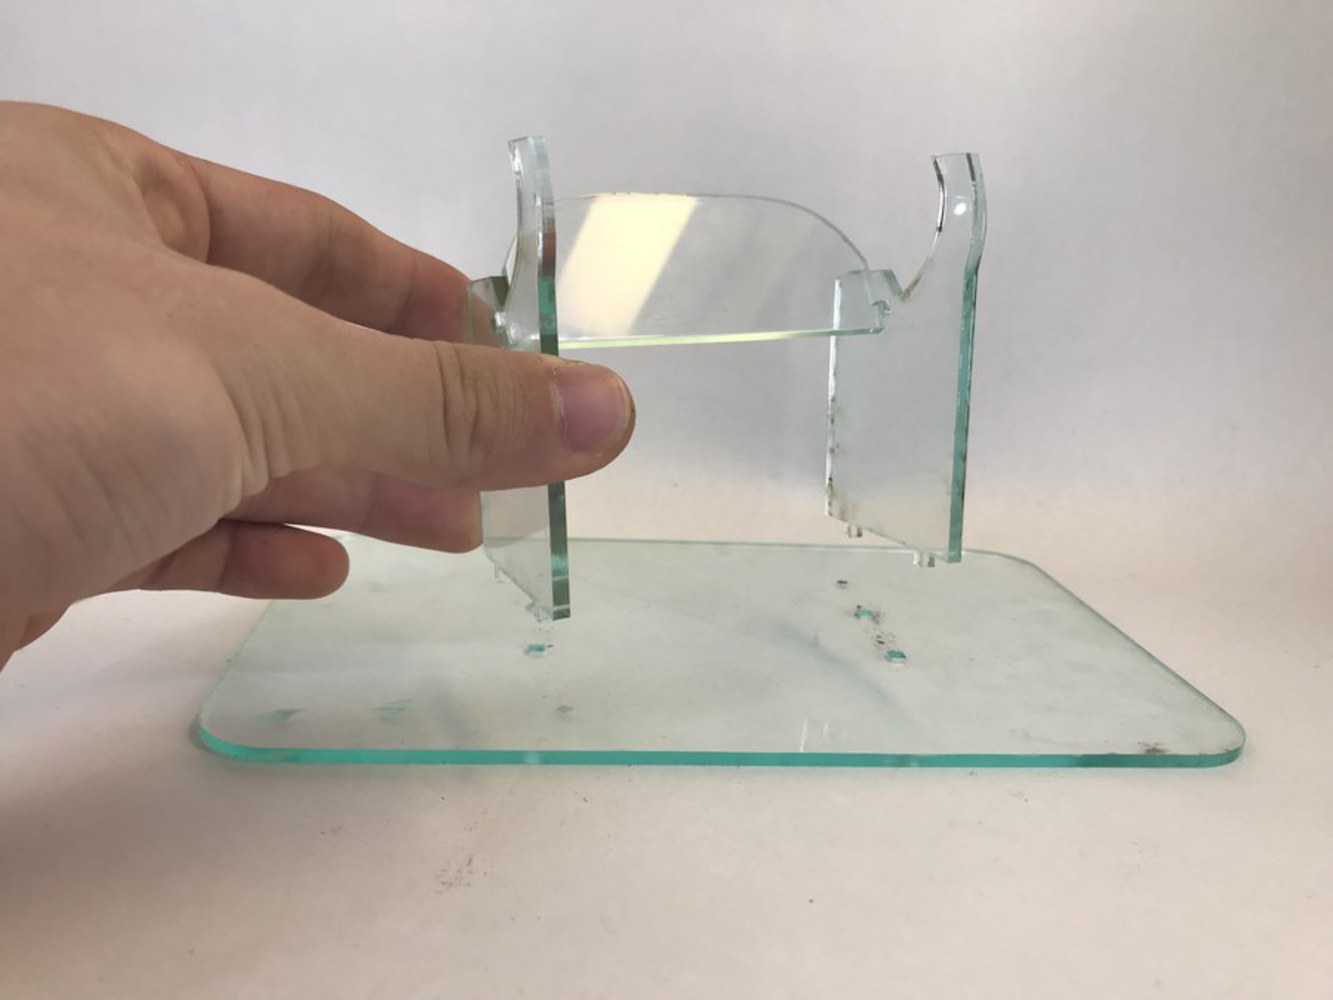
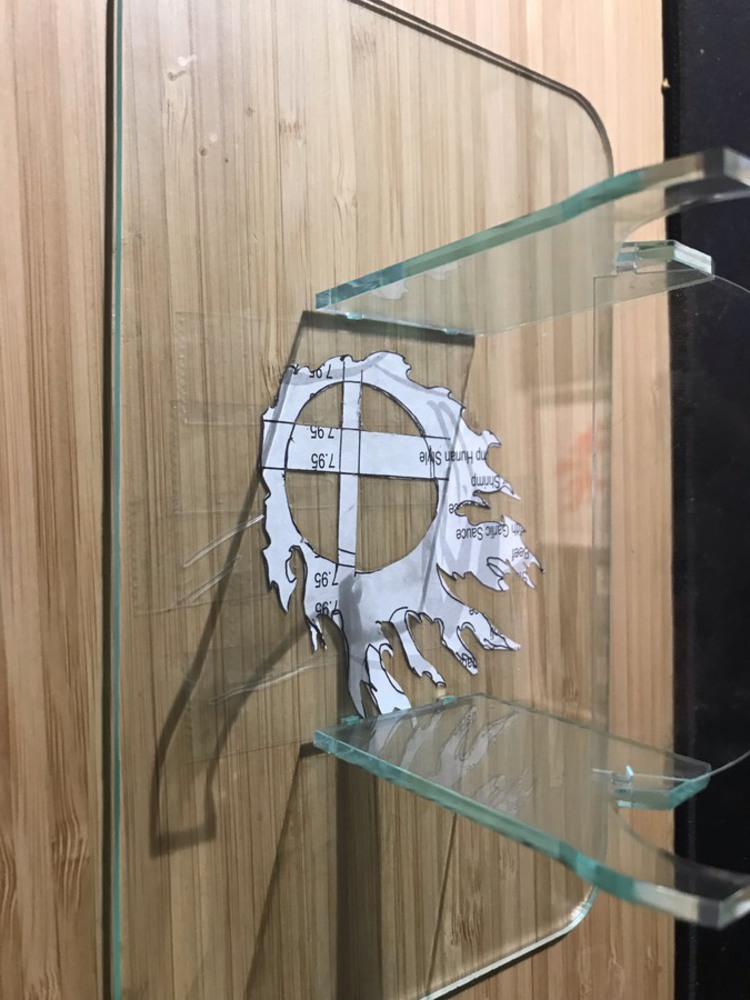
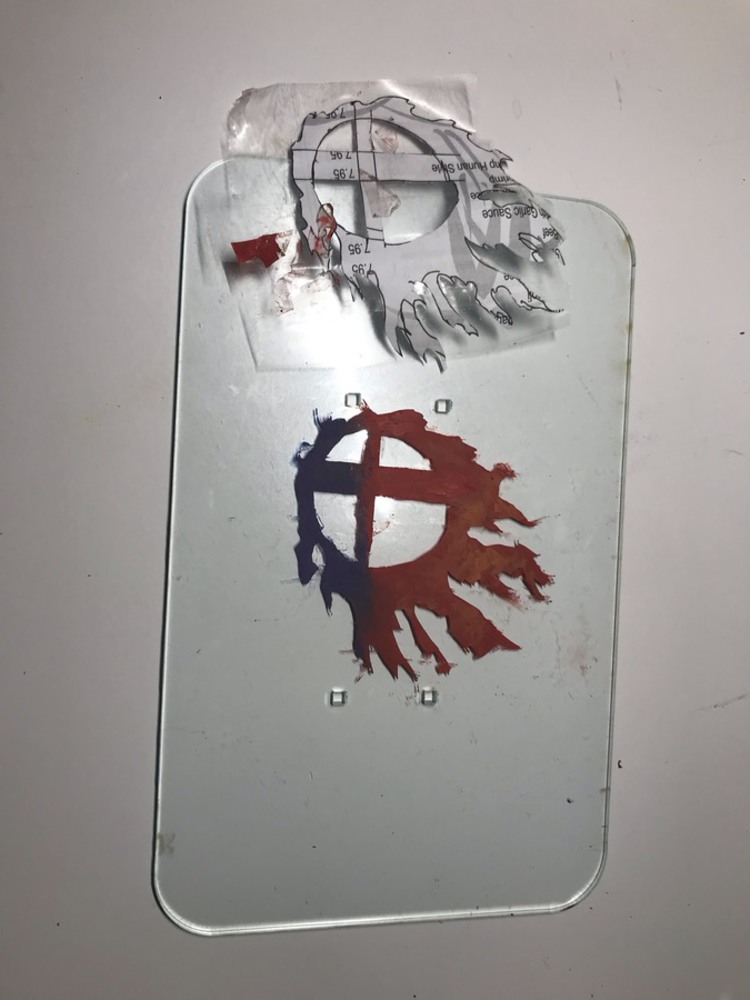
I first started with sketches of my controller stand, playing with different shapes and configurations to create a stable platform for a controller. I broke down the pieces of my design to three different types pieces:

1. One rectangular base
2. Two arm pieces
3. One connecting bridge/support piece for the two arms


I played around with two different designs and shapes for the arm and bridge pieces. The bridge piece had to fit snugly onto the flat surface of the back of the controller and allow some space for the arm pieces to fit in. Since I decided on using acrylic as the material for my final project, I referred back to my first project for my class, which was also made using acrylic (Reference: http://ideate.xsead.cmu.edu/gallery/projects/beer-lingerie)


Img 0910.thumb
Show Advanced Options
Img 0911.thumb
Show Advanced Options

However, one crucial difference I wanted to make was to not use any adhesives in my final product. Adhesives made my work very messy in the first project, so if possible, I wanted to avoid taking that road again. To accomplish this, I decided to add attaching pieces to the arm and bridge pieces, along with holes on the receiving pieces, which would bring the product together without the need for bonding agents. For the arm pieces, the measurements needed to be accurate, or else the controller would not rest stably, so I came up with two different sketches: the J-shaped and K-shaped arm pieces. To give my stand a more reliable base, I went with the K-shapes because the pieces would be thicker and more durable than the J-shaped pieces.


Prototyping


Before touching the acrylic, I had to make sure I could fashion my product out of cardboard and the cardboard would fit nicely with the controller. I drew the outlines of the pieces that I needed. This was fairly simple and I estimated the approximate sizes of each piece by comparing them with the size of the controller. The trickiest part with getting the right outline for the connecting bridge piece was that it had to fit perfectly with the curve of the controller while also allowing for some space for the connecting arm pieces. However, once I had gotten that down, I managed to fit the pieces together using tape as a placeholder for the attaching parts.

Img 0908.thumb
Show Advanced Options

Once I was satisfied with my cardboard design, I decided it was time to replicate my model with acrylic. I used CorelSoft to create a CAD file of the four pieces. Because my pieces had unorthodox shapes, I did not have precise measurements for the curves and edges. So to create the pieces with a laser cutter, I used a process of trial and error, decreasing or increasing lengths to fit the pieces to a controller. This was one of the two most difficult portions of the process due to the sheer amount of trials that it took to create the perfect pieces. The thickness of each sheet of acrylic was 0.125 inches, so to create an easy to connect piece, I made each connecting piece and hole 0.125 inches x 0.125 inches x 0.125 inches. This was the other most difficult part, because the attachable pieces did not fit into their respective holes. Again, this was another process of trial and error, which resulted in bad fits and many broken pieces. However, I eventually reached a stable, and reliable base and I acquired my final acrylic pieces. 

Img 0863.thumb
Show Advanced Options
Img 0864.thumb
Show Advanced Options
Img 0865.thumb
Show Advanced Options

Painting


Once I finished the laser cutting of the pieces and made sure they could both fit nicely and reliably support a controller, I began to look towards painting the acrylic. I found a design for the logo from the latest Super Smash Bros. game in the series and decided on painting that on the face of the base layer. To do this, I started with a traced drawing of the logo, which I then cut out and taped to the opposite side of the face that I wanted to paint on.

Img 0872.thumb
Show Advanced Options
Img 0873.thumb
Show Advanced Options
Because I did not trust myself to not paint where I didn't want there to be paint, I created a stencil using scotch tape with the design drawn on. I then used scissors to cut out the unwanted parts for the stencil. This was a bit tricky using scissors, but it worked extremely well for the painting process. I applied several layers of blue, purple, and orange-yellow to apply a solid colorful flame to the final product made for players that love Super Smash Bros.
Img 0878.thumb
Show Advanced Options
Diy final flyer aaron.thumb
Show Advanced Options
Diy final project design moodboard aaron.thumb
Show Advanced Options
Diy final project user moodboard aaron.thumb
Show Advanced Options
Drop files here or click to select

You can upload files of up to 20MB using this form.