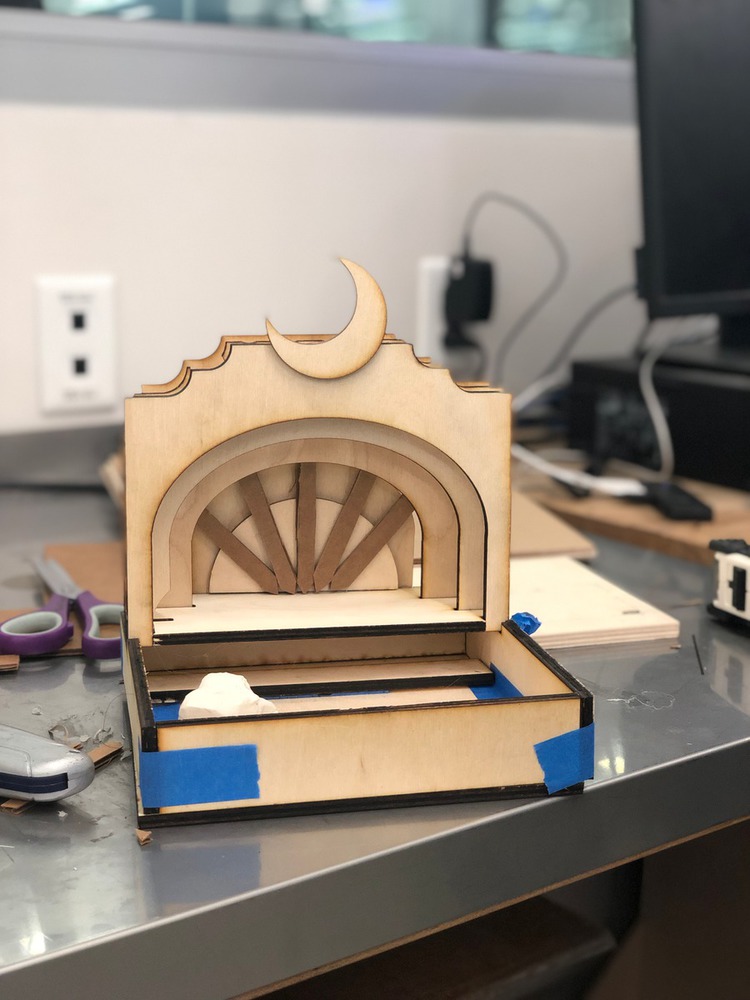
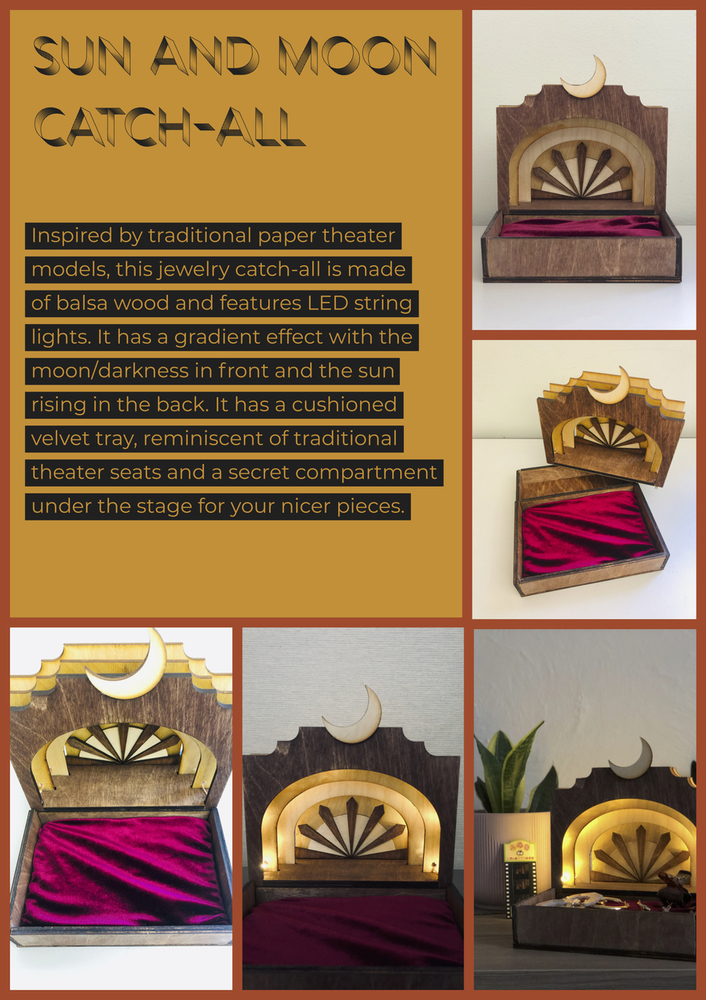
This project was initially inspired by my interest in trying out wood as a project medium (since it was one material we had not worked with in this class), as well as my love of modeling. I had noticed the mess on my dresser as I did not really have a single place that I kept all my jewelry, particularly loose earrings. With all that in mind, I started putting together some inspiration from online. In particular, I wanted to mimic the effect of Radio City Music Hall, with the layered, gradient stage arches.
Outcome

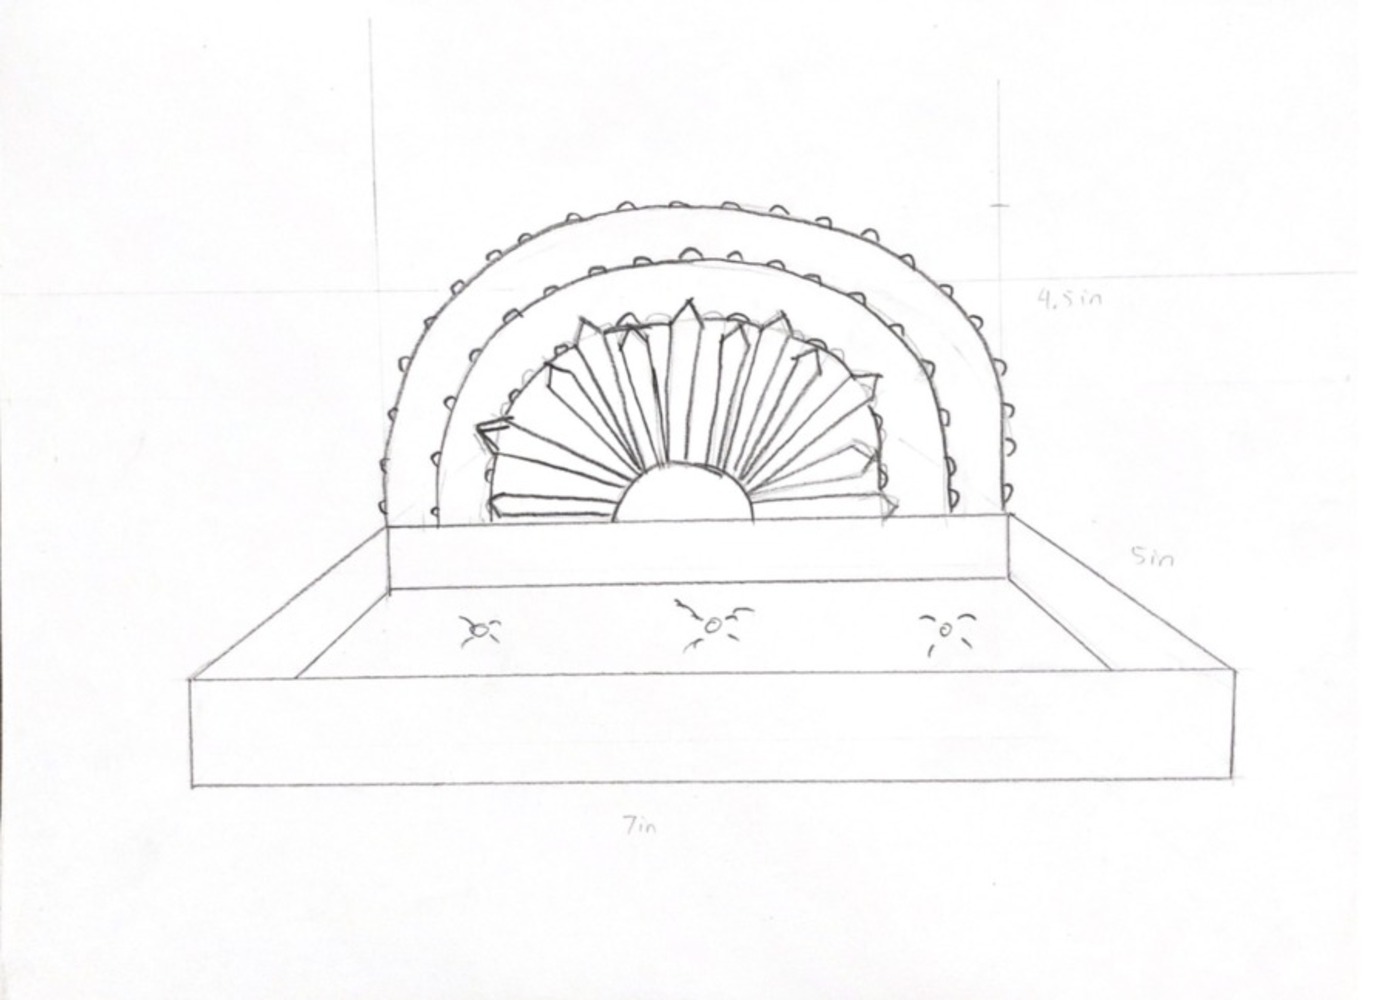
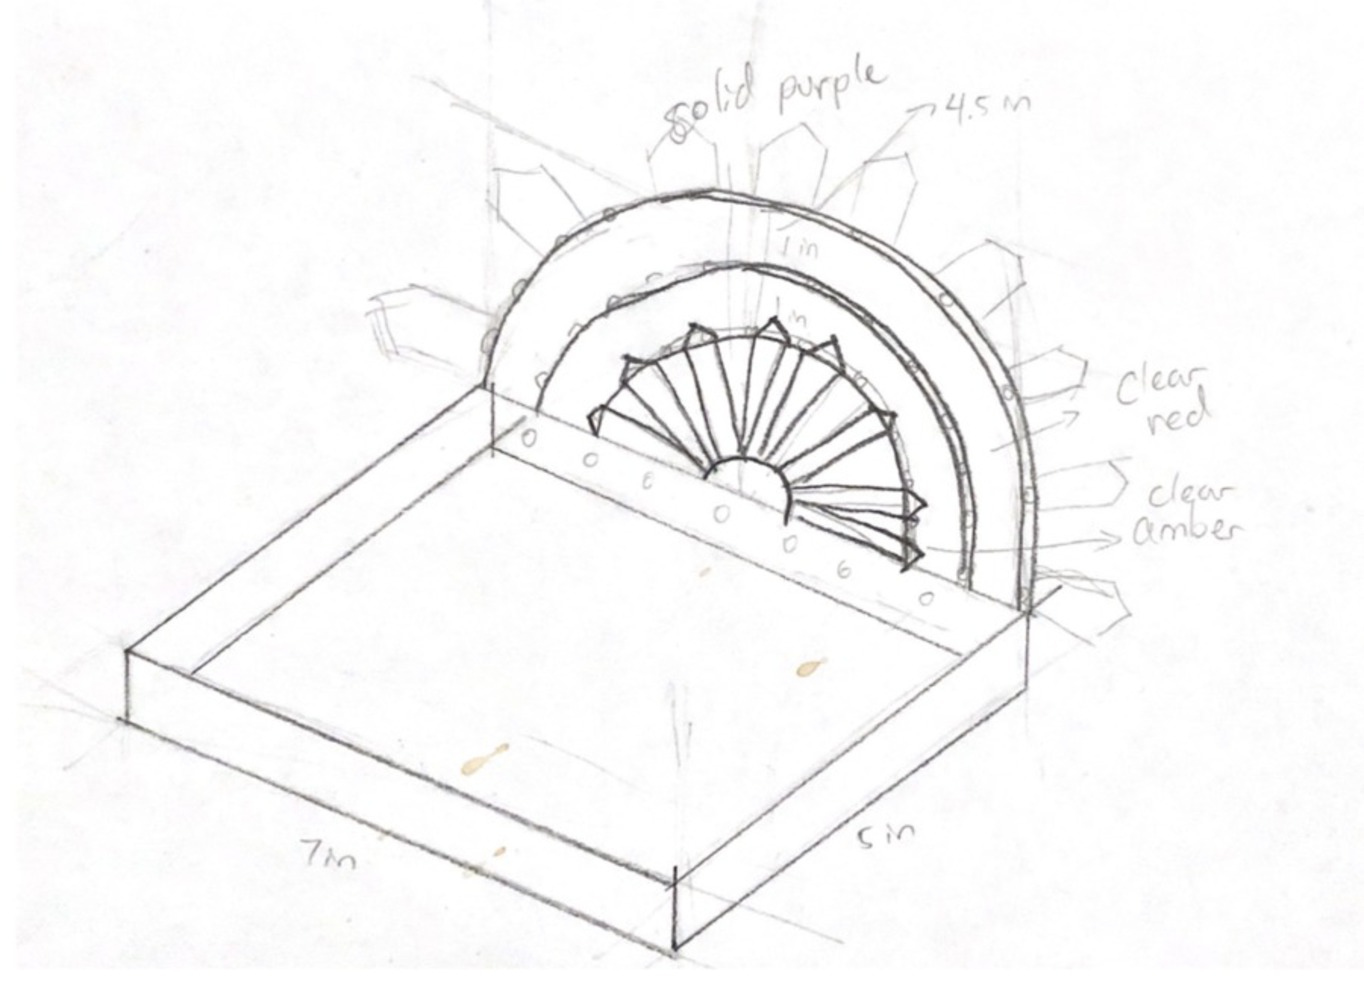
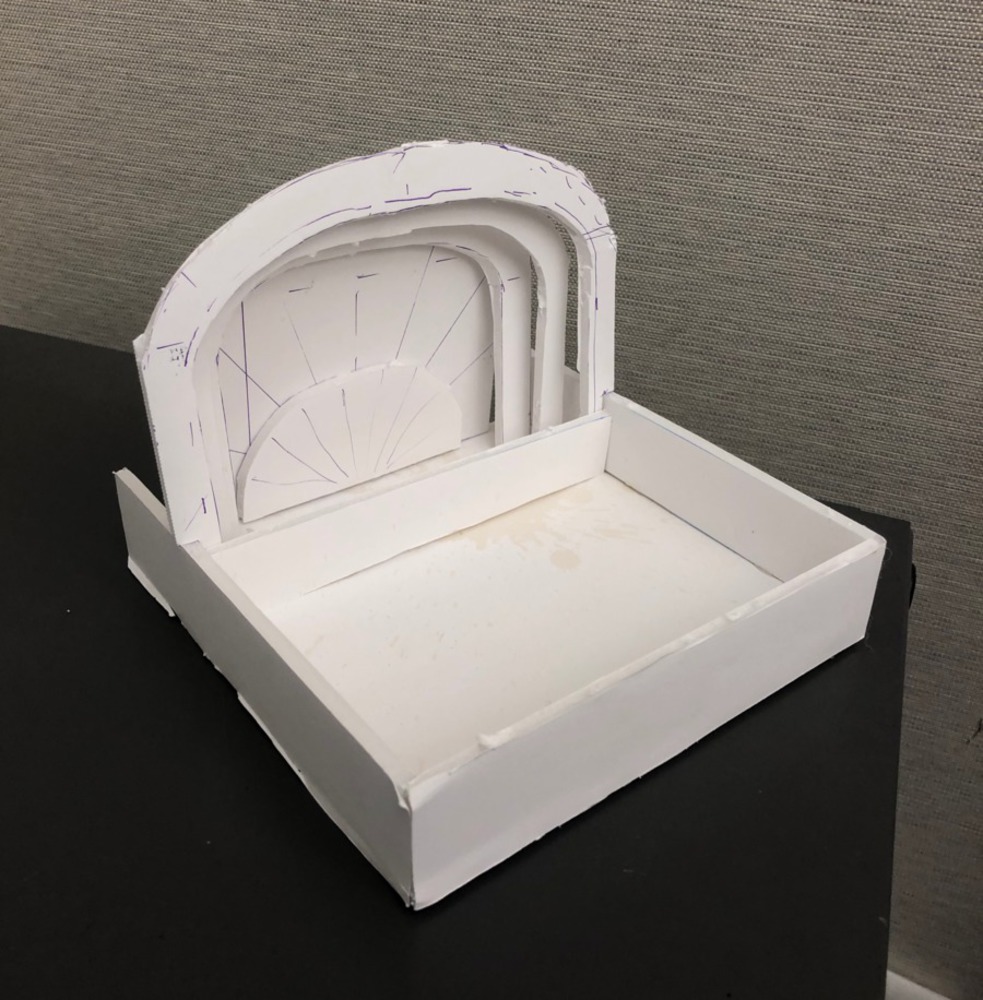
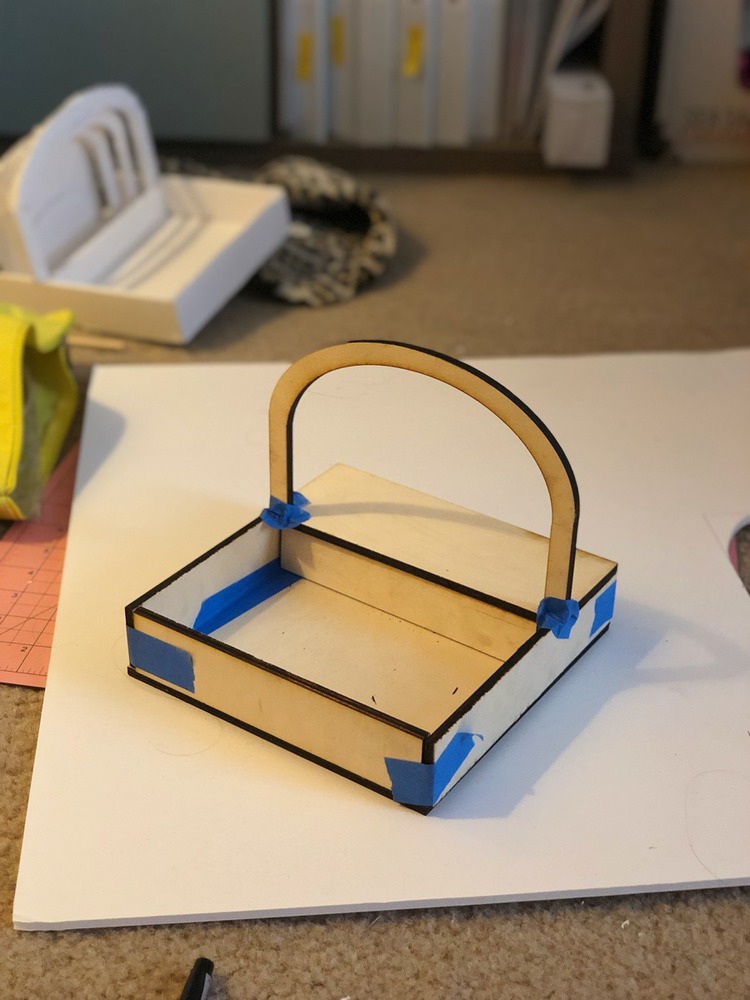
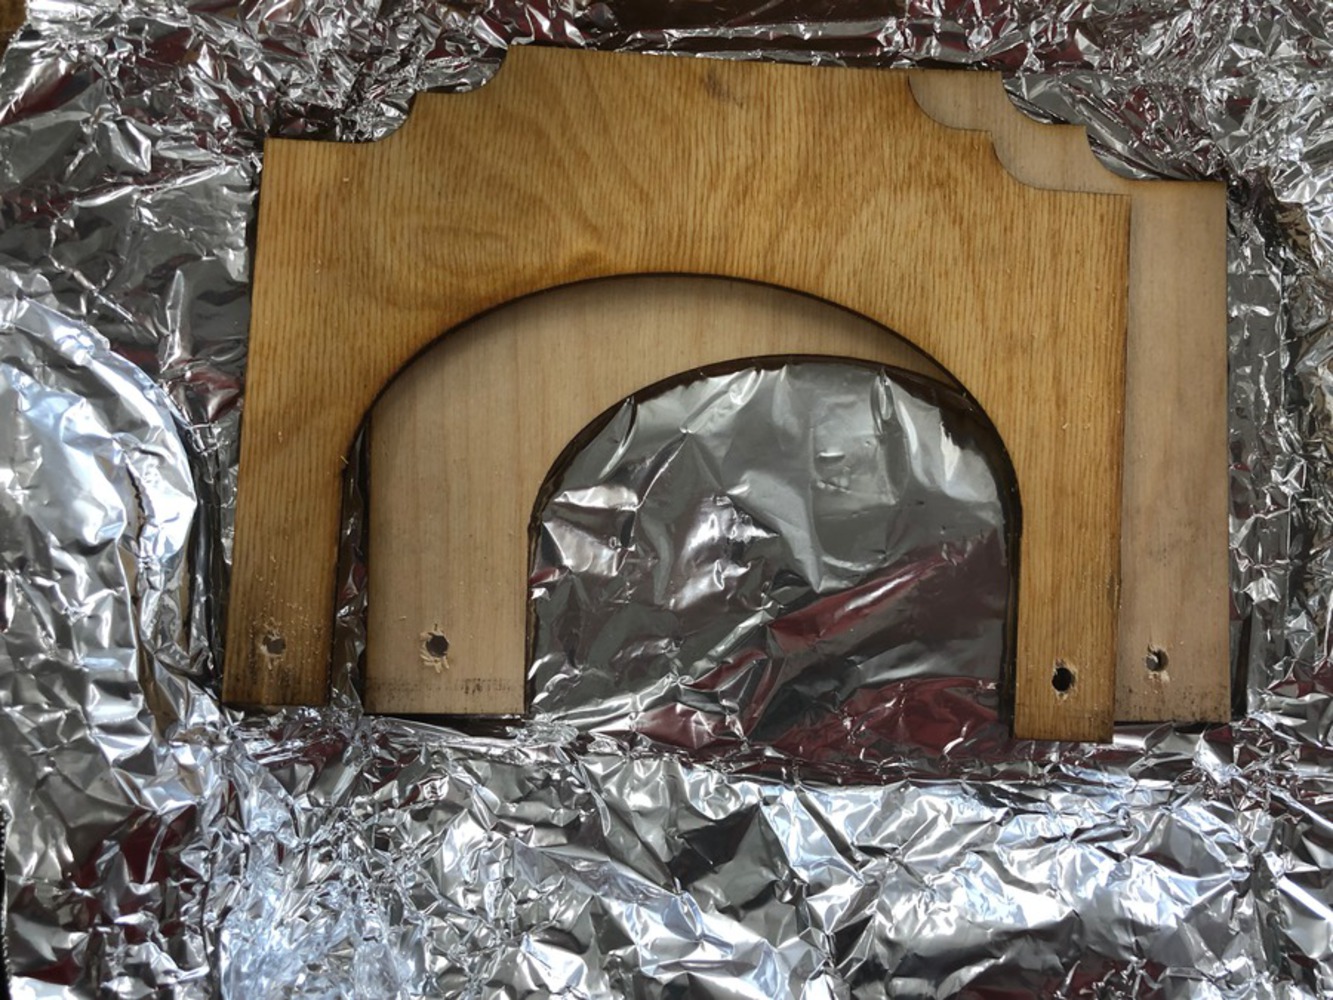
Having gotten a sense from the foam core prototype of how large I wanted the catch-all to be, I started drafting in Adobe Illustrator. Illustrator has fair precise sizing for your designs, so getting the correct dimensions was not difficult. I knew I wanted to use 1/4" balsa wood because that was roughly the same thickness as the foam core.
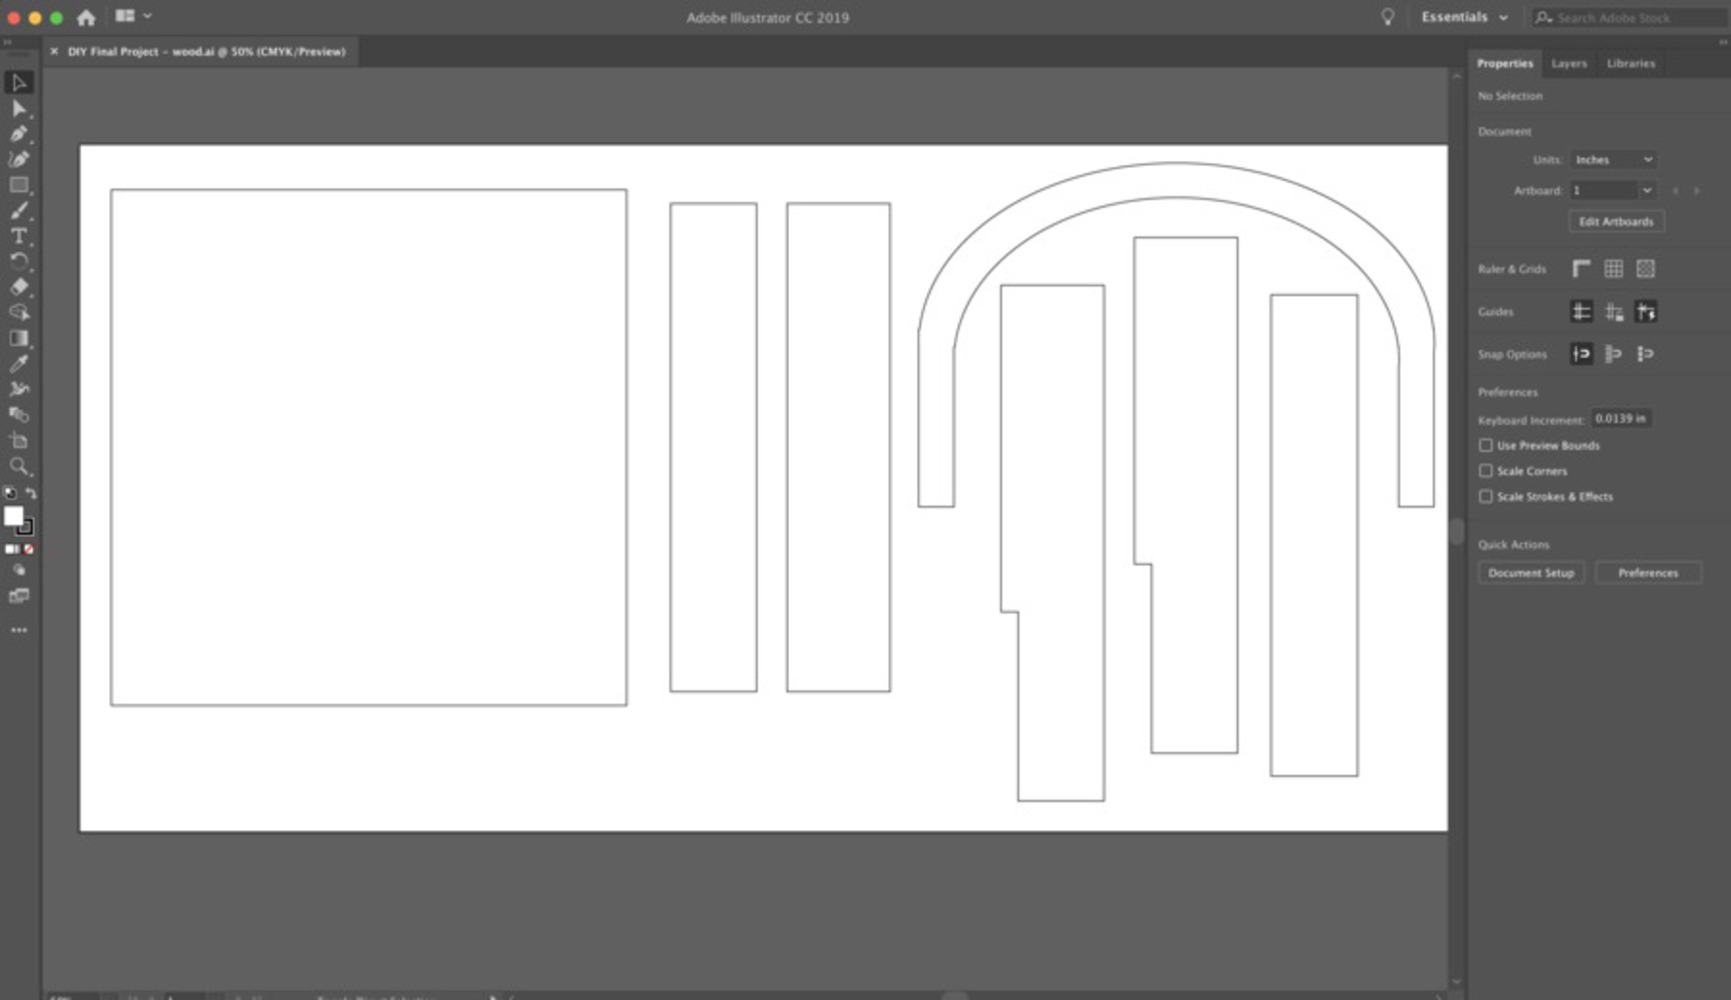


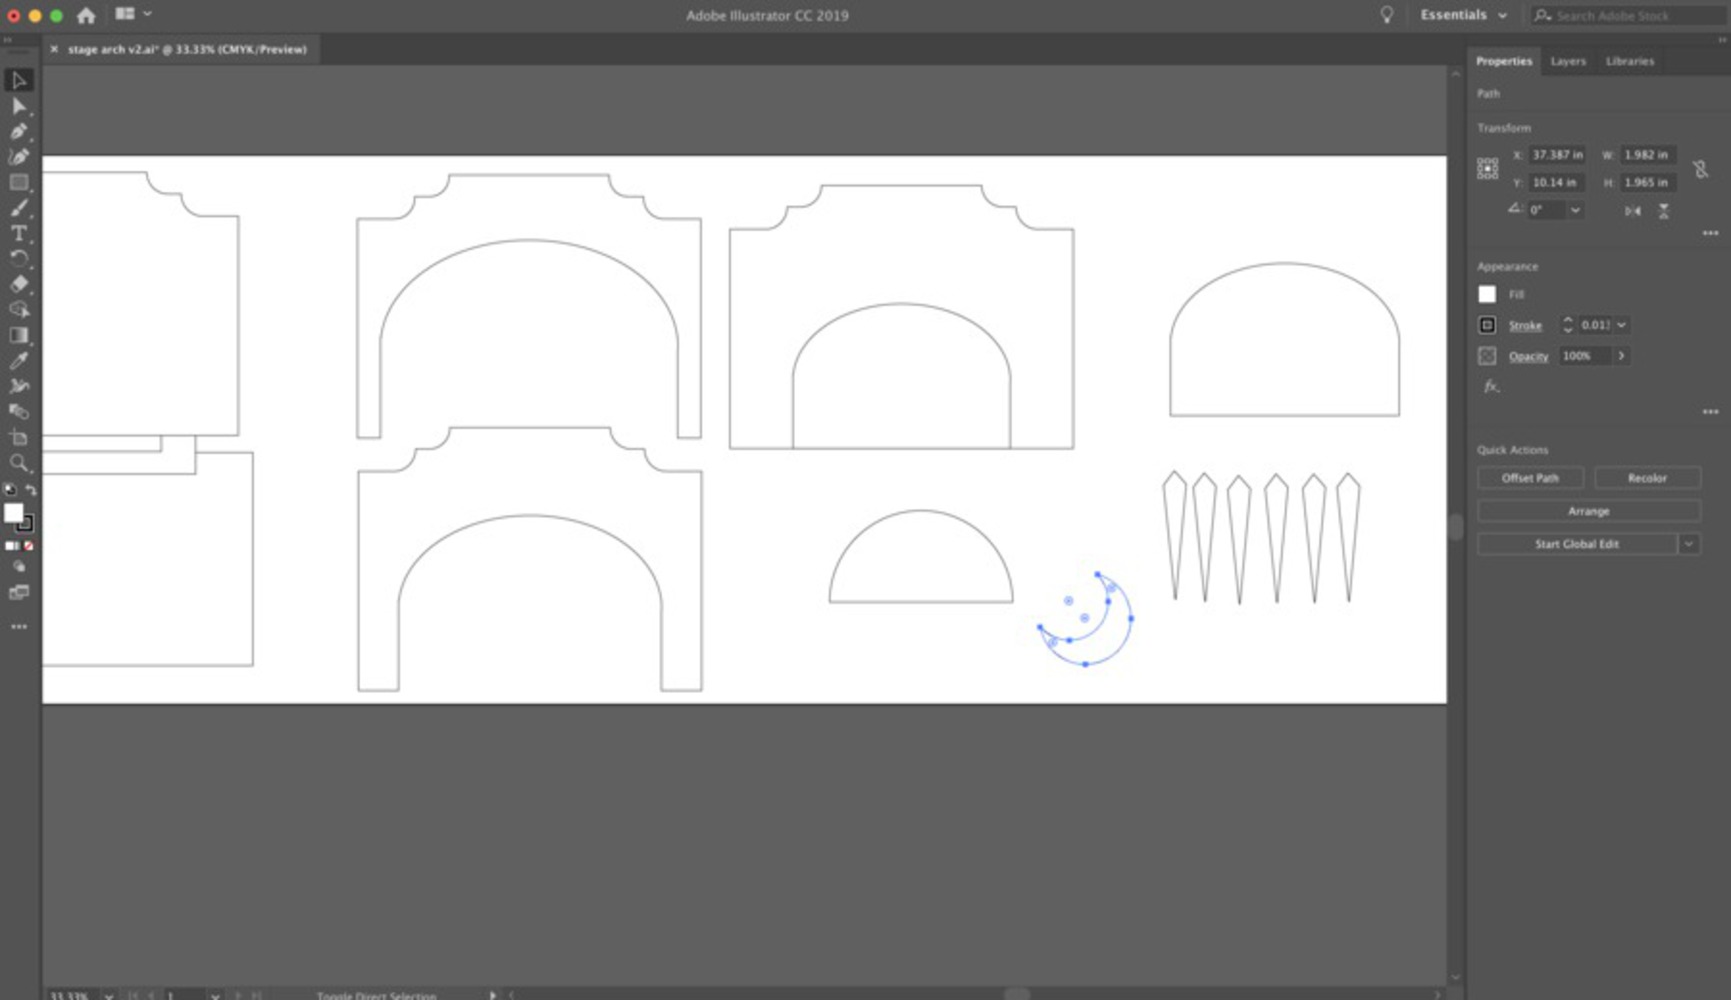
After putting together the first wooden version of my catch-all, I quickly realized that the round arches, though aesthetically pleasing wouldn't have much function beyond decoration. I want all the pieces that I included to serve dual function, so I decided to go back to Illustrator to redesign the arches. Adding angles and curves allowed the arches to serve as racks for necklaces.
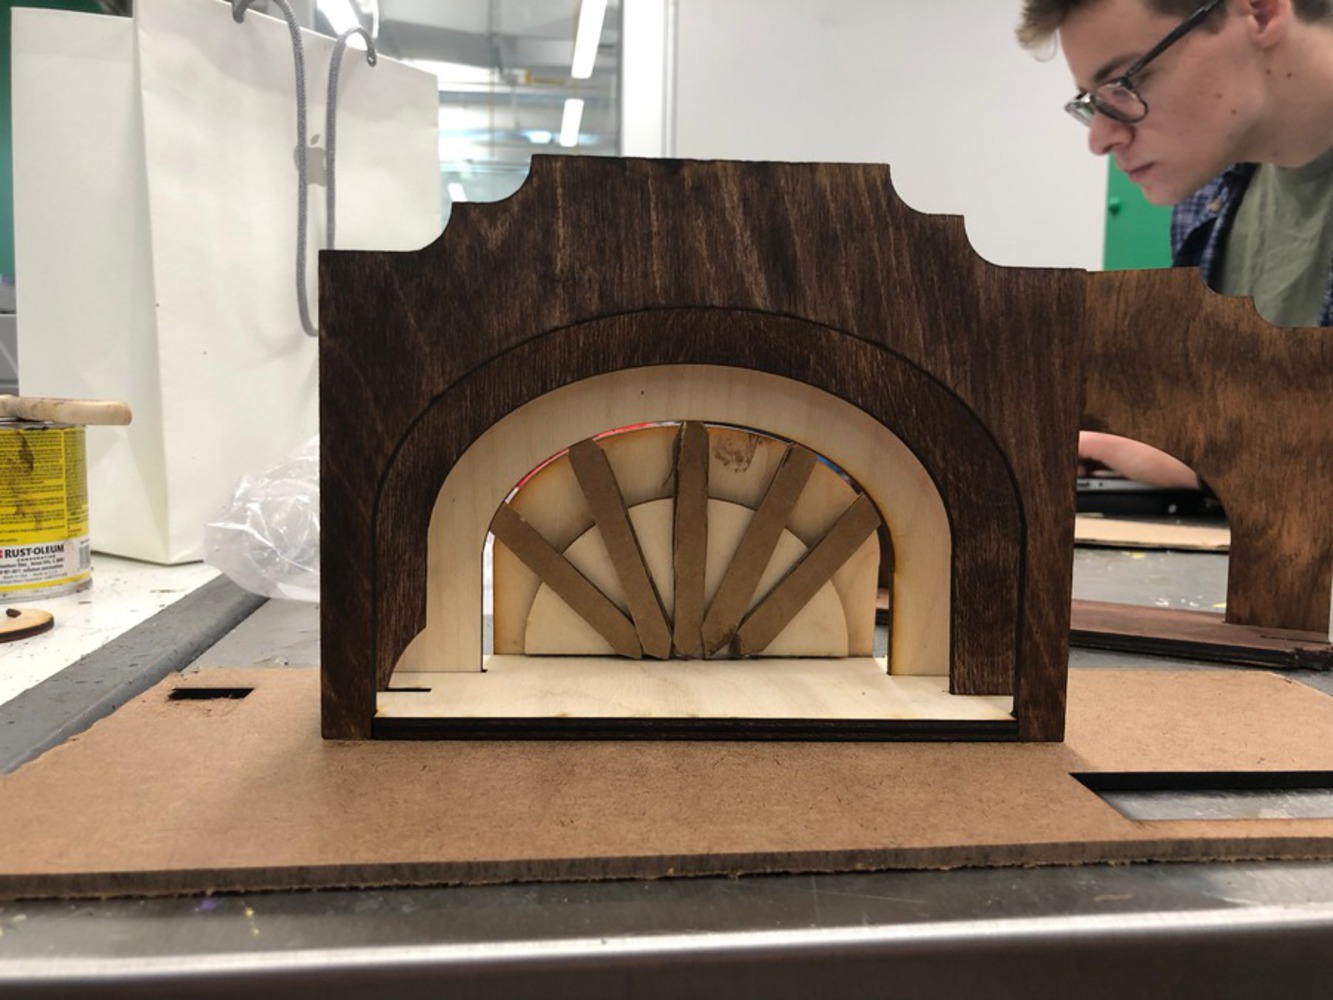
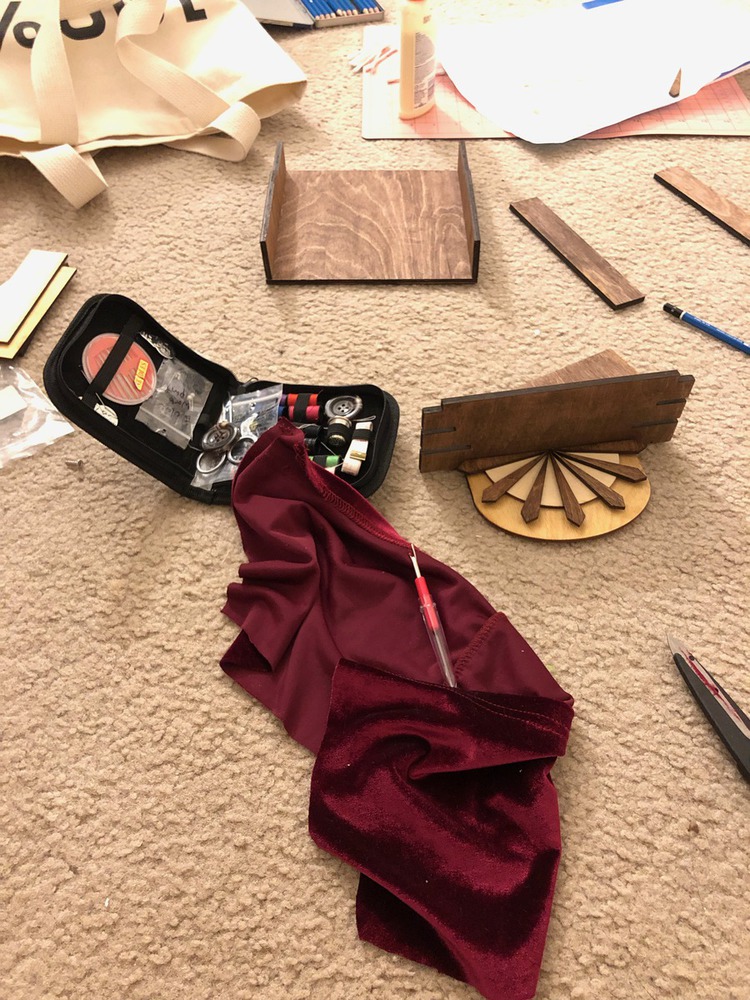
Given I was satisfied with the form, I wanted to move onto the finish. I knew I wanted to create the gradient effect with it being darkest on the outside and becoming lighter as it got "closer to the sun." I used 2 different shades of stain: Cherry and Walnut, and opted to go raw for the back panel.
Ultimately, I was really proud of what I designed and built. At the start of this class, I was somewhat skeptical of my own fabrication skills or that I could really make something just from an idea, but this final project really proved me wrong. If I were to continue this project, I would likely replace the string lights I used with strip LEDs that pointed down towards the stage for a more "spotlight" effect.
Overall, I am very happy with what I accomplished.

You can upload files of up to 20MB using this form.