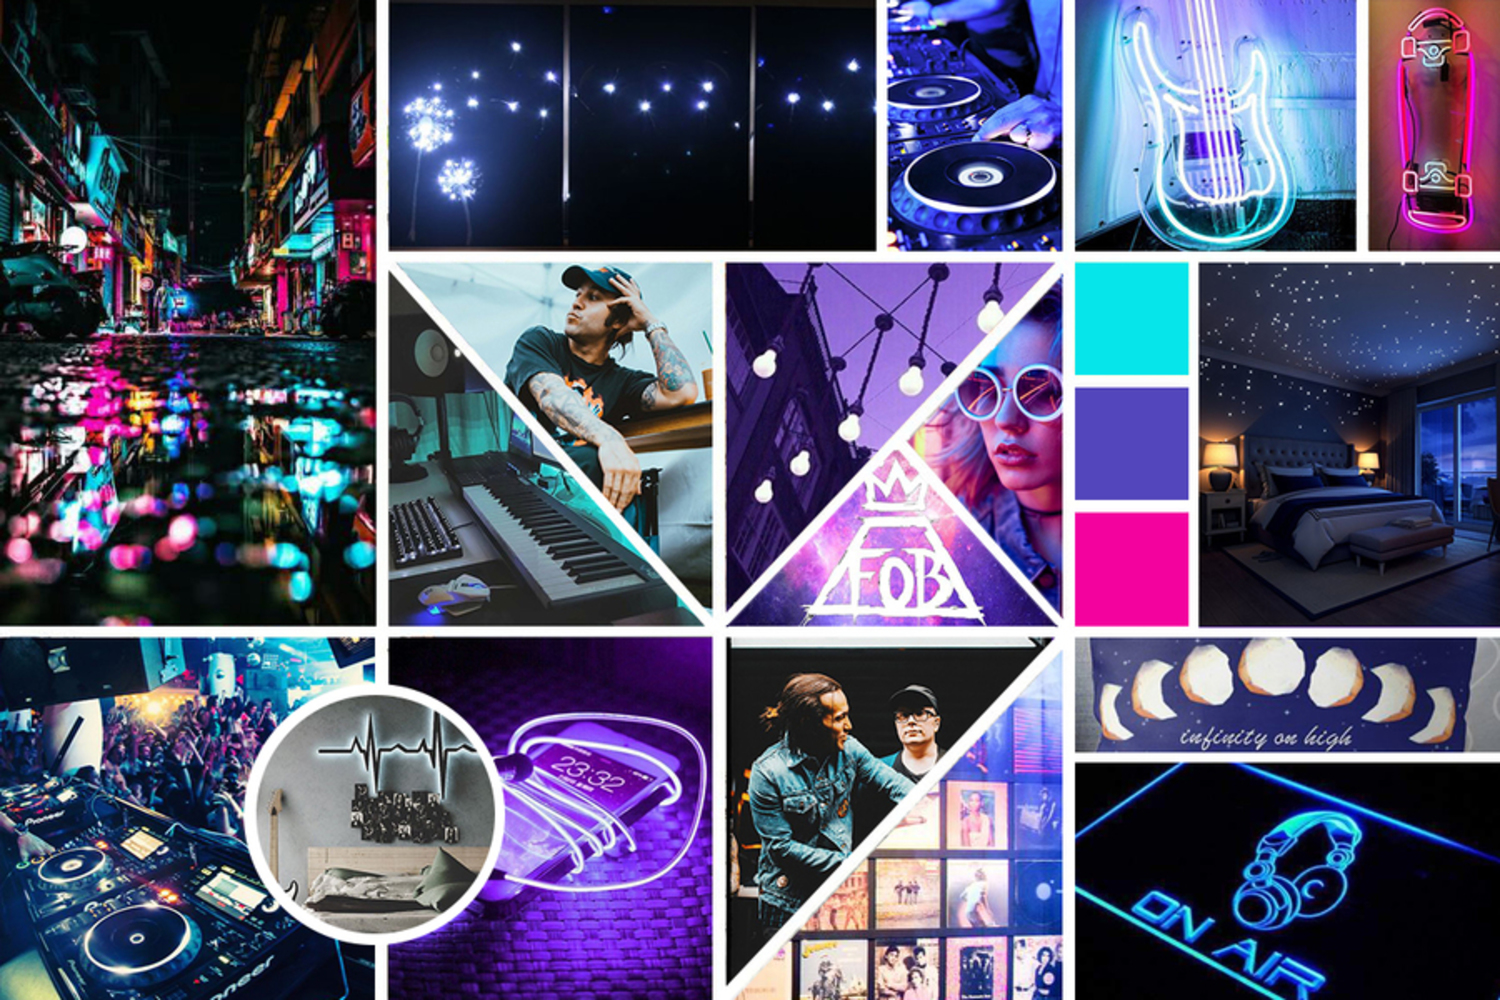
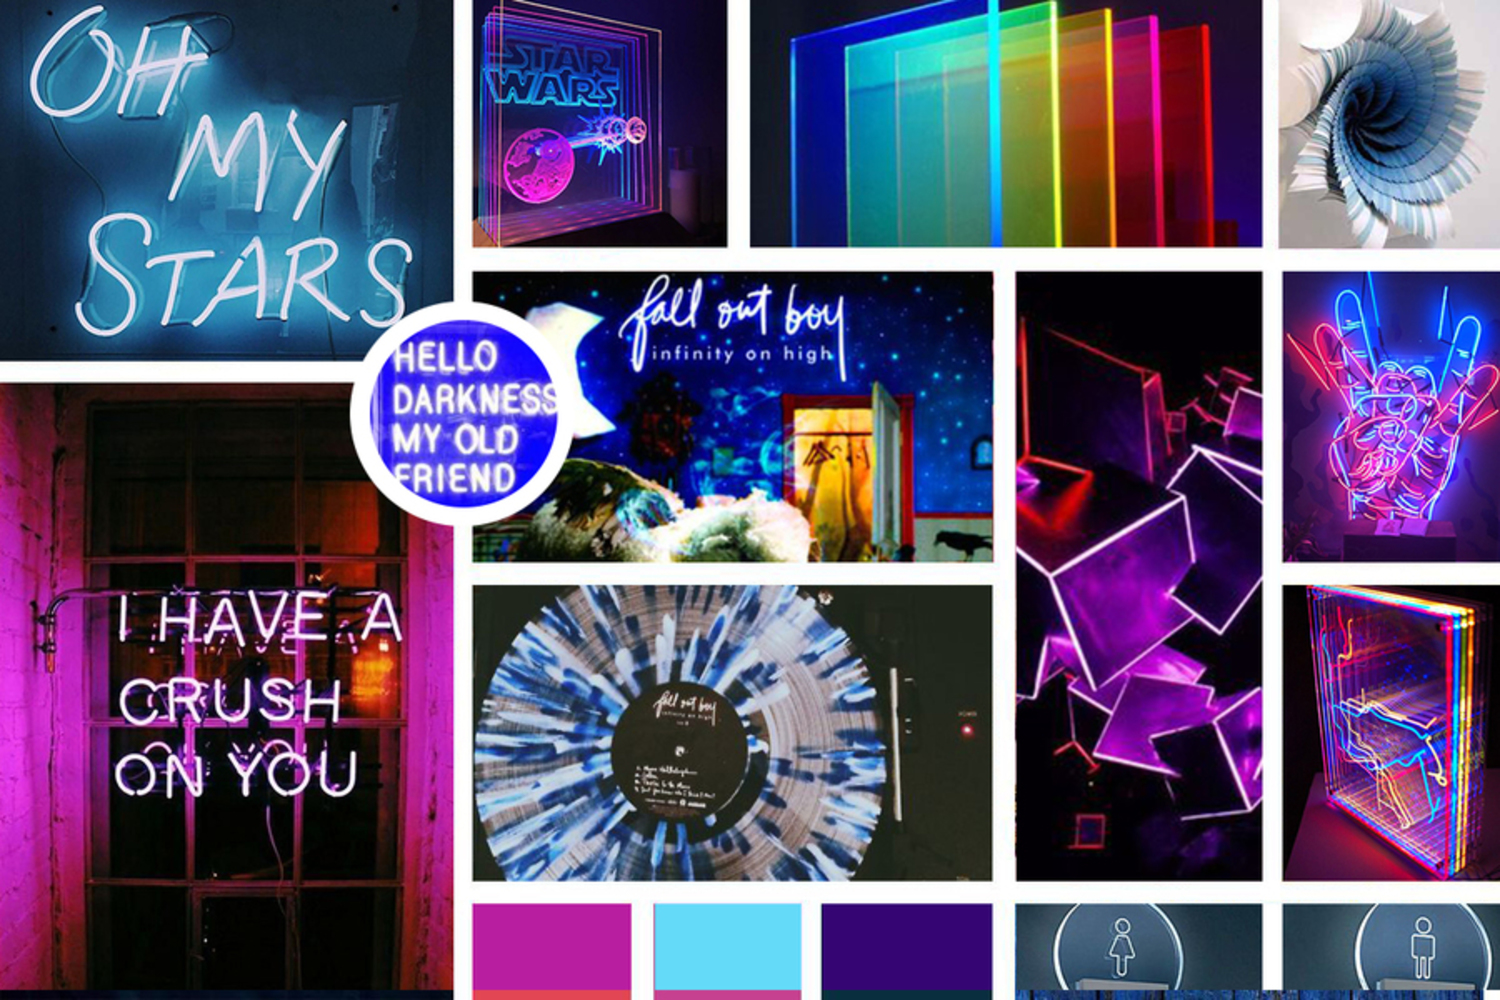
Towards the start of this project, I knew that I really wanted to do something with really vibrant colors. I'm really into neon lighting and music, and I wanted my final project to reflect that. I have never really worked with LEDs or lights before, so I was excited to try my hand at that. I had also never done a lot of etching or even considered edge lit acrylic before this project. In talking to one of the TAs about creating this lit up album, I definitely had not put a lot of thought in how I was going to light it, but I definitely think that edge lit acrylic was the most feasible solution.
Outcome
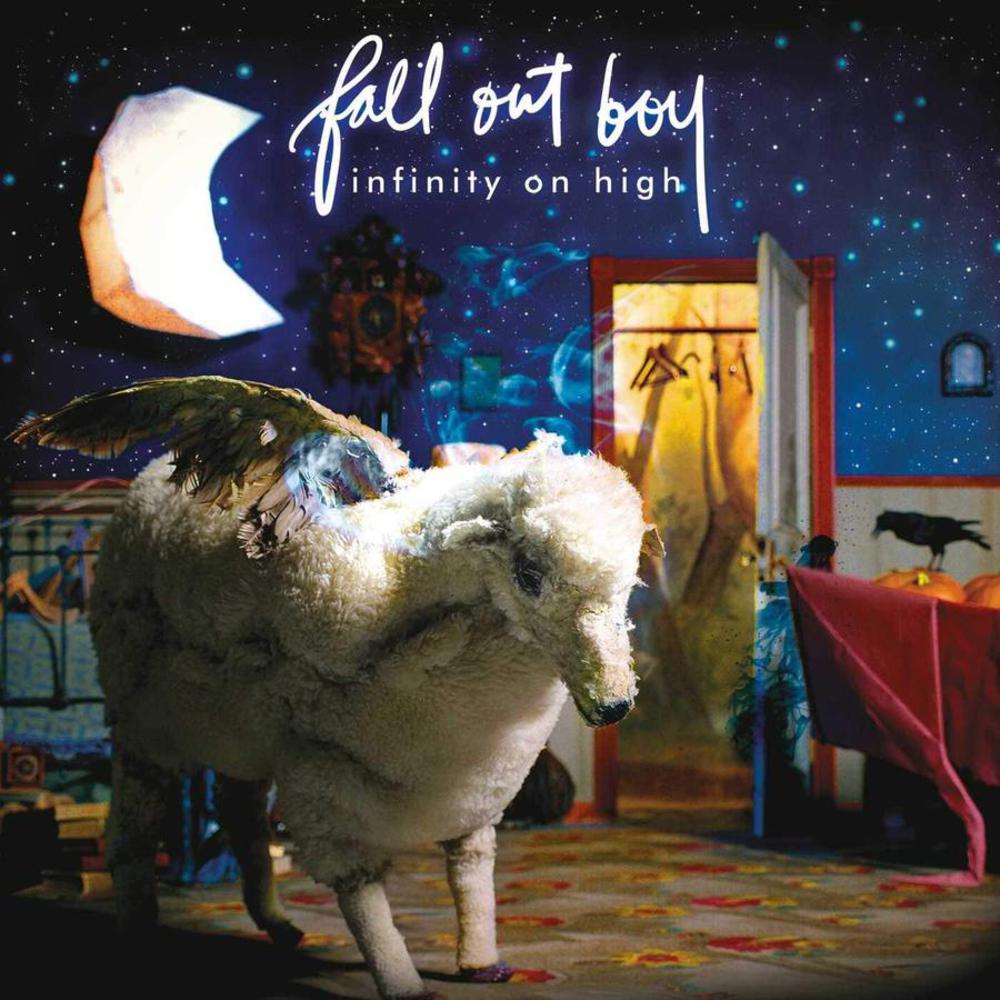
I immediately latched onto Fall Out Boy's album art for my project, not only because they're my favorite band, but because of how vibrant the coloring of their album tends to be. Although at this point, it's really hard for me to pick a favorite album, I chose Infinity on High mostly for it's coloring (the blue and yellow are particularly alluring in my opinion), but also for the iconic features of the album. From the sheep to the starry blue background, it was easy to pick out 4 different layers that I wanted to highlight.
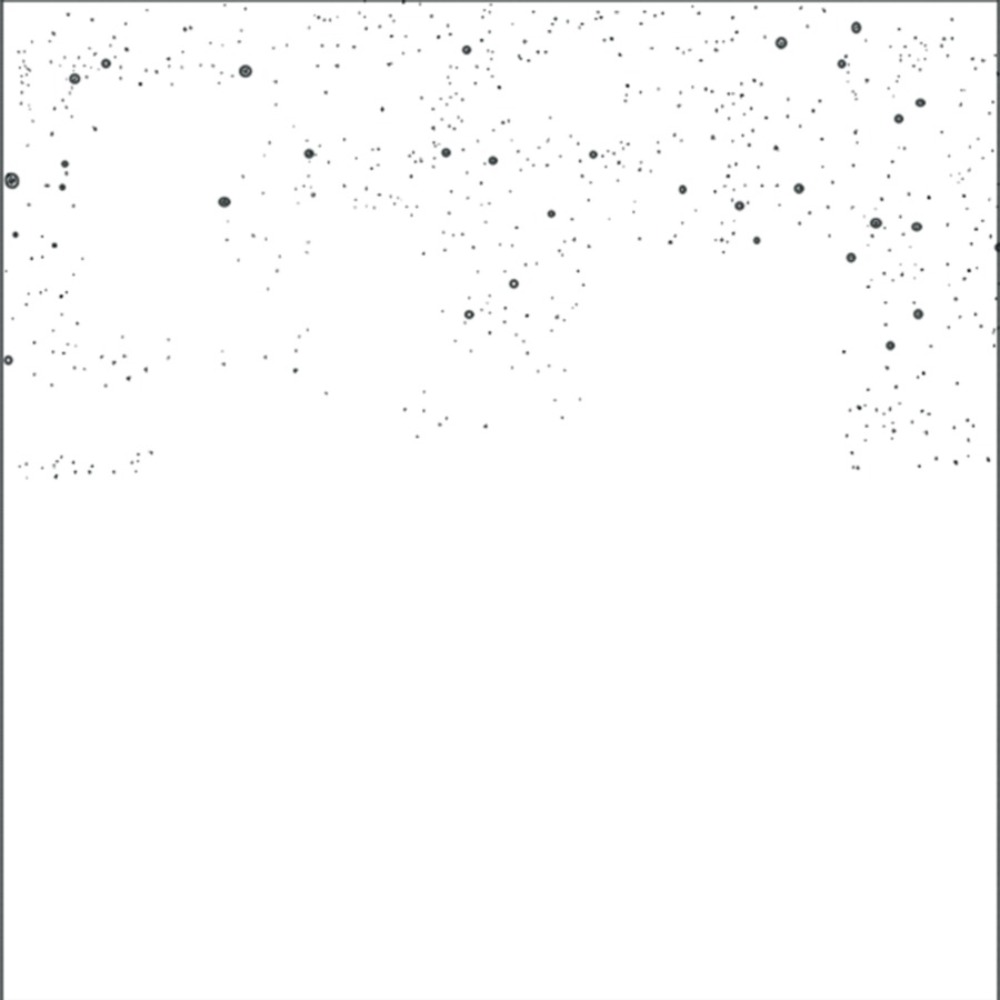
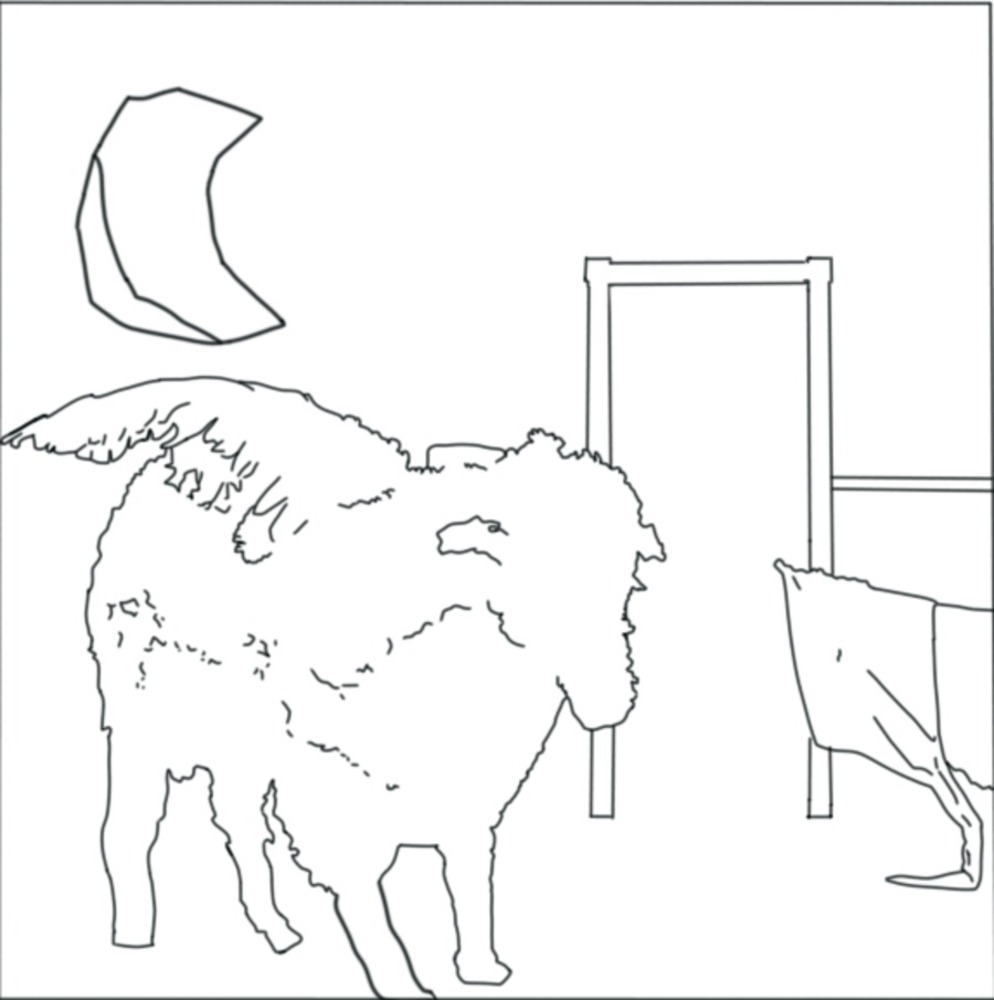
Probably one of the most time consuming elements of this process, was tracing out everything I wanted to be featured in the layers. The above picture shows every layer that I included in my final product, with the exception of the stars. I used Autodesk Sketchbook to do all of my tracing, choosing to highlight some of the inner details of the sheep and the red cloth, without really thinking about how I would implement those with etching. By this point, I had already had my colors picked out. White for the sheep and the main part of the moon, yellow for the sliver of the moon, and the inside of the doorway, red for the door frame and the cloth, and blue for the stars.
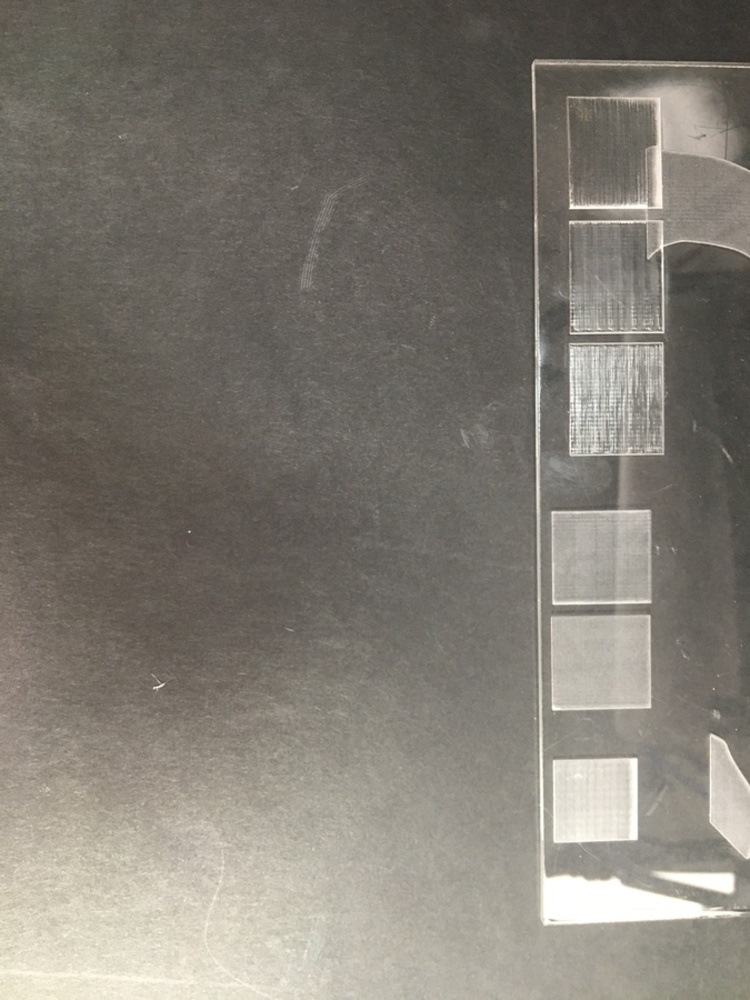
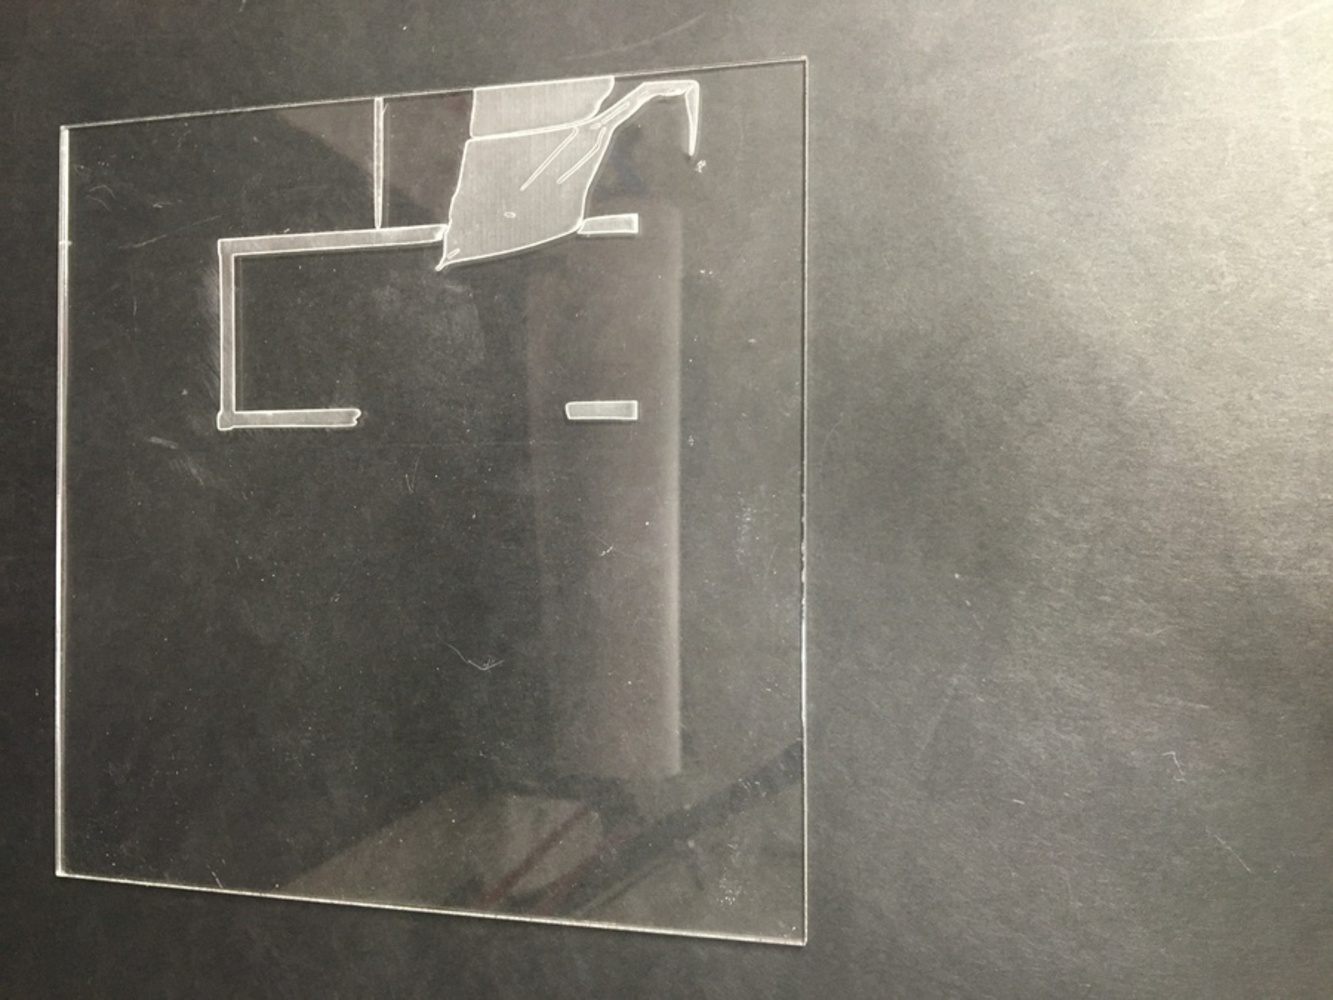
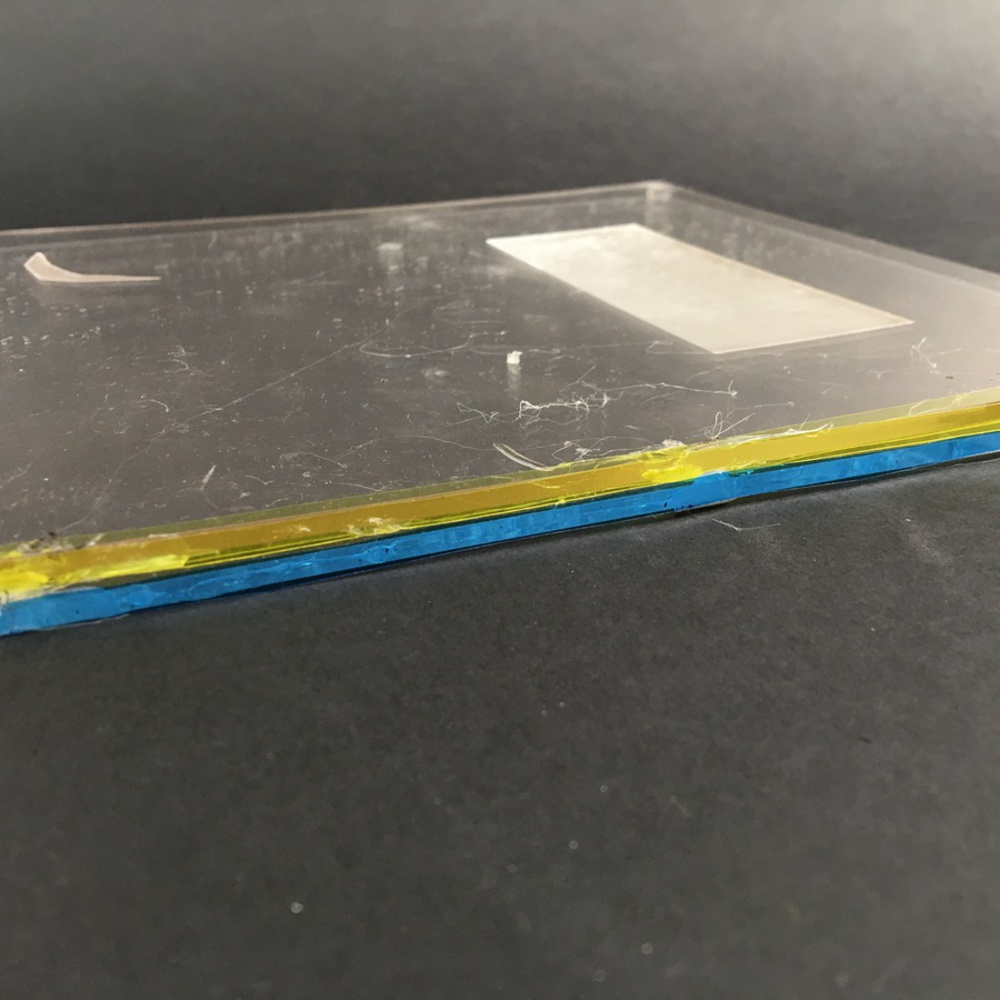
After I had prepped all my files for etching, I had to figure out which settings to use on the laser cutter. As seen above, the squares etched on the right where way too deep and wouldn't reflect the light of the LEDs the way I wanted to. The squares on the right were etched on a setting that removed less acrylic, living a whitish tint. This was definitely more of the look that I was going for in terms of catching the lighting.
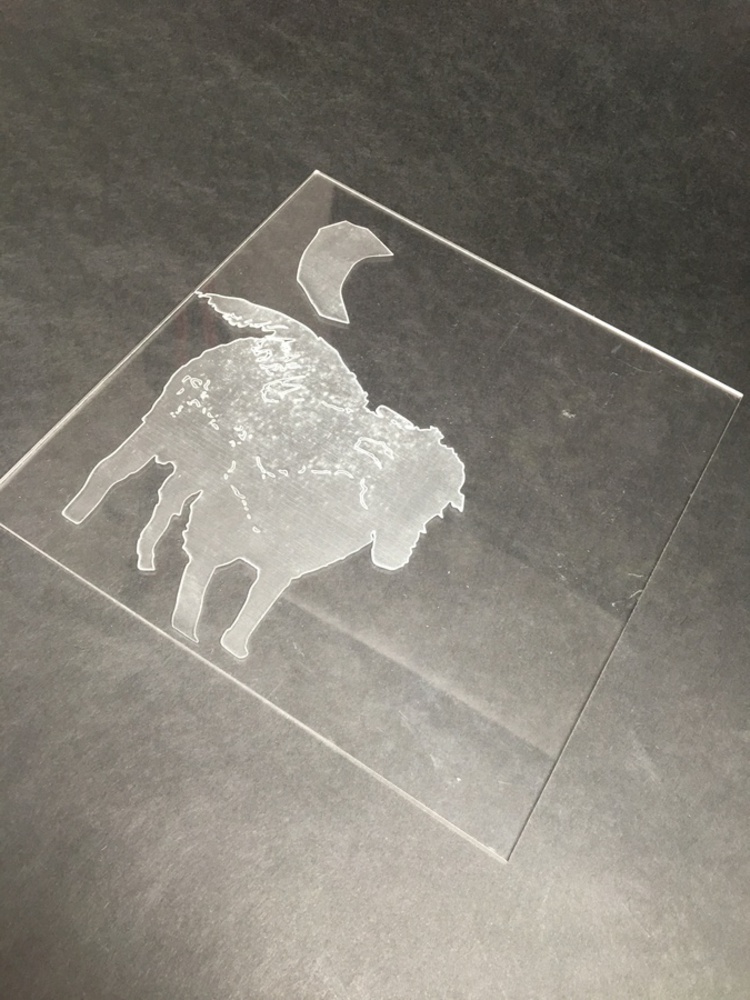
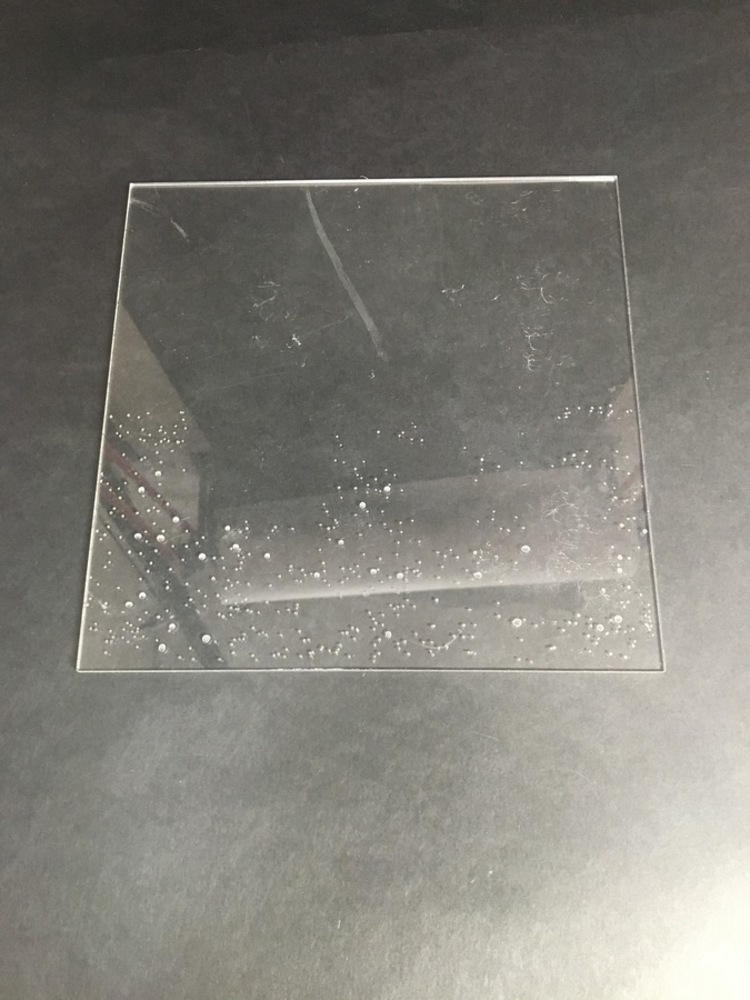
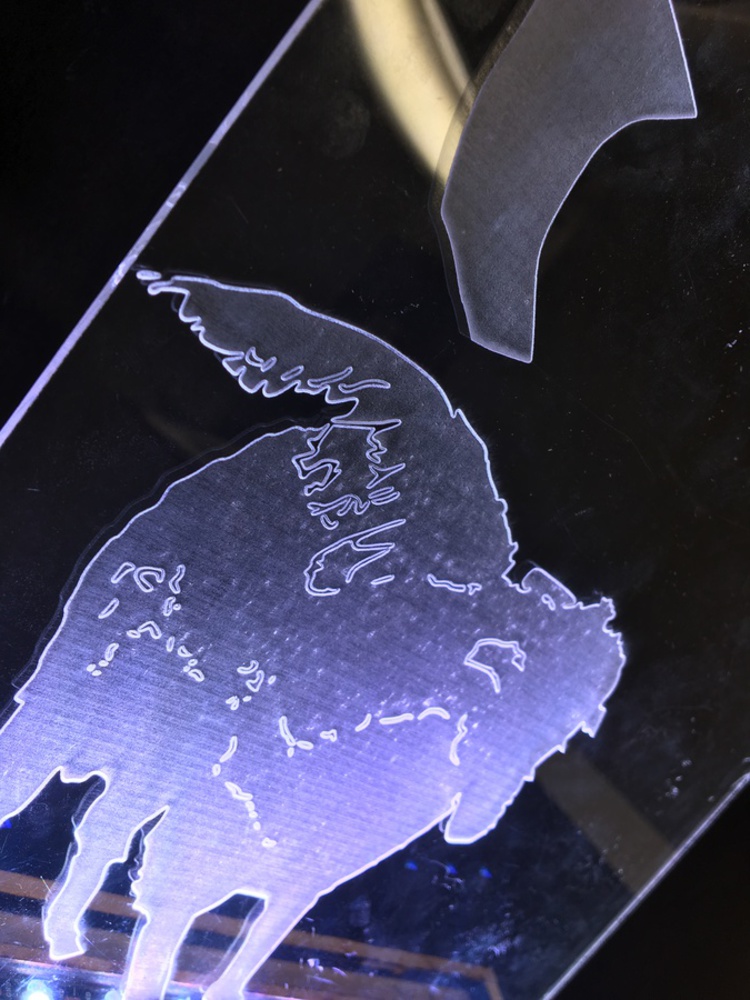
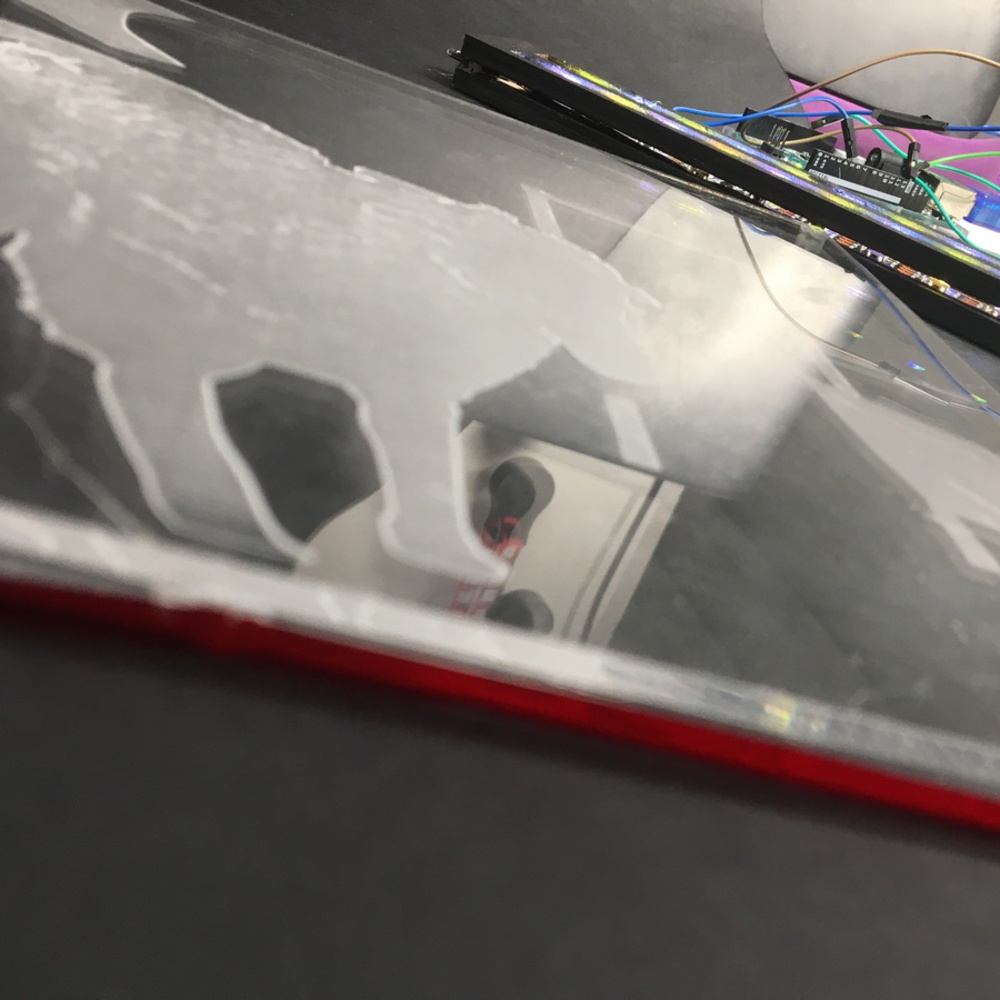
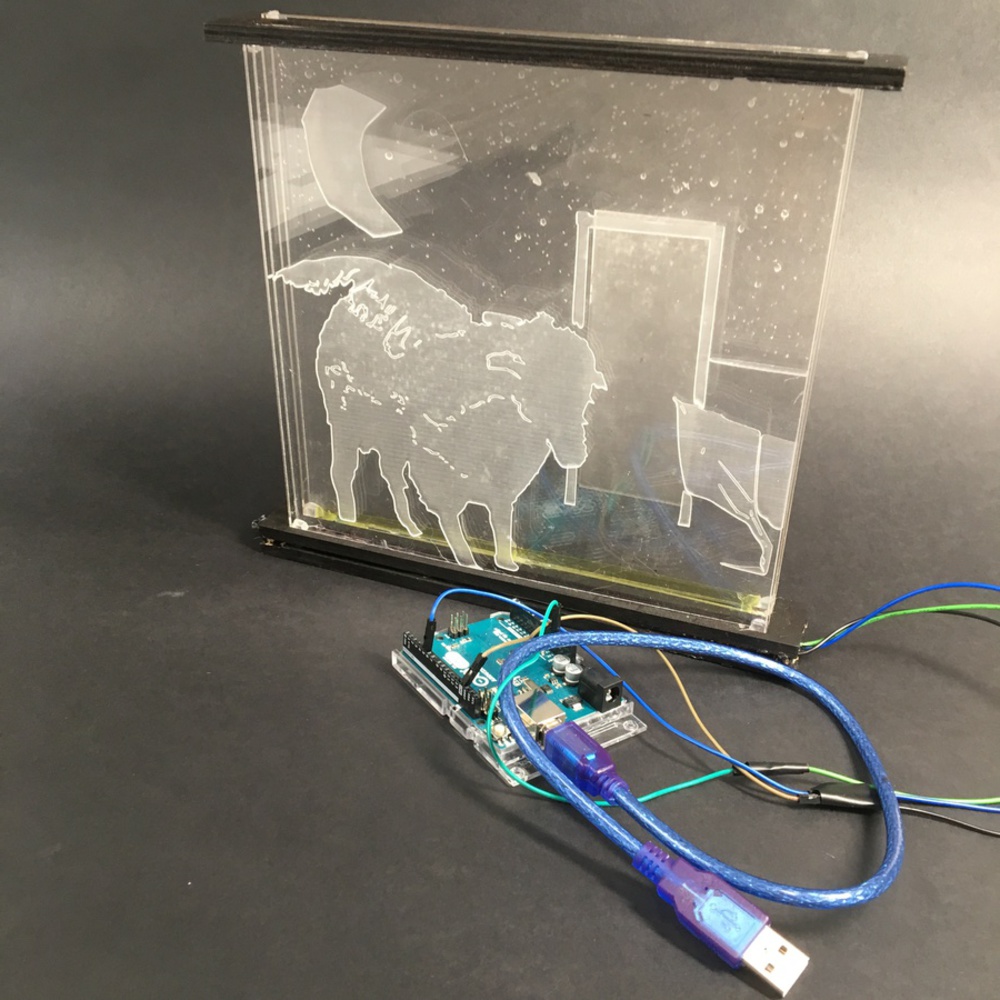
The above images are three out of four of the layers that I etched. As you can see, all of the layers feature the whitish film, that would capture the light of the LEDs. However, because I etched them before working on the lighting component, they got a little bit scratched up from being carried around in my backpack. If I were to do this project over again, I would probably have been more careful with carrying the acrylic.
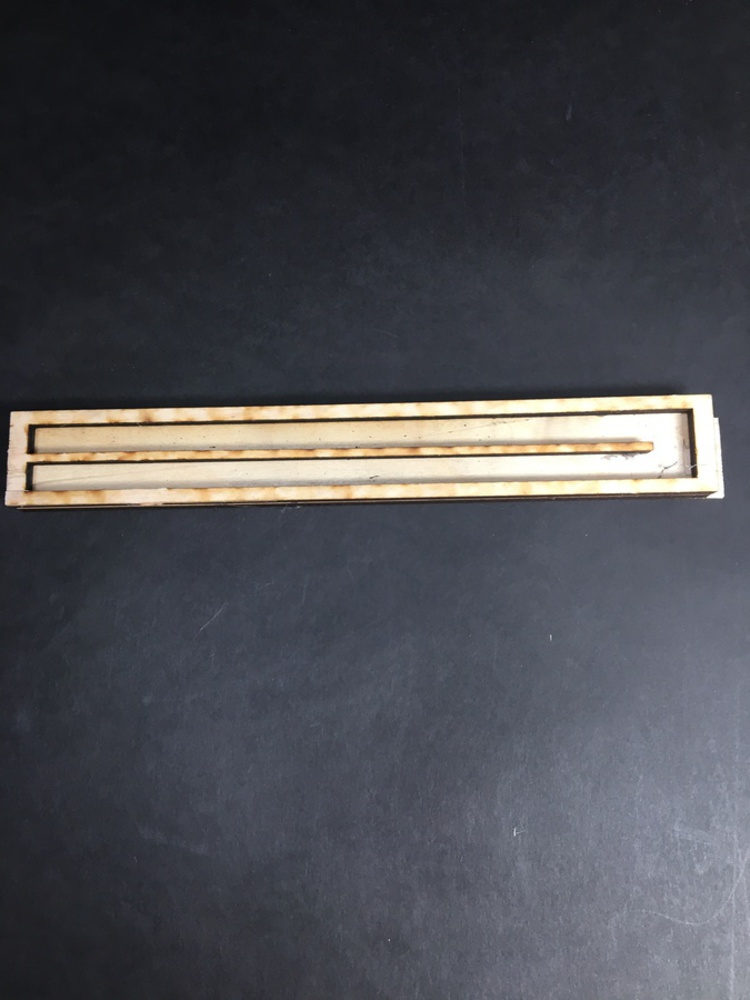
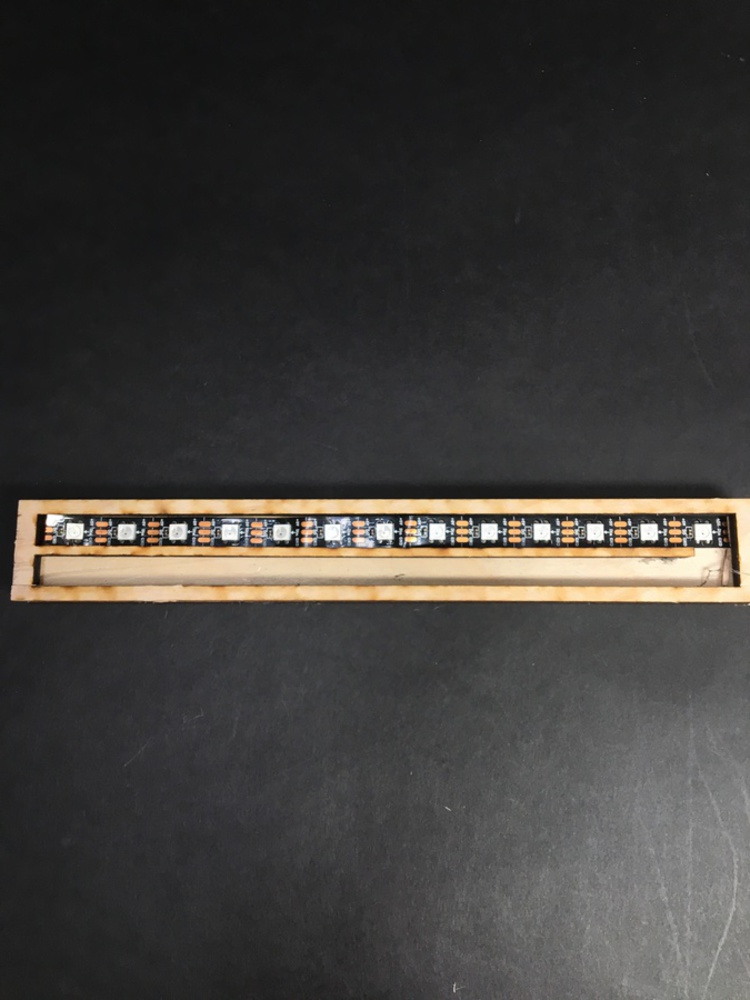
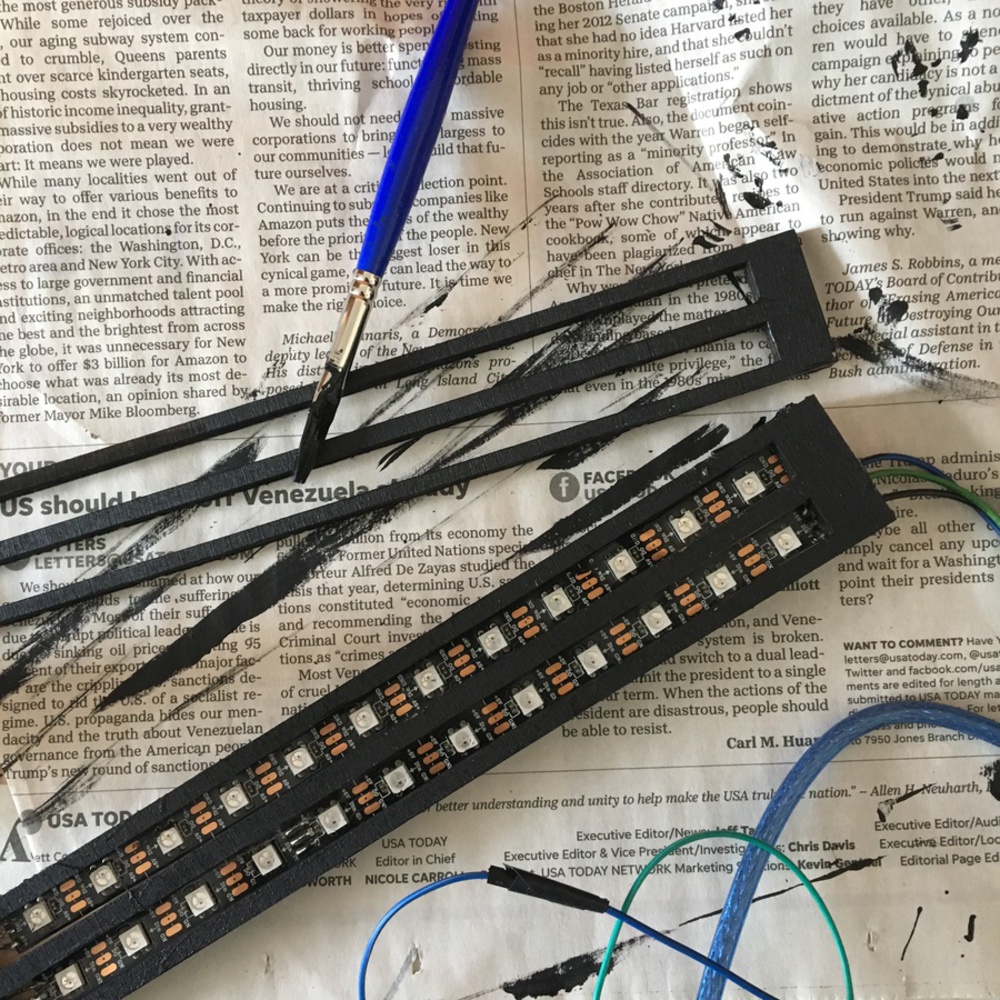
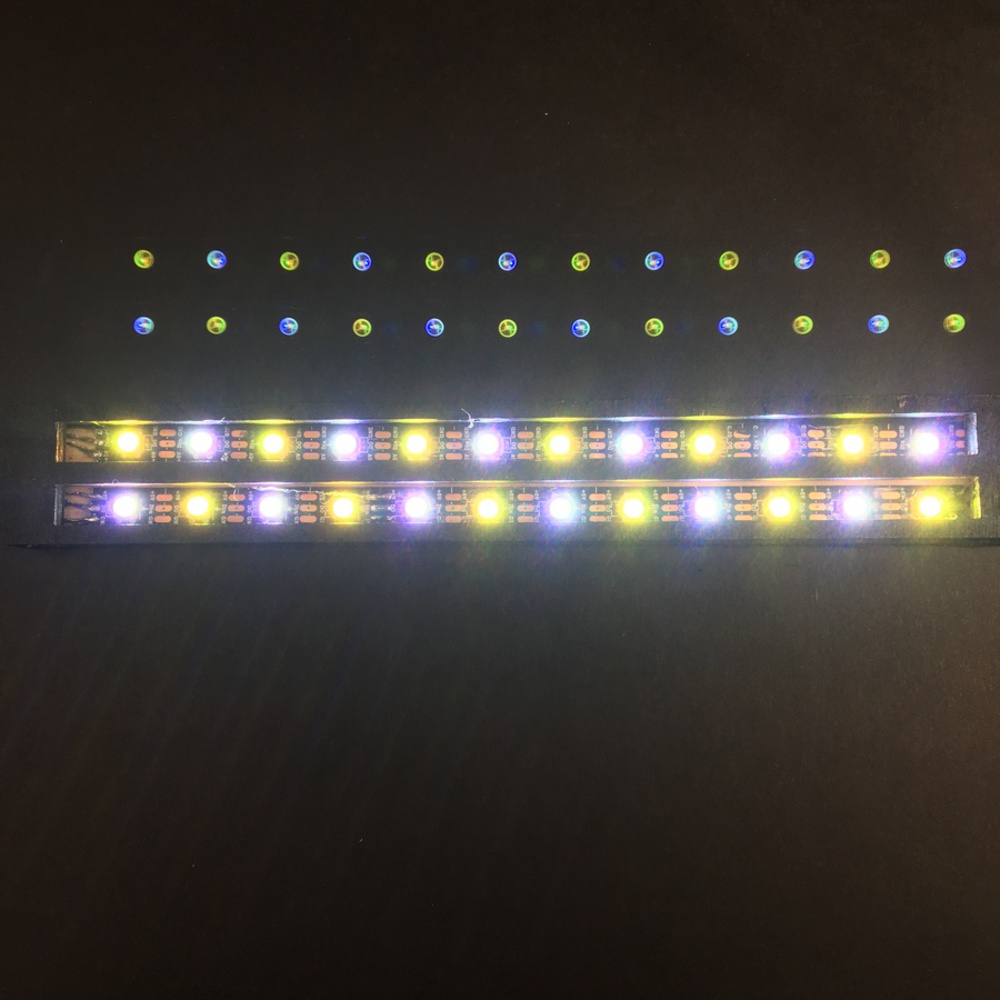
The next step in my project, was figuring out how to light and secure all of my acrylic layers. I bought some 1/4" plywood to construct a base, and laser cut two separate layers: one for the LEDs to lay on and one for the acrylic to wedge into. I initially bought 4 strips of LEDs, but in working on the project, discovered that I could fit two pieces of acrylic over one LED strip, and that dedicating one strip to each piece of acrylic would result in an end product a lot bulkier than I wanted.
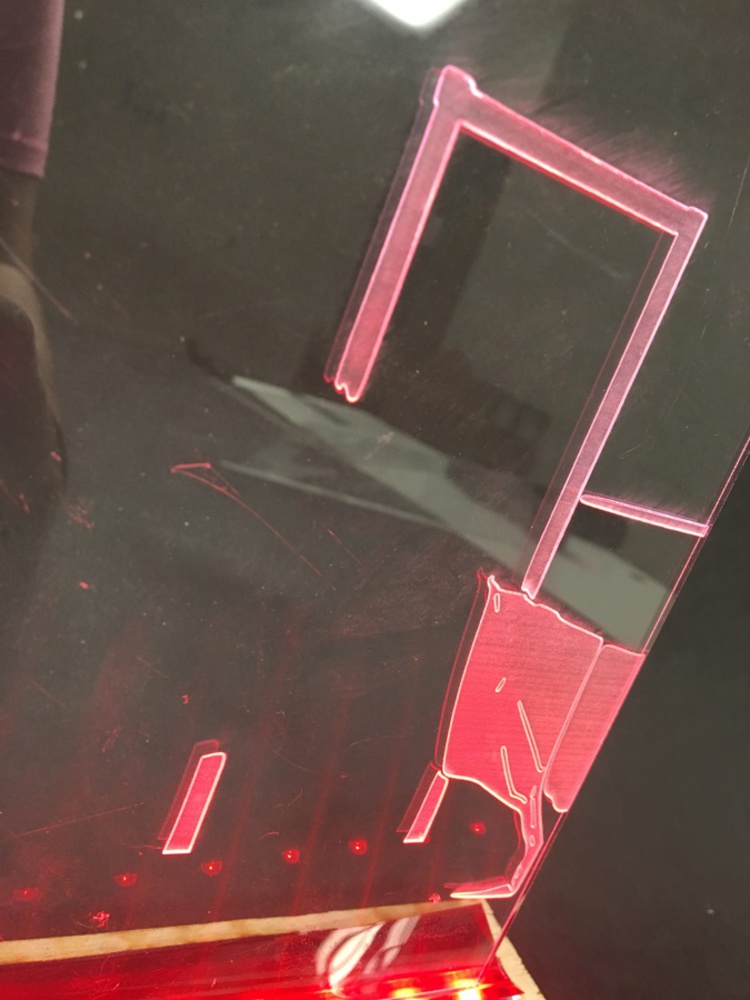
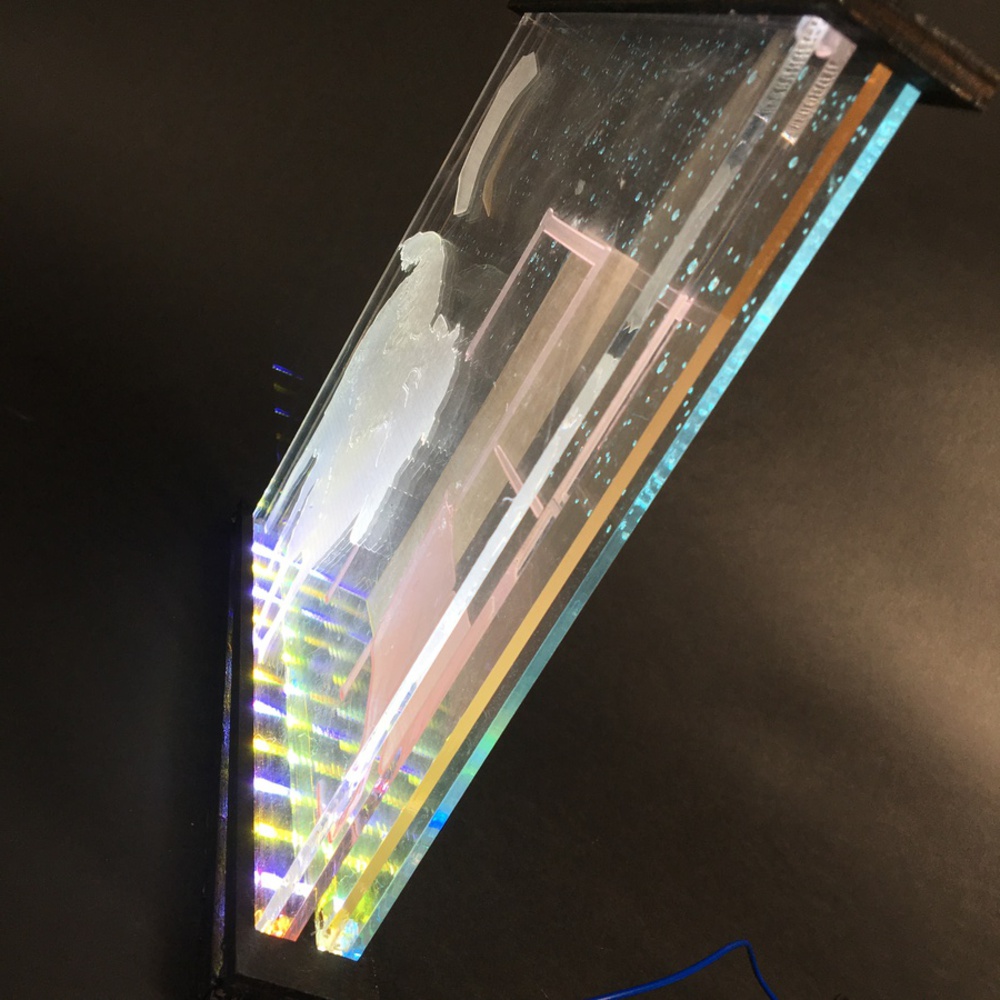
The above pictures feature some experimentation with beginning to light the acrylic. I'm pretty sure I changed the colors of the LEDs in taking these pictures, which wasn't exactly feasible for my end product, because I was using the same LED strip to light two different layers.
I end up also making a top base to further support the acrylic, since it's 8 inches tall. In my original base design, I left space in the cut outs for the wires to connect the two LEDs, but in wanting to further stabilize the acrylic, I decide that the wires will just fit in between the two layers of wood. I decided to paint the wood black to give the final product a more sleek look.
When I started playing with the lighting for the project, I felt like the yellow piece of the acrylic was the weakest in terms of color, so I tried to juxtapose that by turning every other LED yellow. Even with the yellow strip of translucent paper along the bottom, I wanted the colors to be stronger.
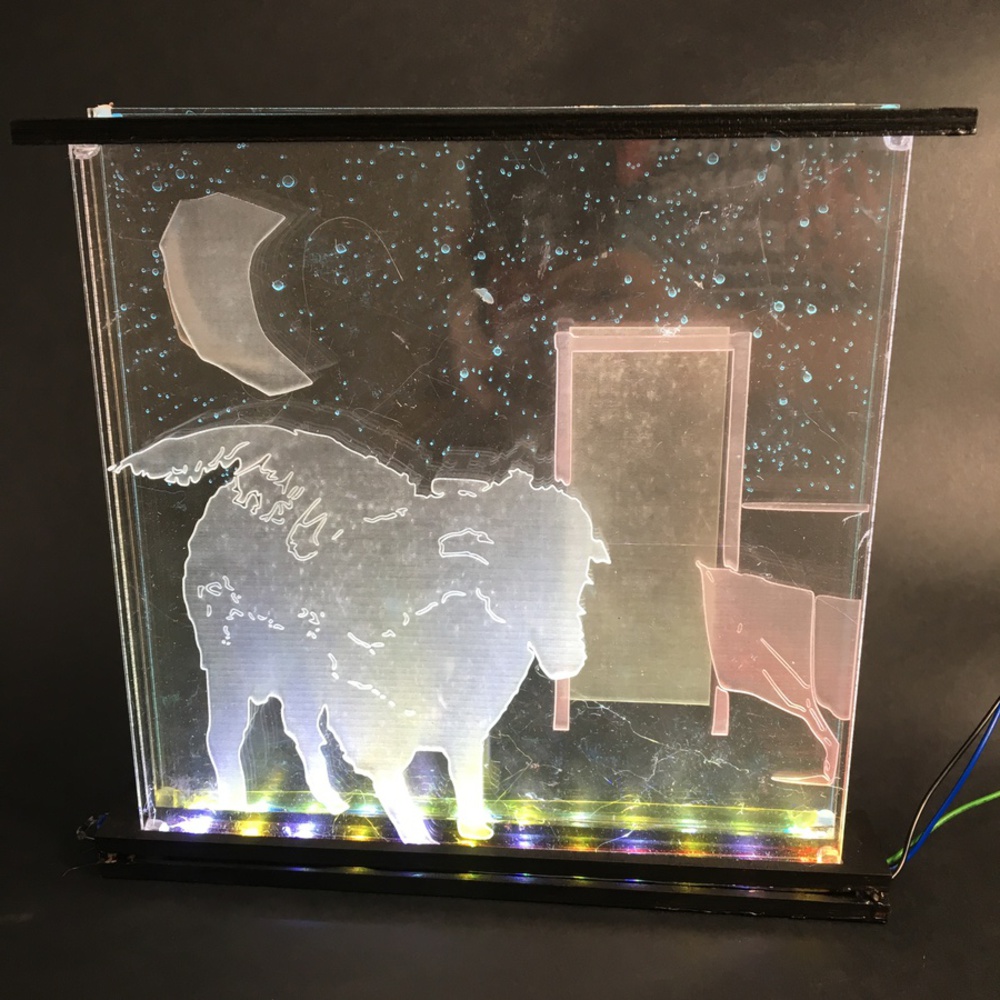
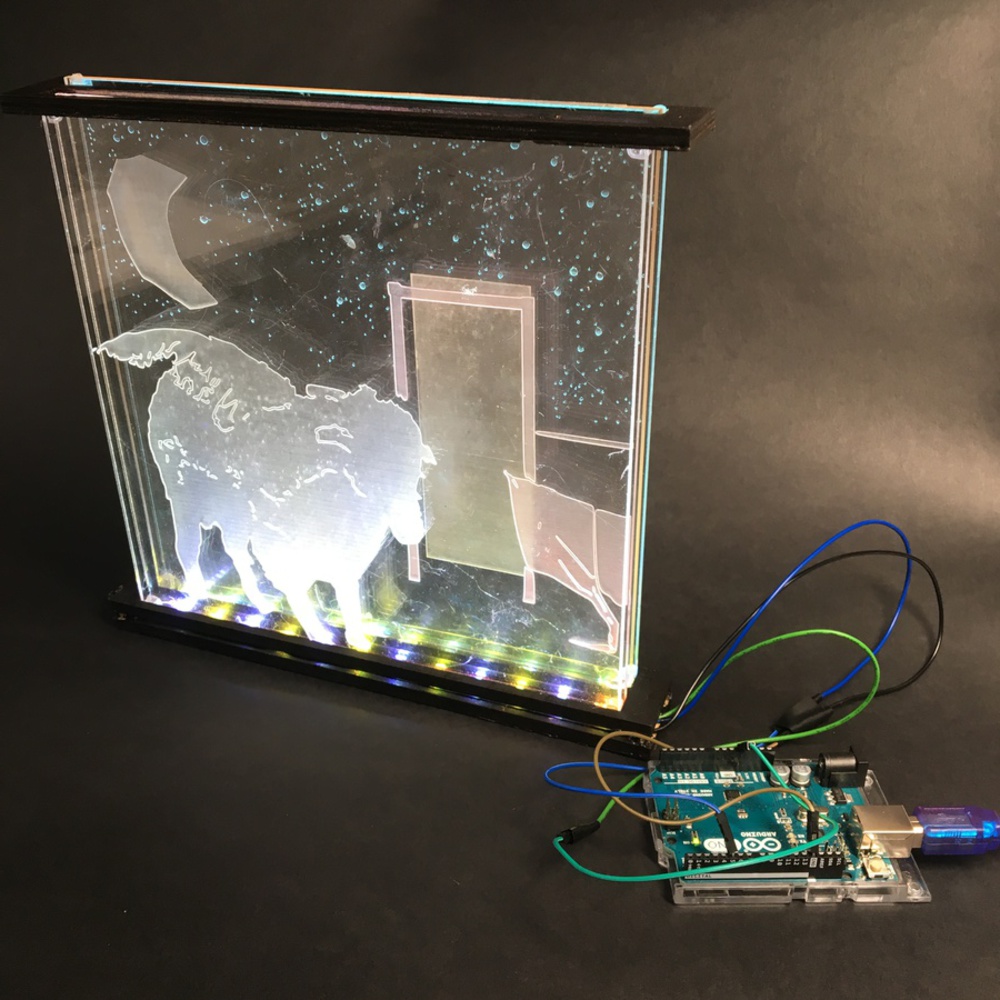
Above are some pictures of my final project. I think that overall, I wish the colors were still brighter. I think in terms of other things to fix, I would have tried to hide the LEDs more in the base of the acrylic, in addition to finding somewhere to hide the Arduino or use a different power source for the LEDs.
You can upload files of up to 20MB using this form.