Back to Parent

Outcome


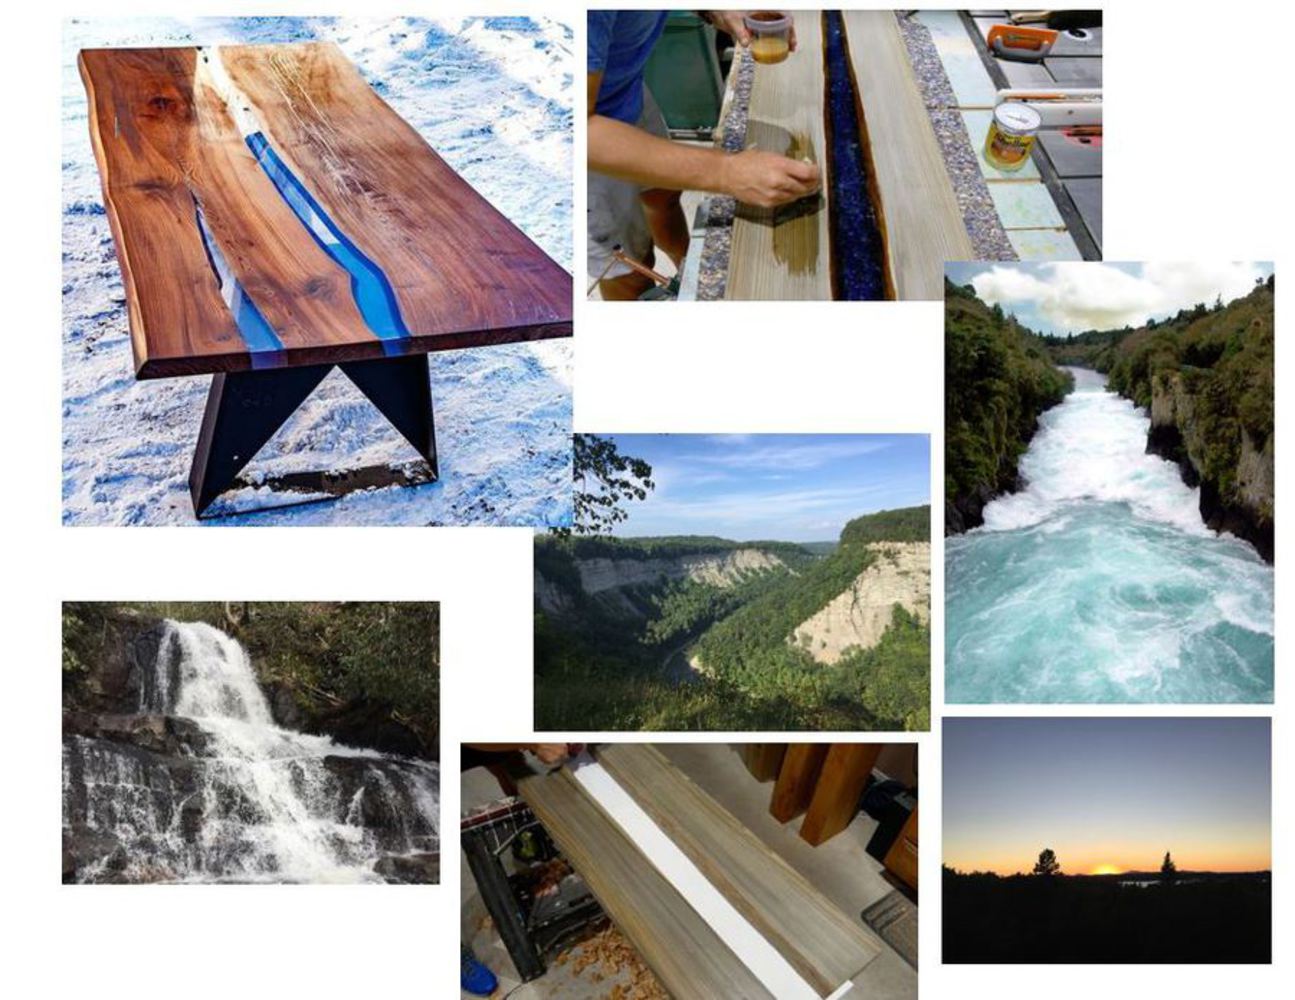
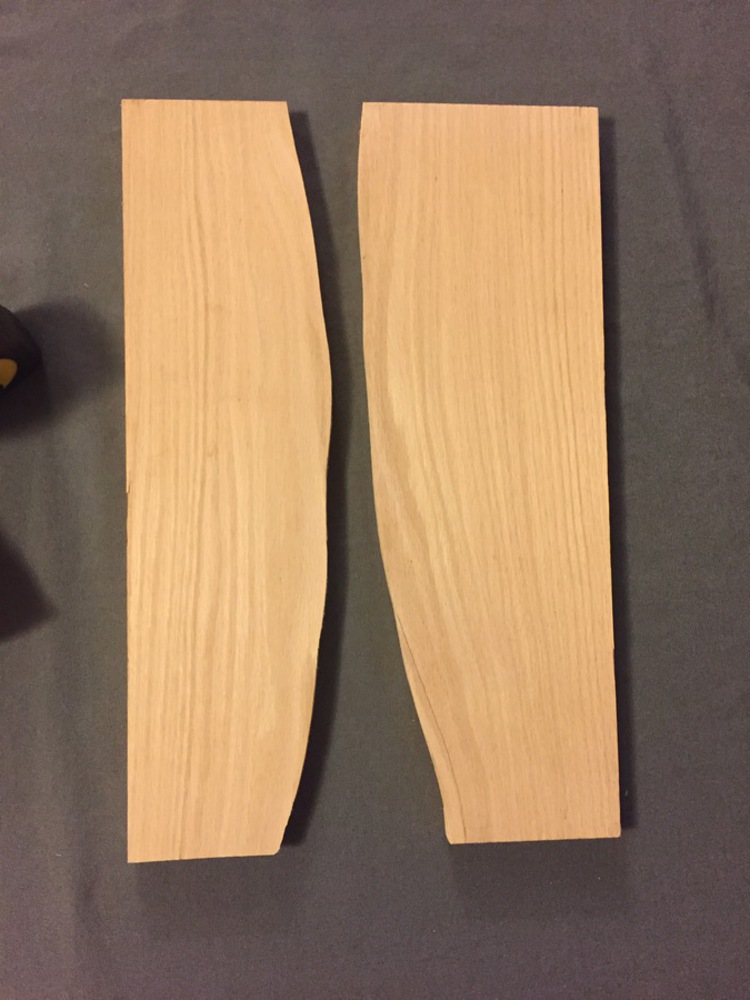
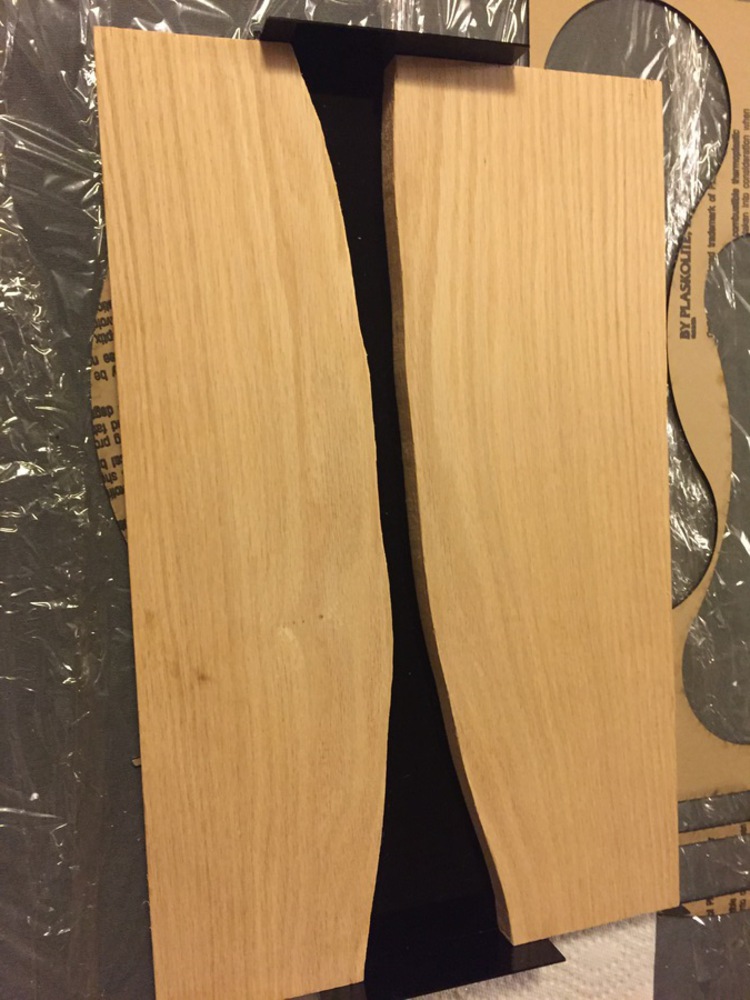
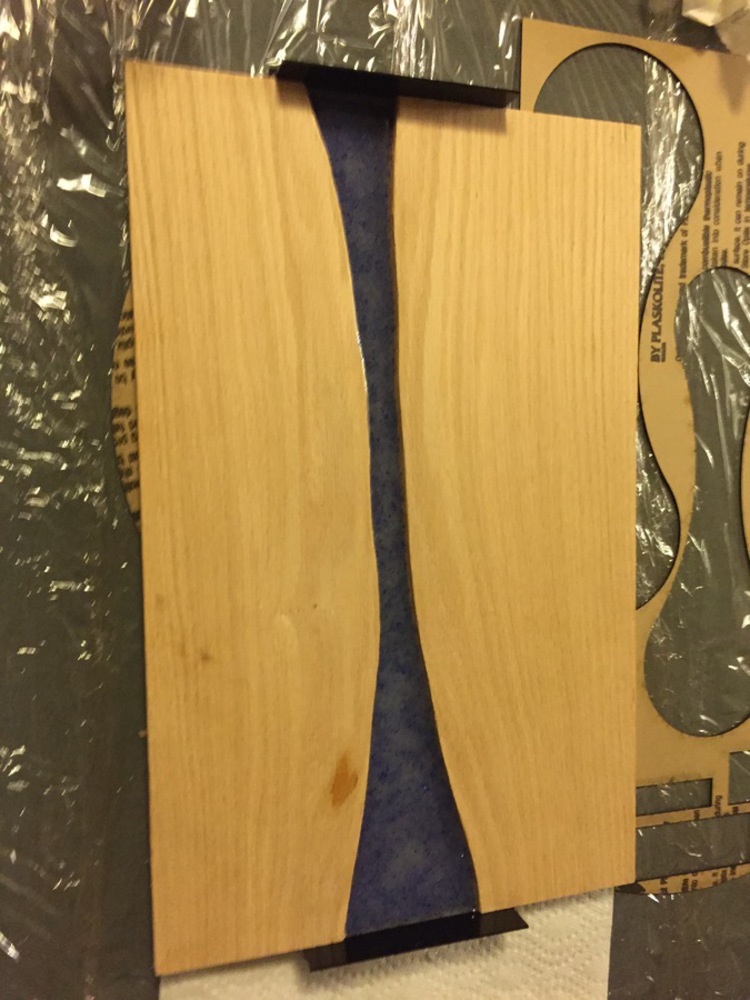
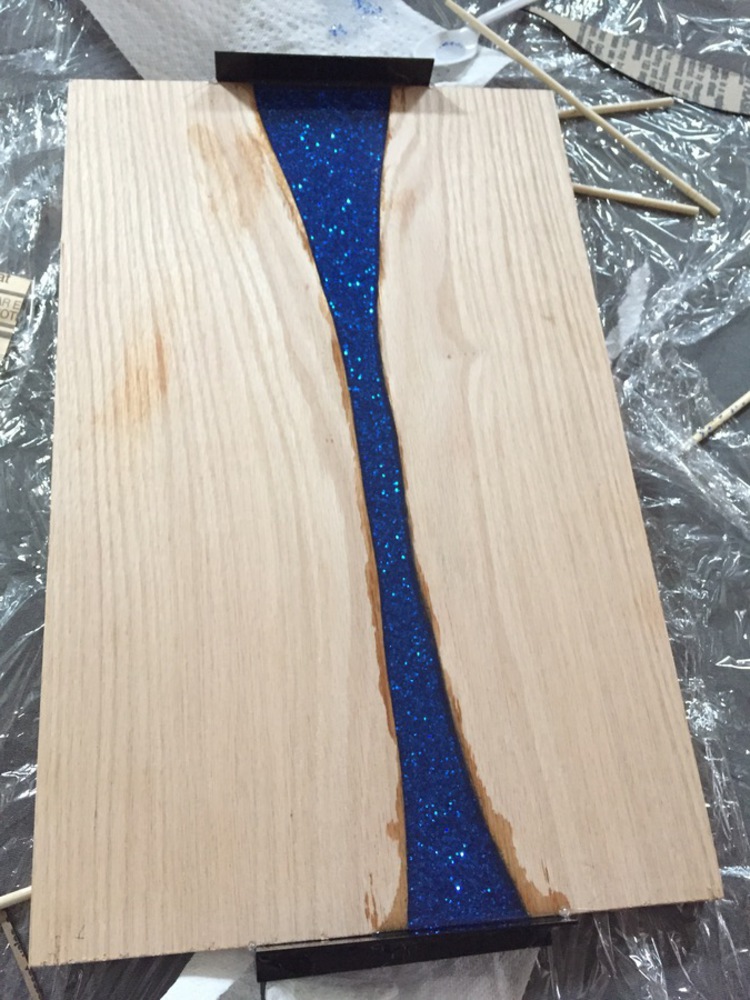
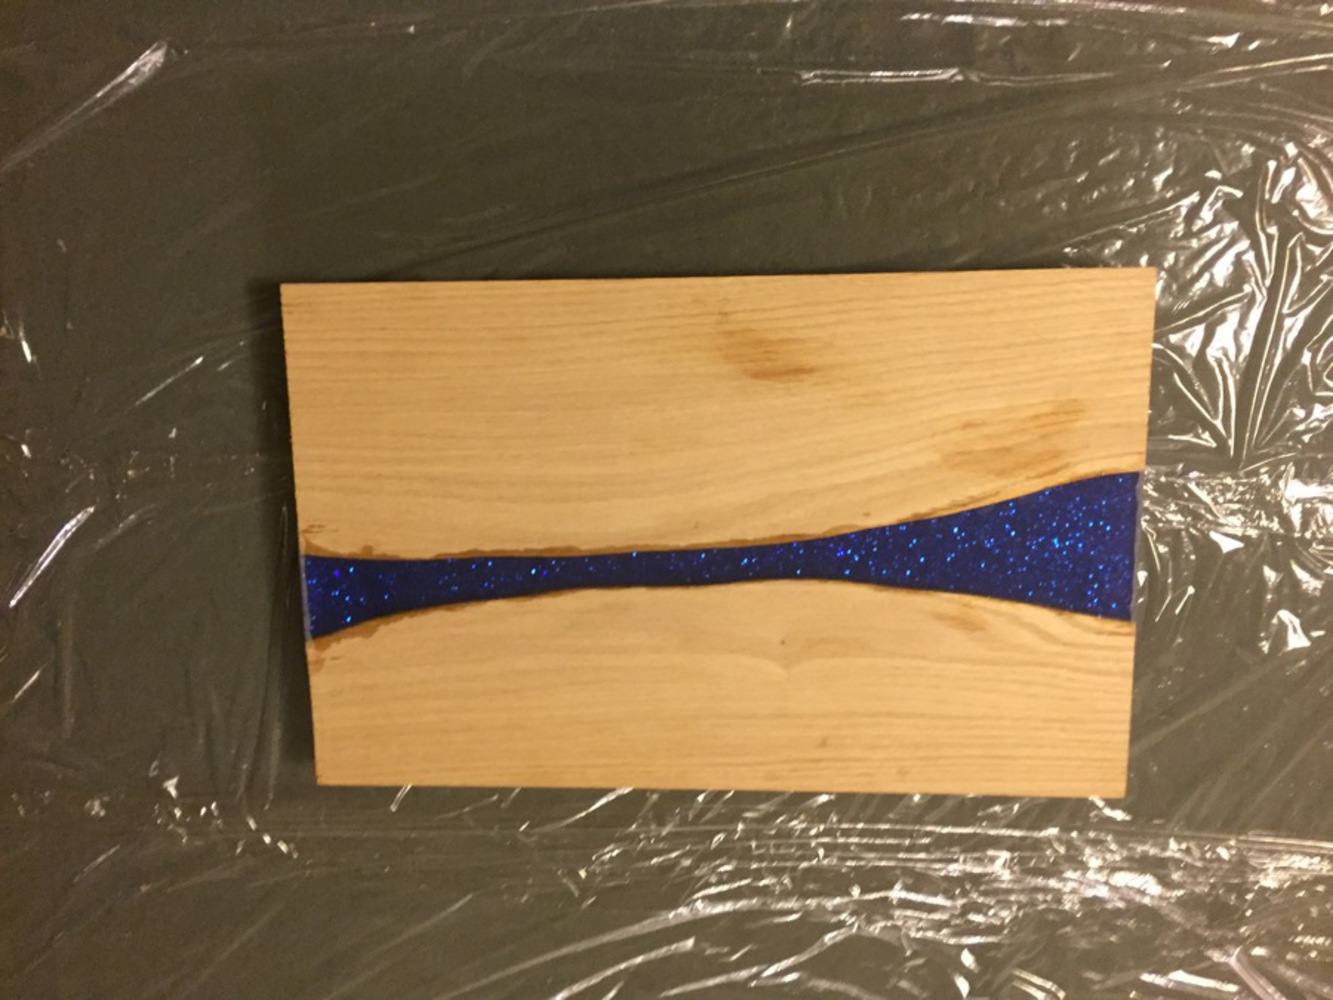
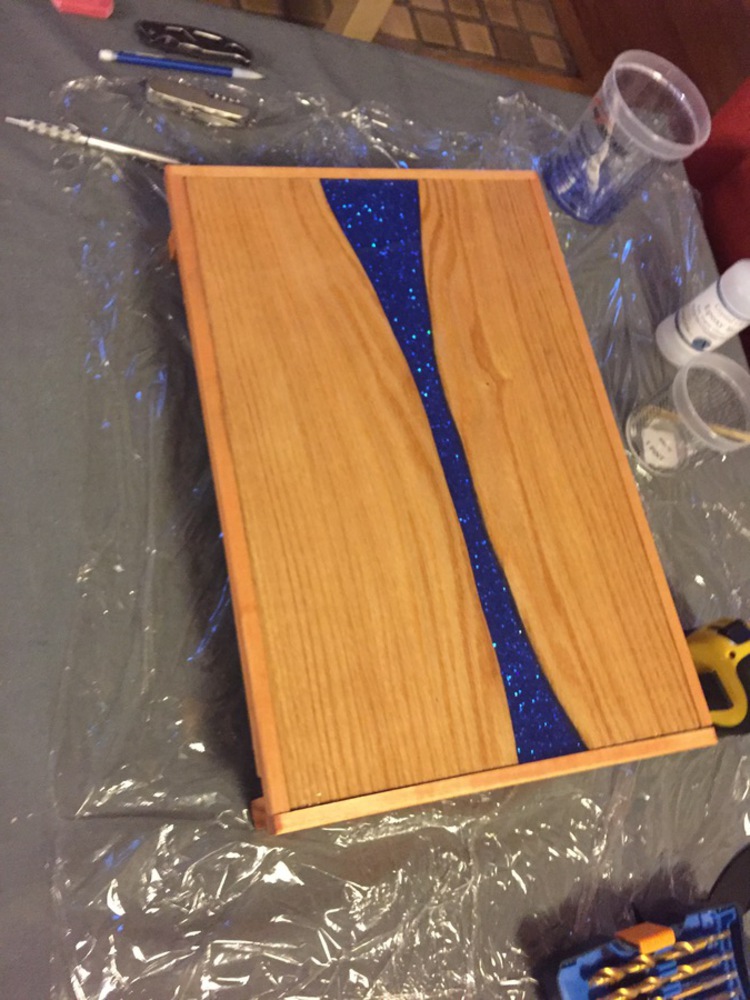
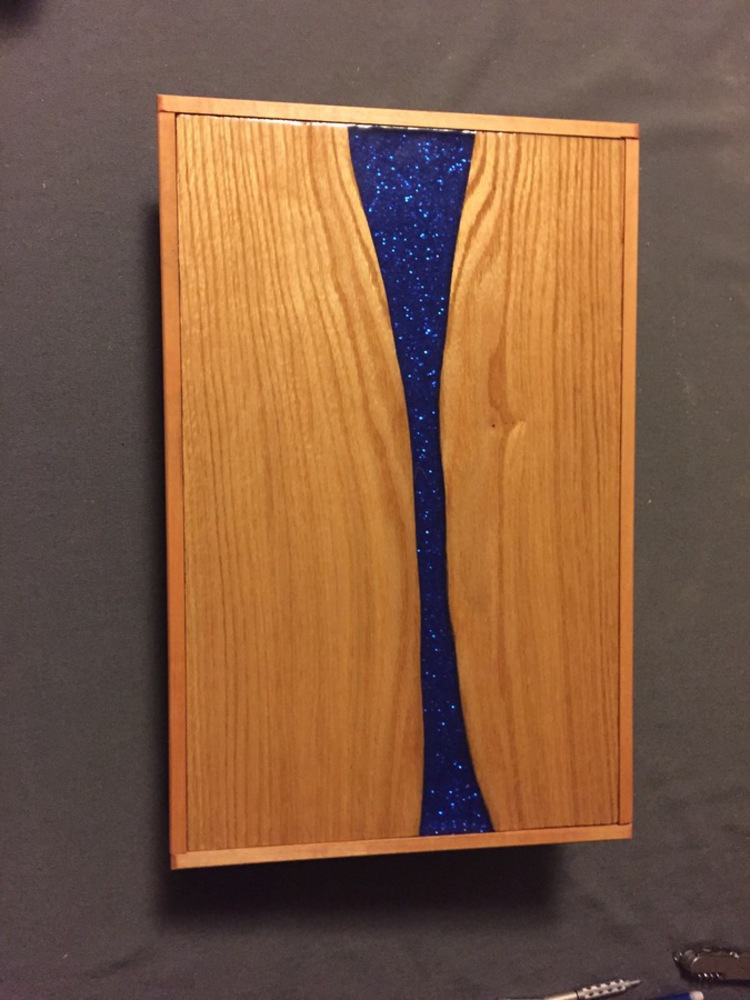
I had seen pictures and videos in the past of people making resin inlaid tables, and I've wanted to try making something similar for a while. I have always liked natural scenes and water, and thus my mood board has a lot of those types of images, in addition to some examples of resin tables.
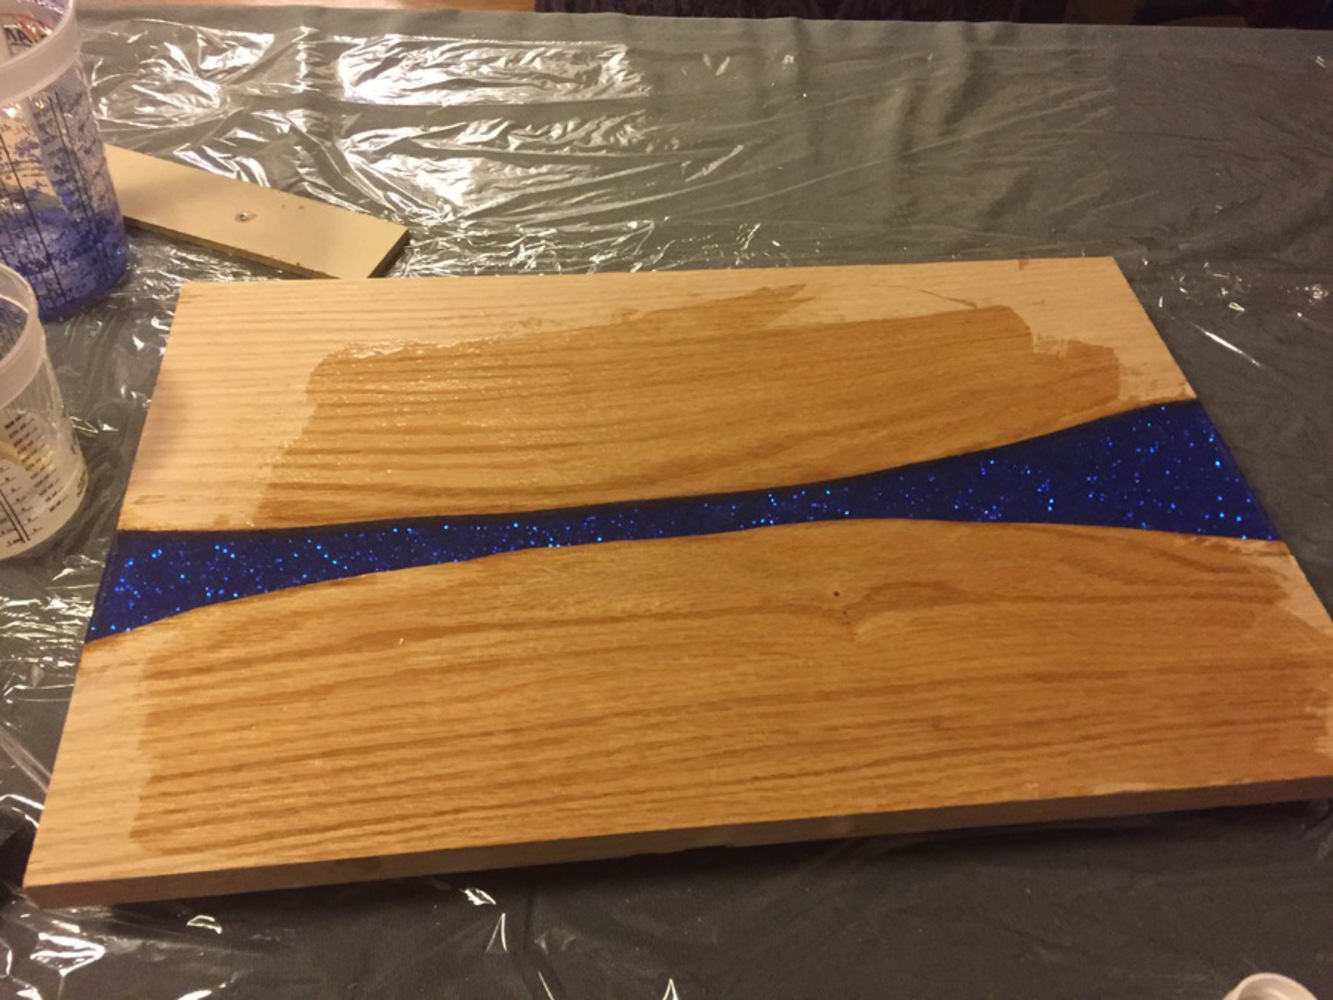
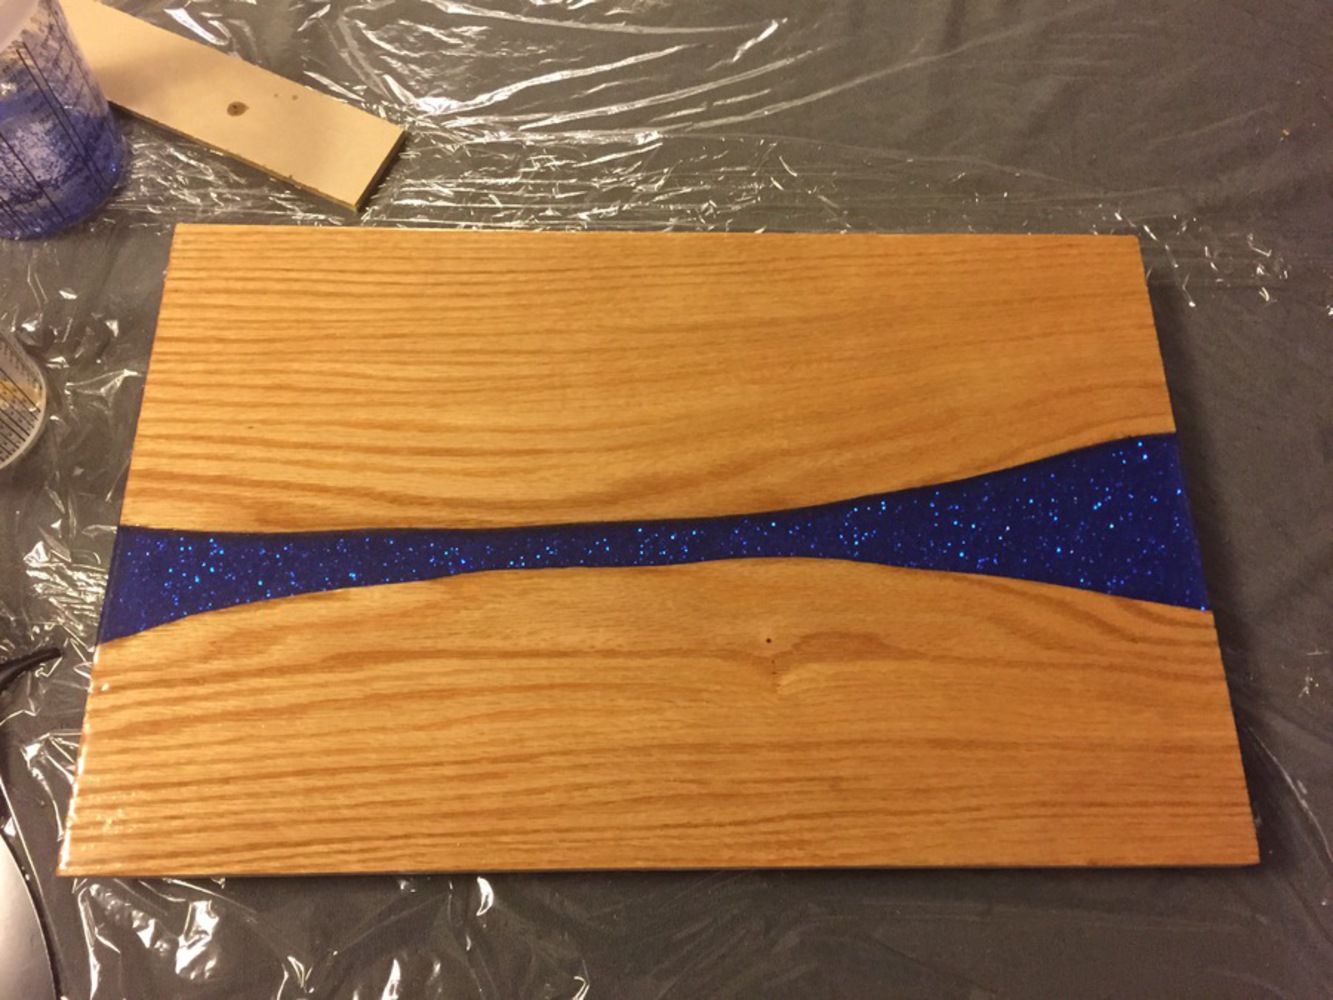
Mood board.jpg.thumb
Show Advanced Options

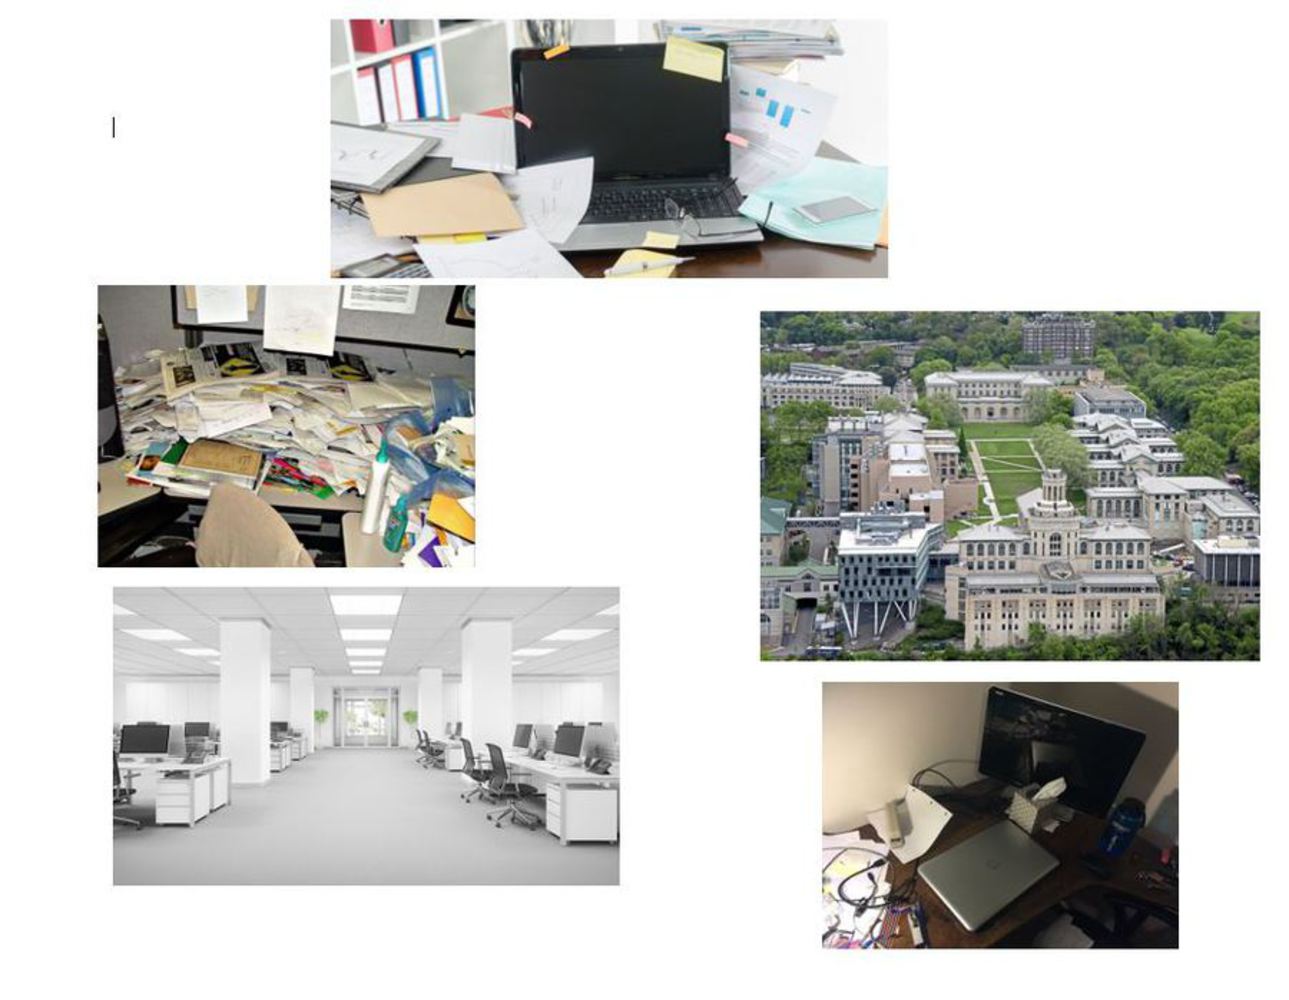
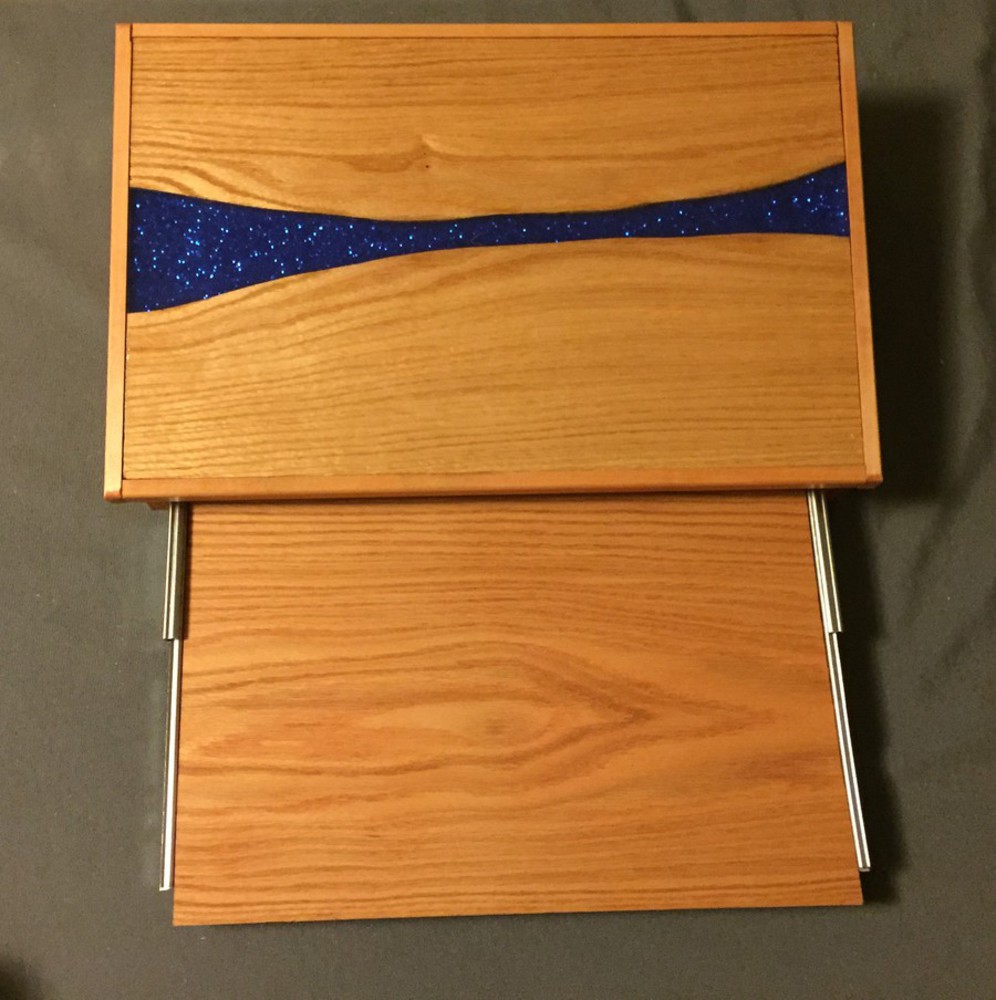
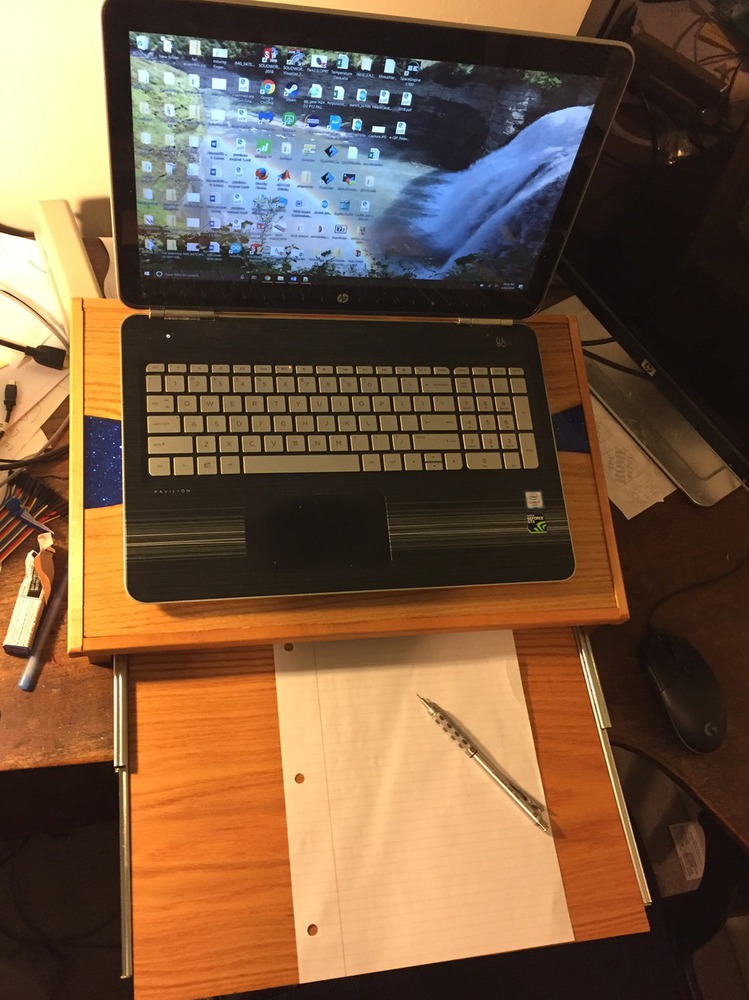
The intended user for this product would be someone who is very busy, presumably a student or office worker, who doesn't ever seem to find the time to clean off their desk. As a result, they never have room on their desk for anything. This was inspired by my own messy desk, where I needed to clear off a lot of stuff, including my computer in order to have space to work on sketches.

Mood board 2.jpg.thumb
Show Advanced Options

My initial concept included a built-in monitor stand, however, I realized that this would be very large, and make it more of a niche item for people who have laptops with second monitors.

Drawing1.thumb
Show Advanced Options

My final concept was just the laptop stand, with a writing surface that could pull out.

Drawing2.thumb
Show Advanced Options

Building the resin surface

I began by cutting out the piece of oak that would become the top surface for the stand. I then traced a cutout that followed the grain of the wood and then cut along the lines that I traced.

Img 0302.jpg.thumb
Show Advanced Options

I then built a mold using some acrylic left over from my first project, and attached it to the wood using hot glue.

Img 0306.jpg.thumb
Show Advanced Options

I then poured my first layer of resin mixed with glitter. I found out that mixing the glitter and both parts of the resin at the same time caused many small bubbles to form in the surface. Thankfully, most of these settled out by the time it cured.

Img 0309.jpg.thumb
Show Advanced Options

I then poured the second layer of resin. For this layer, I mixed the resin and then mixed in the glitter just before pouring it to minimize the number of bubbles. The image above is cloudy due to the number of bubbles, while the one below isn't.

Img 0312.jpg.thumb
Show Advanced Options

I then removed the mold. The surface tension of the resin caused a ridge to form near the edges, so I ground this off.

Img 0324.jpg.thumb
Show Advanced Options

I then brushed on a thin layer of resin to give the whole surface a gloss look. I had originally intended to only stain the wood, but I realized that this would require sanding the resin inlay, and I did not have any polishing equipment to remove the scratches from sanding.

Img 0325.jpg.thumb
Show Advanced Options
Img 0326.jpg.thumb
Show Advanced Options

I cut out the writing surface and the legs from the same piece of oak as the main surface. I also made a frame out of some interior trim.

Img 0321.thumb
Show Advanced Options

I then stained all of the pieces. I choose a stain that matched well with the color of the resin coated wood.

Img 0329.jpg.thumb
Show Advanced Options

After the stain dried, I attached the drawer rails.

Img 0332.jpg.thumb
Show Advanced Options
Img 0333.thumb
Show Advanced Options
Img 0334.jpg.thumb
Show Advanced Options

I then glued the frame to the main surface and glued this to the legs.

Img 0336.jpg.thumb
Show Advanced Options
Img 0339.jpg.thumb
Show Advanced Options
Img 0341.jpg.thumb
Show Advanced Options
Img 0343 new.thumb
Show Advanced Options
Img 0349.thumb
Show Advanced Options
Flyer.jpg.thumb
Show Advanced Options
Drop files here or click to select

You can upload files of up to 20MB using this form.