My room lacks two things: good lighting and aesthetic looking walls. For this project I wanted to create some sort of wall art that also lights up to solve both of these problems. I've always liked the look of string lights so I knew I wanted to use that in some way.
Outcome

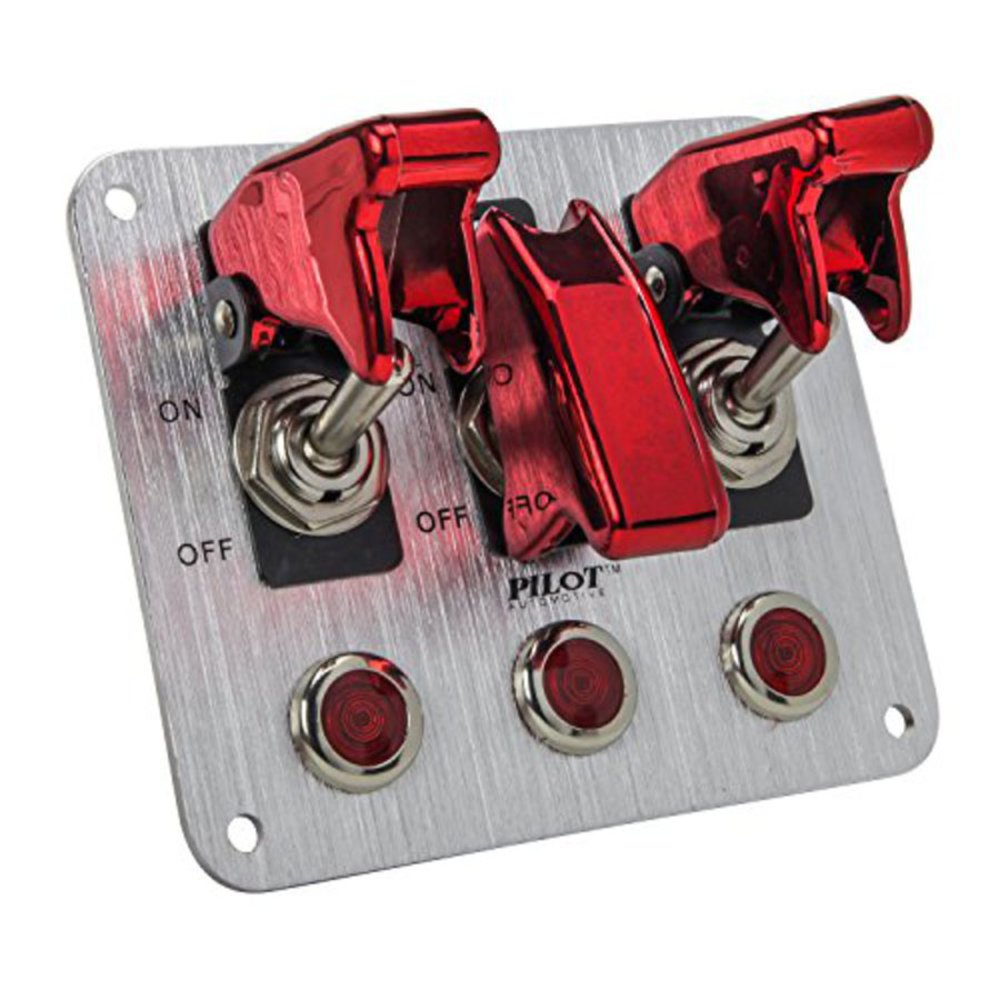
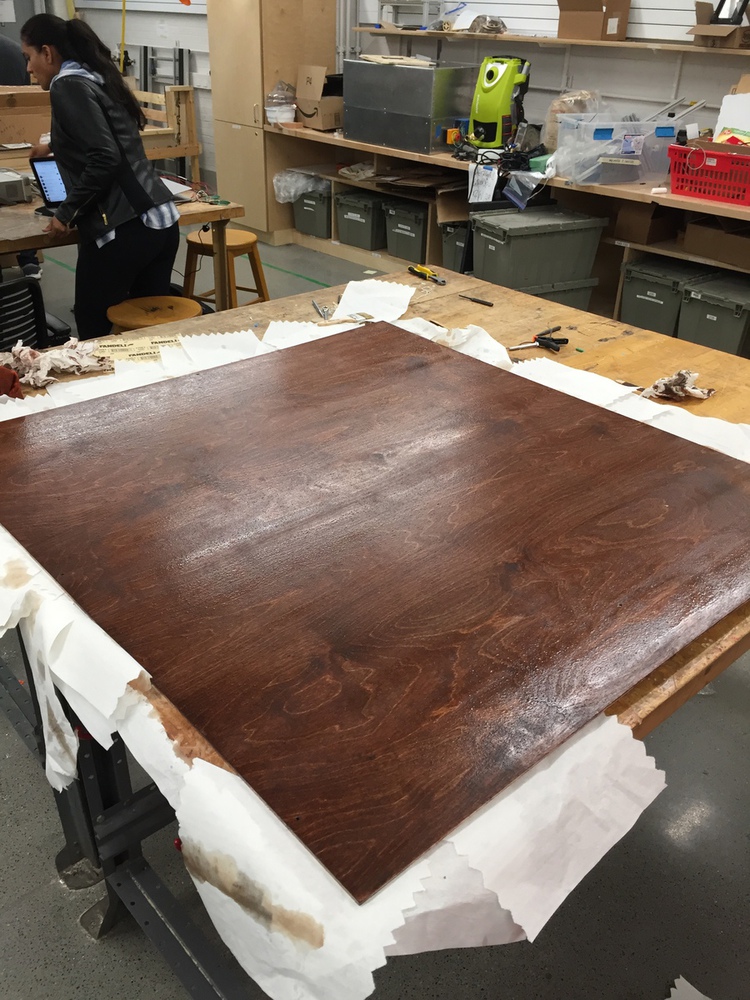
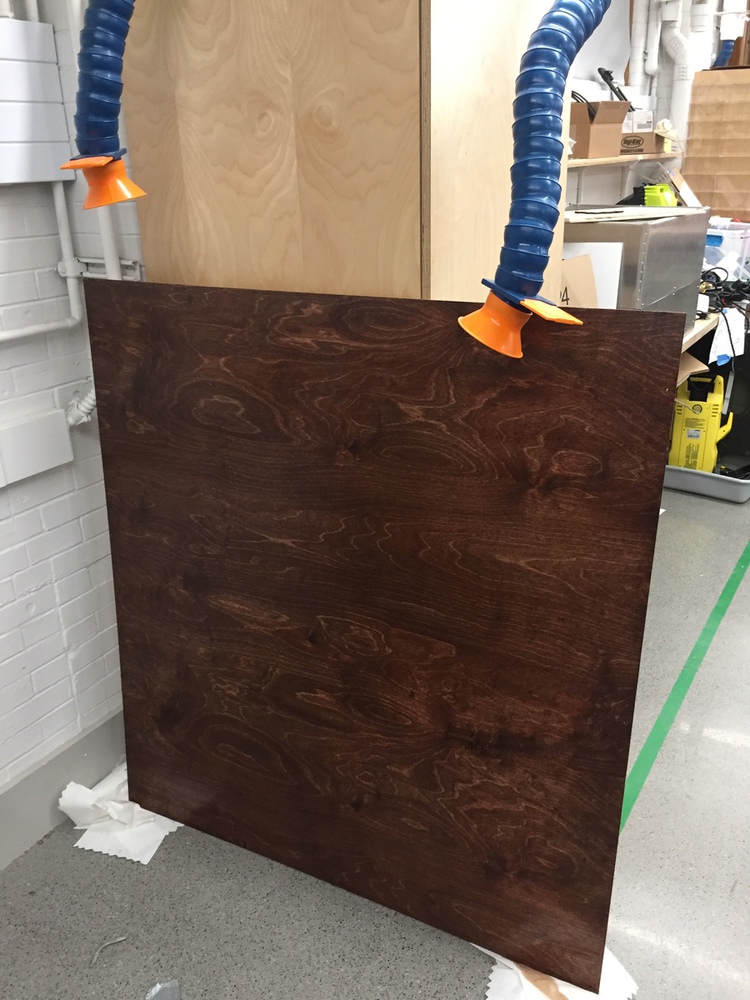
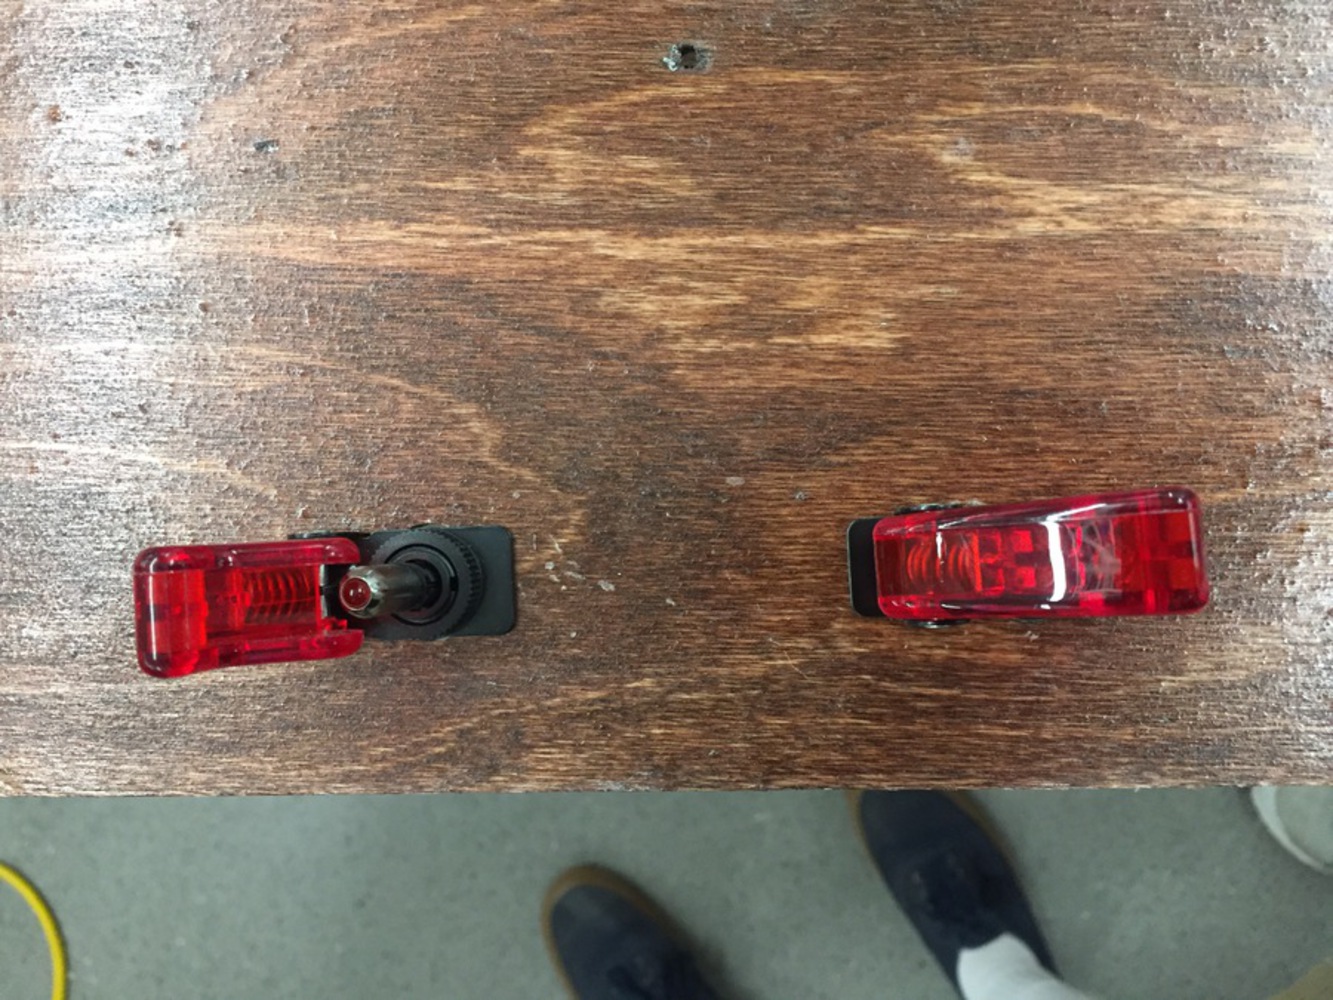
So I knew right away that I would use string lights for the lighting portion of this project. I also already had a 4ft by 4ft plywood wall from a different project that I thought would be the perfect size for my wall art. The last piece of hardware that I was missing was the switches that would turn on and off the lights. Luckily I remembered that my friend gave me these cool pilot switches that I've been trying to use for a while now.
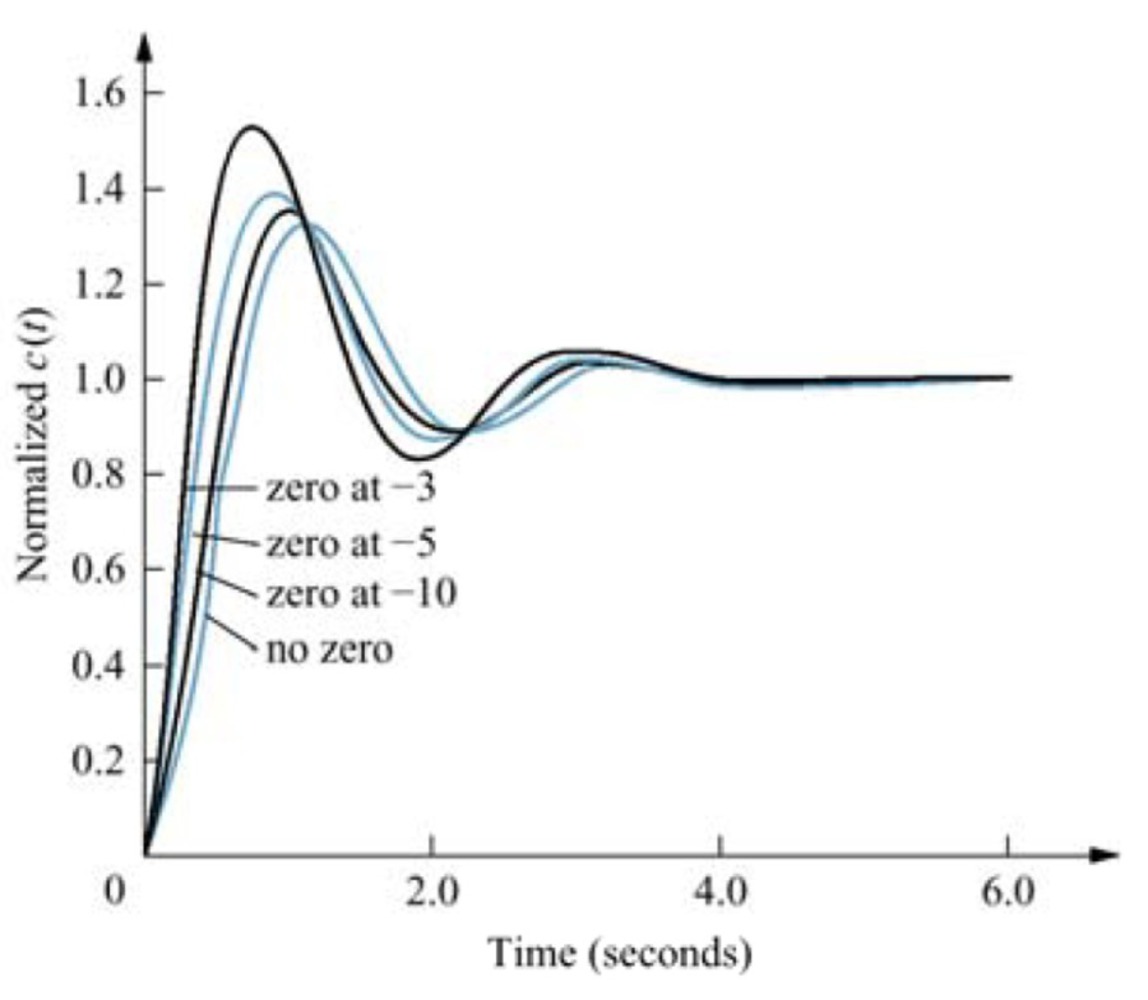
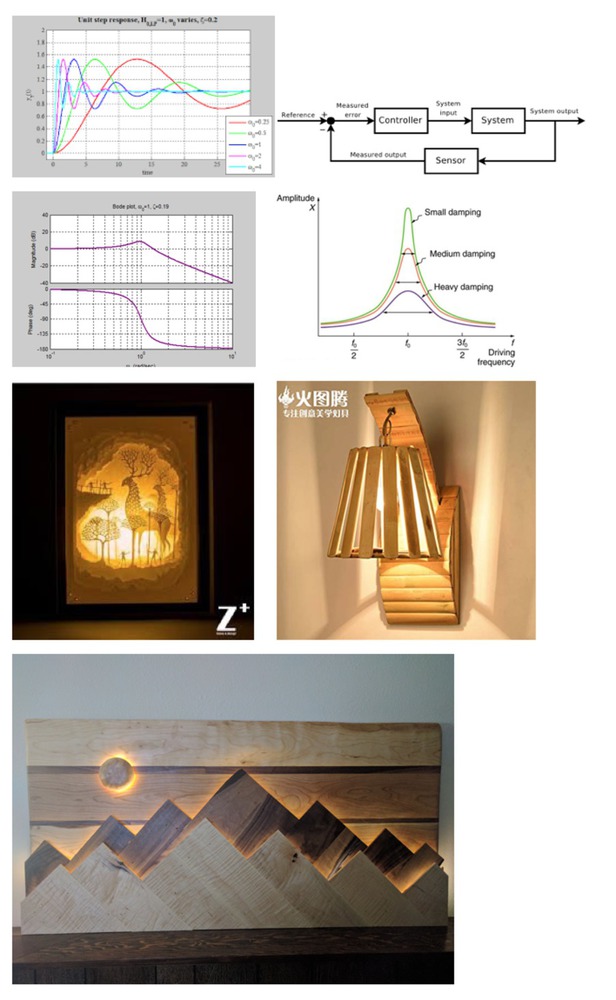
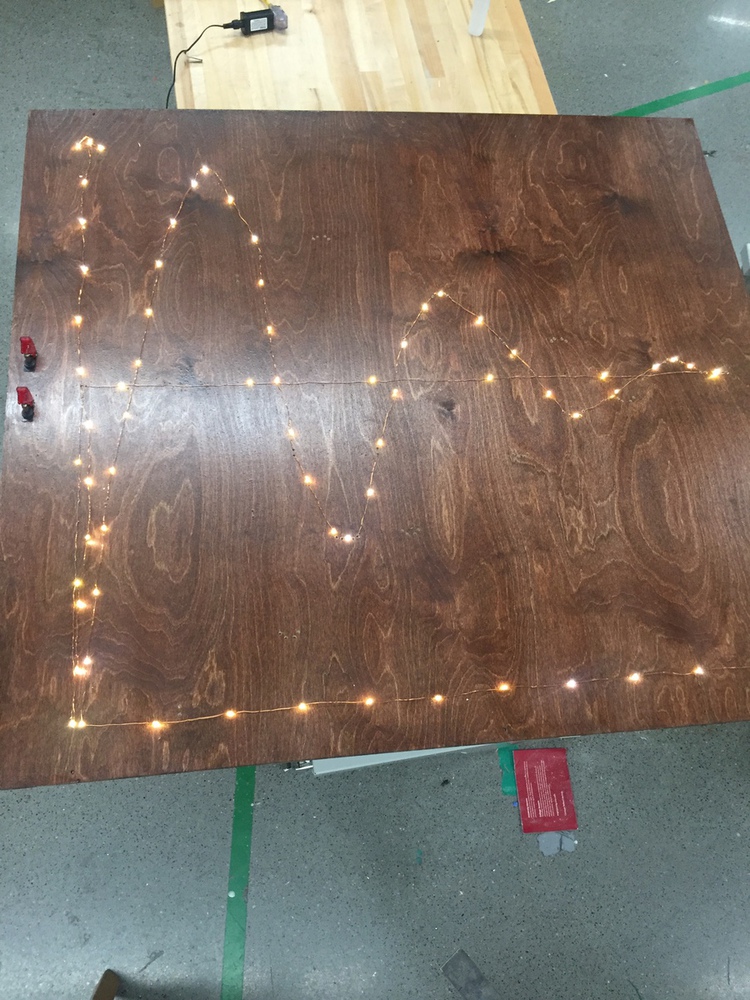
Now that I had all my hardware finalized I just had to decide the kind of design that I wanted to make out of the light string. I got inspiration from the system dynamics and control theory that I've been learning recently. I really like how the classic oscillatory system responses look so I figured I would make a graph of one for my design. The two pictures below are taken right from my notes from class and they show how the step response of a system can be tuned by changing certain parameters.

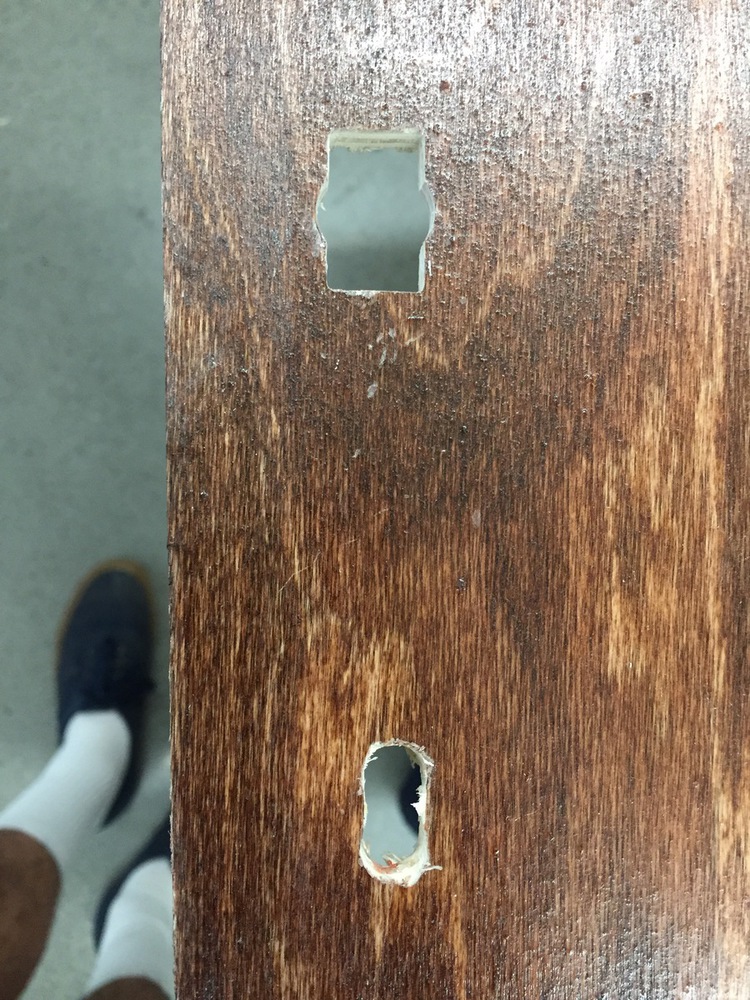
After my wall was dried I installed the switches. To do this I had to cut a hole in the wood that matched the contours of the bottom of the switch. It had to allow the bottom of the switch to slip through but had to be small enough so that the lip of the switch didn't fall through too. In started by drilling regular circular holes in the wood and then used two files to shape it to the final hole. The top hole in the picture below shows the finished hole. The hole on the bottom is what it looked like before I I started filing.
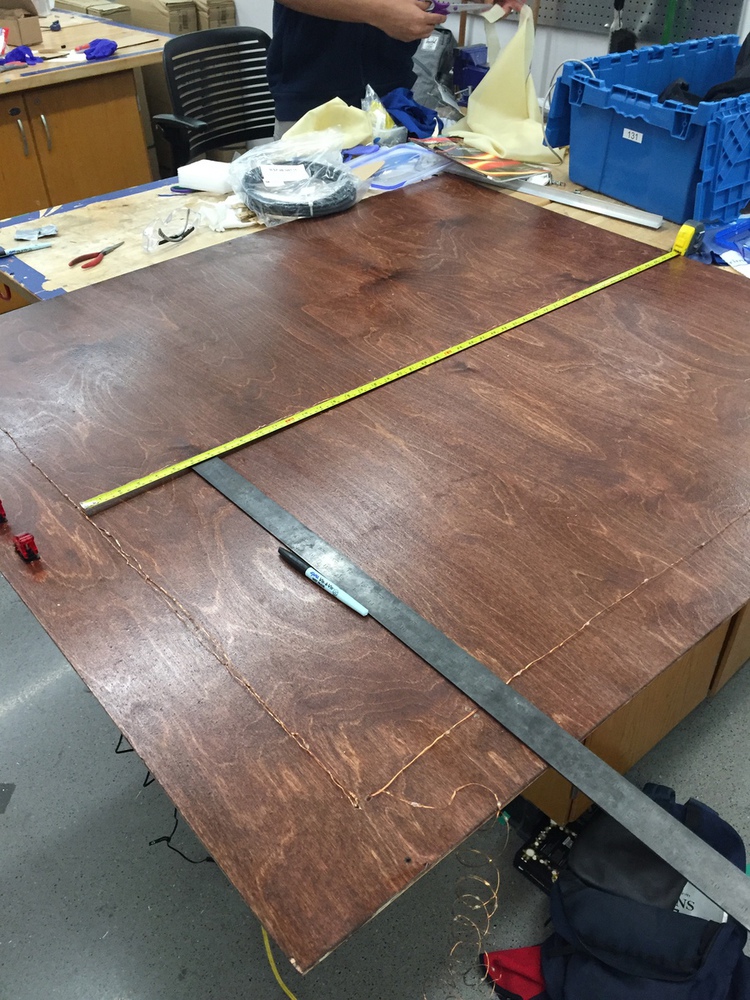
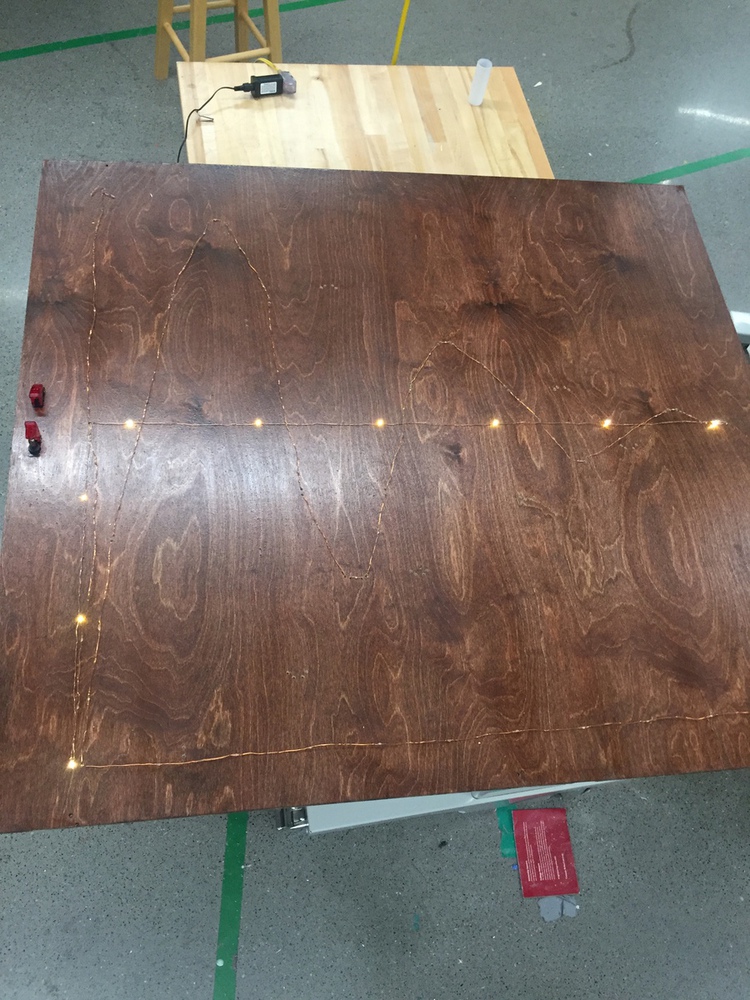
I had to make some rough calculations for my system response. First, I need to ensure that the sinusoid peaks were even spaced in the x-direction. This was easy to do. I chose 16 seconds as my period of oscillation with a 1 to 1 conversion rate from seconds to inches. The harder part was to make it so that the decay rate of the sinusoid peaks was exponential. I started with a peak that was 18 inches above the reference input. Then each peak after that had to be smaller and on top of that, the delta between each peak had to be smaller each time too. I ended up with a descent oscillating response that reached the reference input with no steady state error.
You can upload files of up to 20MB using this form.