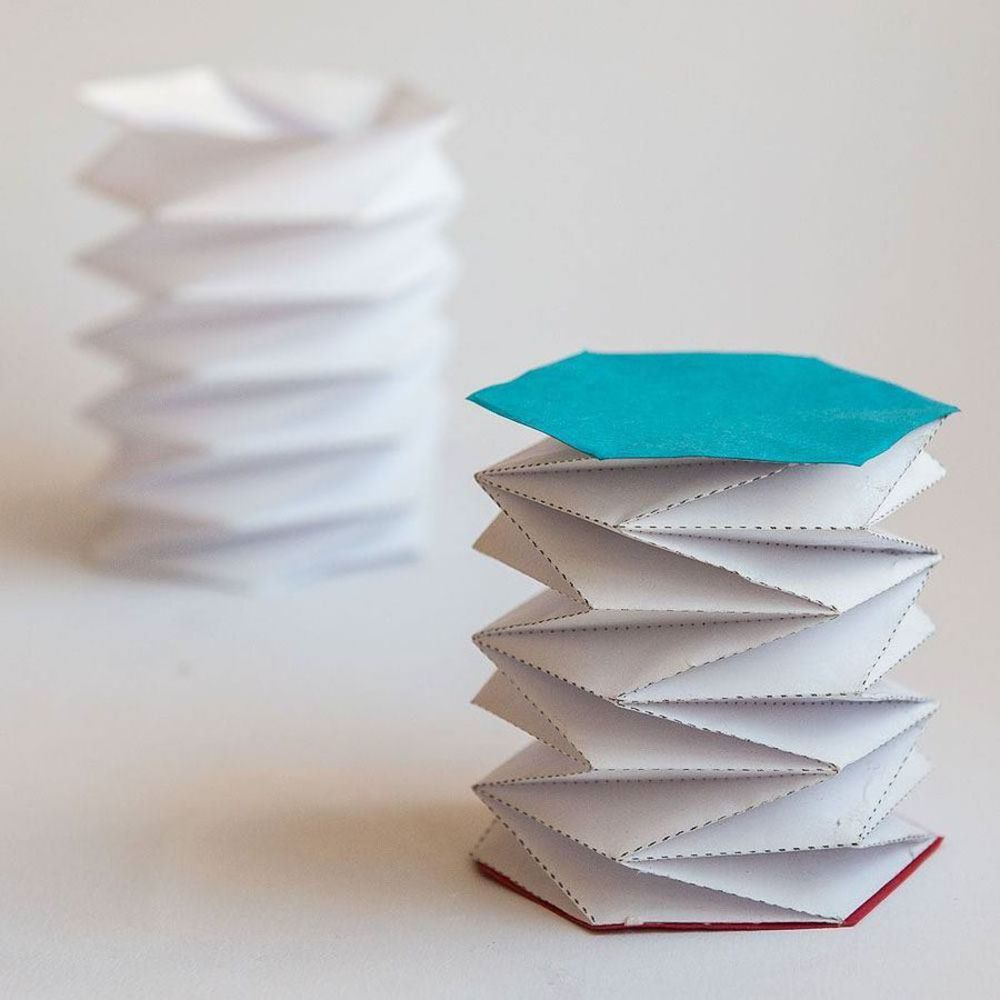
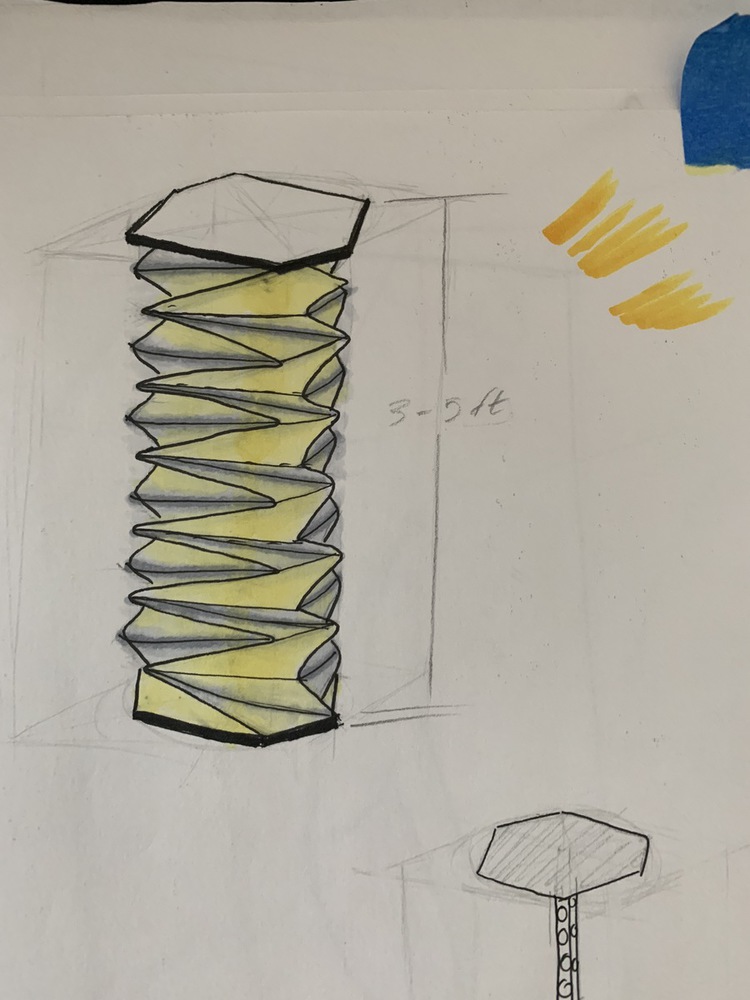
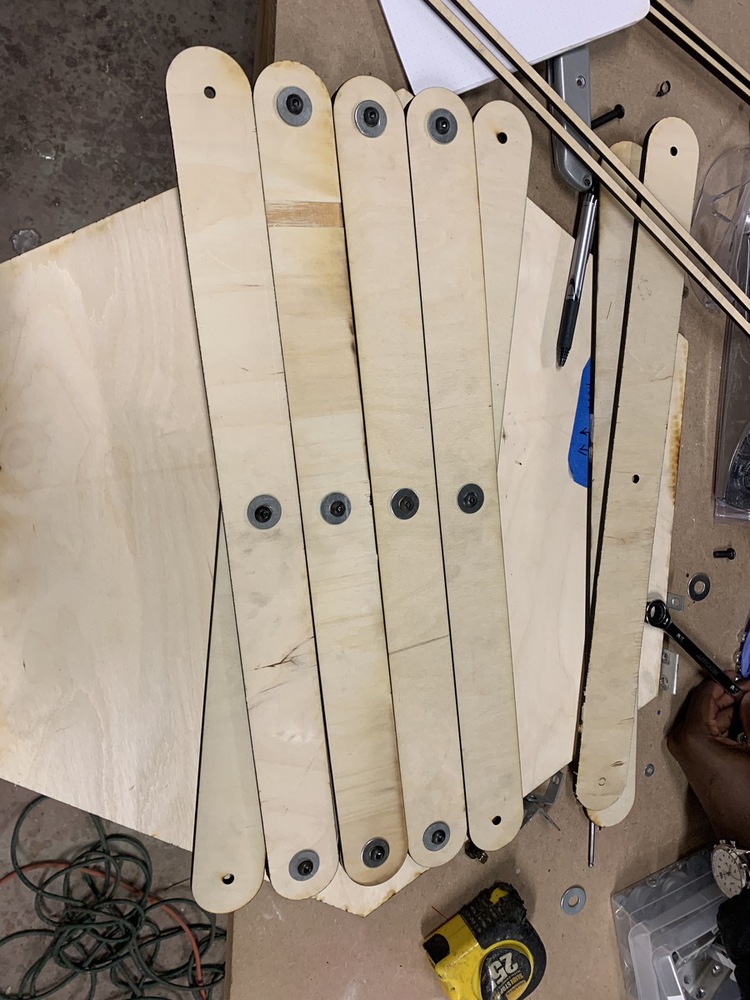
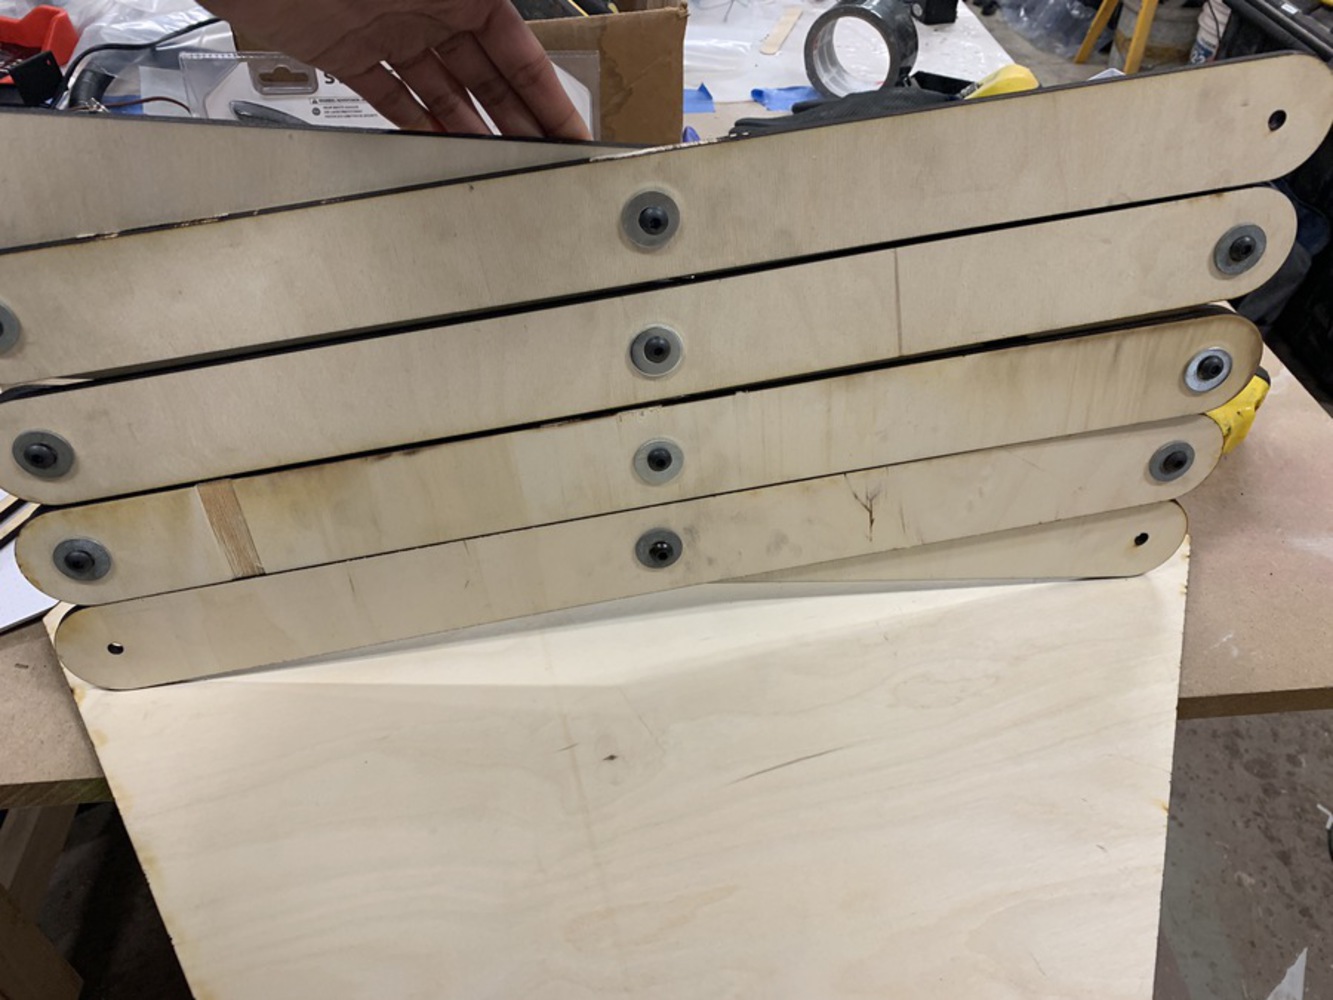
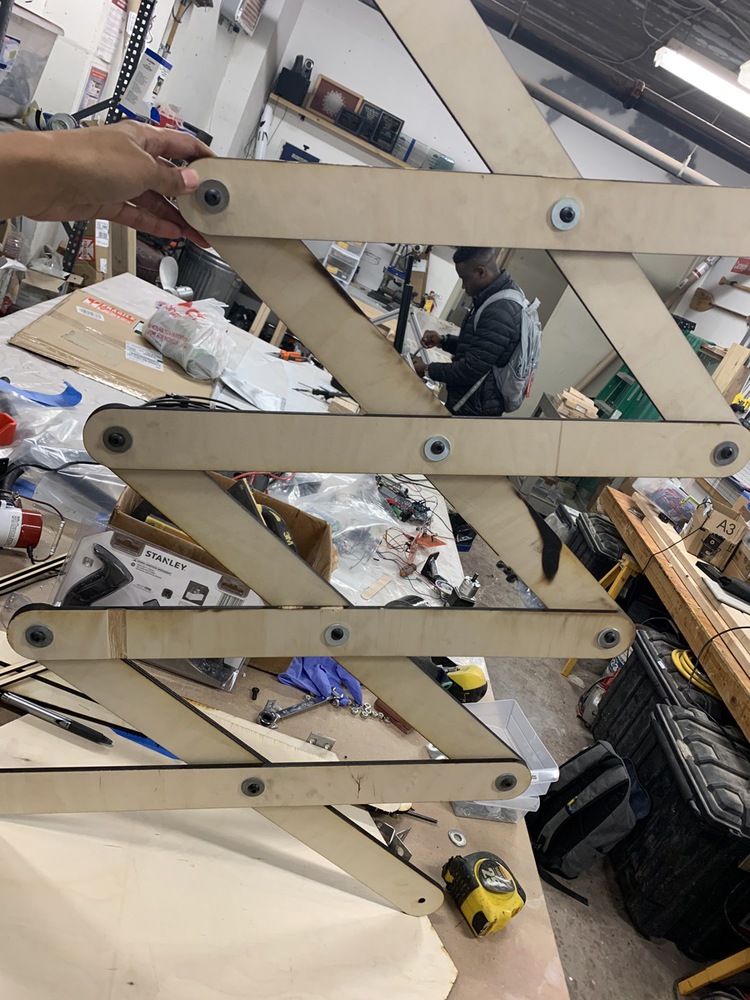
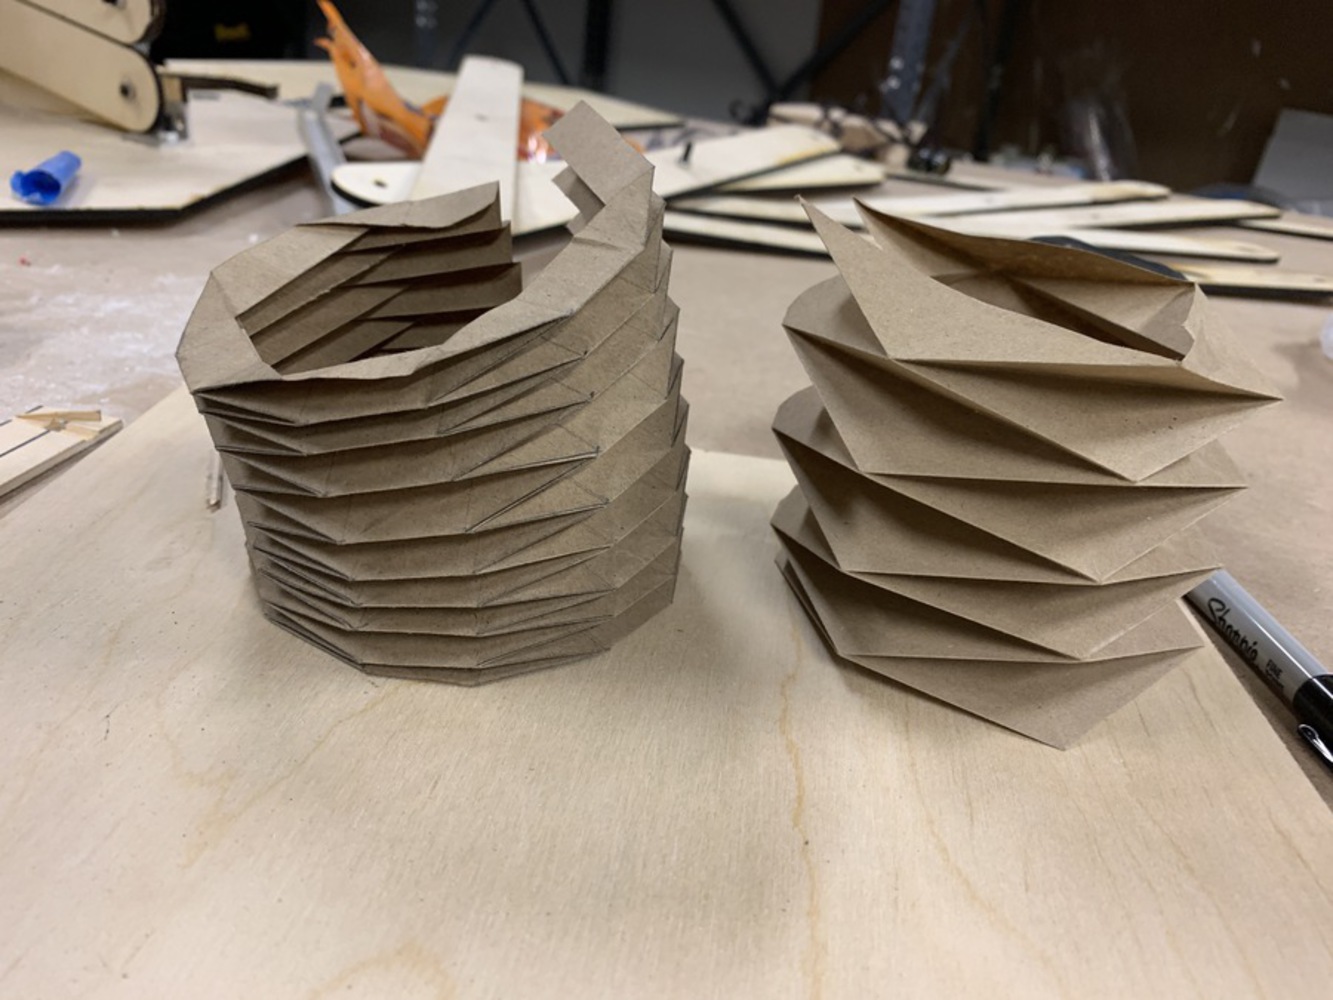
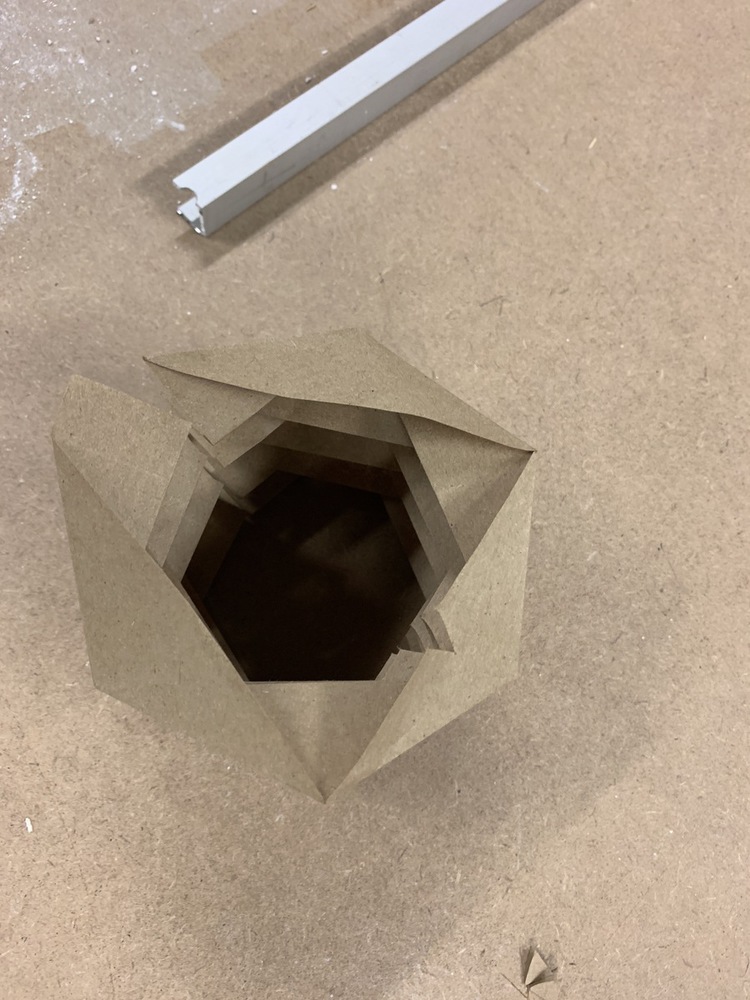
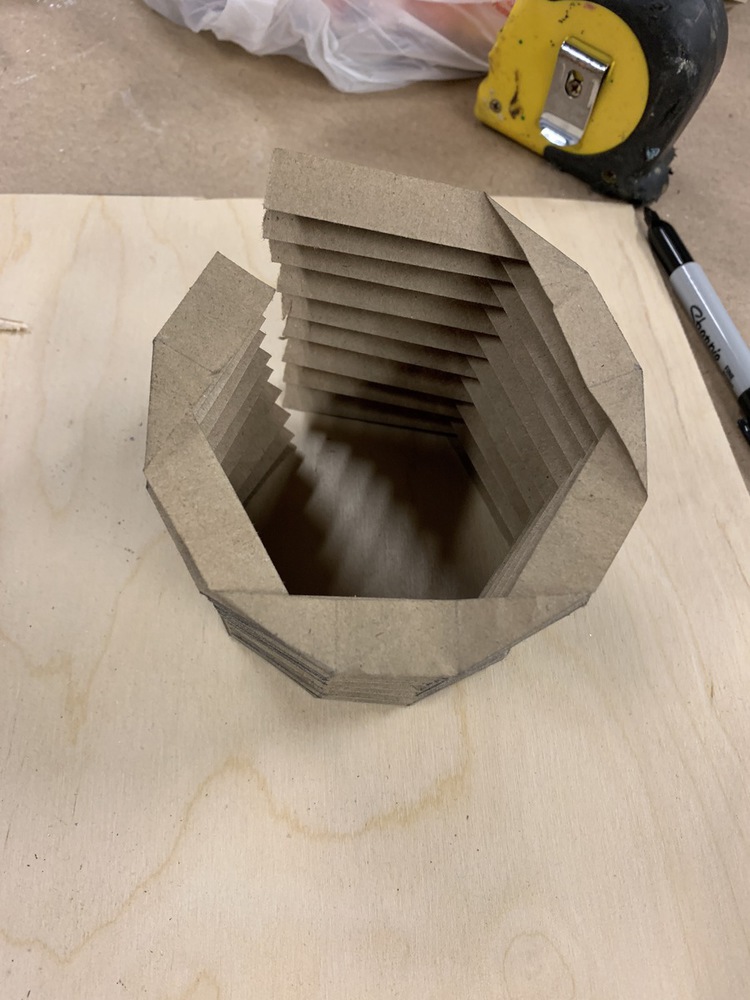
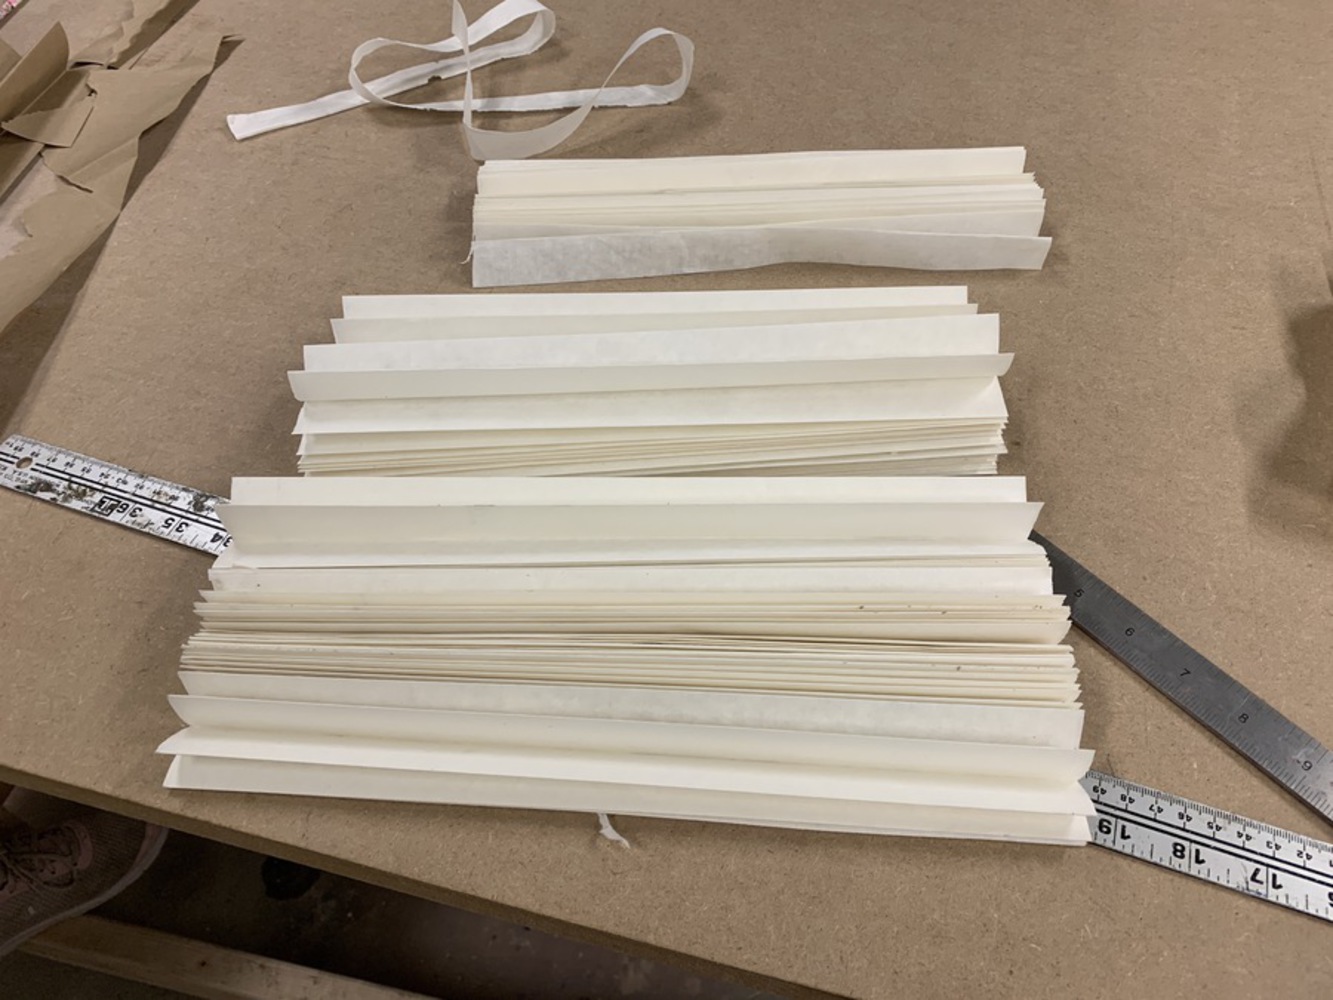
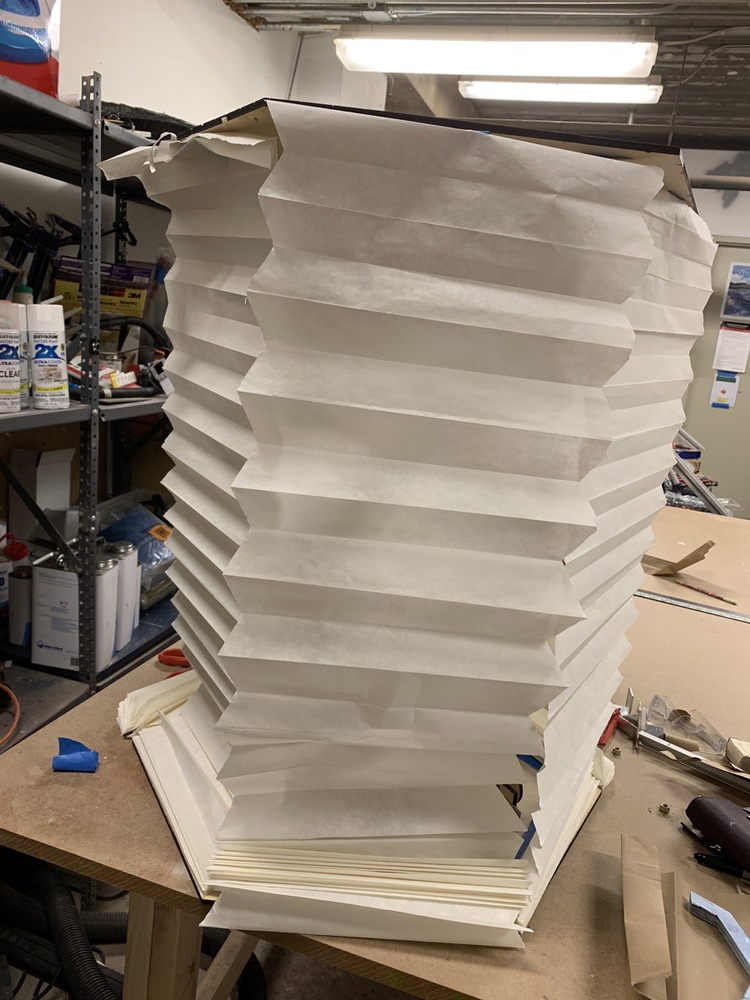
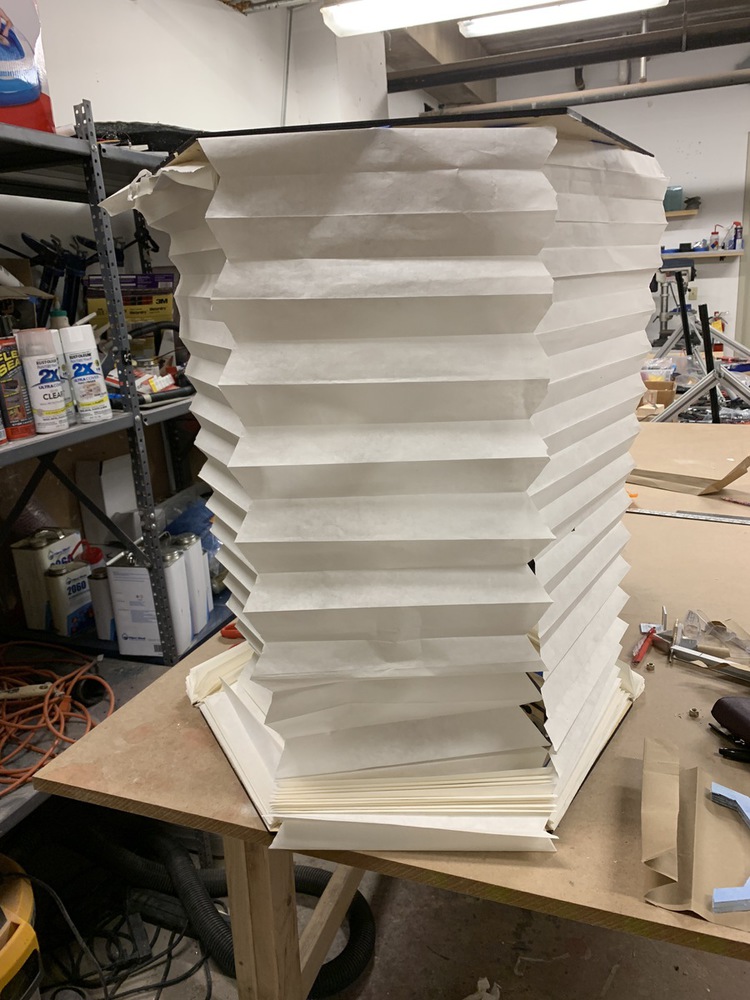
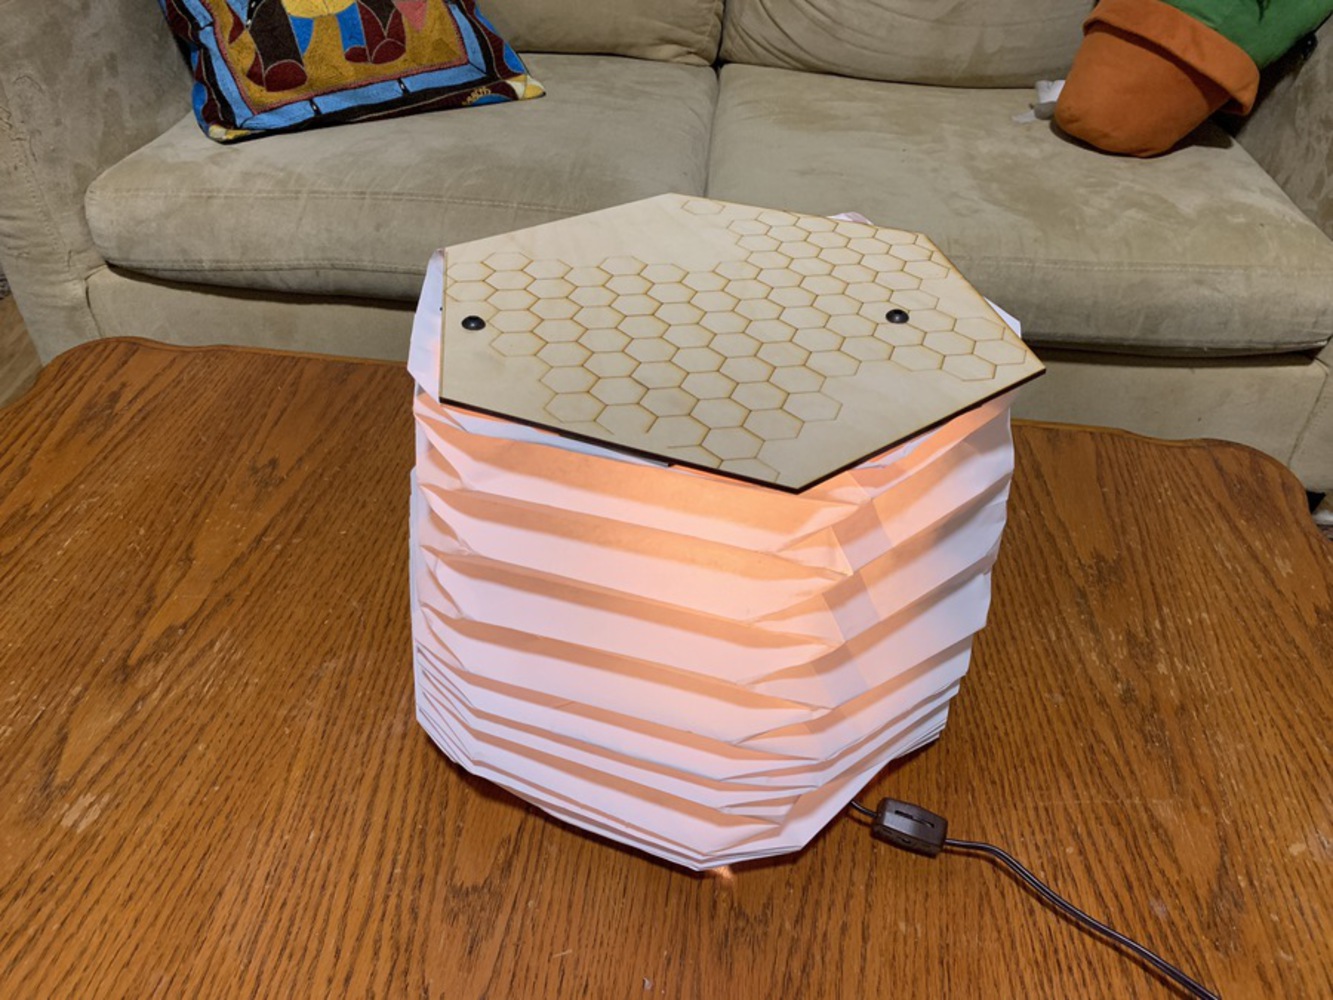
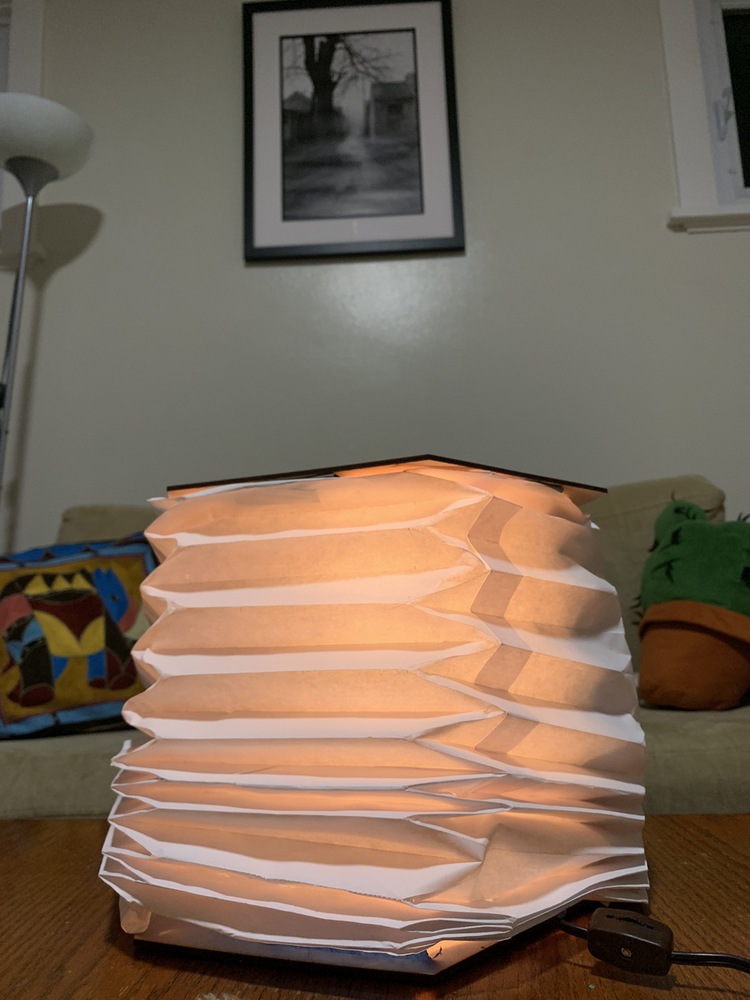
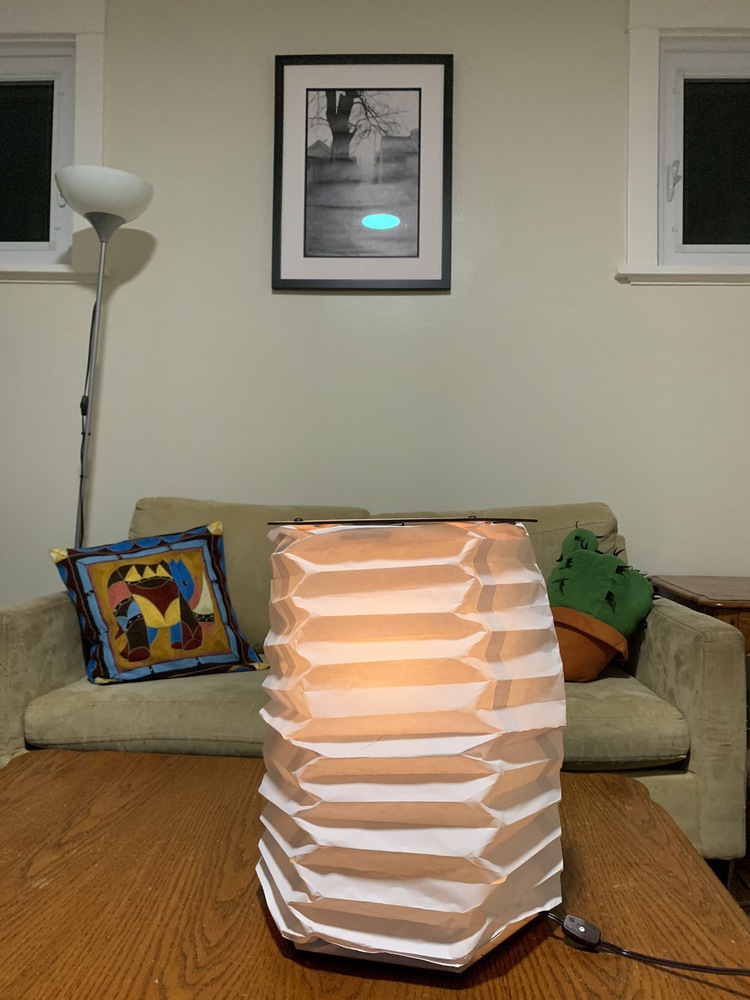
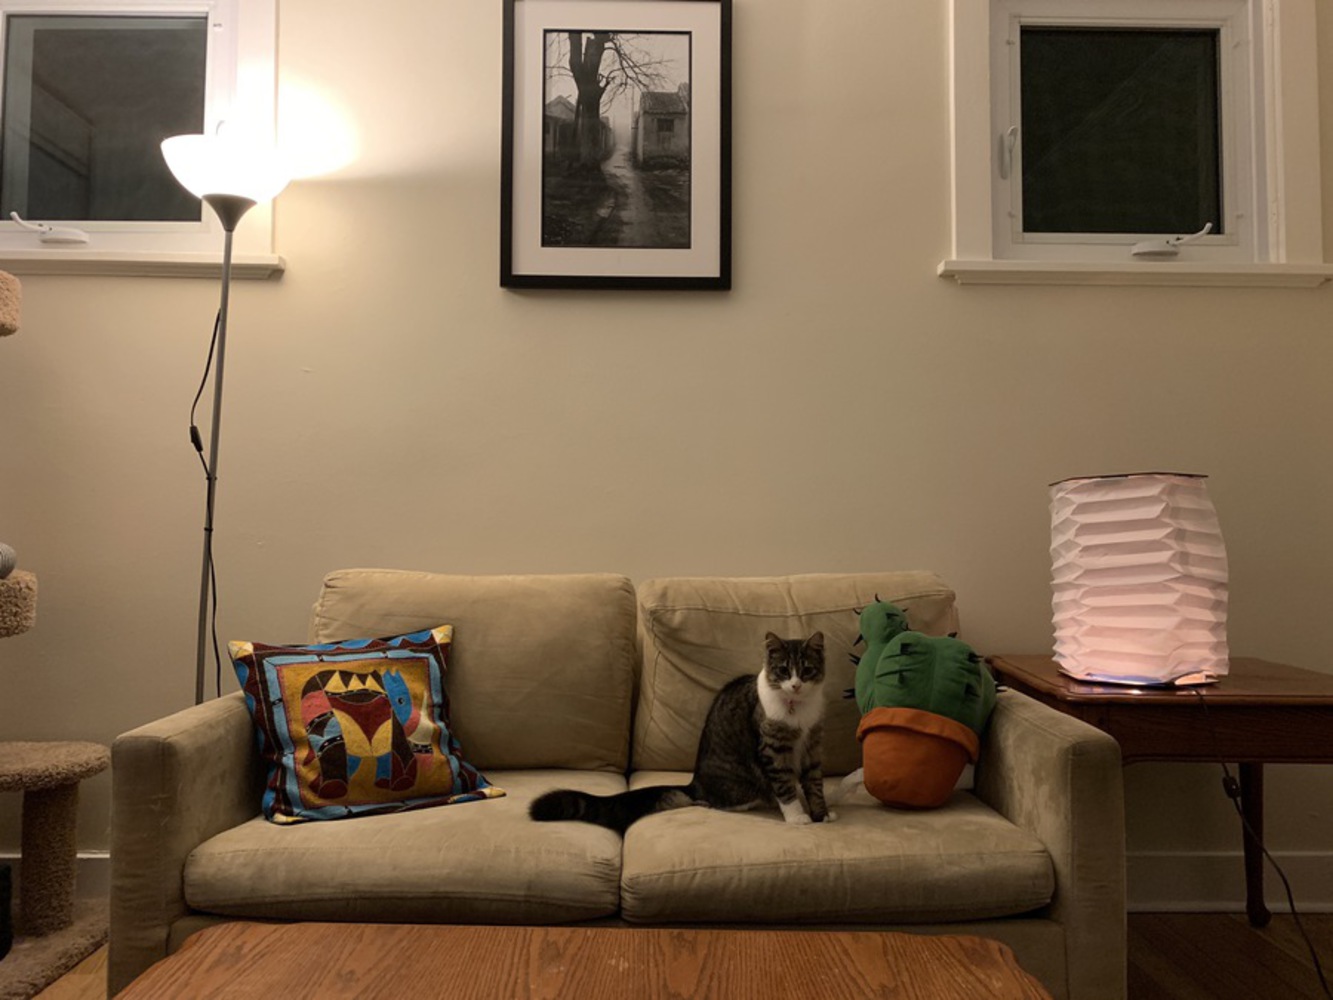
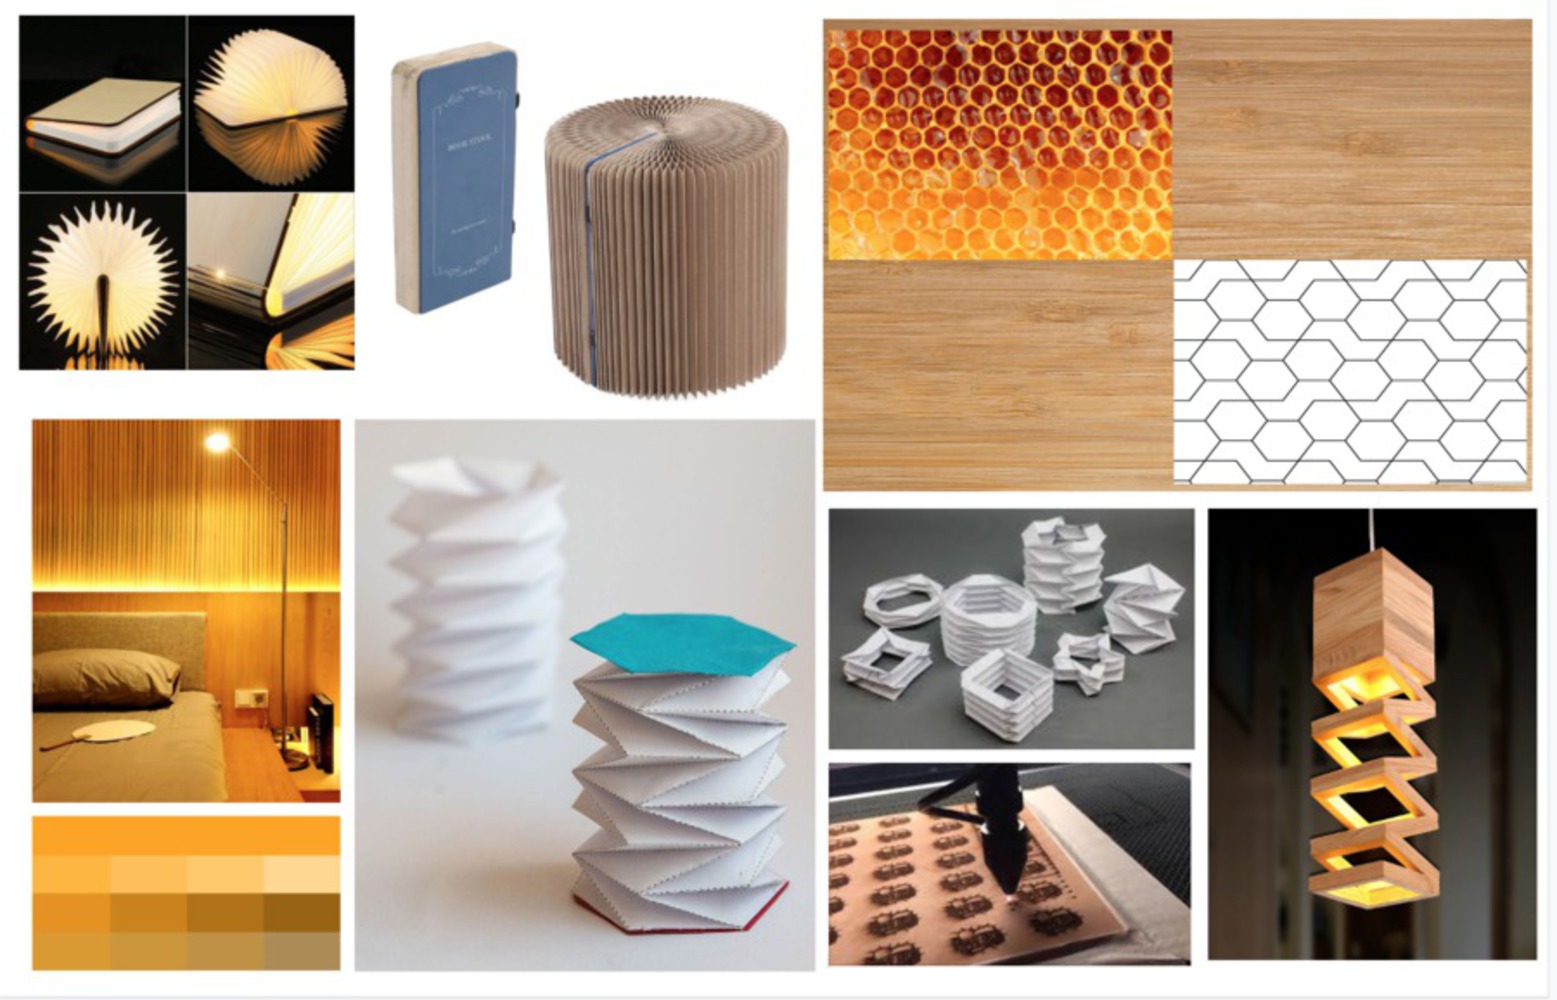
Back to Parent

Outcome


Ideation

I got the inspiration for this idea for a birthday gift I had gotten for a friend, a folding book lamp. I really like things that can fold and store away in really simple but cool ways. I also have really bright lights in my bedroom and wanted something not as harsh for my apartment next year. 

Design/Protoyping

I wanted my lantern to be centered around these origami bellows I had read about that were being used to deploy solar sails. 

Bellows.thumb
Show Advanced Options
Img 2005.thumb
Show Advanced Options

Now that I had a design I needed to come up with a mechanism that would allow the lamp to raise and lift. The main thing I was considering was user ease. Ultimately I thought the simplest thing from a user standpoint would be a scissor jointed lift, the lamp would stay upright by the friction of the joints' bolts against the wood and the user would only have to pull up or push down to adjust the lamp.  I prototyped using chipboard to get a feel of how the joints would work then moved onto wood.

Img 1950.thumb
Show Advanced Options
Img 1951.thumb
Show Advanced Options
Img 1952.thumb
Show Advanced Options

I was very happy with the height I could get out of the joints but quickly realized now that I've cut the base that a.) I need a second set of joints b.) I based the length of the joints off of the point to point distance of the hexagon and not the side to side distance which is shorter. You're probably wondering why I just didn't assemble this in SolidWorks and save myself the heartache, I just didn't ok. 

Assembly

I adjusted the size of the joints and cut out the top and bottom rails so that the joints can slide freely at the mounting points. The lamp was assembled with 1/4-20 hardware, aluminum L-Brackets, and zip ties I used as spacers, all of which I stole.  At this point, the lamp was coming along nicely. It was extremely tilted and wobbly when extended but I knew this could be fixed with some supports going across both scissor joints and decided to move on to the origami. 

Img 1986.thumb
Show Advanced Options

The origami was the centerpiece of this lamp and so lots of test pieces were run to measure out our folds to fit the lamp. The first thing I discovered was an inner lip in the hexagon, making the space inside smaller. I remedied this by making my crimps smaller. 

Img 1981.thumb
Show Advanced Options
Img 1977.thumb
Show Advanced Options
Img 1979.thumb
Show Advanced Options

The next step was to scale up to fit the 2-ft wide base. With the given dimensions of the rice paper I had ordered (2 sheets of 38" x 71"). I had just enough to split the lantern into 2 sections each covering 3 sides. (seen in the assembly image). I was now ready to start folding the rice paper. 

Img 1989.thumb
Show Advanced Options

A friend and I meticulously marked, scored and pleated the rice paper into 1-inch sections. This was harder than folding the brown paper because the rice paper was much more delicate and could not hold onto crimps. This part only had taken 2 hours and did not come out very nicely. Once we had gotten to the corner folds it was evident that the paper simply was not designed for this. I thought maybe if I cut the paper into 6 sections to go around each side the lamp would at least have a cool pleated effect. This was not the case at all. 

Img 1990.thumb
Show Advanced Options
Img 1991.thumb
Show Advanced Options
Img 1995.thumb
Show Advanced Options

This was all of the paper I had left and it was no longer salvageable. I decided to scratch the idea of a floor lamp and do a table lamp instead, this way I could use printer paper instead and still have the origami incorporated into the lamp. I quickly scaled everything down, recut and assembled in an irresponsibly short time before class. (DXF files attached below)

Show Advanced Options

Final 

The final mini lamp was 1-foot point-to-point and could go from ~1 ft to ~2 ft. It also incorporated the origami bellow pattern I had in mind from the beginning. If I were to do this project again I would not use paper but a fabric so that I can sew the folds instead.  I would also use more glues instead of fasteners to reduce the bulk of the lamp and give it a cleaner, sturdier construction.  

Img 2040.thumb
Show Advanced Options
Img 2042.thumb
Show Advanced Options
Img 2048.thumb
Show Advanced Options
Img 2066.thumb
Show Advanced Options
Collapsing lamp product mood board.thumb
Show Advanced Options
Drop files here or click to select

You can upload files of up to 20MB using this form.