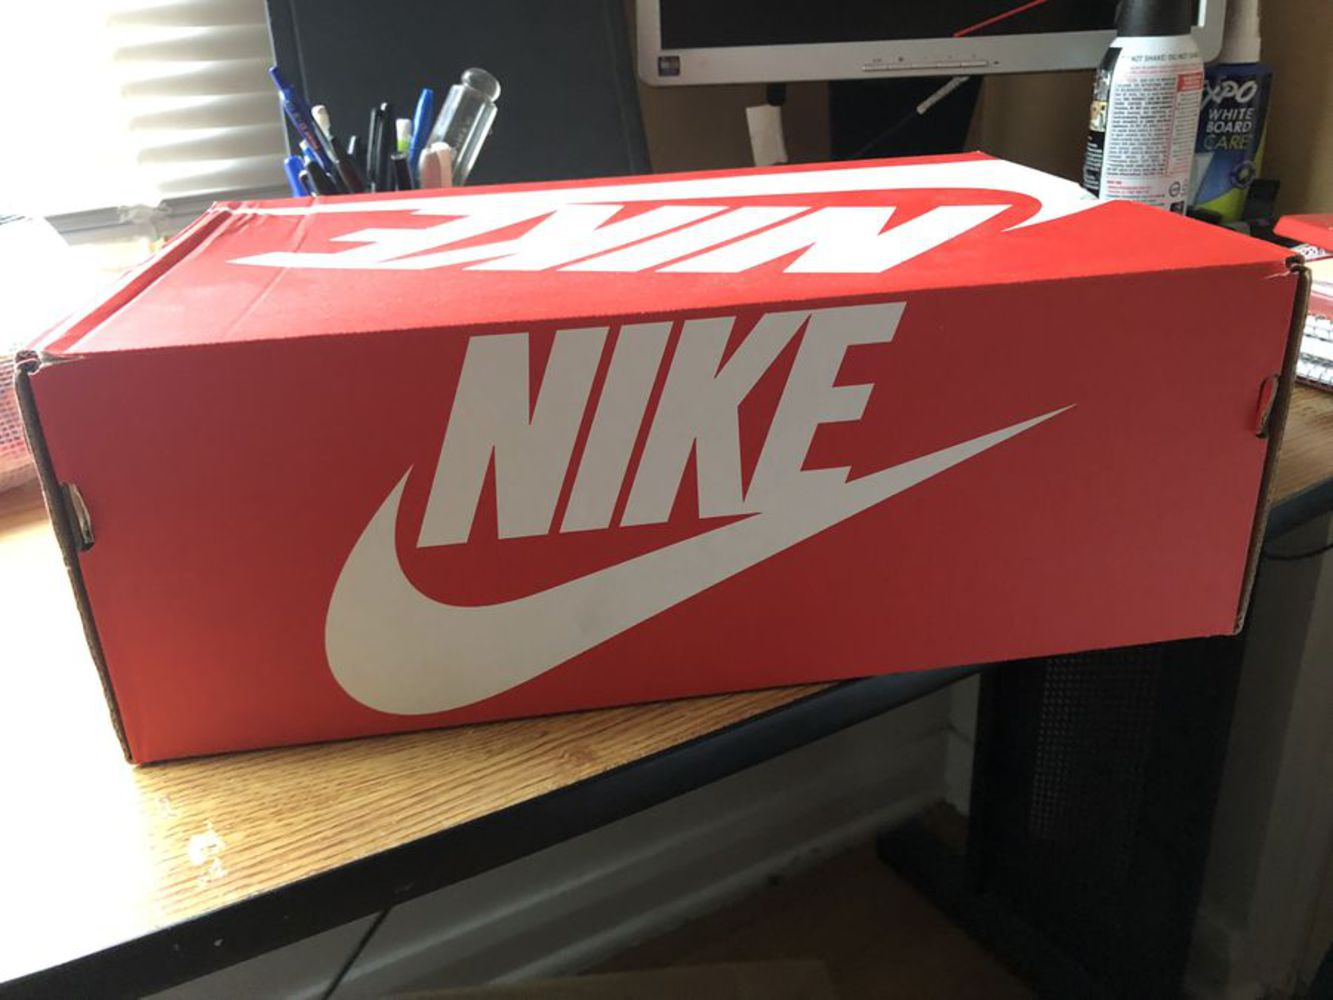
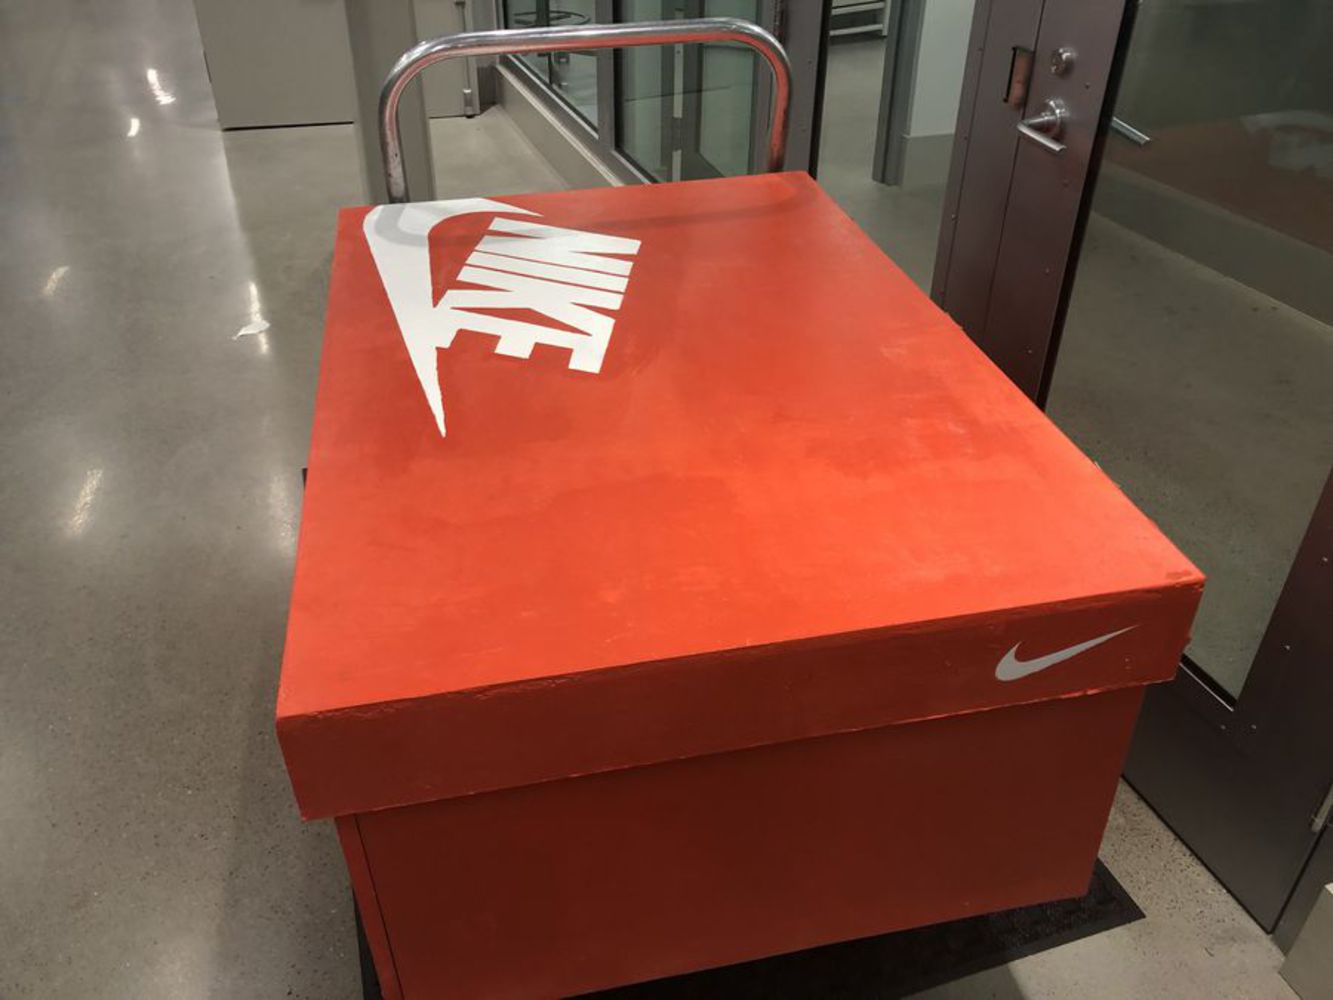
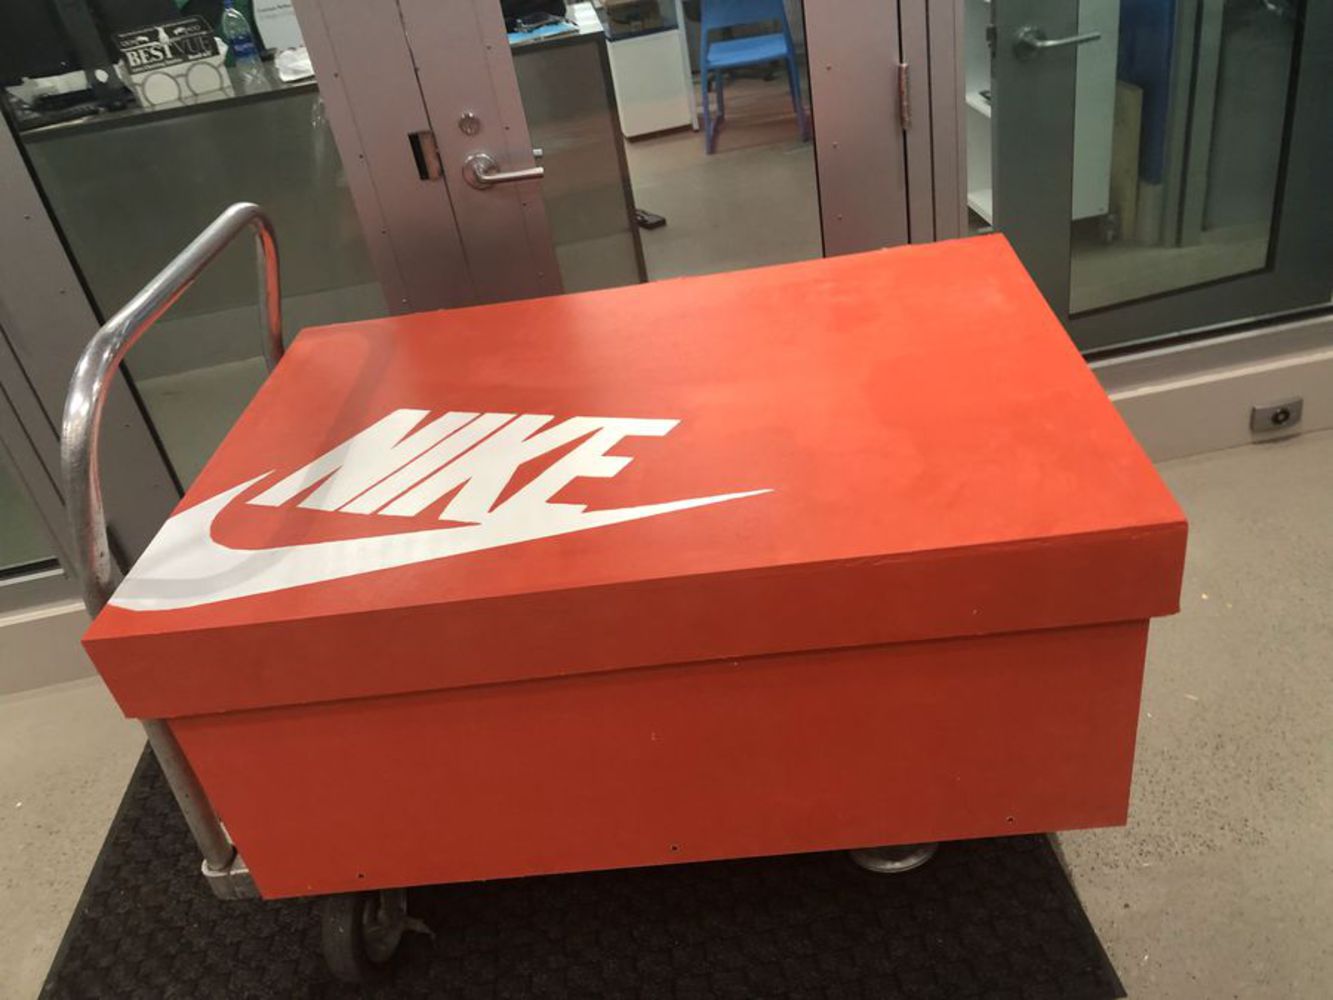
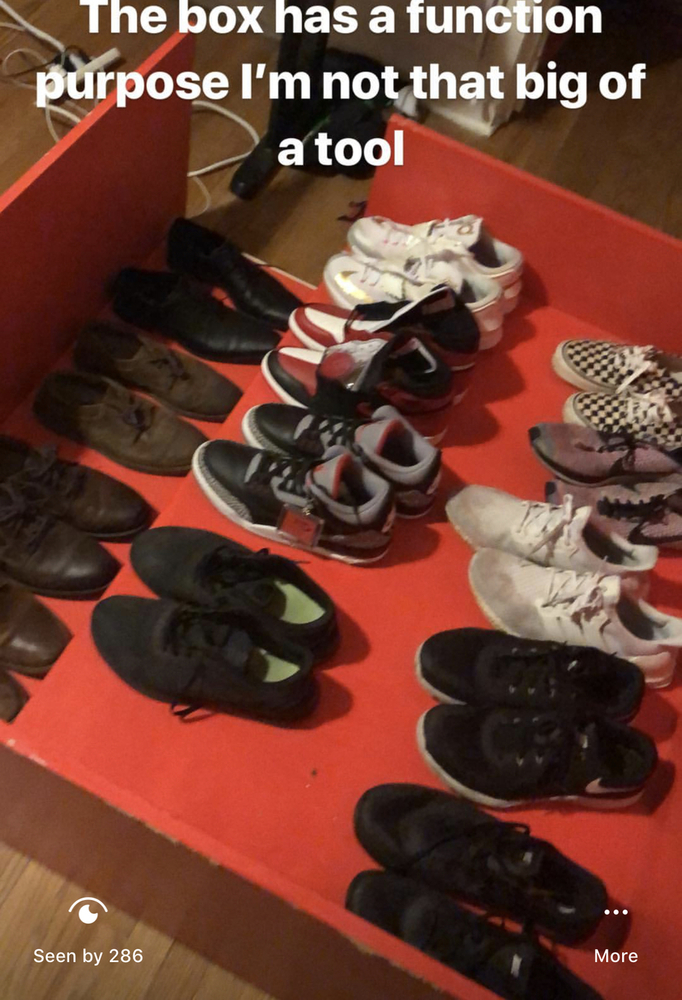
For my final project, I wanted to do a fun piece. I have a lot of shoes and I wanted to put them in a box that had an artistic flair. I decided to do make a giant shoe box that would be a replica of the standard nike shoe box. It would double as a piece of art and a home for my shoes.
Outcome
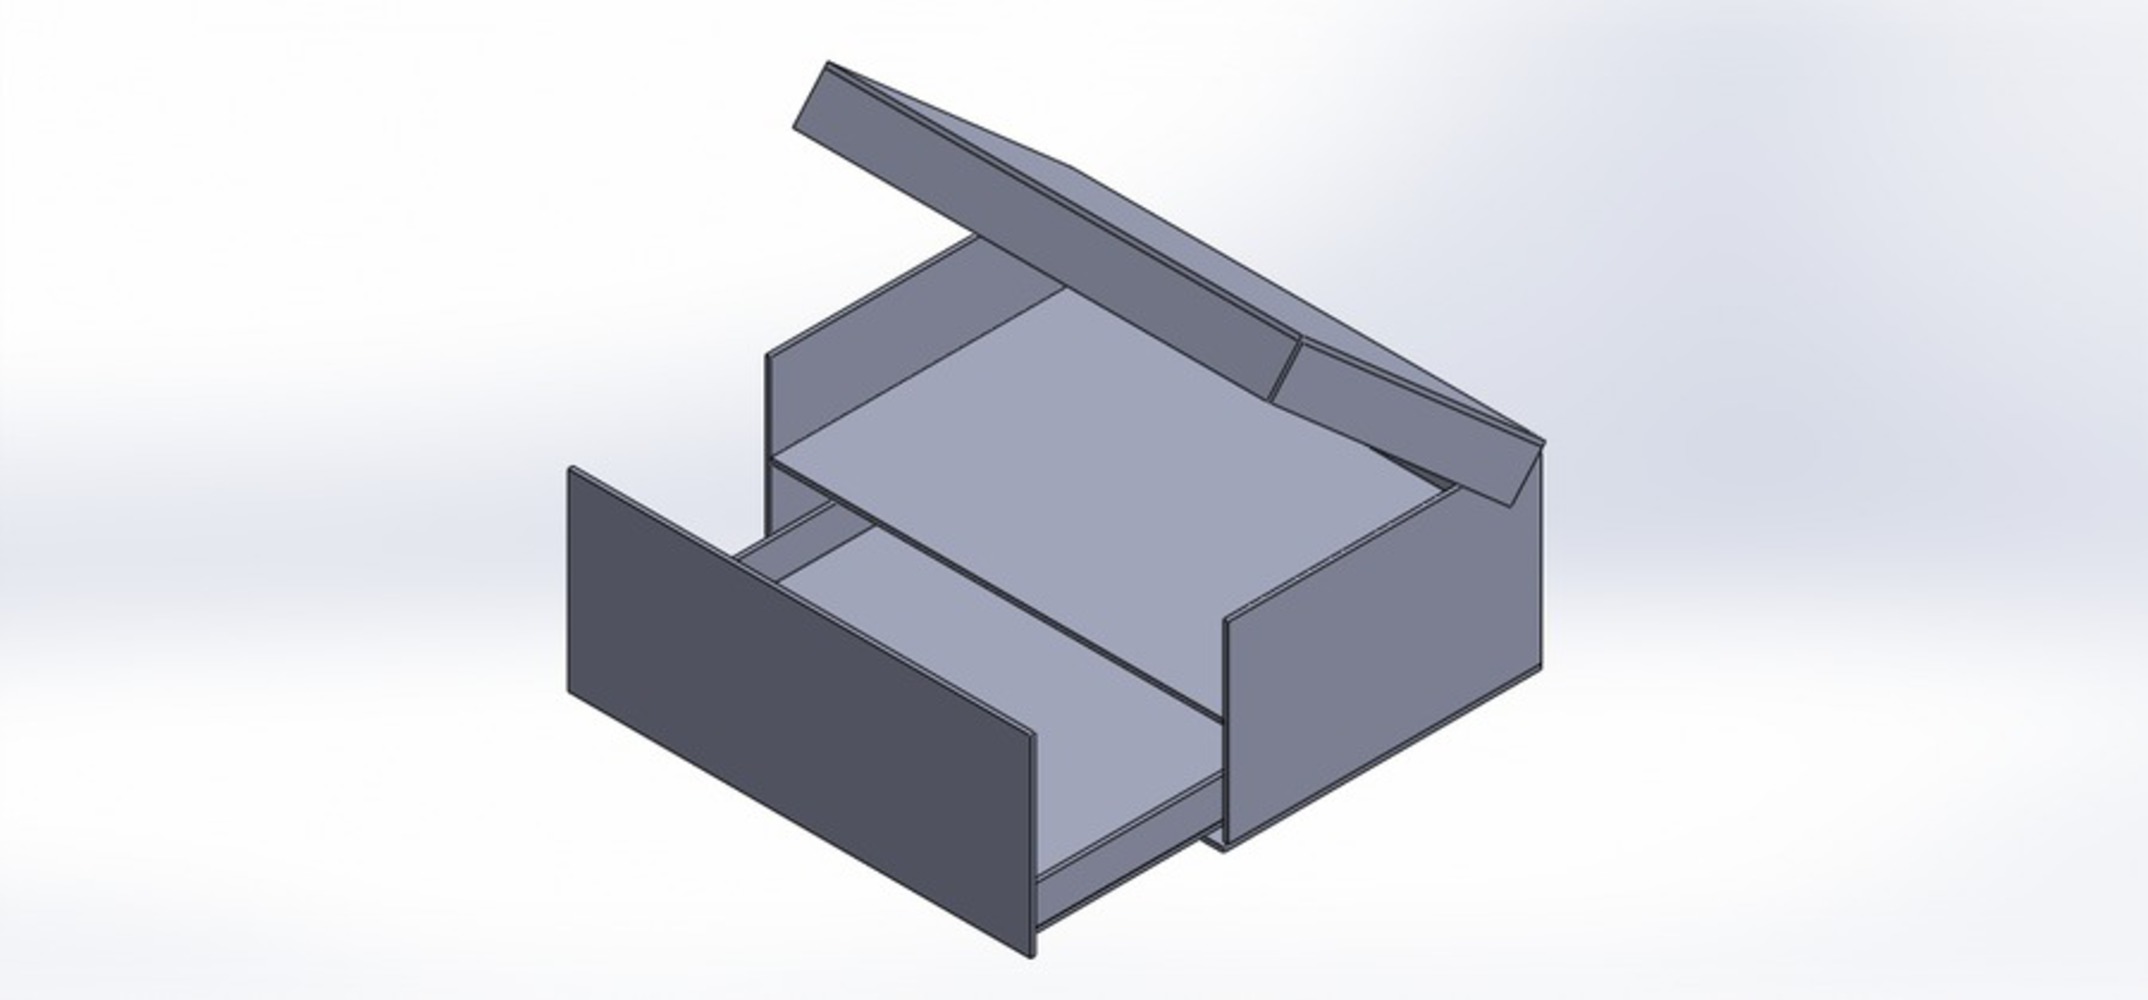
My next steps were to make a Solidworks model with what I desired the box to be. I wanted a hinged lid, a shelf, and a drawer to be featured in my box. I made all the panels separately with rabbet joint so that it would be easier to see corner edges of the box and ease of assembly.
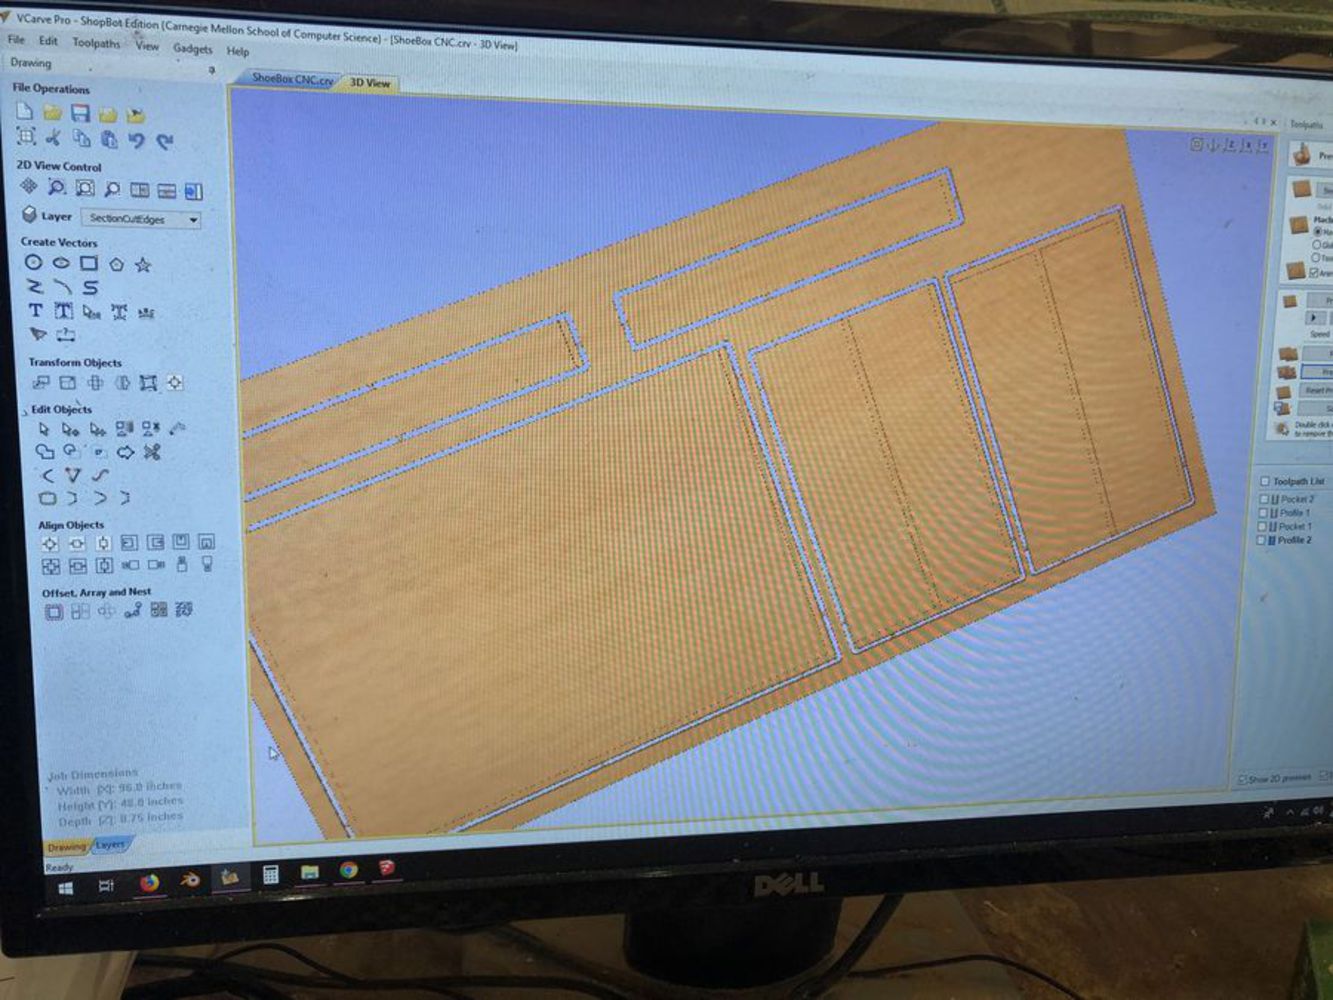
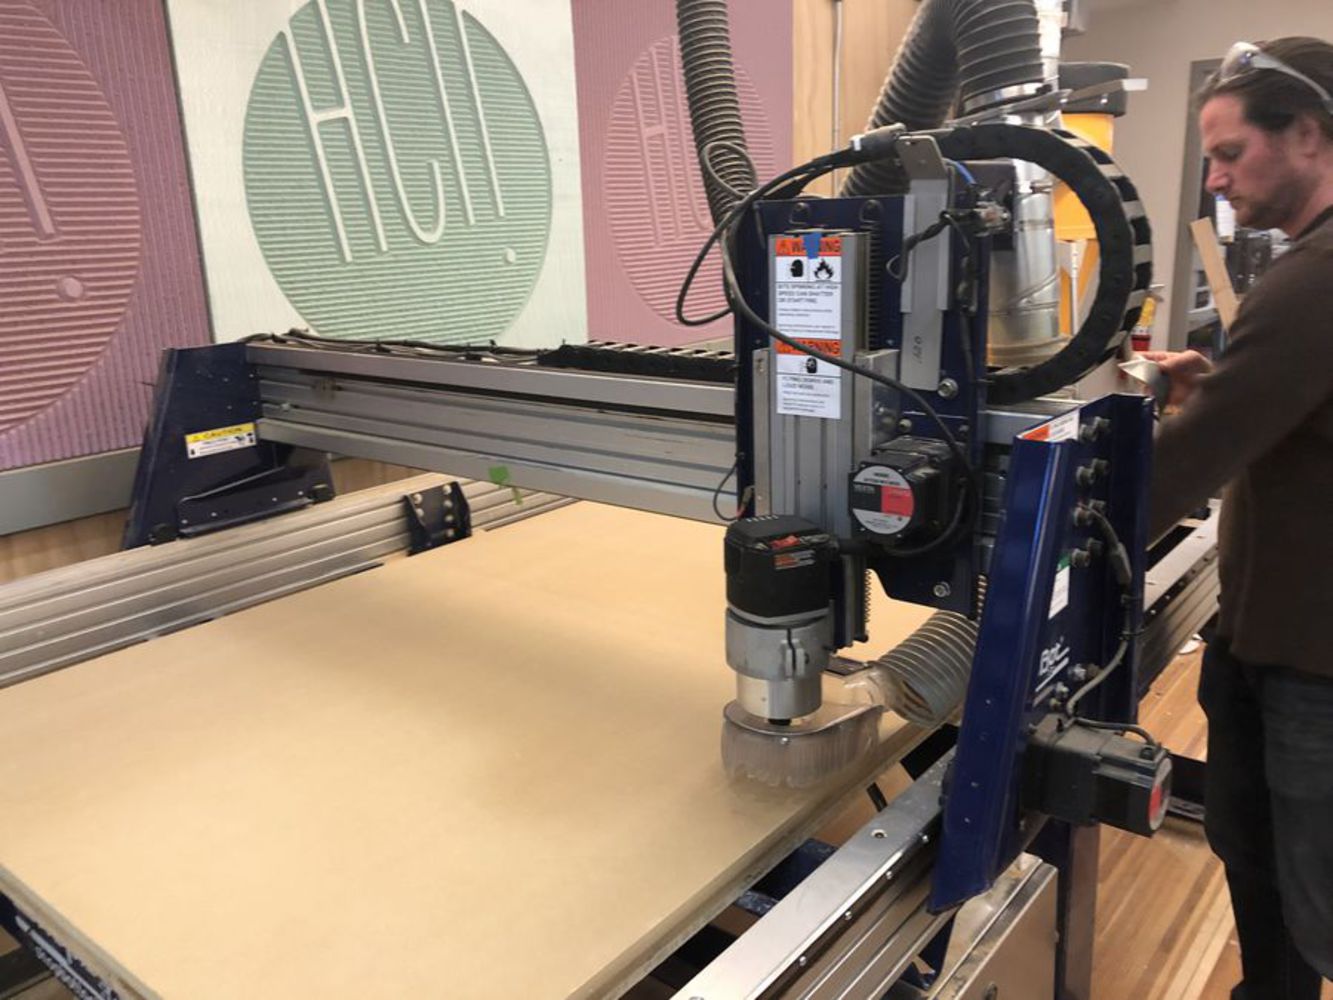
I next went to Home Depot to get supplies. For paint, I got a one hour white primer and paint that matched the reddish orange that the original Nike Box was. I also bought hinges and drawer sliders. I decided to use 0.75'' MDF as my main stock because MDF does not warp and give flat surfaces that would make a sturdy box. I then took it to a wood CNC/ router to get the panels of the box cut fast since they mere mostly basic rectangles with grooves.
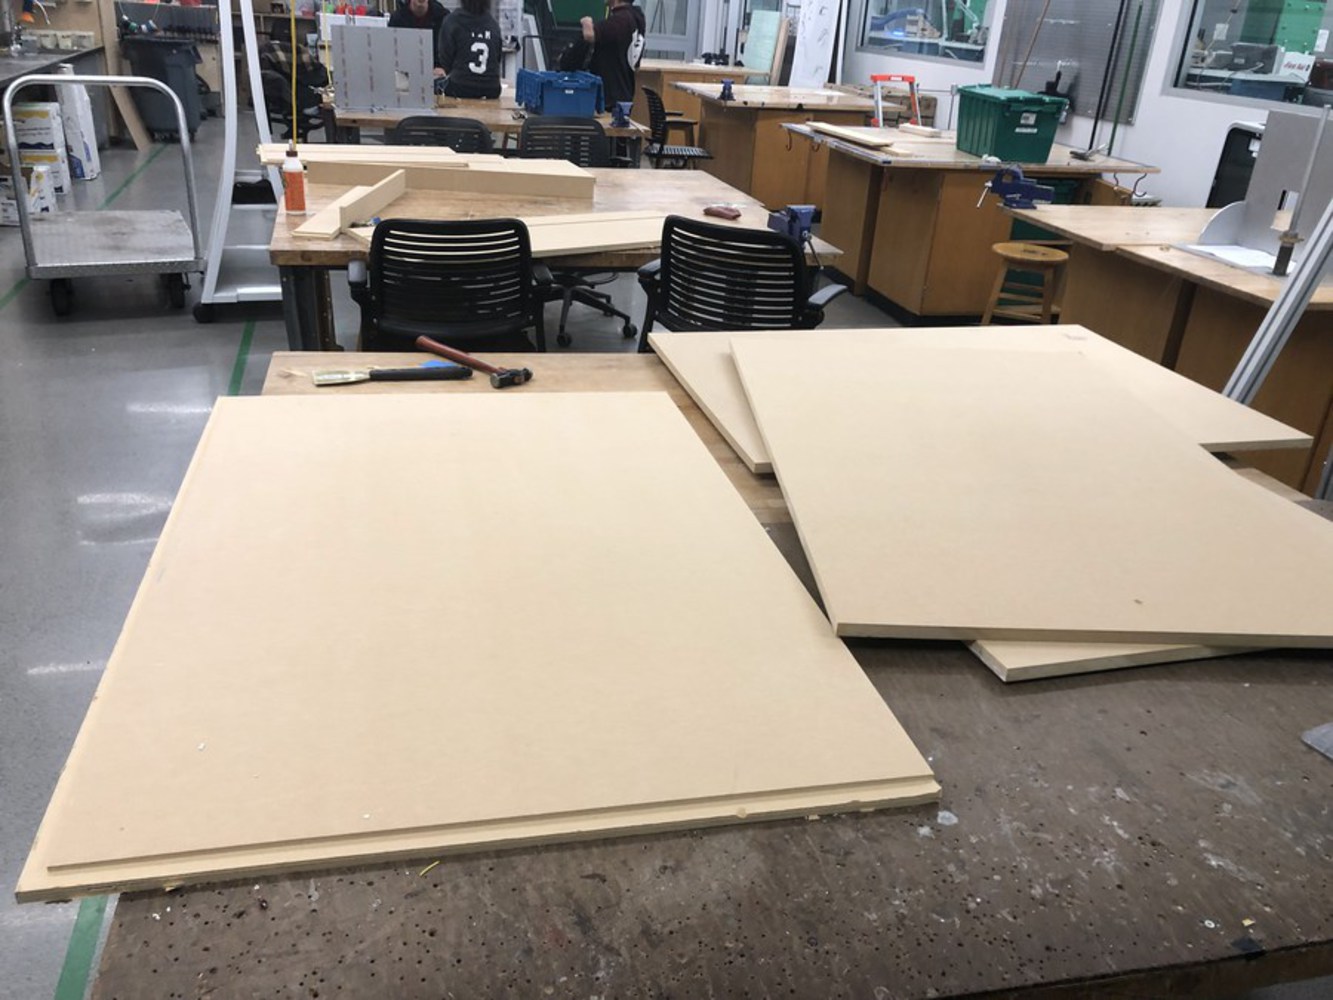
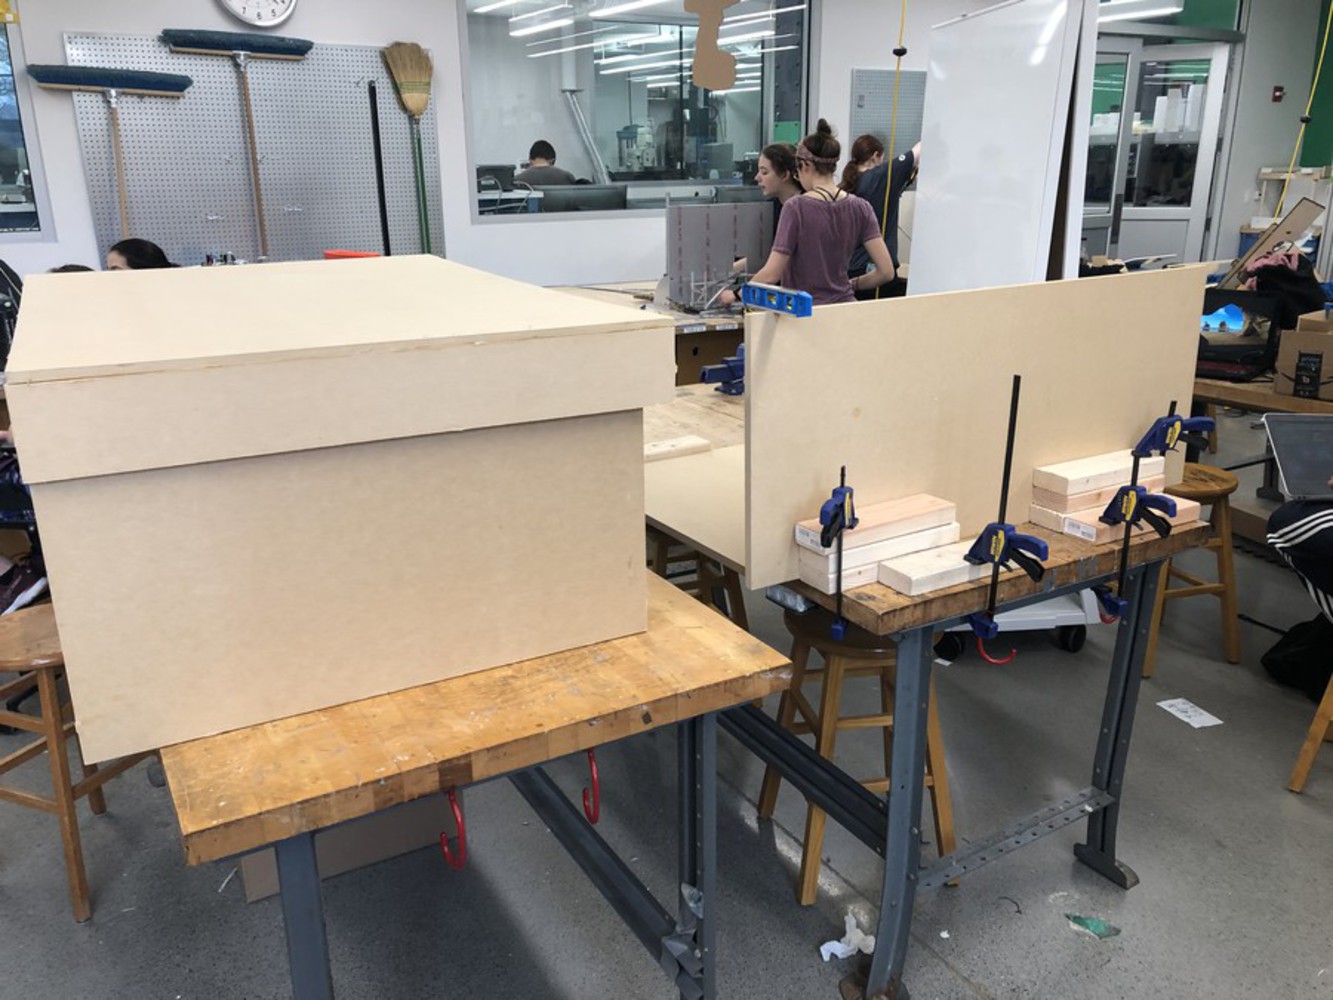
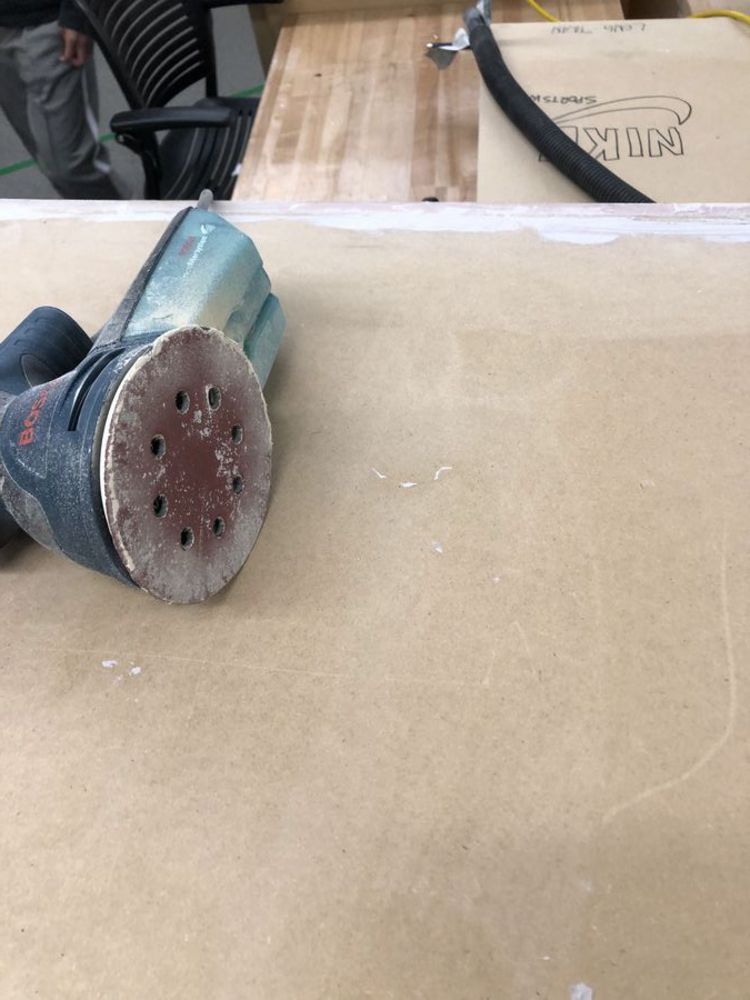
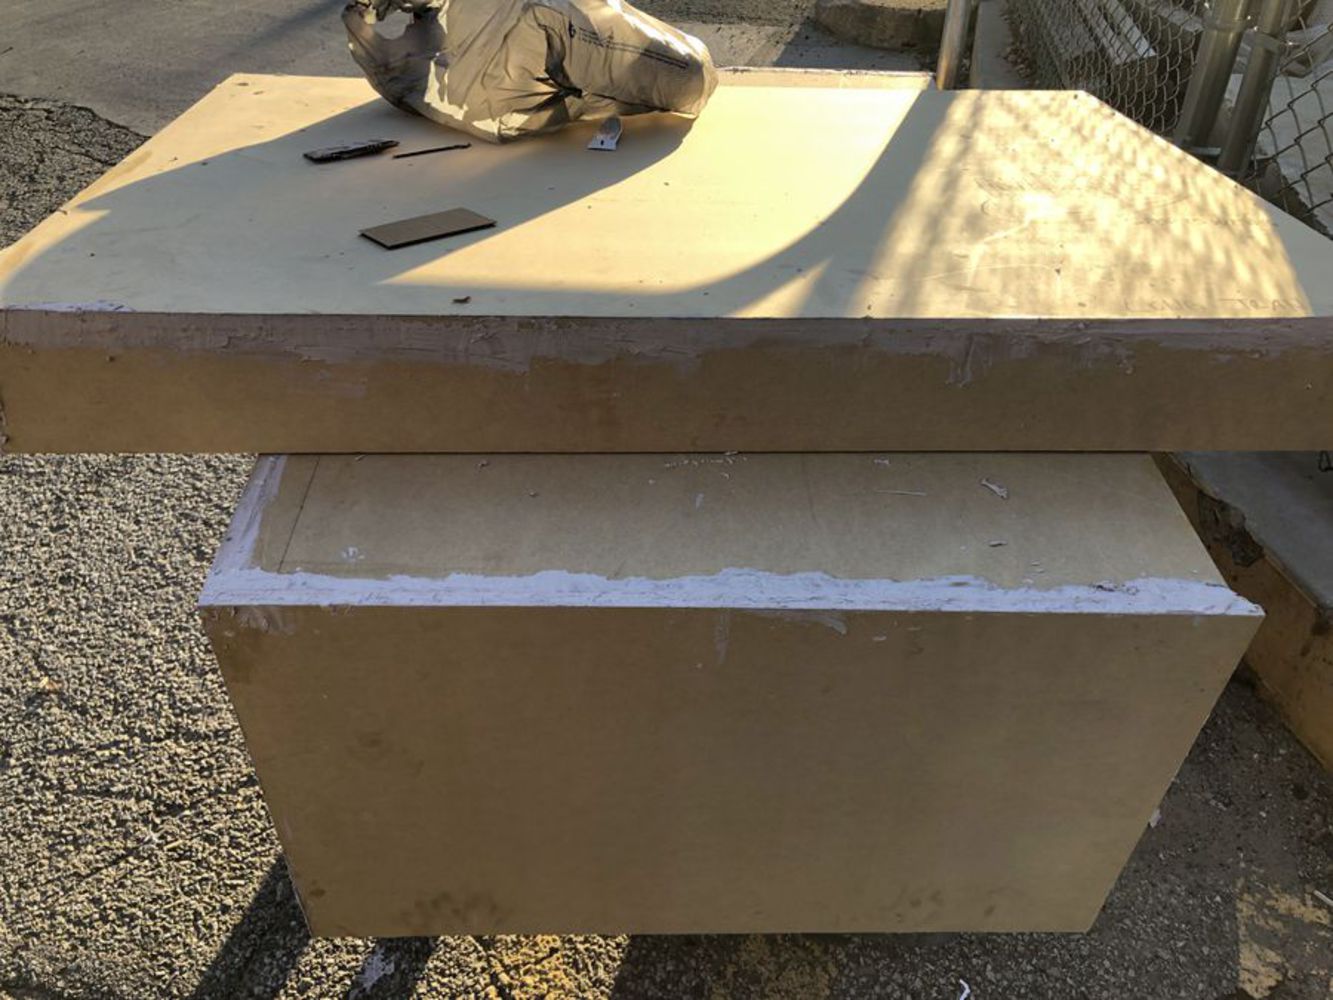
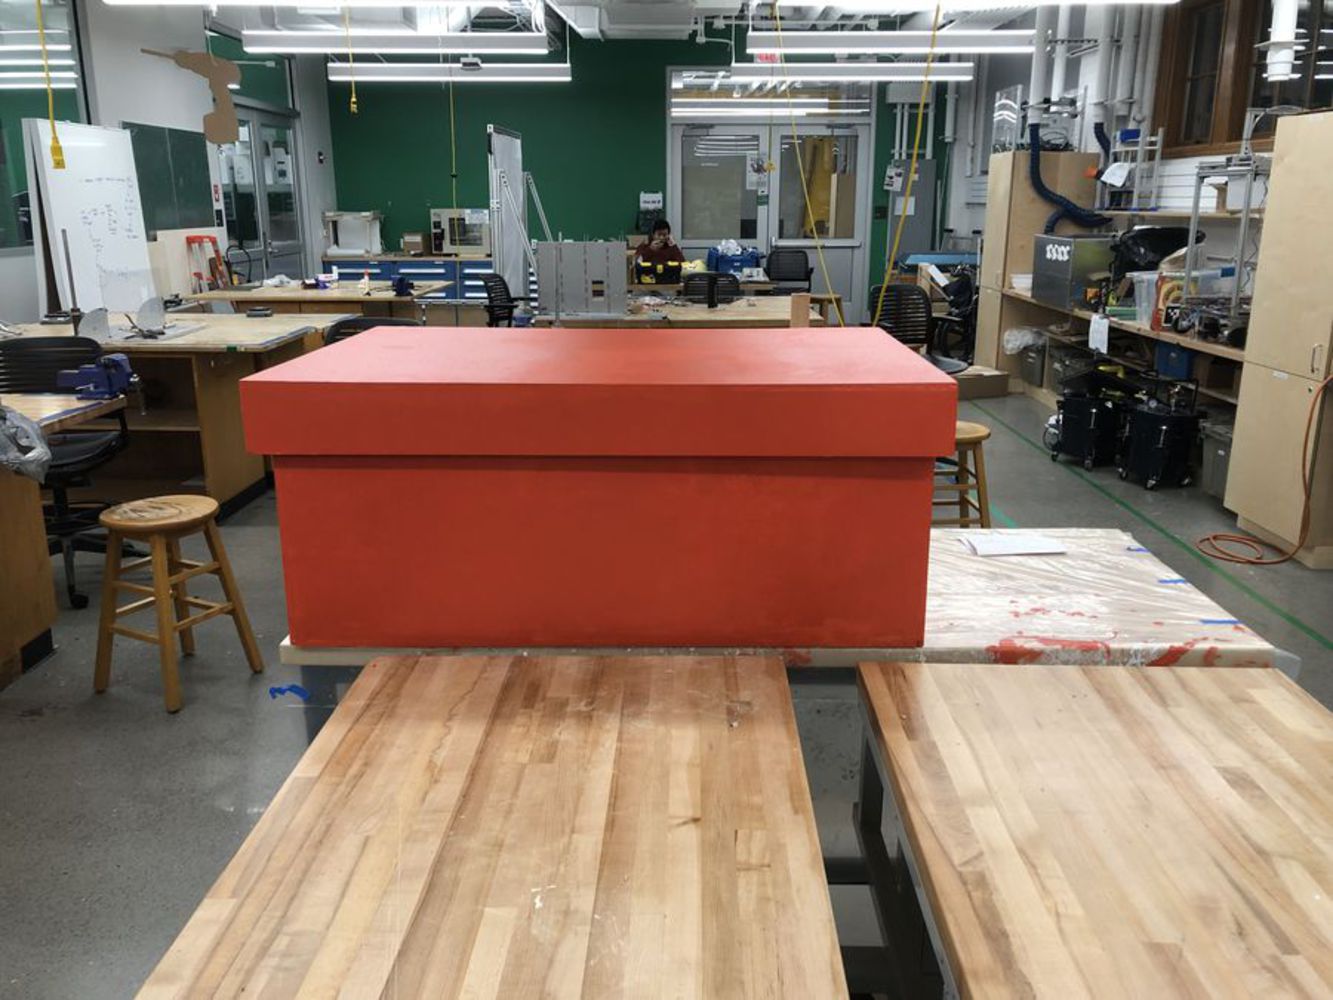
After the panels were cut, I wood glued together to form the box. Without carpenter clamps, I had to glue the panels in batches. Since they were glued at different times, I had to make slight cuts with a track saw to get the box to fit nicely as I was assembling. After the glue had set I used a hand sander to smooth surfaces that were rough and Bondo to fill in edges were panels were butt jointed.
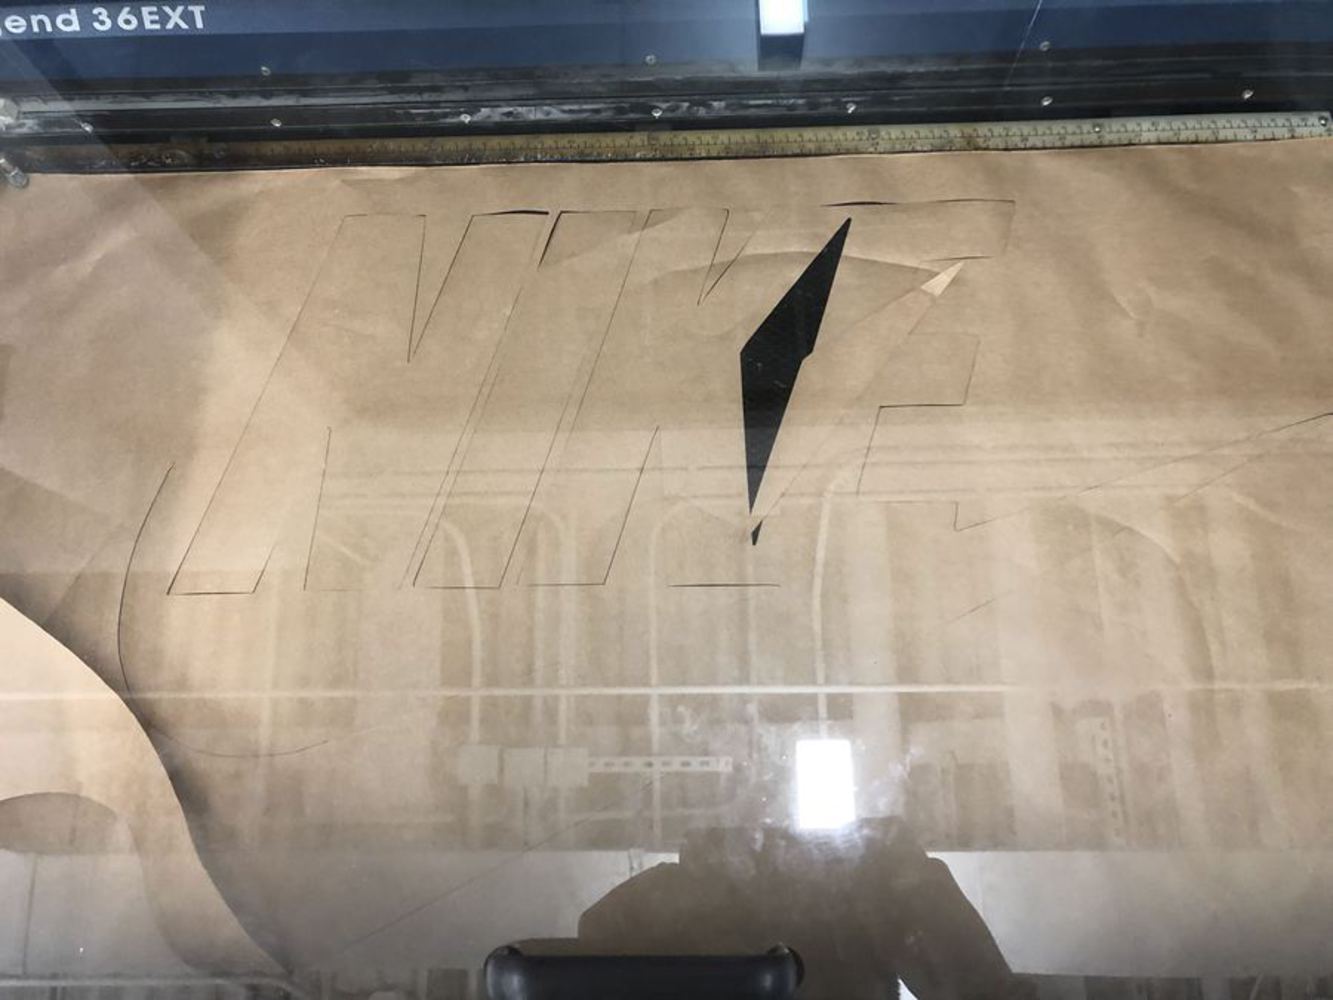
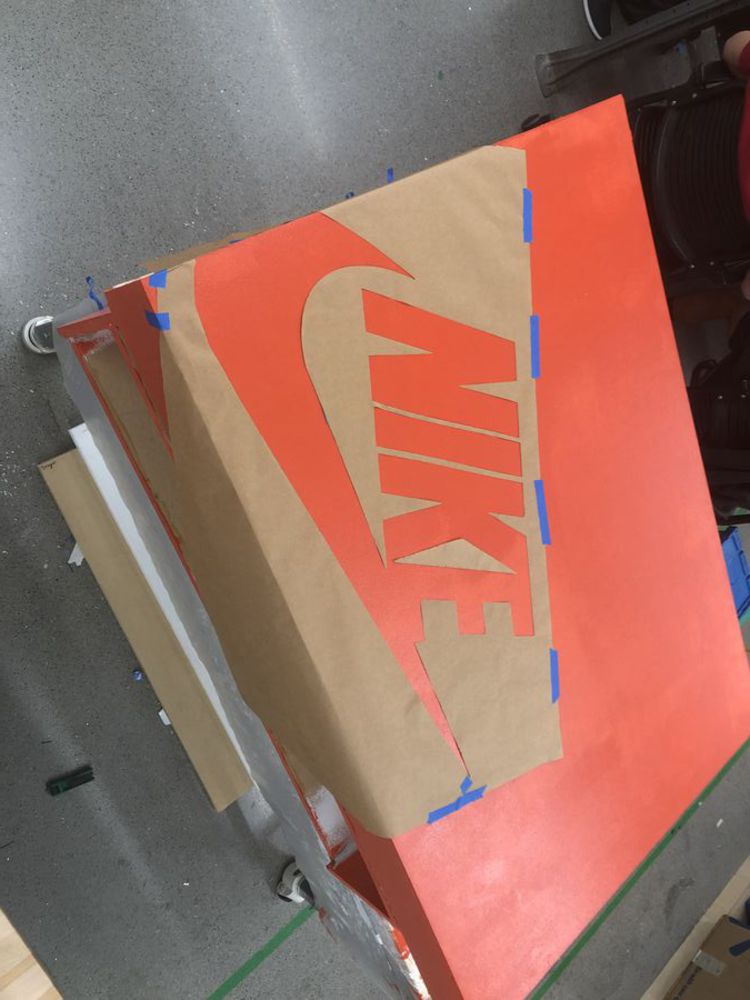
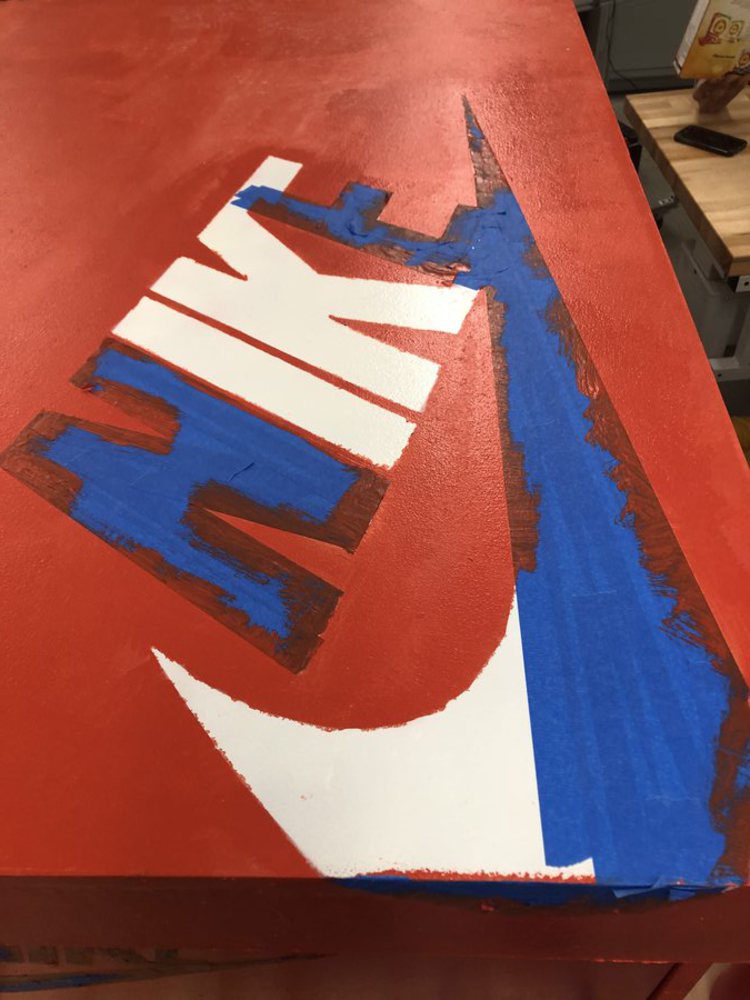
After the structure of the box was finished I started painting. I used a paint roller to get both the primer and the paint onto the box. I had made the mistake of assembling before painting, so there were some tight spaces I had to reach with the paint roller. After I applied two coats of paint, I used the lasercutter to cut some cardstock to form Nike Stencils. I taped the stencil to the box and I spray painted onto the box. Some paint leaked underneath the stencil near edges, but I touched it up spots with a small paint brush.
Finally, I installed the drawer sliders and hinges per manufacturer instructions. The hinges were a challenged because I drilled screws into the grain of the MDF. Securing to the grain of MDF is not as structurally stable as I wanted, but as long as the lid does not flop to maximum rotation, it can support itself.

You can upload files of up to 20MB using this form.