Back to Parent

Outcome


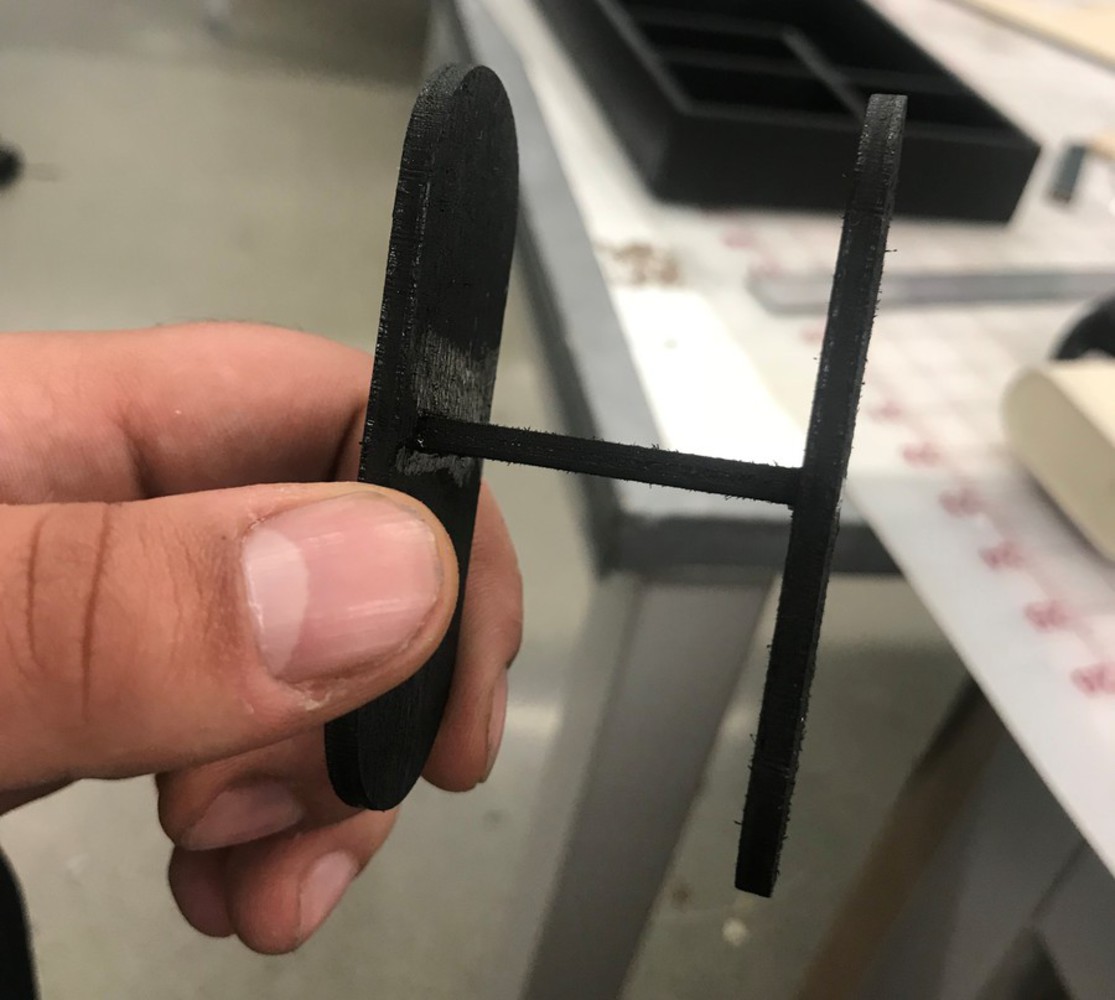
The first step in creating the watchbox was determining the material to use. I chose MDF because of its strength and it was easily cut with the laser cutter. That was key to me as I wanted to use the laser cutter to make sure my pieces were exact.

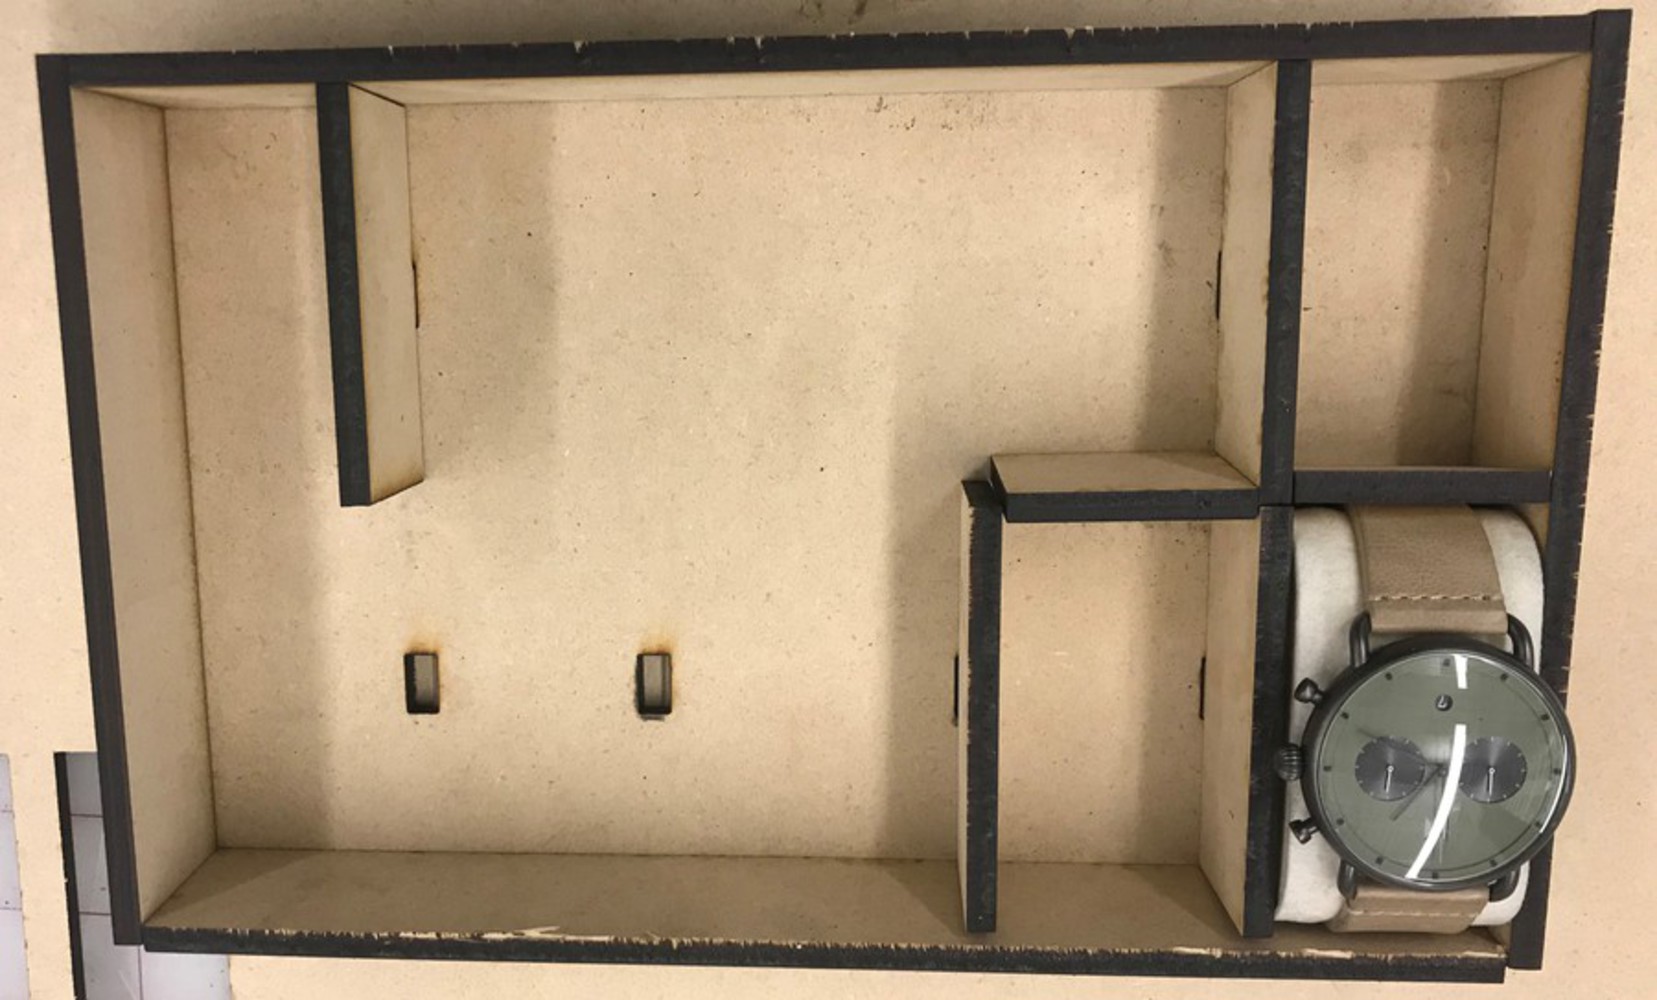
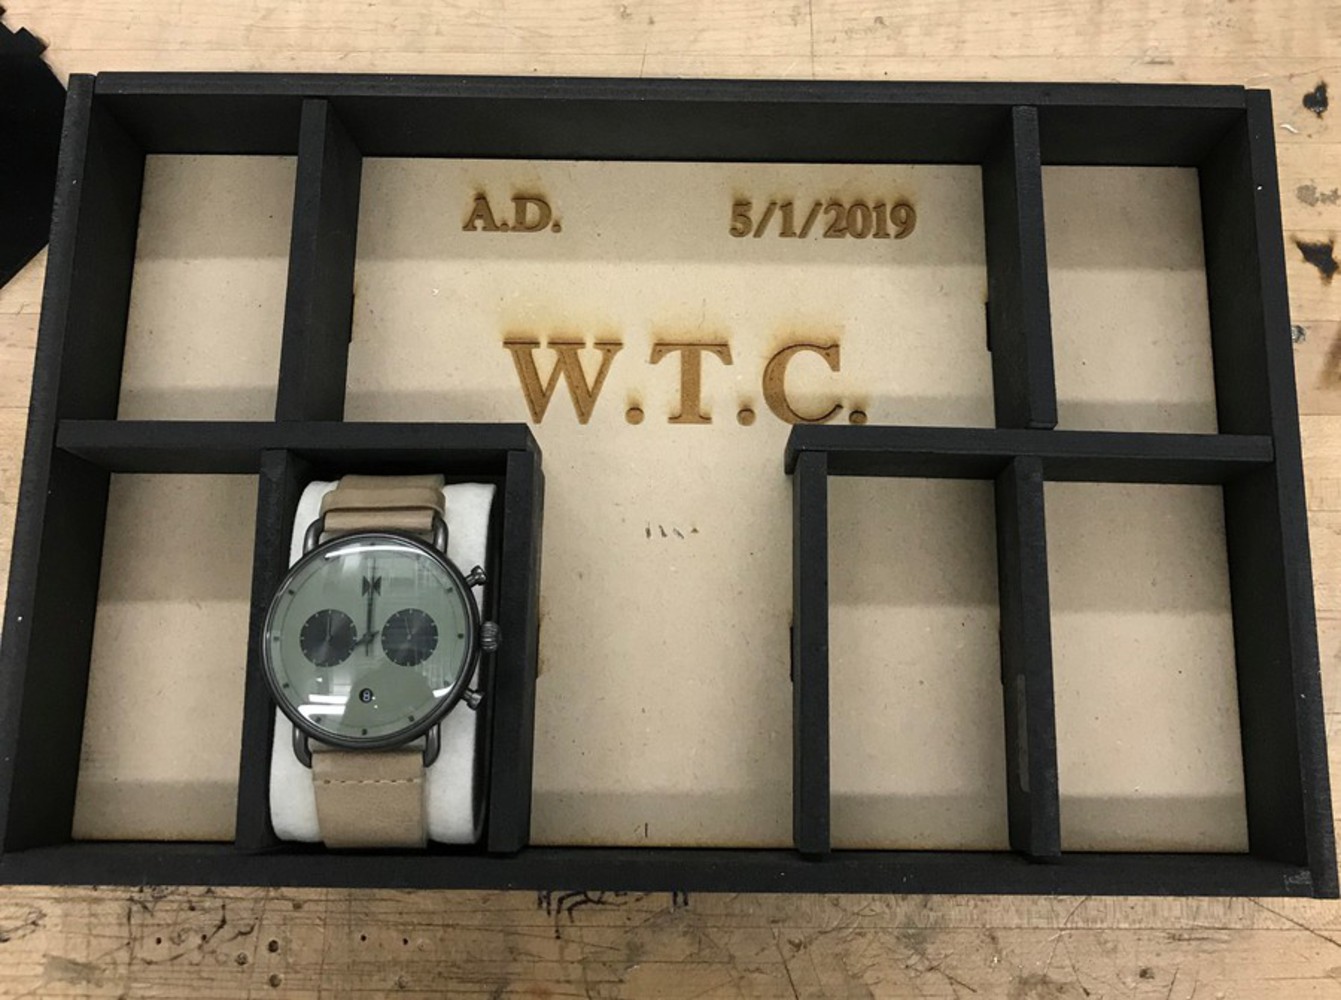
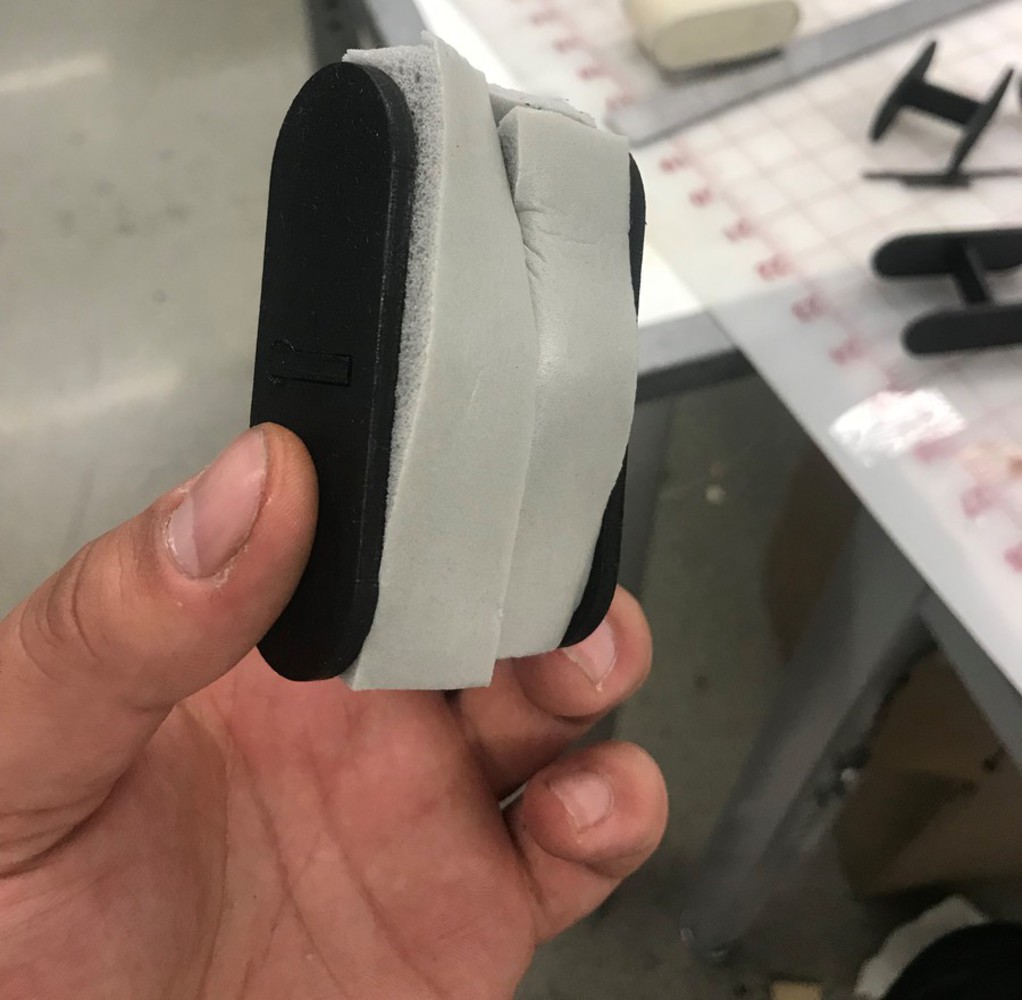
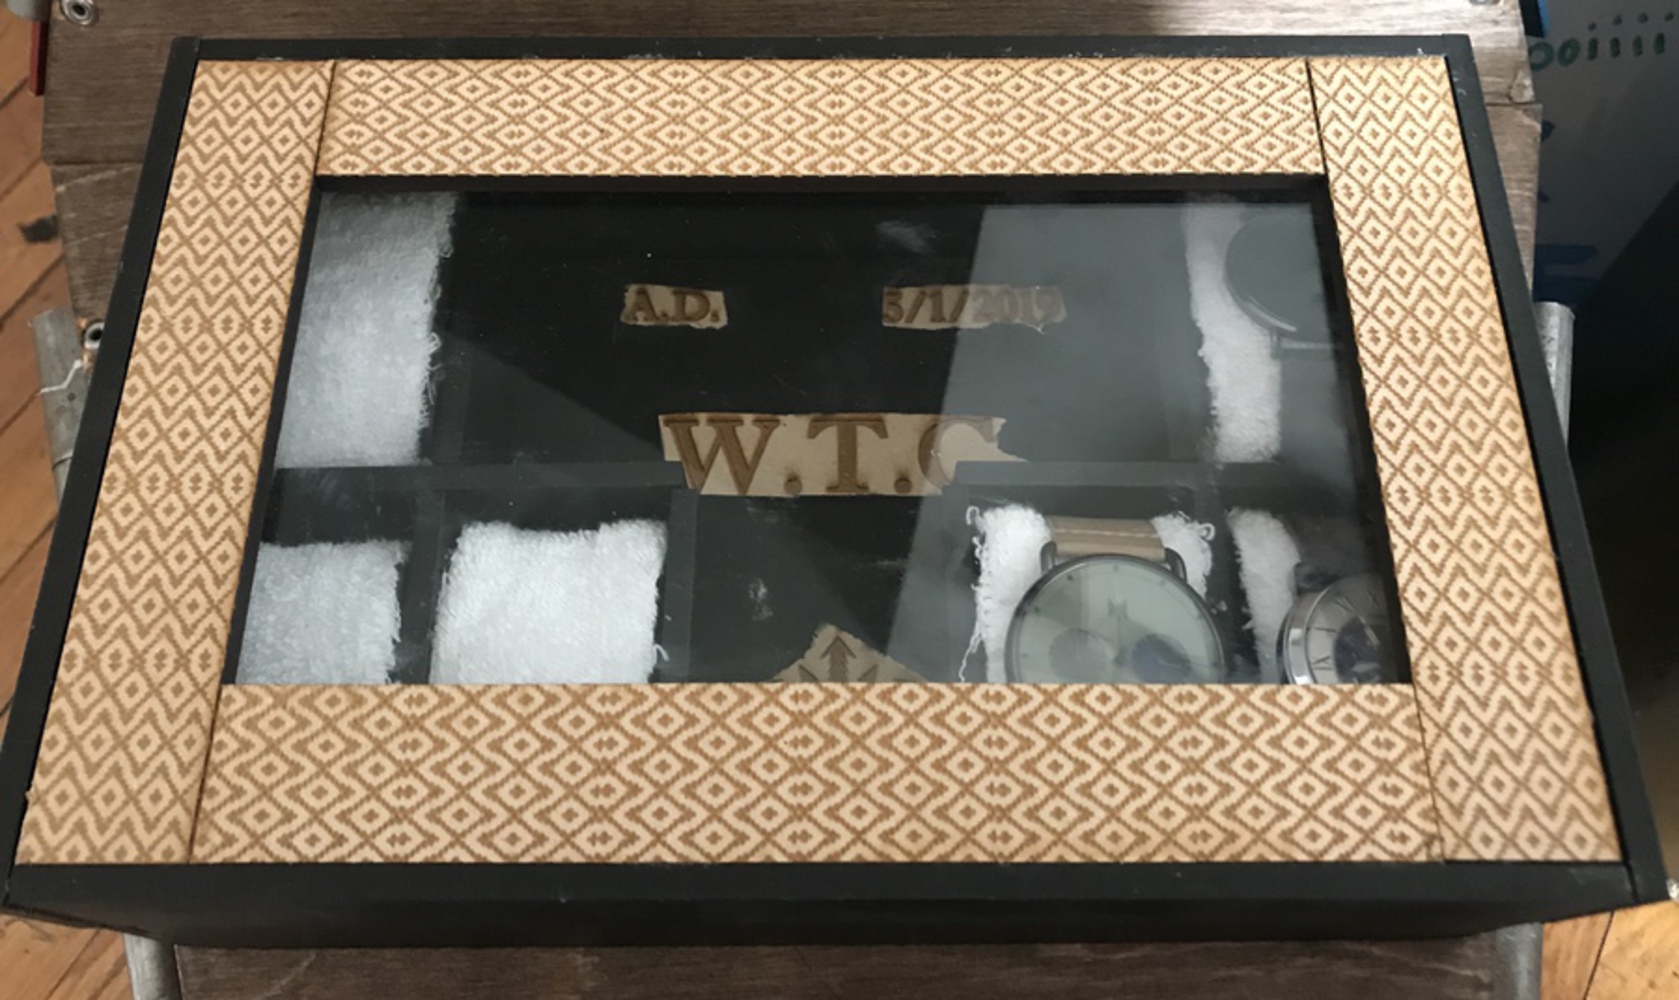
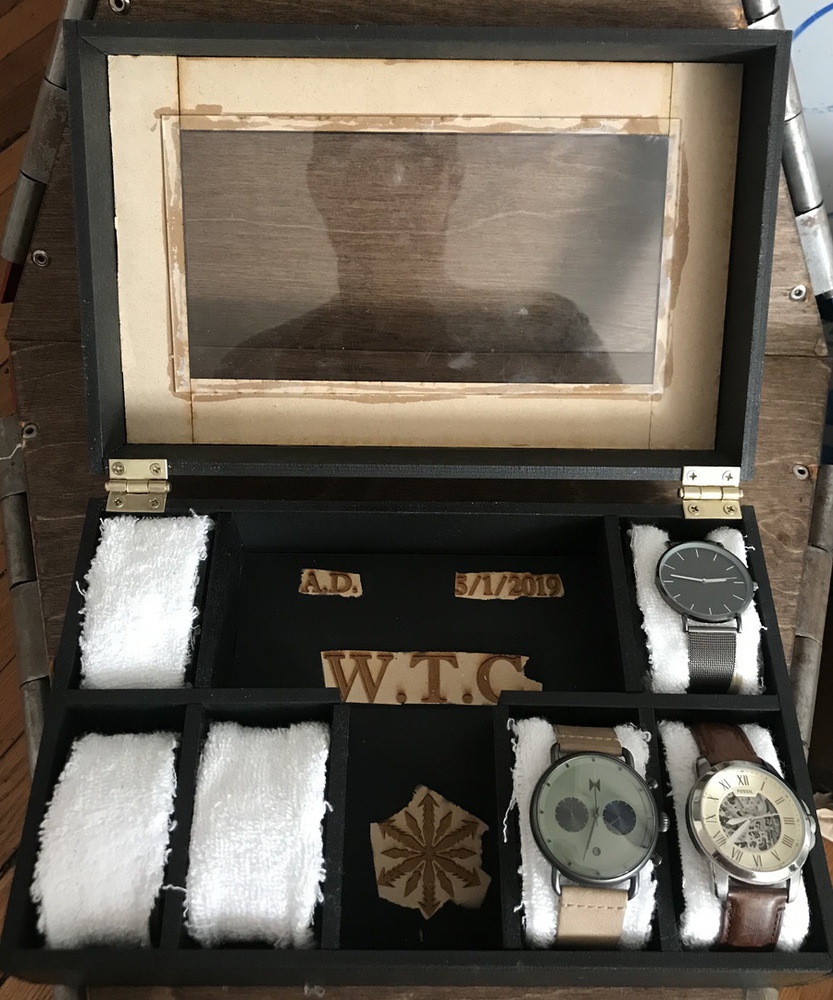
I then designed the box. I looked up current designs for inspiration and really liked the setup of having watches wrapped around pillows that sit in their specific slots in the box. I designed the box with this in mind, but also wanted to add my own touch, so I left the middle open for engraving and space to put things other than watches.

After designing the box on solidworks, I first cut the base plate. The base plate included six square holes, and that was because the vertical pieces were cut with an extrusion on the bottom that would fit into those holes. Instead of gluing those pieces in, I wanted them to be removable in case I wanted a different look to the watchbox.

Img 8541.thumb
Show Advanced Options

Once all the pieces were cut, they were placed along the base plate, however nothing was glued yet. I wanted to measure the space I had for the engraving so that the engraving looked good and not too crammed.

Img 8547.thumb
Show Advanced Options

Next, the engraving was designed on solidworks and then cut using the laser cutter. The design included my initials, the date, and an abbreviation for watchbox. After that, all pieces were stained with black paint and then glued in place using wood glue. 

Img 8548.thumb
Show Advanced Options

The next step was to create the pillows. This was done but cutting two oval shaped flat faces with an incision in the middle. Another piece of wood was cut using the later cutter and fit perfectly between the two flat faces. 

Img 8552.thumb
Show Advanced Options

After the skeleton of the pillow was created, vinyl foam was wrapped around the skeleton to give it a soft and giving interior. 

Img 8550.thumb
Show Advanced Options

A towel was then cut into strips that were wrapped around the vinyl foam. The cloth from the towel gave the exterior a nice texture and a soft texture for the watches to rest on.

Img 8565.thumb
Show Advanced Options
Img 8566.thumb
Show Advanced Options

The next step was to create the top half of the box. The shape and dimensions were a replica of the bottom half, however instead of the base plate, I wanted a clear acrylic screen. I also wanted a design on the edges, so I engraved a pattern using the laser cutter. I then cut a clear piece of acrylic that was a little larger than the opening, and then glued it to the bottom face of the wooden top.

Img 8561.thumb
Show Advanced Options

The box was finalized by using hinges to connect the bottom and top half. The movement is very smooth and I am very happy with the finishing product.

Img 8563.thumb
Show Advanced Options
Drop files here or click to select

You can upload files of up to 20MB using this form.