Back to Parent

Outcome


Sample Book

Below are images of all the required samples for this class, which are described below

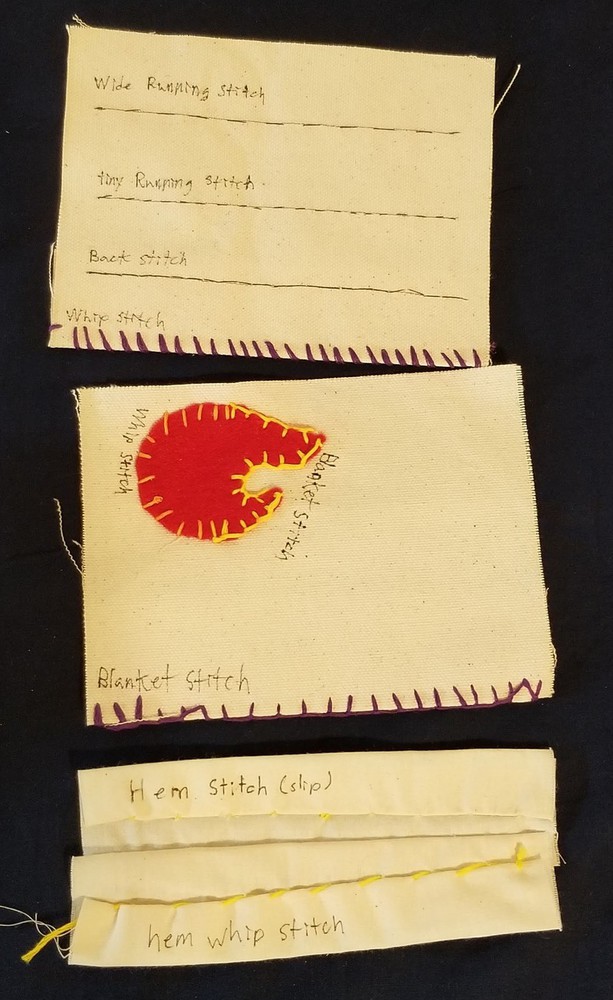
 1st Image Running stitch (basting) long and short, backstitch, blanket stitch, overcast stitch, appliqué (half overcast, half blanket). Two fabric pieces sew together with a sewing machine

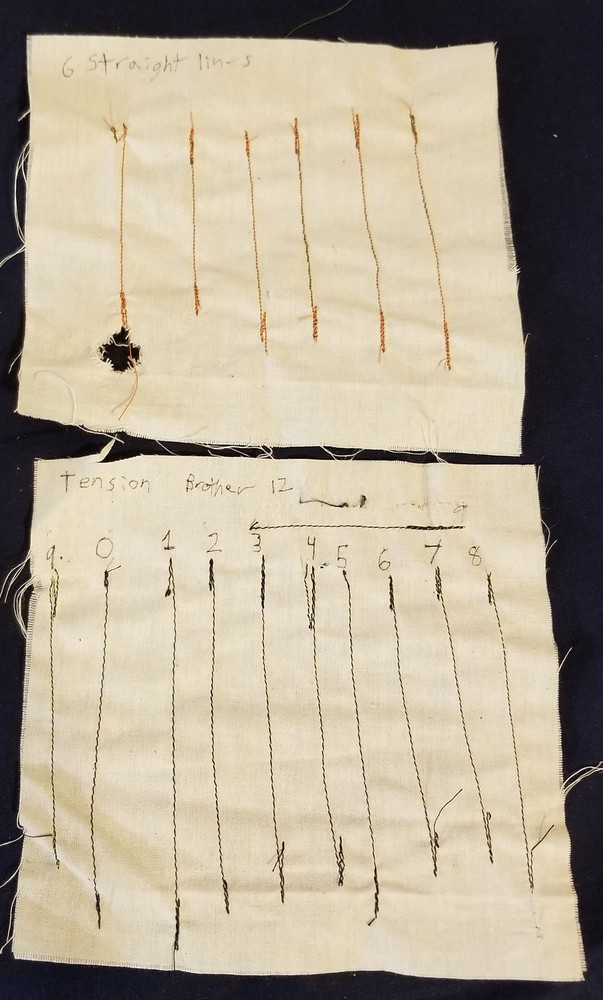
2nd Image 6 straight lines and Tension Sampler

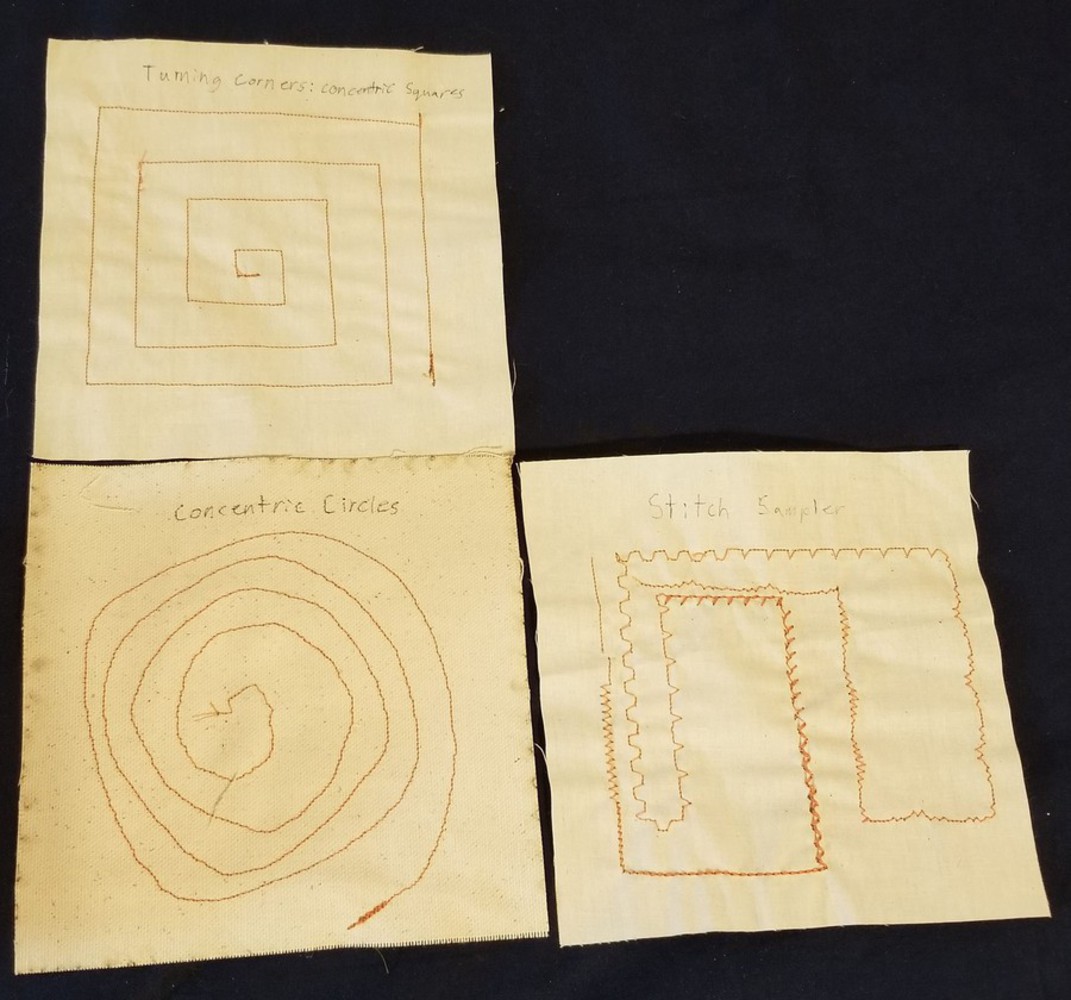
3rd Image square spiral, circular spiral, and doodle with various settings.

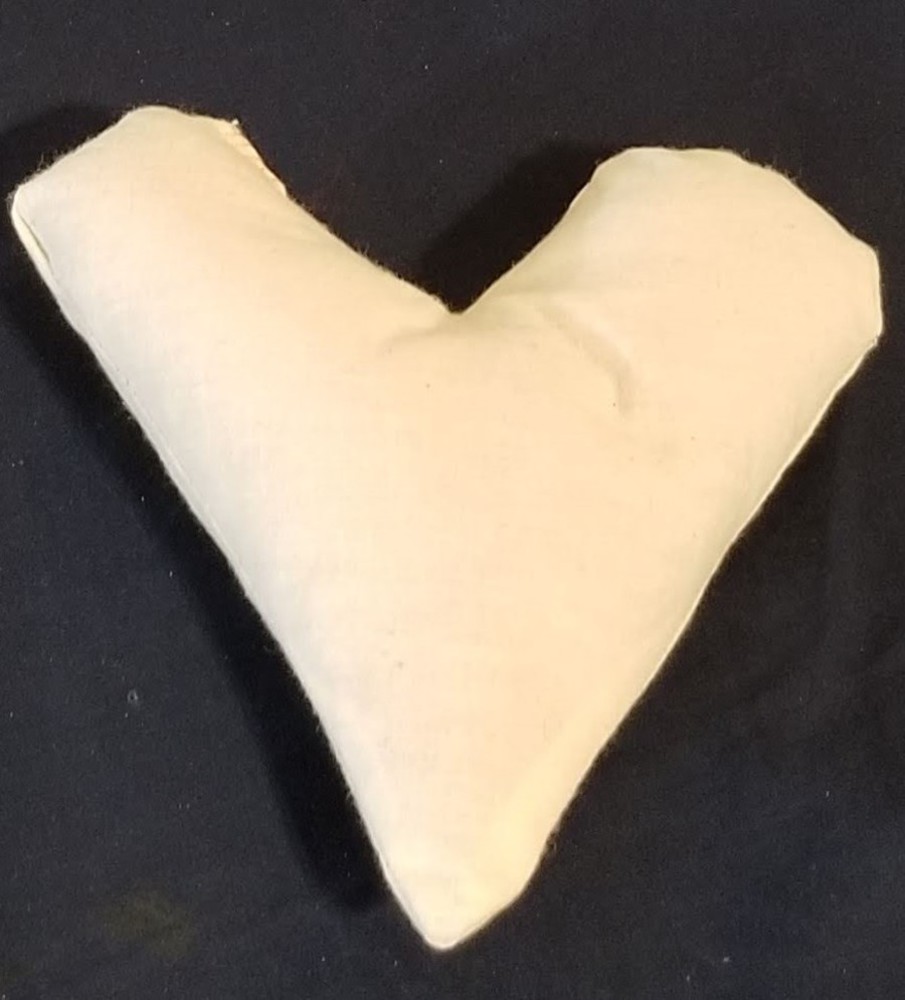
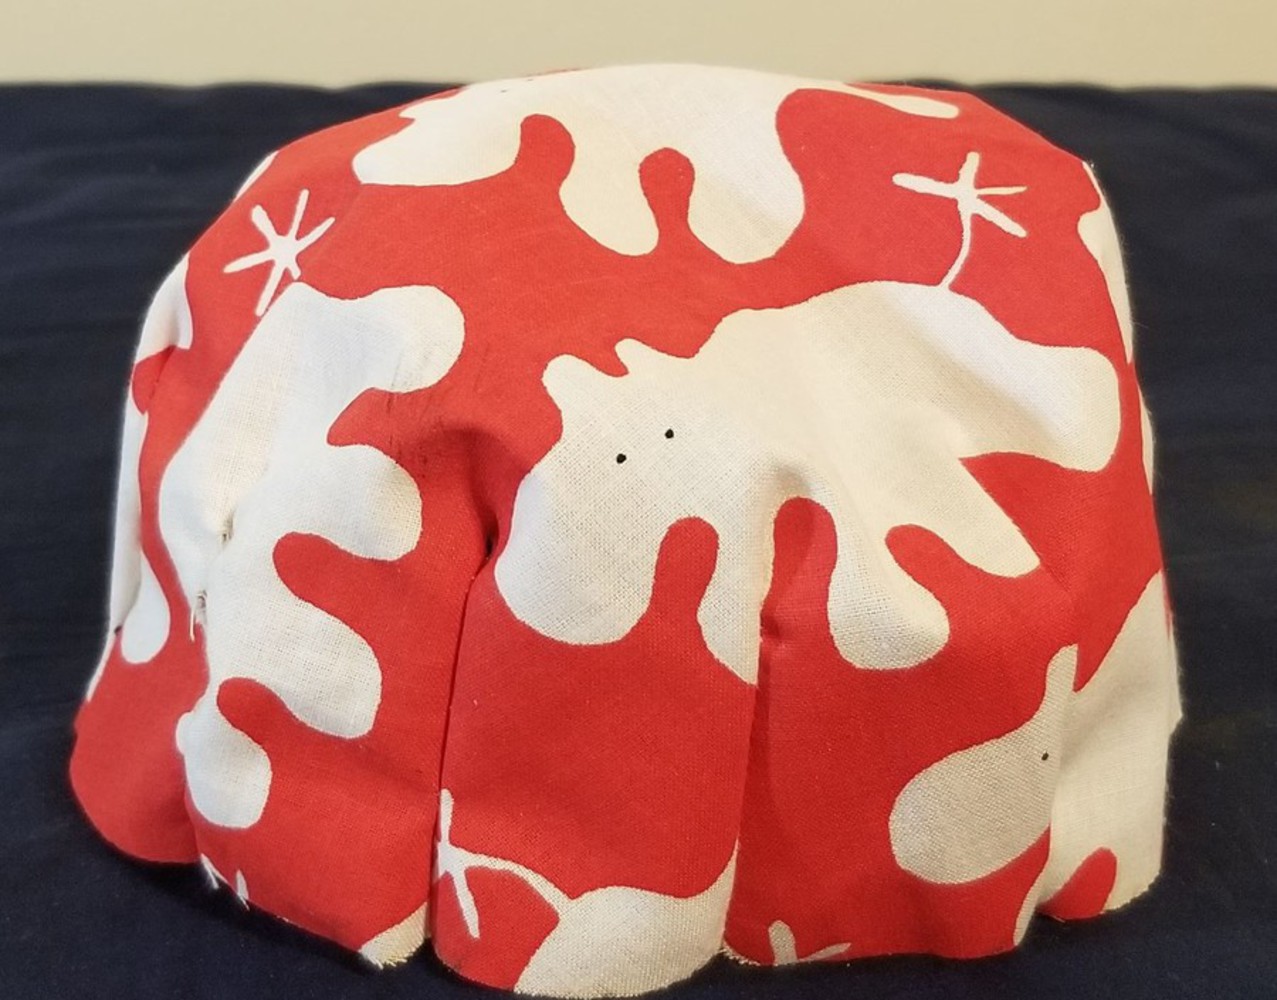
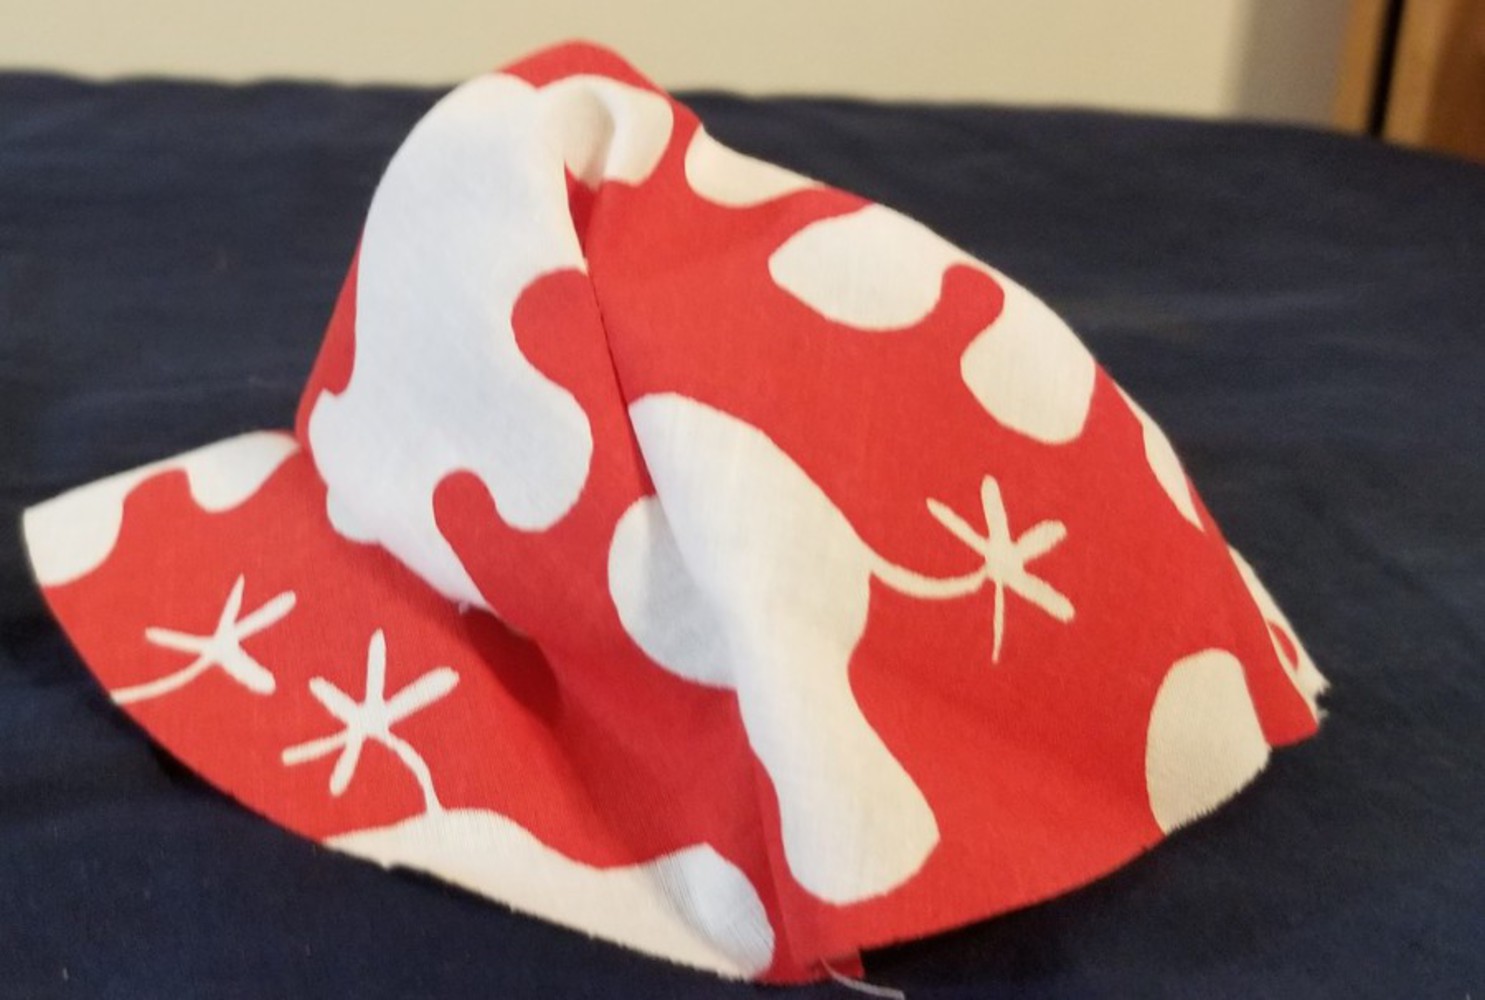
4th Image Heart Shaped Form

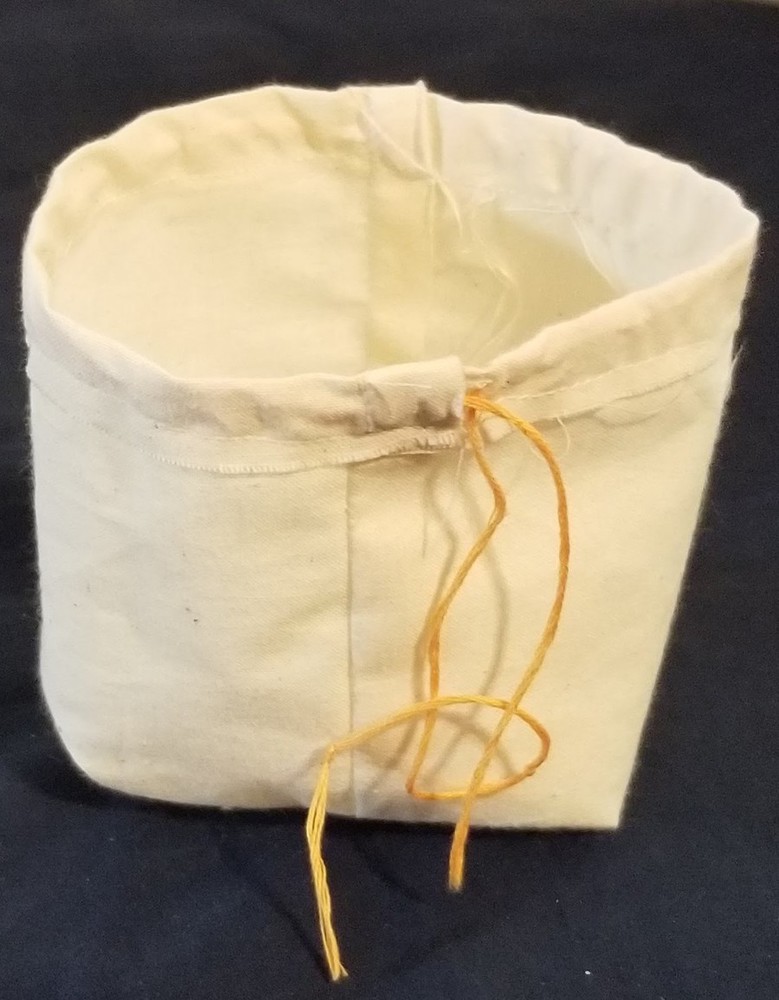
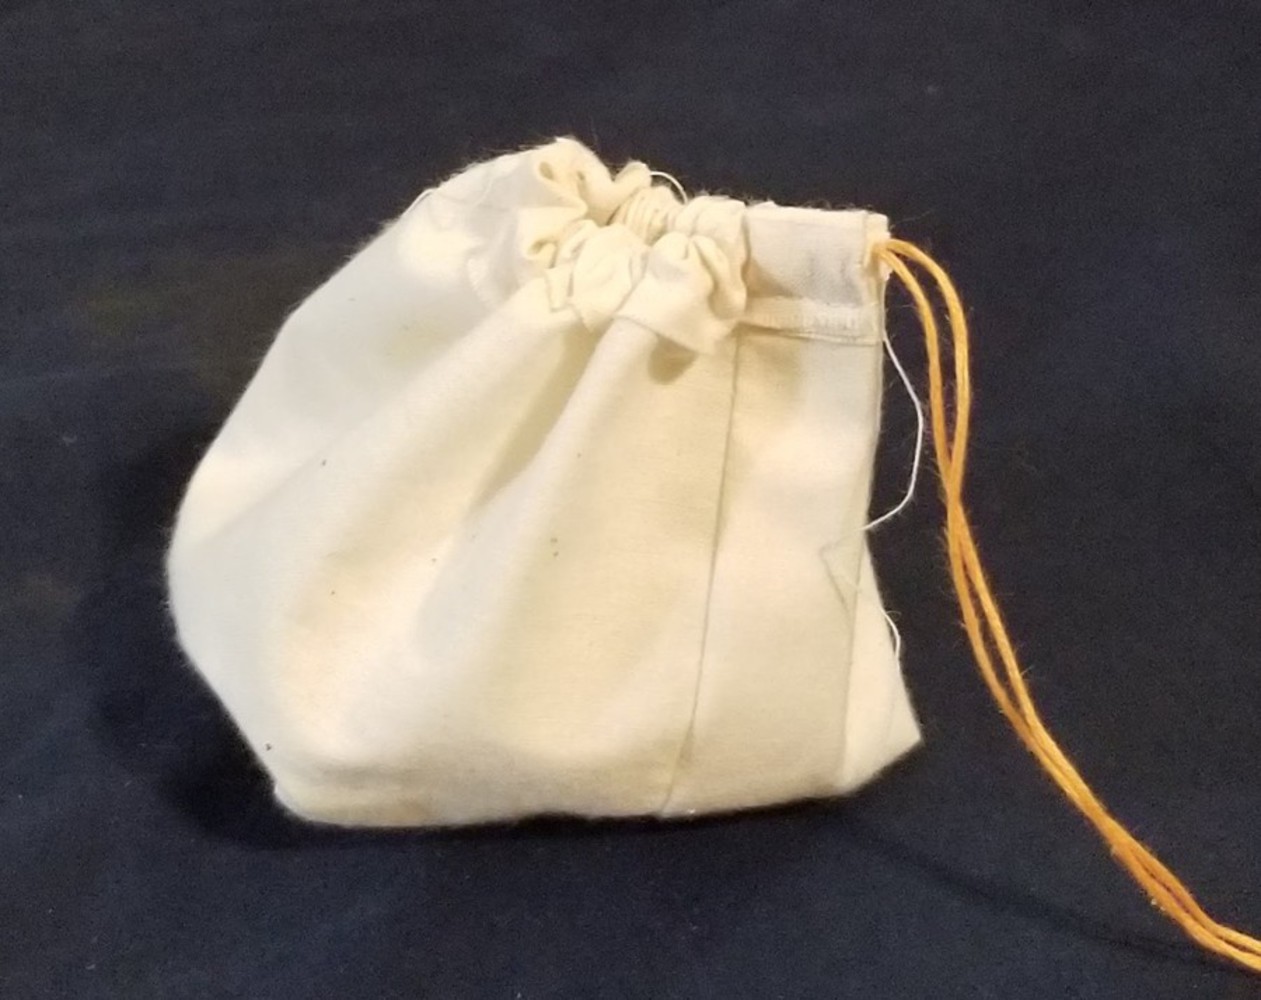
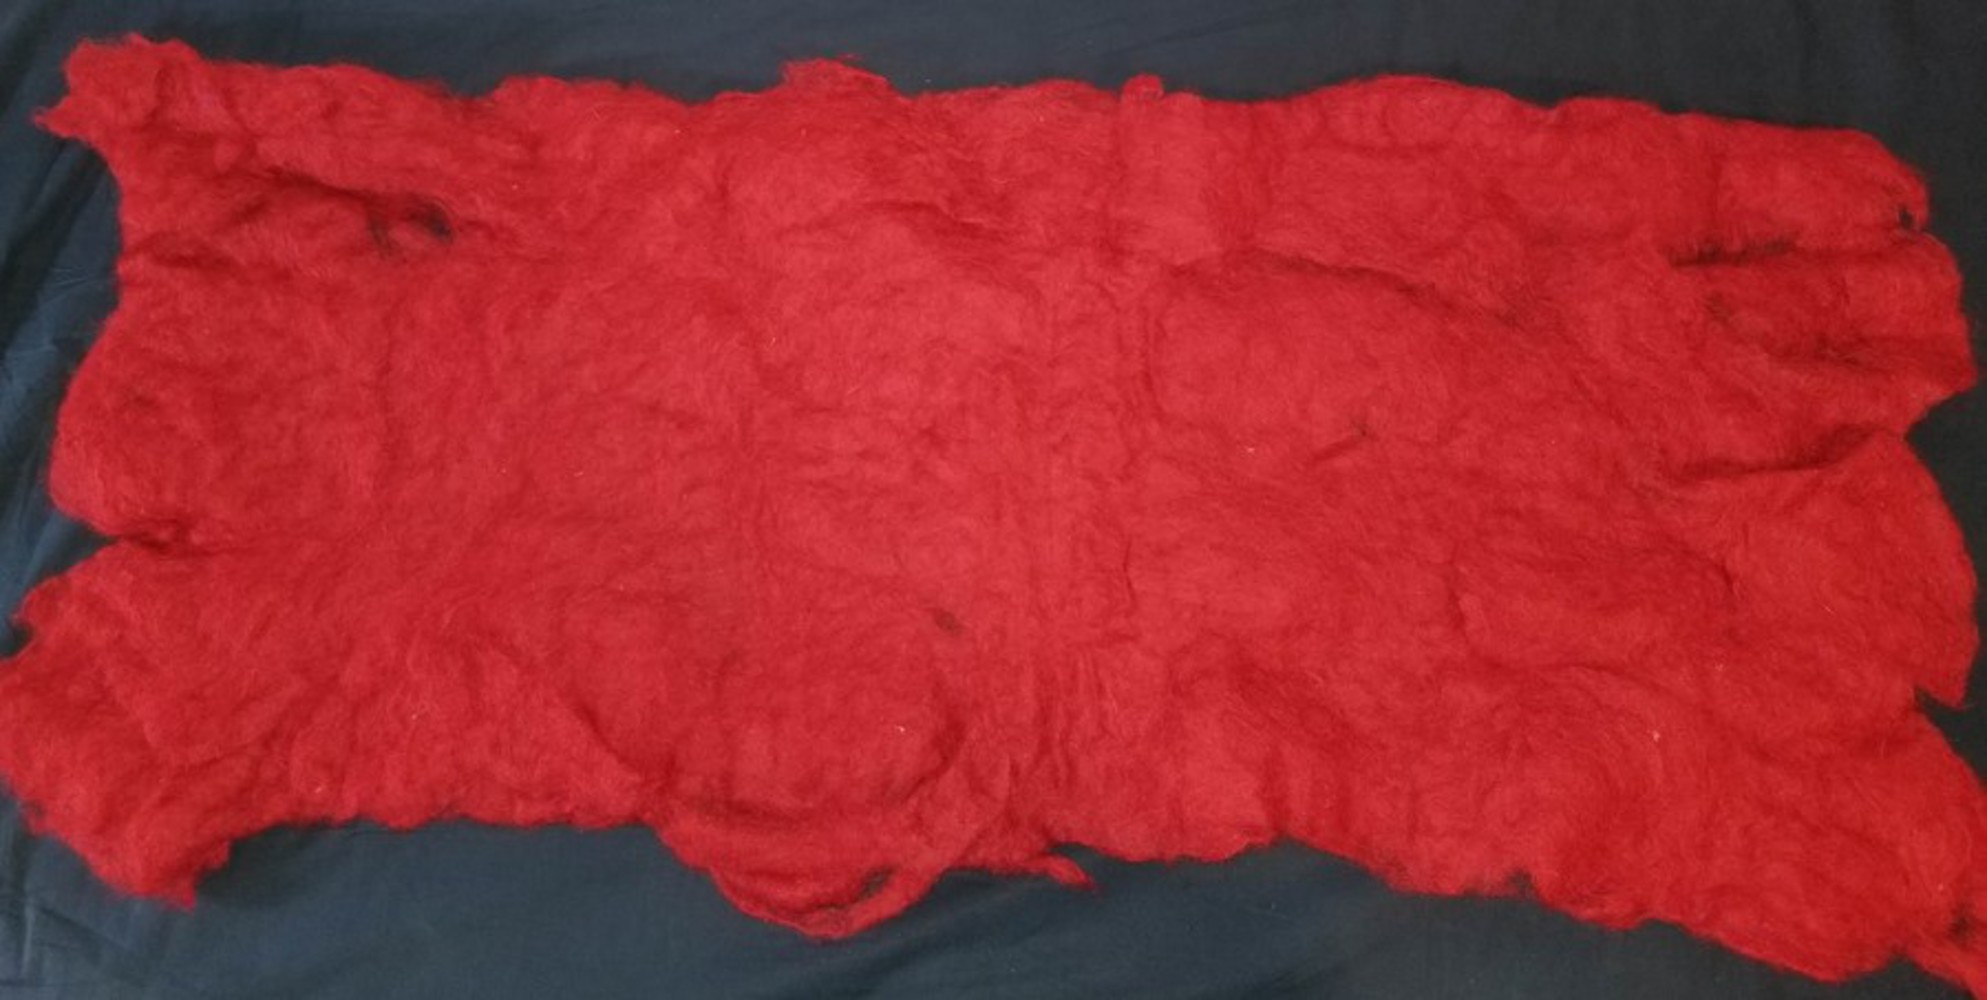
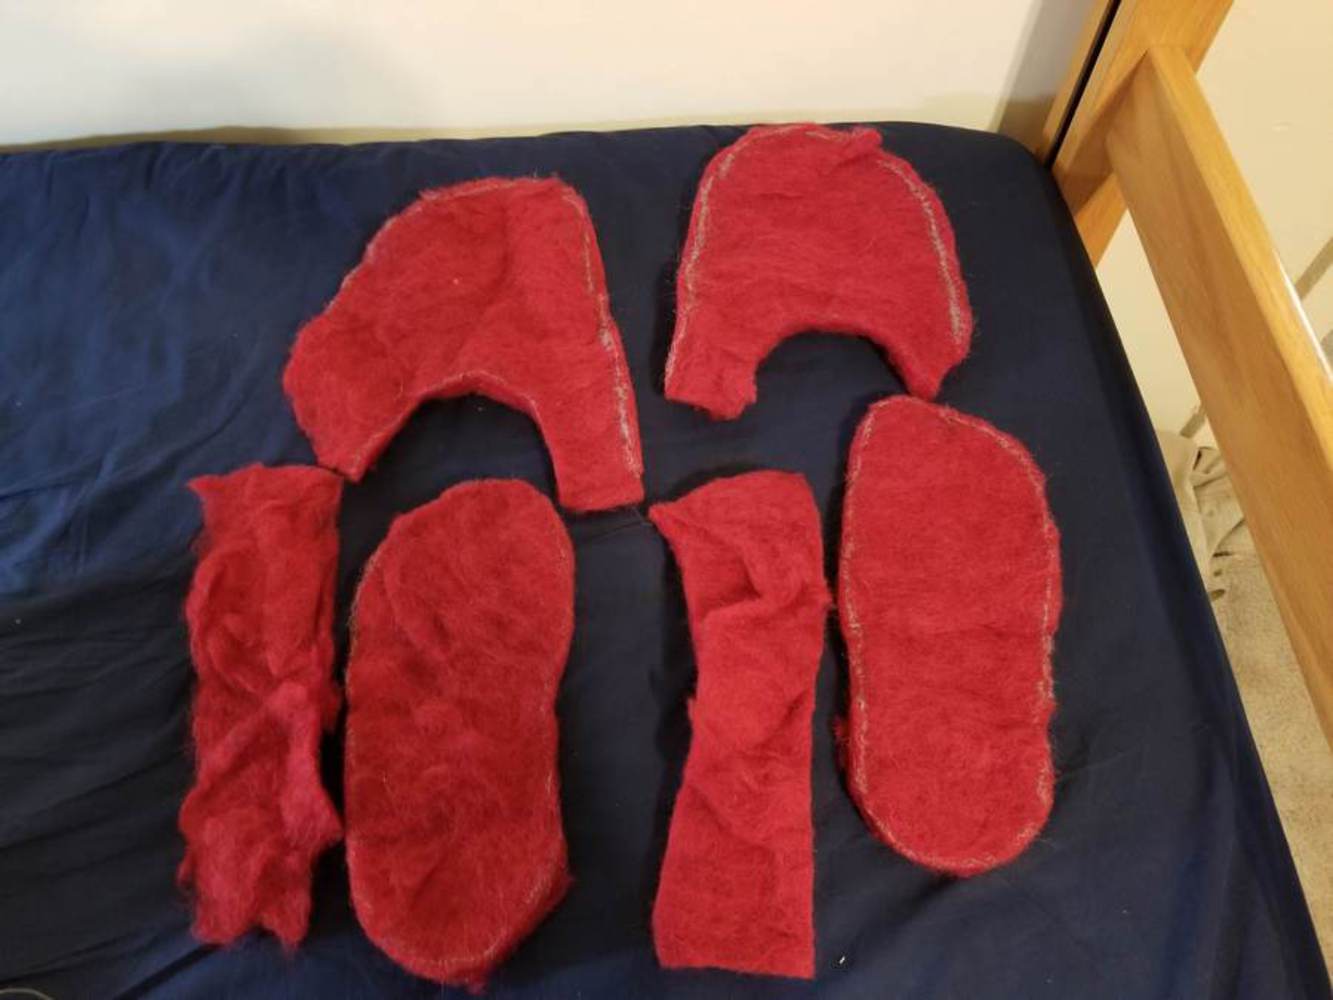
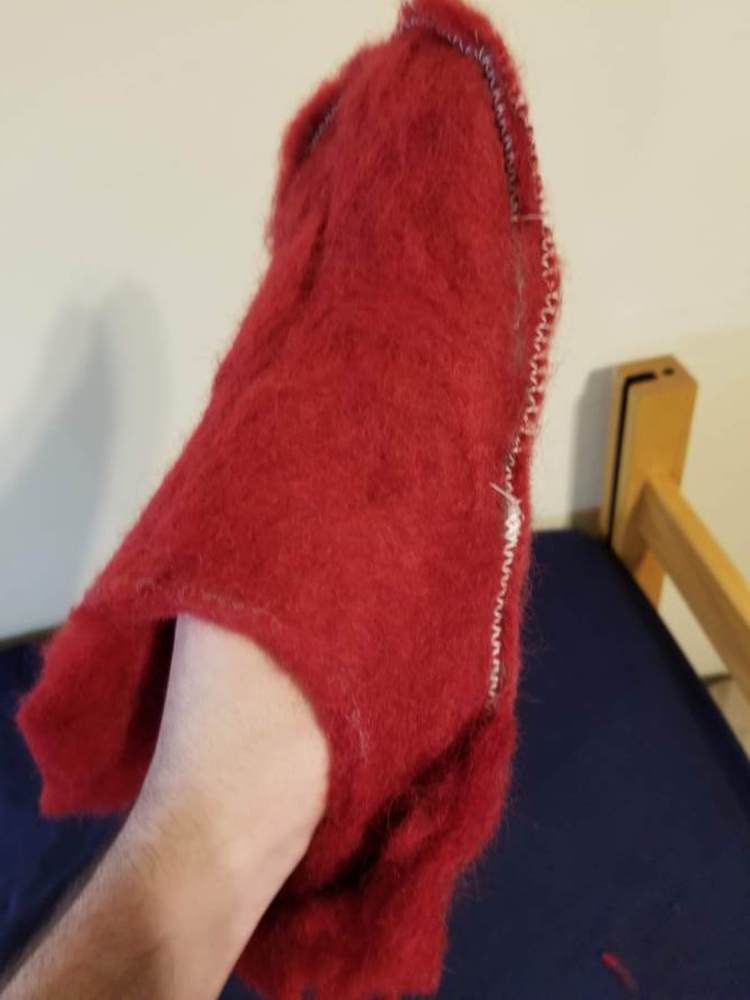
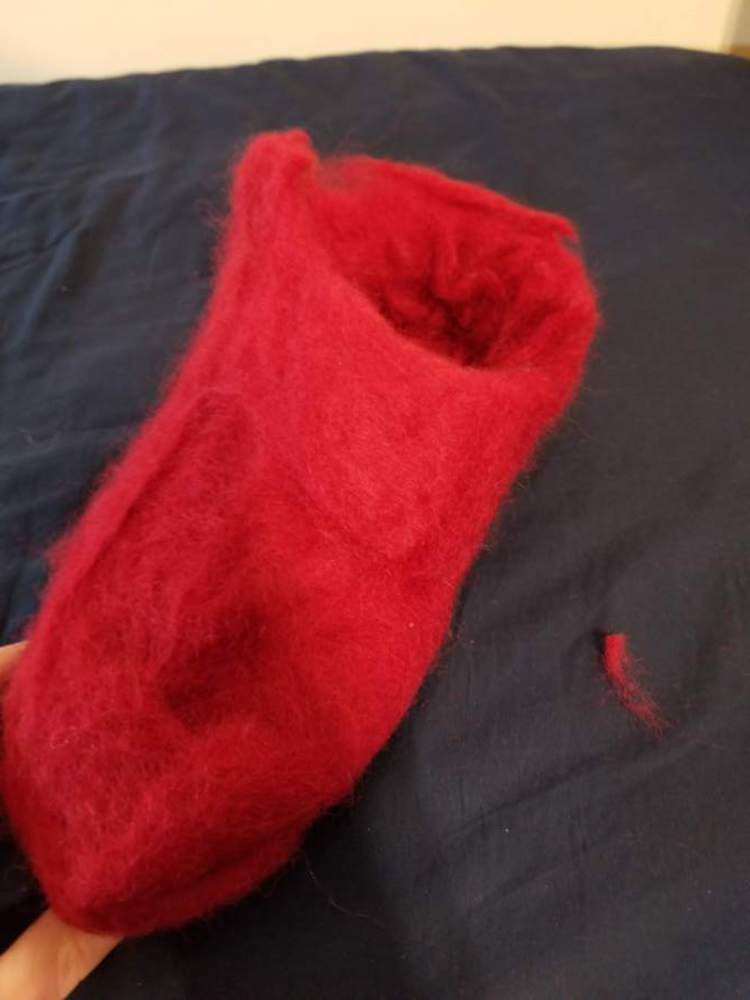
5th and 6th Images Pouch

7th Image Darted circle laser cut 

8th Image Darted circle freestyle

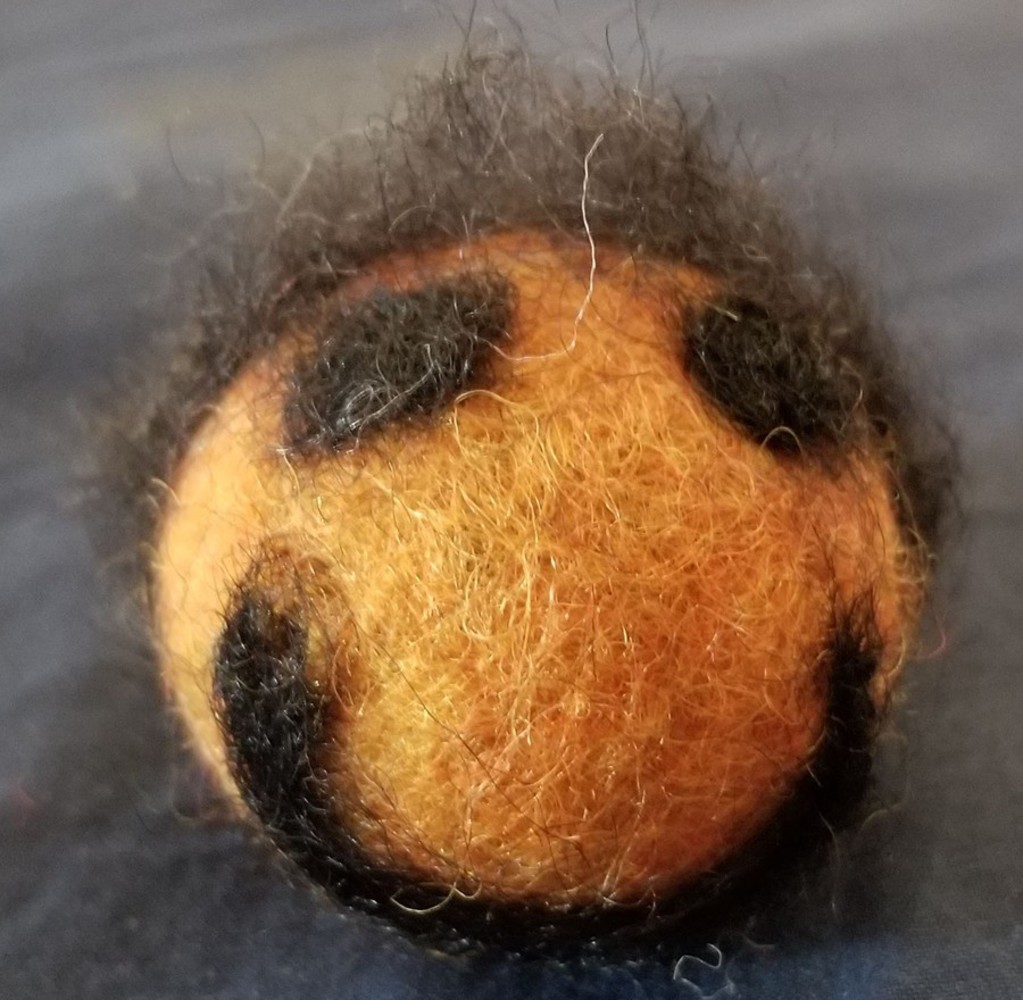
9th Image Wet Felted Ball, with a smiley face and hair added by dry felting

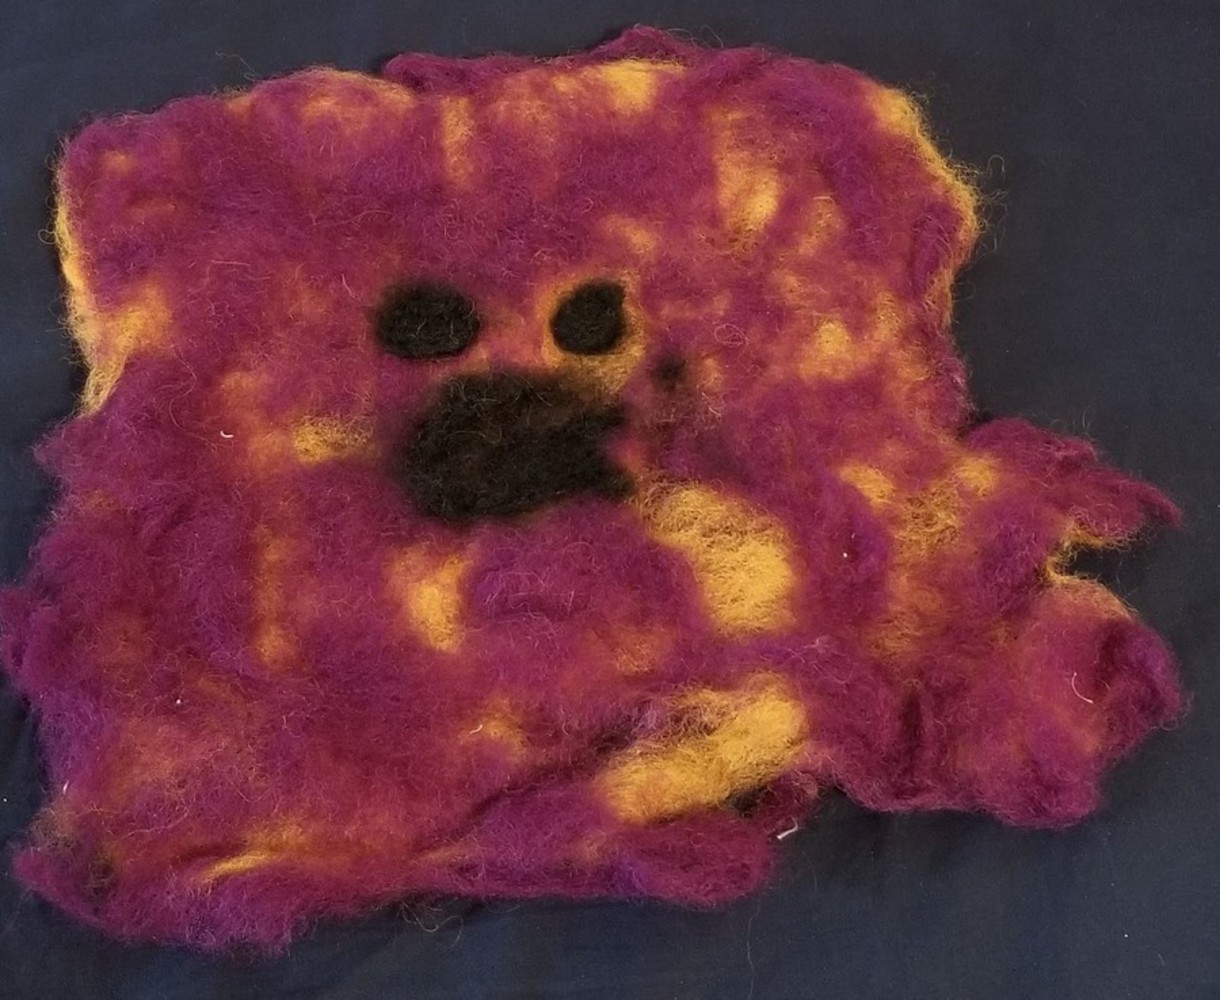
10th Image Wet felted sheet, with a face added by dry felting

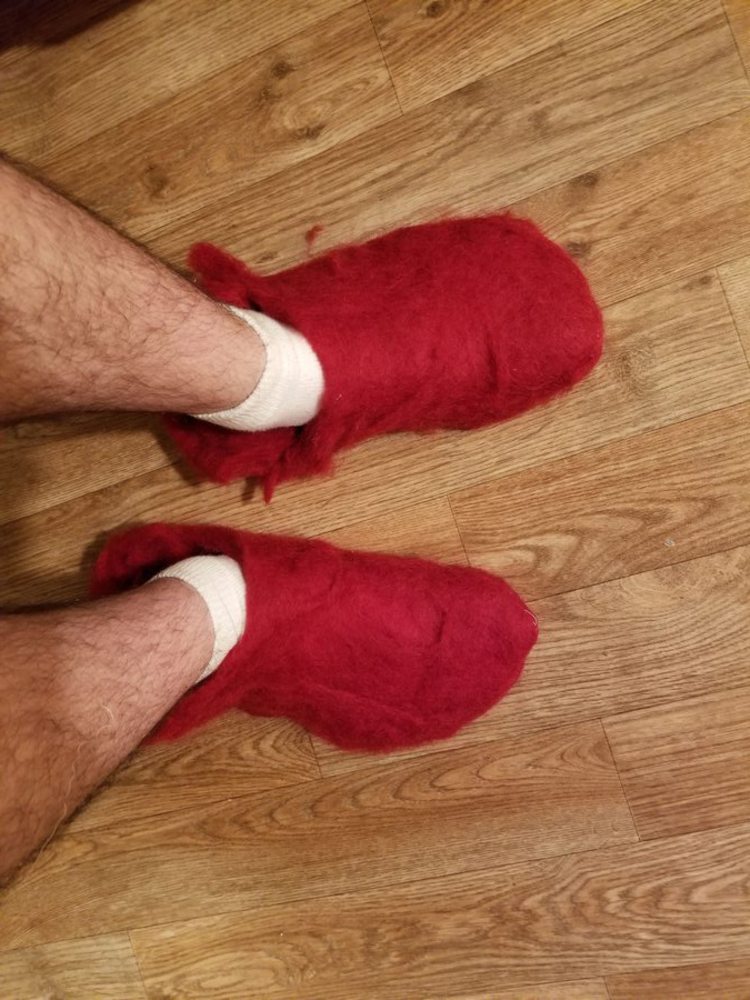
11th Image Wet felted 3D form

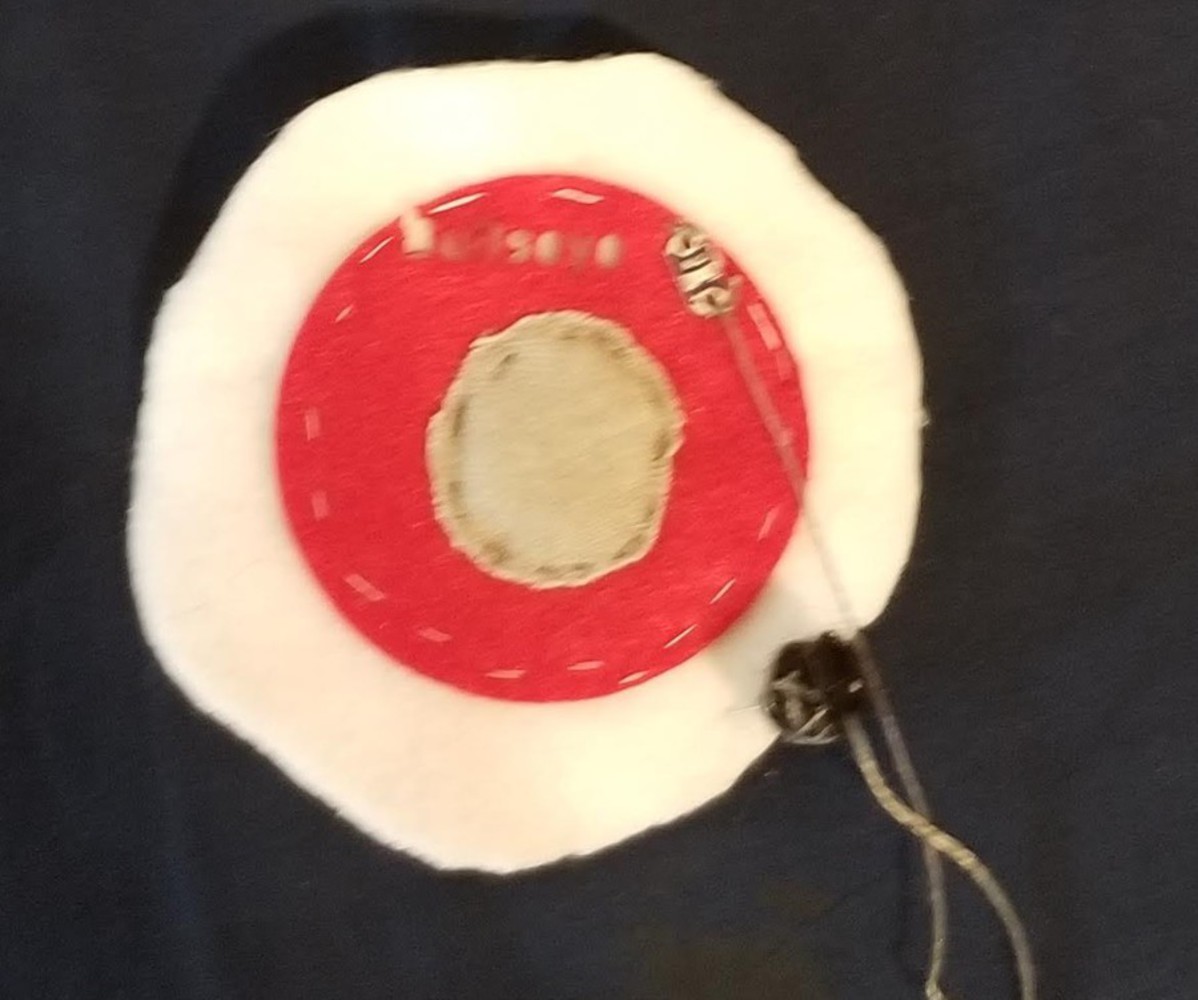
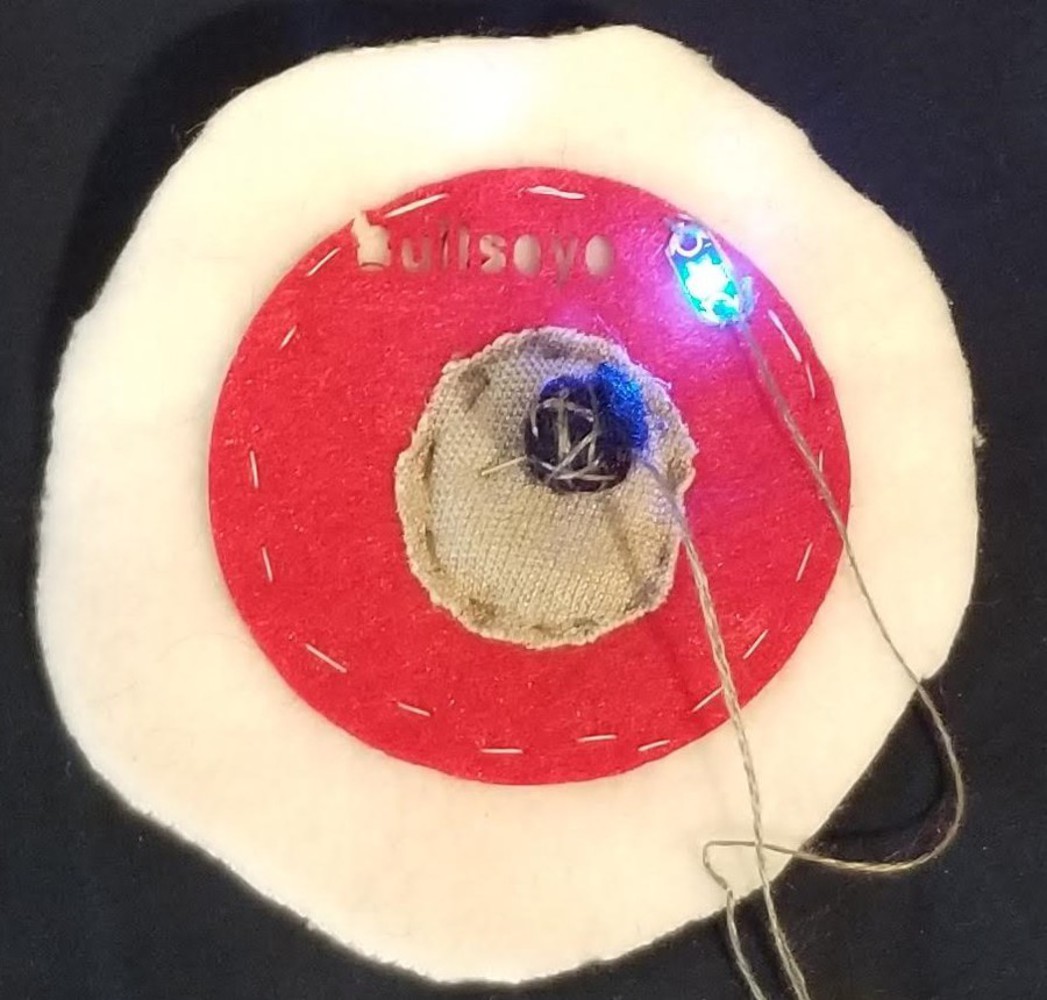
12th and 13th Images Soft circuit "dart board", made with a laser cut red felt piece. Displayed in both the on and off conditions

20191009 200953.thumb
Show Advanced Options
20191009 201033.thumb
Show Advanced Options
20191009 201059.thumb
Show Advanced Options
20191009 200548.thumb
Show Advanced Options
20191009 200706.thumb
Show Advanced Options
20191009 200727.thumb
Show Advanced Options
20191009 200138.thumb
Show Advanced Options
20191009 200222 %282%29.thumb
Show Advanced Options
20191009 200405.thumb
Show Advanced Options
20191009 200444.thumb
Show Advanced Options
20191009 200515.thumb
Show Advanced Options
20191009 200304.thumb
Show Advanced Options
20191009 200315.thumb
Show Advanced Options

Concept

During the presentation on felting, one example of a recent application was the felt boots that the Russian army uses to stay warm in the winter. I thought the concept of felt boots where nifty, so I decided to make a pair or my own. Originally I planned to felt the boot as one continuous piece, but given the difficulty of felting a 3D shape, especially when it comes to controlling size, I decided to felt a sheet and then sew the boots out of that.

See the image below for the original inspiration

Soviet russian army standard winter felt boots valenki.thumb
Show Advanced Options

Process

I started by procuring a large quantity of red wool from the fabrication lab, which I then carted and set out into a block 5 layers thick and as large as my bathtub could fit.

Then I sprinkled the wool with soapy water, which I worked into the sample to create a flat sheet. Using crinkled aluminum foil to provide texture and keep the material from felting to itself, I worked the wool for about 3 hours until it seemed largely cohesive, though in retrospect it probably could have used with more time as it wasn't very dense.

After I let the felt sheet dry completely, I started measuring out the pieces to make the boots. Sadly I underestimated how much fabric is needed to make boots, so I decided to make slippers instead. I cut out the pieces for the slippers, and then sewed them together on a sewing machine. I was concerned that the sewing machine wouldn't be able to handle the thick felt, but it preformed quite well.

Afterward I just turned the slippers inside out to hide the seems. Resulting in two functional, if not particularly elaborate, slippers.

20191009 195929.thumb
Show Advanced Options
20191009 205201.thumb
Show Advanced Options
20191009 211810.thumb
Show Advanced Options
20191009 211904.thumb
Show Advanced Options

Final Product

The slippers ended up being rather comfortable, but a bit thin on the bottom. I am considering dry felting another layer to the soles of the slipper, and then perhaps adding a rubber layer below that, which would allow me to wear them in a wider variety of circumstances. Overall I consider it a success, especially given that this is my first attempt to make clothing of any sort.

20191009 221205.thumb
Show Advanced Options
Drop files here or click to select

You can upload files of up to 20MB using this form.