Outcome
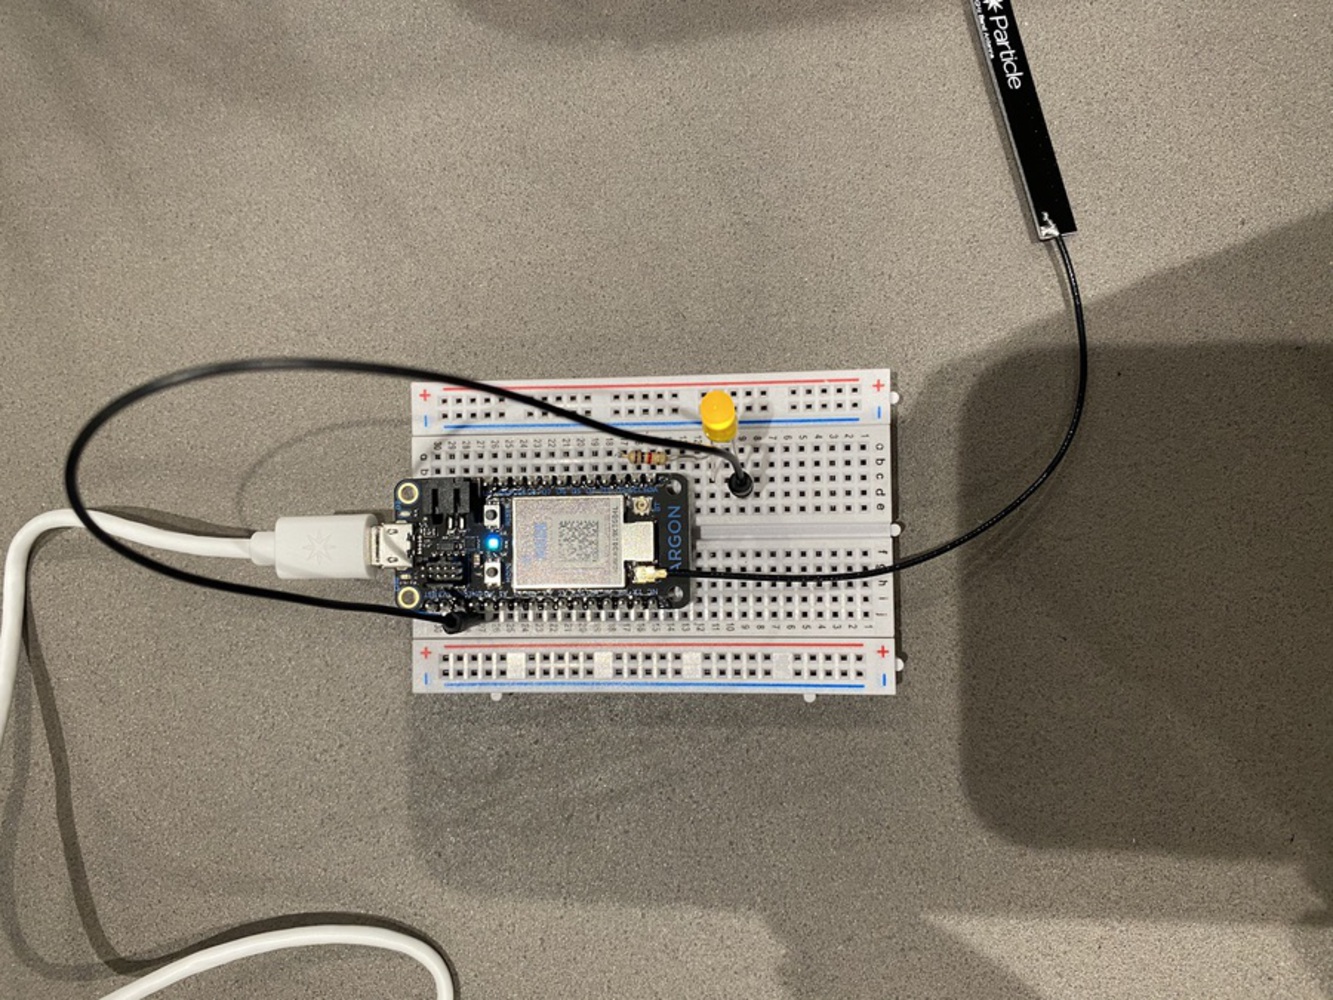
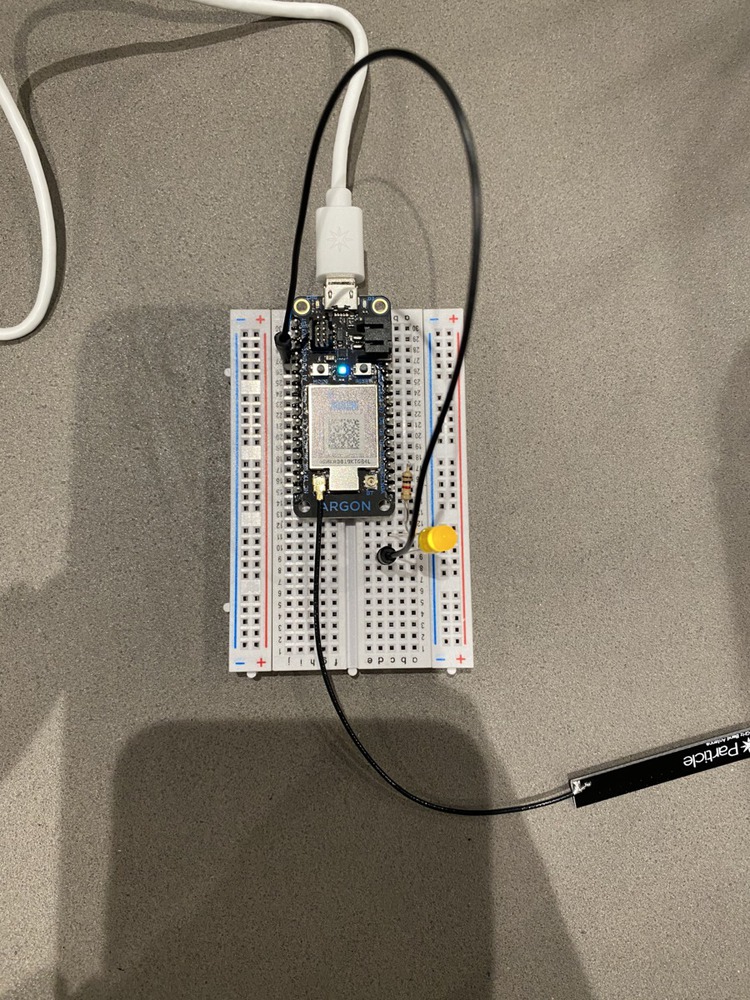
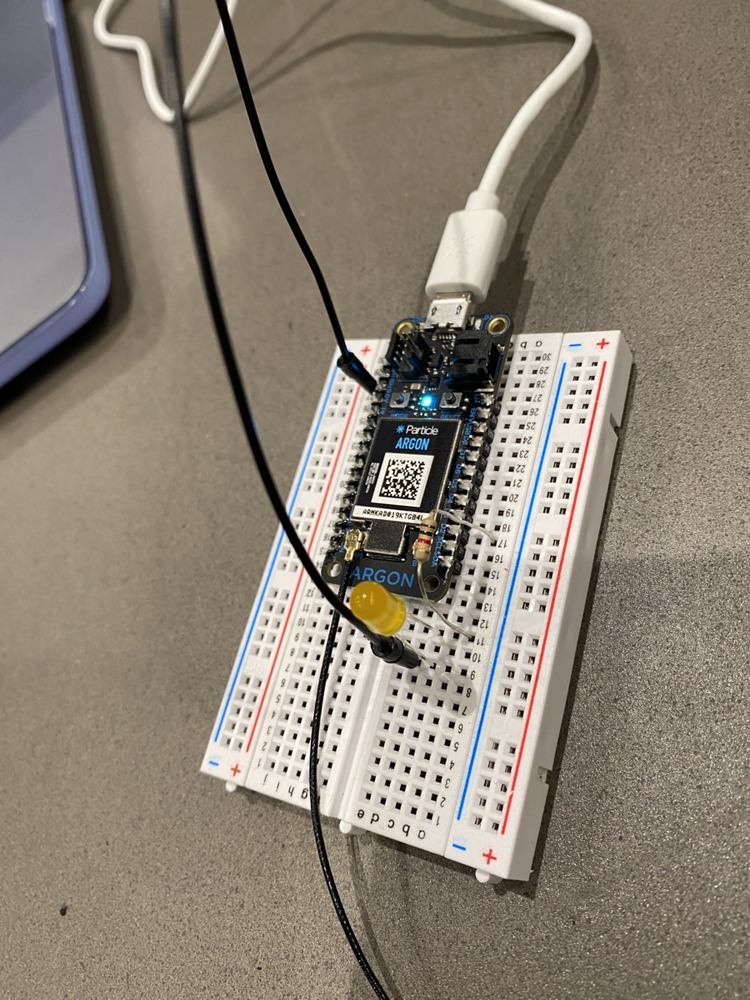
I used LEDs, resistors, and jumper wires to form connections on the breadboard and wrote code that made the LED blink. First, I made only one LED blink but later I added a second LED and made them alternate.
It took me a bit of experimenting with the board to understand where and how connections were made. Once I had it working, I changed the placement of the connections to see what would work and what wouldn't and I think this helped me understand the circuits better as I continued through the exercises.
I now have a much better understanding of the breadboard and the potential connections that can be made. I think I have more difficulty with that than I do with the code because although I had never used the Particle build platform previously, for the most part, the code makes sense to me so I feel like I am able to build off of the example code that is provided. My next steps are to continue getting more familiar and comfortable with the breadboard.
You can upload files of up to 20MB using this form.