Back to Parent

Outcome


Warming-up

To get comfortable using the various components in the kit, I started by using a pushbutton to control the power to the LED; then replaced it with the potentiometer to dial the power up and down - finally, I combined the two which you can see below in the video and the corresponding code block.

Show Advanced Options
Pb potentiometer.thumb
Show Advanced Options
Pb p2.thumb
Show Advanced Options

Giving the switch a try ...

I wanted to make sure I could set up the switch and planned to use this as a base to get the setup going for the photoresistor and then for the flex sensor.

Show Advanced Options
Switch.thumb
Show Advanced Options

Working with the photoresistor

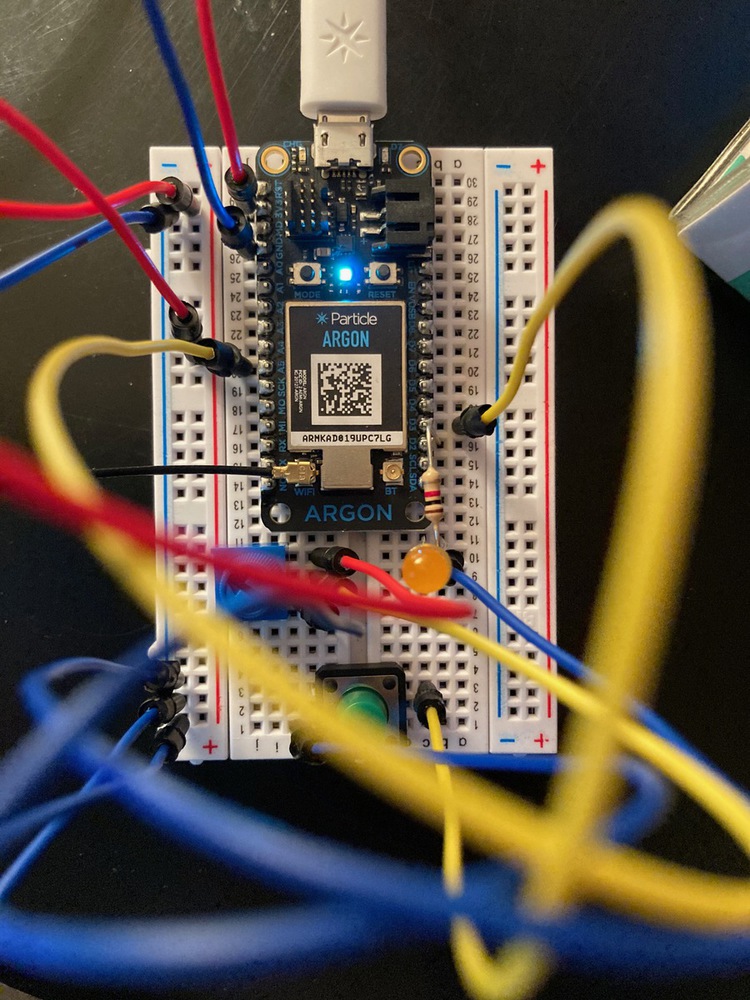
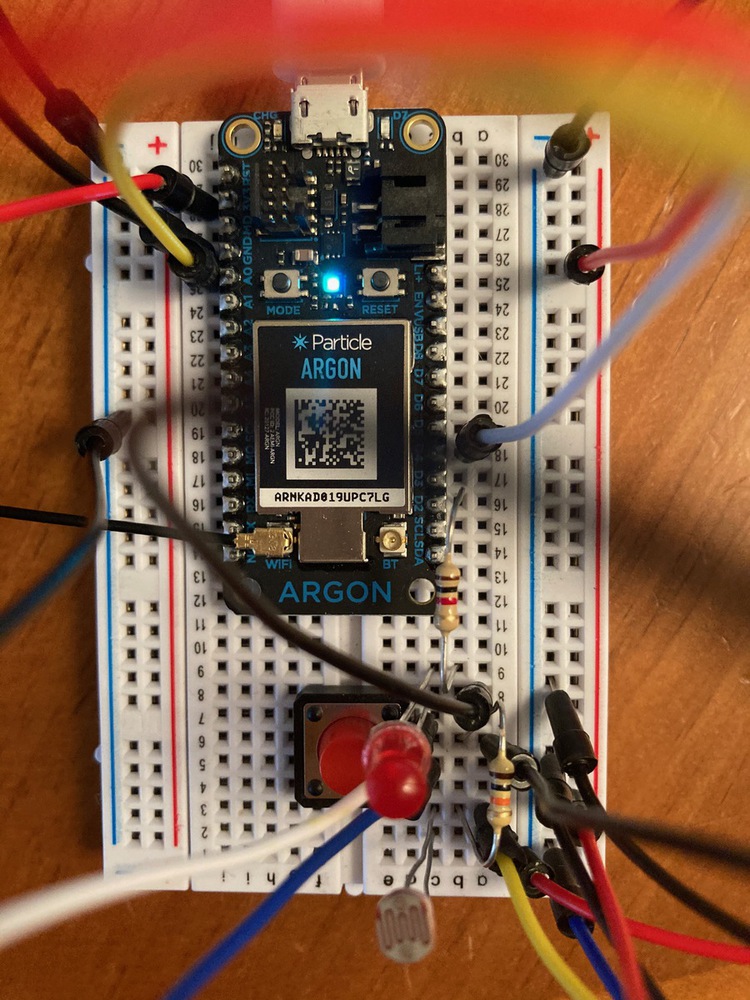
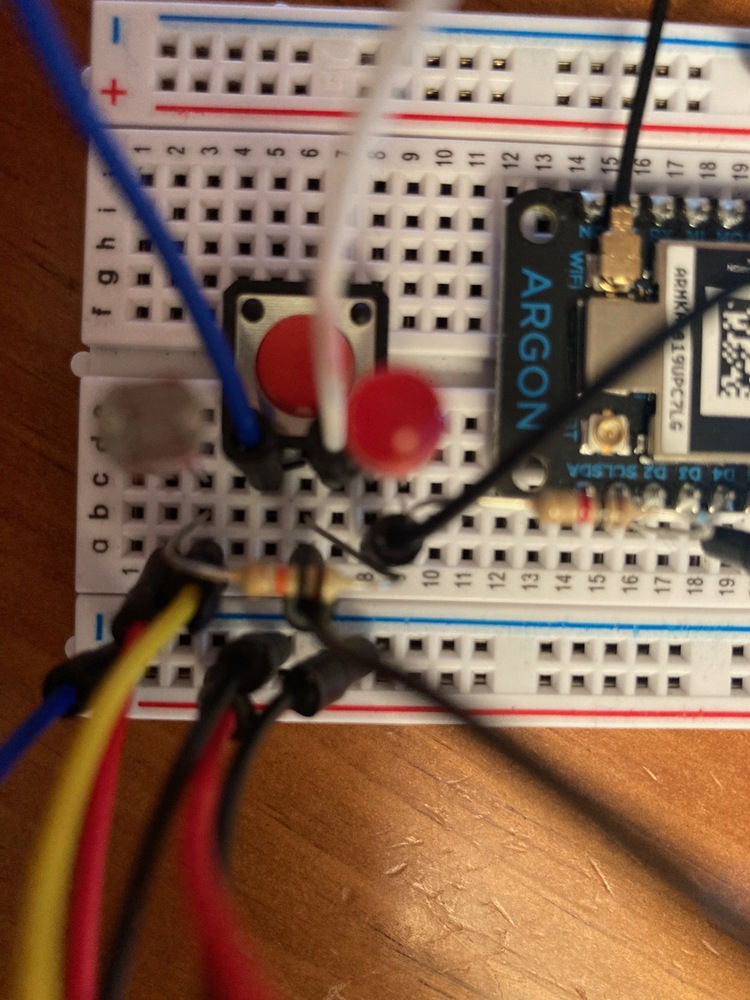
I wanted to get the basic photoresistor sensor to work, but had a hard time with this one. At first, I had not wired my LED correctly to ground and after fixing that, the LED lit up; however, when I covered the photoresistor with my finger, the LED did not dim. 

But it turns out it needs to be super dark in order for it to dim a lot since it is very sensitive to ambient light. I put a black glove over the photoresistor and it dimmed a good bit, took a reading and then removed the glove, allowing the LED to glow brightly and took a much higher reading. Video included below the code. 

Show Advanced Options

Combing the Photoresistor & Button (2 inputs) & LED (1 output)

For this, I wanted to set up a situation where, when a button was pressed, the photoresistor would take a light reading and convert that to LED brightness. When the button wasn't pressed, the photoresistor would not engage and have a 0 reading (LED if off). The setup required a bunch of wires so the picture on the setup isn't very easy to see (I should use fritzing to do this!). A video of the button and sensor in action is below. As noted above, the photosensor needs to be covered with something really dark (a finger isn't enough) to get a noticeable reduction in light reading.  

Show Advanced Options
Img 0758.thumb
Show Advanced Options
Img 0757.thumb
Show Advanced Options

Reflection

This process took me a long time ... I was much more comfortable with the buttons, switches and potentiometer but the sensors were tricky. I didn't know what to expect with the sensors and I only wound up working with the photosensor. I didn't have a force sensor in my kit and I couldn't get the flex sensor to work unfortunately. But it was a good learning exercise to connect the button (something I like) to the photo sensor and see if the code with the if statements actually worked. It finally did! 

Drop files here or click to select

You can upload files of up to 20MB using this form.