Back to Parent

Outcome


Outcome

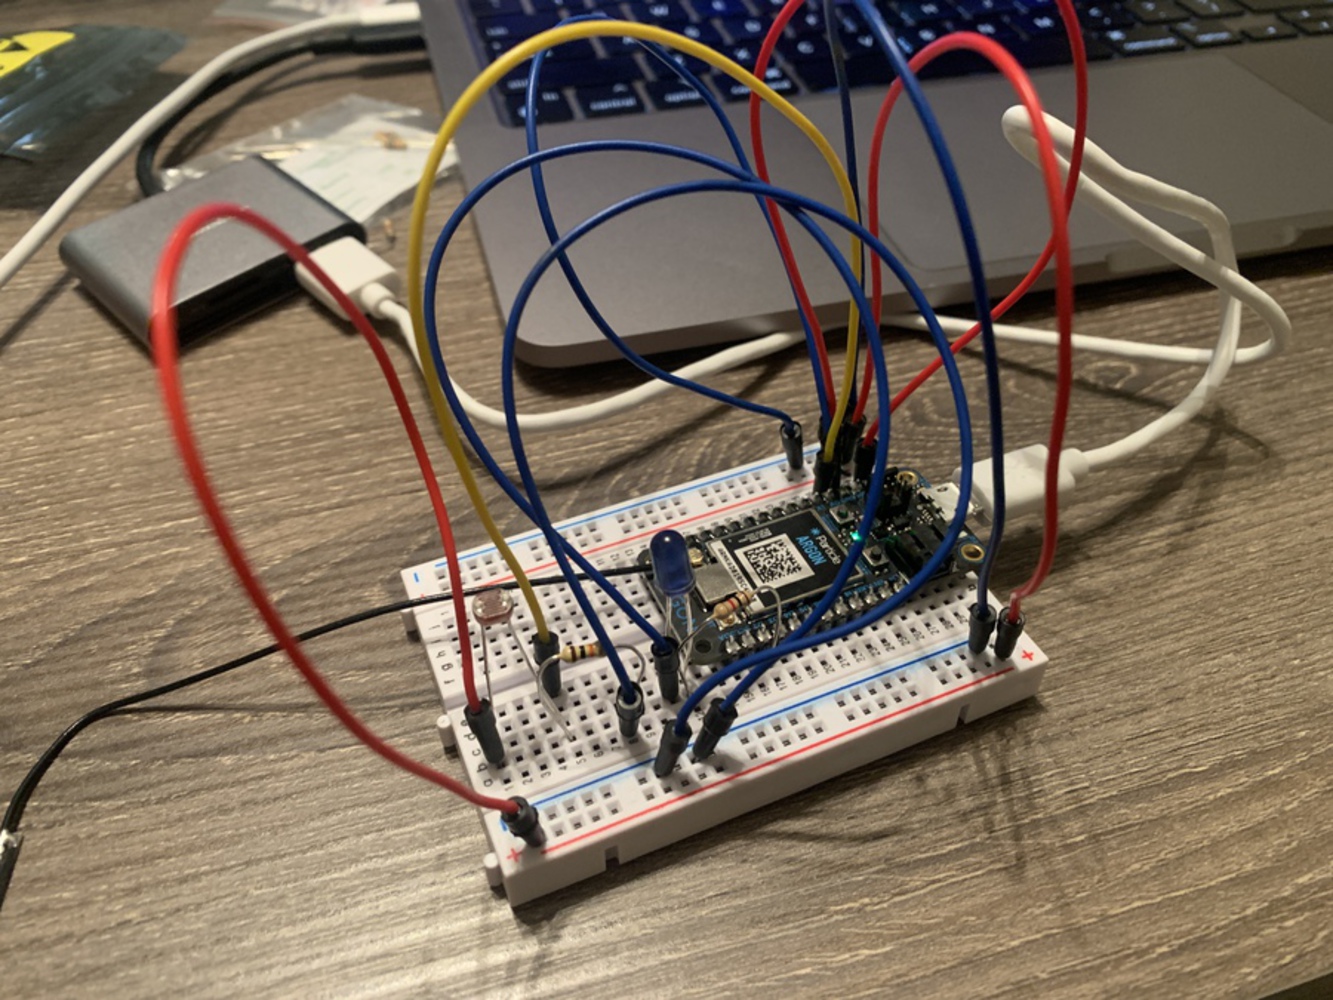
The final outcome is a connected circuit with one LED light, a photoresistor, and input from one tactile switch button. When the switch is on, the LED light will change the level of lumination based on the light level reading from the photoresistor. The more light detected by the photoresistor, the more lighted up the LED will be. Once the switch is turned off, the LED will not be illuminated.

Show Advanced Options

Process

I first started to work through the exercises with the photoresistor to get familiarized with different functions.

1 Connecting the LED and the photoresistor

Img 0027.jpg.thumb
Show Advanced Options

Additional exercise #1

Modify the program so that the LED shows the opposite. When there is little light, it will be bright and when there’s lots of light, it will be off.

Show Advanced Options

Additional exercise #2

Instead of fading the light, why not turn it on or off when the light reaches certain levels. In this case, my threshold was 2000.

Show Advanced Options

Adding additional input -- the switch button

After completing the additional exercises, I took some time to familiarize myself with some of the inputs and sensors in the kit. I eventually picked the switch button and used it as an on/off button for the light. Below was the code for turning the light on and off using the switch button.

Show Advanced Options
Drop files here or click to select

You can upload files of up to 20MB using this form.