Outcome
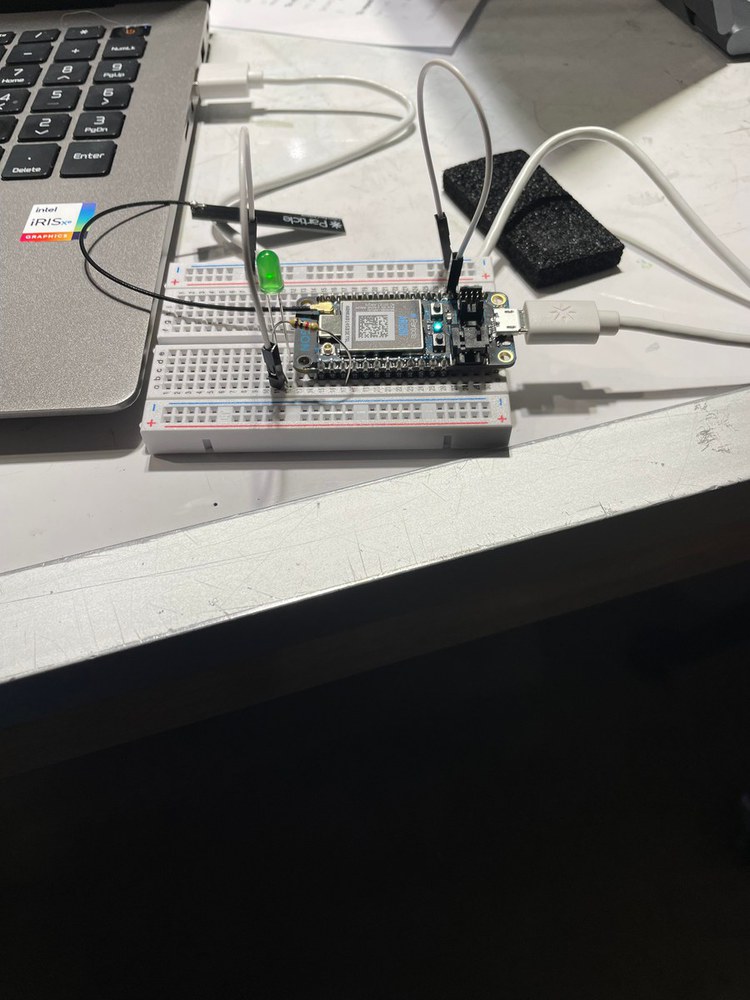
I created a circuit controlled by the Argon device. The code can be easily edited to pause or light the LED for different periods of time.
Process
The first challenge was setting up my Argon. After I successfully connected the Argon to CMU's network, I set about writing code in Particle for the first time. The first time I wrote my code, I missed some of the syntax, most notably semi-colons. However, I was able to find these errors when compiling it. Next, I wired the breadboard. The first time I wired it, I did not put my resistor in the correct spot next to the Argon, but I found my error with the help of our TA. My LED light, and I successfully created my first circuit. I then was able to change the timing of the pauses and when the LED was lit. I tried many iterations as recommended in the lab documentation. The code provided was from my last experiment with timing.
Reflection
This project refreshed my memory of many basic computing and electricity concepts. It also introduced me to Particle coding language. I was concerned it would be difficult for me to use, but it functions very similarly to Java and C++, which I have some experience in. It also reminded me of high school physics classes where I needed to use resisters and LEDs to make circuits. I feel like I understand the basics of Particle and the Argon after this lab.
You can upload files of up to 20MB using this form.