Back to Parent

Outcome


Project summary:

This project aims to create an environment where you can sense the interaction among different lights. When people are outside the space, the lights whisper to each other, and when people are inside the space, the lights remain silent. They are curious about your presence and will capture your attention. Come and discover the fascinating world of the lights that surround you!

Intent:

The intent of this project is to invite the viewer to ask the question: "What if devices were alive and could talk to one another? How would they talk? Would they want to talk to us? Or would they talk behind our backs?" We boldly assume that technology is human-centered and we fixate on what technology can do for us, in front of us. Instead, we wanted to invert this paradigm, giving these objects agency of their own and making it our goal to make the viewers curious about what was happening when they weren't there. We wanted to challenge the notion that the only way objects communicate is through Bluetooth or other forms of packaged data. When each given their own personality, we also wanted to see how a system of objects would operate.

Context

One of the major conceptual inspirations we had for our project was the precedent "Ghosts in the Smart Home" by Lindley, Bardinar and Coulton. We really liked the idea of the devices in the home as a 'cast of characters' that are able to talk to one another, from relationship dynamics and act on their own individual agency. However, achieving actual speech is incredibly complicated and not something we were confident we could achieve within the scope of this project. Here, we looked at the project "Morse Things" that featured a set of IoT devices that communicated via Morse code. Morse code operates off 2 states - on & off- which was perfect because it was the simplest and most abstract way 'communication' could still be understood. While discussing potential household objects to use, the entrance lights from the movie Parasite came up, where they lit up as someone came up the stairs. We really liked how light could be used as a visual indicator of someone or something's presence, without revealing who or what that was, which was very 'spooky'. Combining these influences, we formed our cast of lights. 

Prototype/Outcome:

For our demo, we created a system of 3 lights, only 1 of which would be on when the user was in the room, but would all turn on and 'talk' to each other when the user was gone. They would also have behaviors when 'startled'. We decided we would need at least 3 different lights to establish the idea of a 'system' and provide enough variation between the flashes of light that it would still be visually interesting.

The first light - IKEA table lamp ('curious') - was connected to both a relay and the IR sensor and multiplexer setup from Clover's project 2. (This is composed of 15 IR sensors, but for this project we only connected 8 of them). These were connected to ground, 3V3, assigned input pin and assigned result analog pin accordingly. The sensor and protoboard sat on top of the bulb within the hole of the lampshade. Given the average of the sensor readings were above or below a certain threshold (number is tweaked depending on baseline brightness of the room), the Arduino would recognise the sensor as being 'covered' or 'uncovered' and behave accordingly - i.e. ON when 'uncovered' and the user is in the room, OFF when 'covered' and the user is in the room, ON and OFF depending on the position within a 'phrase' when the user is outside of the room, and On and OFF frantically when the UWB was being shaken.

The second light - the LED strip ('angry') - would be connected to a digital pin and ground pin. If the user was outside, the LED pixels would light up individually, according to the designated Morse Code pattern. If the user was shaking the UWB, they would flash red in intervals of 100 milliseconds. Otherwise they would be off, unless the first lamp was 'startled' when all the pixels would flash white.

The third light - the Mushroom fairy lights ('sleepy') - were attached to a digital pin and a ground line. They would glow slowly when the user was not in the room, flash every 100 milliseconds when the first lamp was 'startled' and otherwise be off.

We were able to consolidate the operations of all 3 lights onto 1 Arduino, with each of the lights connected via long wires/ cables to the Arduino and their respective power source. We created a 'nook' using the wheeled rack and a styrofoam board as an overhang so it felt like the lights were 'facing' each other. As the first lamp (i.e. IKEA) was so round and discrete, we placed it in the center of the table underneath the foam board. On the power cord hanging from the ceiling, we attached the LED strip and using twist ties, we attached the mushroom fairy lights to the foam board.

Img 1336.thumb
Show Advanced Options
Img 1334.thumb
Show Advanced Options

  Video of Device in Operation:  

Show Advanced Options

Process:

During the brainstorming phase, we established that the lights would possess two distinct modes, one for when people were present and the other for when they were not. In the absence of people, the lights would flash in a particular sequence, whereas they would remain dormant when people were present. We assigned three unique characteristics to each light: curiosity, sleepiness, and anger. Using these attributes as a foundation, we conceptualized different scenarios for the lights' interactions, such as the sleepy light requiring physical contact to awaken, and the angry light flashing intensely when touched.

To identify the presence of people in the space, we conducted tests with UWB sensors. With Zhenfang's assistance, Chang set up the sensors to detect motion inside the room. One of us carried the sensor and moved throughout the space while another monitored the xyz parameters with an Arduino. We experimented with various thresholds of xy parameters to detect people's presence and identified the optimal xy parameters for the project.

The flashing patterns of the lights were crucial to the project's success. Initially, we attempted various flashing patterns, but none conveyed a sense of dialogue. Clover suggested using Morse code, which turned out to be an excellent idea. By translating the rhythm of Morse code into the lighting patterns and introducing a specific delay between each light, we achieved a sequential pattern of lights shining one after the other, simulating whispering. Each light required a distinct control mechanism, such as a relay for the IKEA desk lamp and mushroom fairy lights, and coding for the LED strip.

Integrating the lights and enabling them to trigger each other proved to be the most challenging aspect of the project. We spent considerable time reconnecting each light to the Arduino, testing different wires and locations. We wrote code to regulate the order of light flashing. The IKEA desk lamp would remain on when people were present and turn off when the proximity sensor detected a certain distance. The mushroom fairy lights and LED strip would then flash in sequence, and this interaction would automatically halt after five seconds. Shaking the sensor would awaken the lights, and the UWB sensor would detect the movement, triggering all the lights to flash simultaneously.

Img 1350.thumb
Show Advanced Options
Img 4590.thumb
Show Advanced Options
Img 4598.thumb
Show Advanced Options

Open Questions and Next Steps:

Setup and Interaction:

1. The identity of each light is not clear enough. We need to introduce the guest to test the main lamp and invite them to interact in a way that is intuitive and straightforward

2. How do lights talk to each other? In Animation, there are conventions to show people talking to each other. Is there any way we can adapt these insights to make the lights resemble people conversing?

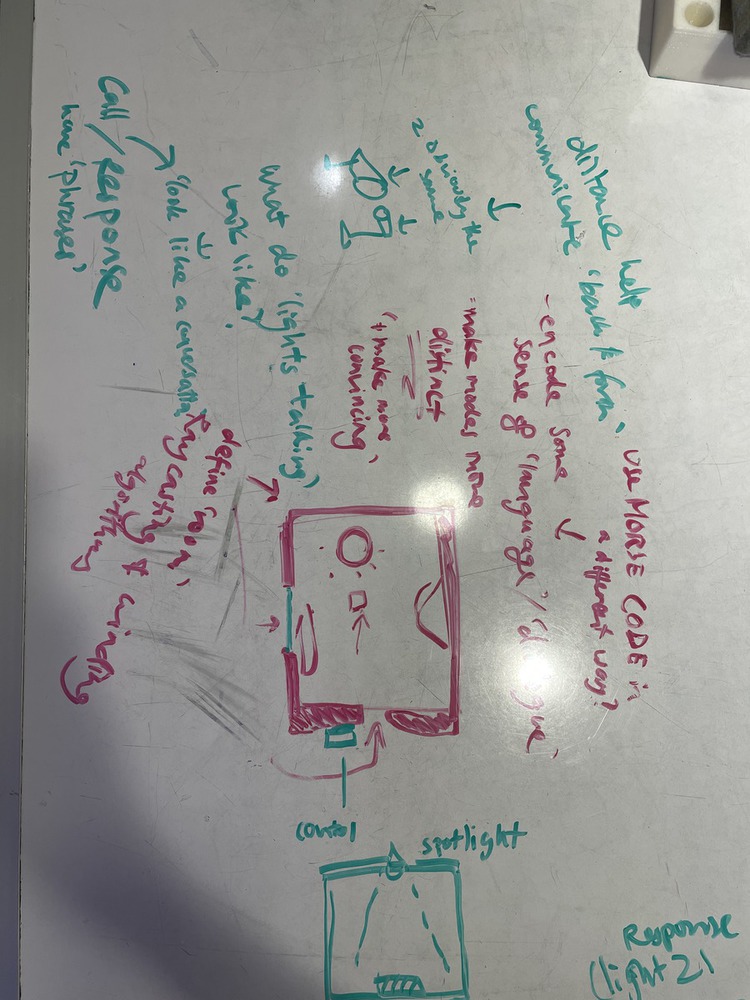
3. Find the best way to control the light. We need to further explore using Morse code as the language of the lights and format it in such a way that the Morse code is legible. One way we plan to do this is to format it as 'phrases' to convey communication

4. Consider using off-the-shelf relays for power control. We need to purchase one more lamp and switch it using a relay.

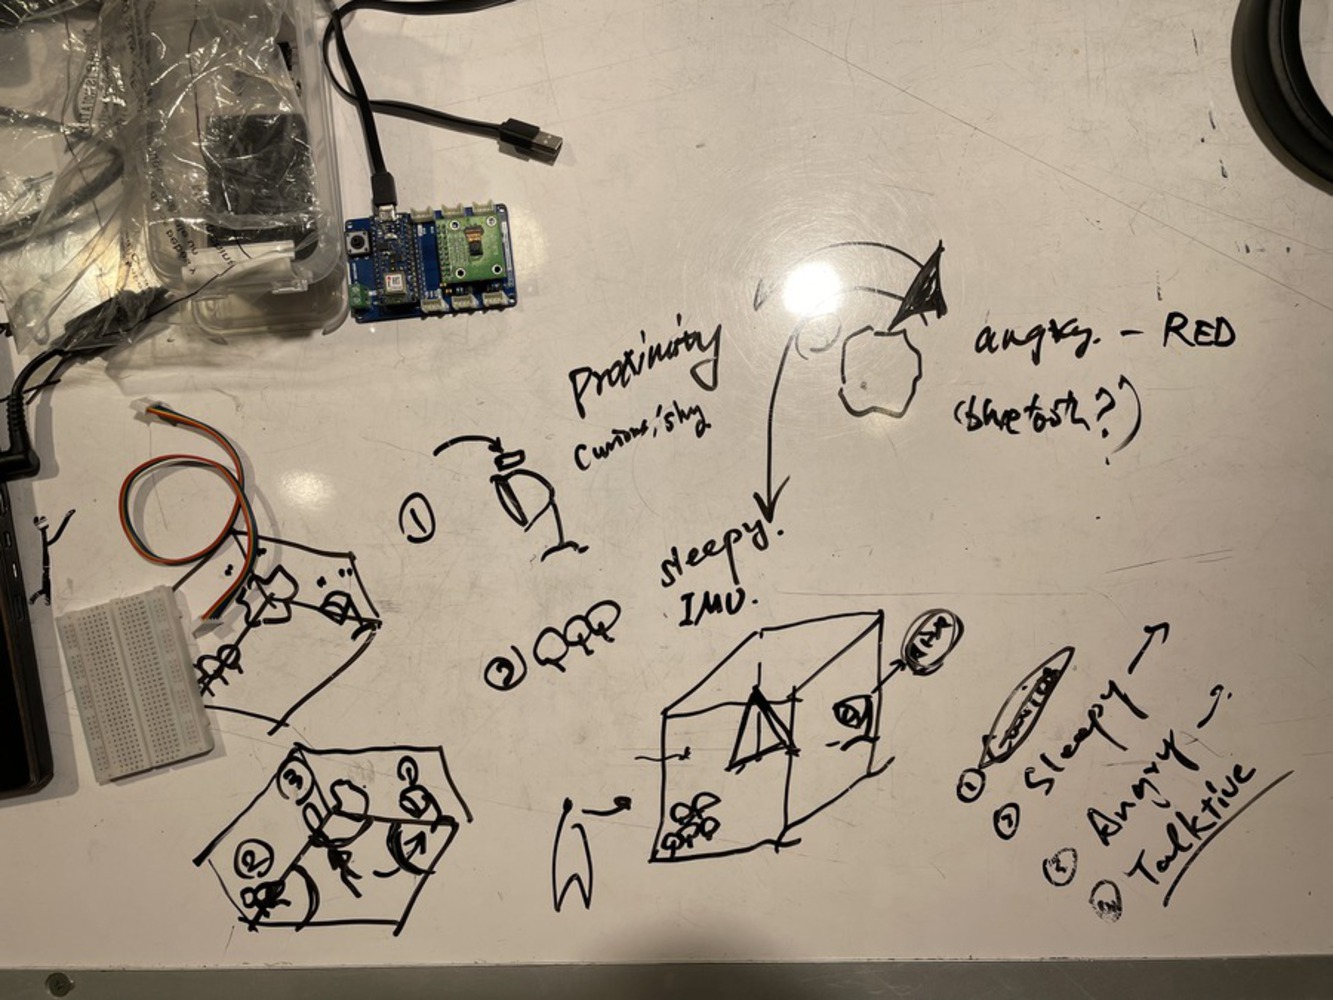
5. Experiment with motion sensors and explore alternatives to the UWB sensor.


Media Pipe and Relay:

1. Test for people's presence and movement using Media Pipe

2. Use mechanical relays with sound effects and changing electricity


UWB Sensor and Room Setup:

1. Understand the UWB sensor and its interaction method and include at least two UWB sensors

2. Create fake rooms and walls in a way that lets people know about the UWB presence - potentially Make the lights point towards the UWB sensor

3. Regulate traffic: one person to five lights.

4. Consider the positioning of the main lamp in the room, reference points, and creating distance 

5. Account for window placement in the setup - how can we show the user what is happening in the room when they aren't there?


Presentation and User Experience:

1. Emphasize the importance of space and dimension in the presentation

2. Users should be the only ones in the room (without us present)

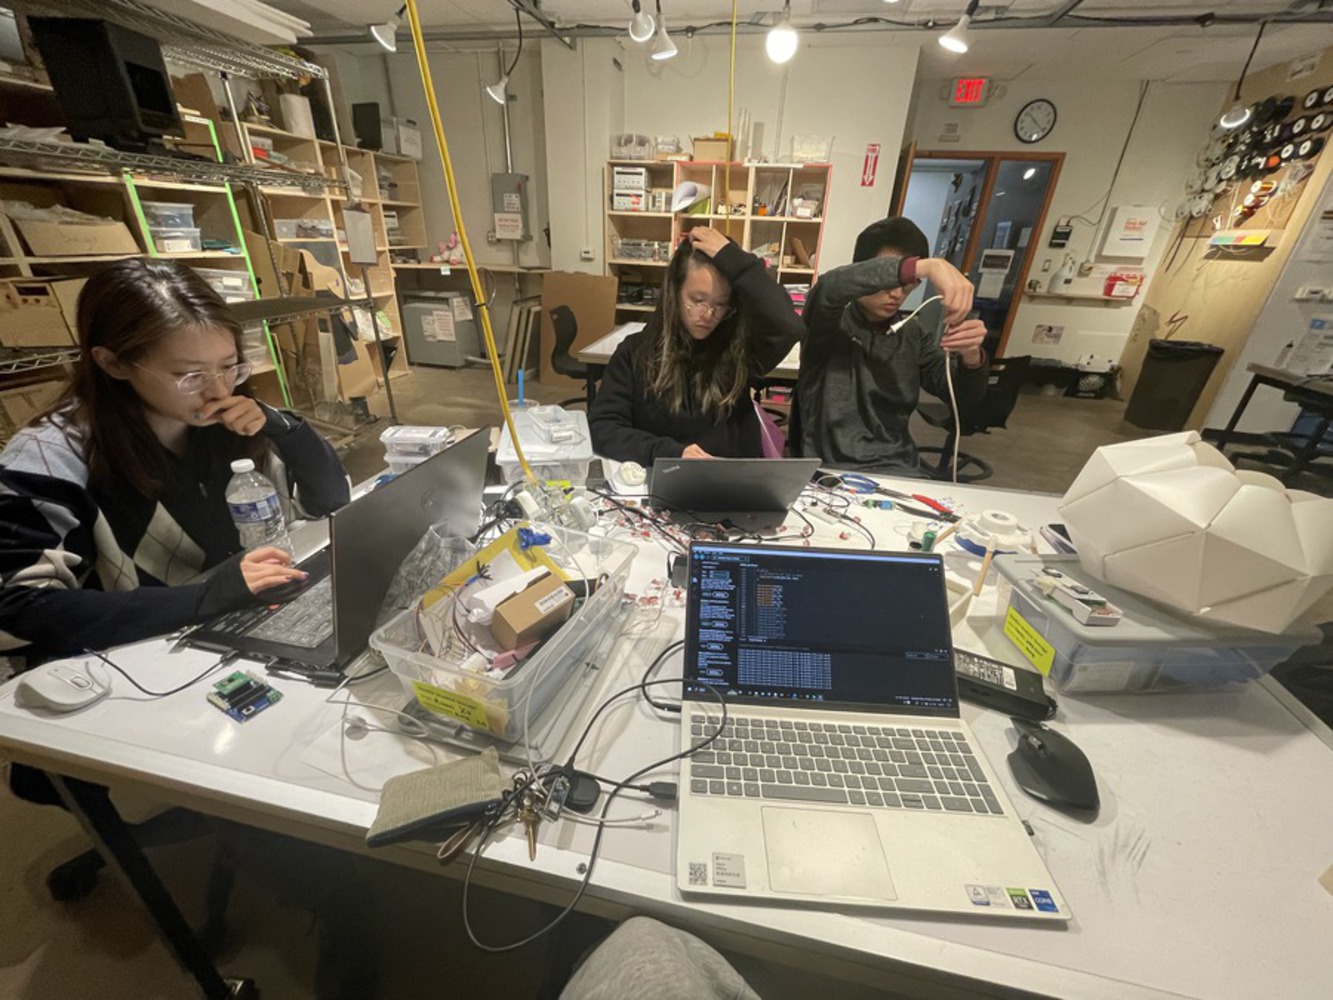
3. Hide distracting wires to keep the focus on the lights and keep the Arduino in a safe and stable position.

4. Design storytelling elements, context, patterns, and light behaviors

5. Test on someone unfamiliar to the project

Reflection

Starting with the idea, if we aim to establish communication with the room, we need to determine the language the room itself will use. As we gradually evolve towards incorporating whisper lighting to add more spookiness, our objective is to explore a potential scenario where the intelligent devices within the space create an atmosphere that combines intrigue and mystery. When presenting the project, it is crucial to carefully consider how we want to showcase it and address the challenge of hiding wires. While our idea and interaction are well-designed, it is essential to provide participants with clear hints or prompts to encourage their active engagement with the project, as we initially planned.

Drop files here or click to select

You can upload files of up to 20MB using this form.