Back to Parent

Outcome


Process:

Exercise 3: Add a second LED to the circuit. Program the LED’s to alternate blinks i.e. when LED 1 turns on, LED 2 turns off, then when LED 2 turns on, LED 1 turns off.

I jumped to Exercise 3 because I had difficulty with the logic of exercise 2. 

Code for alternating lights:
int ledPin = D2; //point where LED is connected
int bluePin = D3;
void setup() {
pinMode(ledPin, OUTPUT);
pinMode(bluePin, OUTPUT);
}
void loop() {
digitalWrite(ledPin, HIGH); //Turns the led pin on. This is a binary control, only takes HIGH or LOW
digitalWrite(bluePin, LOW);
delay (1000); //Waits 1000ms (1 second)
digitalWrite(ledPin, LOW); //Turns off the led pin
digitalWrite (bluePin, HIGH);
delay (1000); //Waits 1000ms (1 second) before starting next step
}
Show Advanced Options

Once I completed Exercise 3 however, I realized that another integer was needed to achieve the loop.

Updated loop for 5 blinks and then 3 second pause (using both lights)
void loop() {
for (int blinks = 0; blinks < 5; blinks++) {
digitalWrite(ledPin, HIGH); // Turns the led pin on
digitalWrite(bluePin, LOW);
delay(500); // Waits 500ms (0.5 second)
digitalWrite(ledPin, LOW); // Turns off the led pin
digitalWrite(bluePin, HIGH);
delay(500); // Waits 500ms (0.5 second) before starting the next step
}
digitalWrite(bluePin, LOW); //Turns off blue led pin
delay(3000); // Pauses for 3 seconds
}

Reflection:

Learning Outcomes:

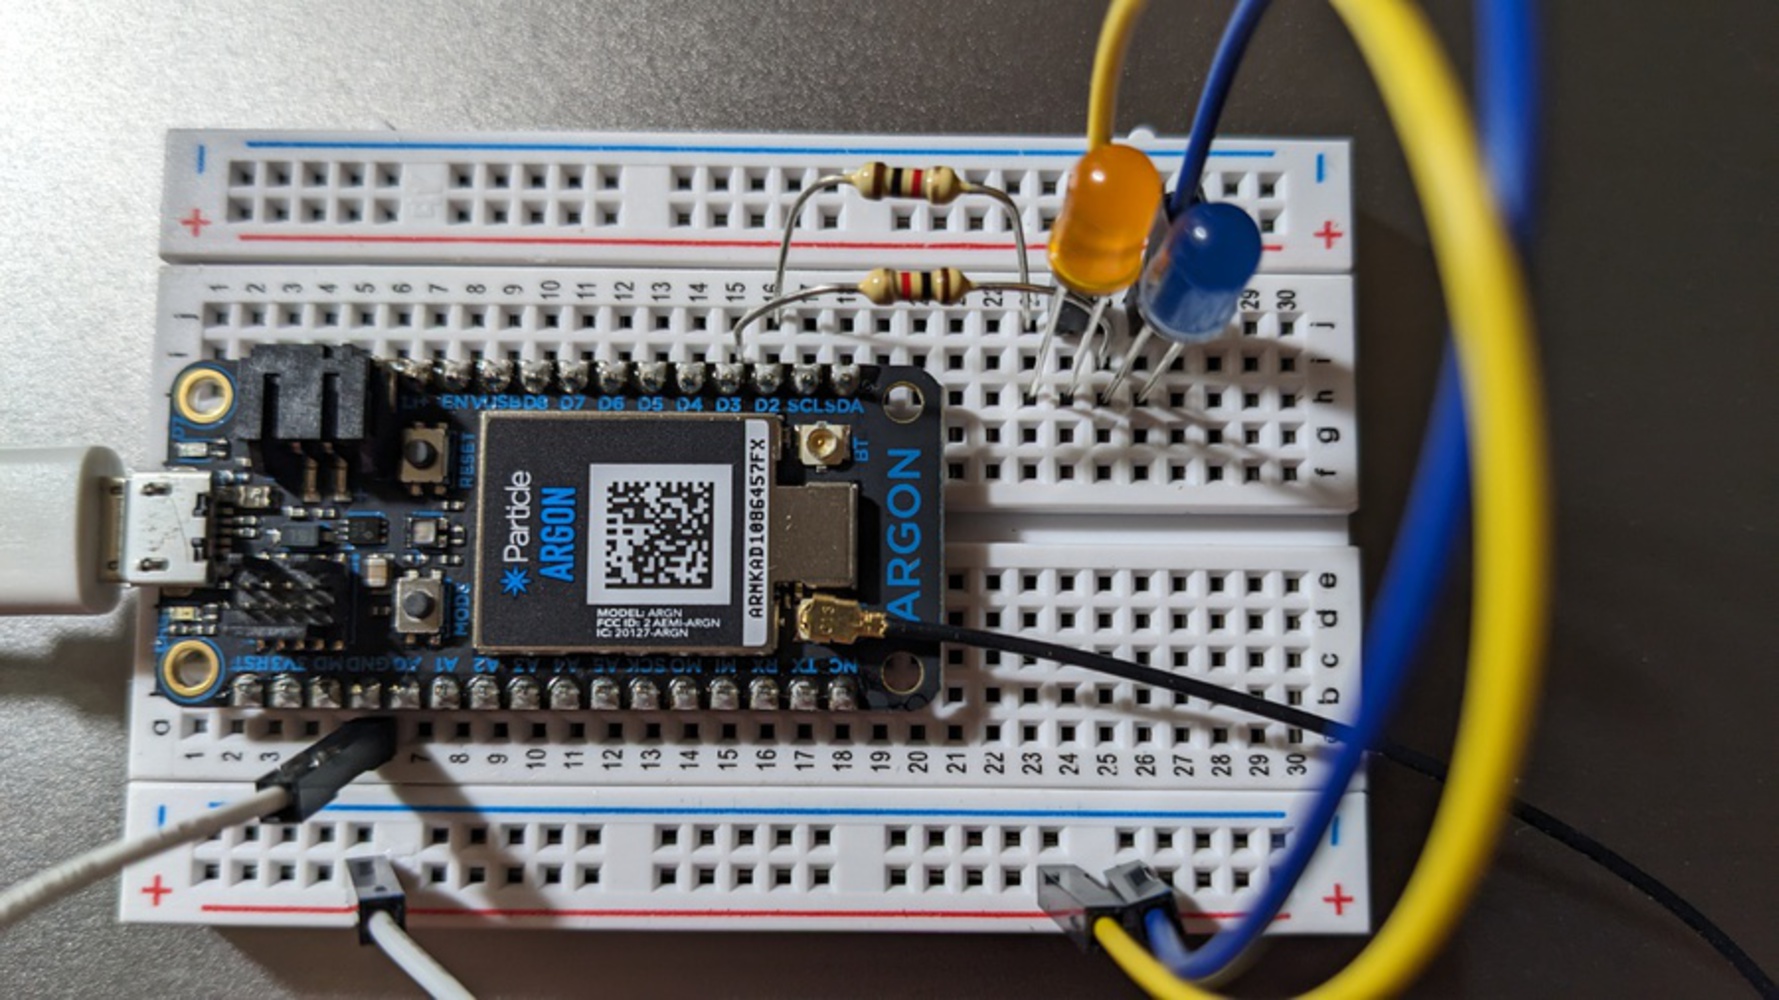
Circuitry Components: It was important to remember the connection points. When recreating the setup from scratch, I connected the resistors to the cathode point rather than the anode. 

  • The resistor ‘ties’ the LED light to the code (e.g. D2, D3) and lines up with the anode (positive) side of the light 
  • The wires tie the from the cathode to the power rail
  • The circuit must always be completed and be tied back to ground.

Coding: For the second and third exercises, a separate integer was needed.

  • To loop a blinking light 5 times, an integer is needed to count the number of blinks in the loop
  • To blink a second light, a separate int was needed for the point where the second LED was connected to the breadboard

Next Steps:

I think it will be interesting to add additional components to the breadboard, however it will be important to understand what operates inside (or outside) a loop.

Pxl 20231102 031303536.thumb
Show Advanced Options
Drop files here or click to select

You can upload files of up to 20MB using this form.