Back to Parent

Outcome


Project Summary:

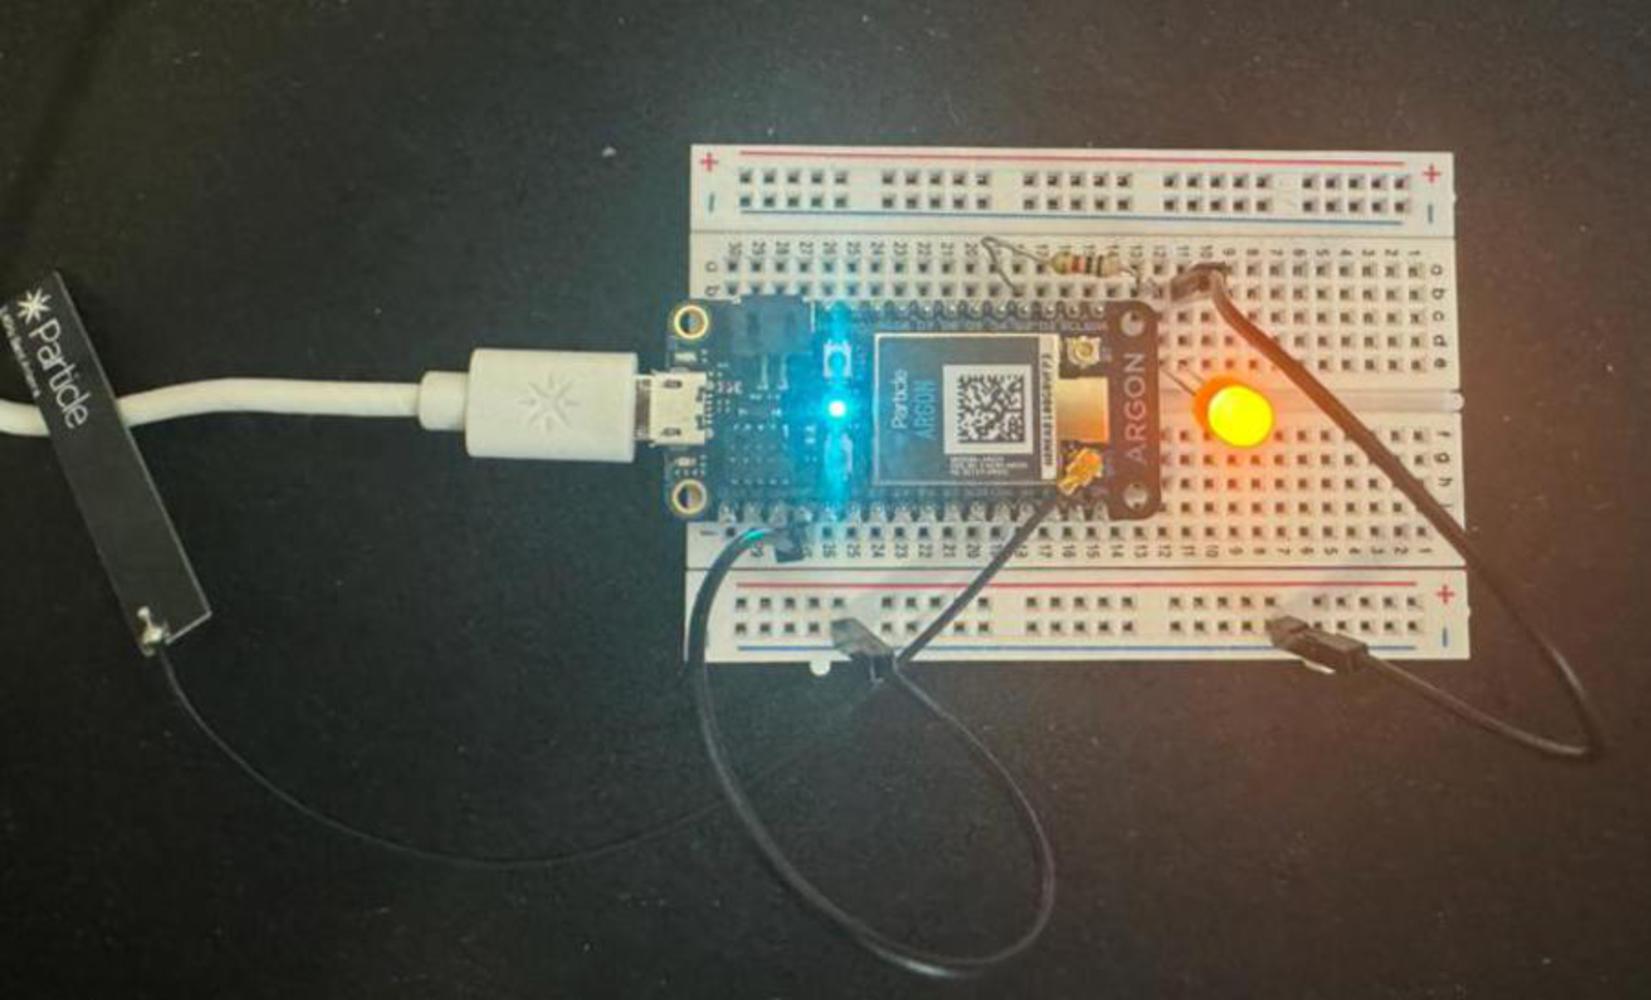
In this project, I completed a series of IoT projects using Particle's Argon microcontroller platform to create a connected internet appliance. I first modified a cloud function to make an LED blink three times upon activation. Next, I enhanced the function to accept input for controlling the number of LED blinks and creating a sequence of five blinks with a delay between sequences. Lastly, I added a second LED to my setup and created a program to alternate, with a minor delay, the blinking of the two LEDs. For these exercises, I added the cloud function for the remote control. I also integrated it with Particle's REST API by pulling my Device ID and creating an access token, using the "curl" terminal command to place my appliance onto the internet.

In each below exercise, the process and outcome are explained. 

Turning the light on and connecting it to the cloud (image/code below):

This code controls a light where the light is connected and assigned to pin D3. The setup function configures the pin as an output and registers a cloud function "led" for remote control. The "ledControl" function enables the light to be turned on or off based on the commands provided. Returning -1 for invalid commands and 1 for successful commands.  Physically, I aligned the resistor to the D3 pin and placed the anode side of the LED to align to the resistor, which will incorporate the LED to the D3 pin on the microcontroller. The LED cathode then utilizes a jumper to the breadboard's power rail. A similar jumper is also used to connect the microcontroller's ground pin to the power rail.

Top down.thumb
Show Advanced Options

Making light blink every 3 seconds (video/code: below):

The added code to make the light blink involves a loop that is coded in to command the light to turn on (digitalWrite(ledPin, HIGH)) for three seconds (delay(3000)) and then turn off (digitalWrite(ledPin, LOW)) for another three seconds. This made the light go on and off at three-second intervals. Physically everything has stayed the same. 

Show Advanced Options

Making light blink five times in a sequence with a short delay between sequences (video/code: below):

In the adjusted code, a loop within loop() function was added to make the light blink on/off five times, which was provided with a short delay between the on/off and a 3-second delay after the five blinks. Physically, everything had remained the same. 

Show Advanced Options

Program the LED’s to alternate blinks i.e. when LED 1 turns on, LED 2 turns off, then when LED 2 turns on, LED 1 turns off. (video/code: below):

The string command of the function "if and else if" creates a half-second delay between the alternating of the red and orange LED lights. Physically, I have changed out the color of the LED lights. Red is now coordinated with LED1 and Ogrand with LED2. Two separate resistors have been placed at each LED light's anode, with Red(D3) and Orange (D2) and a red cathode jumper for the Red LED and a yellow cathode jumper for the Orange LED, which both jump the breadboard's power raid. The same black ground jumper jumps the microcontroller's ground pin to the breadboard's power rail. 

Show Advanced Options

Next Steps:

One of the items I did not get to was going through the "Bonus Adventure," which covers making a color-controlled version of the LED. This is something I certainly would like to try next. I also look forward to beginning to utilize sensors on the microcontroller. 

Reflection:

One of the primary obstacles I encountered was understanding the programming components, such as the void loop, the created integer variable "ledControl" and placing these into an else if in a way that works properly. The process became easier as I began to label certain places in the code that I was creating, and that enabled me to place specific components into "buckets" that made it easier to read through them and make sense of what I needed to do next. 


Drop files here or click to select

You can upload files of up to 20MB using this form.