First we captured the cup through 123D Catch. It worked surprisingly well with the cup and the scan was able to get a lot of the forms on the cup to a recognizable level.
Outcome
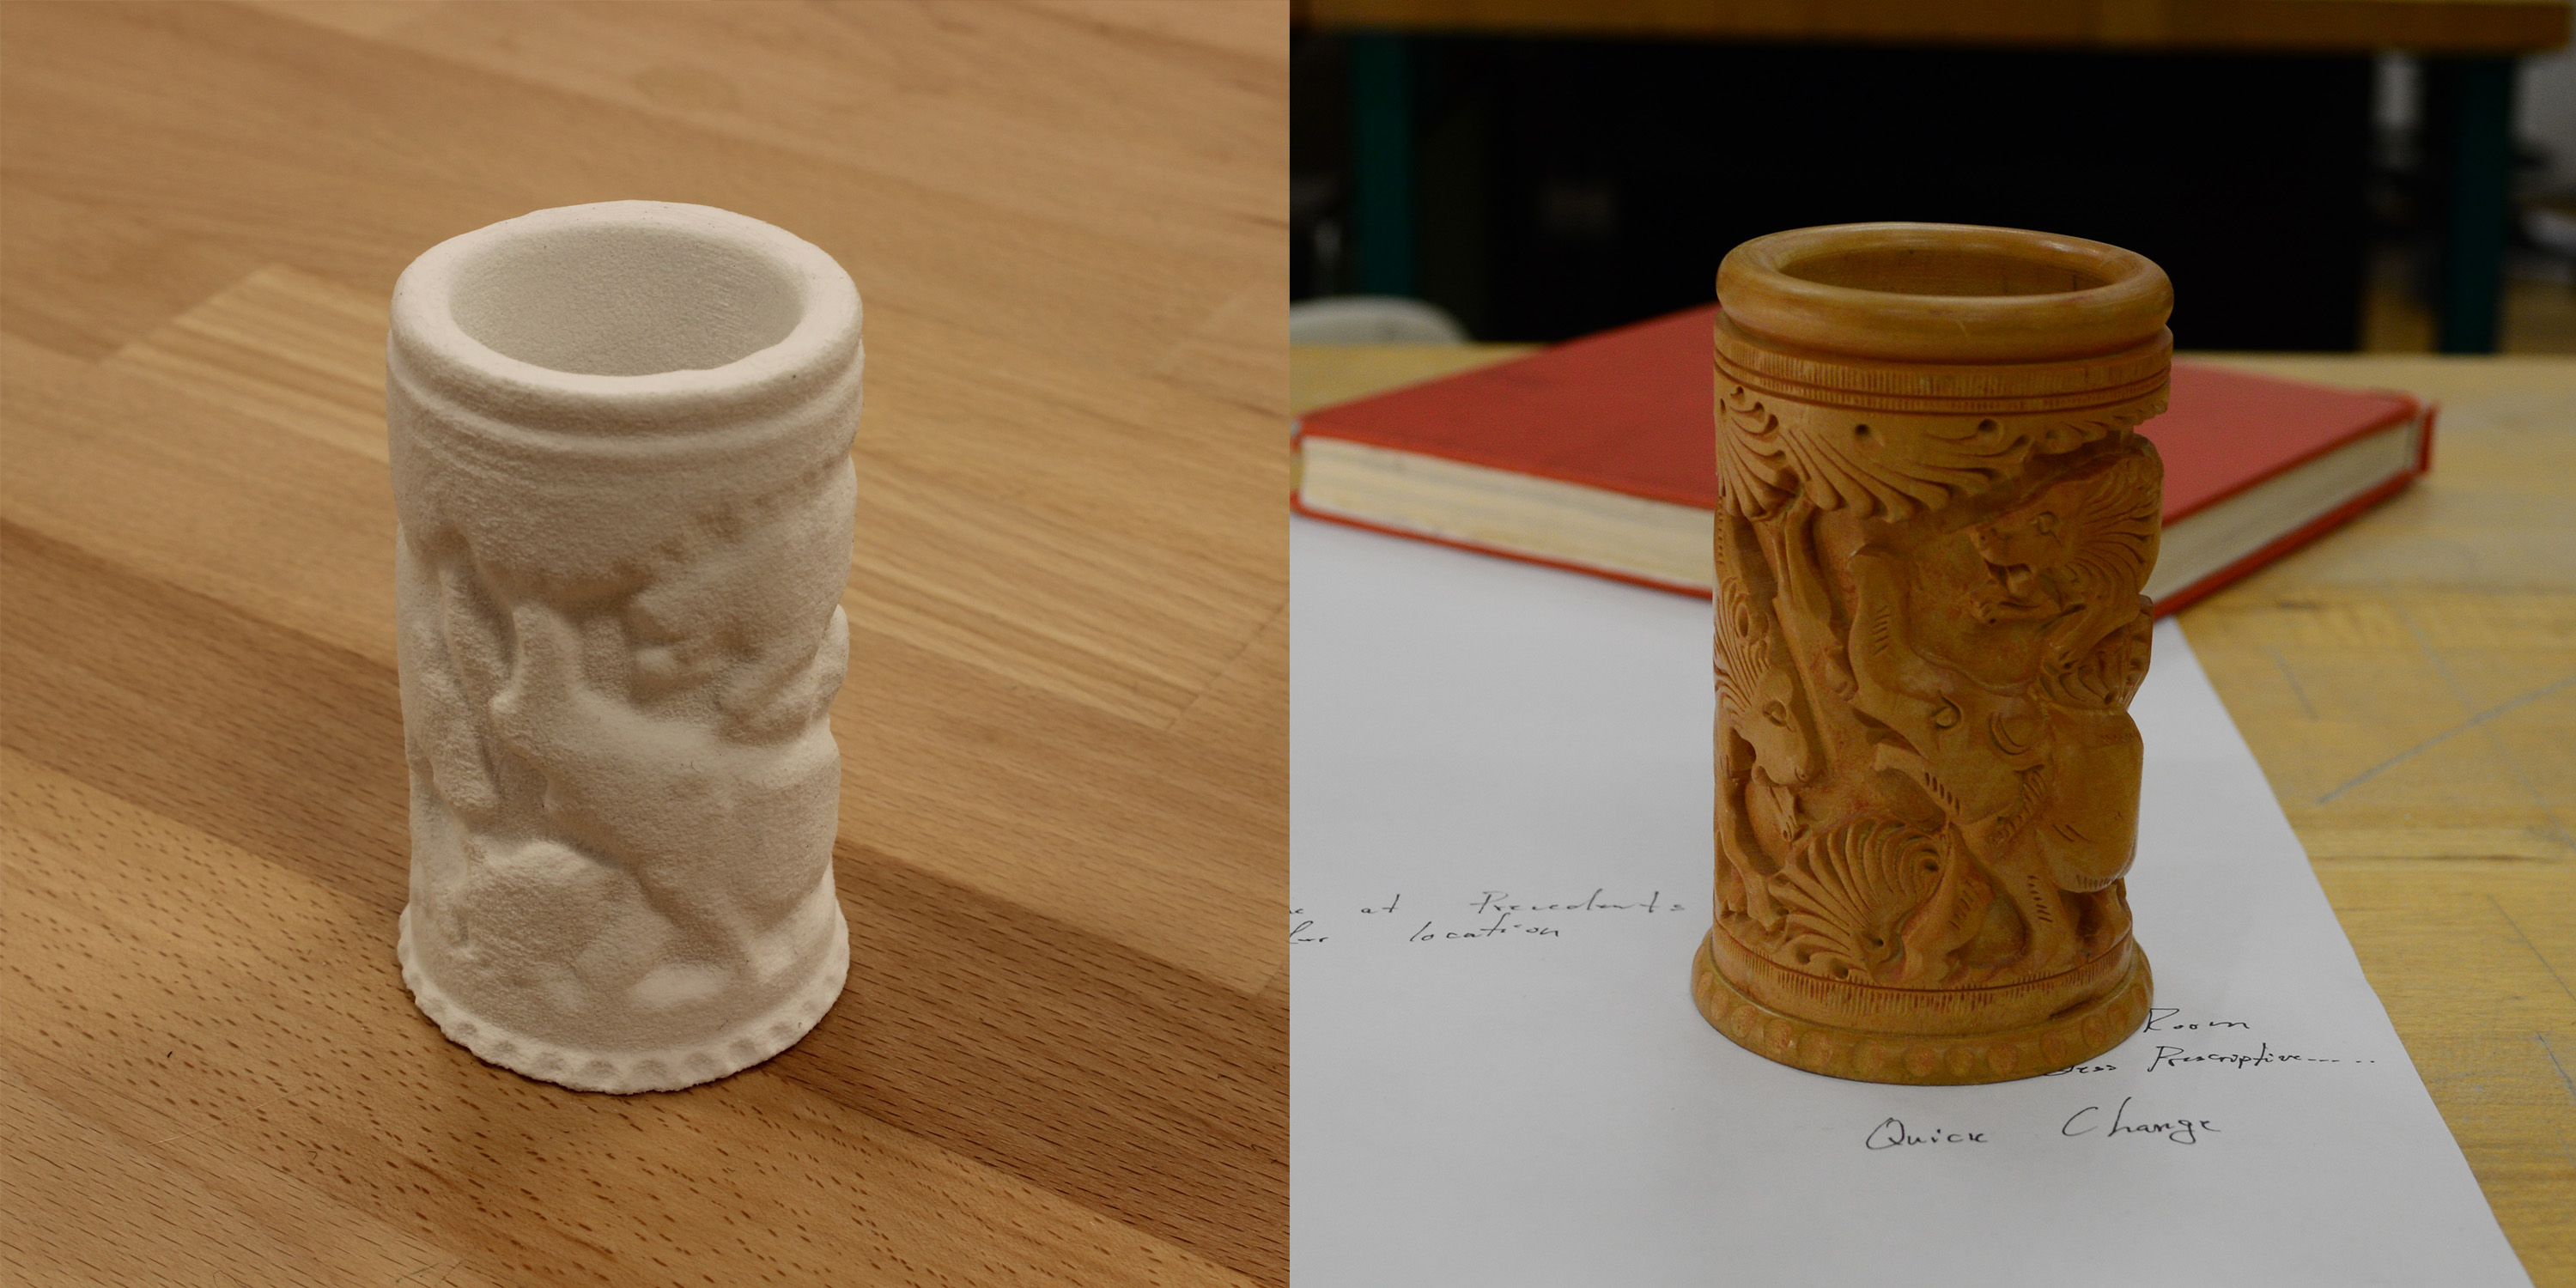
Right-off-the-bat, we noticed while the detail was great for such a small object, the scan smoothed out a lot of fine cuts and grooves. So the first thing we though of doing was to insert back in to the digital work flow a way of regaining the detail. Before we submitted the 3D print, we re inserted the small rounded cuts near the base as well as recreating the center hole. We also added the rounded bottom of the lip back into the model as well.

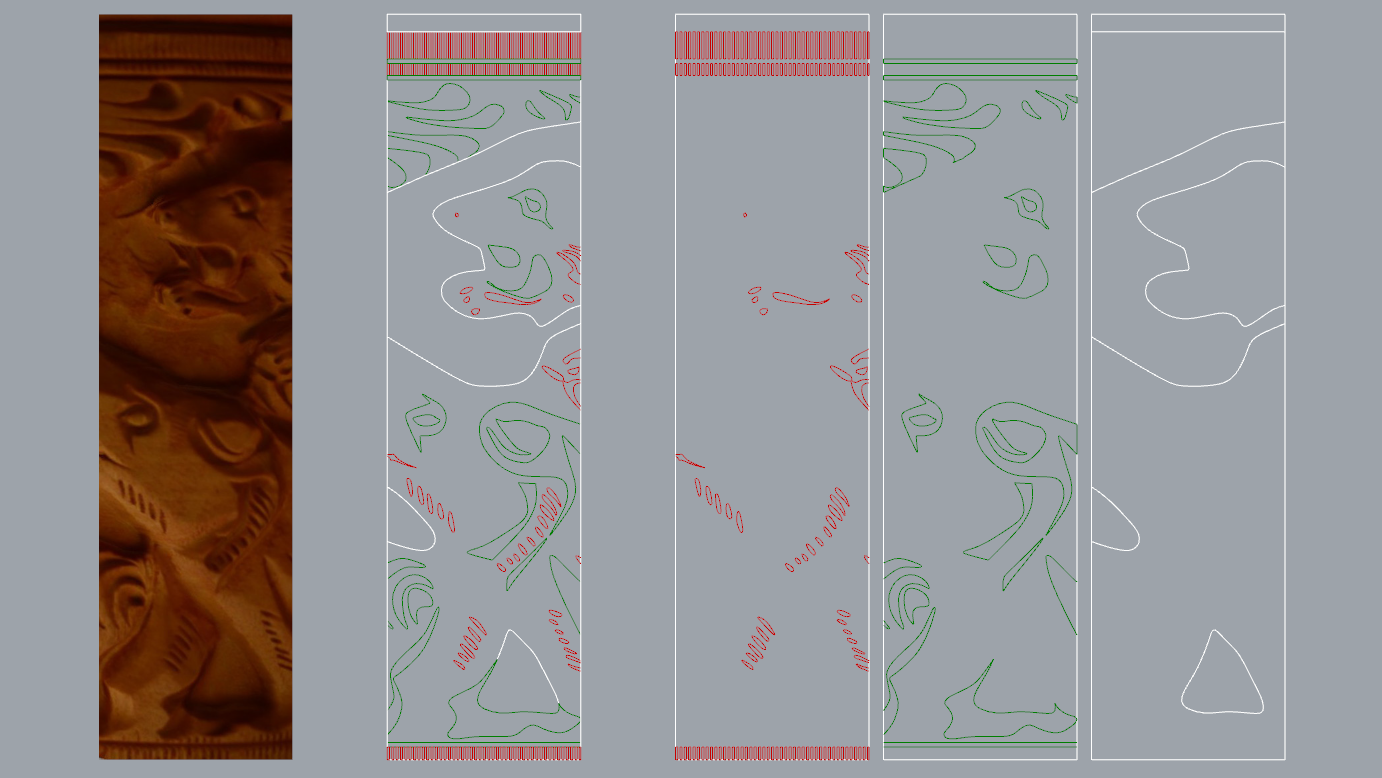
After debating a plan of action we decided to move forward by creating a 3-Dimensional stamp consisting of different layers tied to different depths and details. We took a texture map generated from the 123D Catch, and unrolled a section in Photoshop. We brought the unrolled images into Rhinoceros 3D and traced the different layers to create the stamp. The stamp was then pressed into a section of clay to get the initial forms, then using a pointed clay tool, we added the final details through holes cut out of the bottom face of the stamp.
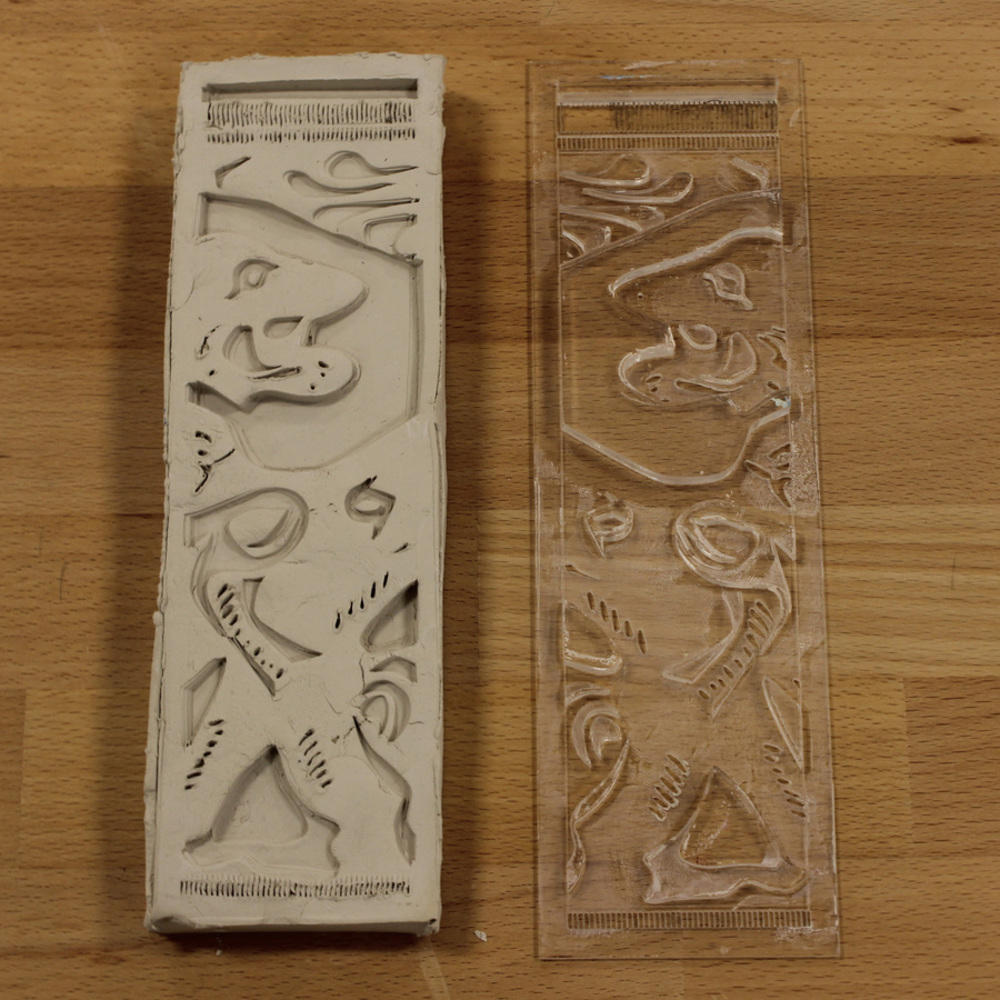
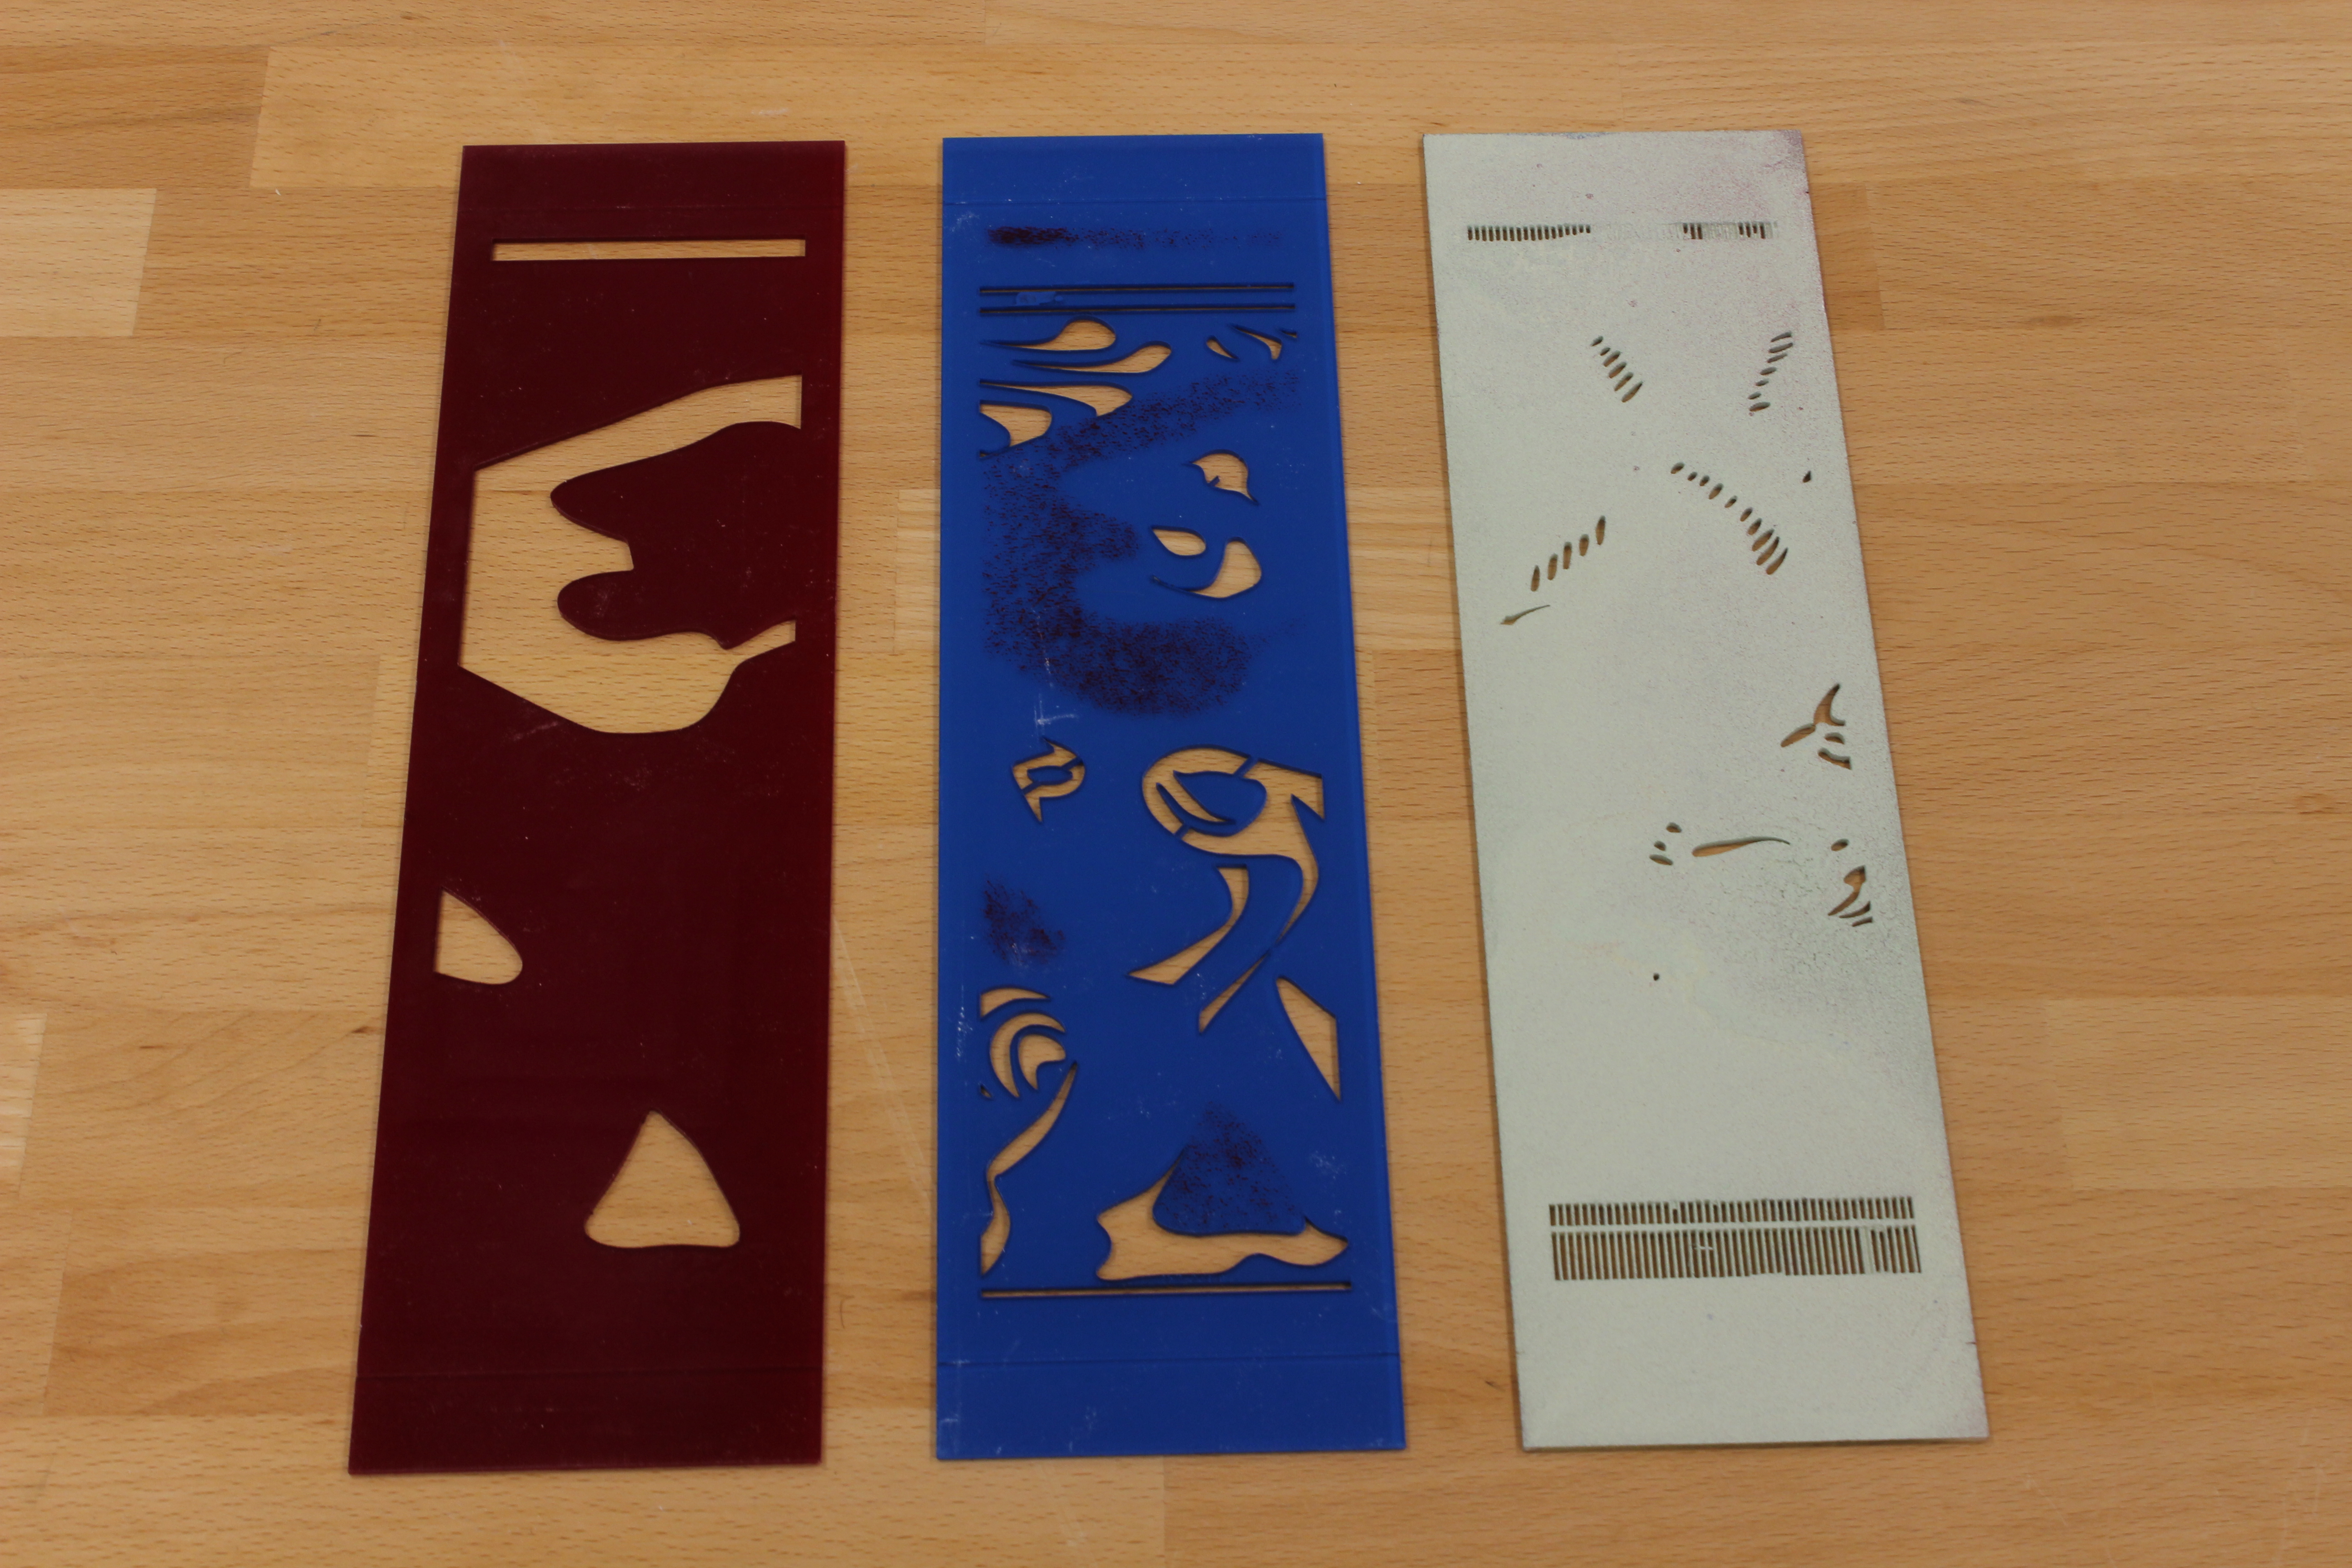
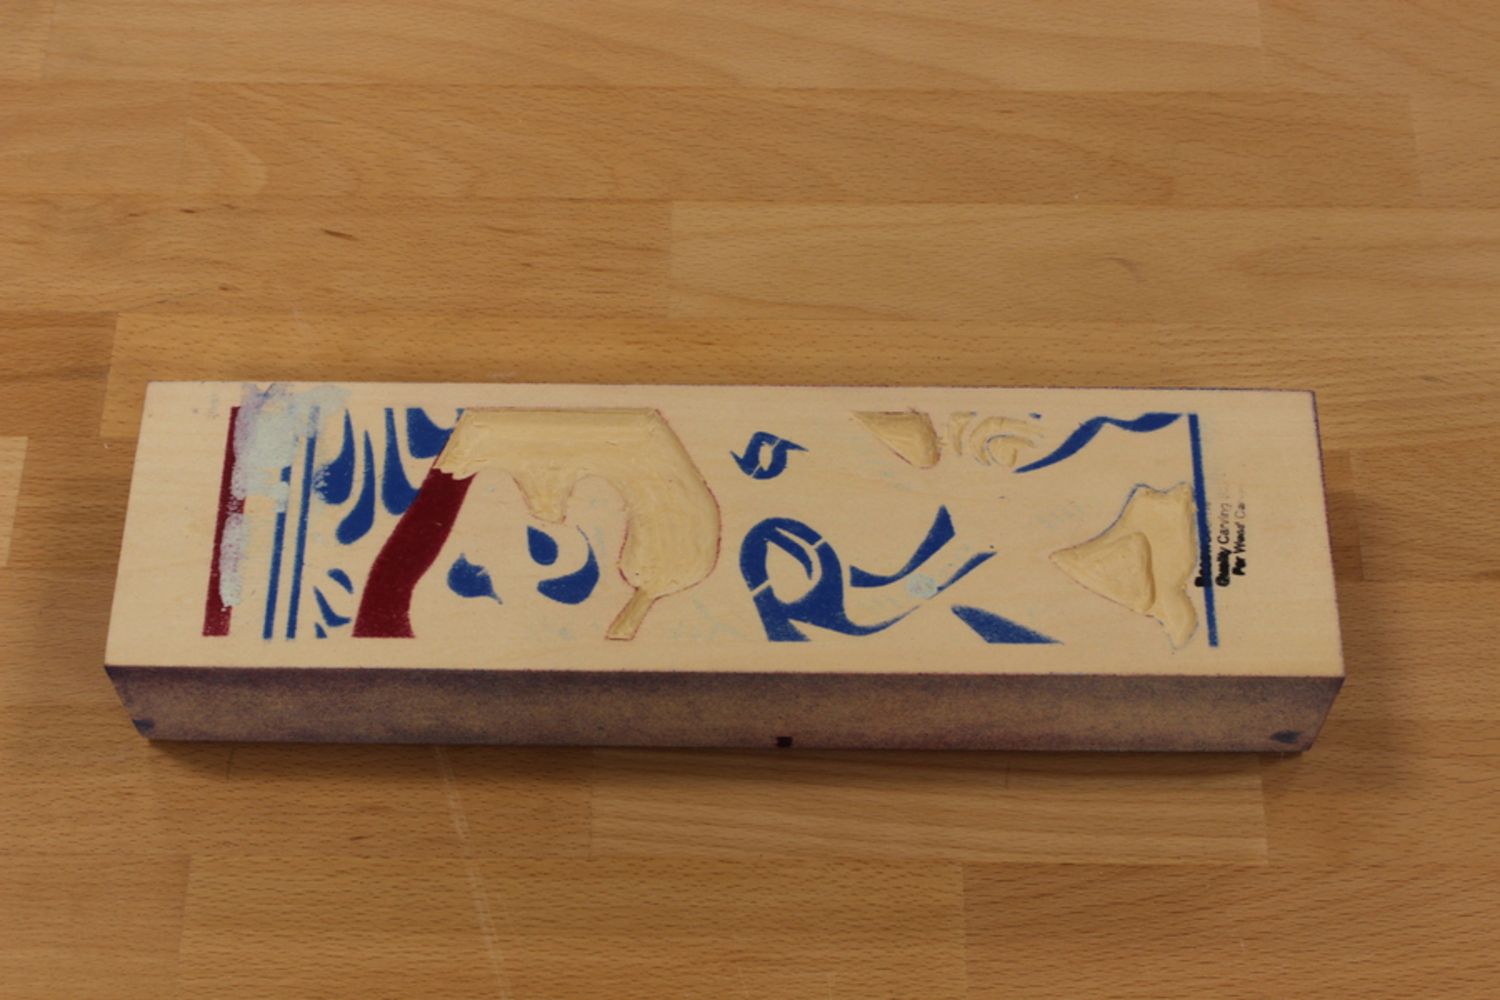
The test worked successfully, however due to the softness of the clay, we lost some of the small details. One of the downfalls of this process was the issue of not being able to develop some sort of skill through continued practice. The stamp worked too well and left no room for errors or happy accidents. It left a very strong digital mark. We decided to move towards a more human process while trying to maintain the use of the stencils which were very successful. We opted towards the initial skill of carving, but using the stencils and spray paint to demarcate the location and depth of the cut. This process leaves the skill of carving and blending the layers to the human to develop. Our thought for this was that if we separated what of carving from the how, it will make it easier for others to focus on other factors such as grain direction, technique and finishing in a much shorter time.
You can upload files of up to 20MB using this form.