Back to Parent

Outcome


Curatorial Statement

We created a looping gif of a visual illusion with an accompanying sound illusion. Our goal is to have both illusions be just as impactful as the other.

We intended to create the Penrose Steps illusion using a 3d-printed model, creating a stop-motion animation with a clay ball falling continually down the staircase. Accompanying the video is the infinitely falling auditory illusion in perfect timing with the clay ball falling down each step. The combination of the two illusions creates a looping effect that enhances the illusions.

We made a 3d printed model of the Penrose Steps! In Sketch-up, Nathan created a 3D model and used a variety of programs to get the proper file type for Cubify, which is the program that prints it. Initially we intended to use the 3d printer in Gates, but it was a Cube 2, which was outdated and wouldn't accept our .cube3 file. Instead, we located the 3d printer in the IDeATe Fabrication Lab and printed the model.

After Judy and Aliya assembled the model and glued it together properly, we used an iPhone and a camera stand to take the photos for our stop motion animation and created our gif using the Stop Motion app.

Nathan then compiled the video and his sound together to make a seamlessly looping gif!

Context

During the presentation of the illusion project, we learned about the optical illusions designed by M.C. Escher. His works such as Relativity are well known because of the impossibility of the motion produced in the images. We wanted to recreate the manipulation of a 3d space to imitate a 2D plane.

We saw Escher's use of the Penrose Stairs in his piece Ascending and Descending and remembered its use in the movie Inception. We decided to convey the infinite motion of the staircase by using a clay ball to "fall" down the steps infinitely.

The sound was inspired by the artwork fallingfalling.com's audio which seems to descend with the motion of the collapsing colorful planes. We wanted to combine the aspects of the Penrose stairs and fallingfalling.com to convey the infinite descent down the stairs.

Show Advanced Options

Perceptual Illusion

We are manipulating the aspects of perception and motion. We used the camera angle and ball roll to make the viewer perceive an impossible, continuous staircase that sits on one plane.

For the visual illusion, we are using the Penrose Steps illusion. The 3d printed staircase is filmed at such an angle that each flight connects to form a uniform square and makes it seemingly "infinite". We then use a ball made of clay to "fall" down the steps using a stop motion animation. For the sound aspect of the illusion, we created a continuously falling sound that looped over itself just before it concluded so that the sound appears to be continuously falling as the ball is falling.

372px impossible staircase.svg.thumb
Show Advanced Options
Escherascendingdescending.thumb
Show Advanced Options
Maxresdefault.thumb
Show Advanced Options

We first test-printed a miniature model of the base of the staircase, and finding it satisfactory, we attempted printing the larger model staircase, but that had an estimated 12 hour printing time!! In addition, since we were printing the model in a free standing form, it would have a lot of scaffolding between the pieces so it would take way too long and a lot of the expensive plastic filament would be wasted anyway.

We decided that printing the staircase in separate pieces would print faster and use less plastic than the original format. This modified print took 5 hours, which was a much better estimate and was very successful! However, a disaster struck in the last 30 minutes when one of the posts wasn't supported properly and fell apart, later completely dislodging the piece. In the heat of the moment, Judy reached into the 3d printer (probably not the safest idea) and tried to put it back in the right place for it to finish printing. She got it to be pretty close, but it was just slightly off enough for the post to be deformed a little, although it's not very noticeable in the final gif.

We also created a time lapse of the 3D printing!

Show Advanced Options
12194485 940925382653426 825753653 o.thumb
Show Advanced Options
12178173 940921422653822 1352180327 n.thumb
Show Advanced Options
12182045 940921485987149 422729503 n.thumb
Show Advanced Options
12181759 940921455987152 1260432509 n.thumb
Show Advanced Options

Next, Aliya and Judy assembled the pieces by attaching them together using a combination of putty, super glue, and hot glue. The scaffolding didn't come off as cleanly as we liked, so we had to sand it down using sandpaper, resulting in a slight discoloration of the plastic, so we later painted over the model in a similar gray. This process was relatively stressful because the pieces were shaped strangely and wouldn't glue together properly (we had to re-glue it several times)...but eventually we got something that was relatively stable!

Dsc 0009.jpg.thumb
Show Advanced Options
Dsc 0014.jpg.thumb
Show Advanced Options
Dsc 0035.jpg.thumb
Show Advanced Options
Dsc 0013.jpg.thumb
Show Advanced Options
Dsc 0050.jpg.thumb
Show Advanced Options
Dsc 0048.jpg.thumb
Show Advanced Options
12178192 940921239320507 939126152 n.thumb
Show Advanced Options

  Together, we filmed the animation using an iPhone and a camera stand contraption. It was crucial that the camera and the model didn't move too much for this to work. Of course, since it's actually impossible to have an impossible staircase, we had to make sure the angle of the camera was just right. Another thing was that right at the point of deception, the ball would suddenly jump from a low point to a higher point, making it seem larger, and we had to account for the size of the ball as well to ensure that the gif would loop seamlessly. In the end it turned out all right, after several tries!  

12180068 940921259320505 584307786 n.thumb
Show Advanced Options
Dsc 0072.jpg.thumb
Show Advanced Options
Dsc 0068.jpg.thumb
Show Advanced Options

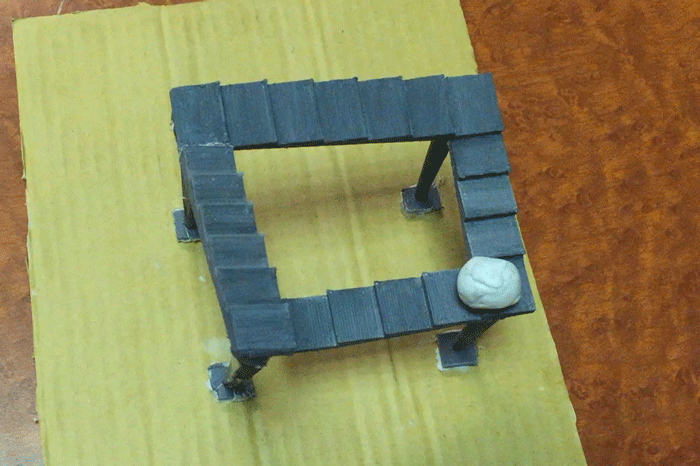
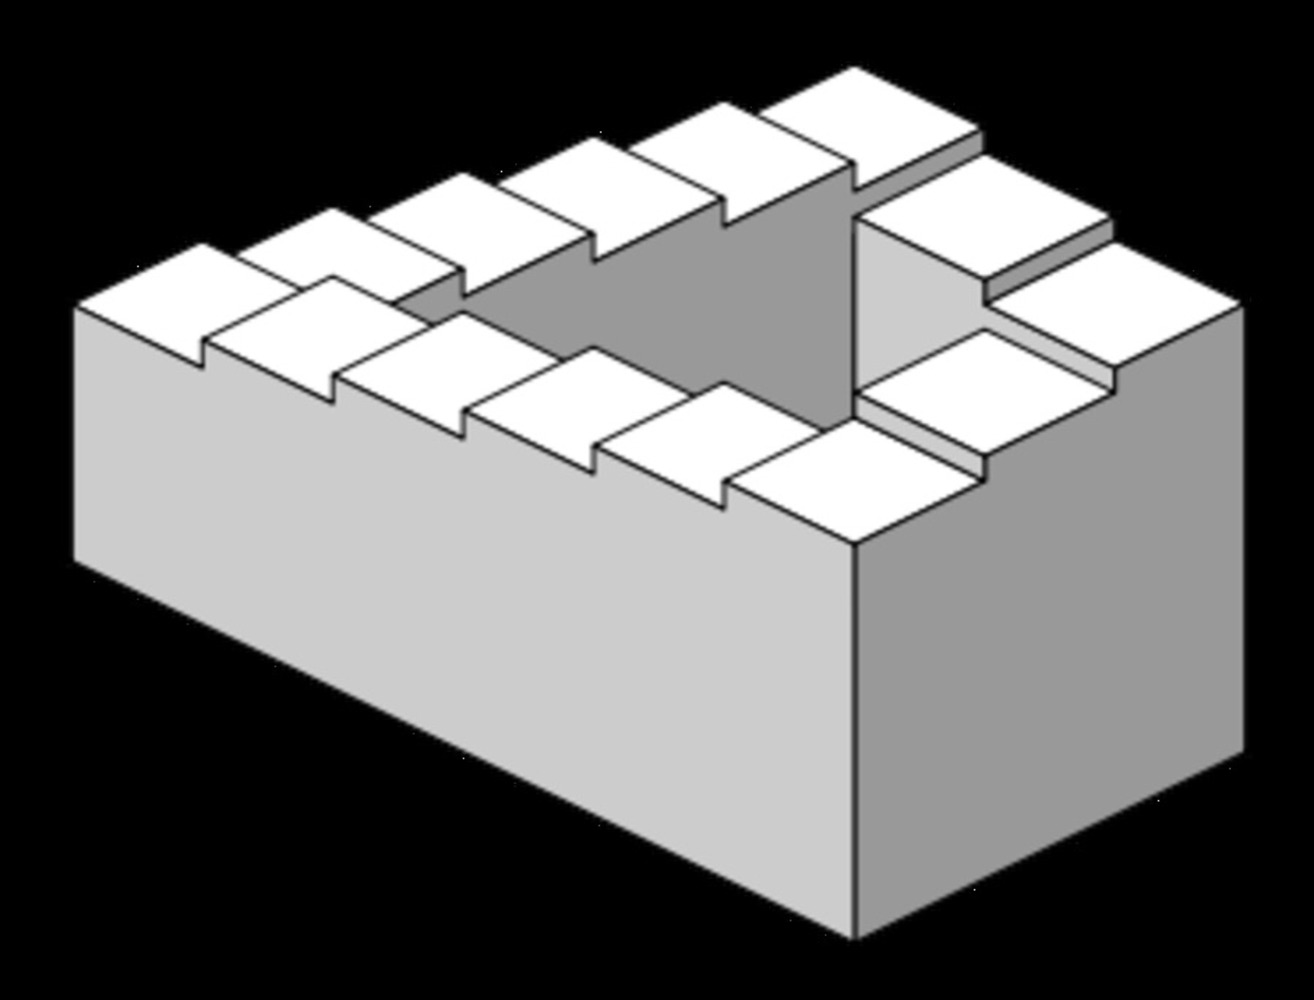
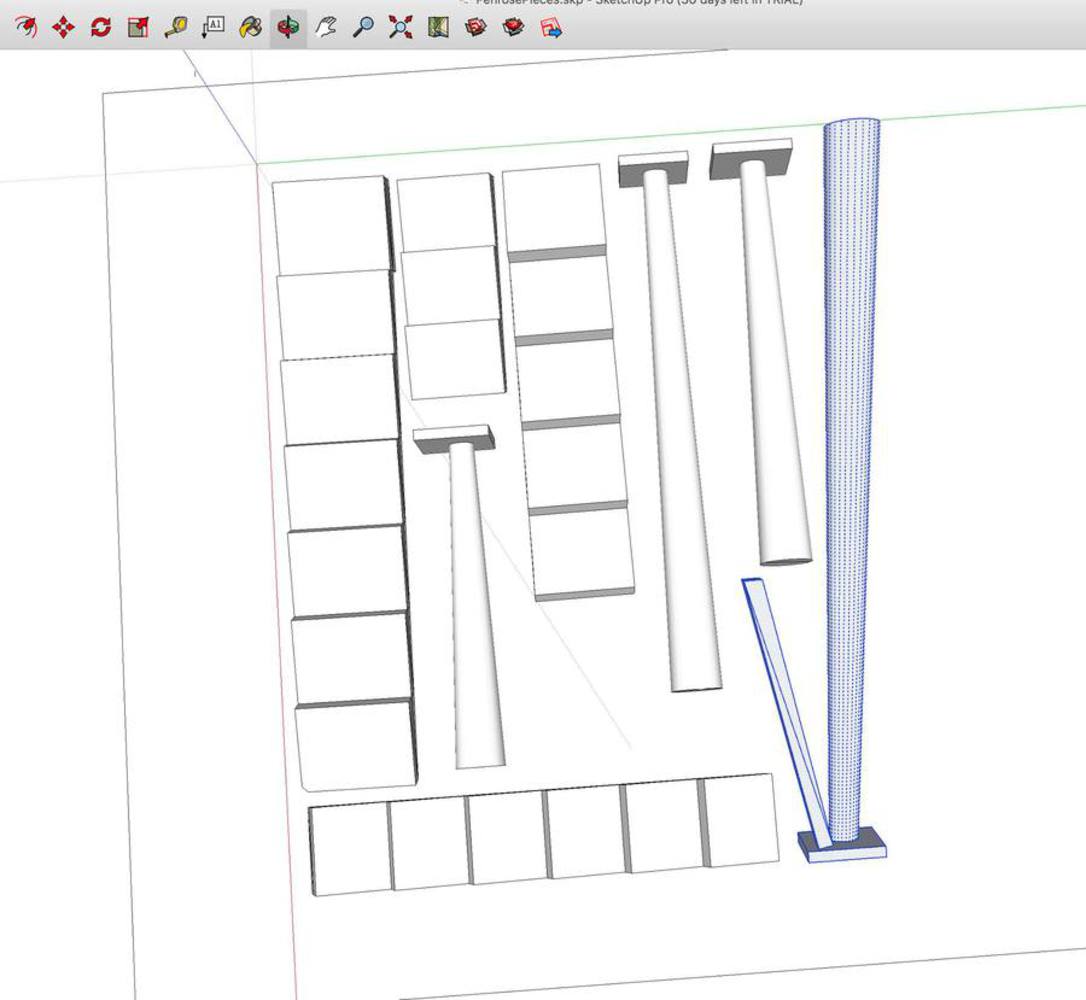
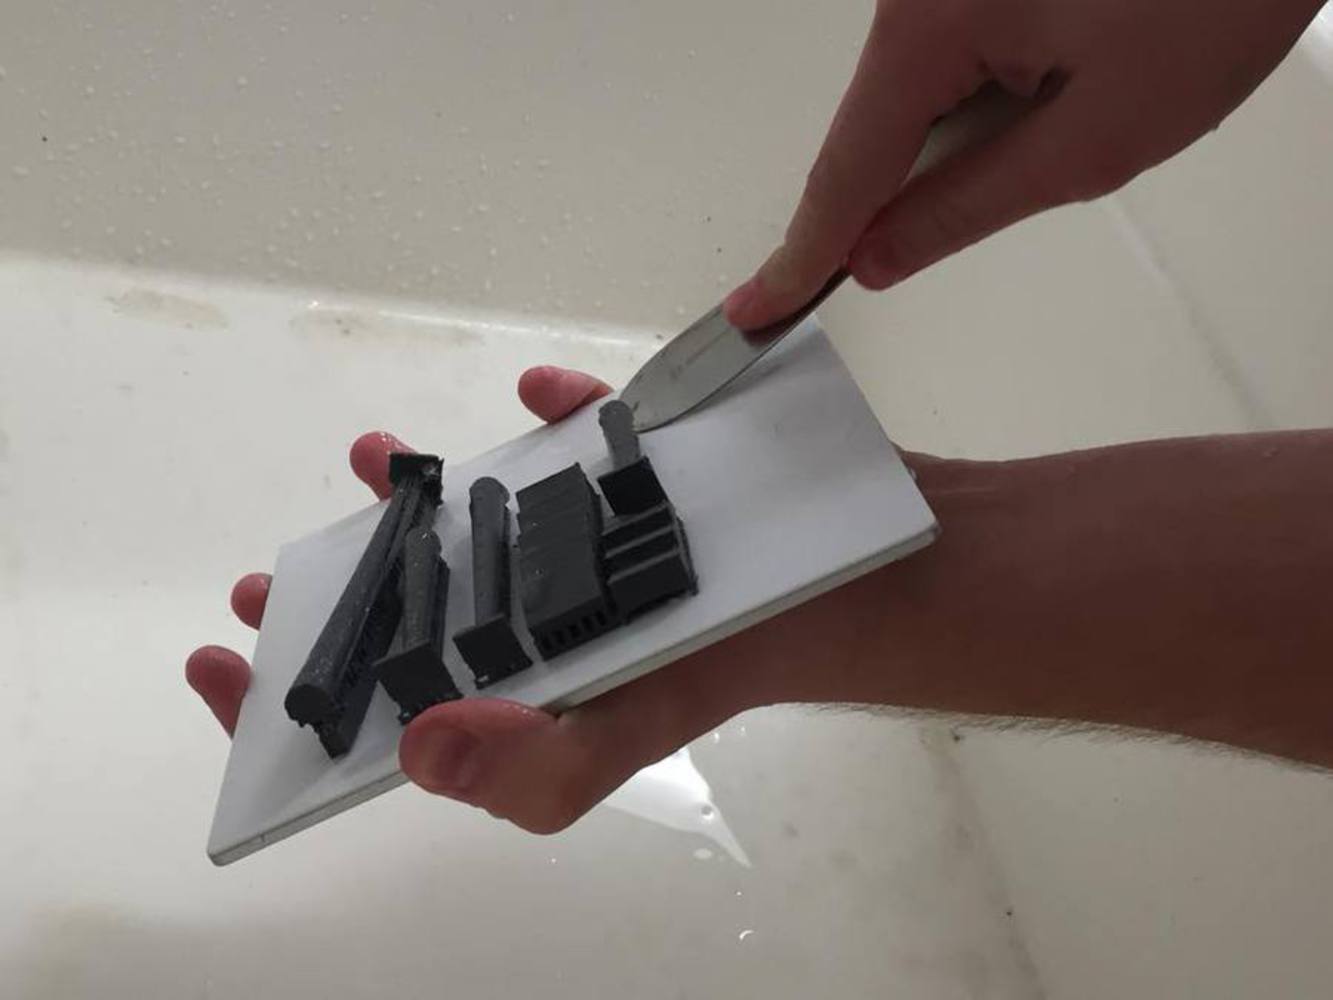
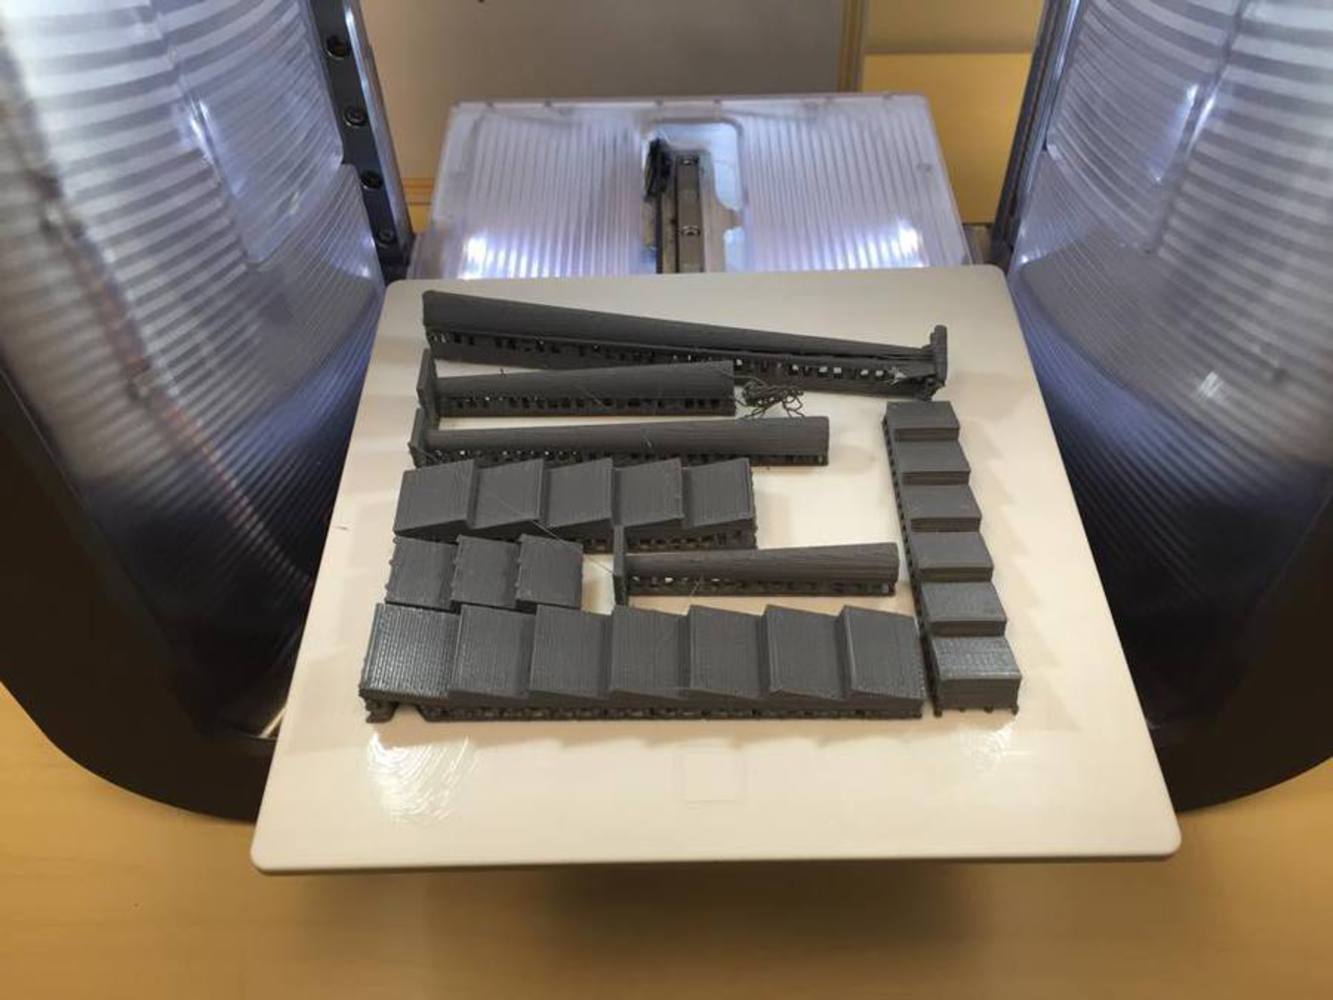
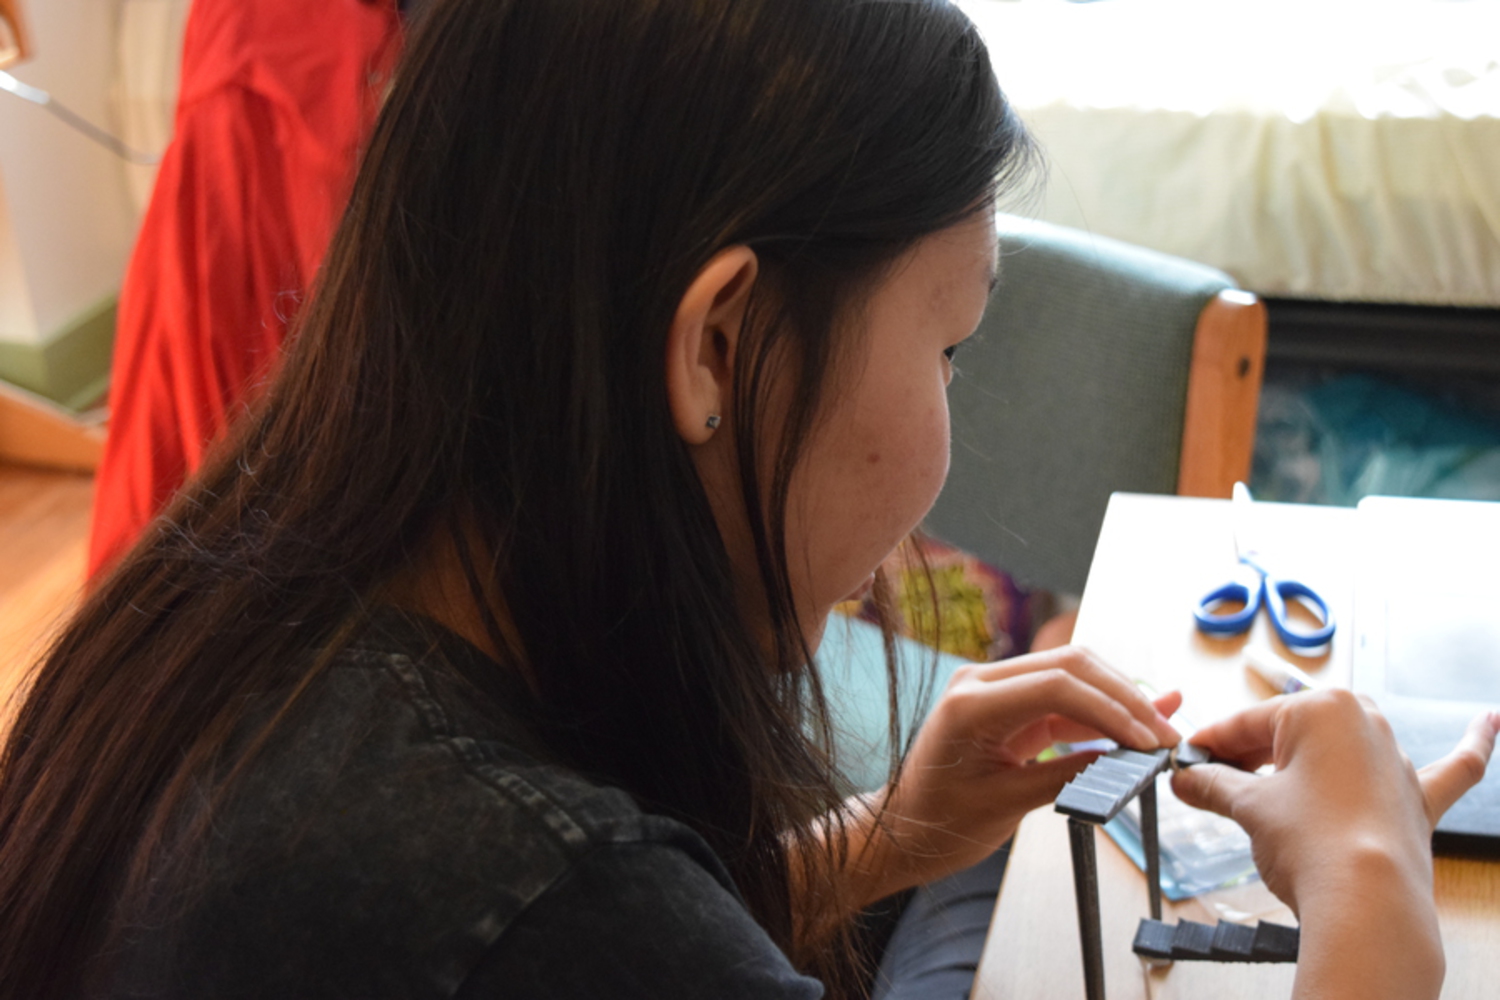
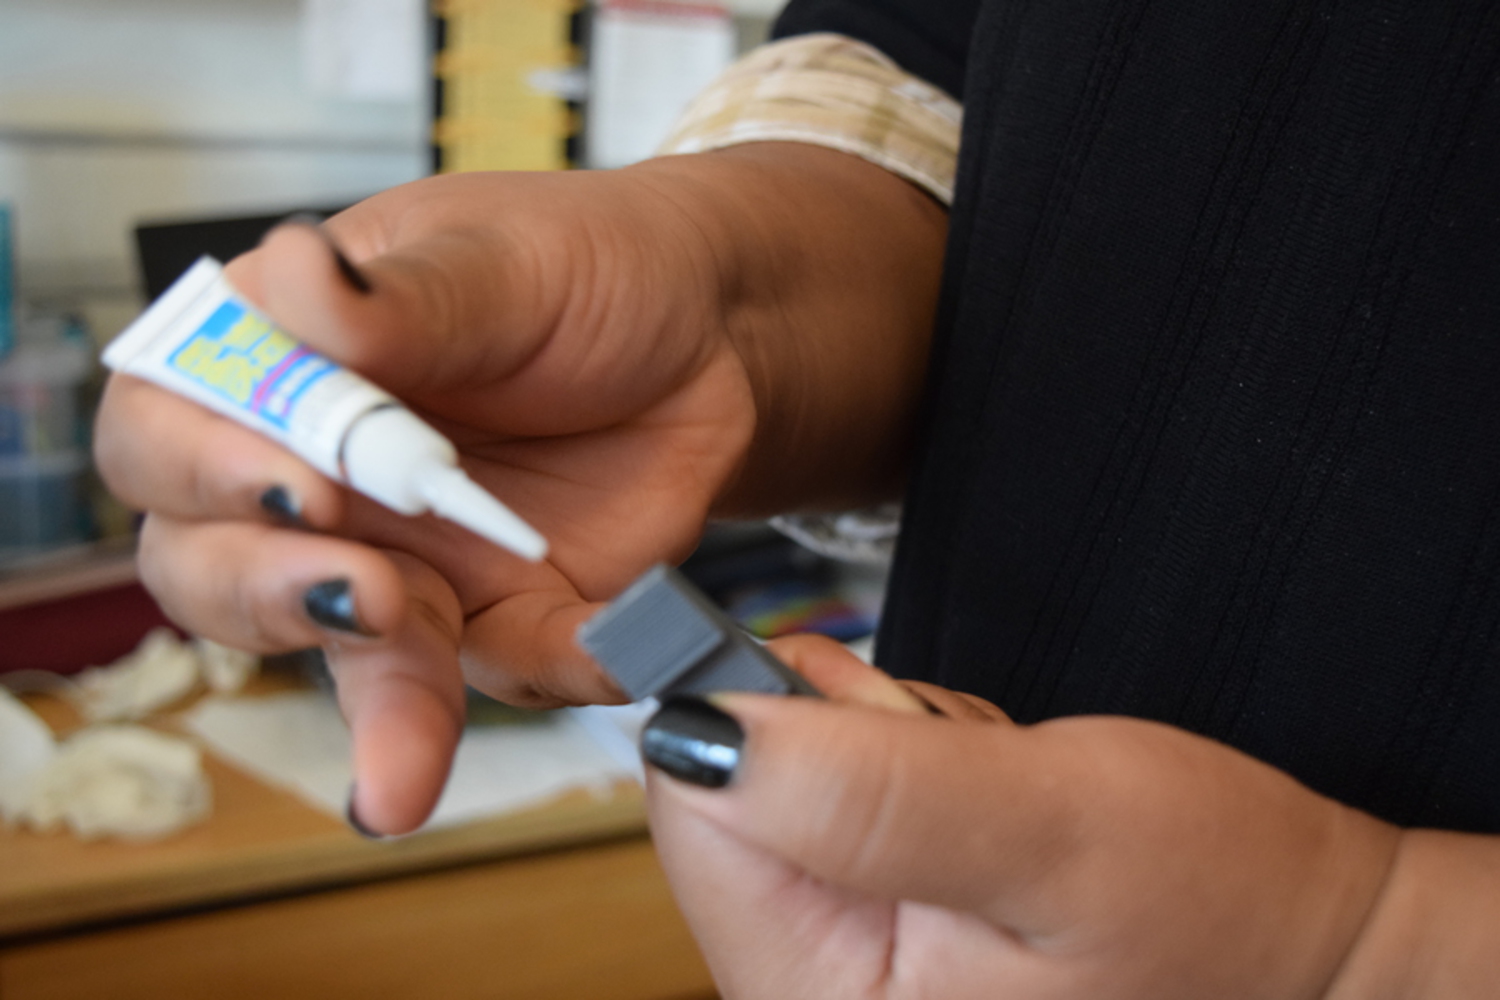
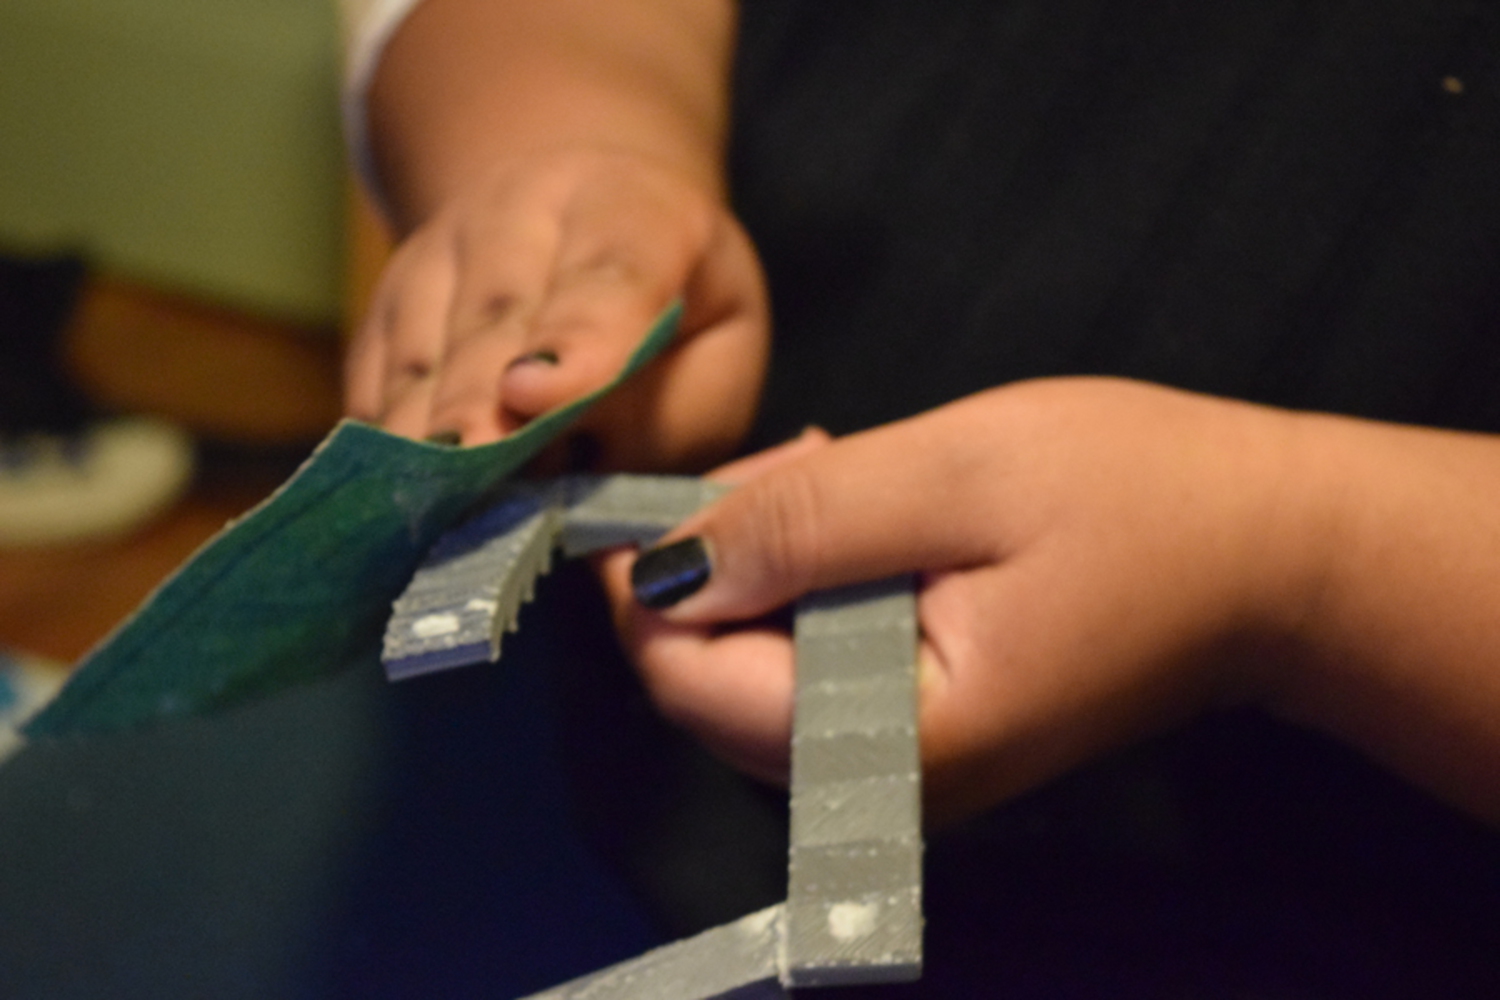
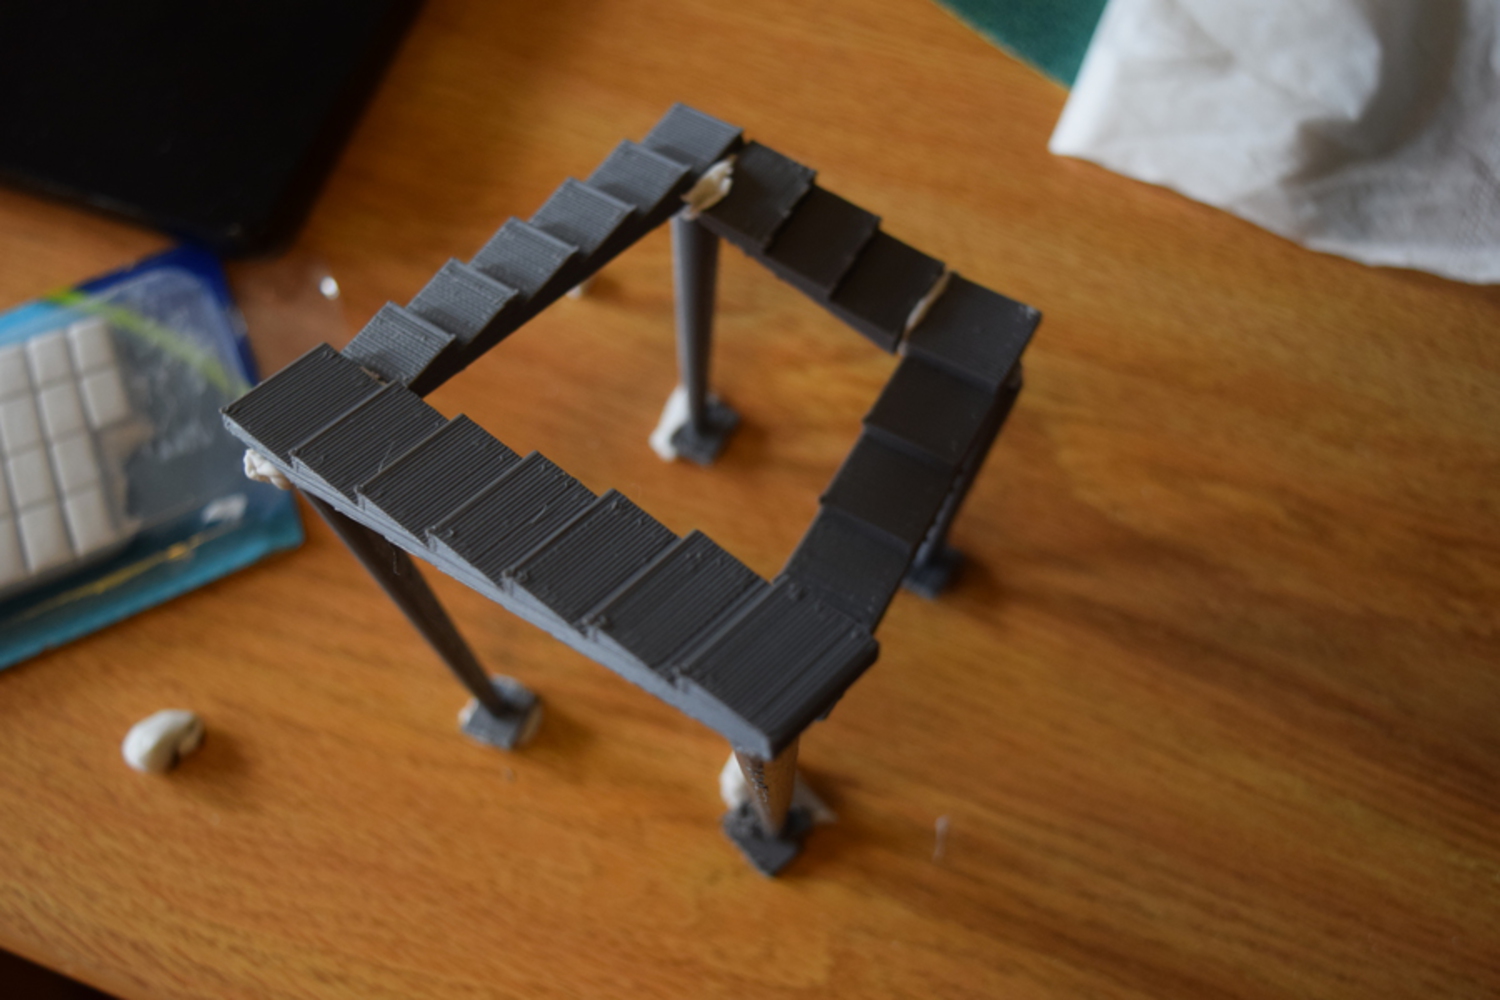
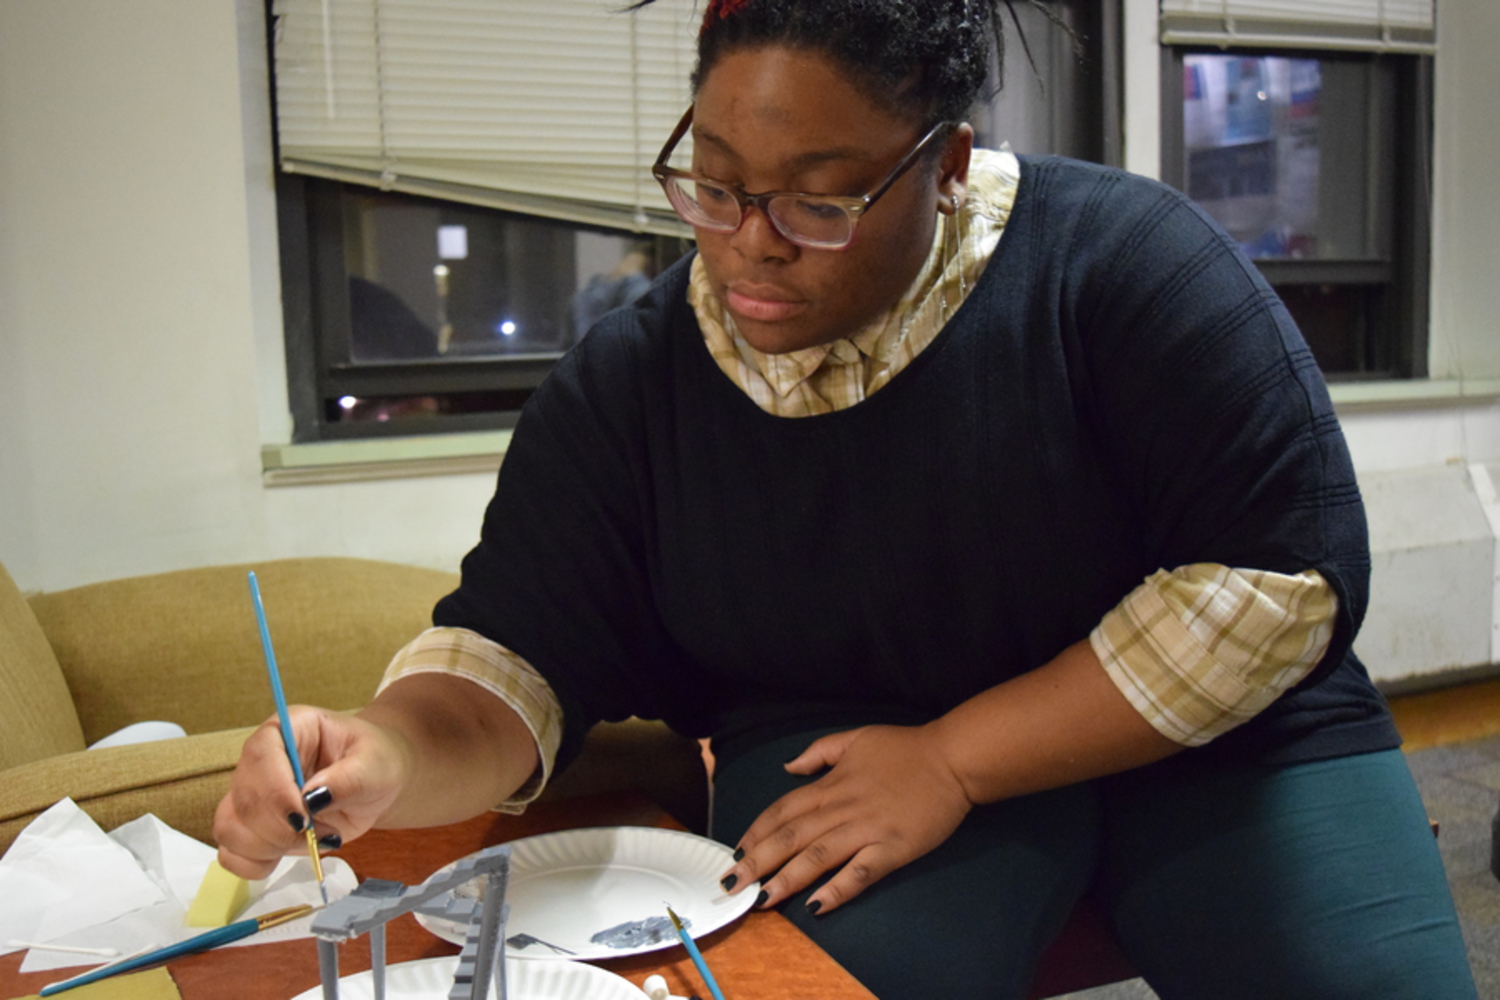
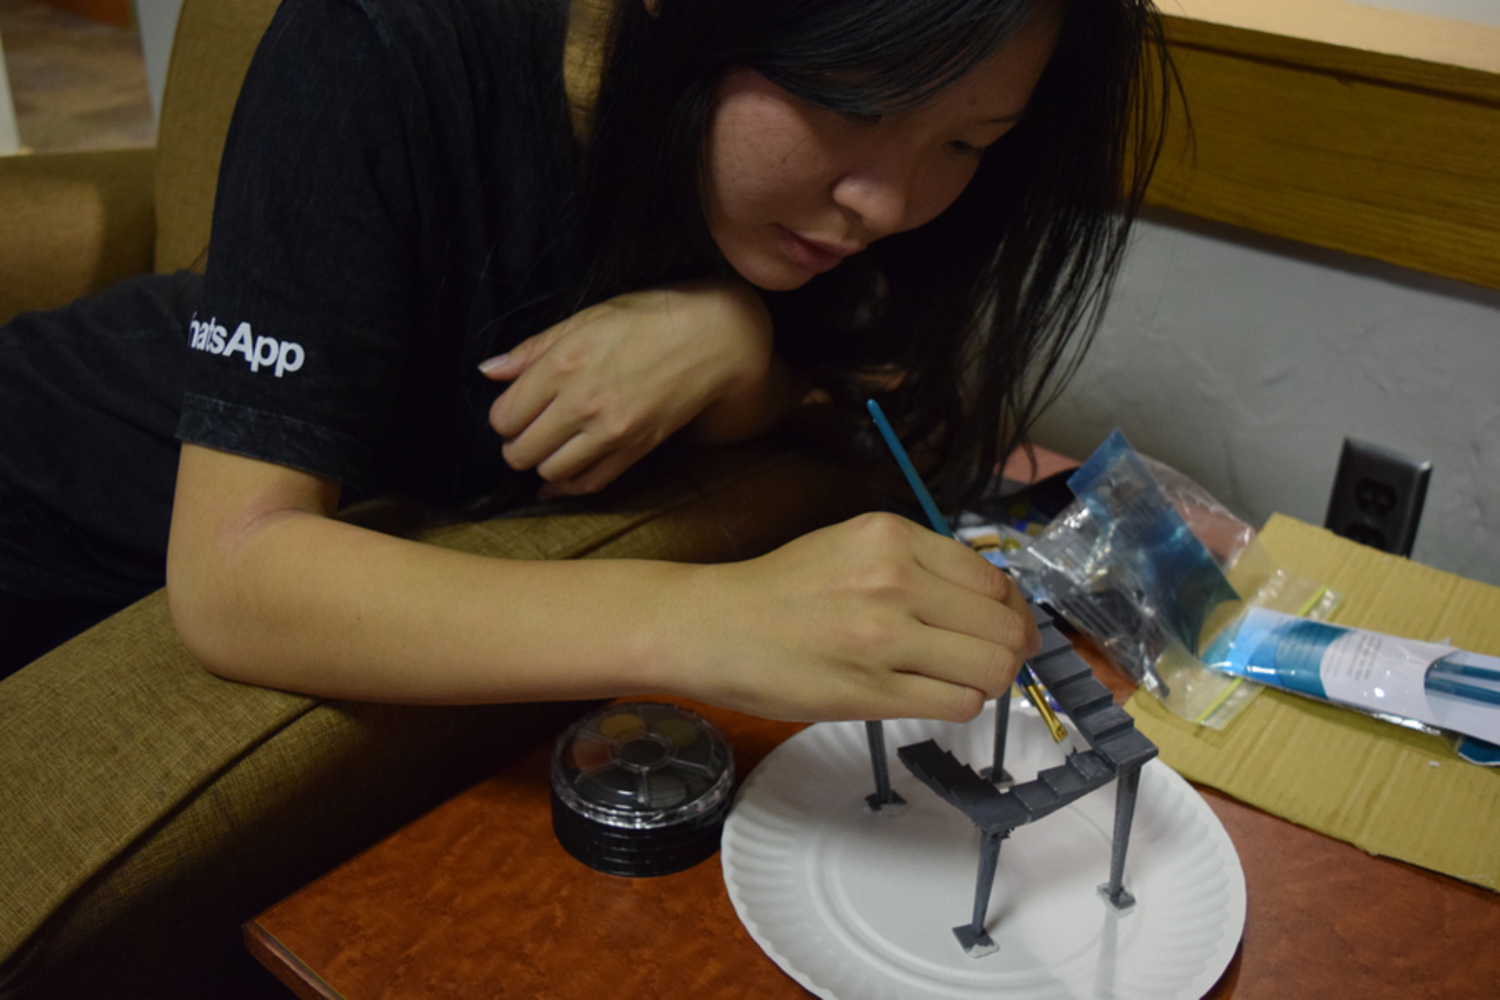
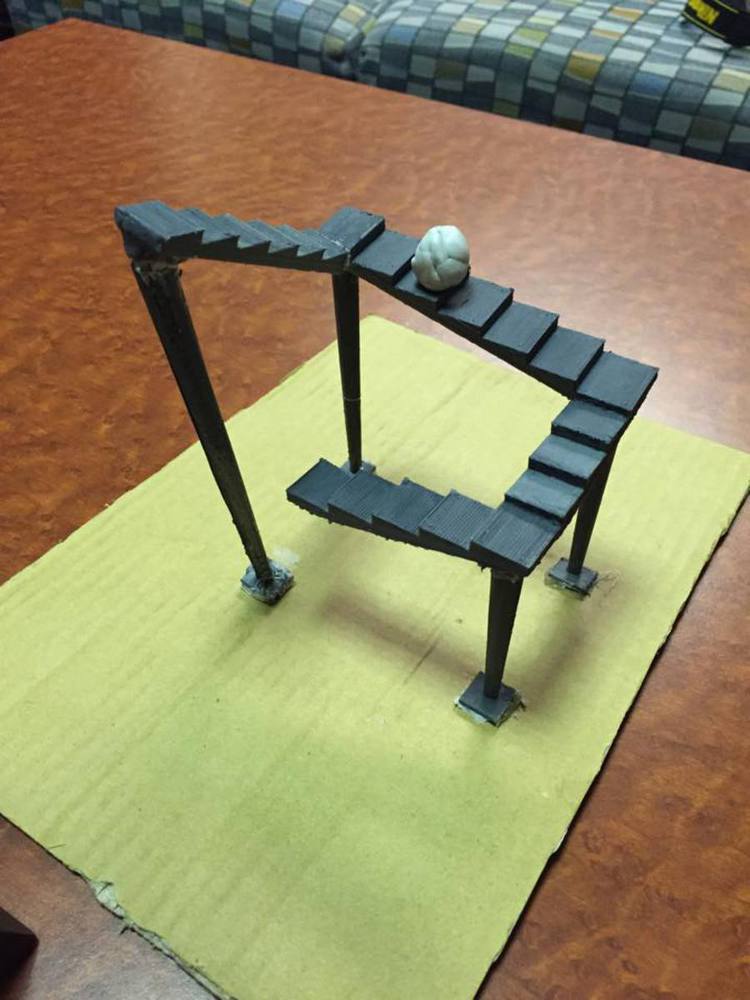
We learned a lot about how to 3D print things. In retrospect, it probably would have been better had we just printed it standing up rather than printing them in pieces and assembling it. Though it would have taken more time and resources, it would have been much more stable and looked a lot better compared to our glued together model. Also, we could have saved time by making the posts shorter instead, so we wouldn't have wasted so much structure material.

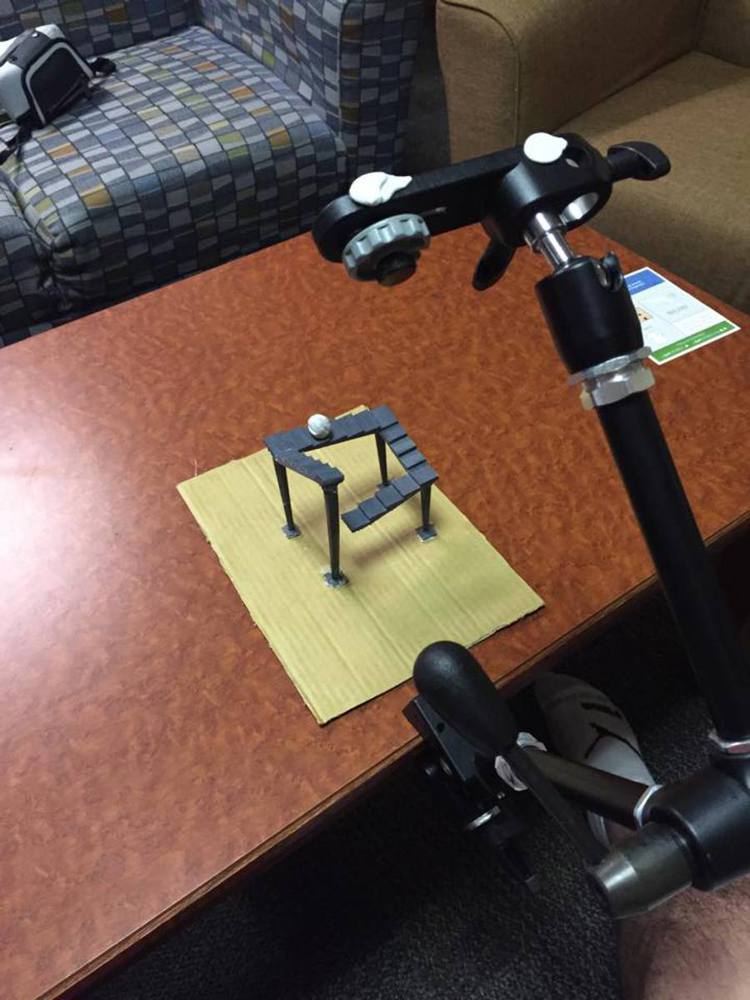
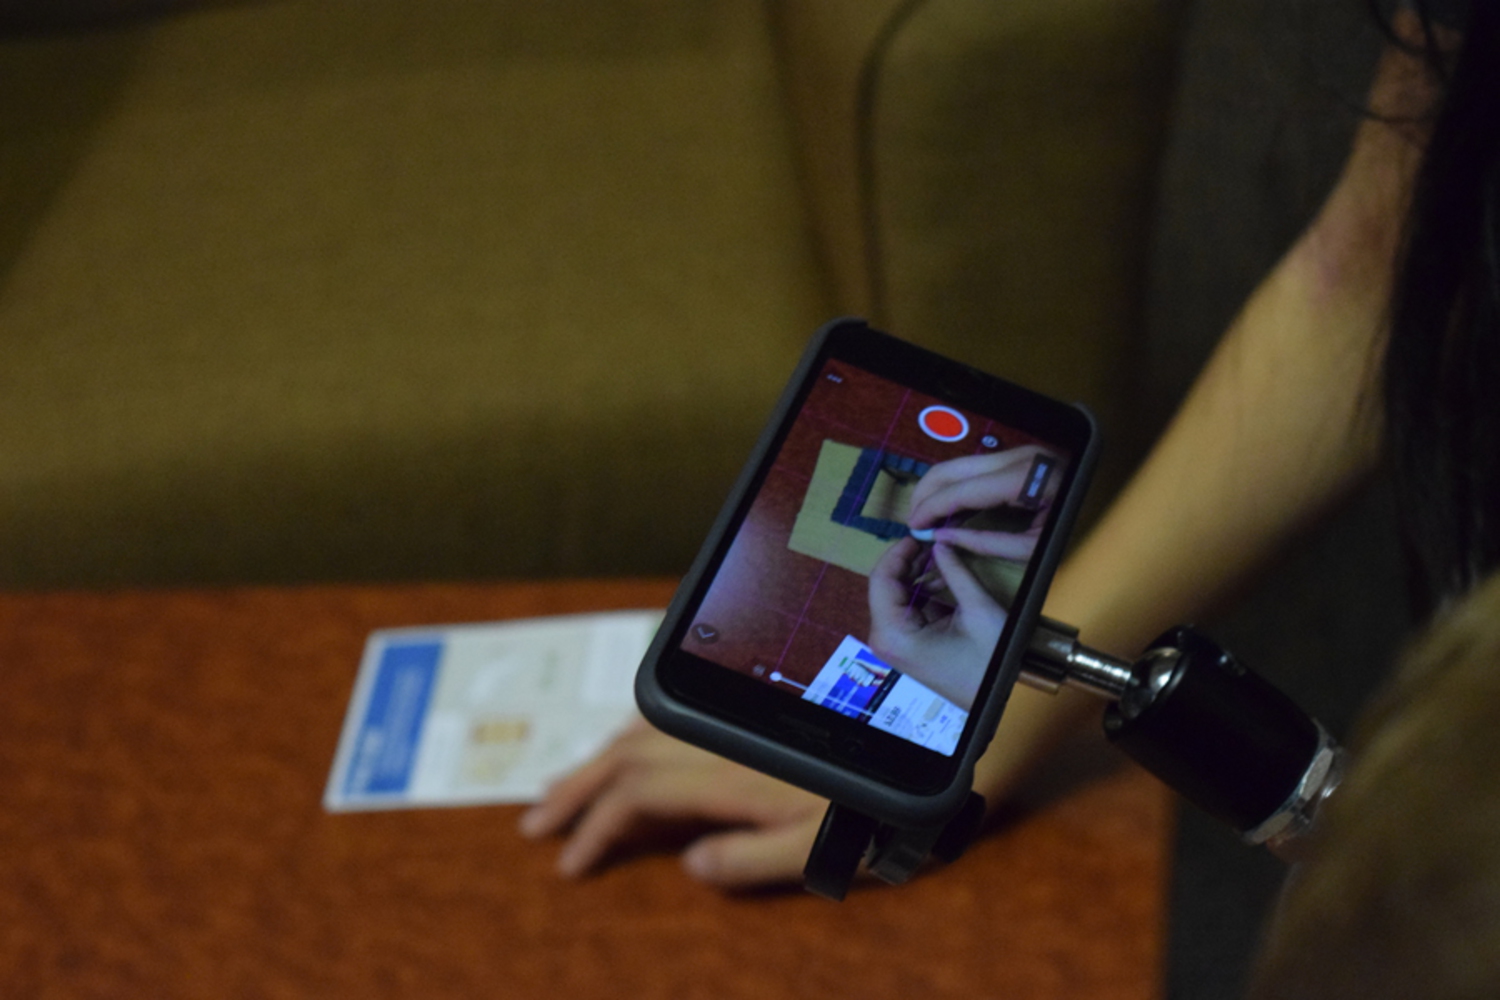
We also learned how to create a stop motion animation. Although it is a long and tedious process, its certainly very rewarding at the end and it has instant results which is really cool. The difficulty of this was that our model was very wobbly and it was kind of obvious in our gif. We also had a lot of trouble getting the sound to compile with the gif, and probably more time planning the project would have helped a lot. It was also a really good call that we used a clay ball, because that way we could maintain the size of the ball to ensure that the animation properly looked like it looped around. To do this, we could add and remove clay accordingly to match the proper size, and if we had more time it would have been nice to perfect the stop motion animation to be cleaner.

In the end we realized that probably simply drawing out the animation in Photoshop would have taken less time and with more quality results, but we wouldn't have gotten to experience how to 3D print and how to make a stop motion animation, so in the end it was worth it!!

Attribution

Cube3 Printer, Cubify app, SketchUp, nettfab, Stop Motion iOS app, MeshLab

Drop files here or click to select

You can upload files of up to 20MB using this form.