Made by Alp Erbug
The goal of the project is to get familiar with Argon, circuits, and basic coding through making LEDs blink
Created: November 2nd, 2022
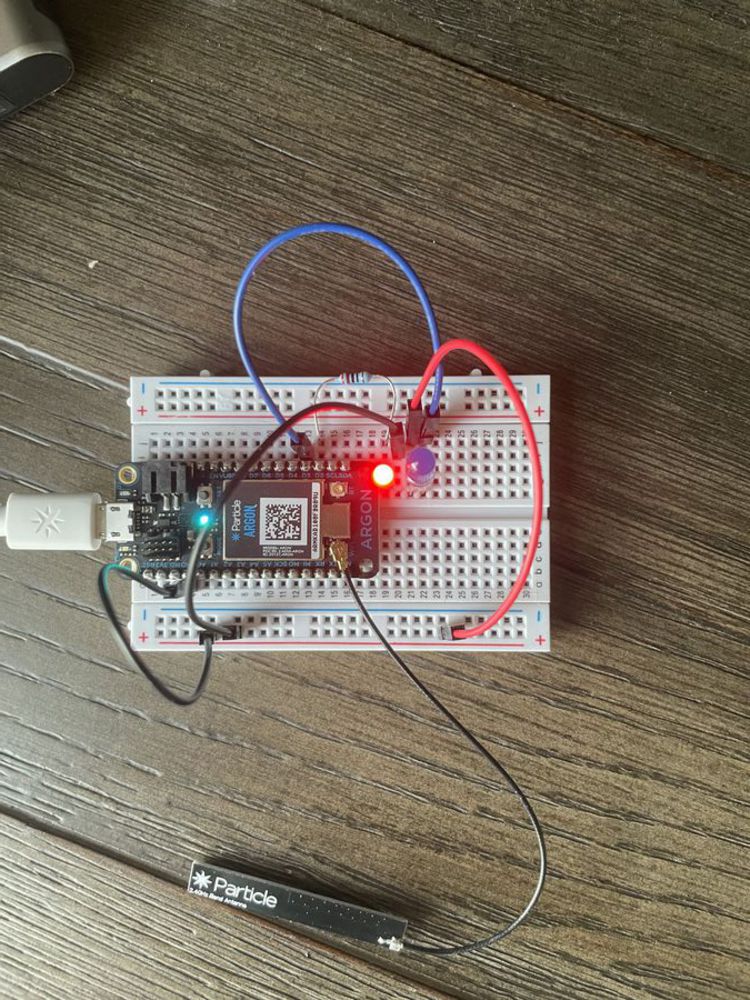
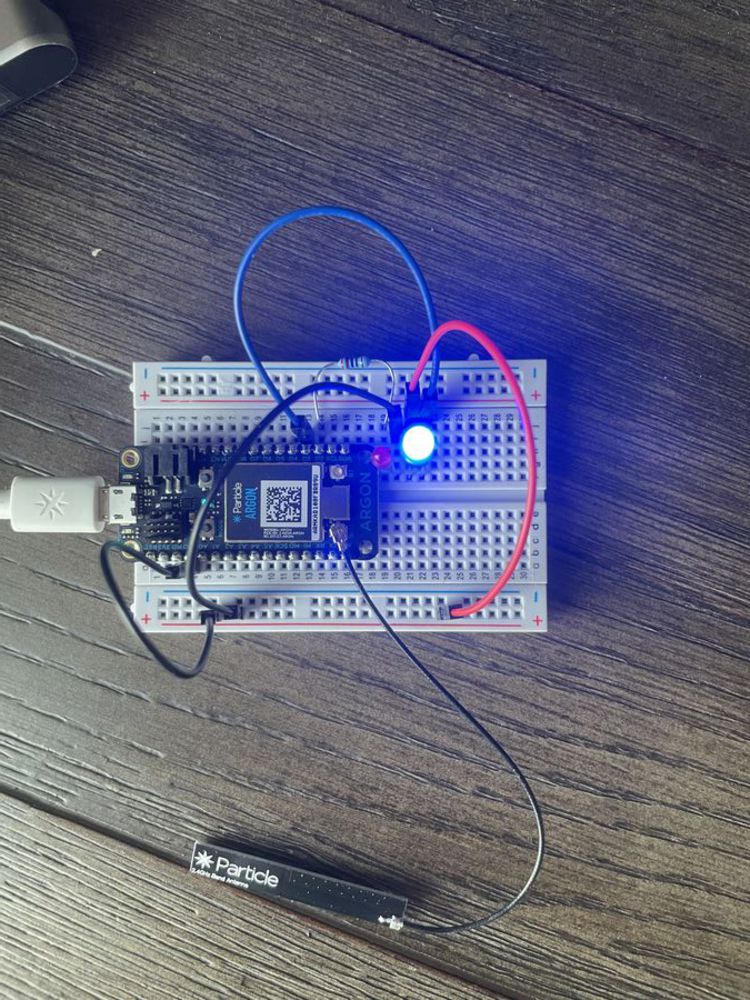
Through following the lab instructions, I put together the below circuit board using the Particle Argon, 2 LEDs, and 4 wires.
The first code lights up the 2 LEDs one after the other, each flashing for 1 second, and continues in this loop until stopped.
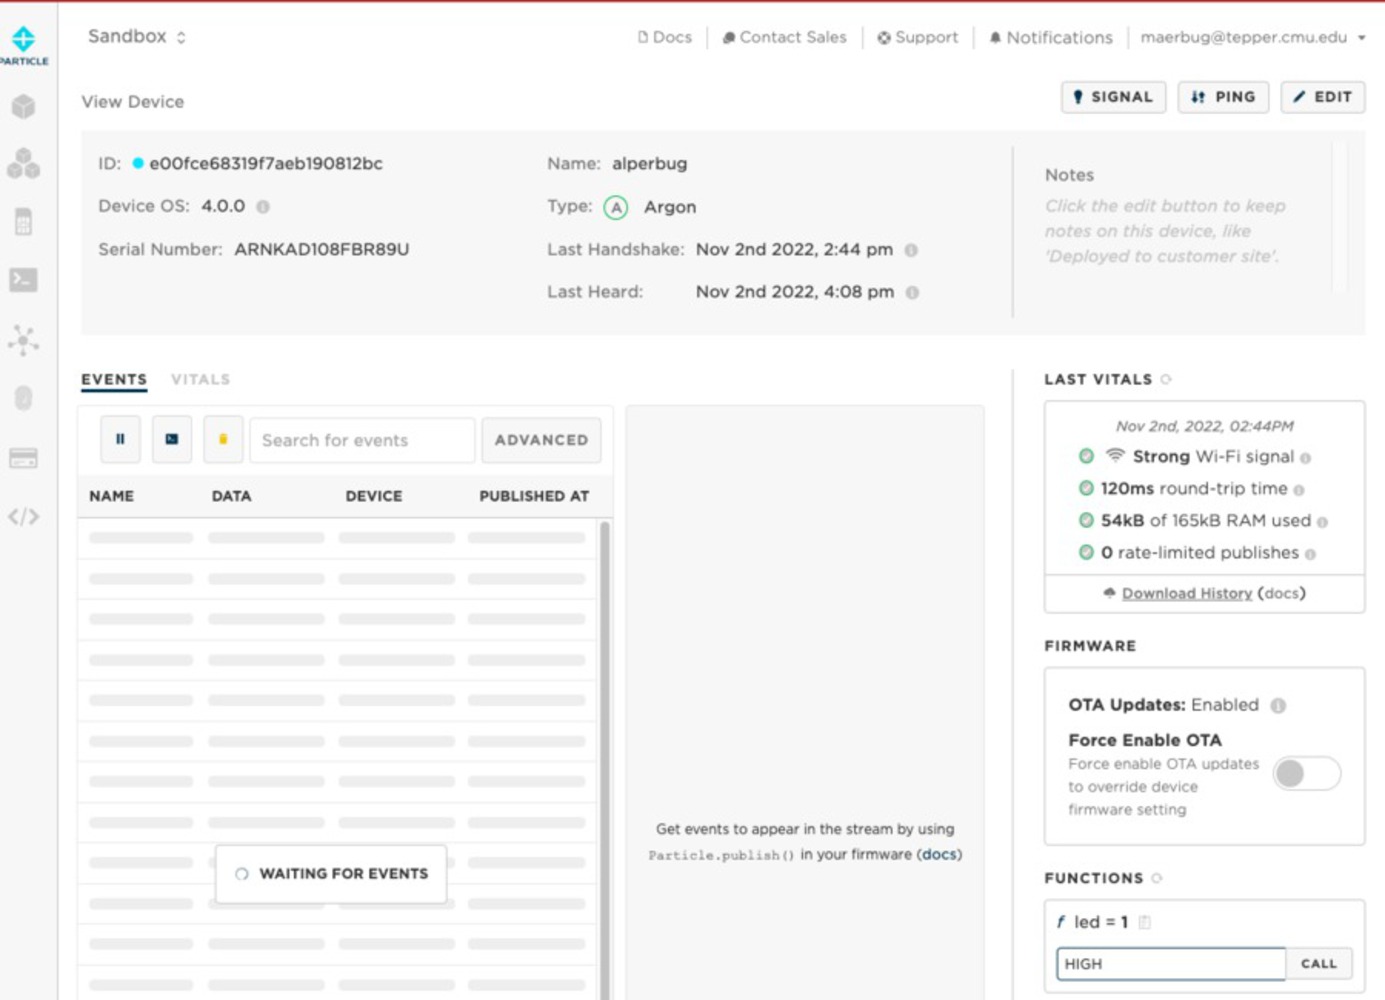
The second code connects the Argon to the cloud, and allows the user to control the LEDs through the Particle Console with "HIGH" and "LOW" commands.
int ledPinR = D2;
int ledPinB = D3;

void setup() {
    pinMode(ledPinR, OUTPUT);
    pinMode(ledPinB, OUTPUT);
}

void loop() {
    digitalWrite(ledPinR, HIGH);
    digitalWrite(ledPinB, LOW);
    delay(1000);

    digitalWrite(ledPinR, LOW);
    digitalWrite(ledPinB, HIGH);
    delay(1000);
}
int ledPinR = D2;
int ledPinB = D3;

void setup()
{
    pinMode(ledPinR, OUTPUT);
    pinMode(ledPinB, OUTPUT);
    digitalWrite(ledPinR, LOW);
    digitalWrite(ledPinB, LOW);
    Particle.function("led", ledControl);
}

void loop()
{

}

int ledControl(String command)
{
    int state = LOW;
    if(command == "HIGH") {
        state = HIGH;
    }else if(command == "LOW"){
        state = LOW;
    }else{
        return -1;
    }
    digitalWrite(ledPinR, state);
    digitalWrite(ledPinB, state);
    return 1;
}