edeng - Bulbasaur Planter

Made by Emily Deng

designing a new home for my windowsill succulent

Created: February 9th, 2018

0

Intention

The goal of this project was to familiarize myself with Fusion360 and the 3D printing process. Under the project theme of "Holder," I wanted to create something useful that I could appreciate in my everyday life, so I decided to design a succulent planter to replace the original plastic planter. I thought having my own custom-designed, 3D printed planter would help decorate my living space and express my personal interests.

0

Research + Context

After some initial research on sites like Etsy and Thingiverse, I saw there were many 3D printed planter options. From looking at these designs, I saw that I could be pretty creative in terms of the shape of the planter. Many designs were like a pun where the shape of the plant represented something else, such as a succulent acting as succulent leaves. I saw that I had to be mindful to have enough space for the soil and include a drainage hole.
0

Aesthetic + Inspiration

I was inspired by the current resurgence of 90's nostalgia, and Pokemon was my favorite show/video game as a child. I came across an existing 3D printed bulbasaur planter in a low-poly style, and this inspired the relatively block-ish shape of my final design.

0

Process + Procedure

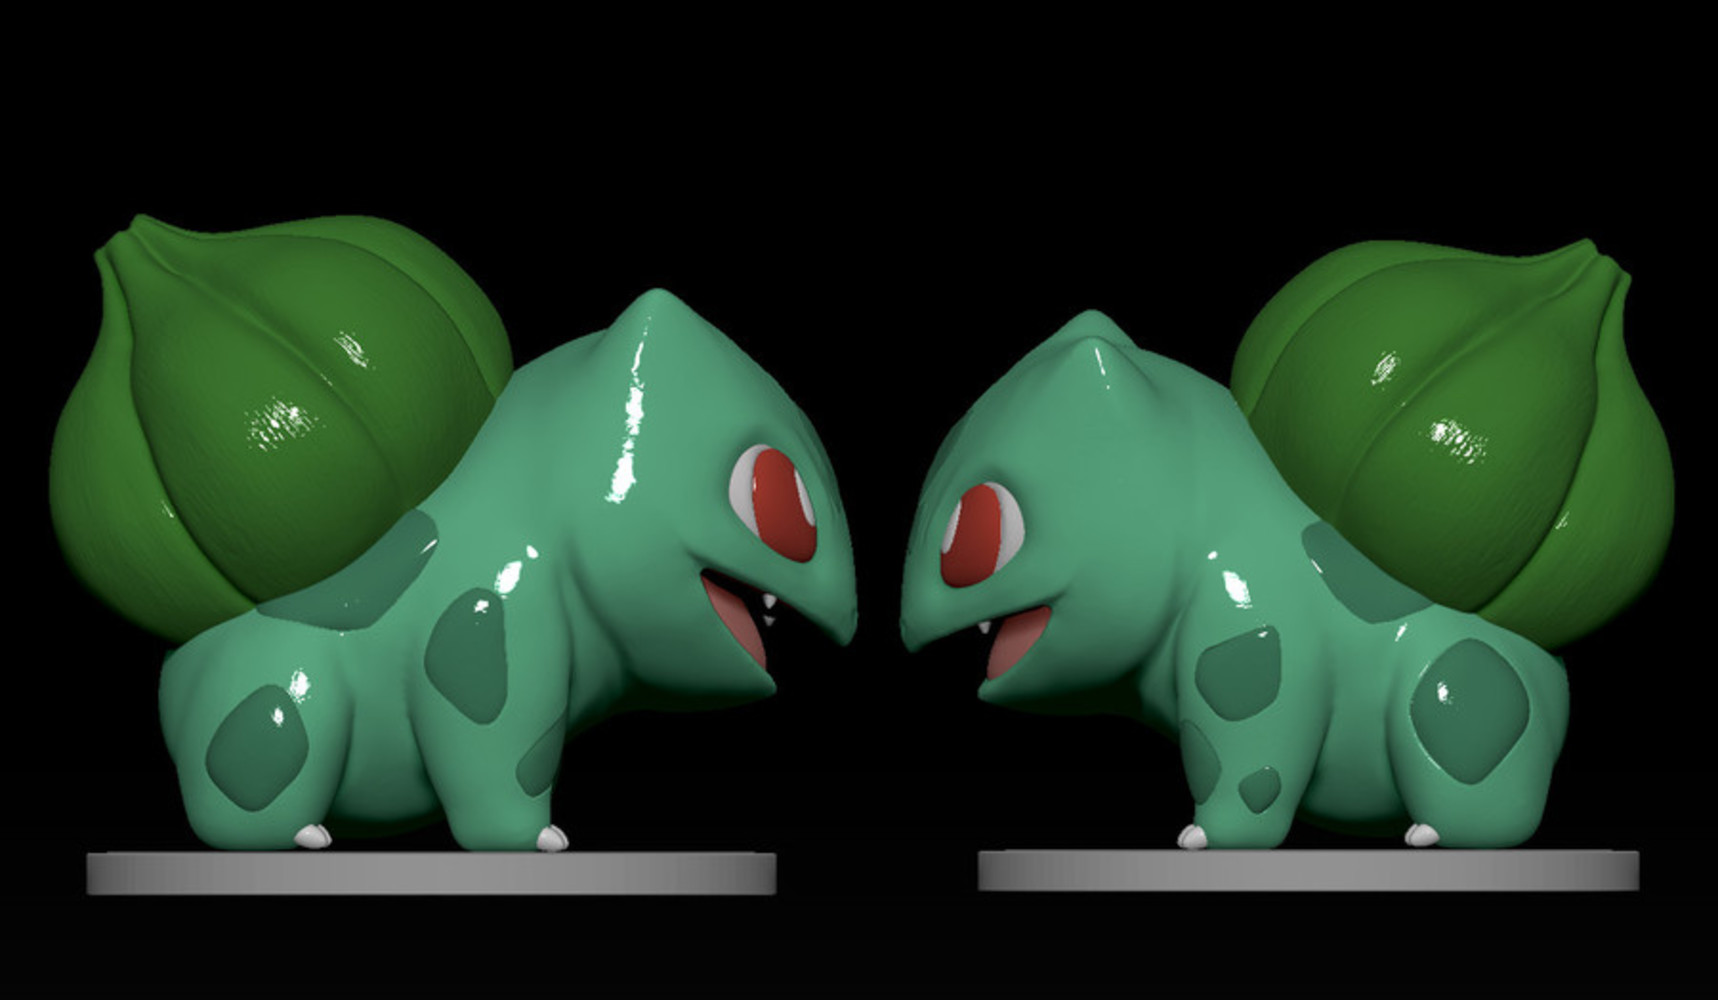
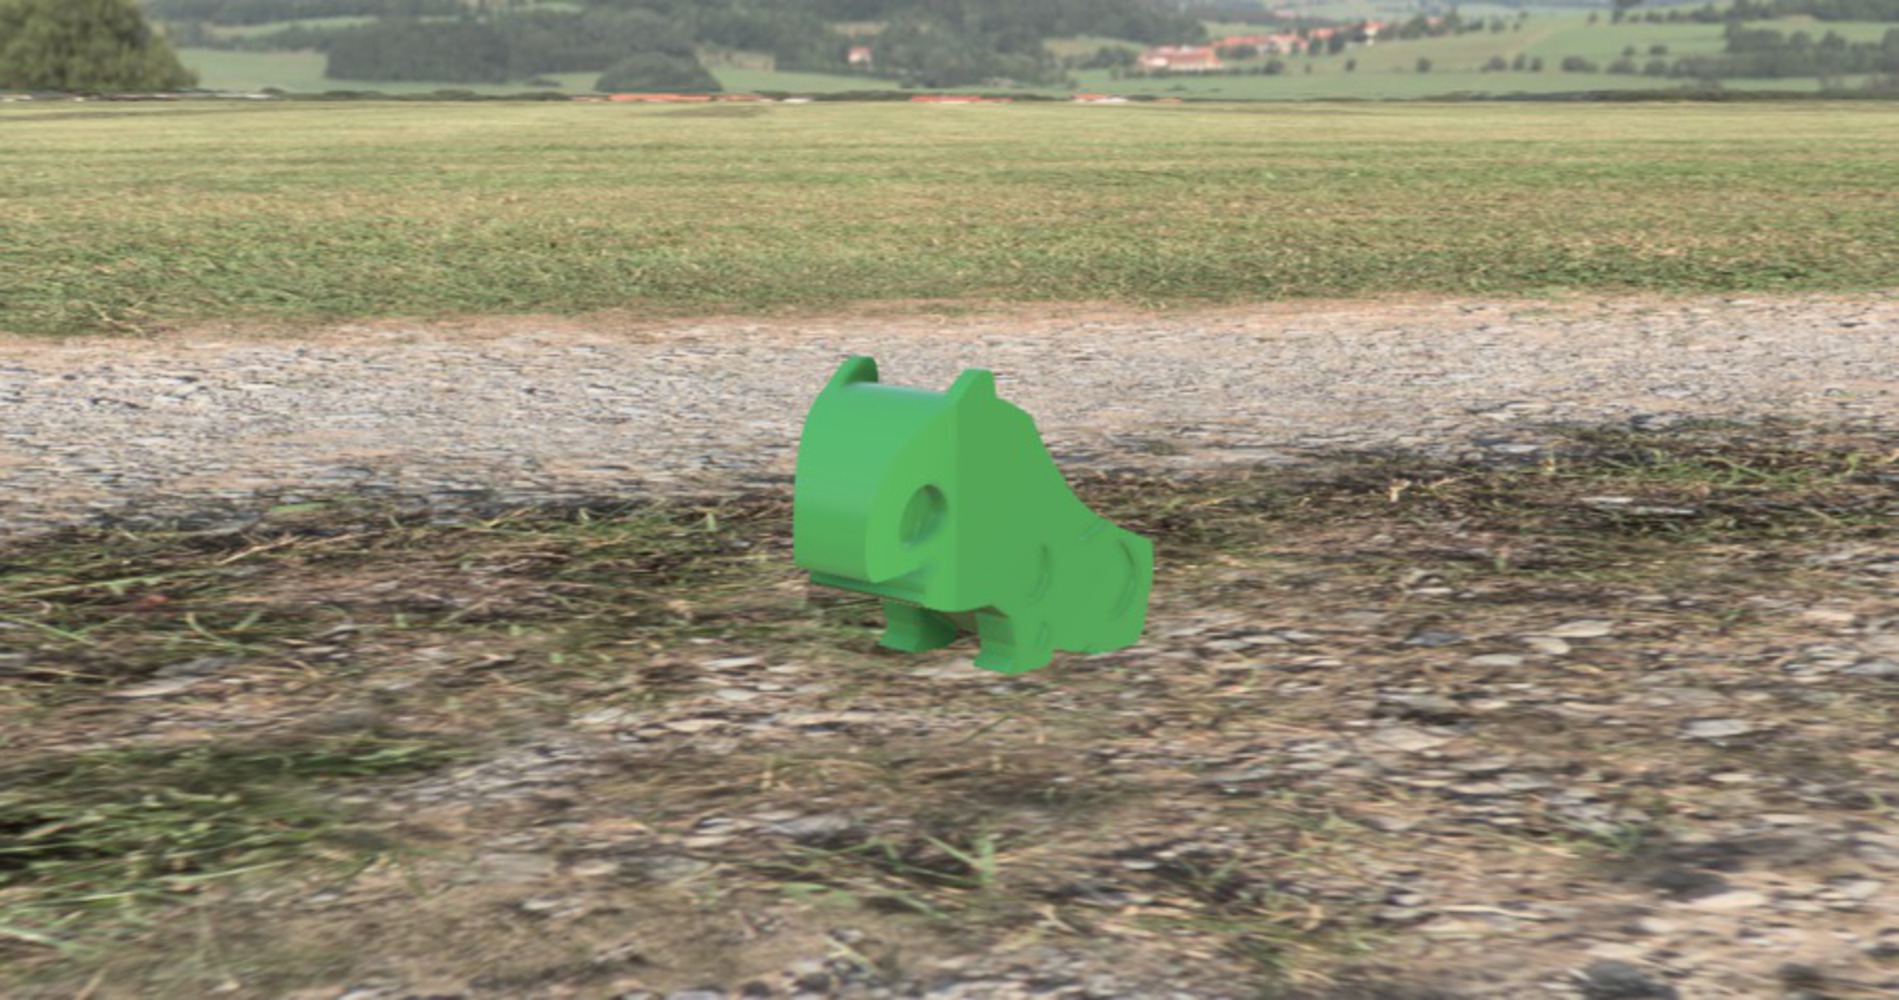
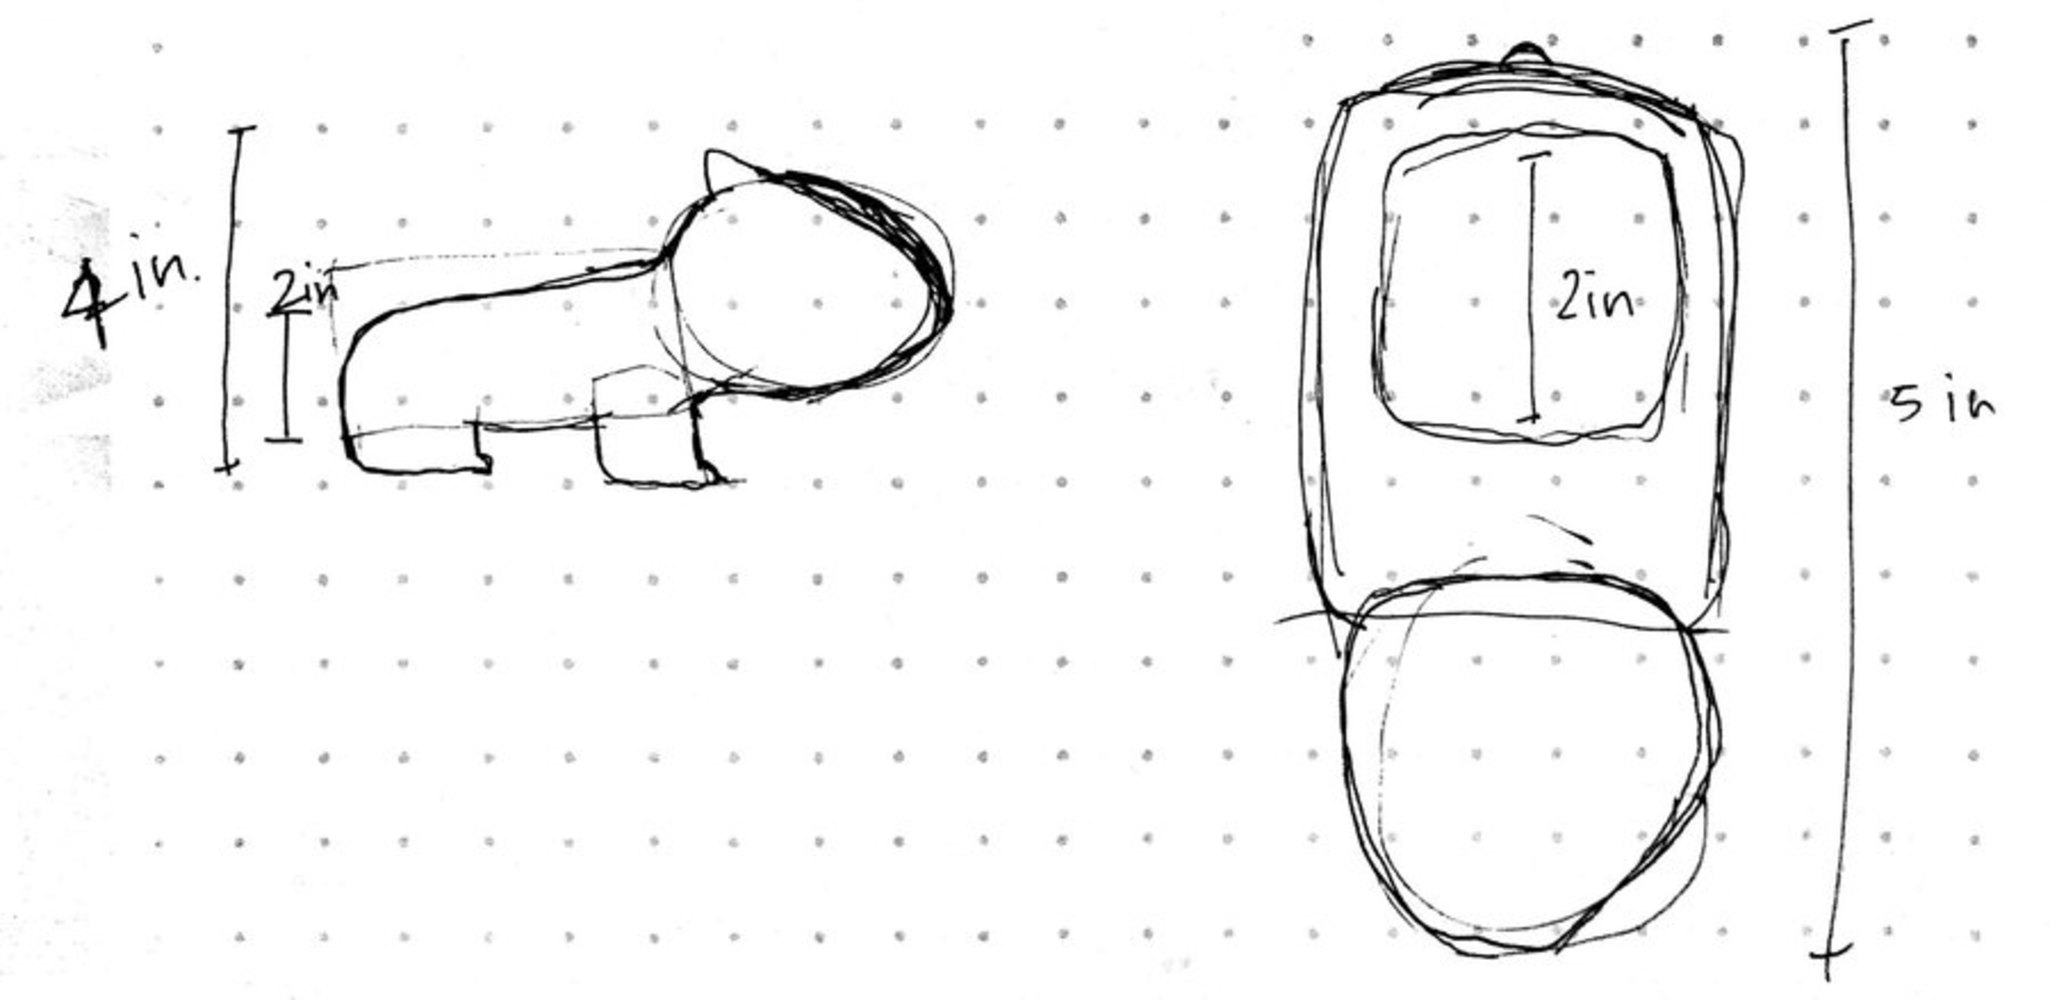
I used Fusion360 to model my design. Since bulbasaur is only symmetrical on the z-axis, I chose a side view bulbasaur as a reference image. I used the spline tool to trace its shape on the z-plane. Then, I extruded the sketch and eyeballed the dimensions so it appeared proportional. I soon realised this model would be too small to fit my succulent plant, so I scaled the body 2x.

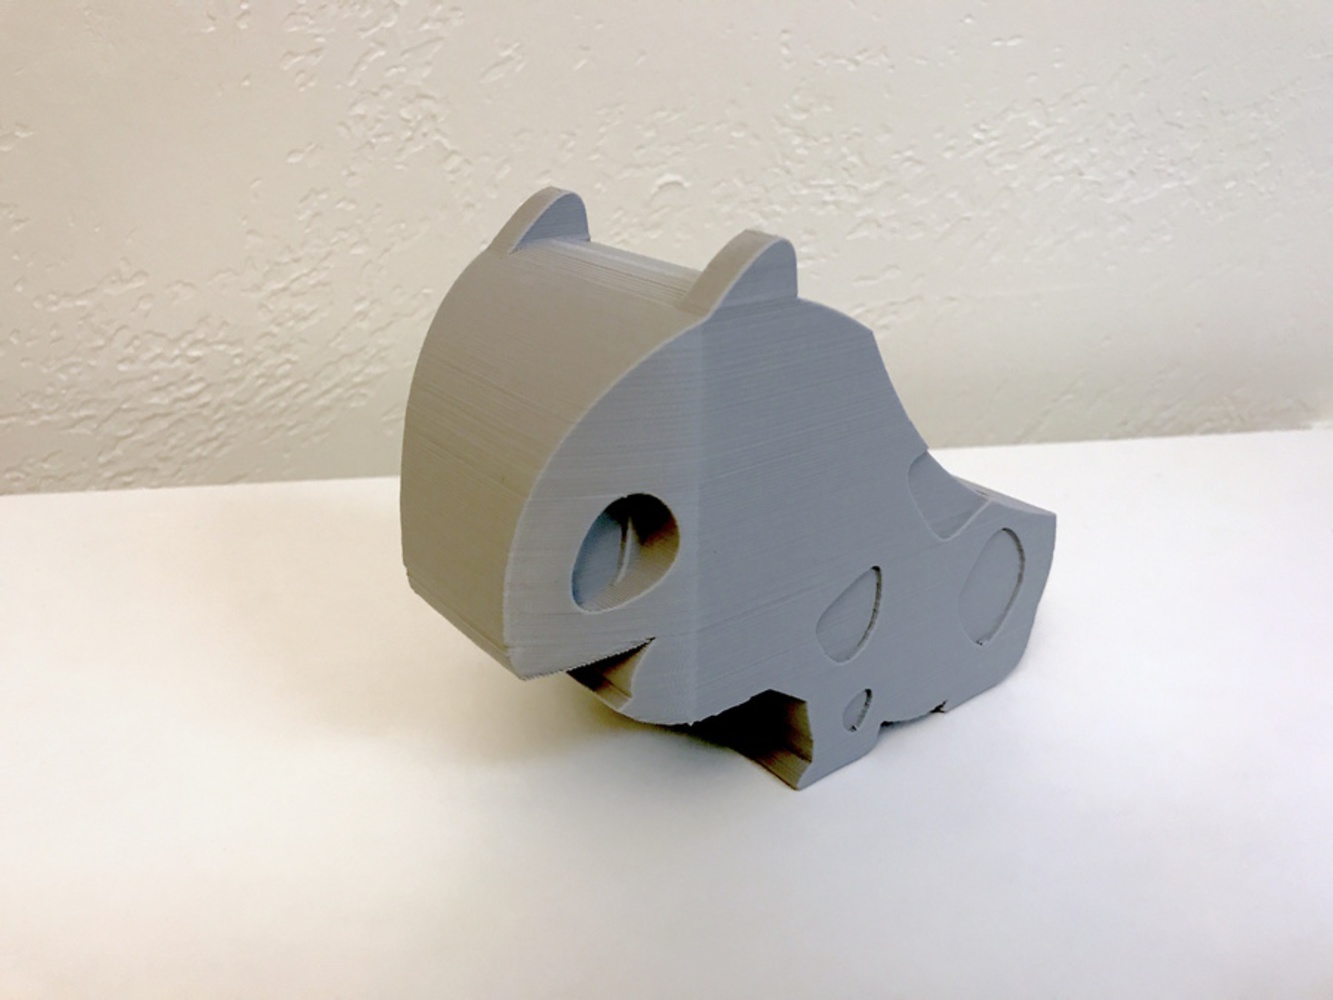
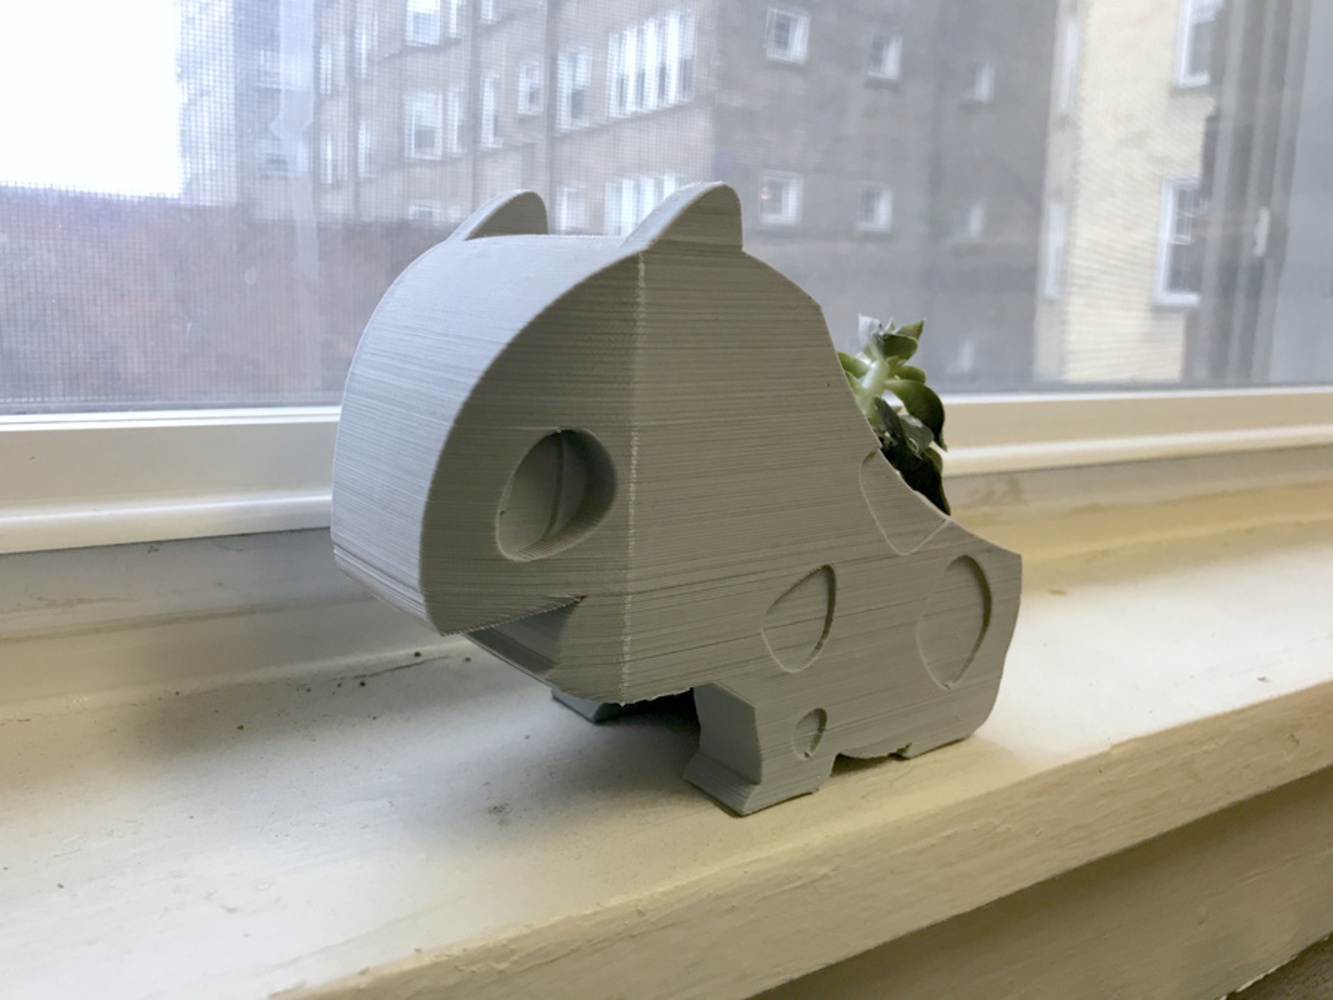
Next, I created construction planes that bisected bulbasaur parallel to the z-plane, and I drew sketches of the legs. Using the extrusion tool, I used these sketches to cut into the body to create the 4 distinct legs.

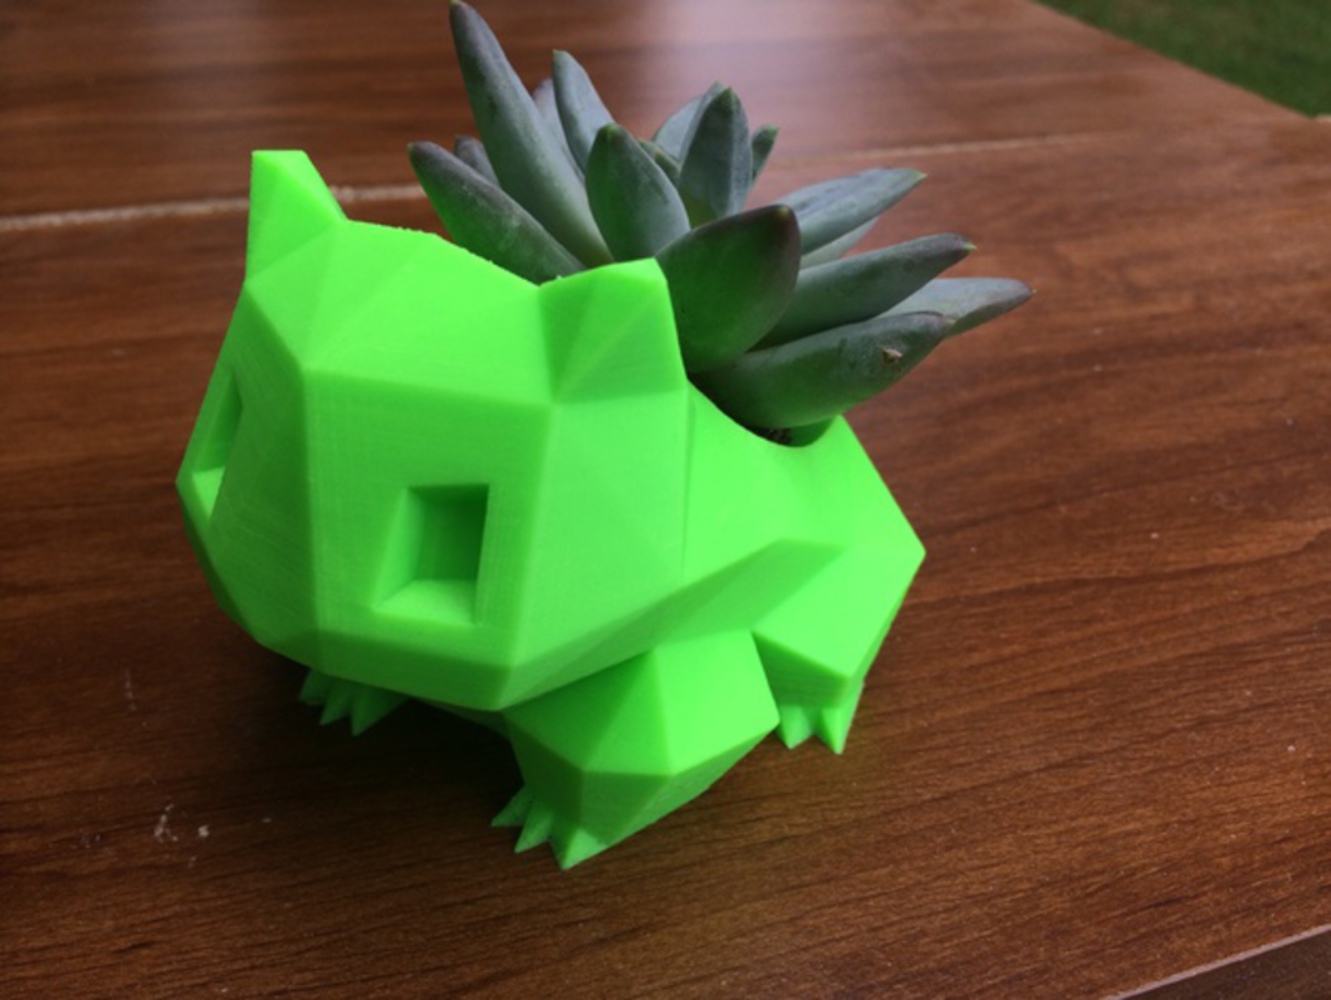
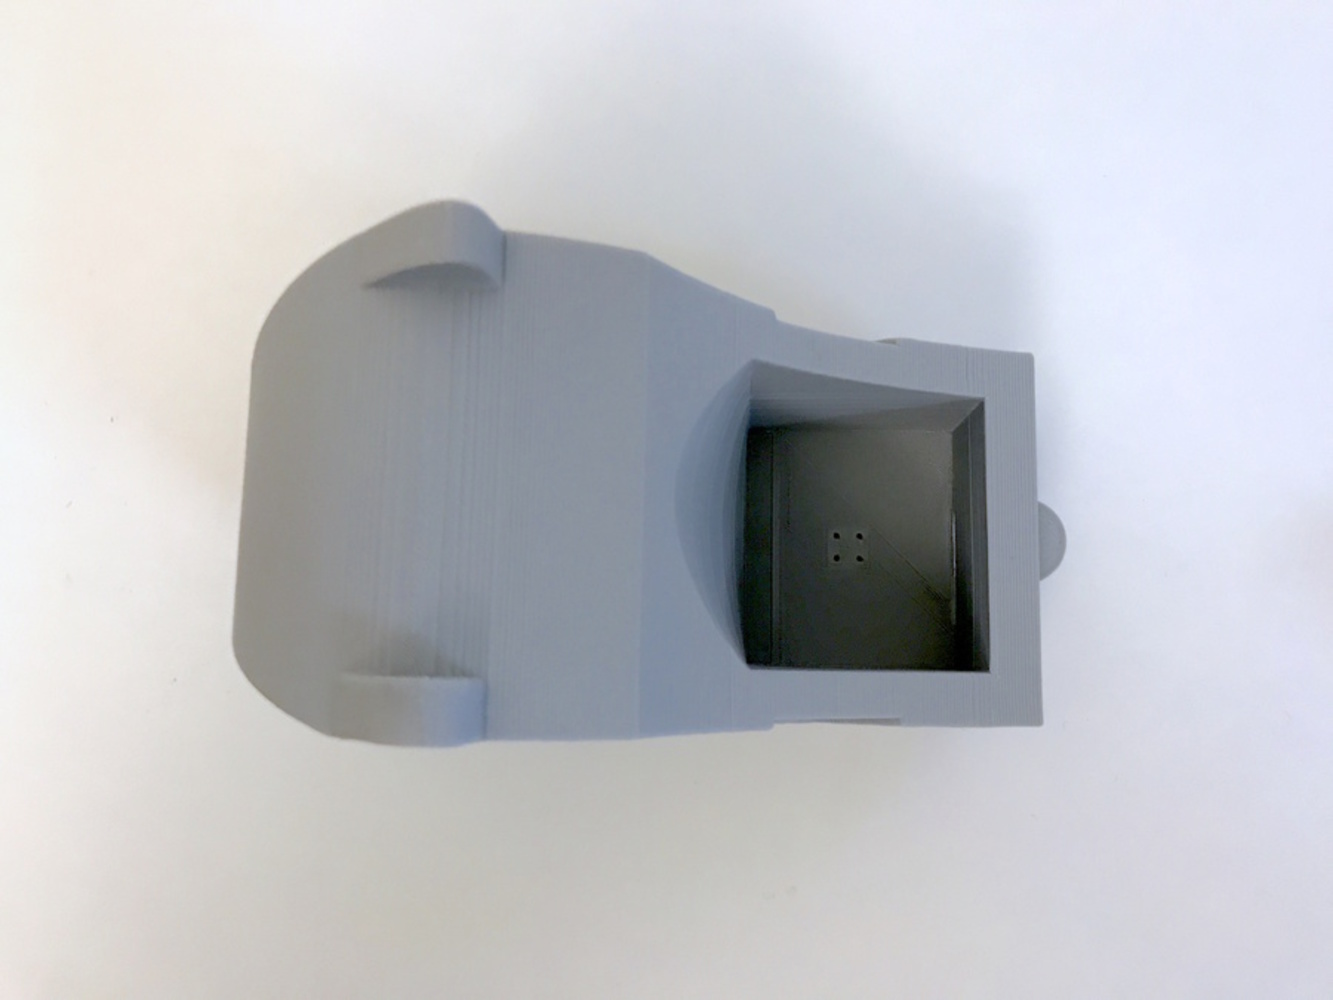
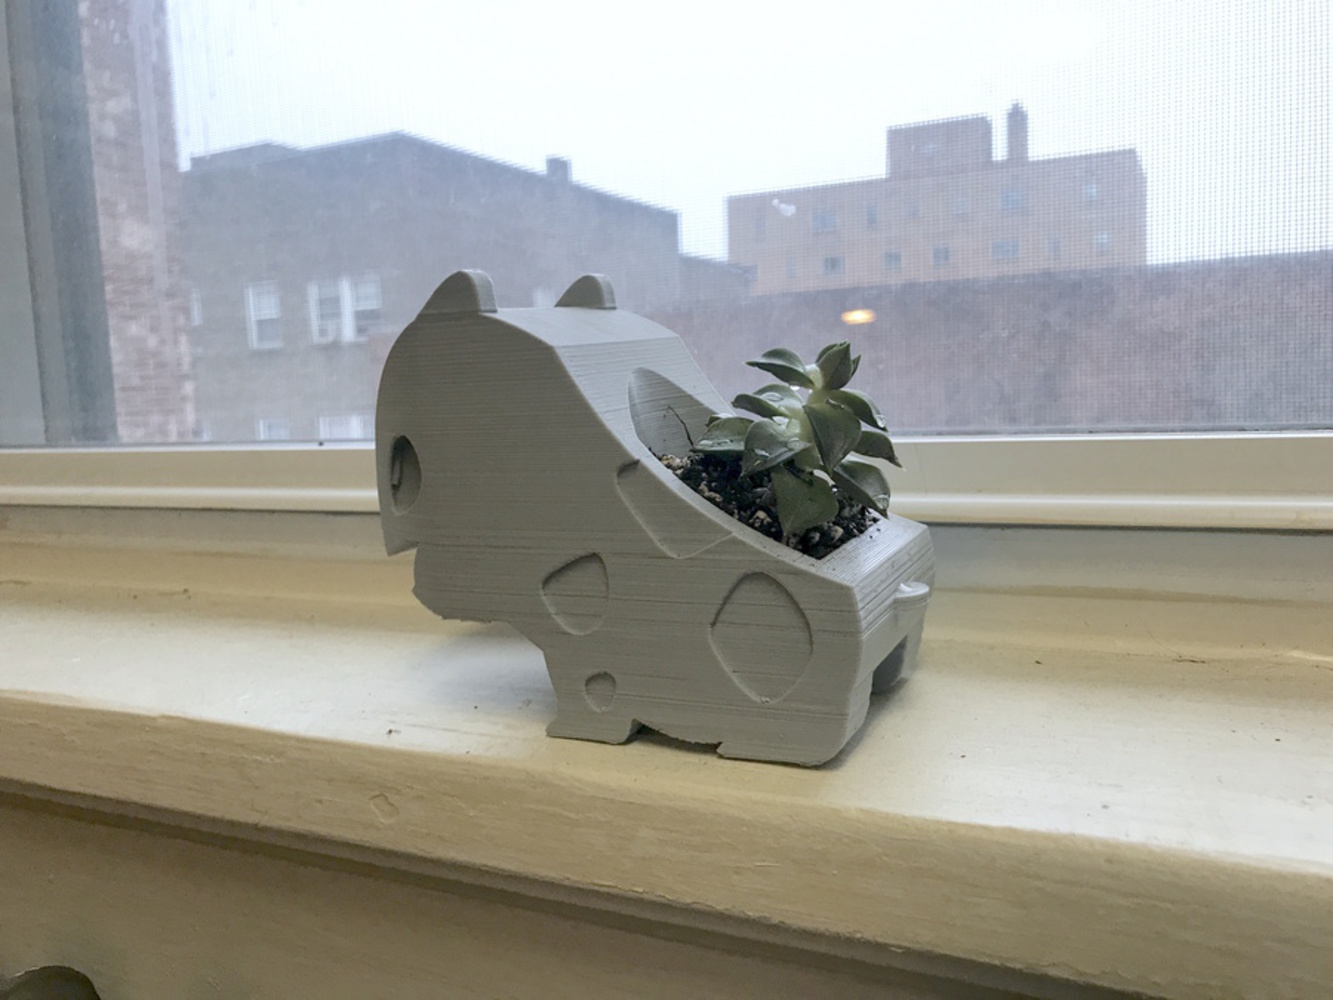
My next step was to create the holder portion of the planter. I drew a rectangle with one arced side (this was copied from the inspiration bulbasaur planter) and cut into the body to form an approximate 2"x2" shape. I then sketched and cut four small drainage holes through the bottom. This would form the holder for the succulent plant.

Then, I felt the design wasn't very recognizable as bulbasaur, so I added more details. Using the spline tool, I outlined bulbasaur's eyes and spot pattern and cut a few millimeters into the body. However, the head of bulbasaur was still too blocky, so I used a the tool split body to cut an angle on both sides of the head. This led me to readjust the cut distance for the eye details.

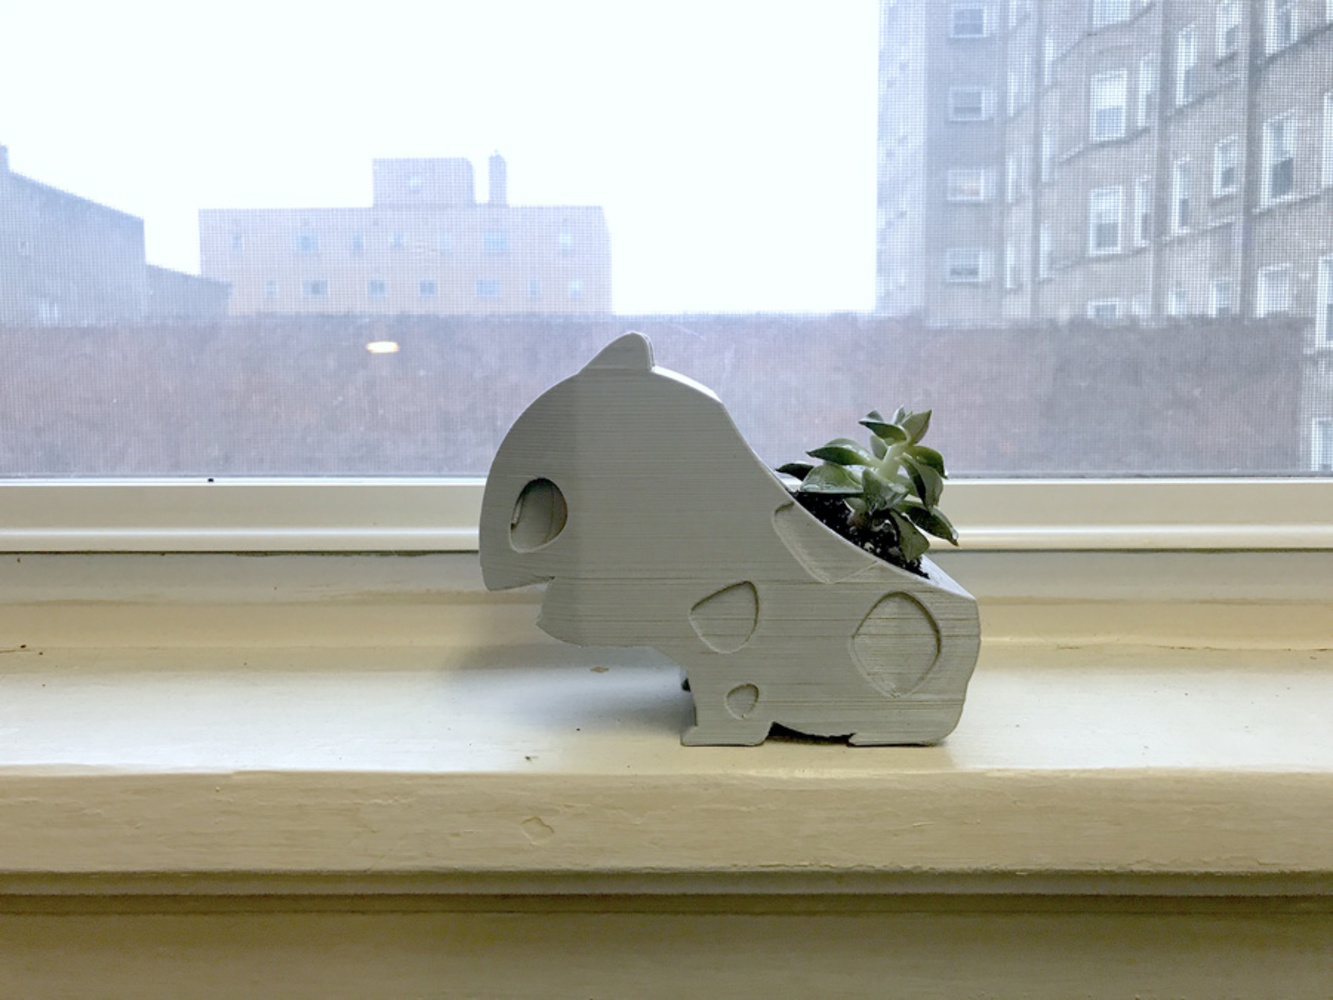
Finally, my design was ready to print! I scaled it down to 75% and sent it to NVBots. It took 10+ hours to print.

0
0

Reflection

This was my first project in designing a CAD model from scratch and 3D printing. What surprised me the most was that 3D printing takes a long time! I was quite surprised that something that fits in the palm of my hand would take 10+ hours to print. Overall, this project was a great introduction to using CAD software. By the end of this project, I was fairly comfortable with the spline tool (after watching a quick youtube tutorial in addition to class time). I quickly learned how robust Fusion360 is and how it compares to tools I'm more familiar with like Adobe Illustrator. 

0

Photos

0

Sketches

x
Share this Project

Courses

99-359 Inventor and 3D Printing

· 16 members

This workshop is a hands-on introduction to the expansive world of 3D printing. 3D printing is a popular and versatile technology for quickly prototyping ideas. Students learn prototyping basics an...more


Skills
Tools
About

designing a new home for my windowsill succulent