Embroidery (Skills Investigation)
Made by emmaliu
Made by emmaliu
I practiced basic embroidery stitches by applying them to make a minimalist sketch of motifs I enjoy and find throughout my life.
Created: October 21st, 2017
In 6th grade, a few months after my mom's first surgery and chemotherapy sessions started, I learned of the Japanese legend of senbazuru, or 千羽鶴. It promises that anyone who folds 1000 paper cranes will be granted a wish from the gods. Over that year, I completed the thousand on my own; and by some miracle, she went into remission for a year soon after.
This year, when she started having more difficulties with her treatment and physical therapy, I started round two of the senbazuru. From March to August, I folded 874 paper cranes. My biggest regret is not having completed the remaining 126 before she suddenly passed away.
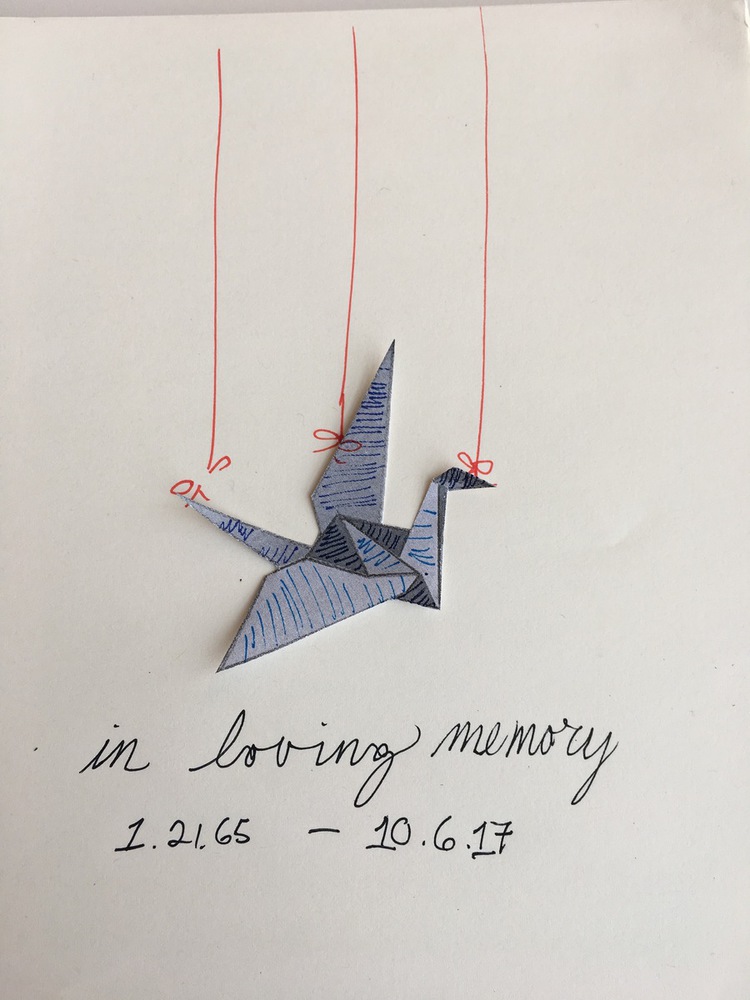
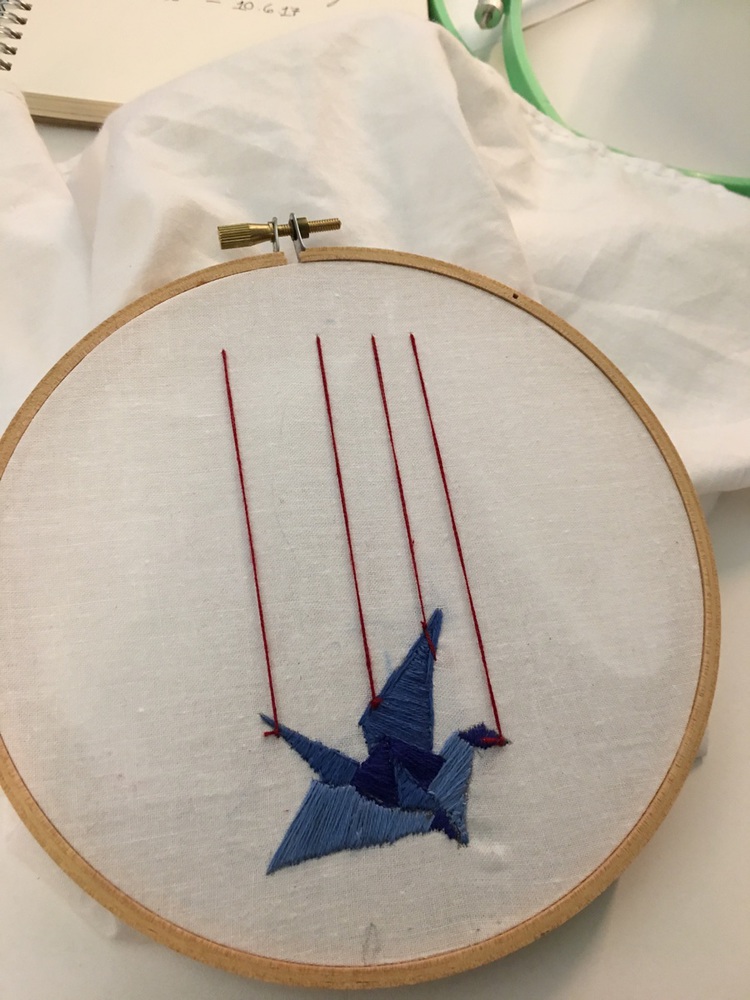
Two weeks ago, my mother passed away suddenly. For this project, I decided to practice honoring her memory by embroidering a crane - a motif of her later life, a symbol of her strength, and my desire for her health and happiness - held up by red threads, which, in Chinese folklore, symbolize fate and connections.
My motivation to start small with embroidery is to continue practicing my needlework skills to actualize the more abstract ideas and patterns in my head. My goal after completing this sampler is to make a larger piece - perhaps a tapestry - featuring 1,000 cranes, embroidered.
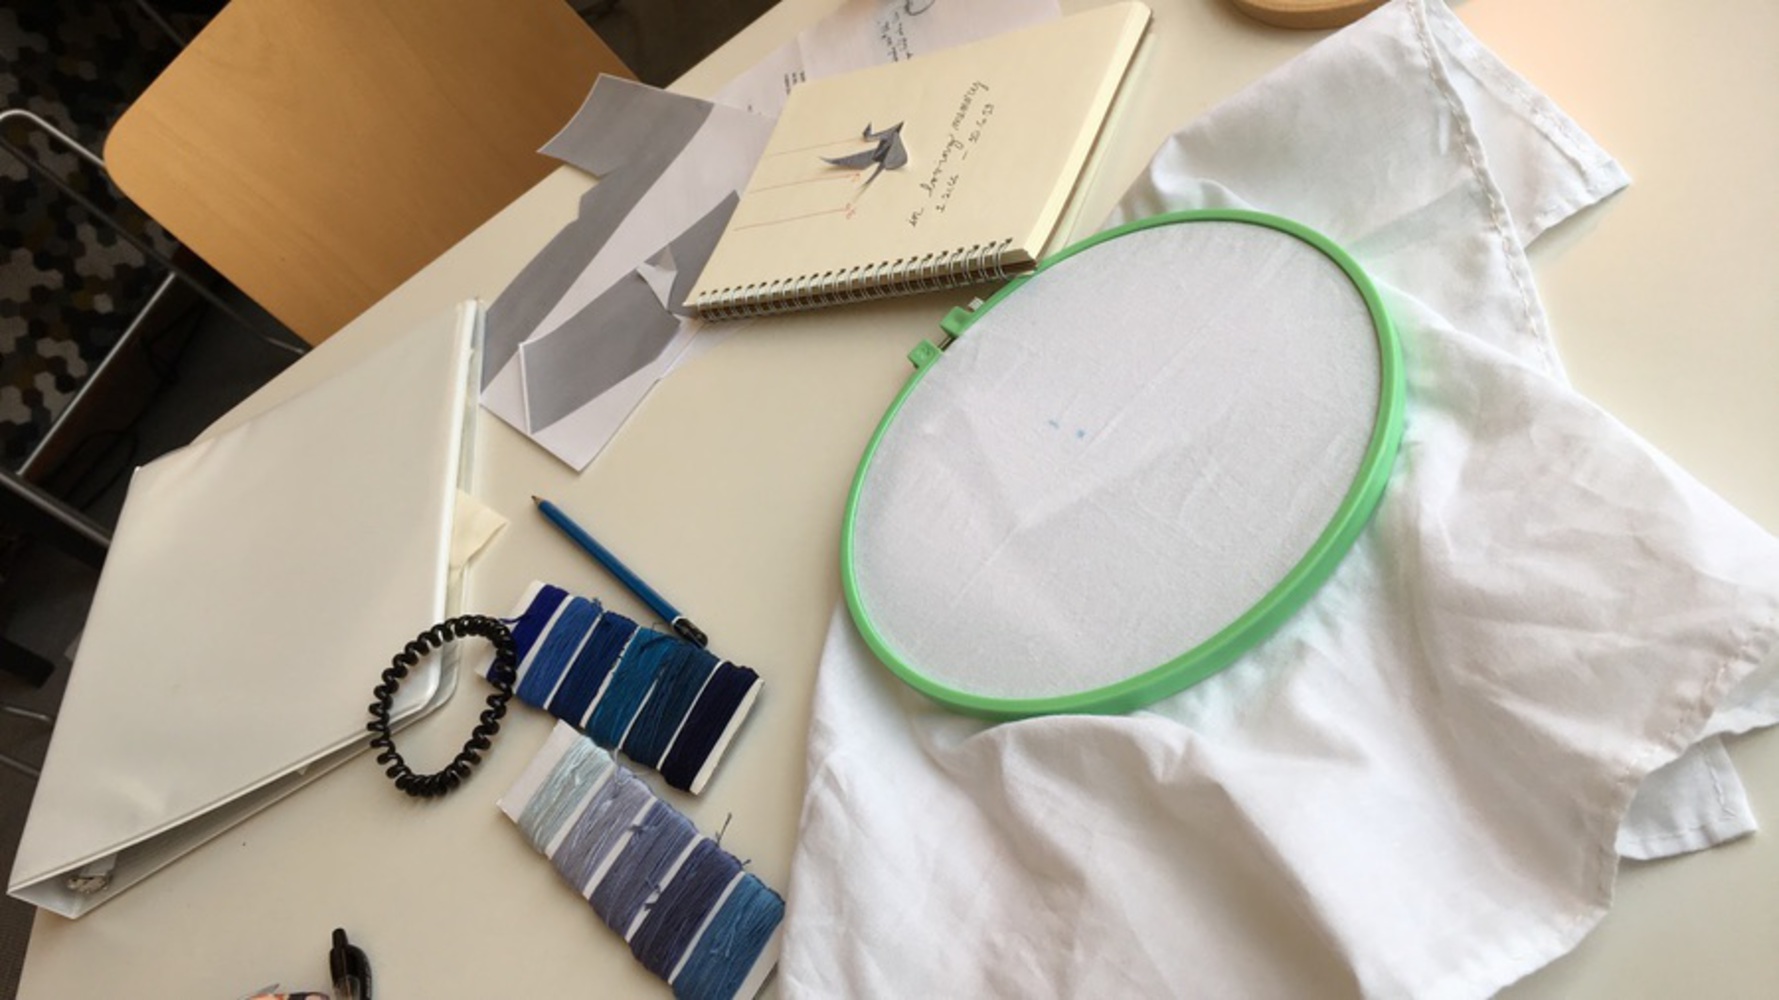
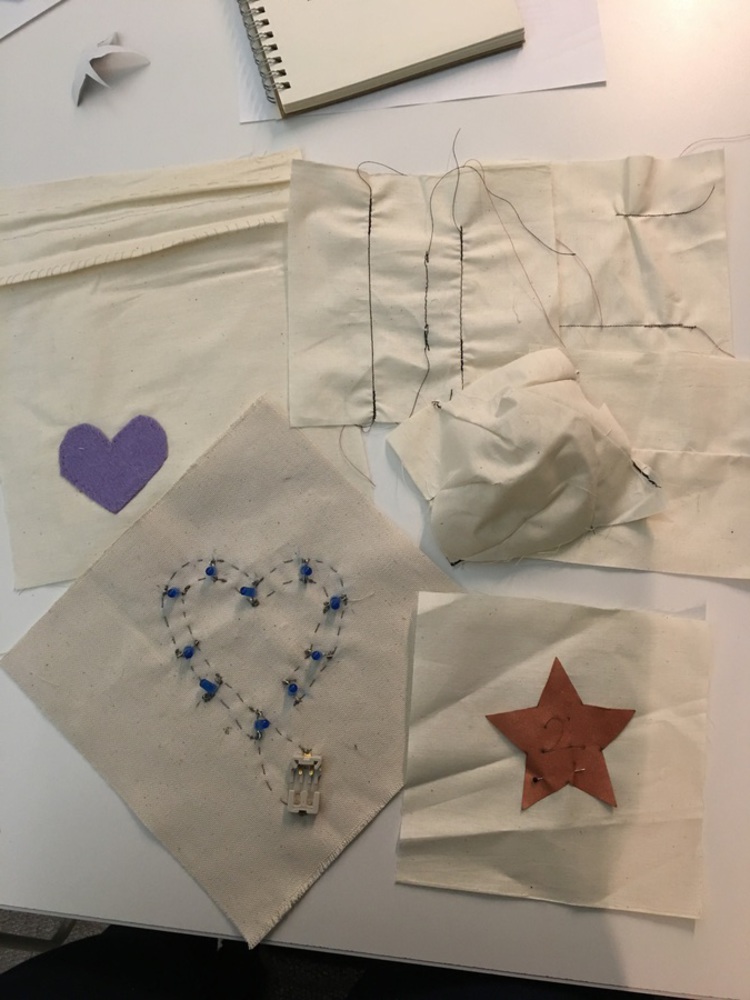
Before taking this class, I was interested in refining my hand-sewing technique. I had a lot of cotton cloth with a tight weave on hand. Though I had bought two yards of it as unlabeled scrap material, I think it may be thin cotton or a bleached muslin. With it, I stitched (by hand) a large handkerchief, approximately 22x22 inches, with a running stitch. (I make this square of fabric into a handkerchief, rather than just embroidery onto scrap fabric, because I wasn't sure of how I would like to display my work when it was finished; a handkerchief would be inoffensive regardless of the outcome.)
Though cranes, in general, have a large cultural significance in Japan, I decided to stick with a minimalistic design to reflect my history with paper cranes. This meant that essentially, I would be stitching a tangram. Recognizing that I wanted to perfect a procedure/technique to stitch accurately and neatly, I decided to work with a smaller image 3x4 inches.
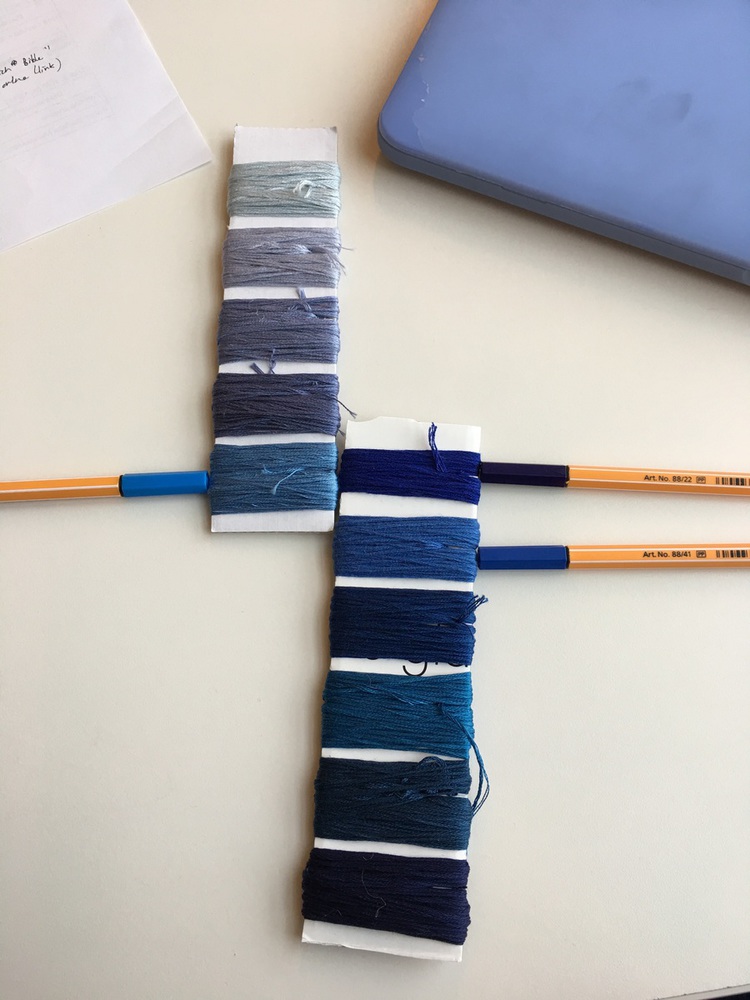
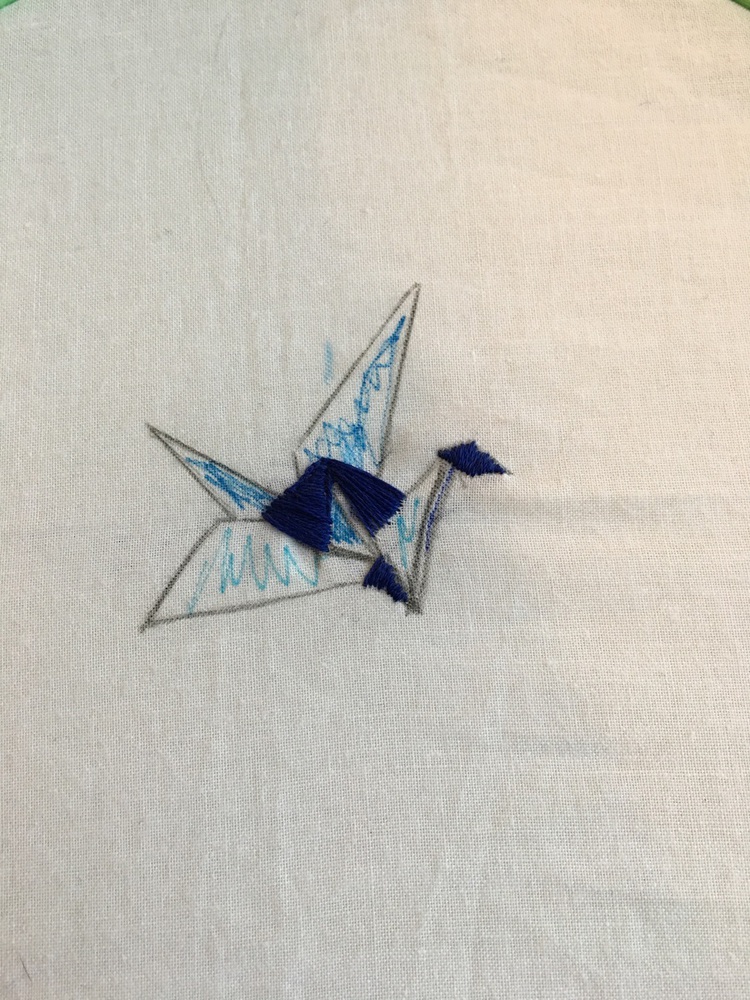
To differentiate the fold depth and size, I used three colors of embroidery floss: dark navy blue, cornflower, and teal (coincidentally, the color of the ovarian cancer ribbon). I found an image of a minimalistic crane online.
Then, I cut out the crane template and briefly sketched the grain direction of stitches for each tangram section; this was to diversify the direction of the thread, and make the "folds" of the crane more apparent to the viewer's eye. I also drew approximate locations of where I would like the red threads to "hang" on the crane.
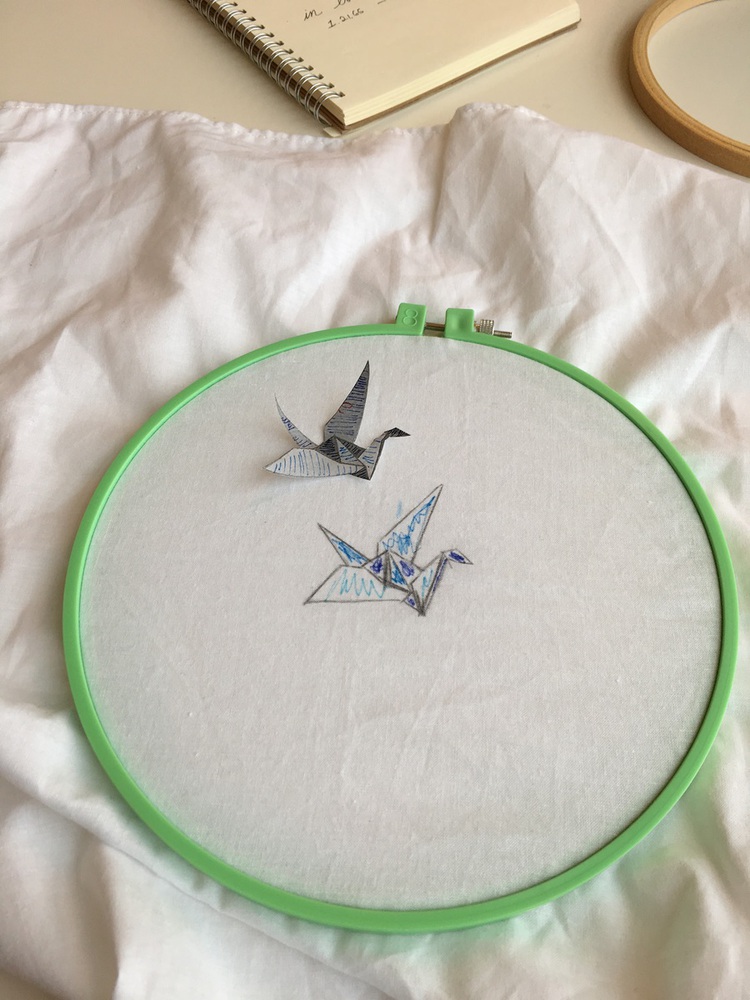
I was planning on using solely satin stitches for each of the tangram sections. However, it soon become apparent that the cotton material was extremely thinly woven; as I worked, the previous stitches shrank in on themselves, and the crisp outline I wanted them to follow became uneven. In order to attempt rectifying this, I went back and tried to make bigger satin stitches to cover the ragged edges. This worked to some extent but it looked very messy, especially for the smaller sections. Eventually, I went back and simply attempted to mask the ragged sections with an outline of running stitches.
Moving forward on the larger sections, I tried to prevent these errors from happening again by making an "outline" before I moved on to satin stitches to block in a crisper outline and prevent the stitches from "shrinking" the fabric again. This helped immensely.
The process of making very, very small satin stitches, and then retrospectively trying to alter the jagged edges they were creating after bunching together, was tedious. Moving forward, if I were to make such small designs again, I'll use the outlining method prior to make the satin stitches to "block" out my work. In addition, I will favor a stiffer medium (probably fine-knit muslin).
However, as this was a test run, I am overall satisfied with my work.
As I mentioned previously, my goal after completing this sampler is to make a larger embroidered tapestry featuring a multi-colored, minimalistic set of 1,000 cranes. Though I mostly stuck with basic stitches, I believe that if I were to continue learning embroidery, it will become helpful for making patches/appliques (which I avidly collect), patterns, even visual representations of data (weather, temperature, mood, music, numbers, etc.) I look forward to seeing how I will continue working with embroidery.
I practiced basic embroidery stitches by applying them to make a minimalist sketch of motifs I enjoy and find throughout my life.