Priya Jain - Skills Dev 2
Made by Priya Jain
Made by Priya Jain
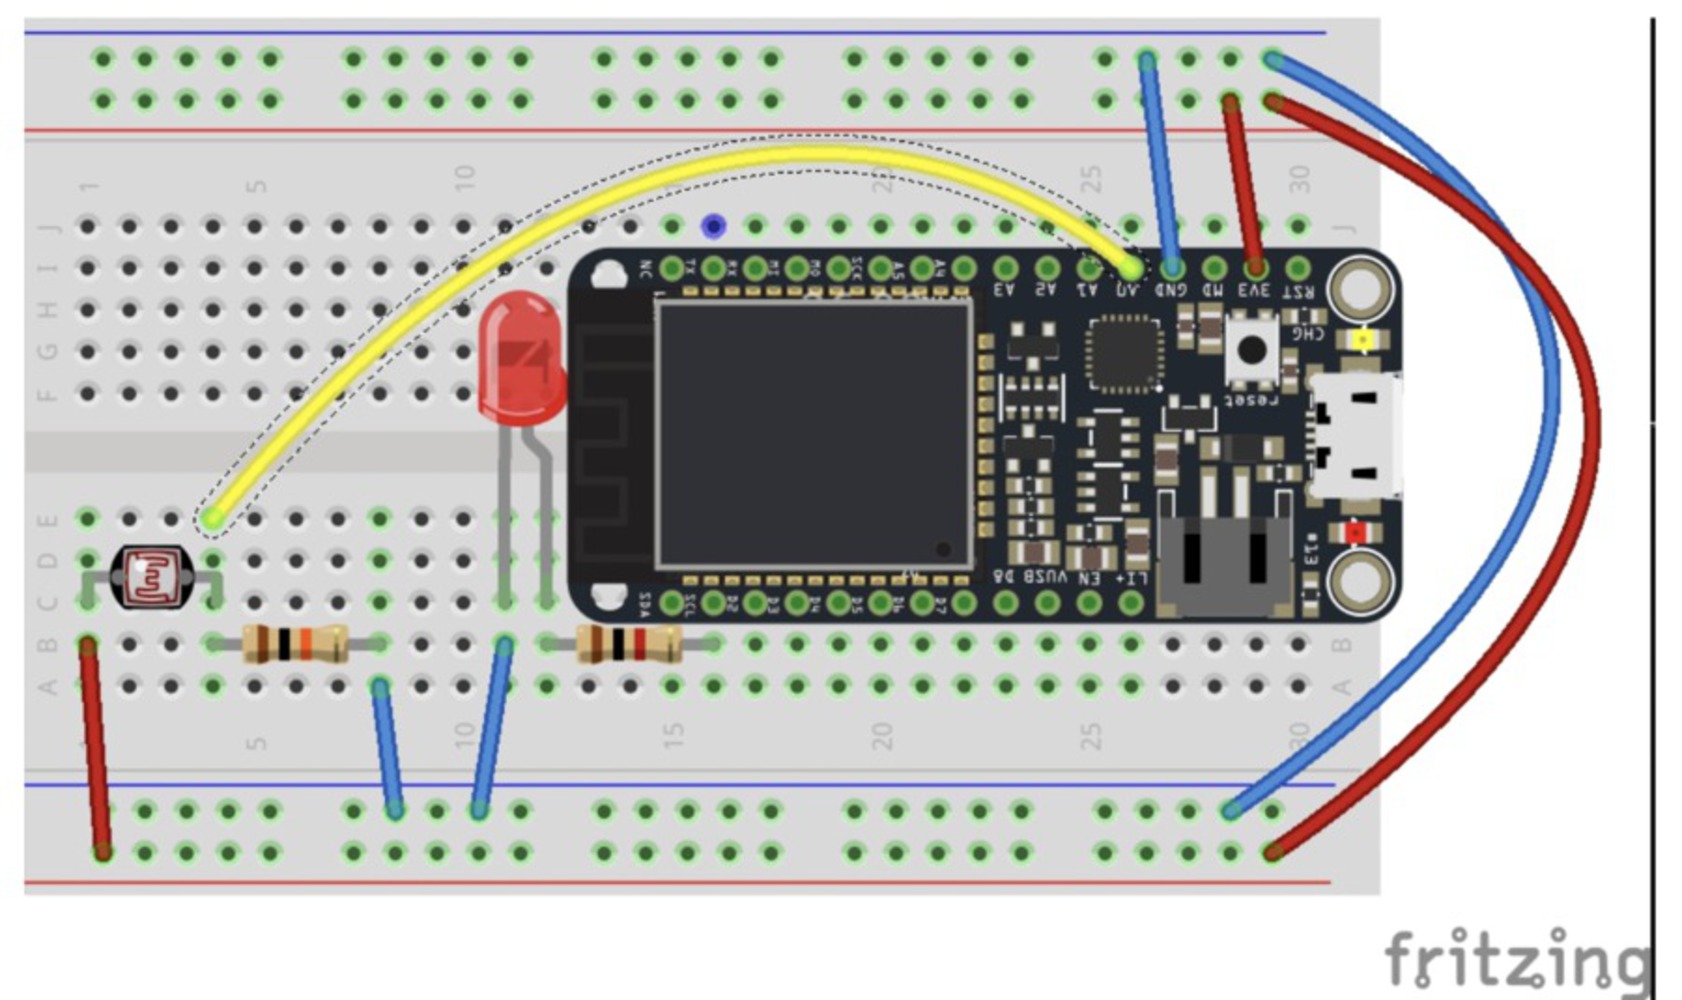
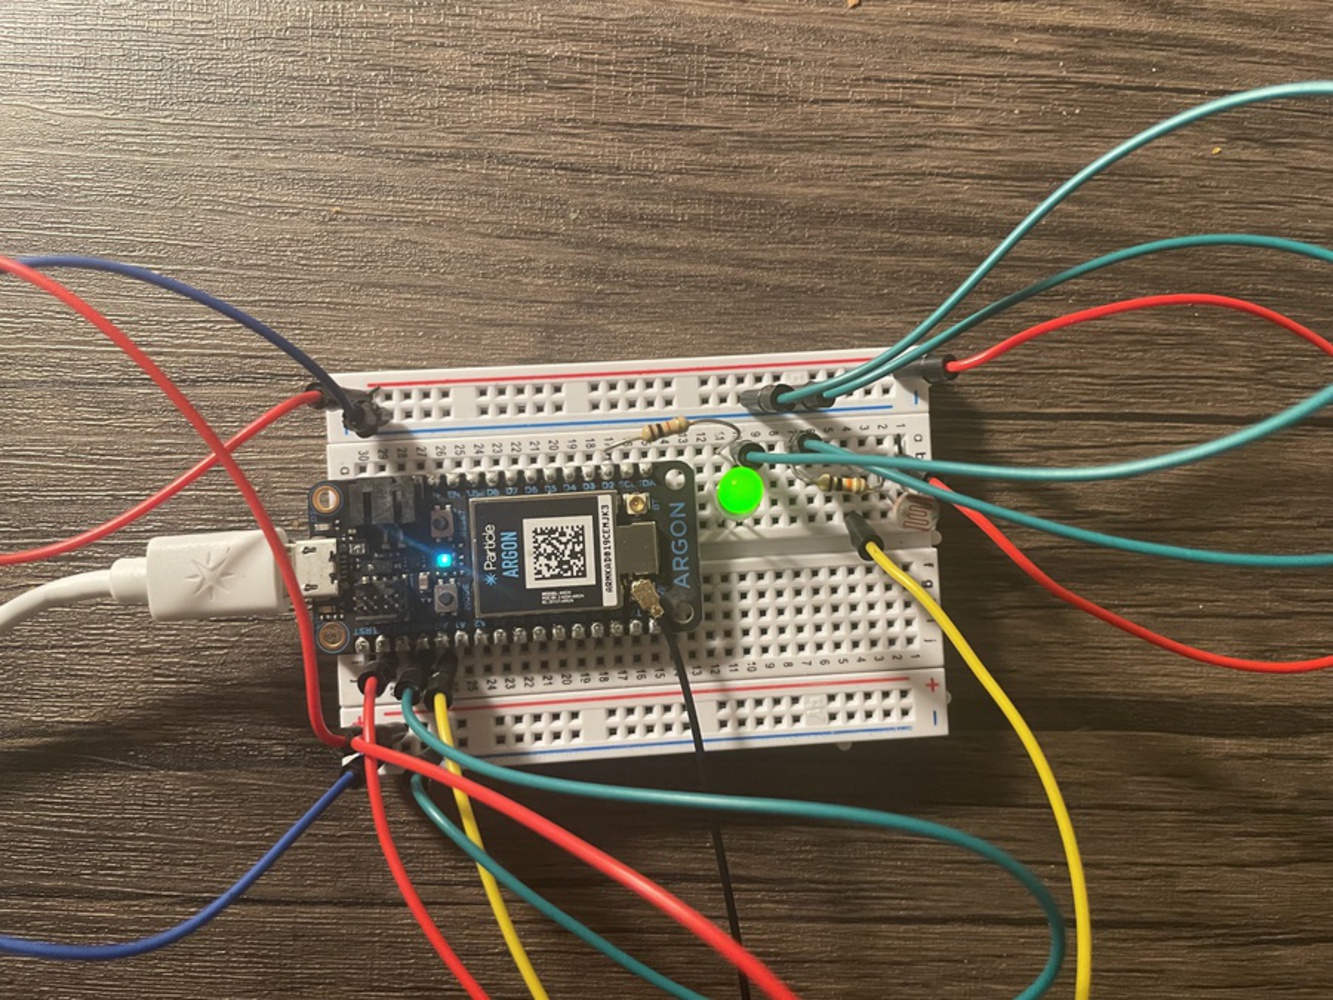
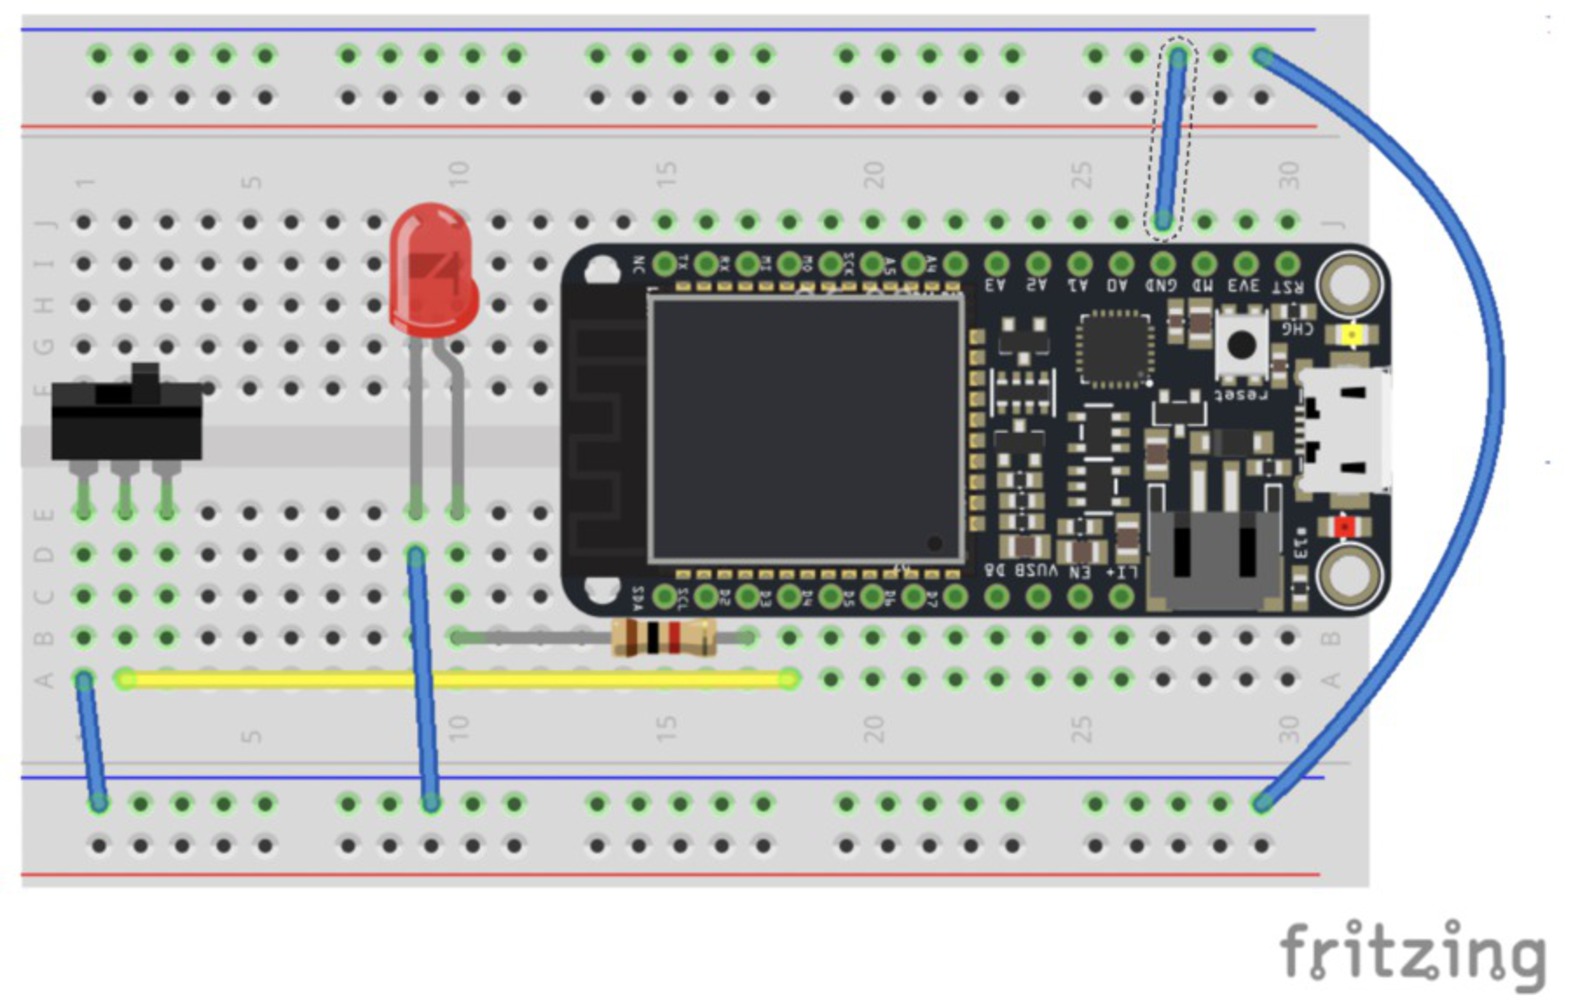
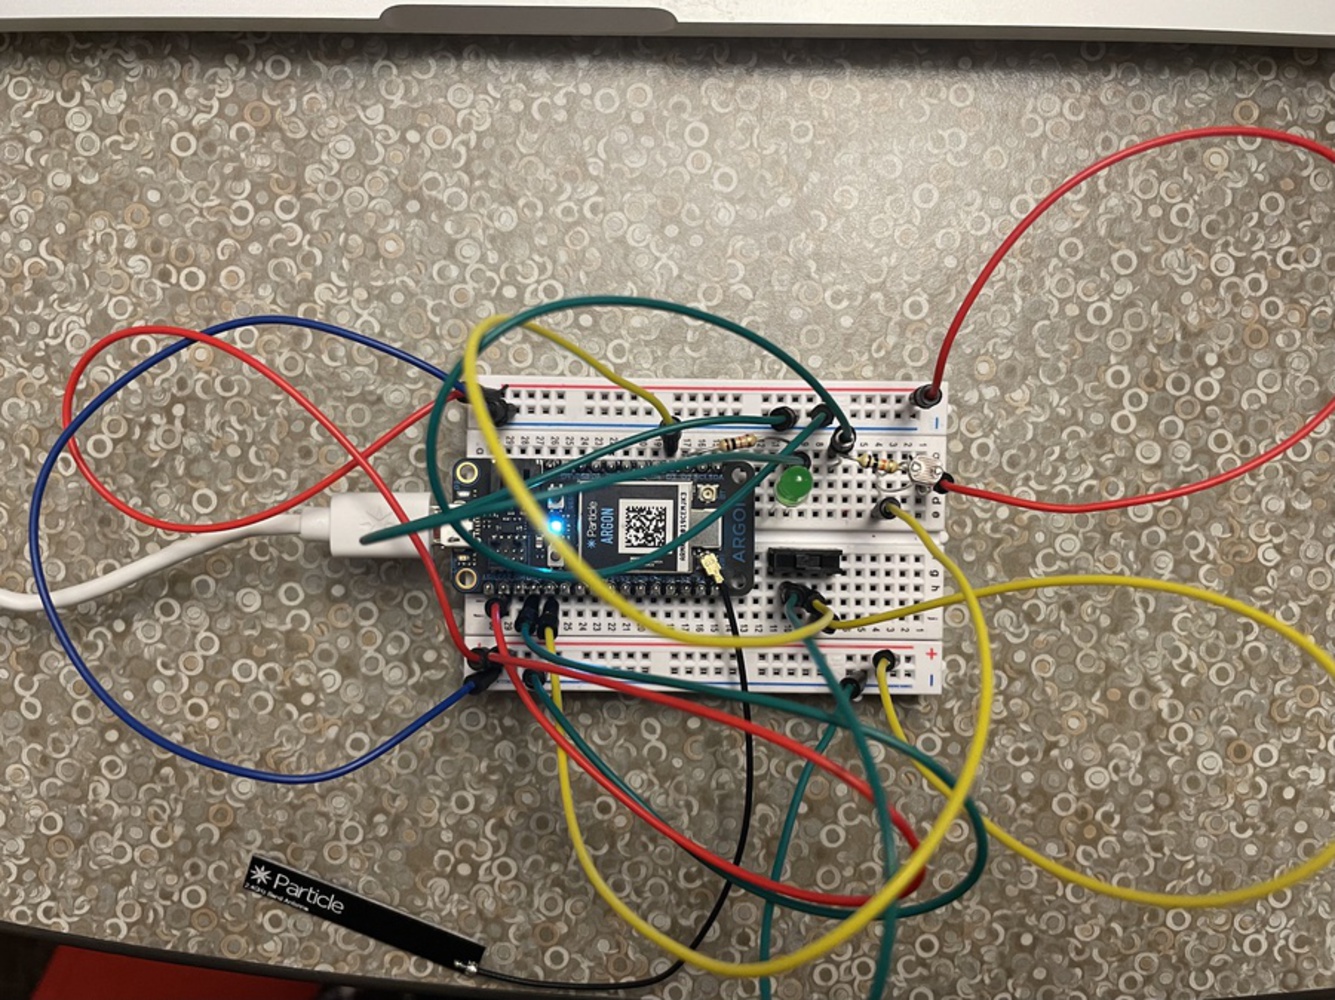
The goal of this project is experiment with using sensors to take in information and reflect the output with an LED light. Controls such as switches and buttons are also explored.
Created: November 10th, 2021
The goal of this project is experiment with using sensors to take in information and reflect the output with an LED light. Controls such as switches and buttons are also explored.