Skill Dev2 - Yang Bai
Made by yangb ·
Made by yangb ·
This the Skill dev 2 practice of Yang
Created: November 26th, 2020
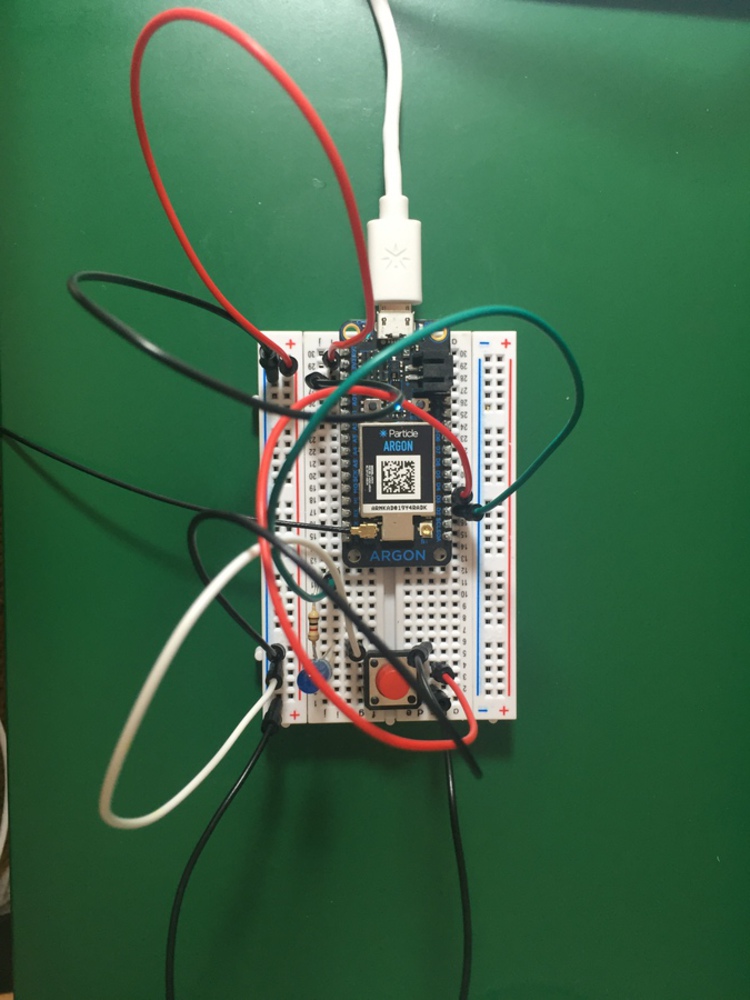
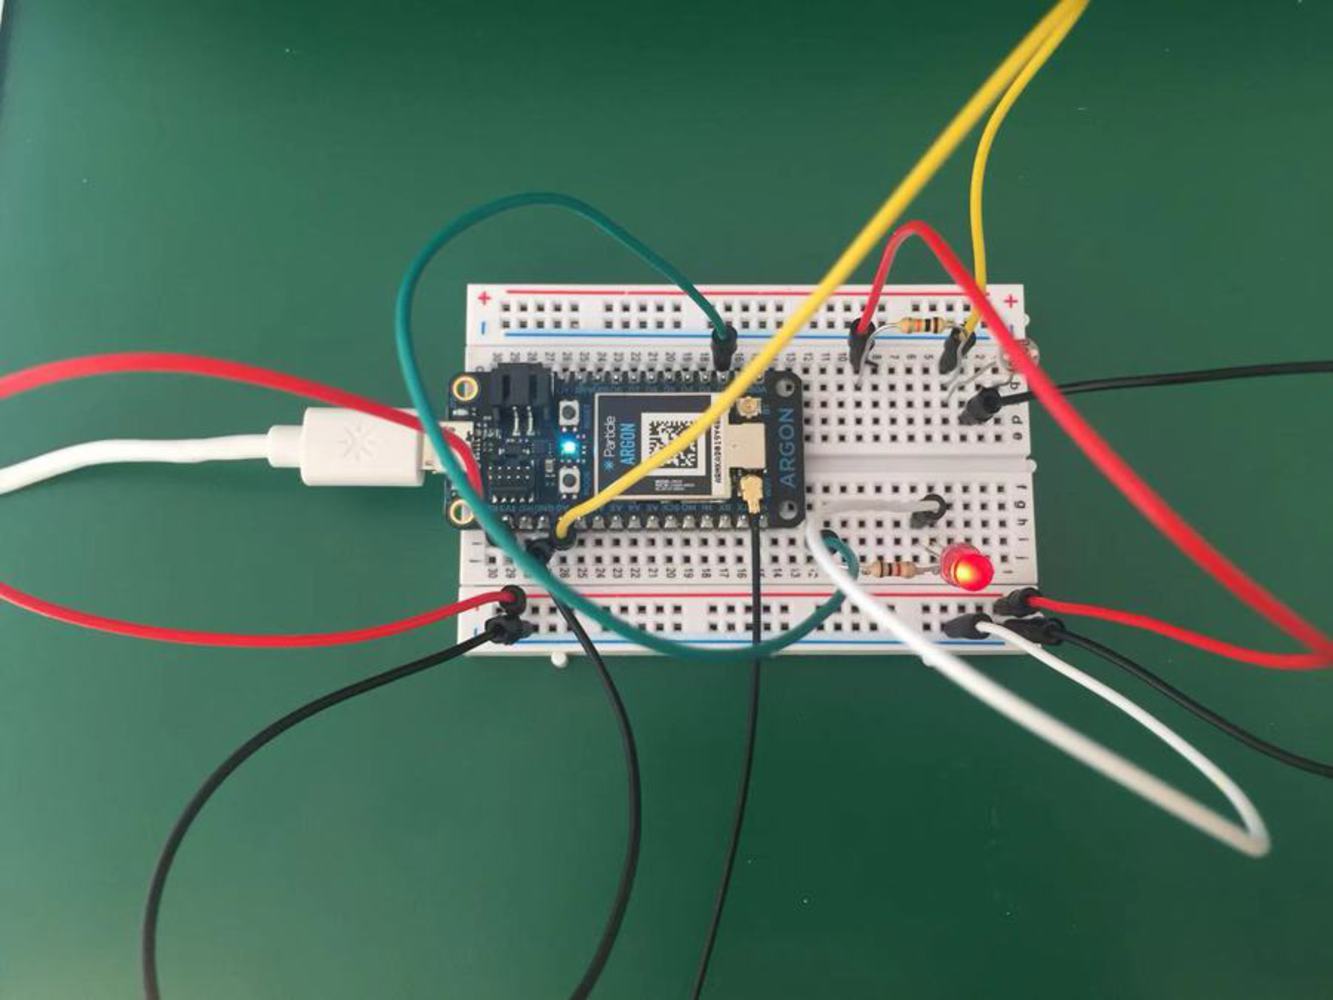
Turn a light on and off using a pushbutton.
int ledPin = D2;
int buttonPin = D3;

void setup() {
    pinMode(ledPin, OUTPUT); // set as an output
    pinMode(buttonPin, INPUT_PULLUP); // set as an input
}

void loop() {
    int buttonStatus = digitalRead(buttonPin);
    if (buttonStatus == LOW){ // when the button is pressed
        digitalWrite(ledPin, HIGH); //turn the light on
    }else{
        digitalWrite(ledPin, LOW); // if not, turn the light off
    }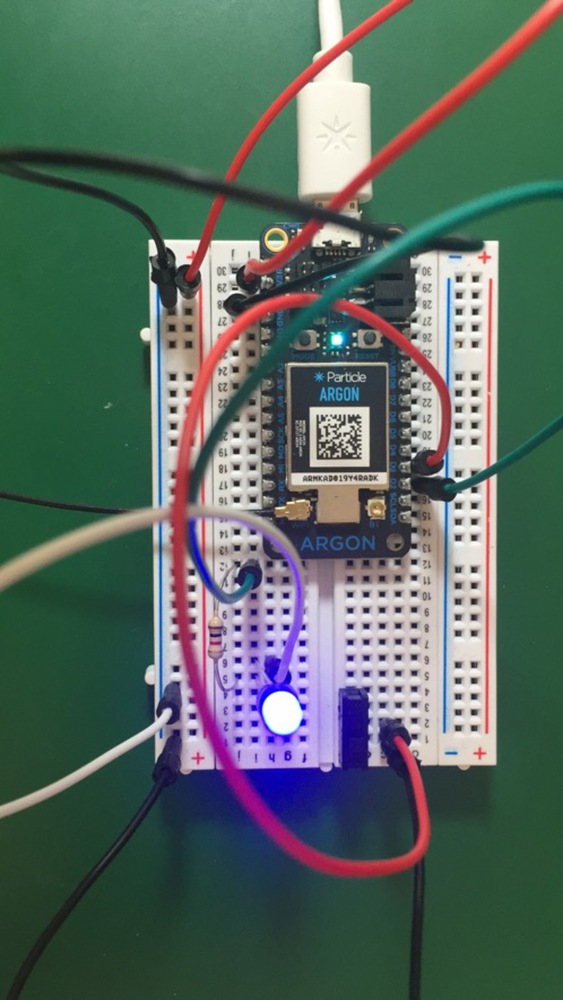
}int ledPin = D2;
int switchPin = D3;
void setup() {
pinMode(ledPin, OUTPUT); // set as an output
pinMode(switchPin, INPUT_PULLUP); // set as an input
}
void loop() {
int buttonStatus = digitalRead(switchPin);
if (buttonStatus == LOW){ // when the switch is turned on
digitalWrite(ledPin, HIGH); //turn the light on
}else{
digitalWrite(ledPin, LOW); // if not, turn the light off
}
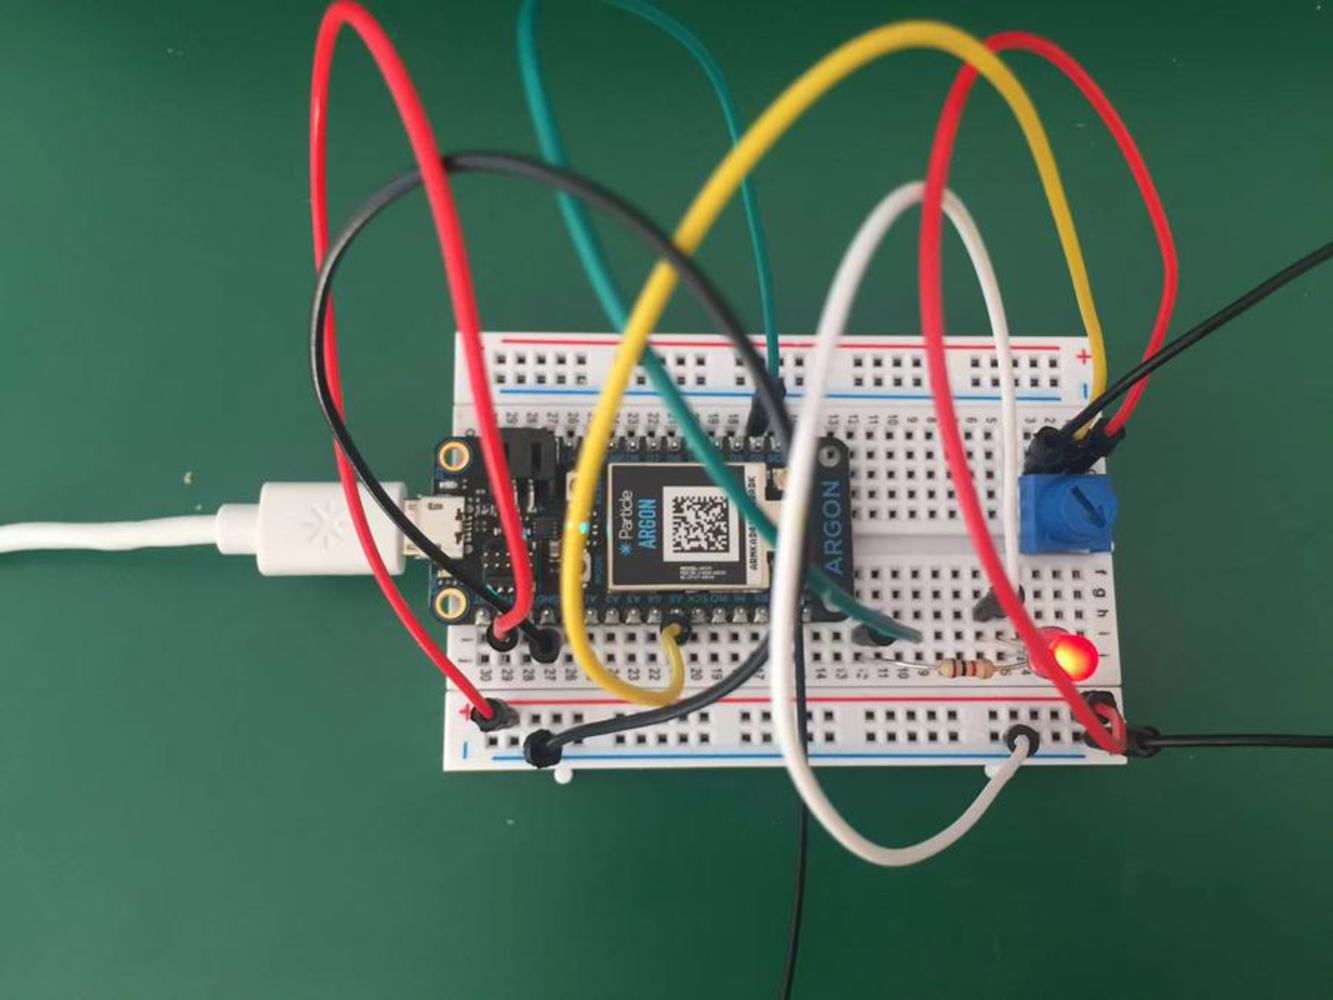
}int potPin = A5;
int potRead = 0;
int ledPin = D2;
int ledBright = 0;
void setup() {
pinMode(ledPin, OUTPUT);
Particle.variable("pot", potRead);
}
void loop() {
potRead = analogRead(potPin);
// change the range of potRead
ledBright = map(potRead, 0, 4095, 0, 255);
analogWrite(ledPin, ledBright);
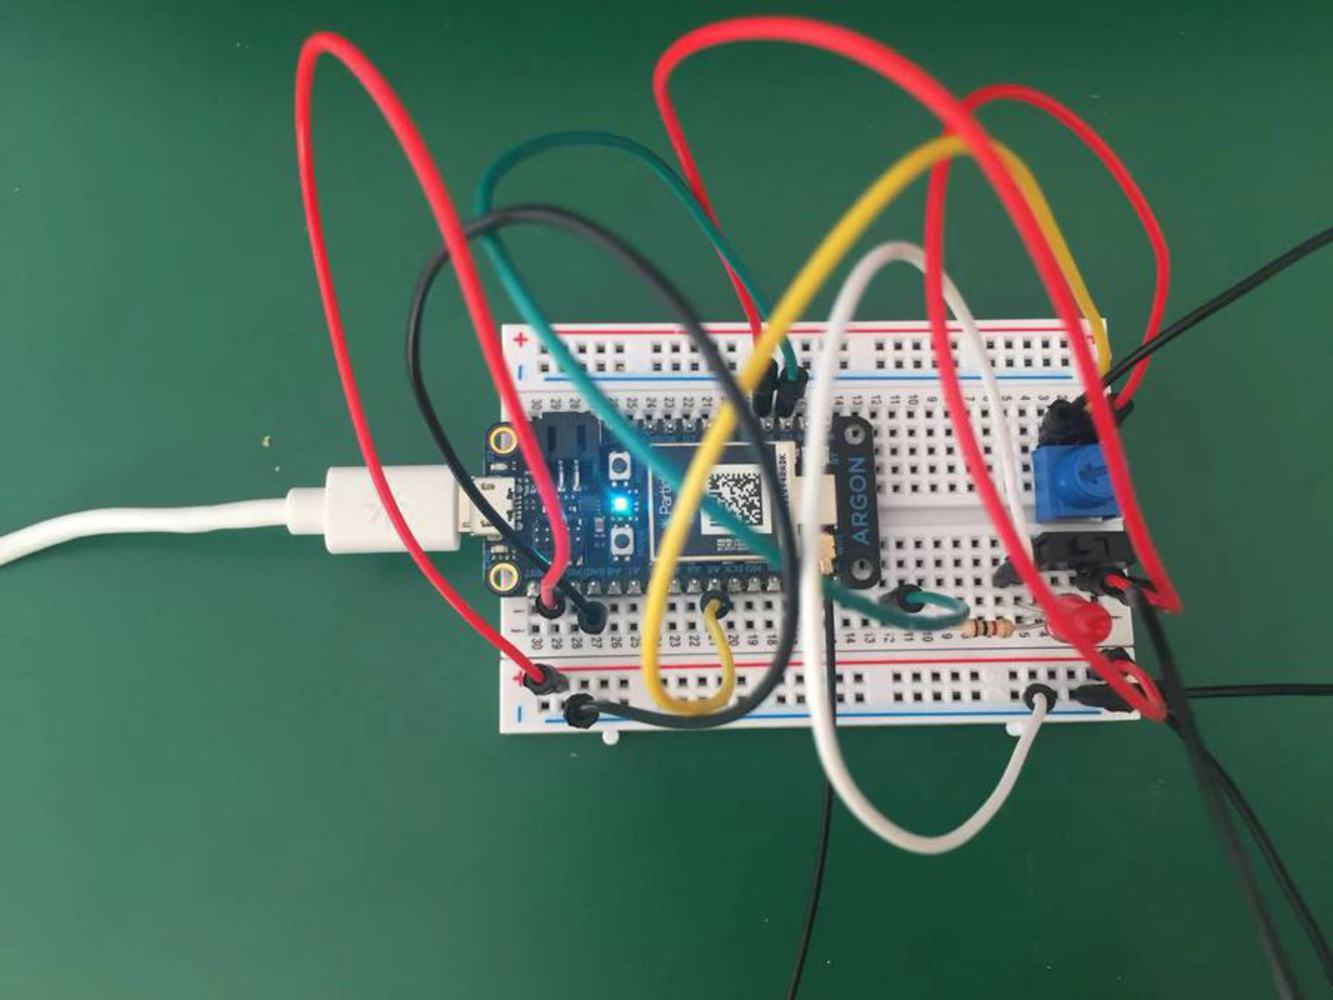
}int potPin = A5;
int potRead = 0;
int ledPin = D2;
int ledBright = 0;
int switchPin = D3;
void setup() {
pinMode(ledPin, OUTPUT);
pinMode(switchPin, INPUT_PULLUP);
Particle.variable("pot", potRead);
Particle.variable("led", ledBright);
}
void loop() {
int switchStatus = digitalRead(switchPin);
if (switchStatus == LOW){ // if turning on the switch
potRead = analogRead(potPin);
// change the range of potRead
ledBright = map(potRead, 0, 4095, 0, 255);
analogWrite(ledPin, ledBright);
}else{ // if turning off the switch
digitalWrite(ledPin, LOW);
}
}int ledPin = D2;
int sensorPin = A0;
int lightRead = 0;
int ledBright = 0;
void setup() {
pinMode(ledPin, OUTPUT);
Particle.variable("light", lightRead);
Particle.variable("led", ledBright);
}
void loop() {
lightRead = analogRead(sensorPin); // read the lightResister
ledBright = 255 - map(lightRead, 0, 4095, 0, 255);
analogWrite(ledPin, ledBright); // if the light is brighter, the LED light is stonger
}int ledPin = D2;
int sensorPin = A0;
int lightRead = 0;
int ledBright = 0;
void setup() {
pinMode(ledPin, OUTPUT);
Particle.variable("light", lightRead);
Particle.variable("led", ledBright);
}
void loop() {
lightRead = analogRead(sensorPin); // read the lightResister
ledBright = map(lightRead, 0, 4095, 0, 255);
analogWrite(ledPin, ledBright); // if there is lots of light, the LED is dim
}int ledPin = D2;
int sensorPin = A0;
int lightRead = 0;
int ledBright = 0;
int lightResist = 0;
void setup() {
pinMode(ledPin, OUTPUT);
Particle.variable("light", lightRead);
Particle.variable("led", ledBright);
}
void loop() {
lightRead = 4095 - analogRead(sensorPin); // read the light
lightResist = analogRead(sensorPin);
if(lightRead < 600){
ledBright = map(lightResist, 0, 4095, 0, 255);
analogWrite(ledPin, ledBright);
}else{
digitalWrite(ledPin, LOW);
}
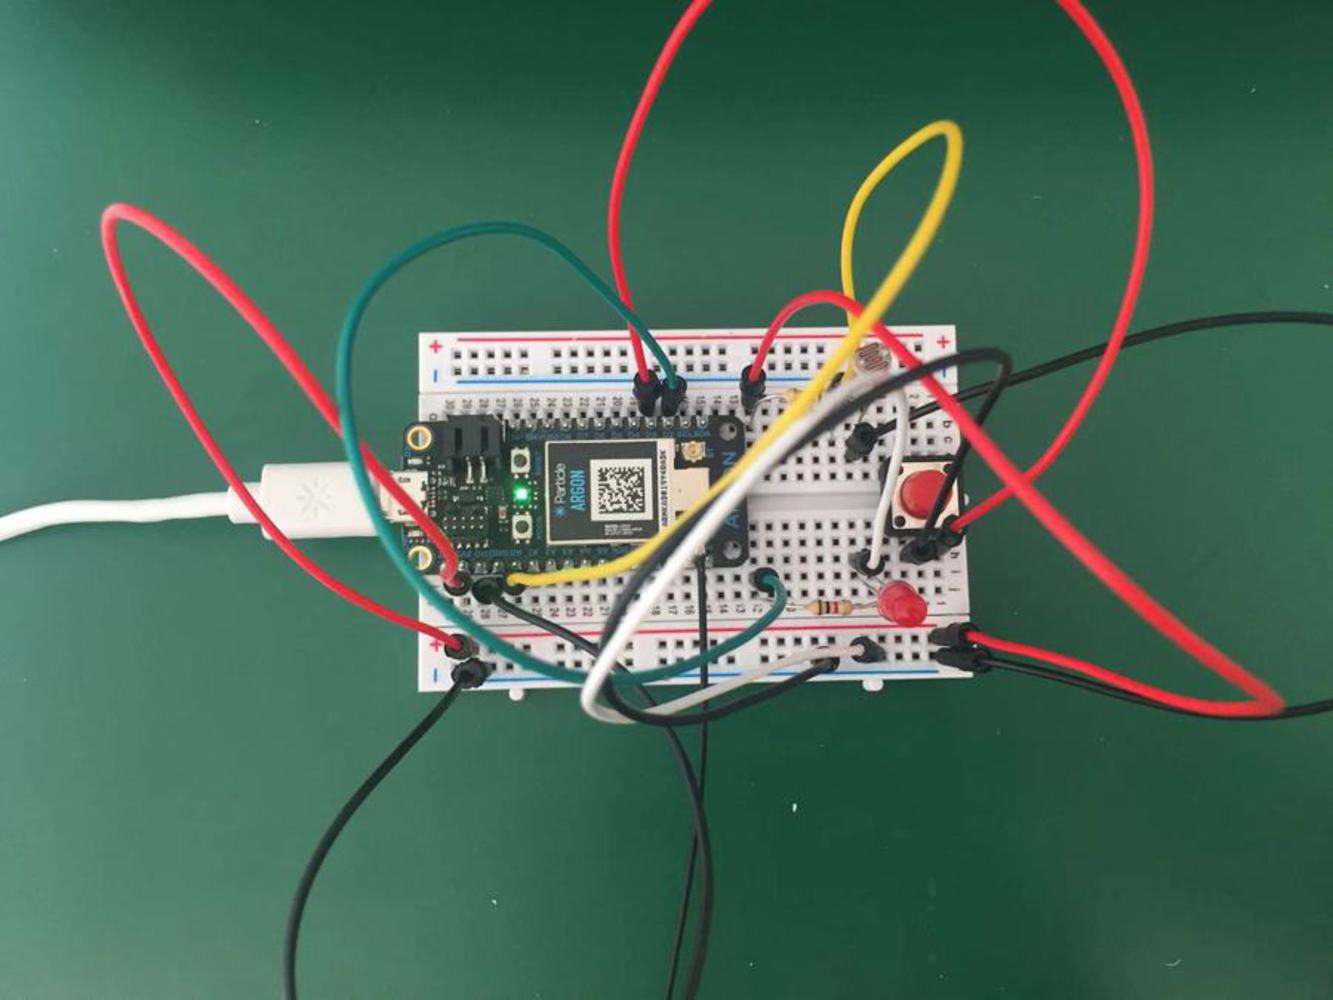
}int led1 = D2;
int button1 = D3;
int buttonState;
int lightSensor1 = A0;
int lightRead = 0;
int ledLighting = 0;
void setup() {
pinMode(led1, OUTPUT);
pinMode(button1, INPUT_PULLUP);
Particle.variable("light", lightRead);
Particle.variable("LEDbrightness", ledLighting);
}
void loop() {
buttonState = digitalRead(button1);
lightRead = analogRead(lightSensor1); //0-4095
// if the button is pressed: the led will react with the lightness of outside world
// the stronger the outside light is, the weaker the light intensity of LED will be
// if the button is not pressed, nothing will happen
if (buttonState == LOW){
ledLighting = 255 - map(lightRead, 0, 4095, 0, 255); //0-255
analogWrite(led1, ledLighting);
}else{
digitalWrite(led1, LOW);
}
}I think it's very interesting to understand how sensors and controllers work. One thing is important is to know the difference between analogRead/Write and digitalRead/Write. There is no such method as digitalRead but we set pinMode to do that. By thinking about we need a boolean value or a value in range, I'm more confident with writing codes. By the way, map() is a good method to change value range. And remembering the electrical connection of all kinds of sensors and controllers is really important!