Skill Investigation: Garment-making

Made by Gwyneth Chen

Learn and practice patterning from existing clothing, finishing stitches and seams

Created: October 18th, 2019

0

Intention

My primary interest in taking this class was to move me closer to being able to make clothing for myself --- to be able to both create unique pieces and adapt existing designs to better fit me, given my particular small stature. Both of these goals are still looking a bit far into the future, but I decided to start by trying to recreate a piece of clothing that I own and like (an oversize boxy shirt). In the process, I also made a point of learning about French seams as a way to allow me to finish a piece cleanly without a serger.

0

Process + Product

I began by tracing my shirt and cutting out the pieces. This particular shirt consists of only five total panels: one lower front, one lower back, one for each sleeve, and one wrapping around the whole upper torso. In some places, accurately tracing the panels was actually somewhat difficult because it required moving or turning the shirt over while ensuring that all the correct places lined up. The upper torso panel in particular has a bit of a strange oval shape.

0

Although my original shirt has all of its edges finished with a serger, I chose to use French seams on all the connections between panels. A French seam consists of sewing the pieces together a little into the seam allowance with the wrong sides facing each other, trimming the excess fabric, then flipping the cloth over to sew it again with the right sides facing each other. This second stitch should be just further away from the first seam than the width of the trimmed edges.

0

When folding the cloth over in preparation for the second stitch, the creases should be ironed flat to keep the seams neat. Since I didn't have access to an iron during this project, I just creased the edges with my nails, and the muslin was relatively receptive to this.

The following few photos show a finished French seam from a couple of perspectives: the first image shows the raw edges hidden inside the fold of the seam, the second image shows the result on the wrong side of the fabric, and the third image shows the result on the right side of the fabric. This seam is nice because stitches are completely invisible from the right side, although I thought that even the wrong side was kind of nice and could potentially be used as an accent.

0

I started by attaching the sleeves to the bottom panels and connected the upper panel last; in retrospect I'm not sure this was the best order because I found this last step very difficult. The sizes of the tops of the sleeves and the openings on the upper panel just didn't seem to line up, and I spent of lot of time re-pinning the pieces together. I will admit my order was just going off of what my original shirt looked like, and I didn't research the proper way to attach rounded things.

0

(This image is a bit interesting because it shows a top view of the upper panel spread out after pinning.)

0

In the end, the connections between my sleeves and the upper panel were quite messy; there are a lot of unwanted creases, and some of the raw edges weren't properly hidden by the French seams because I didn't have enough of a seam allowance initially.

0

The raw edges of my sleeves and the bottom hem were simply folded over and sewn down; I used two lines of stitches on the bottom hem to emulate the look of my original shirt, although the sleeves and collar on the original shirt appeared to be separate pieces of fabric that were attached. I didn't end up finishing the collar at all because I found it too difficult to work with folding over the curved edge (likely a similar issue as the one I had with the sleeves).

0

These are some photos of the finished product! I was actually really happy with the way the overlapping French seams turned out (the third photo); they looked very neat! I did notice that I ended up trimming some of my locking stitches in the process, although I believe this is fine because the threads were sewn over again by the stitches going in the other direction.

0

Reflection

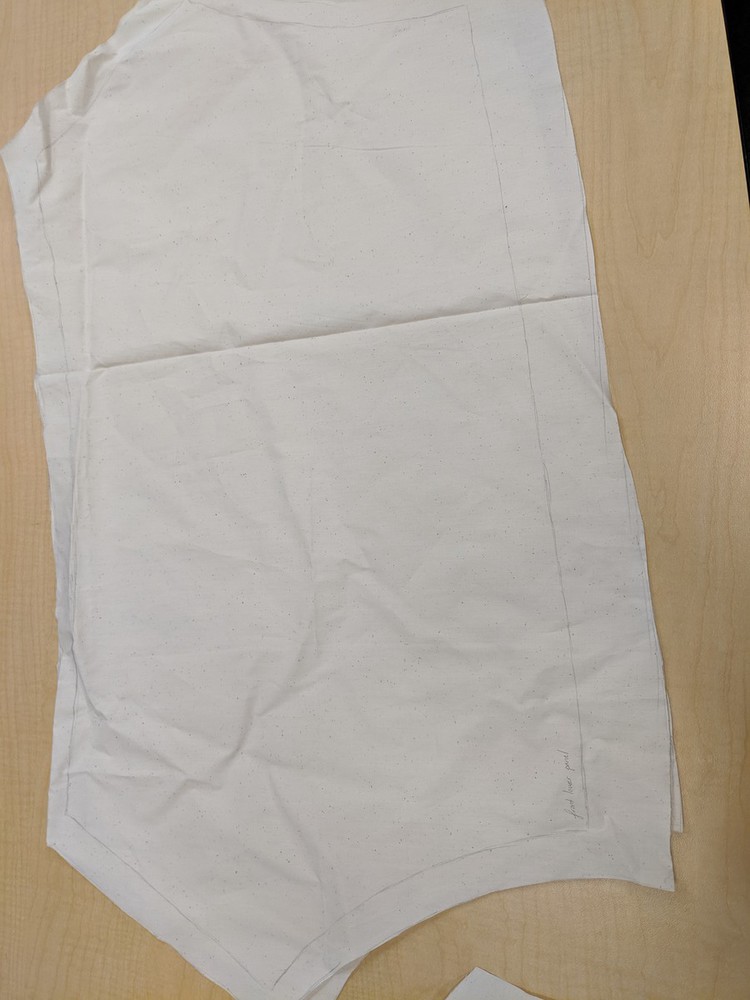
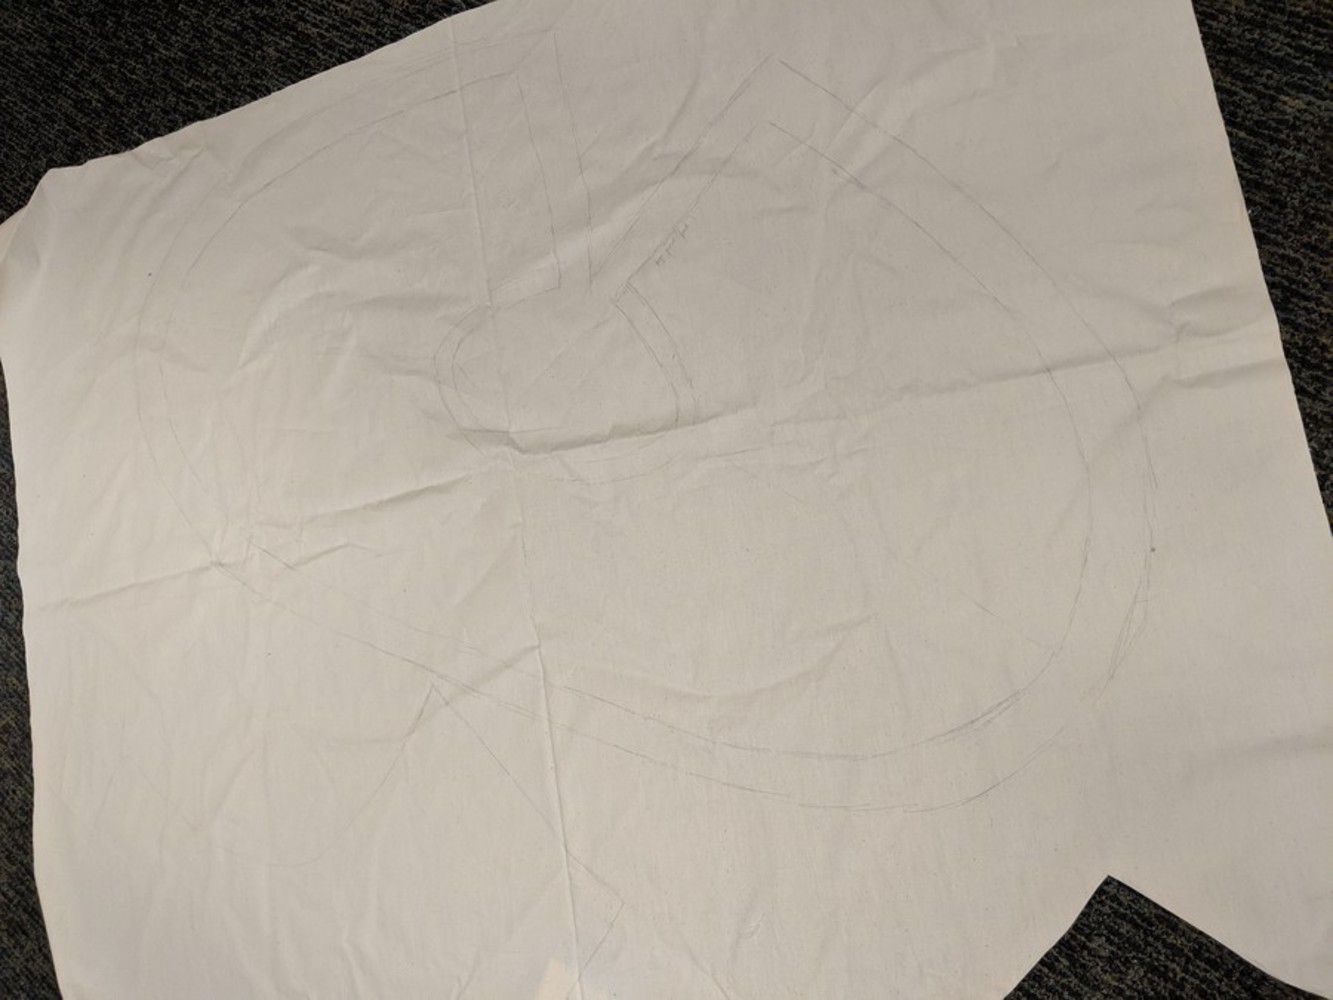
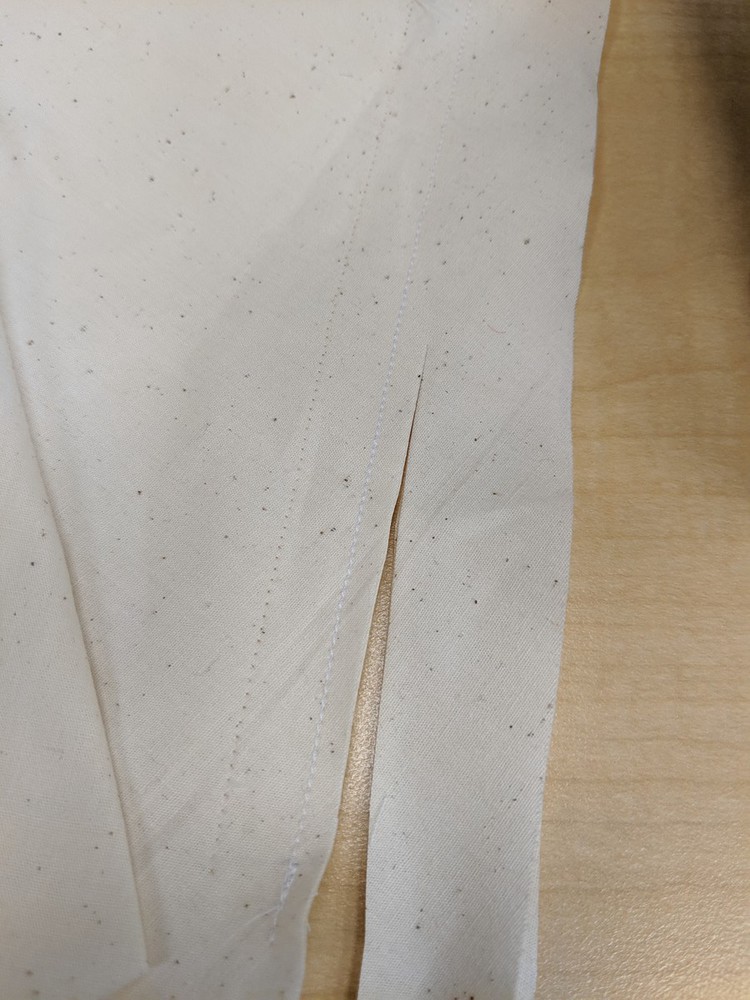
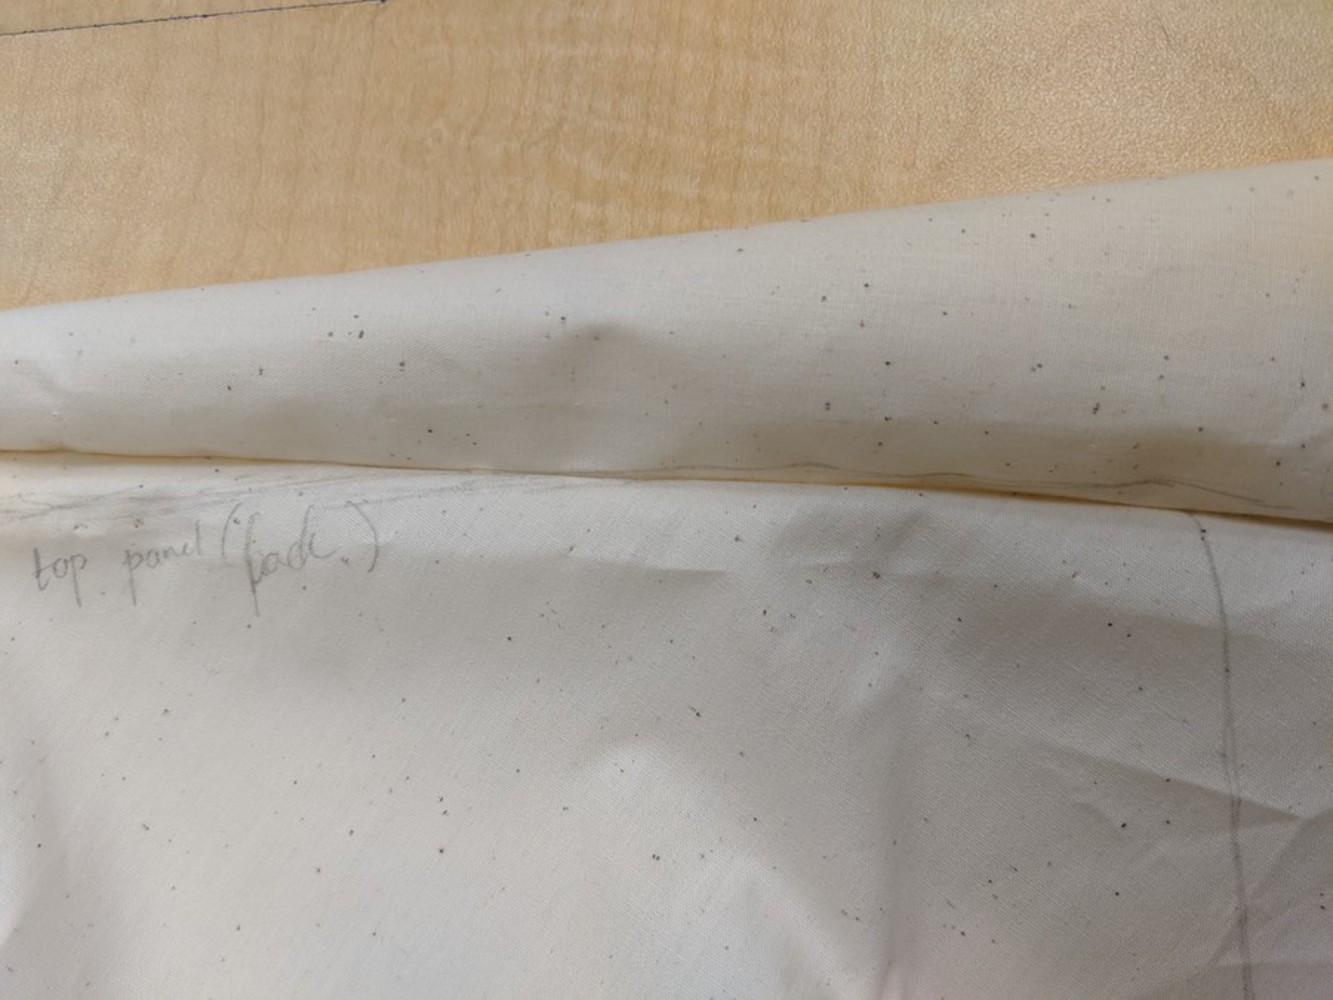
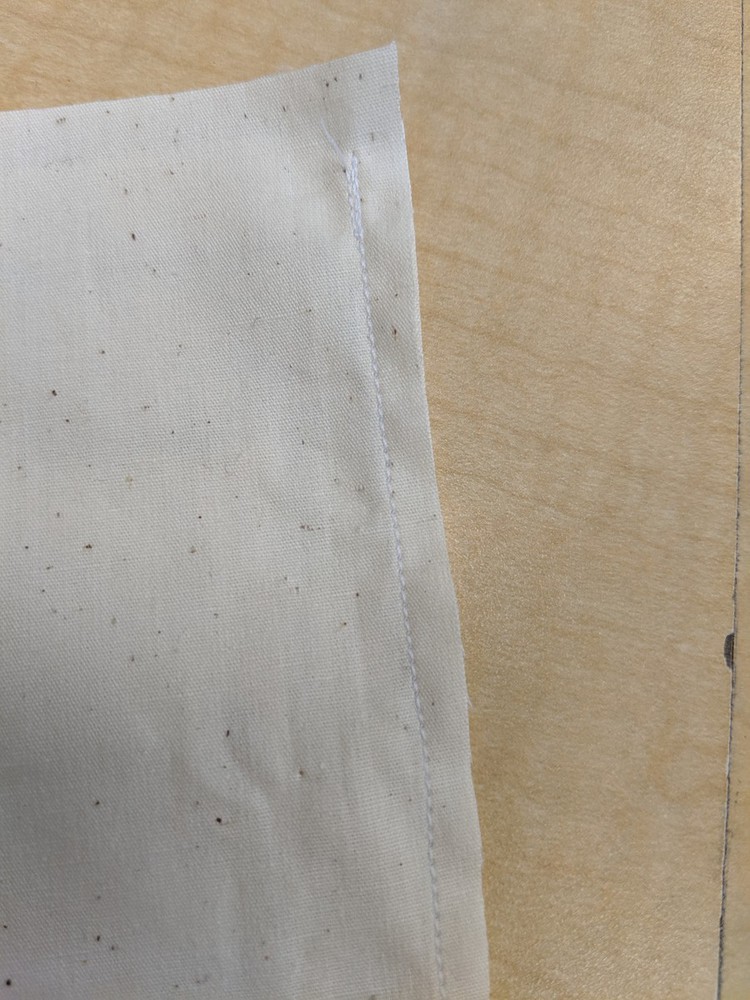
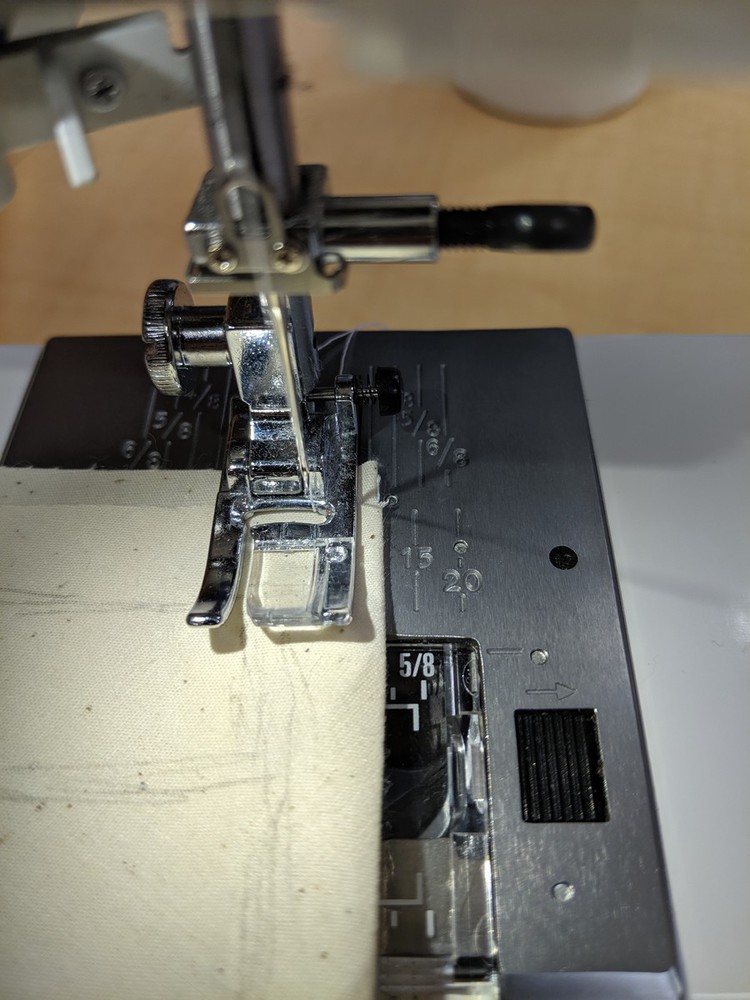
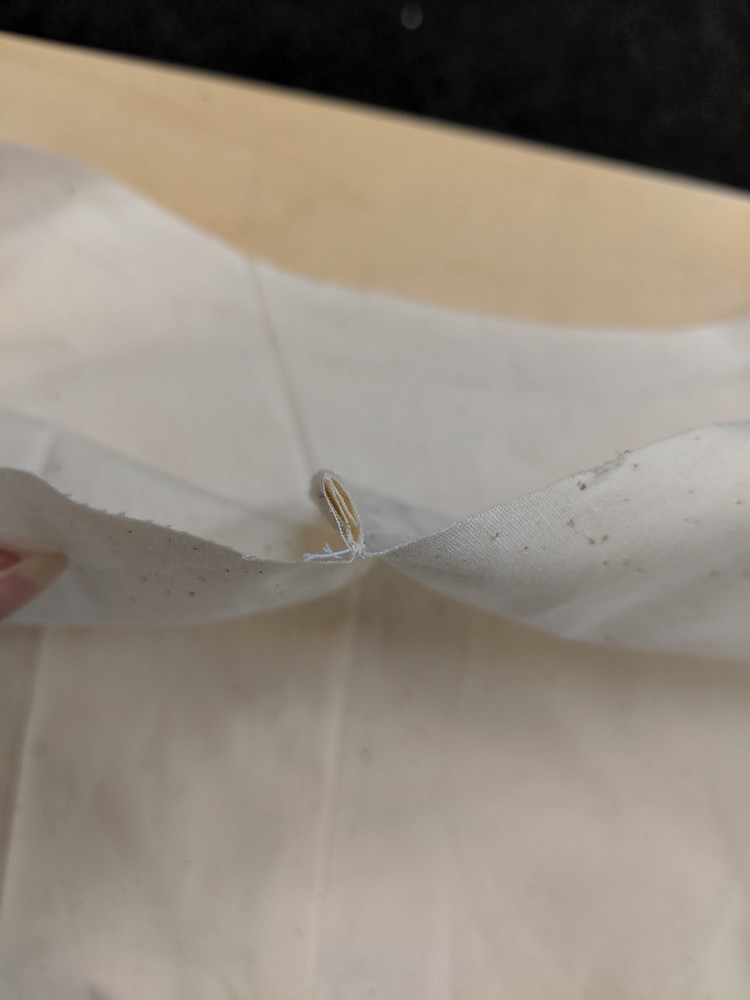
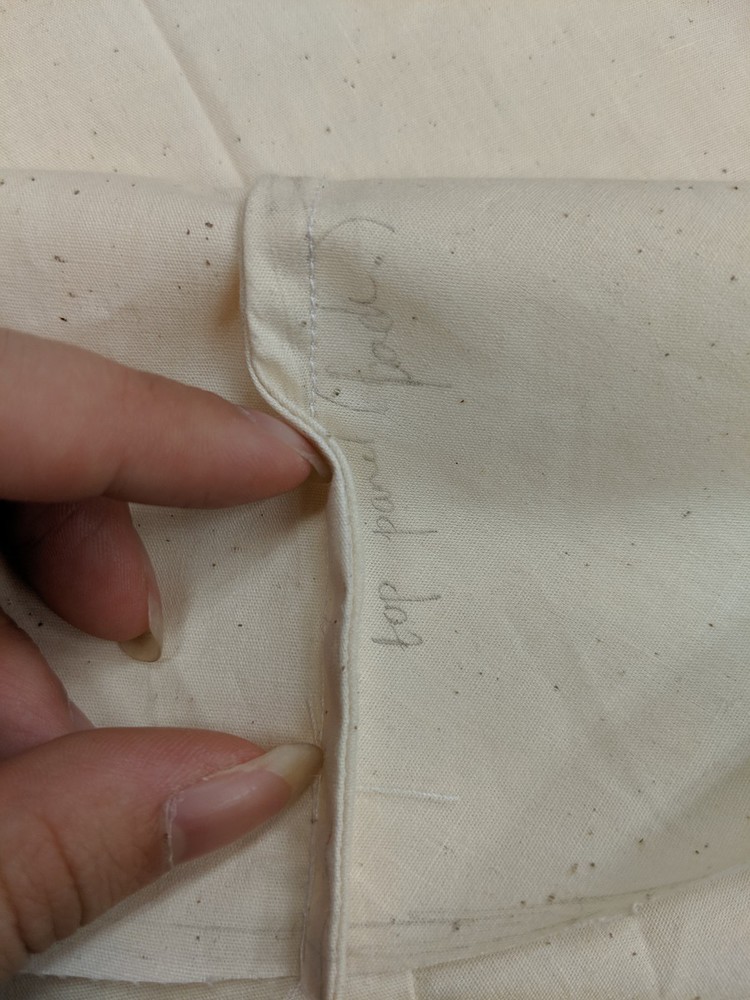
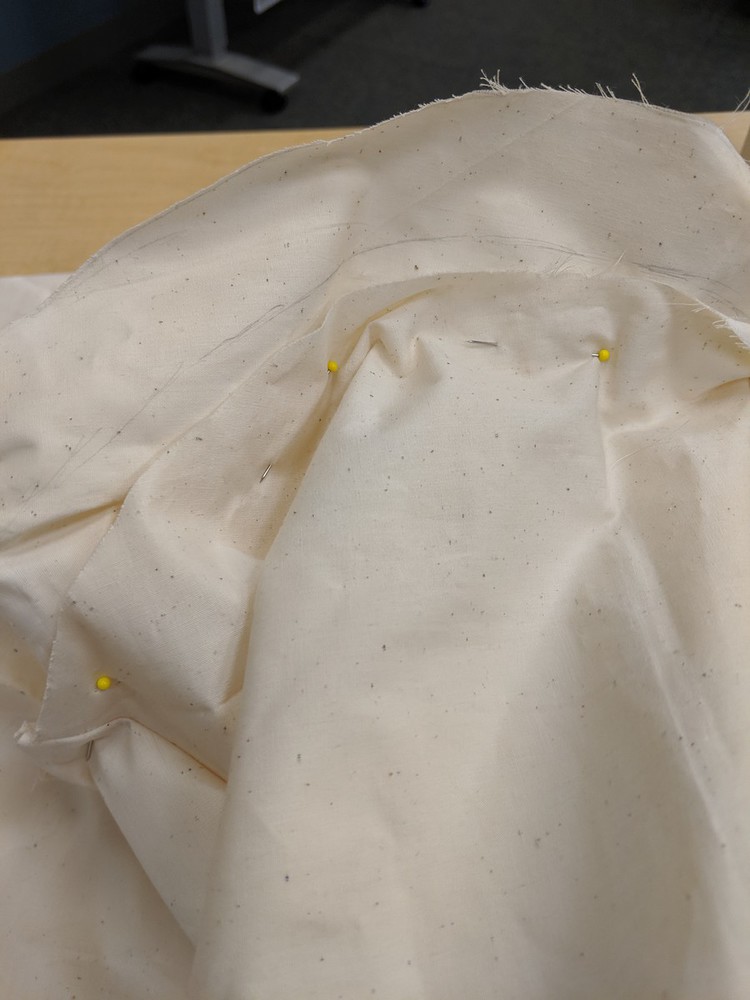
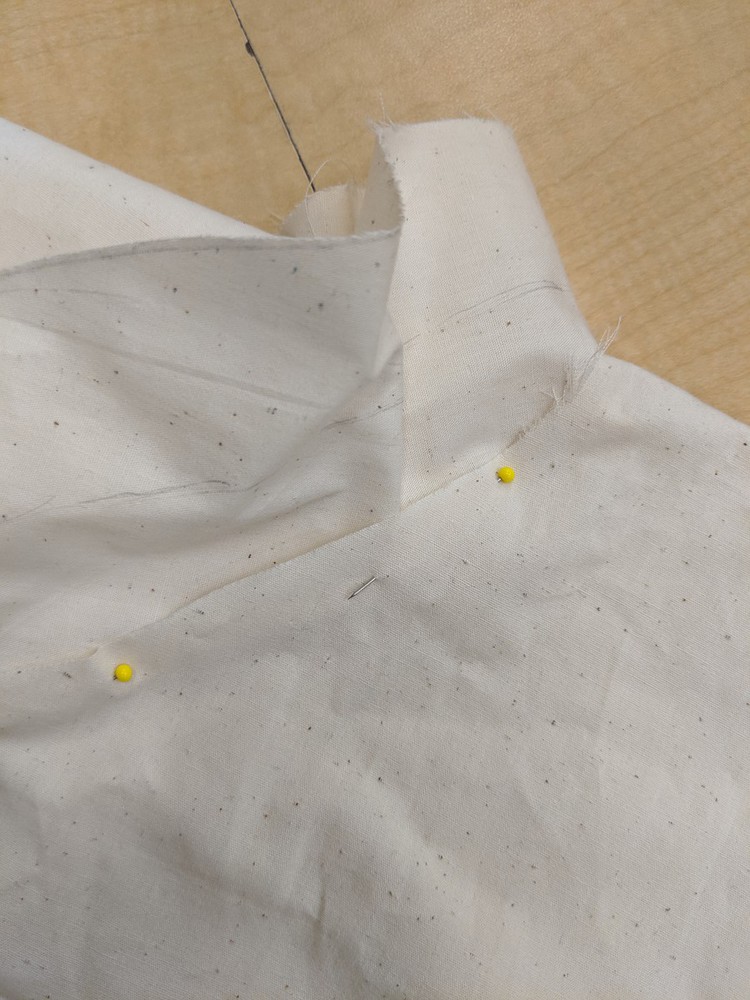
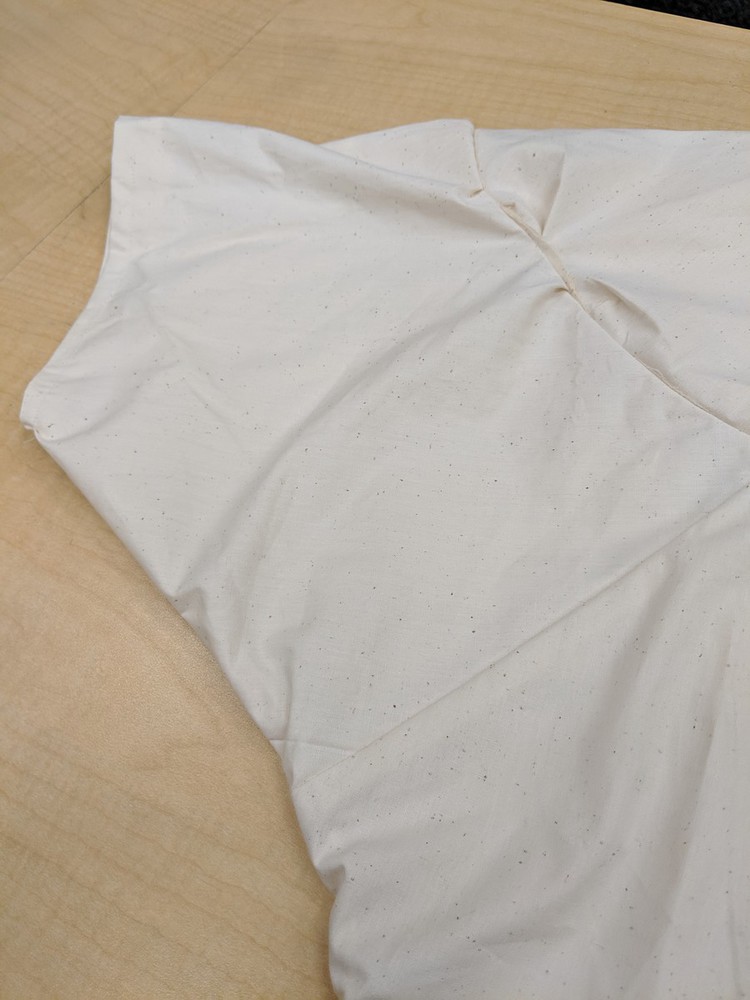
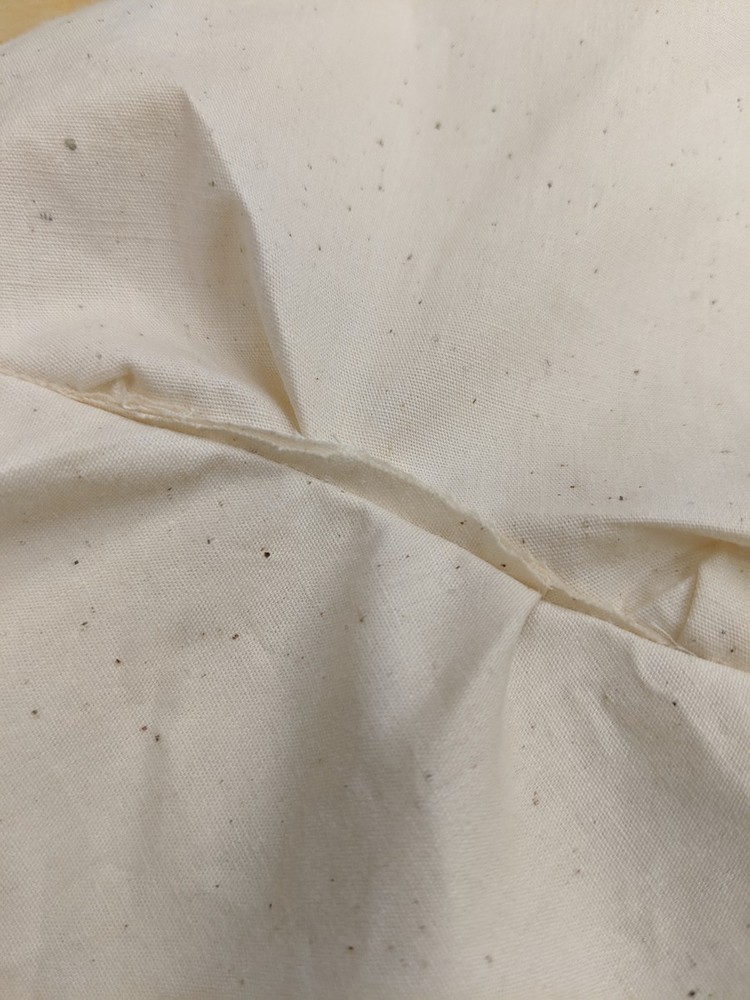
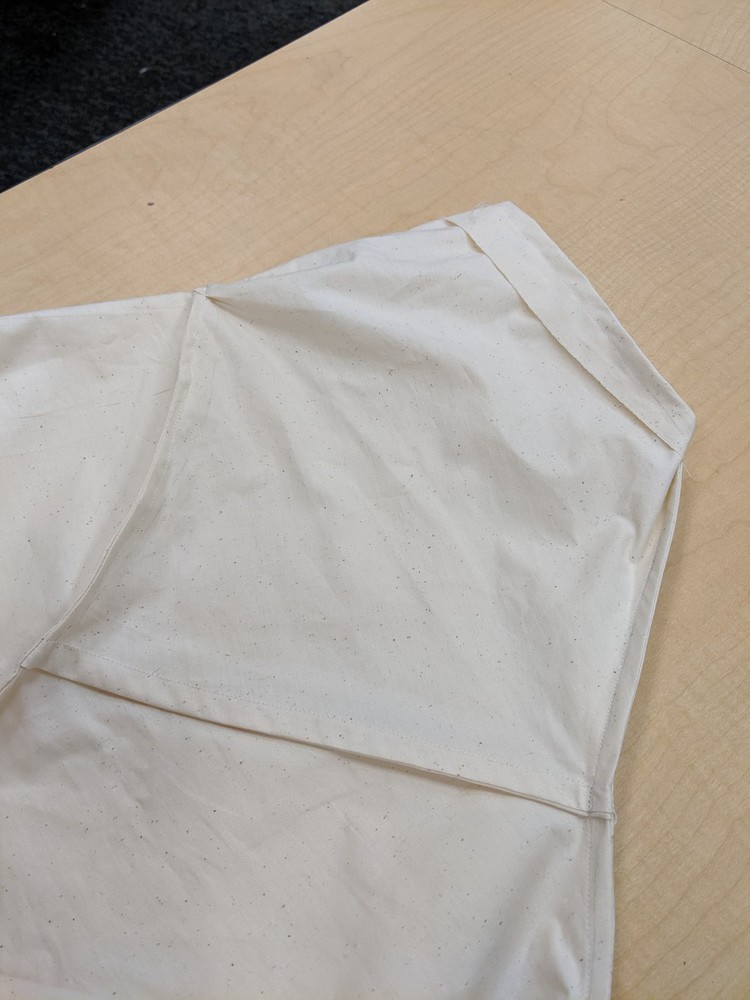
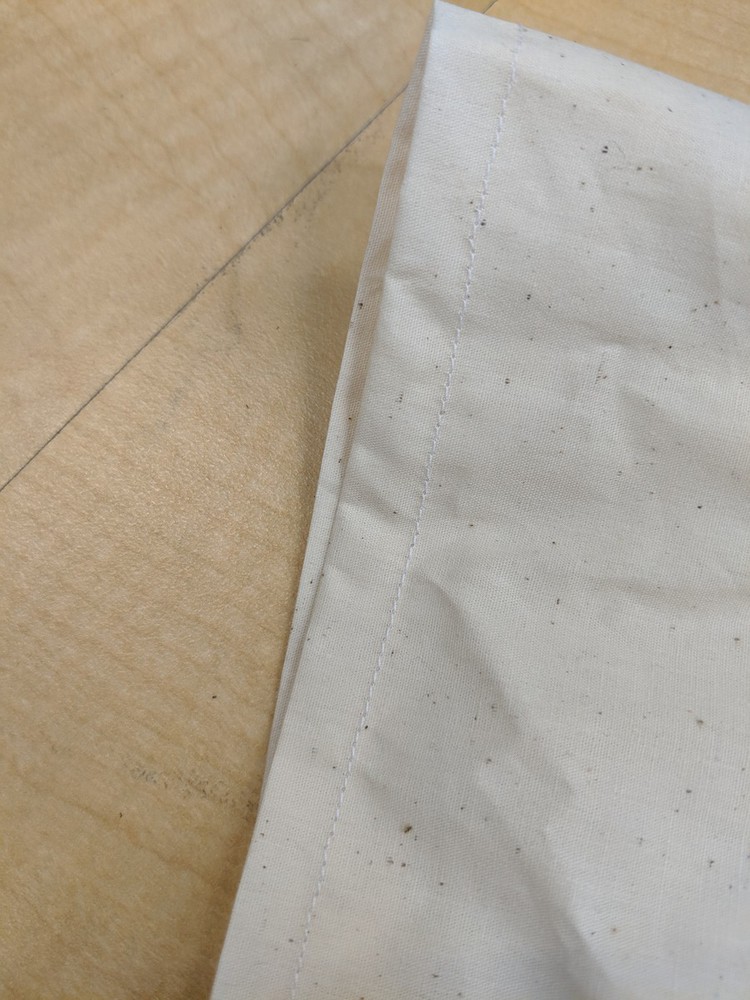
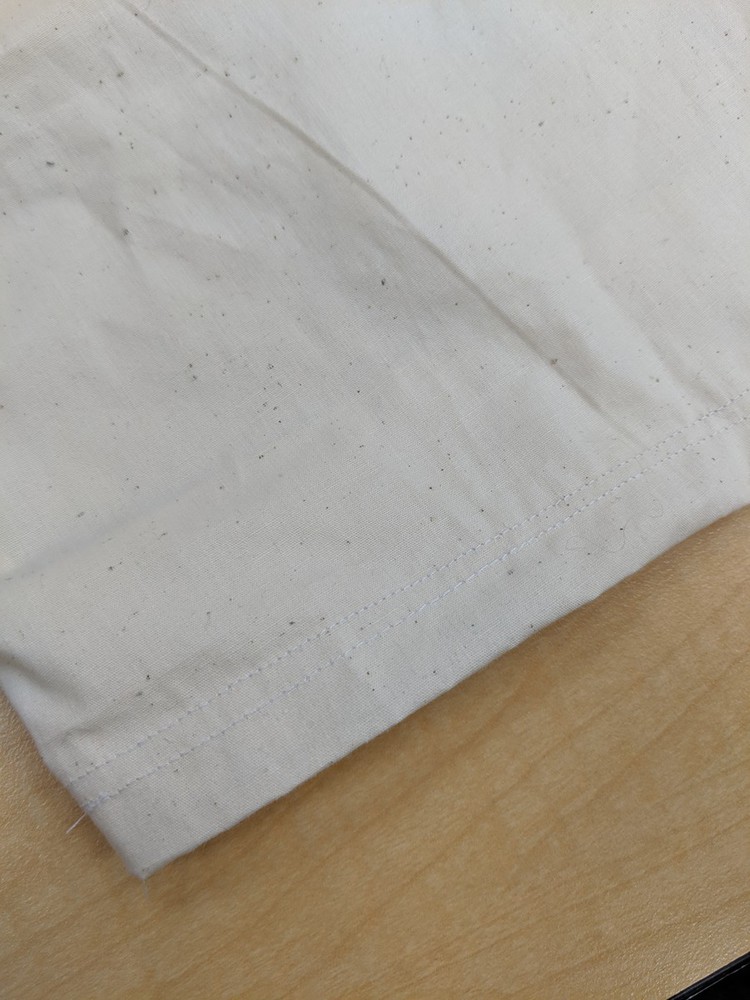
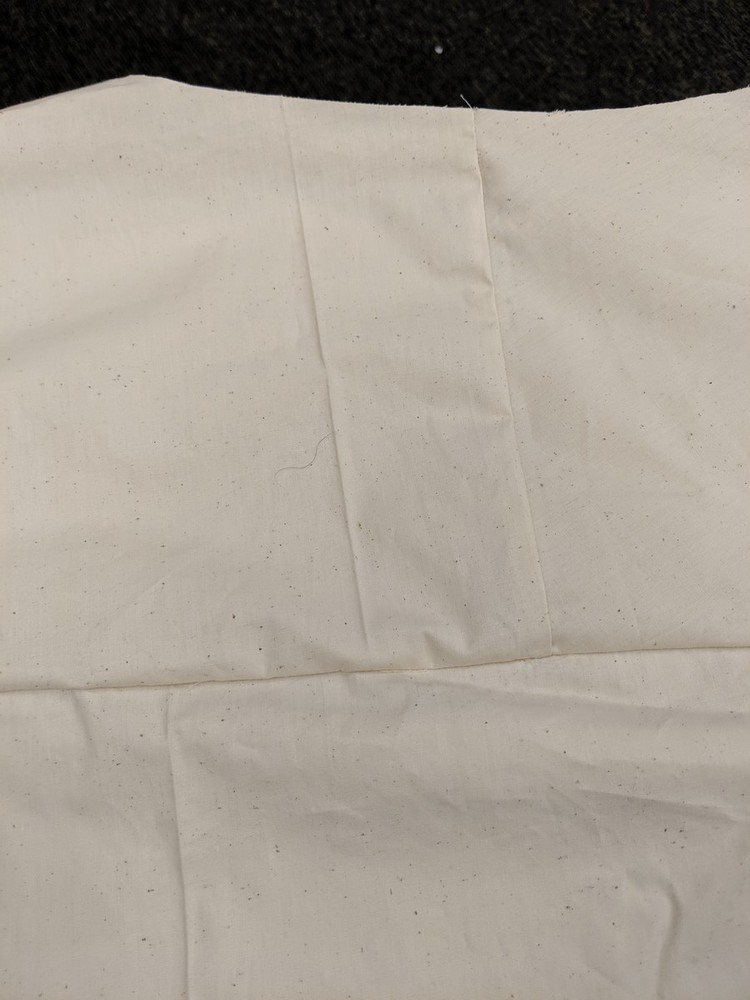
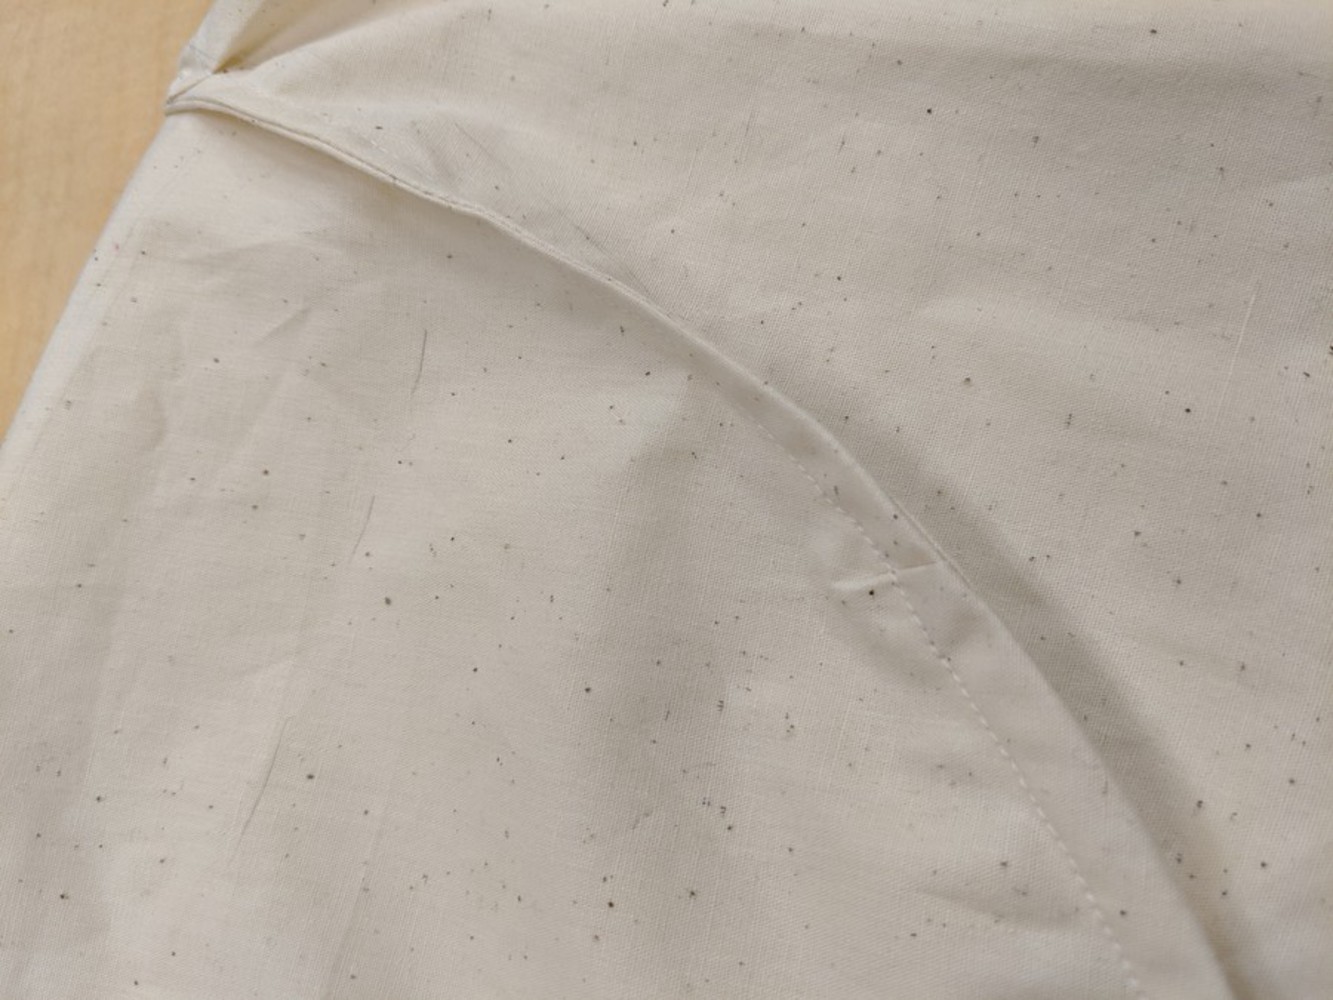
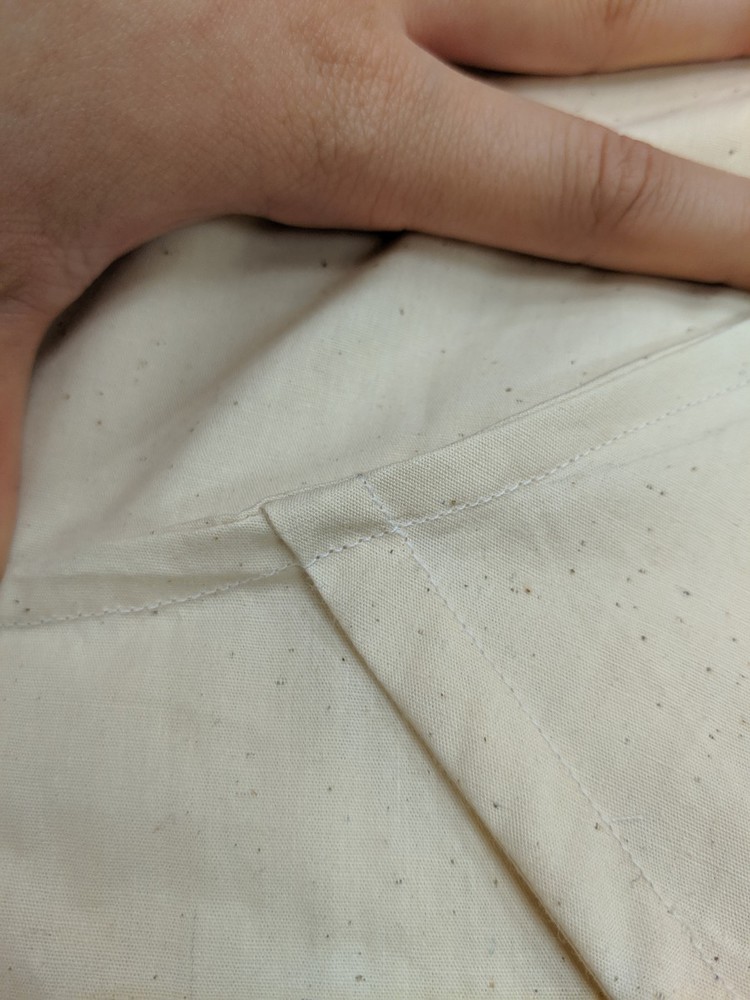
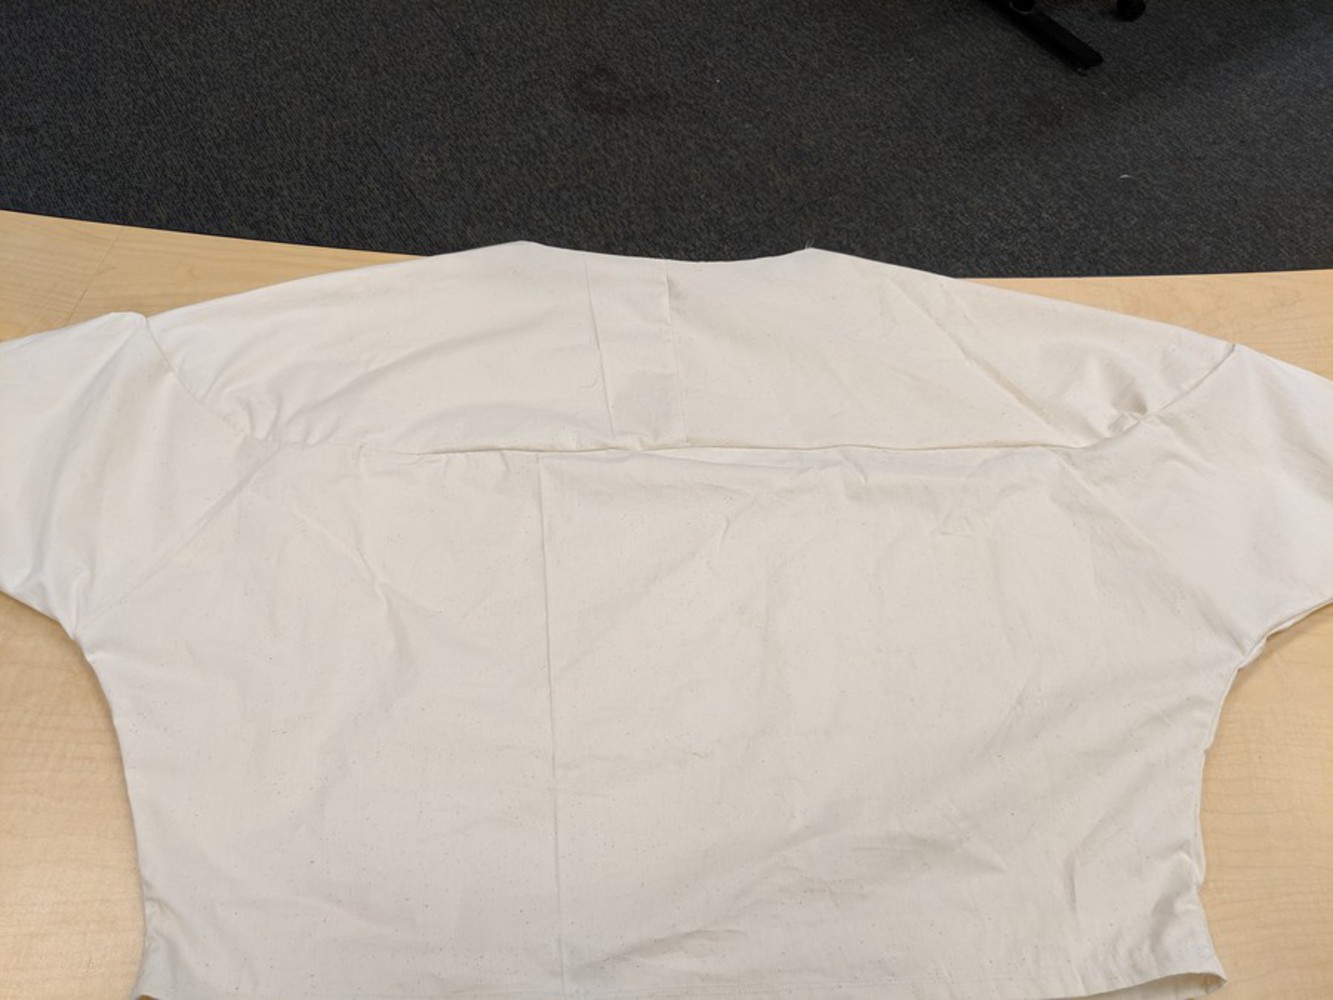
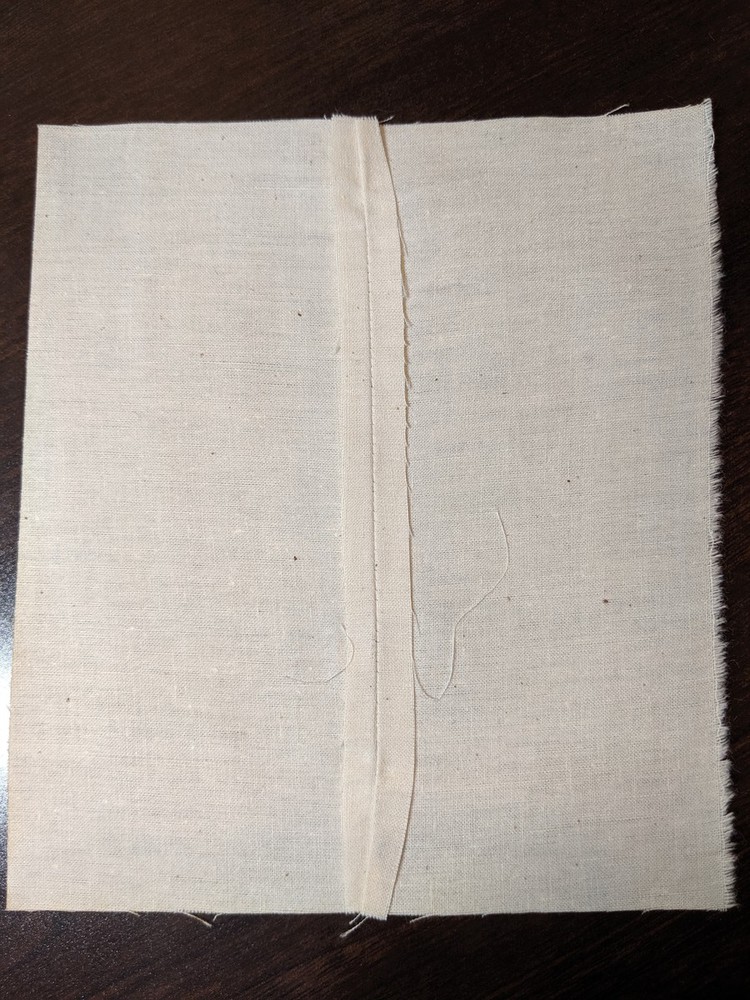
Although there were a lot of issues --- I wouldn't wear the finished product in public --- I was quite satisfied with the way my first attempt at garment-making turned out, particularly given my lack of some equipment (such as an iron, serger, perhaps a dress form). My French seams require some practice to work properly on more interesting shapes, but they were quite neat on straight or almost-straight lines. Similarly, when looking at patterning, I'll need to do some more research and be more careful in the future regarding measurements and alignments of curved components. I'll definitely improve on my hems as well;  I was a bit rushed for this project, but in the future I'll at least do a double-folded hem so that the raw edges aren't visible on the inside of the garment.

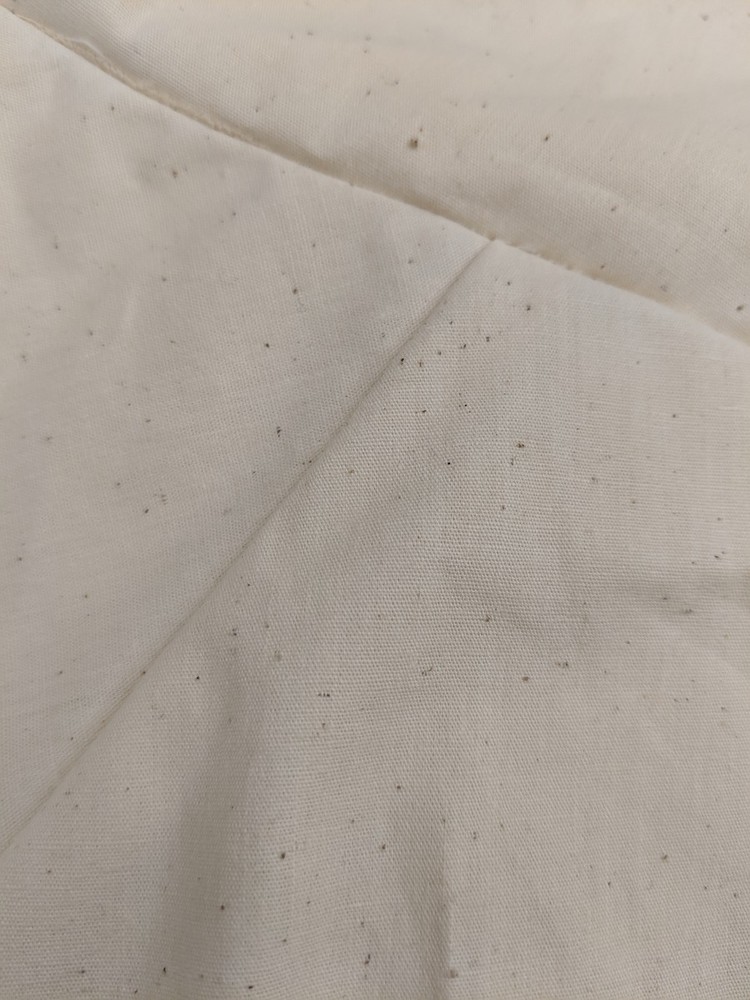
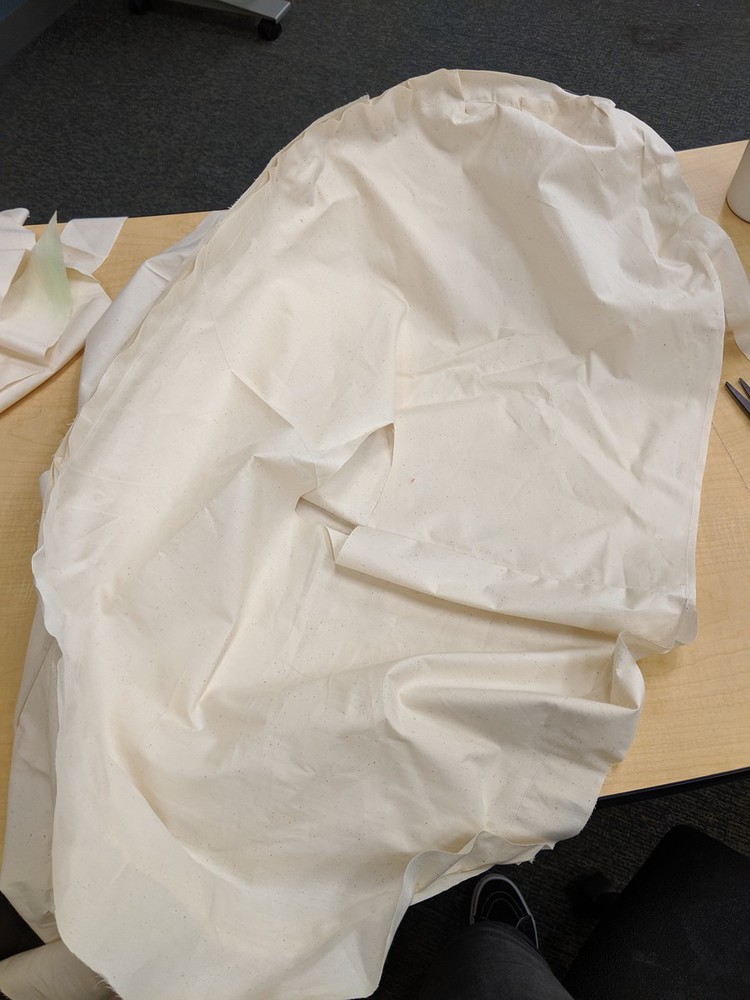
While muslin is relatively easy to work with, it's also definitely the wrong material (too stiff) for this type of shirt, which is designed to drape. When I'm a bit more confident with my basic sewing skills, I do plan to try to work with some materials with slightly different properties. 

Even with a little bit of a time pressure, I found sewing very enjoyable and relaxing. I definitely plan to take another class, learn more about methods beyond basic sewing and perhaps more specific to garment-making. In particular, I want to learn to work with connecting different shapes so that I can avoid the issues with curvature that I struggled with on my shirt. Although I did not choose to explore them in this project, I am also interested in learning about fitting and clothing design. 

0

Sample Book

I was especially proud of my drawstring bag because I managed to add a decent-looking lining to it.

0
Hem whip stitch (left) and slip stitch (right) - wrong side
Img 20191015 015648.thumb
0
Slip stitch (top) and hem whip stitch (bottom) - right side
Img 20191015 015657.thumb
x
Share this Project


About

Learn and practice patterning from existing clothing, finishing stitches and seams