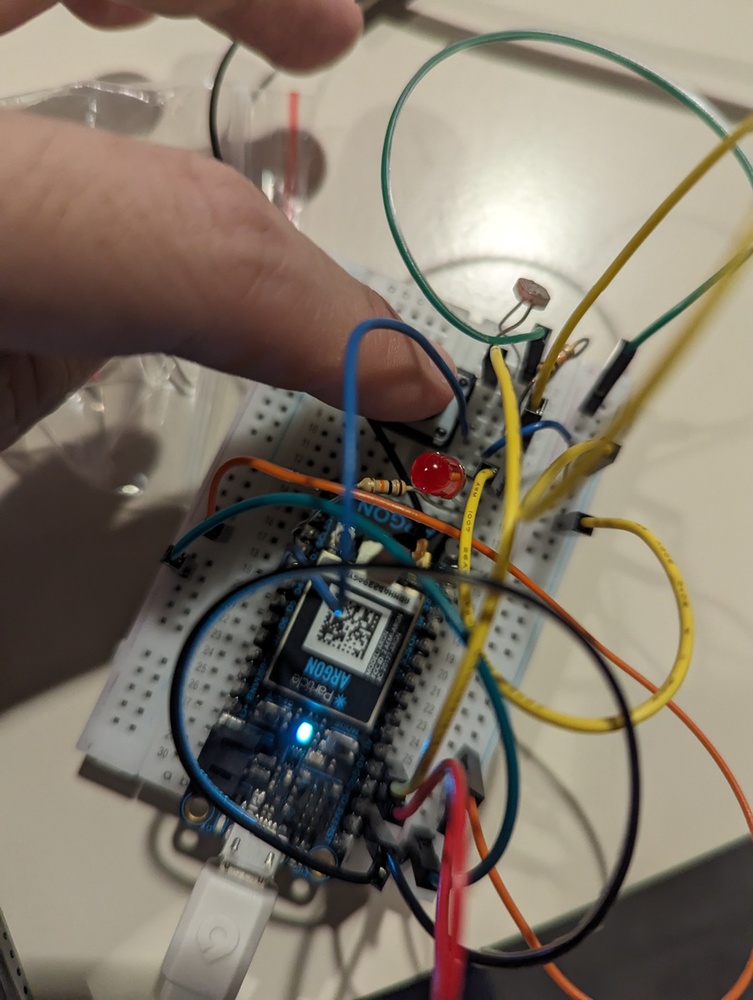
Skills Dev 2

Made by Tianyi He · HIDDEN

Created: December 18th, 2023

This project is unlisted and only folks with the link can see it. Be considerate and think twice before sharing.

0

Intention

Combining a photosensor and a button to create a more complicated device than skill dev 1.

0

Process

The process was pretty straitforward. Wiring was a bit hard to implement by hand, but overall it was successful.

0

Outcome

When the button is off, no light will emit from the LED. When the button is on, the LED will emit light according to the photosensor.

0
const int sensorPin = A0; 
int sensorValue = 0; 
const int lightPin = D2;
int lightIntensity = 0;
const int pressPin = D4;

void setup() {
    pinMode(lightPin, OUTPUT);
    Particle.variable("brightness", &lightIntensity, INT);
    pinMode(pressPin, INPUT_PULLUP);
}

void loop() {
    int pressState = digitalRead(pressPin);

    if (pressState == LOW) {
        sensorValue = analogRead(sensorPin);
        lightIntensity = map(sensorValue, 3000, 4095, 0, 255);
        printf("%d\n", lightIntensity); 
        analogWrite(lightPin, lightIntensity);
        delay(100);
    } else {
        digitalWrite(lightPin, LOW);
    }

    Particle.publish("brightness"); 
}
Click to Expand
0

Reflection:
The button adds a nice touch to the circuit in that it creates a way for us to turn on or off the circuit, so we can turn in on when we need it by pressing  th button. 

One thing that can be improved is that it only works when I press the button, which can be improved by introducing a latch that stores data on the circuit, so after I press the button, it will remain on until I press it again.

x
Share this Project

This project is unlisted and only folks with the link can see it. Be considerate and think twice before sharing.


Courses

48-675 Designing for the Internet of Things

· 11 members

A hands-on introductory course exploring the Internet of Things and connected product experiences.


About

~