Skills Dev I_Xiaoran Zhang
Made by Xiaoran Zhang
Made by Xiaoran Zhang
Created: November 9th, 2020
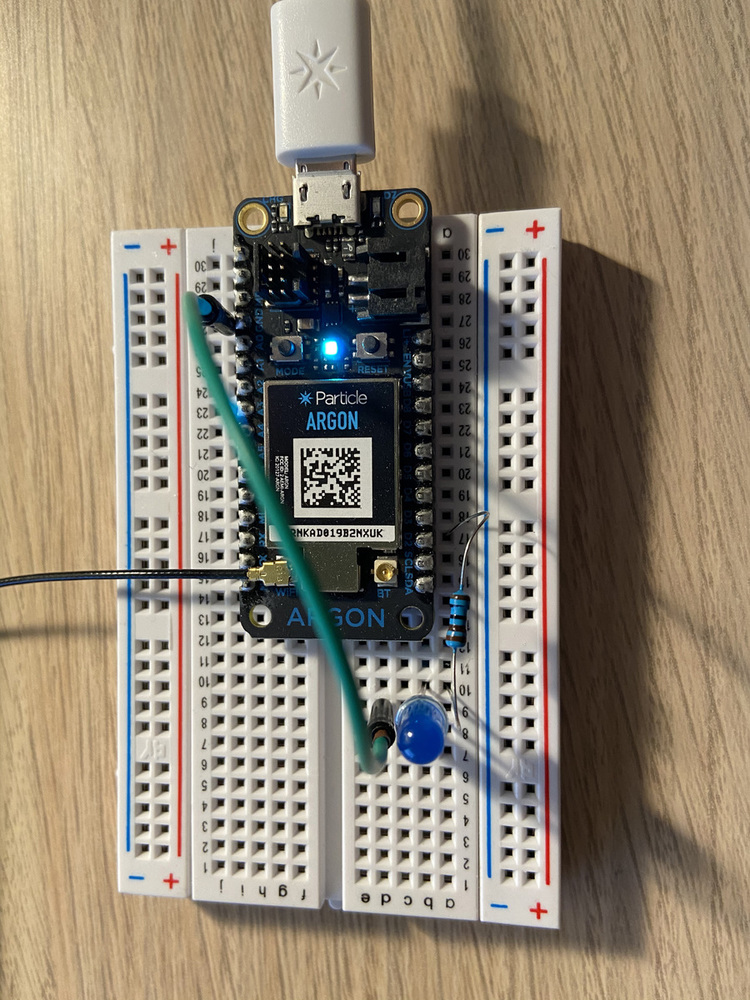
By following the instruction, I successfully connect a basic circuit and then wrote the code to make the led blink. Here is the circuit and code.
int ledPin = D2;

void setup()
{
 // We want to tell the Argon that we'll use
 // D2 as an output pin.
    pinMode( ledPin, OUTPUT );
}

void loop() {
  // First... On
  digitalWrite(ledPin, HIGH);   // Turn ON the LED pins
  delay(1000);               // Wait for 1000mS = 1 second

  // Now... Off
  digitalWrite(ledPin, LOW);   // Turn OFF the LED pins
  delay(1000);               // Wait for 1000mS = 1 second
  // rinse + repeat

}int ledPin = D2;
void setup()
{
// We want to tell the Argon that we'll use
// D2 as an output pin.
pinMode( ledPin, OUTPUT );
}
void loop() {
// First... On
digitalWrite(ledPin, HIGH); // Turn ON the LED pins
delay(3000); // Wait for 3000mS = 3 second
// Now... Off
digitalWrite(ledPin, LOW); // Turn OFF the LED pins
delay(3000); // Wait for 3000mS = 3 second
// rinse + repeat
}int ledPin = D2;
void setup()
{
// We want to tell the Argon that we'll use
// D2 as an output pin.
pinMode( ledPin, OUTPUT );
}
void loop()
{
// First... On
for (int i = 0; i < 5; i++) // for loop to enable led's 5 times blink
{
digitalWrite( ledPin, HIGH ); // Turn ON the LED pins
delay( 500 ); // Wait for 500mS = 0.5 second
// Now... Off
digitalWrite( ledPin, LOW ); // Turn OFF the LED pins
delay( 500 ); // Wait for 500mS = 0.5 second
}
// Off and wait for 3 seconds
digitalWrite( ledPin, LOW ); // Turn OFF the LED pins
delay( 3000 ); // Wait for 3000mS = 3 second
// rinse + repeat
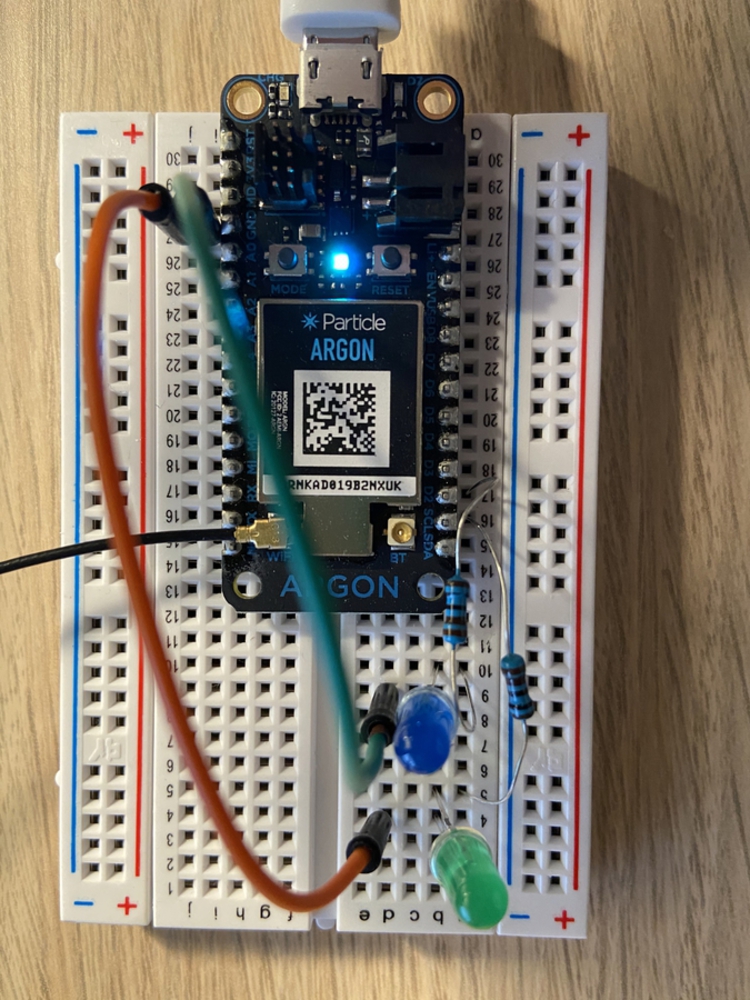
}int ledPin1 = D1; int ledPin2 =D2;
void setup()
{
// We want to tell the Argon that we'll use
// D1 and D2 as an output pin.
pinMode( ledPin1, OUTPUT );
pinMode( ledPin2, OUTPUT );
}
void loop()
{
// First... On
digitalWrite( ledPin1, HIGH ); // Turn ON D1 LED pins
delay( 1000 ); // Wait for 1000mS = 1 second
digitalWrite( ledPin1, LOW ); // Turn OFF D1 LED pins
digitalWrite( ledPin2, HIGH ); // Turn ON D2 LED pins
delay( 1000 ); // Wait for 1000mS = 1 second
digitalWrite( ledPin2, LOW ); // Turn OFF D2 LED pins
// rinse + repeat
}// name the pins
int ledPin = D2;
void setup()
{
// Configure the pins to be outputs
pinMode(ledPin, OUTPUT);
// Initialize both the LEDs to be OFF
digitalWrite(ledPin, LOW);
Particle.function("led", ledControl);
}
void loop()
{
// Nothing to do here
}
int ledControl(String command)
{
int state = LOW;
// find out the state of the led
if(command == "HIGH")
{
state = HIGH;
}
else if(command == "LOW")
{
state = LOW;
}
else
{
return -1;
}
// write to the appropriate pin
digitalWrite(ledPin, state);
return 1;
}// name the pins
int ledPin = D2;
void setup()
{
// Configure the pins to be outputs
pinMode(ledPin, OUTPUT);
// Initialize both the LEDs to be OFF
digitalWrite(ledPin, LOW);
//Register our Particle function here
Particle.function("led", ledControl);
}
void loop()
{
// Nothing to do here
}
int ledControl(String command)
{
int state = LOW;
// find out the state of the led
if(command == "BLINK")
{
for (int i = 0; i < 3; i++) // For loop enable blink 3 times
{
digitalWrite( ledPin, HIGH ); // Turn ON the LED pins
delay( 500 ); // Wait for 500mS = 0.5 second
digitalWrite( ledPin, LOW ); // Turn OFF the LED pins
delay( 500 ); // Wait for 500mS = 0.5 second
}
}
else if(command == "NOBLINK")
{
state = LOW;
}
else
{
return -1;
}
// write to the appropriate pin
digitalWrite(ledPin, state);
return 1;
}Instead of passing a HIGH Or LOW string pass the number of times you would like it to blink. Set the function to blink that number of times. Finally once it has completed all of the blinking it should turn the LED off. I used the toInt function to translate string command to Int, and used the for loop to enable the led blink the same time as called.
// name the pins
int ledPin = D2;
int Val = 0;

void setup()
{
    // Configure the pins to be outputs
    pinMode(ledPin, OUTPUT);
    // Initialize both the LEDs to be OFF
    digitalWrite(ledPin, LOW);
    Particle.function("led", ledControl);

}

void loop()
{

}

int ledControl(String cntblink)
{
   Val = cntblink.toInt(); //Use toInt function to turn string command into Int

   if(Val <= 0)
       {
        return -1;
       }

    else
    {
    for (int i = 0; i < Val; i++)
        {
        digitalWrite( ledPin, HIGH );
        delay( 500 );
        digitalWrite( ledPin, LOW );
        delay( 500 );
        }
    }

   // write to the appropriate pin
   digitalWrite(ledPin, LOW);
   return 1;
}int ledPin1 = D1;
int ledPin2 = D2;
void setup()
{
pinMode(ledPin1, OUTPUT);
digitalWrite(ledPin1, LOW);
pinMode(ledPin2, OUTPUT);
digitalWrite(ledPin2, LOW);
Particle.function("led", ledControl);
}
void loop()
{
}
int ledControl(String command)
{
int state = LOW;
if(command == "HIGH")
{
state = HIGH;
}
else if(command == "LOW")
{
state = LOW;
}
else
{
return -1;
}
digitalWrite(ledPin1, state);
digitalWrite(ledPin2, state);
return 1;
}I finished the blink the leds exercises easily because I can find that I only need to make a change of the blink time and write simple for loops. I spent more time setting up different command to call the leds' state during the connected led exercises, because I need to look up additional functions to define the variable through the command. At last, I was able to understand each step of connecting the circuit and the meaning of code, which is very helpful for me to continue learning more skills.