1000th Point Clock

Made by Justin Belardi

The goal of this project was to create a clock using laser cut wood to commemorate my little sister scoring her thousandth point in basketball.

Created: February 14th, 2018

0

Intention:

My sister recently scored her thousandth point in basketball. I realized that this clock would be a very interesting way to celebrate and commemorate the occasion. I wanted to make this clock resemble a trophy basketball that a player receives when he or she scores 1000 points, but I also wanted to make more than just a flat, circular object with engravings.

0

Sketches:

My initial sketches were of an engraved basketball falling into a rim. They were very simple in nature. At the time I was not sure how exactly I wanted to design the face of the ball or what specific text I wanted to include. I sketched some of these details knowing that they would most like be tweaked at least a little before the final product.

0

Aesthetic Inspiration:

In its simplest form, my clock will be a basketball engraved, etched, and scored with what a trophy basketball is traditionally engraved with.    

0

Process:

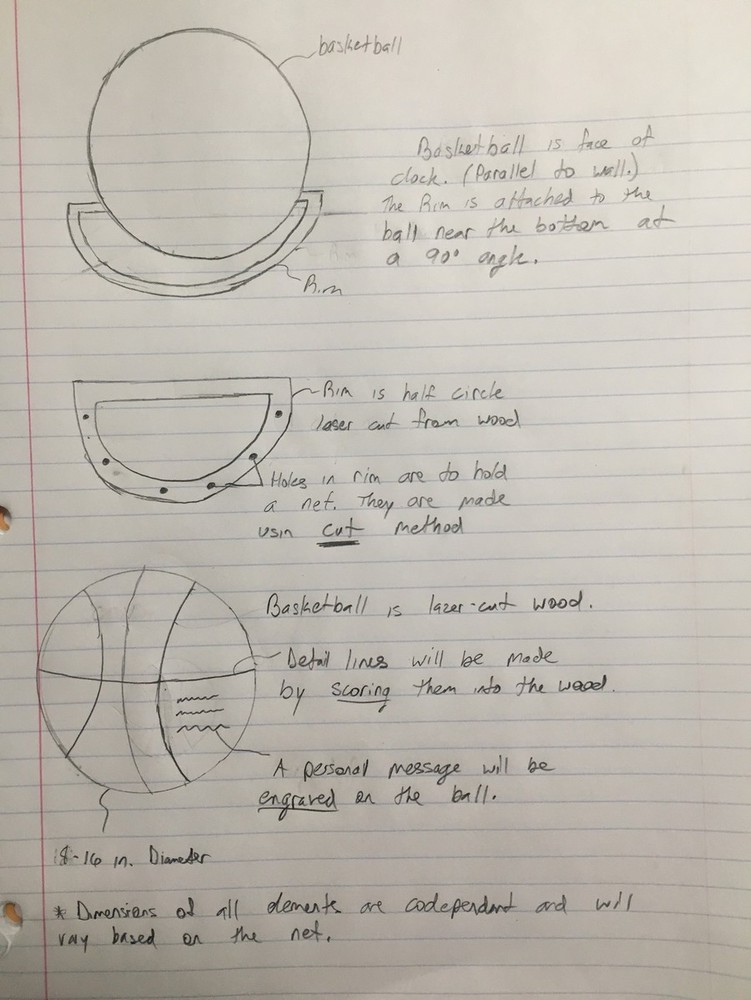
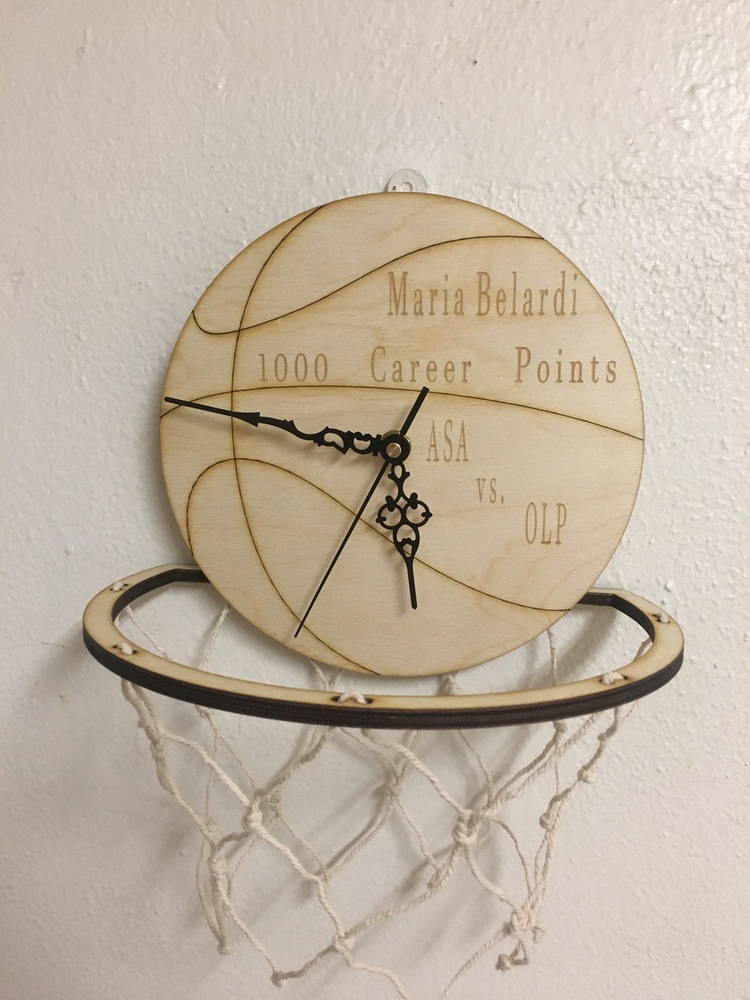
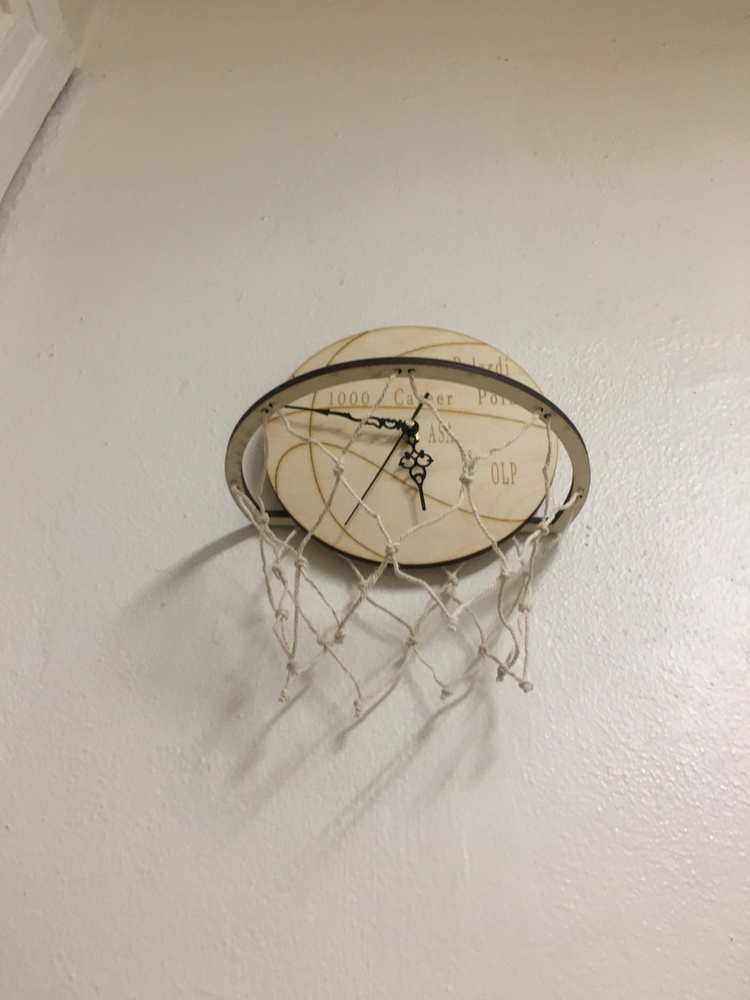
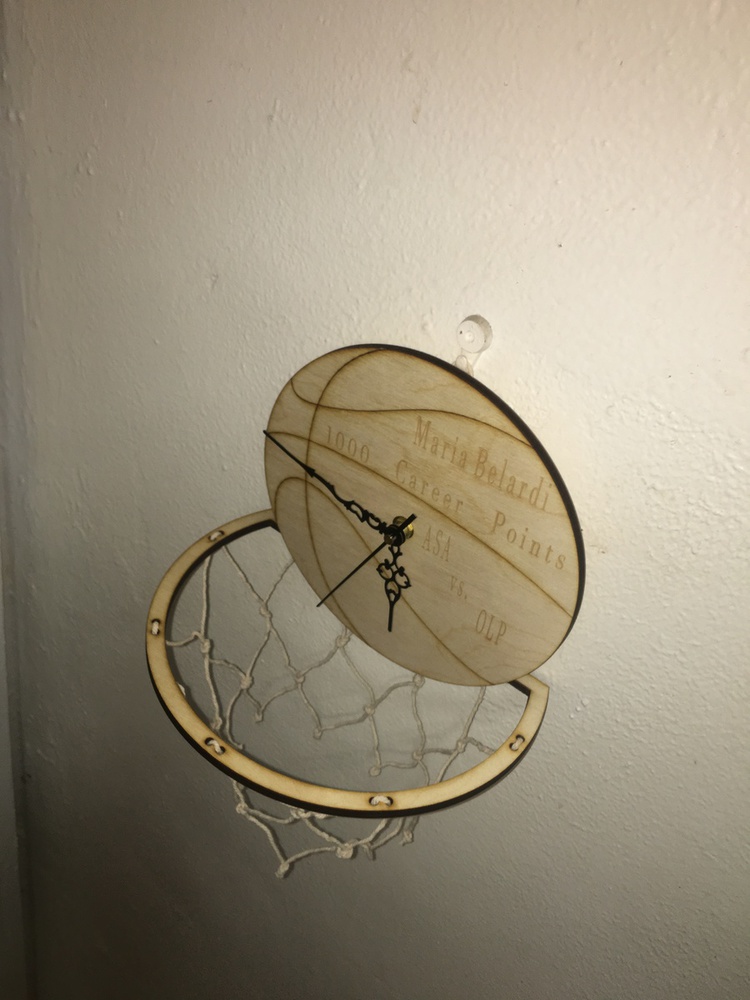
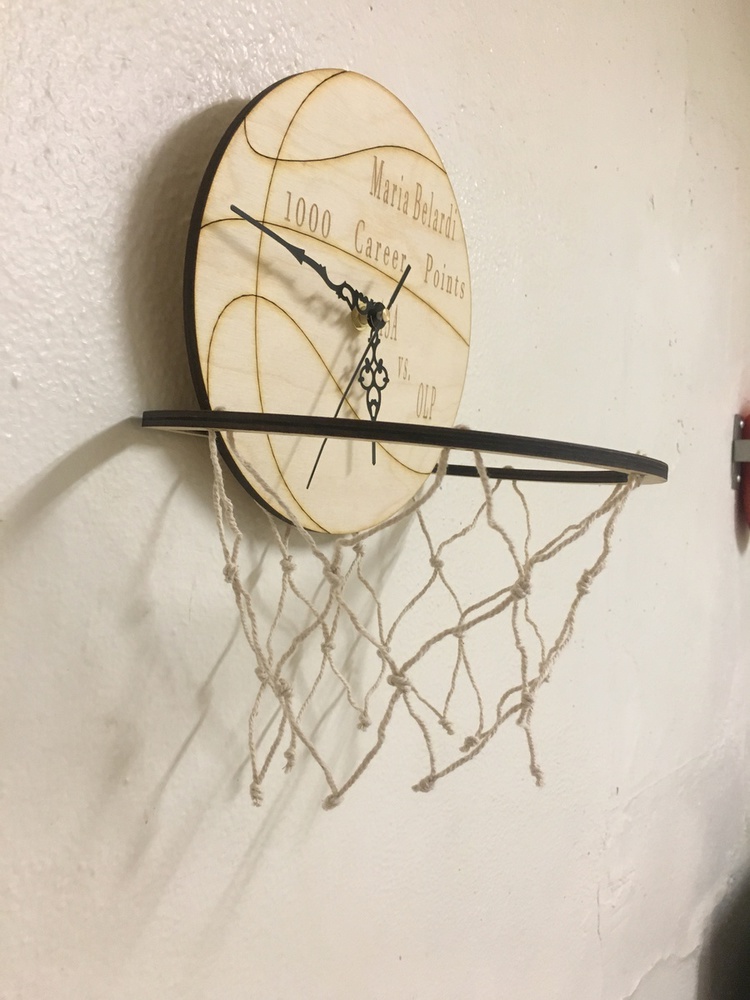
I began by sketching my ideas. Once I had a rough design finalized, I began modelling the clock in Fusion 360. I made sure to keep my models simple and easy to edit. This was mainly because  originally my biggest concern was finding a net. I thought that the net would be the driving force of my clock in terms of the size of the components. This would have been the case had I not found a video on YouTube that demonstrated how to tie nets for a basketball hoop. 

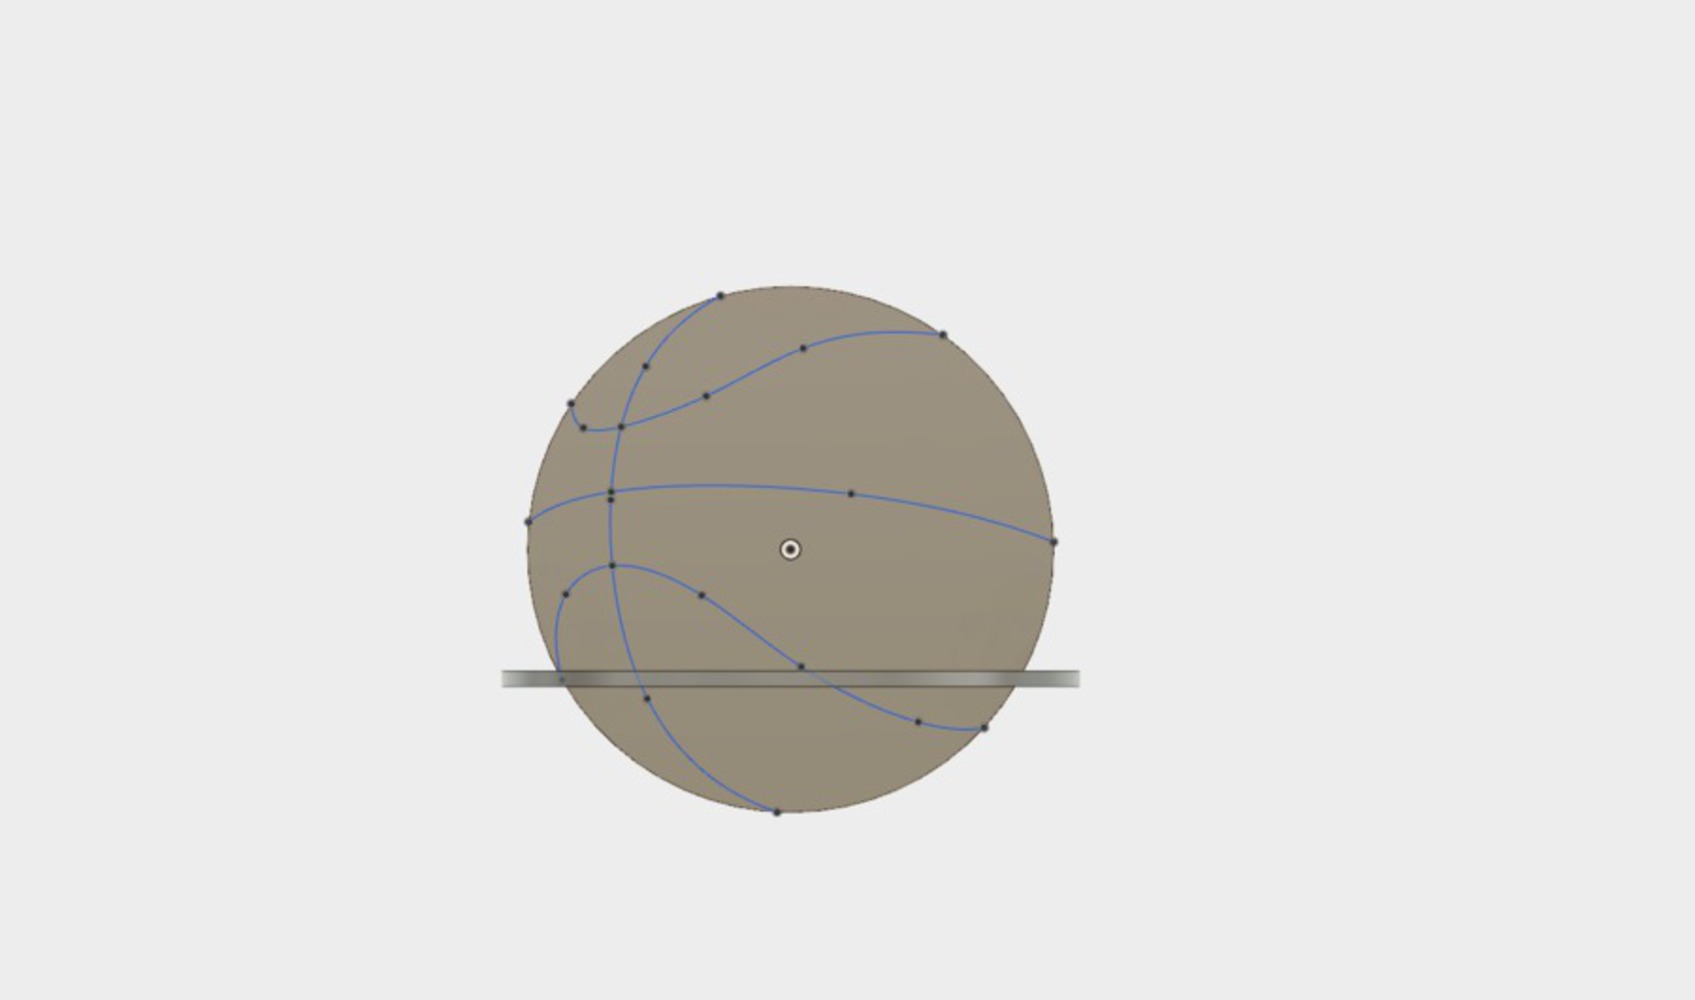
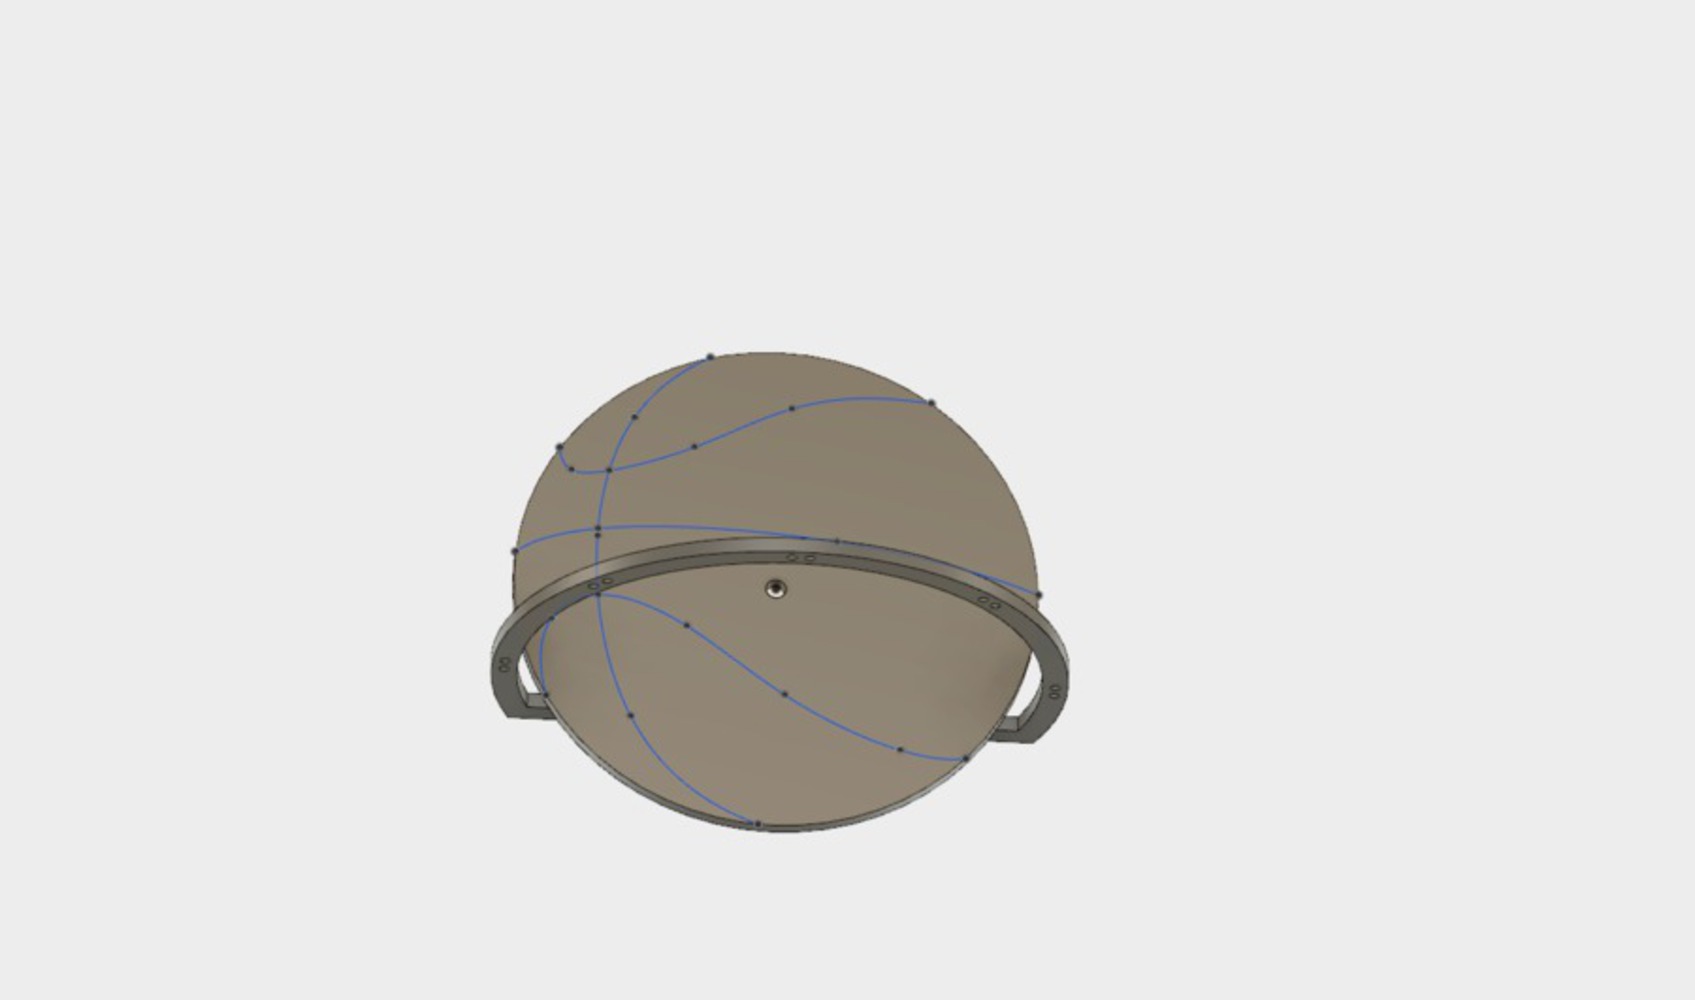
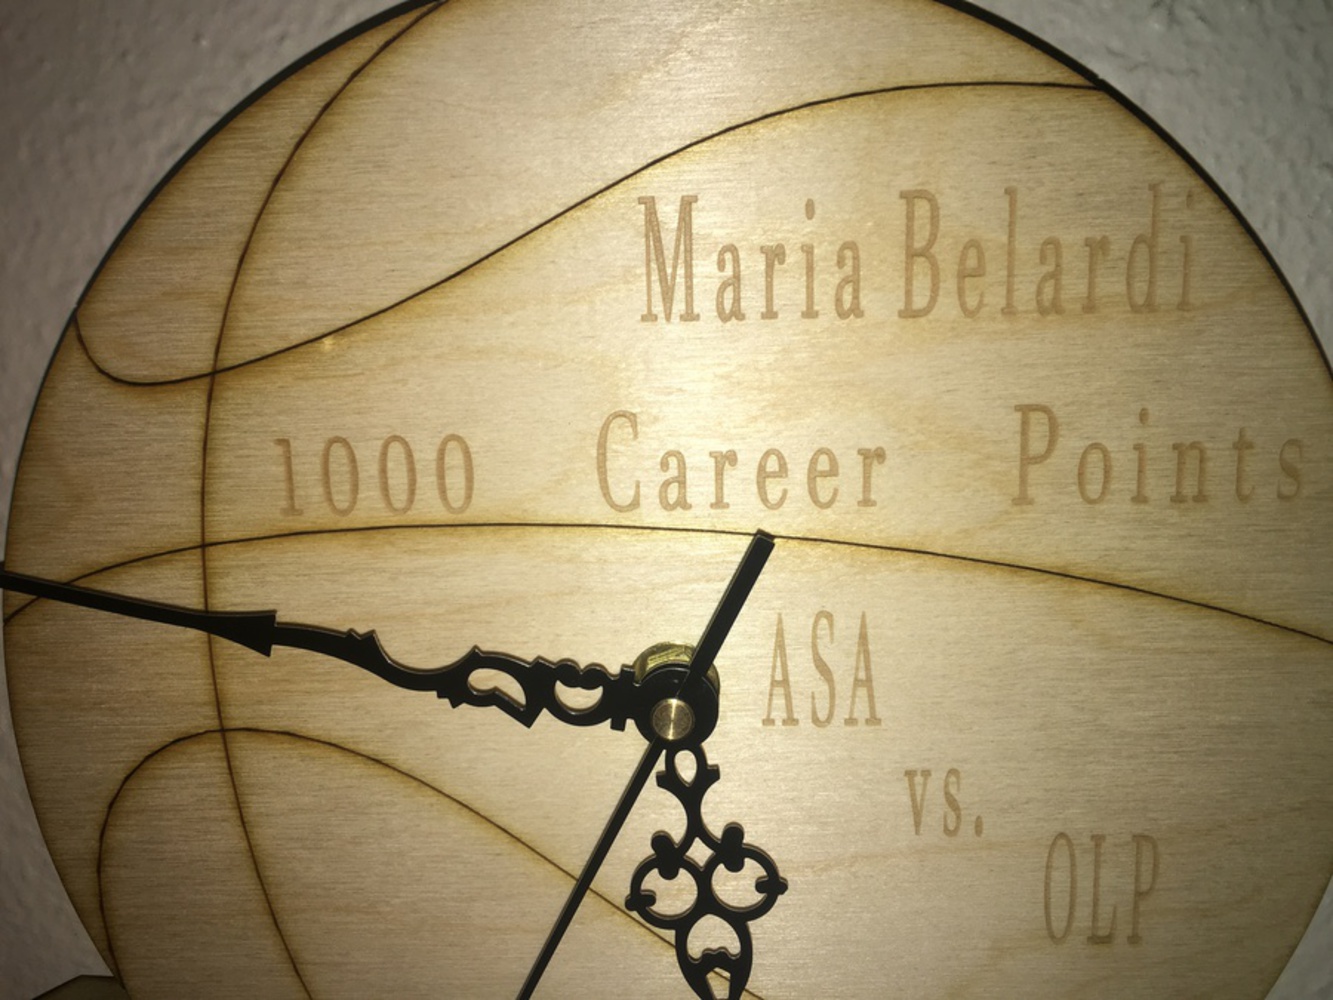
Now that I knew I did not have to focus so much on the net, I began to finalize my designs with dimensions that I liked rather than dimensions that were driven by another aspect of my clock. When I was satisfied with size and layout of everything, I began designing the face of the clock. I used a picture of a basketball and created a sketch of the defining lines of the ball using the spline tool in Fusion 360. I then decided what text to put on the face and prepared it.

Once all of the designs were finalized, I exported them to be laser cut and engraved. After cutting the two components, I cut strips of string out, fed them through the holes on the rim, and tied them as instructed by the video. Next, I fastened the ball to the rim using gorilla glue. I then added the clock kit. Finally I fastened 2 metal brackets with holes in them onto the back of the clock using glue and tied a string from one to the other so the clock can hang from a nail on a wall.

0

CAD Models:

0

Photos:

0

Reflection:

Overall I am happy with how this project turned out. The finished clock ended up being very close to how I originally envisioned it. This project has opened my eyes to the speed and precision of laser cutting and its applications when creating prototypes and even finished products.  The most valuable things I have taken away from this project are a familiarity with Fusion 360 and the ability to edit and use DXF files for laser cutting. 

One thing I could have done differently was not limiting my design as much during my modelling and fabrication processes. Looking back, it would have been interesting to possibly add a backboard behind the ball. I thought about this but did not implement it because I was afraid it would not work. I could have modeled the backboard and tried to use it. Then, if it didn't work when fabricating, I could have just omitted in and went on without it. 

x
Share this Project


Tools
About

The goal of this project was to create a clock using laser cut wood to commemorate my little sister scoring her thousandth point in basketball.