Bike Trunk Bag Project Proposal
Made by Joseph Paetz
Made by Joseph Paetz
Create a bike trunk bag capable of carrying what I need for a minimal commute or a day out on the trail.
Created: April 9th, 2016
For my final project proposal, I wanted to design something that I could actually make and use. For this reason, I settled on a trunk bag for my bike. This bag would be attached to the top of my back rack and allow me to carry things without having to break out my large panniers.
I was designing this bag for two different use cases:
- Commuting: I want a way to carry a change of clothes (and probably a some lunch) when I commute to work this summer.
- Exploring: In the summer I love to go out and explore an area for an entire day. However, I need to carry food, extra water, and possibly rain gear with me. I have a small backpack I used last summer, but my new camera will take up a lot of the space I was using for food. Thus, I need a way to carry a few extra things on day long rides.
I knew that I wanted to make something for my bike, but it took a while to decide on what would be the most useful. Also, I wanted to propose a project that I had a decent chance of completing. So, after looking at a lot of different bike accessories like frame bags, handlebar bags, and backpacks, I settled on a trunk bag.
I started by defining what I needed my trunk bag to do: carry a change of clothes and a lunch for commuting, and then some extra biking gear and more food for exploring on weekends. I also researched commercial bike trunk bags (such as these: http://www.arkel-od.com/en/tailrider.html, http://www.axiomgear.com/products/bags/trunk-bags/caboose-11/). Most of the bags I found attached to the rack with velcro, had a top panel that could be completely opened, and had side pockets.
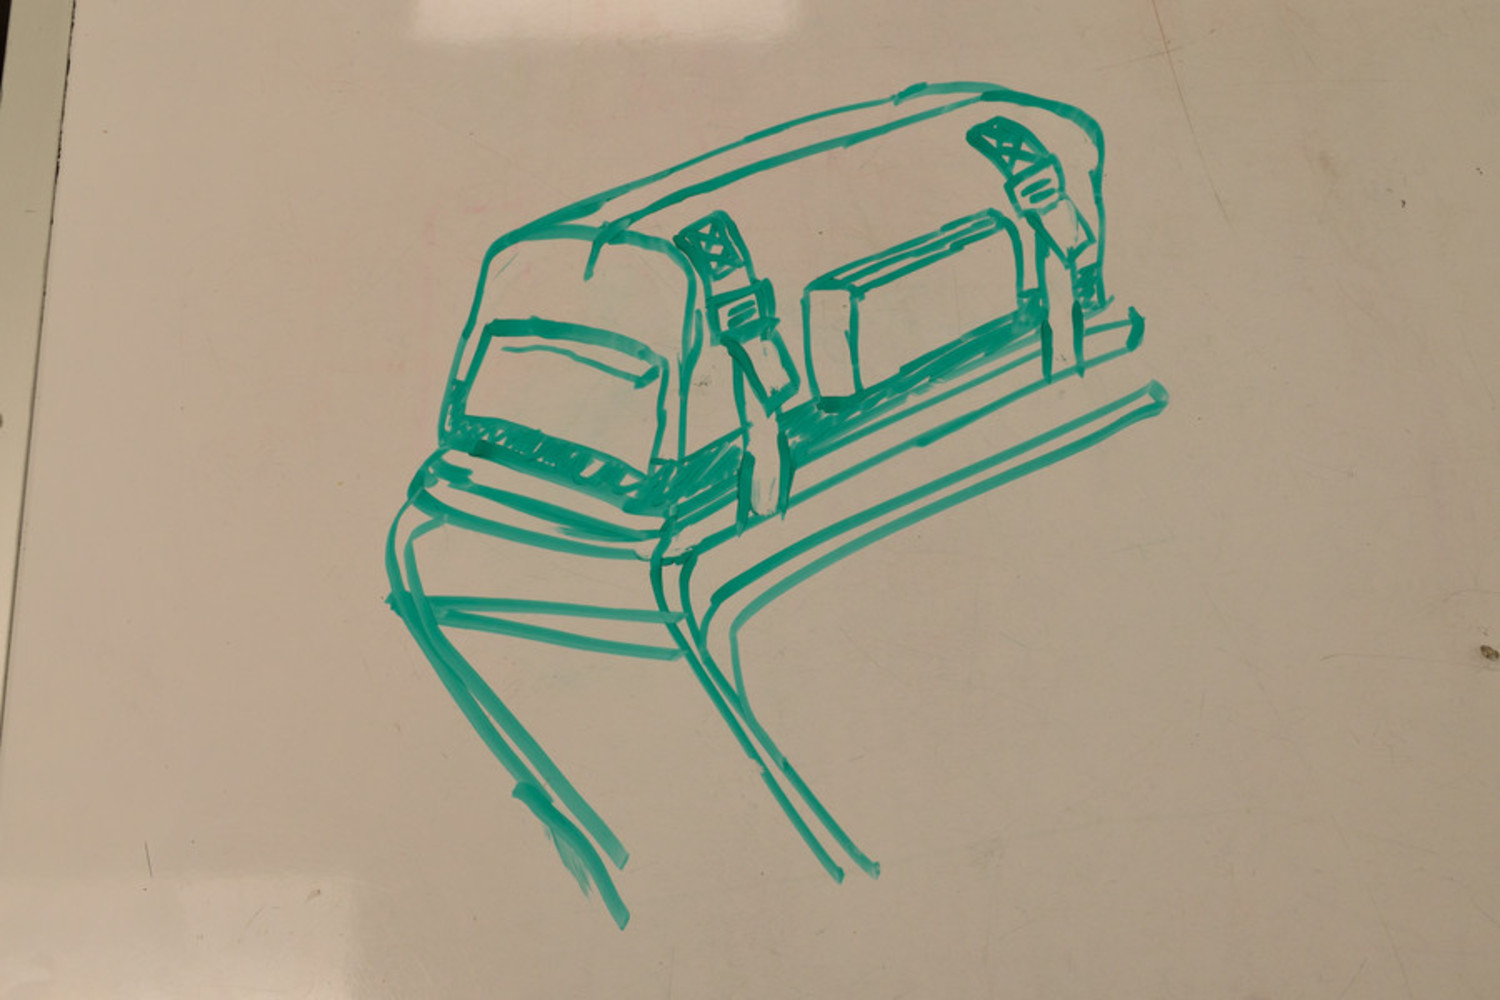
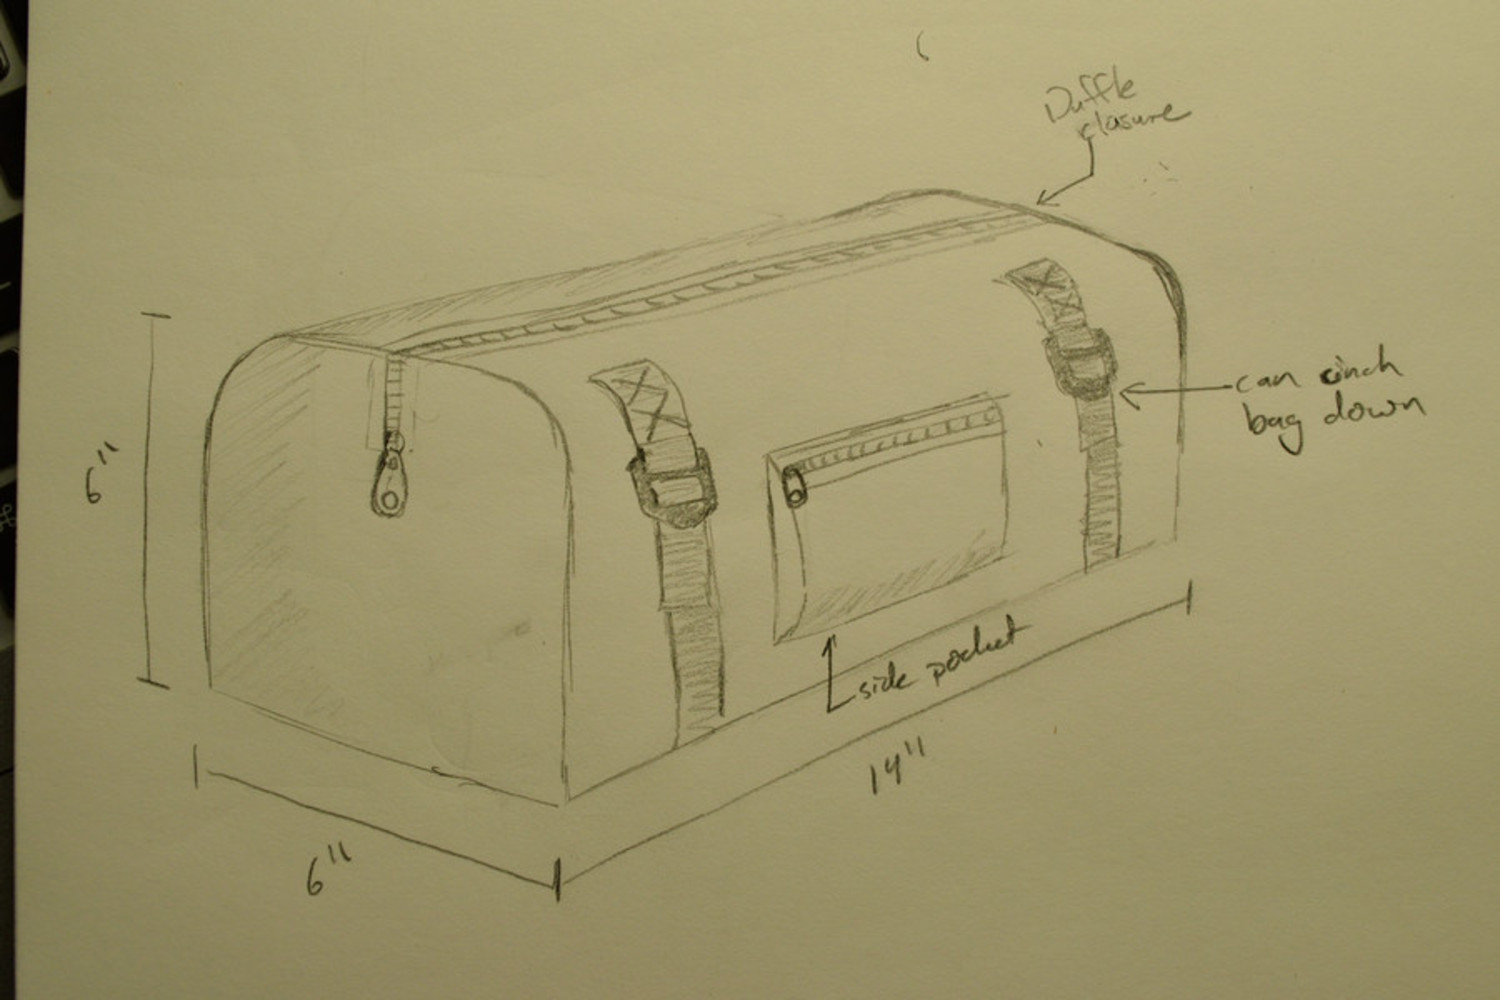
I wanted to simplify the closure mechanism in order to access the bags contents easier. Thus, I went with a duffle-style zipper closure. Additionally, my design calls for straps that cinch the top of the bag down to compress the bag contents and prevent it from being too bulky. This idea was taken from backpacks that have straps on the sides to keep the bag thin when it isn't full.
I also hope to include a small side pocket on each side of the bag. However, I am still trying to figure out a way to easily fabricate them.
I plan to create a bike bag that is 14" long, with a square(ish) cross section that is 6"x6".
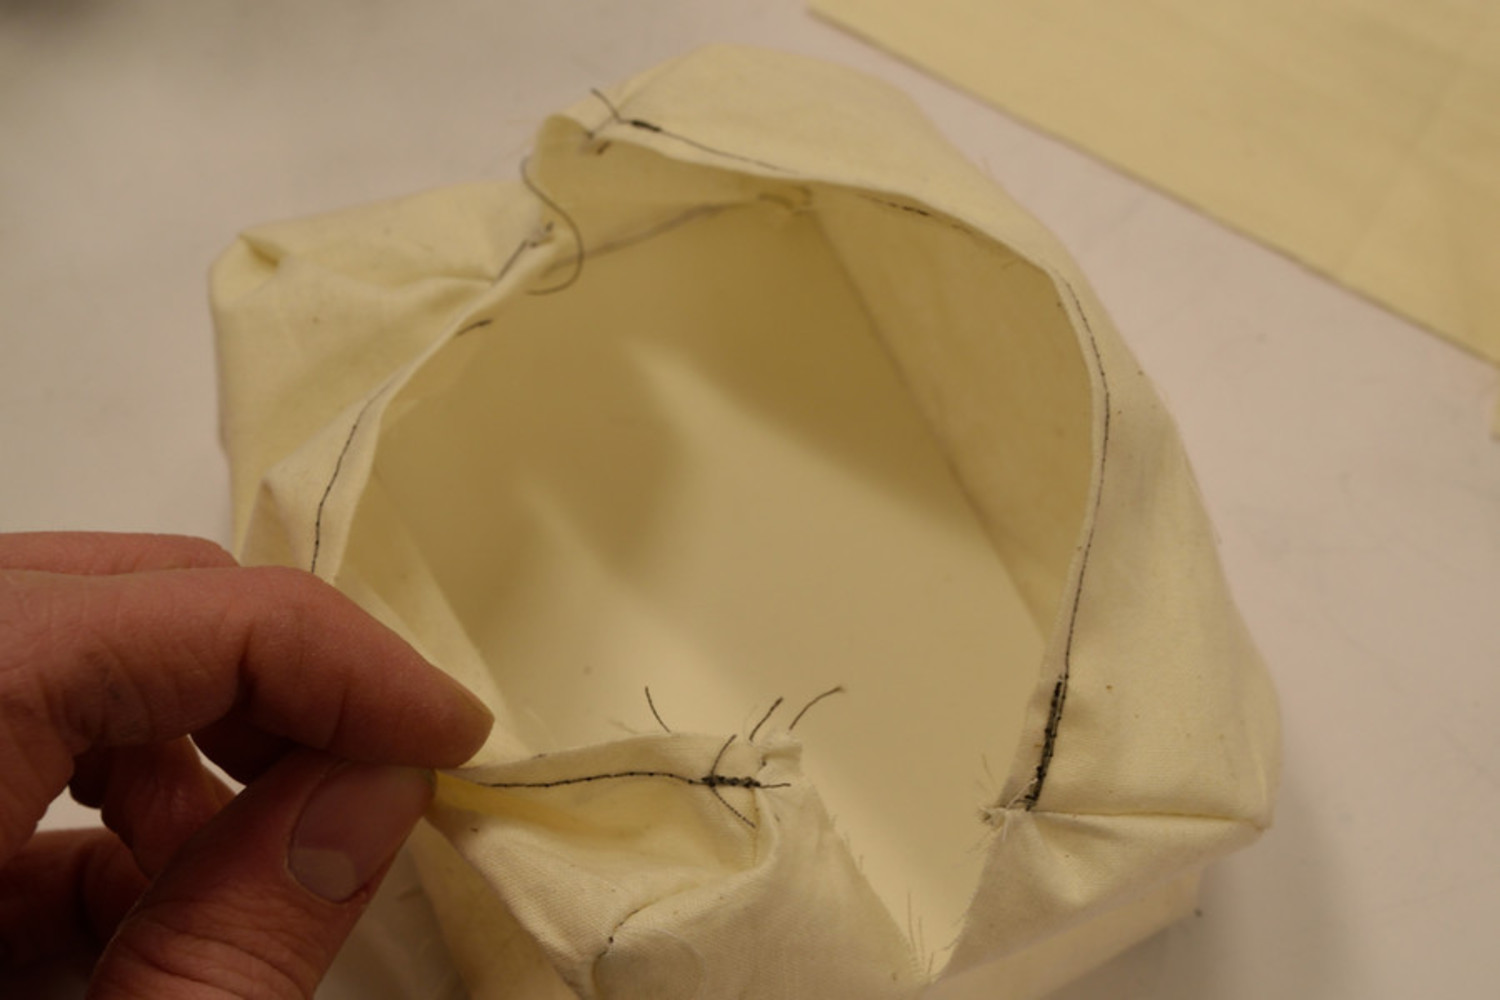
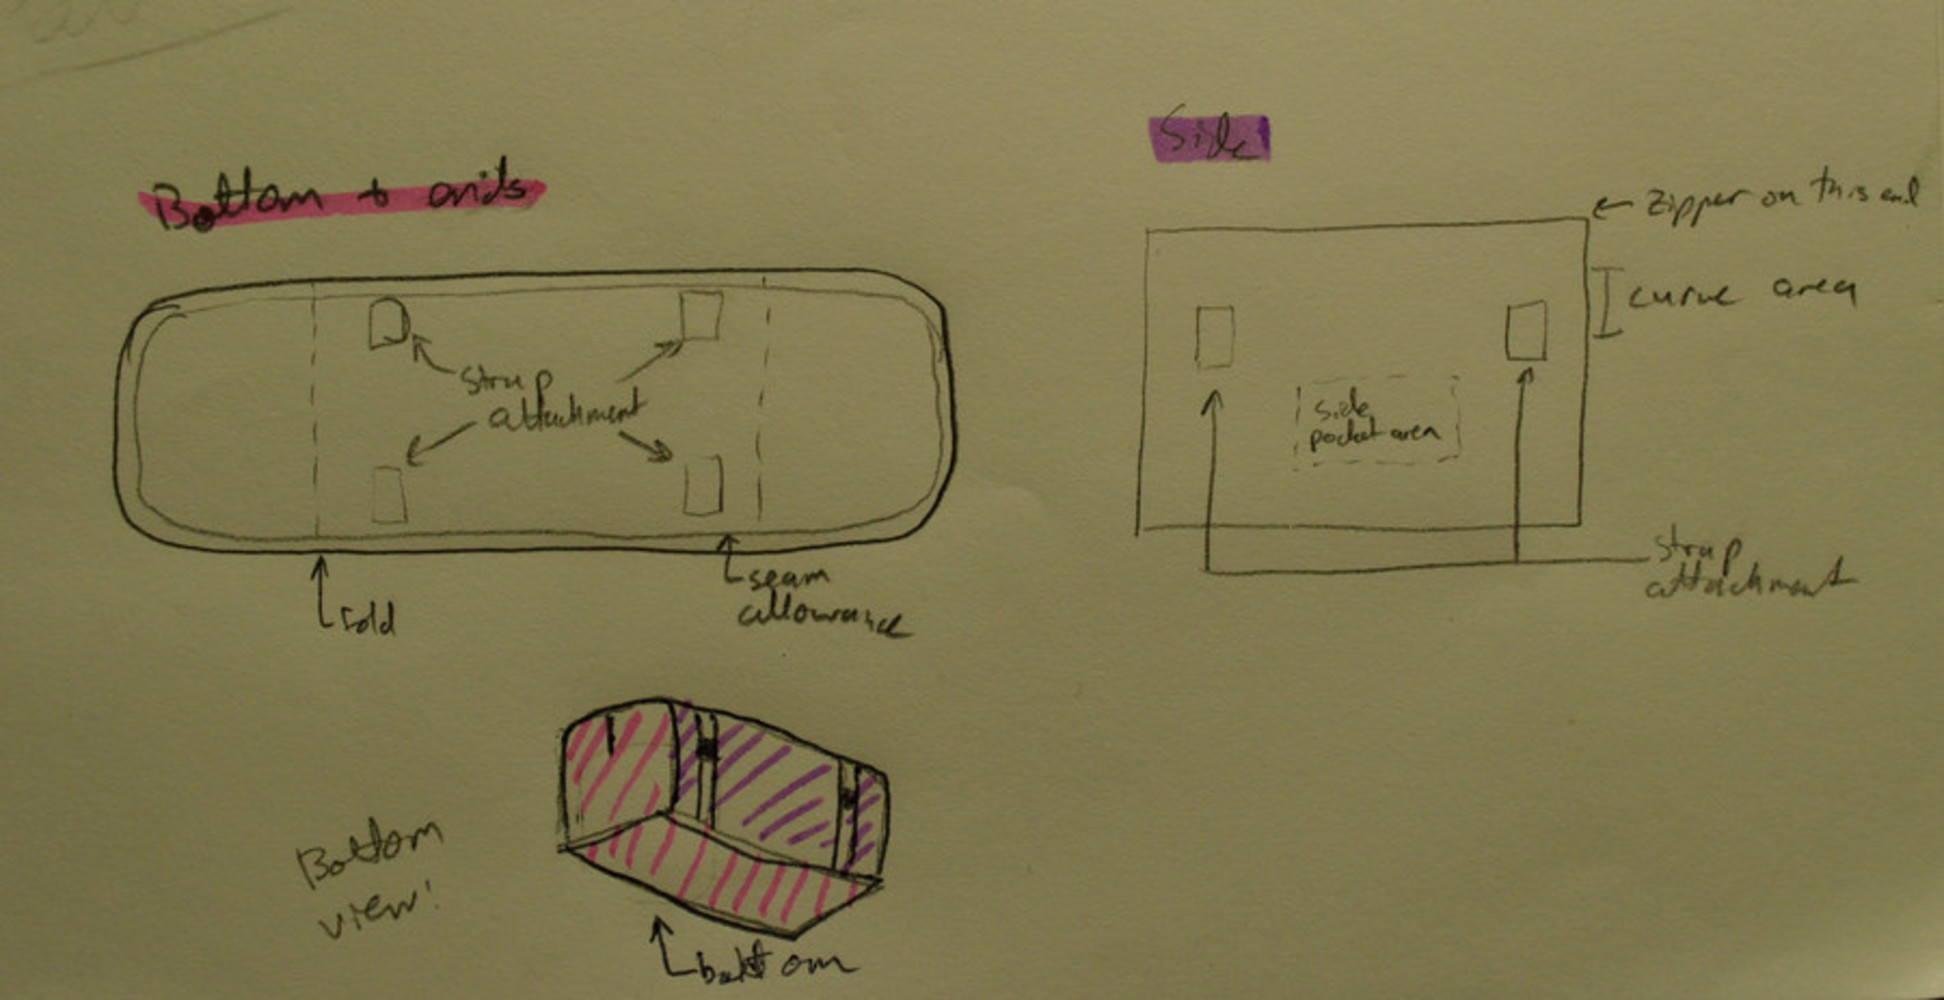
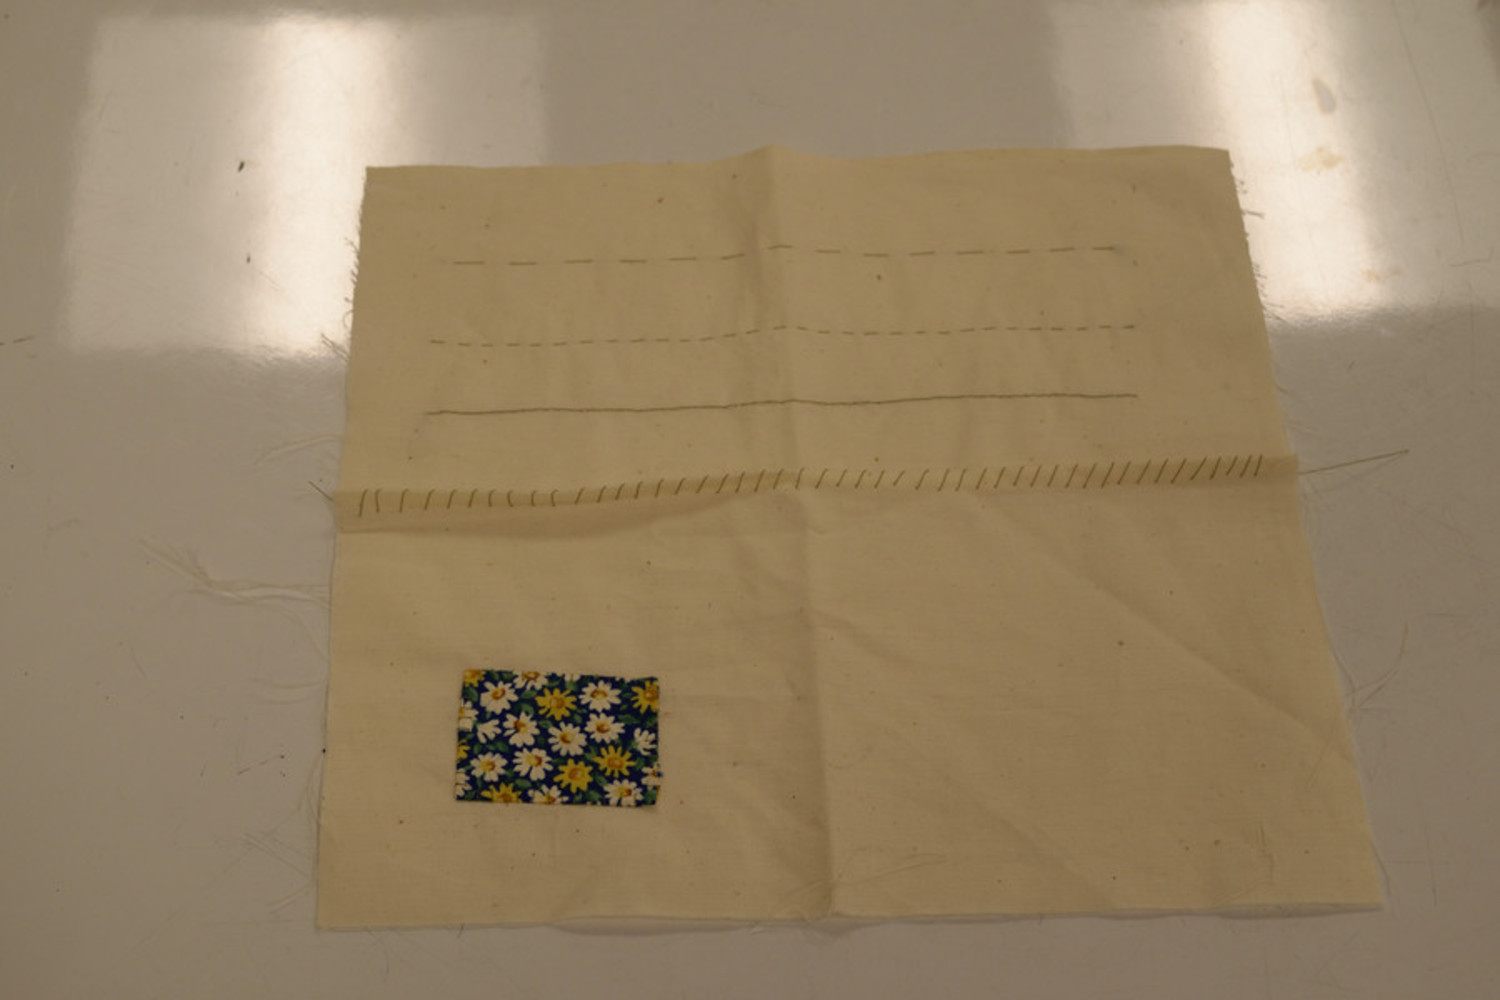
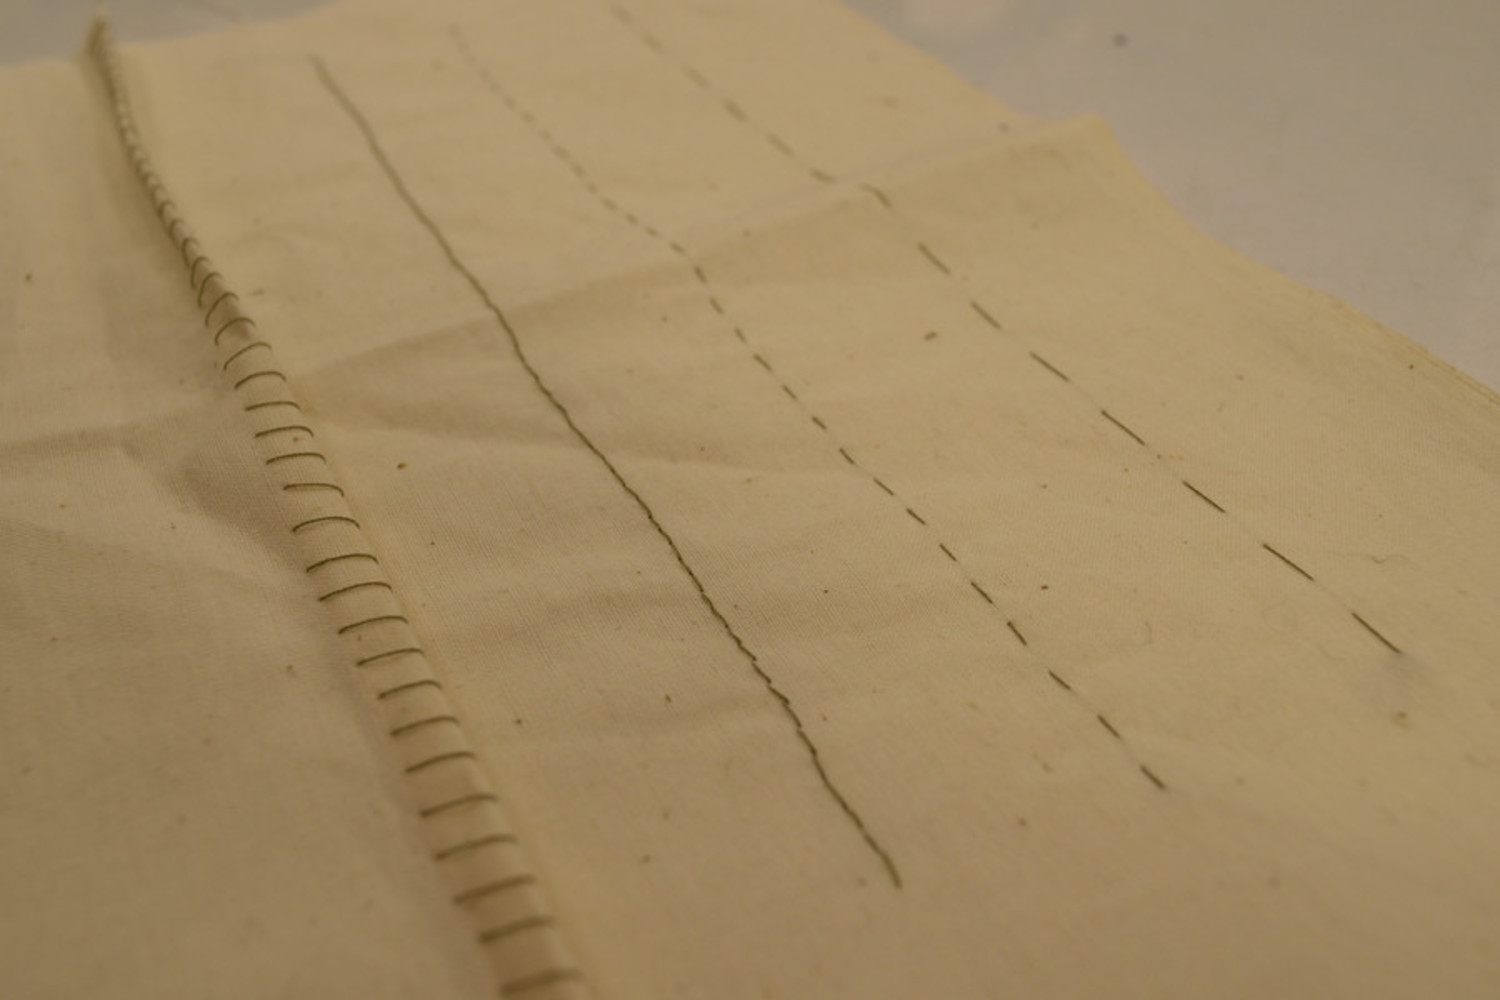
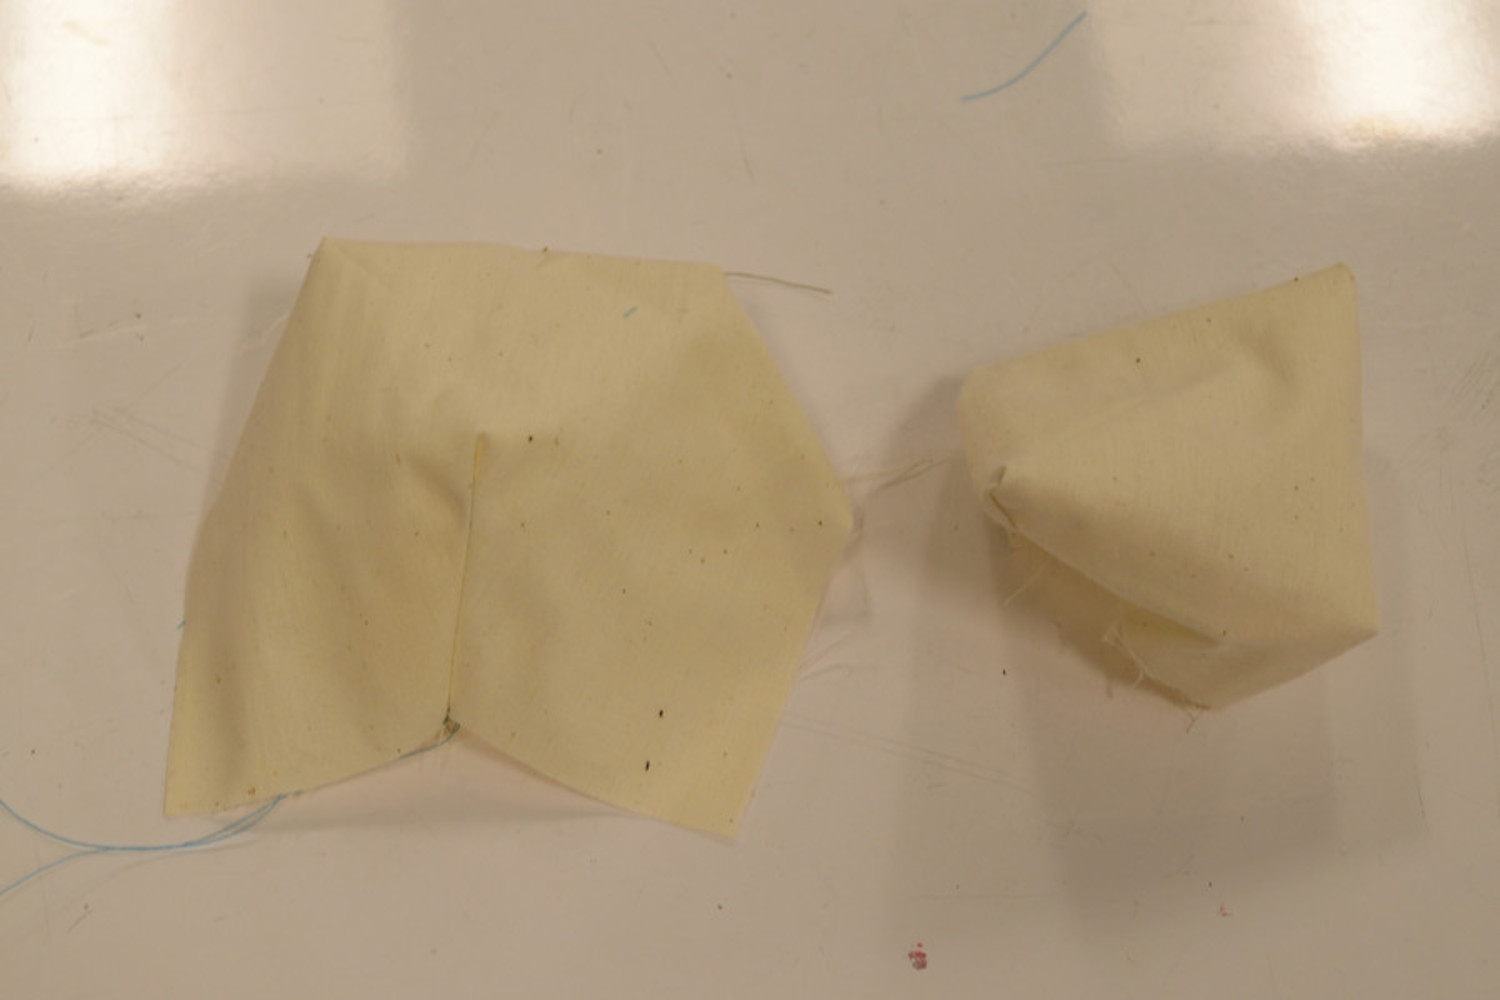
I created a prototype in order to test how well the duffle enclosure would work. This also allowed me to get an idea of what the pattern would look like (see pictures below). When making this bag, I plan to make two layers, with the seam sides of each facing each other. This will prevent any sewn edges from being seen on the inside of the bag. Also, this will allow me to place a stiff piece of wood or plastic yard sign (used in many diy bike bags) in between the bottom layers of the bag to make it hold its shape.
Materials: I would most likely use a cotton duck canvas treated with a waterproofing spray (http://www.amazon.com/Armor-Fabric-Waterproofing-Natural-Fabrics/dp/B002WLUYUG). I don't need the bag to be completely water tight, but I know that rain is unavoidable and that my back wheel will be spraying the bottom of the bag with lots of water.
Skills: When I make this bag I intend to use the sewing machine skills that I learned in the class. Also, in the design process, I relied on the additional exposure to textiles that this class provided me with.
This class was incredibly fun and super educational. I am so glad that I was able to take it. I know about so many more aspects of textiles, and have also gained a better understanding of how to create something with fabric and other textiles. One of the highlights for me was learning about hand stitching, which I didn't know how to do before this class. I also really enjoyed the structure of the class. I really appreciated being able to immediately go and try the skill we were learning after the demo.
I really enjoyed working on the design of this trunk bag, and I hope that I am able to make it or something similar in the near future. However, there are several aspects of the design that I am still not completely happy with. First off, I need to make a firm decision on if the bag should be stiff or flexible. I like the idea of a bag that can be compressed to snuggly hold its contents, but I also think that a stiff bag would be much more stable on my bike. I also don't know if I want the bag to be something that stays on my bike or something that I can take off easily. My current design is definitely one that is meant to stay on the bike. While I would prefer it to be easily removable, I couldn't think of a easily fabricated way to attach the bag in a removable fashion without compromising other aspects of the design I wanted to keep. Finally, if I did go with a stiff bag, I would investigate other ways to open the bag (perhaps more of a lid like design). While my prototype did seem to validate the duffle enclosure, I still have misgivings. However, I think it is the easiest to fabricate and open since it is only a single zipper.
Unfortunately, all of these second thoughts I am having about my design cannot be answered at this stage in the process. I need to be able to make a version of the bag and use it in order to iterate the design further.
Create a bike trunk bag capable of carrying what I need for a minimal commute or a day out on the trail.