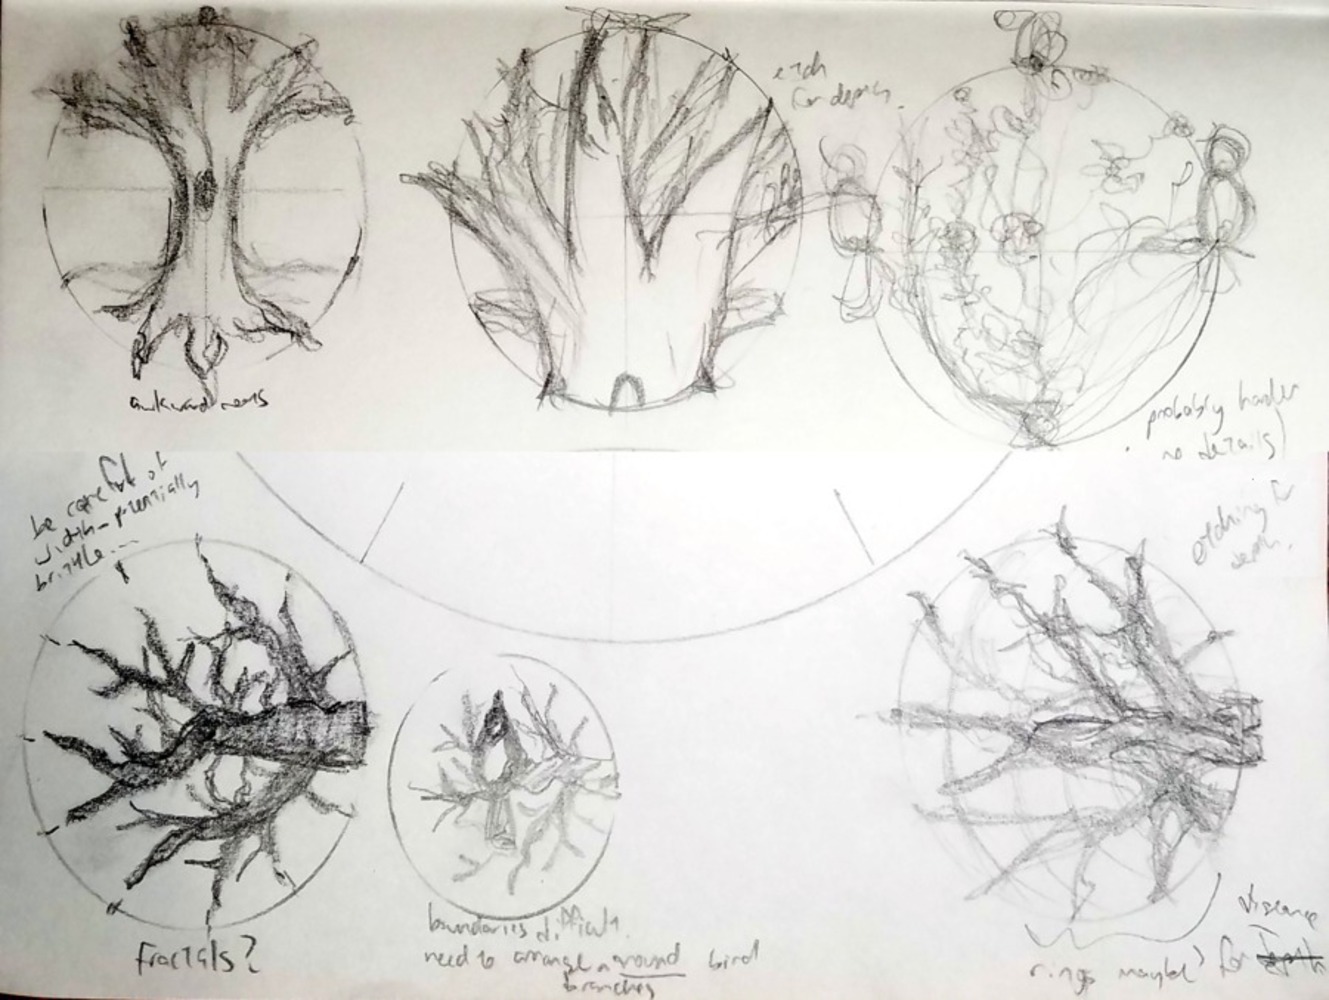
Branching Clock

Made by Emily Zhu

The goal of this project was to laser cut a clock. I wanted my clock to be relatively easy to read and aesthetic in shape.

Created: February 13th, 2018

0

Intention

The goal of this project was to laser cut a clock. I wanted my clock to both be fairly easy to read and aesthetic in shape. More specifically, I wanted something relating to nature/birds, from which I determined that a silhouette of a tree/branches would hit all of these ideas.

0

Sketch

Below are some initial sketches, where I tried to determine how exactly I wanted to incorporate nature/birds. Ultimately, for the sake of time and aesthetics, I found that the silhouettes of branches satisfied my design needs. From there, I went through a few iterations of designs. The first had the branches (cut from plywood) resting on a clear acrylic backing with tick marks. The second made the branches into two layers with a center backing piece of black acrylic to add support and to block the clock kit. The third added grain, which was traced from a tree in a photo I took, to the front piece. The fourth is the vector tracing of the third image. (In both the third and fourth, the circle backing piece are omitted for clarity.) The final design ultimately flattens elements in the fourth design and omits the extra grain detail.

0
Preliminary Sketches
Sketches2.thumb
0
Design Iterations
Clocks whitebg.thumb
0

Research & Context

There are many clock designs attempting to accomplish many different goals, most fitting into aesthetics. I tried to subtly incorporate some functionality (in the readability of the time) into a design which is mostly concerned with form. In particular, with the specific idea of "tree branches" for the clock, I found that few designs managed to effectively use the branches to help with reading time rather than just act as a decorative element. Many designs also had a printed silhouette rather than a cut one, and using a laser cutter allowed me to have the branch as a physical shape instead.

0

Aesthetic & Inspiration

My primary inspiration for this clock was the below piece by Shilin. From this, I realized that with some work, I could shape branches into basically any silhouette while still retaining the aesthetics. The initial inspiration relating to the birds is the many bird photos I take (see below for a small sample of some thumbnails).

0
Many, many bird pics
Birdscreen.thumb
0

Process & Procedure

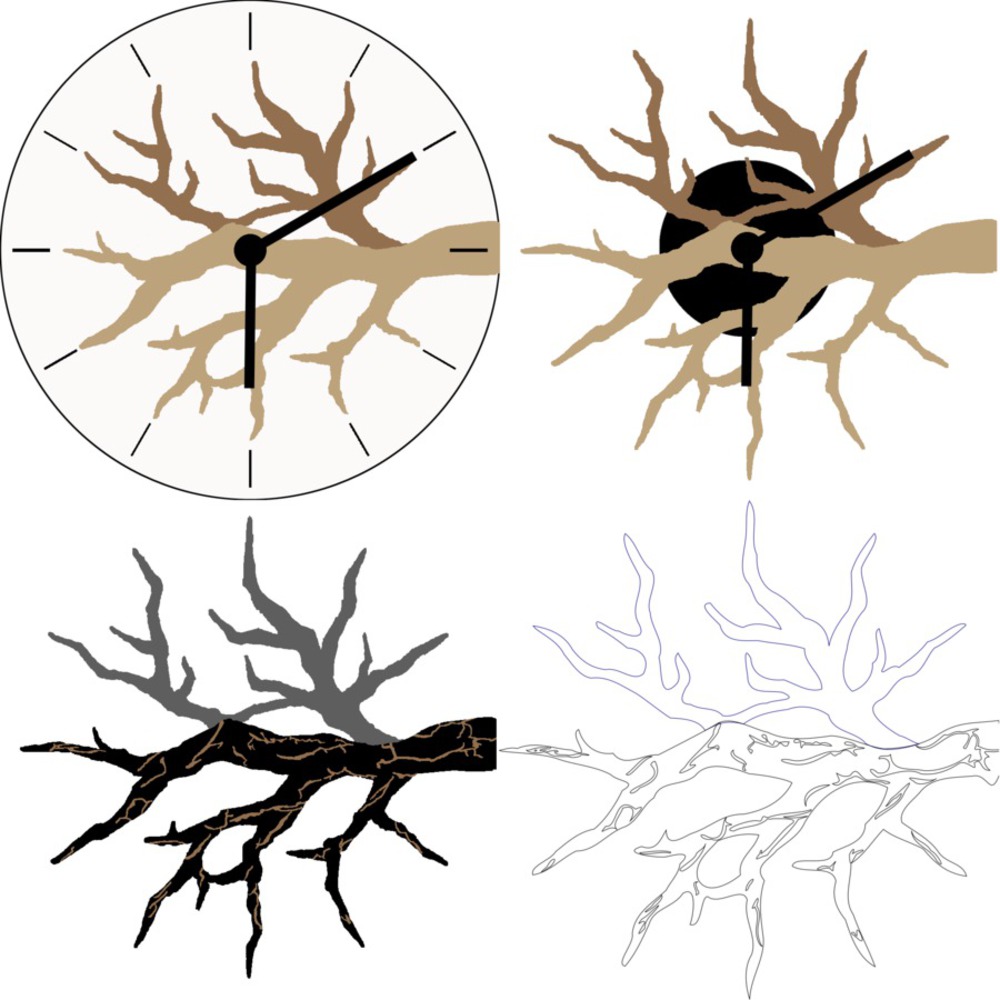
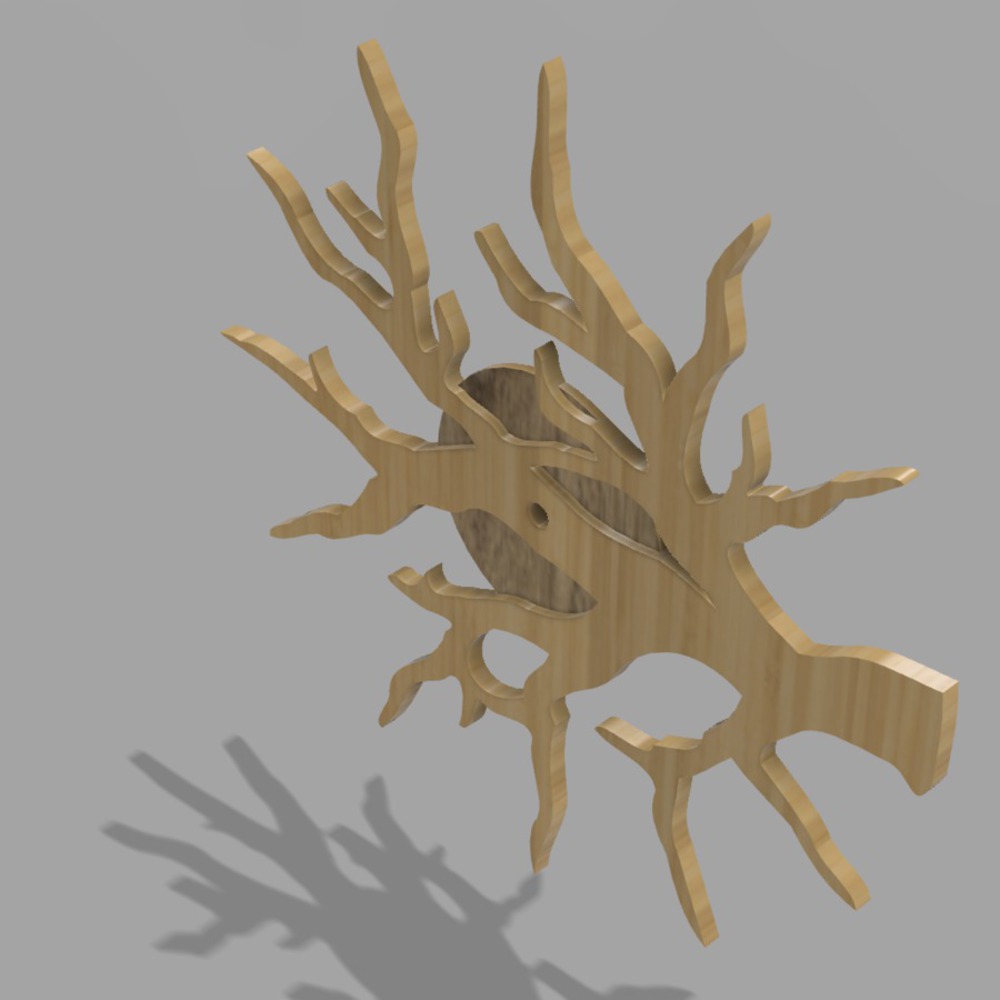
I initially made some sketches on paper before drawing a raster file with the pencil tool in Photoshop Elements 6 (it's aliased and should trace more cleanly). After making this preliminary drawing, I got some feedback from classmates and the instructor, which helped me decide to focus on using the branches as the key element in reading time rather than additional tick marks. I then realized that I needed to account more for the clock kit, from which the smaller center circle arose. I also decided that adding some grain to the front might be a nice detailing. After blocking out all of these shapes in Photoshop, I traced them in Illustrator and adjusted the resulting curves in Inkscape. The resulting SVG files were imported as sketches in Fusion360, where I actually had many problems with phantom lines appearing. I also realized that I needed to make sure my imported sketches were all positioned appropriately relative to each other, so I ended up adding an outer rectangle when exporting the SVG's  for each piece from Inkscape (DXF's with multiple layers lagged terribly) for positioning.

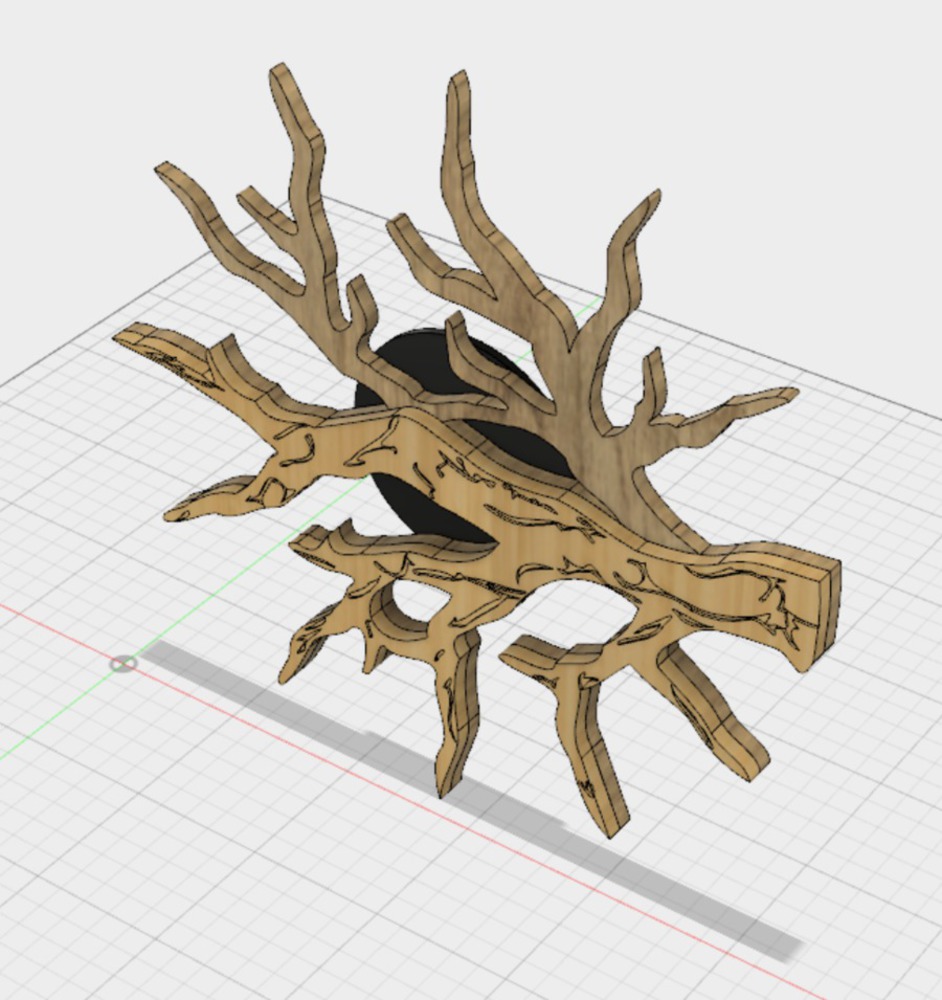
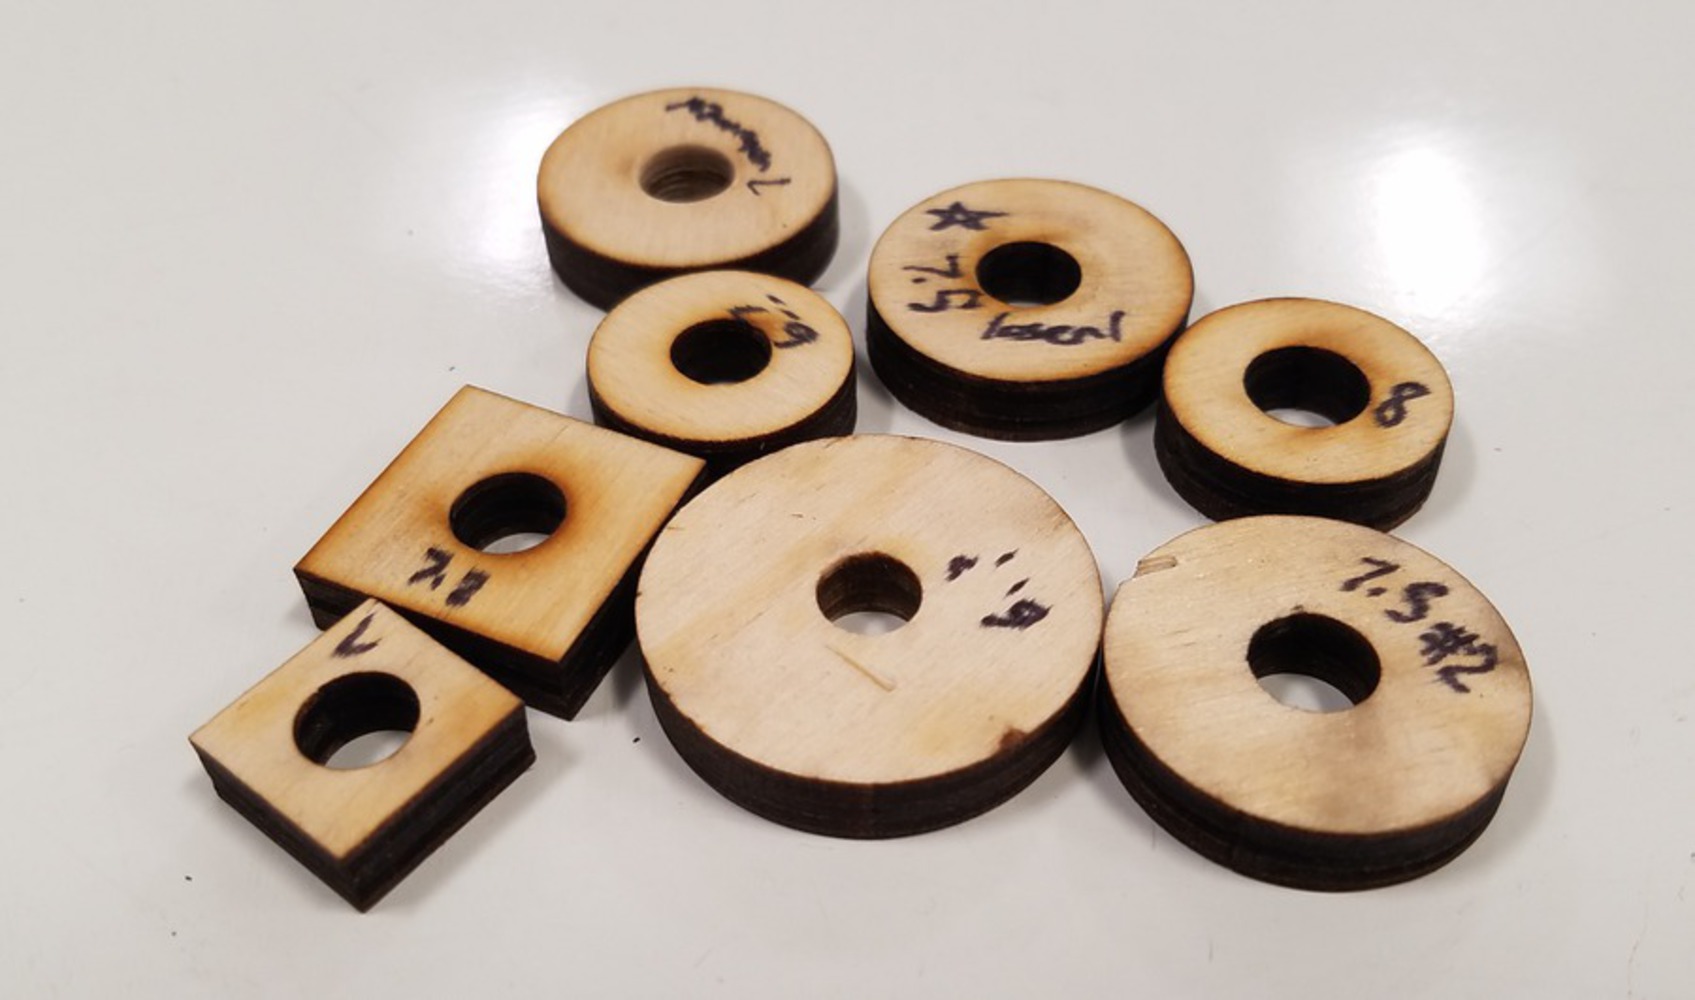
In Fusion360, I did some preliminary extrusions/renders, and made some test cuts on the 6mm plywood and 3mm black acrylic to try to determine the necessary hole size. Despite my measurements, the plywood cuts weren't fitting the spindle, so I ended up testing a few sizes before I found one which worked. Through this, I also realized that multiple layers would be too thick to fit properly on the spindle. Thus, I decided to adjust my clock to work on a single piece of 6mm plywood. Also having a piece 1' x 2' wood on hand, having the clock about 11" in diameter made it fit comfortably and look a reasonable size.

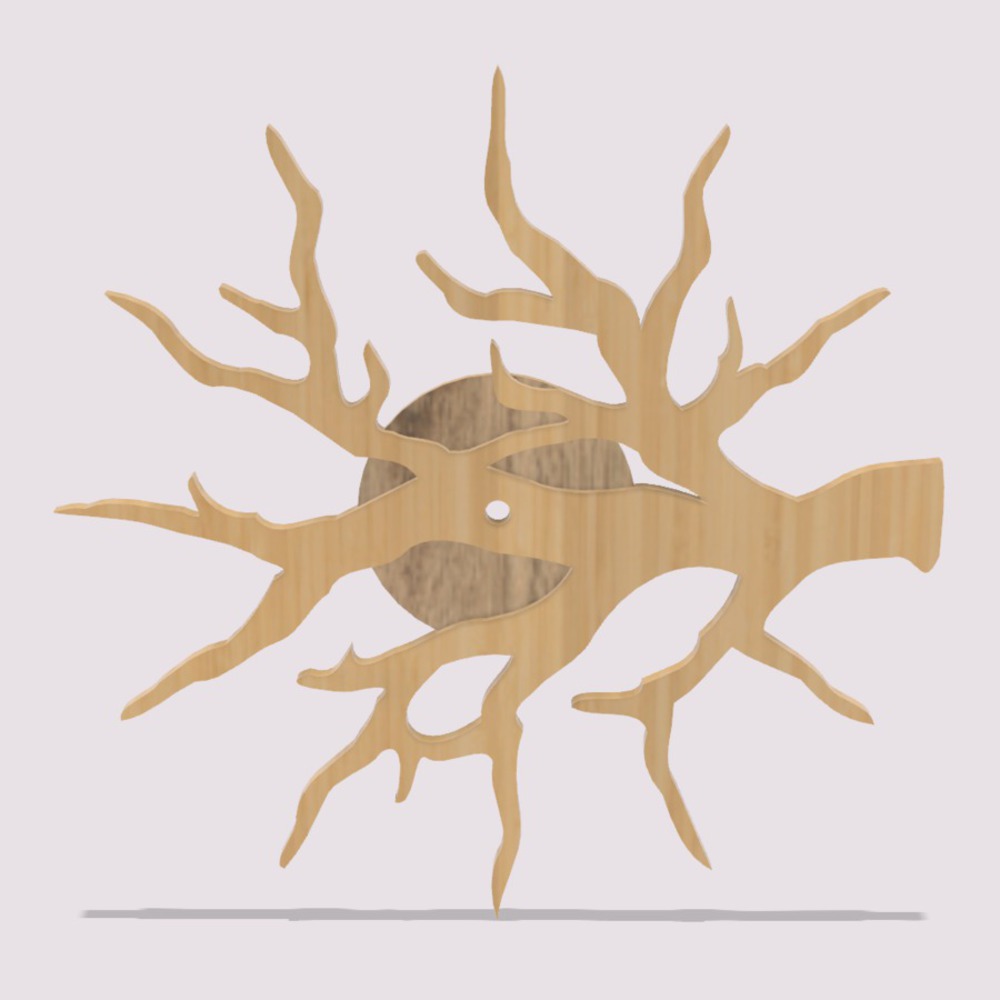
To flatten the clock, I merged the front and back piece by joining the extruded pieces in Fusion360 and cleaning the resulting projection a little in Inkscape. Since then all the branches would be on the same layer, I decided that having detailing on only the bottom half would look strange and also take a lot of time to engrave/score, so I removed it. 
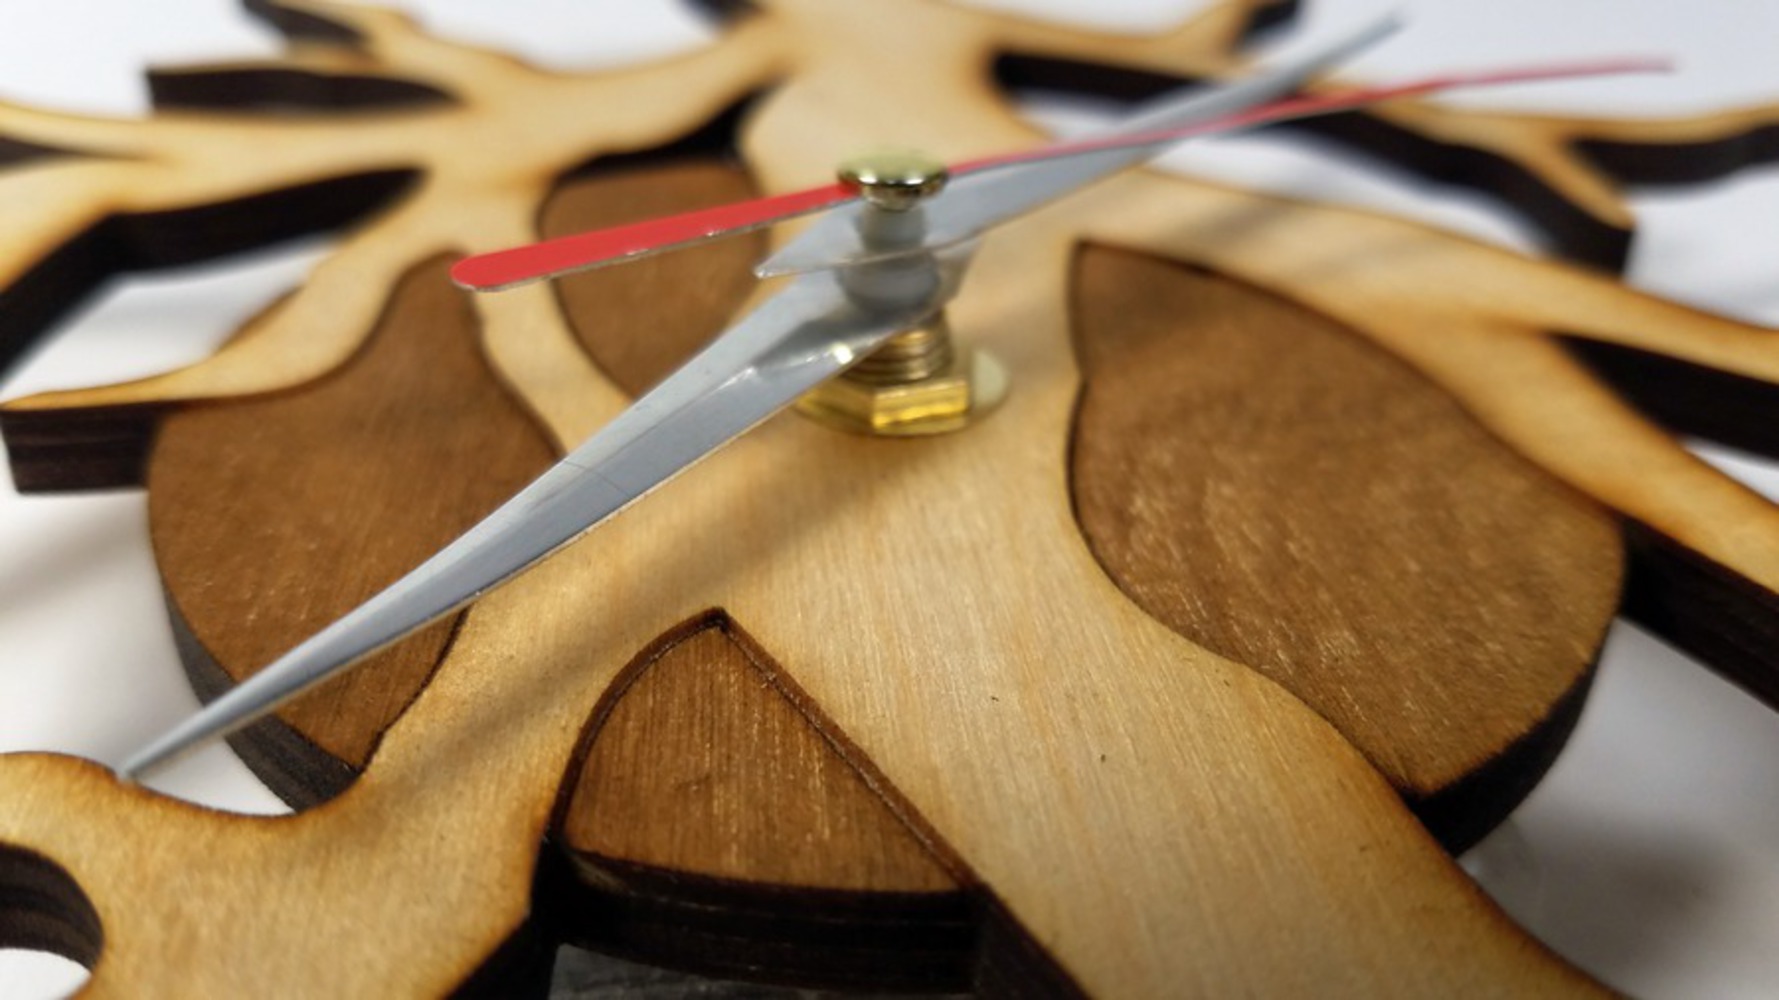
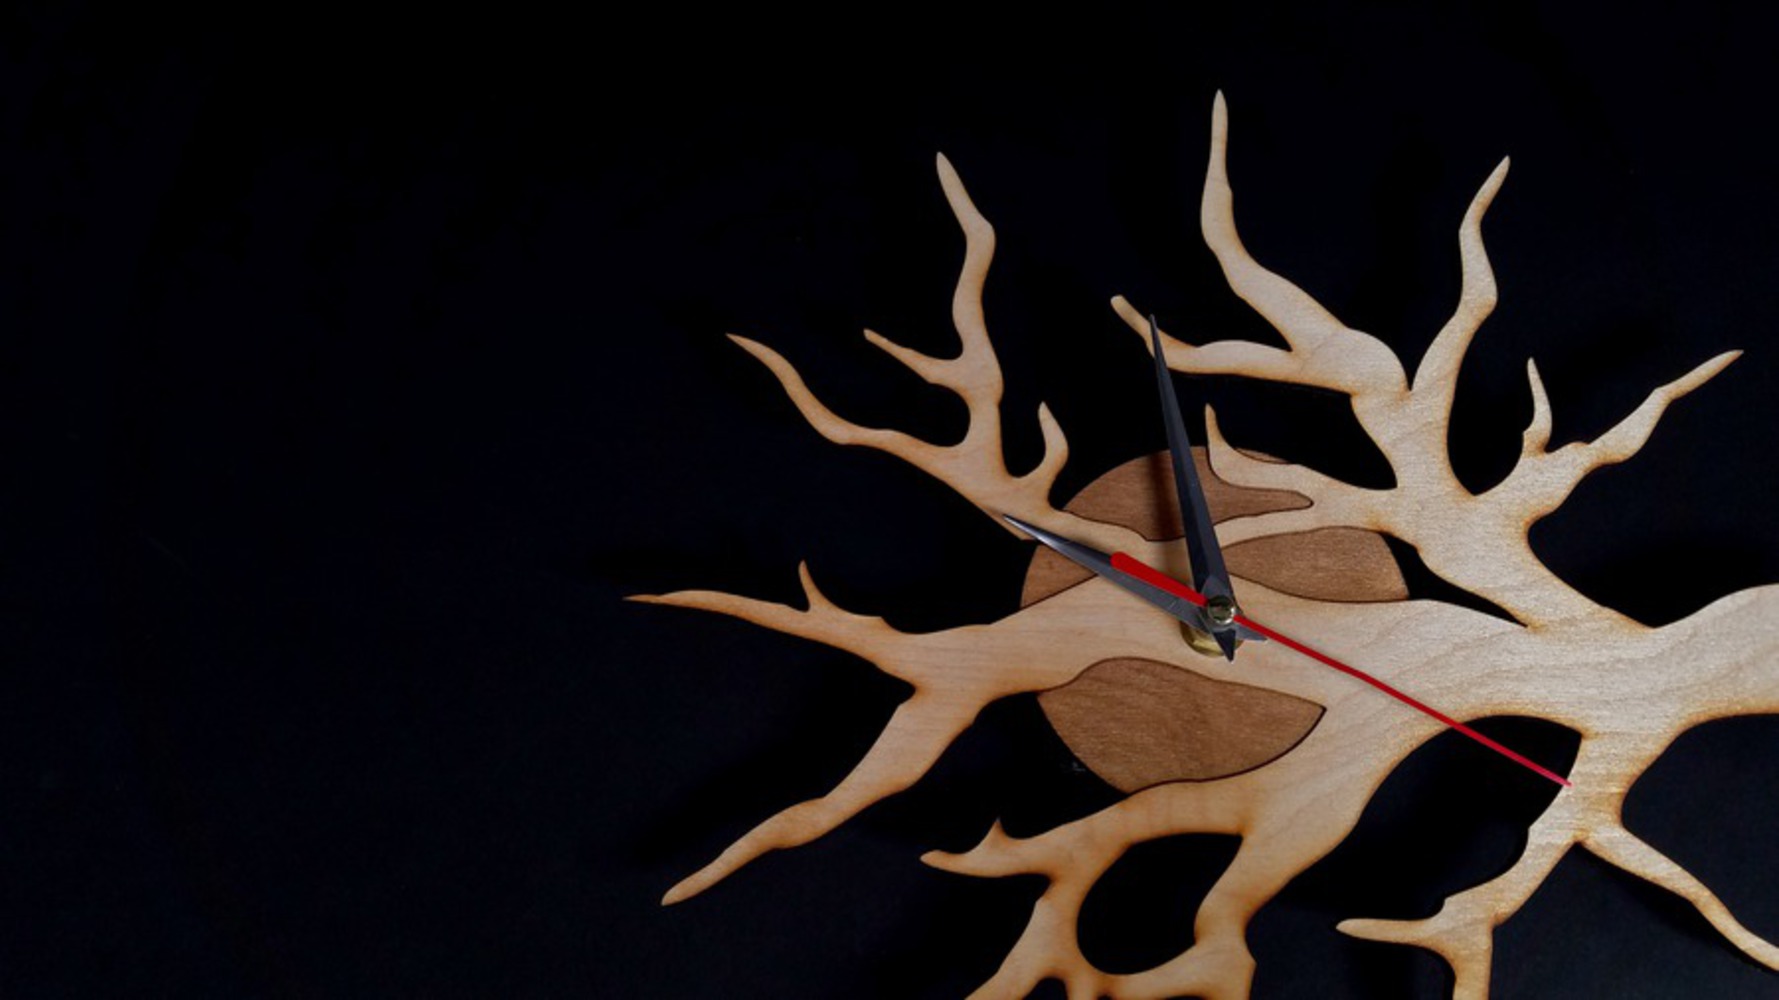
I also decided to engrave/score the circle "backing" piece to distinguish it from the rest of the branches. To add all of the functions for the circle backing, I duplicated the outline of the various pieces for the backing in Inkscape and changed its color to add an engrave/scoring option. I also made sure to cut the inner pieces first before cutting the overall outline of the branches.

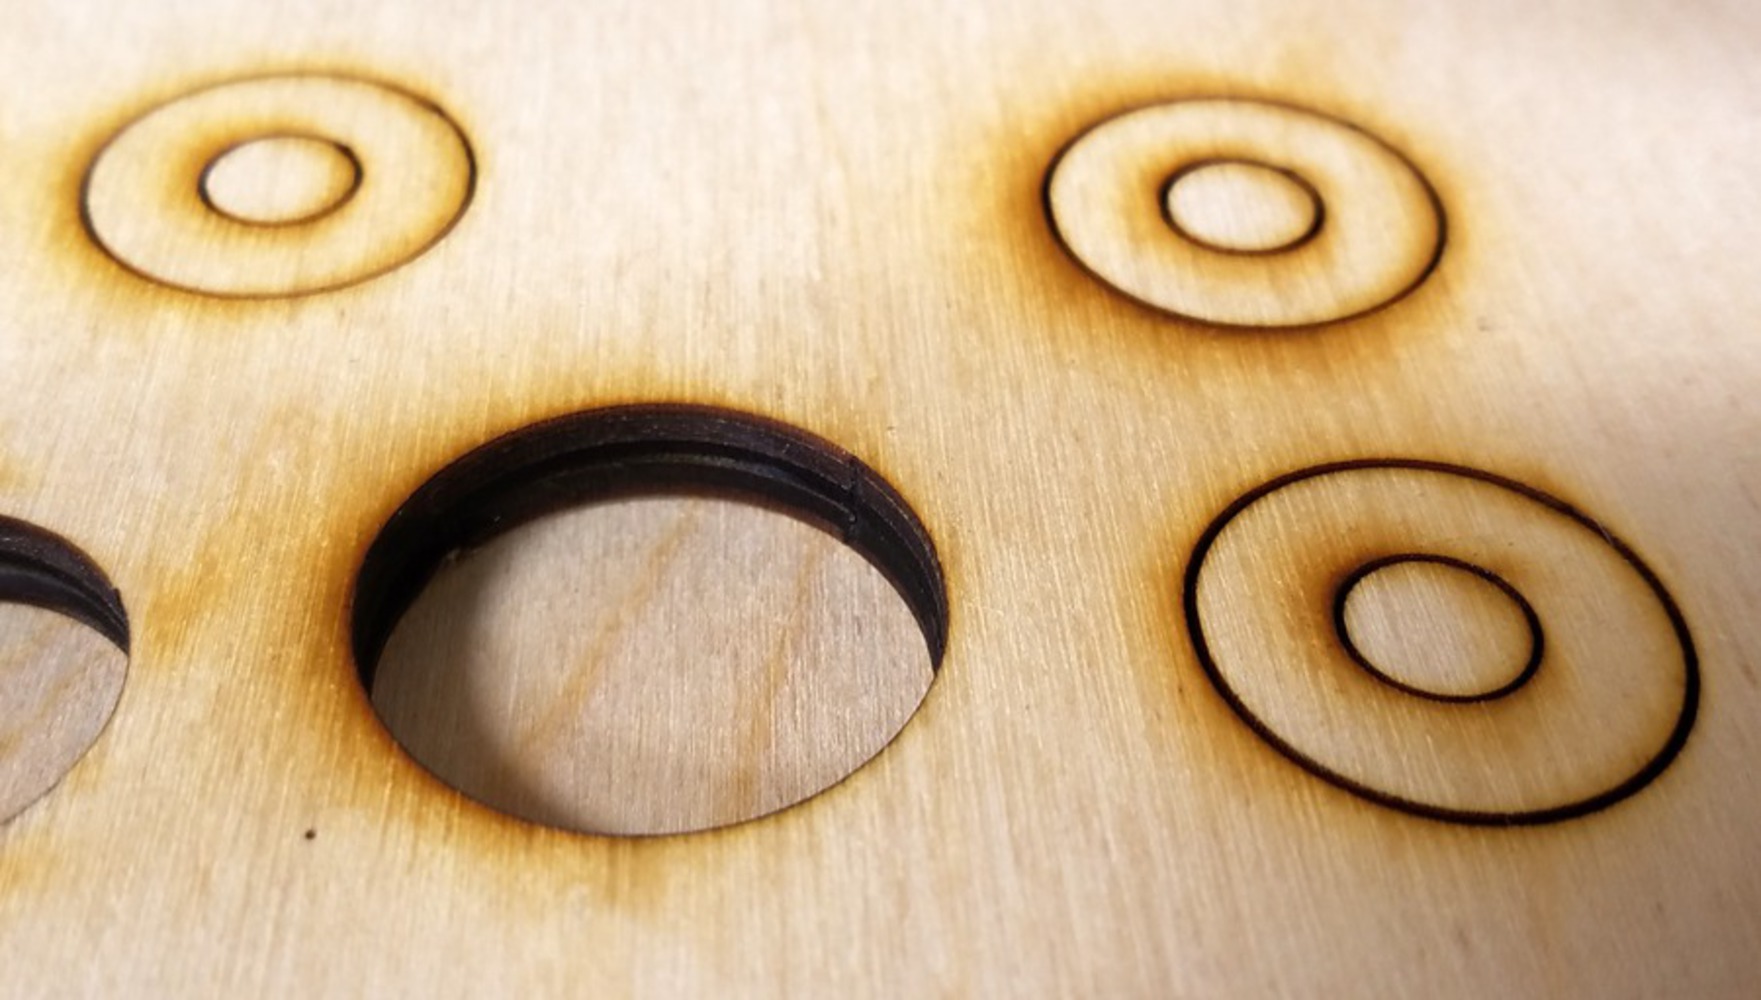
When I finally went to cut the piece, I first did some test cuts to determine a good speed/power for the scoring. The laser had some trouble cutting through some areas, but those mostly still popped out. However, there was a knot in the wood, so there was no nice way to fix the uncut portions of that. As such, I ended up needing to cut a second piece, which was then successful (except that the hole still ended up being slightly tight, so I needed to thread it along the spindle a bit).

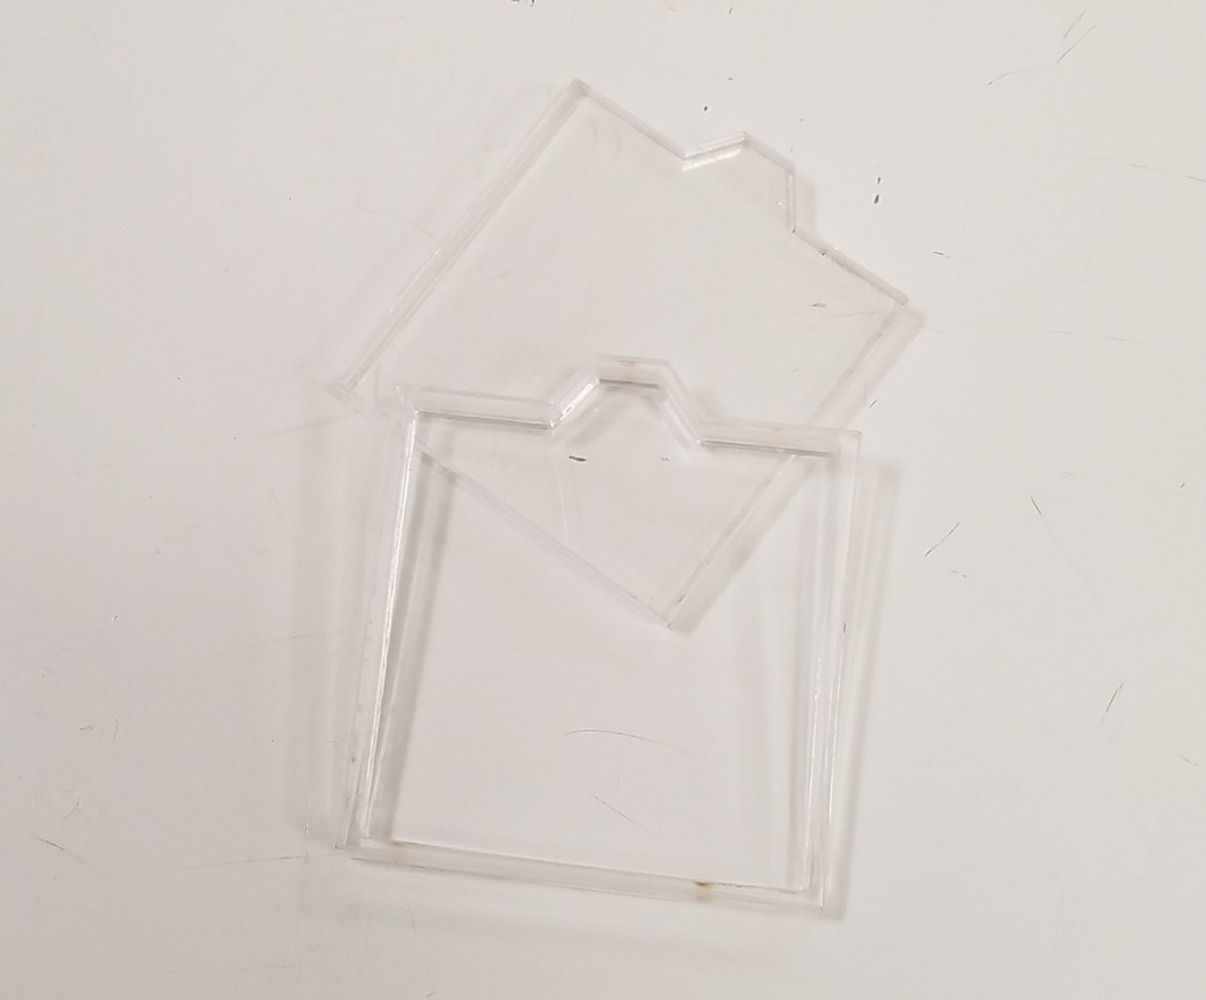
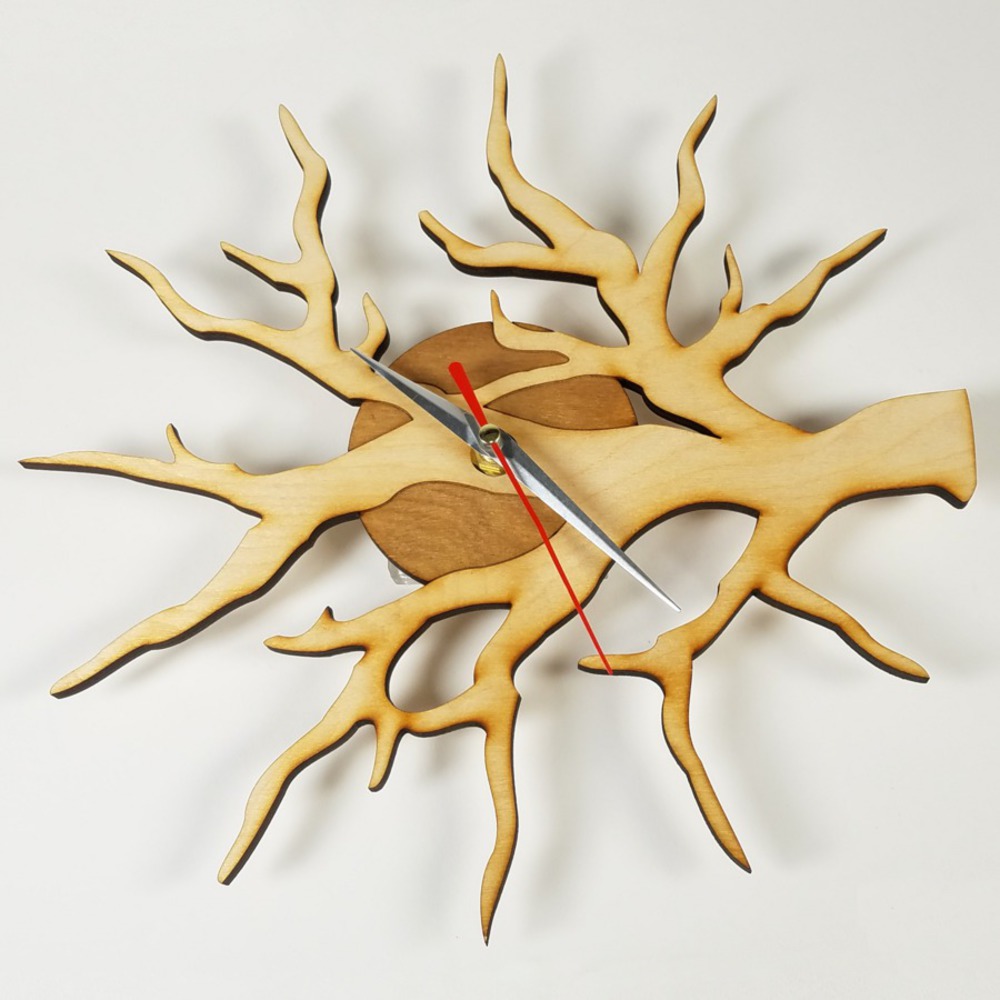
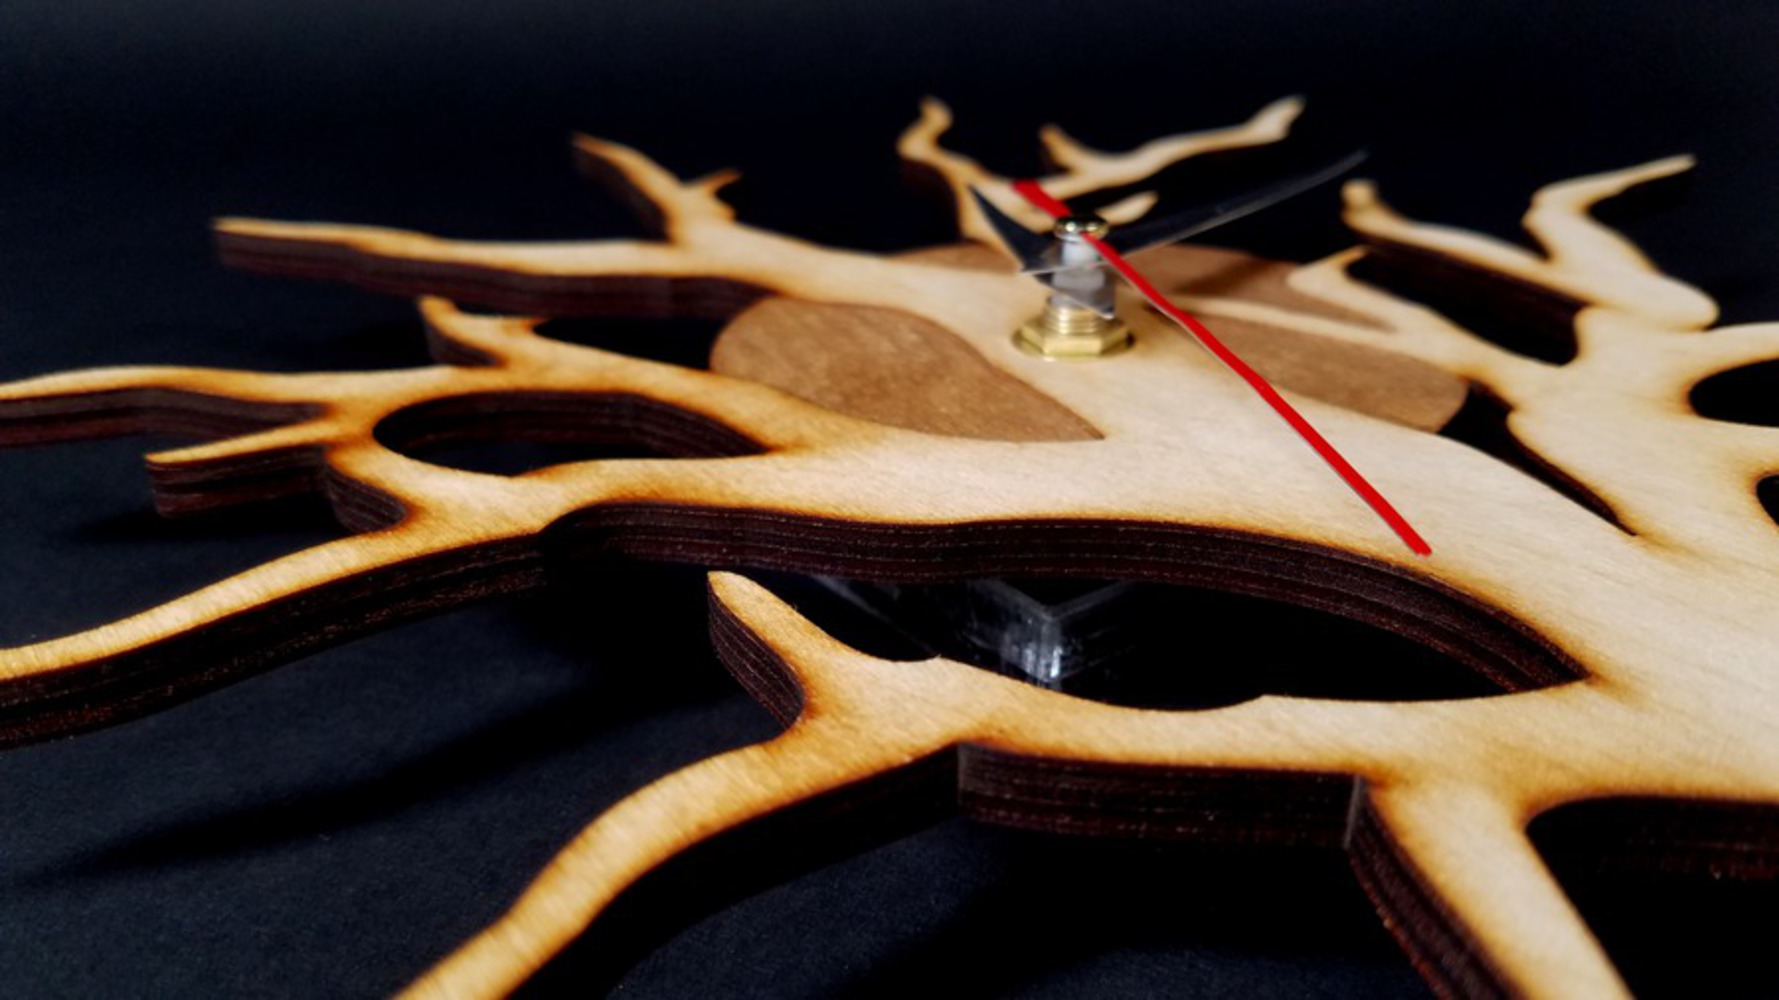
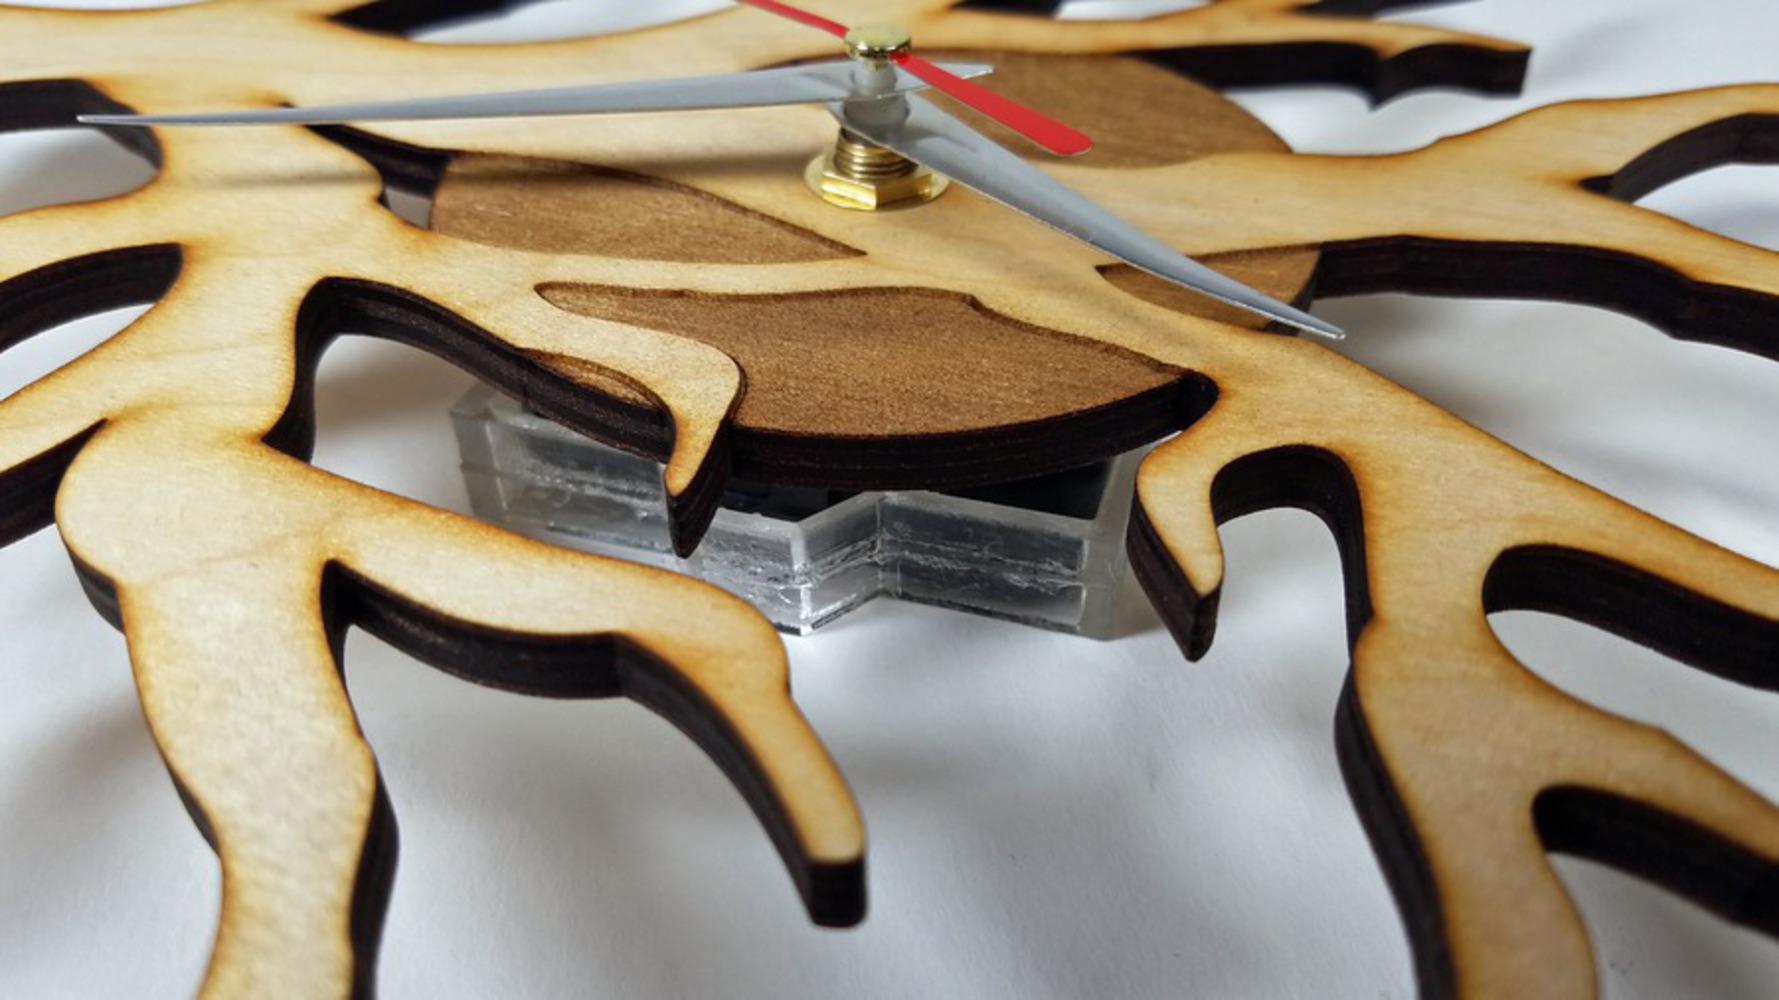
Because my clock kit didn't have a loop with which to hang the clock, I ended up cutting a frame from 6mm clear acrylic to house the clock kit piece. Unfortunately, something was fogged with the laser, so it took many cuts before I successfully cut out two pieces. These pieces were then glued together so the would fit snugly around clock kit (this can be seen in the last picture).

From there, I finished assembling the clock kit/hands/adding batteries and hung it up on a hook in my room!

0
Preliminary Model
Clock origlayers.png.thumb
0
Hole tests
Clock holes.thumb
0
Scoring tests
Clock score.thumb
0
Clock kit frame
Clock frame.thumb
0

Two Renderings

0
Rendering from Front
Clock r2.thumb
0
Rendering from Side
Clock r1.thumb
0

Five semi-pro photos

0

Reflection

I learned to take the dimensions of other materials into account more carefully and that laser cutters can be really fickle at times. I also learned about many nuances in operating the laser cutter (between moving the head with the buttons vs. the computer, homing coordinates, uniting lines, avoiding too much LaserCut sass, etc.). I'm glad that I started fairly early so that I had some time to test physical products rather than to just keep modeling and hope that everything would work out. However, I do think I could've avoided the middle step with detailing--including that took quite some time to trace and also caused a lot of lag in my files; if I had realized earlier that thickness could be an issue, I would have been more conscious of how I was layering elements. Overall, I was really happy with the final product, so I think most of the process went well.

0

Include final DXF files

FINAL DXF (it wasn't uploading here): https://cmu.box.com/s/kms52hgfi89psjg4nbq9r964fdwqkzrw

(Many thanks to Professor Larson for her feedback on the design and help with the lasers and the Ideate Staff at Open Fabrication Hours for their help operating the laser cutters!)

x
Share this Project

Courses

62-478 digiTOOL

· 65 members

Digital Tooling (DigiTool) provides a platform for any CMU student to learn Digital Fabrication processes; all of which are very hands-on. Like these processes, this class is also very hands-on. I...more


Skills
Tools
About

The goal of this project was to laser cut a clock. I wanted my clock to be relatively easy to read and aesthetic in shape.