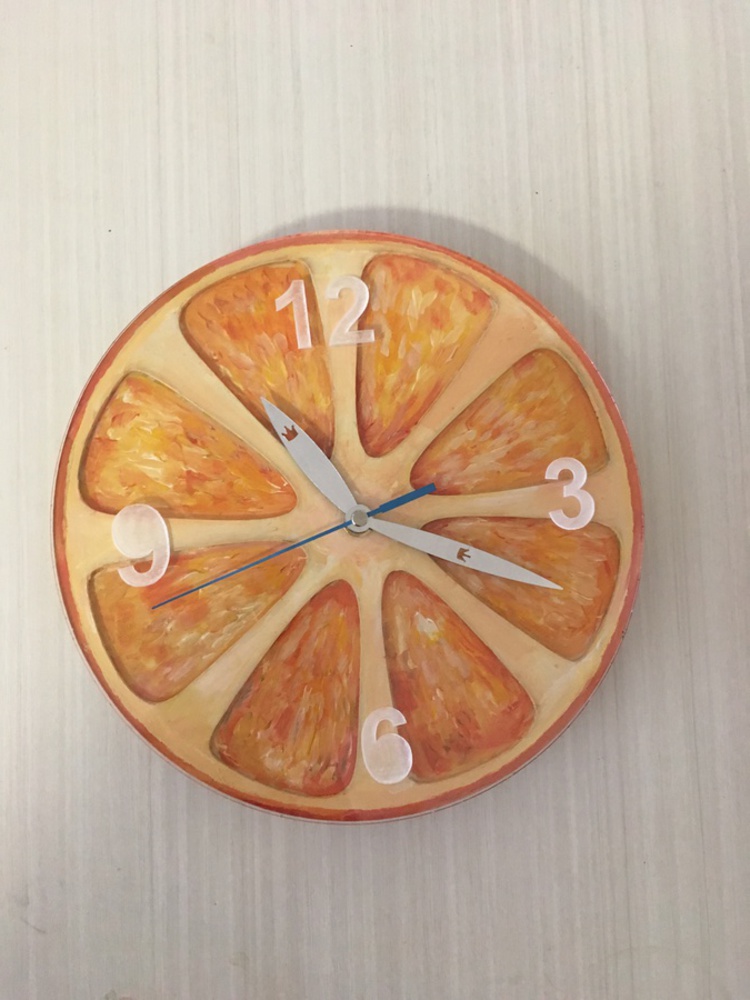
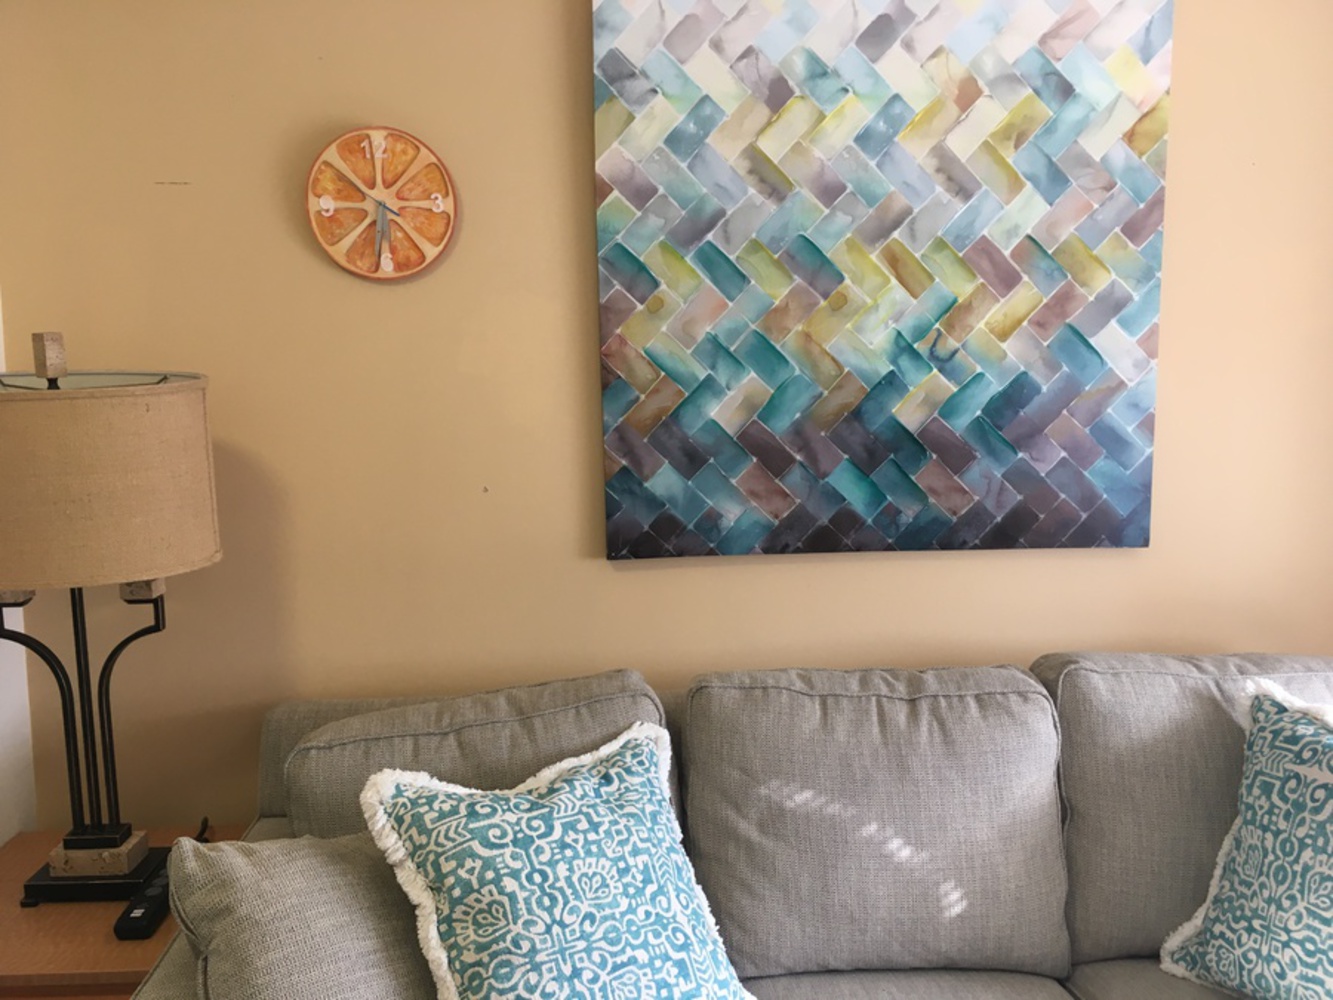
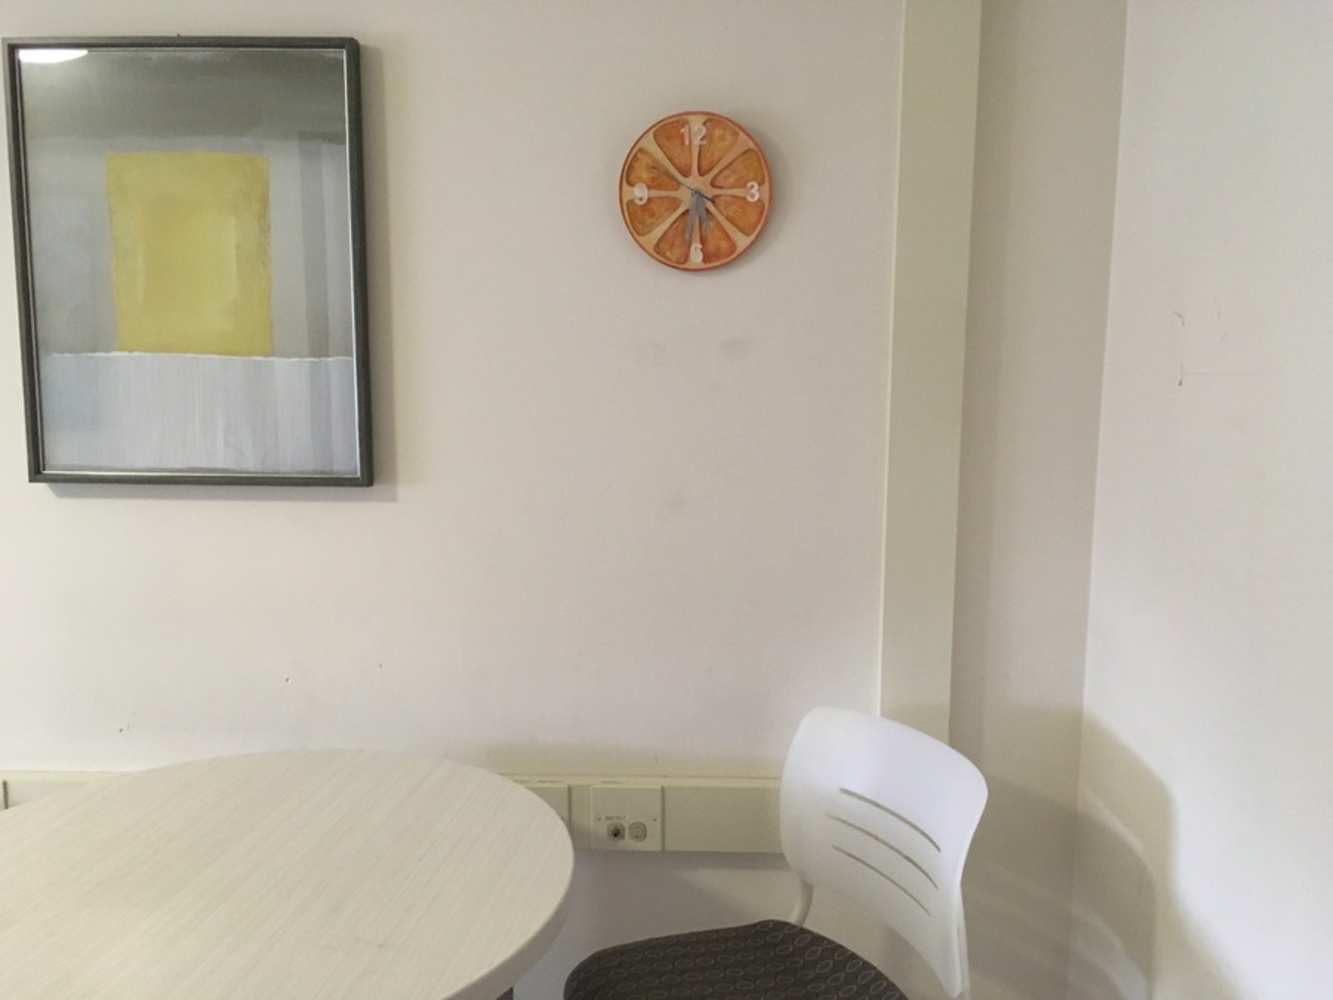
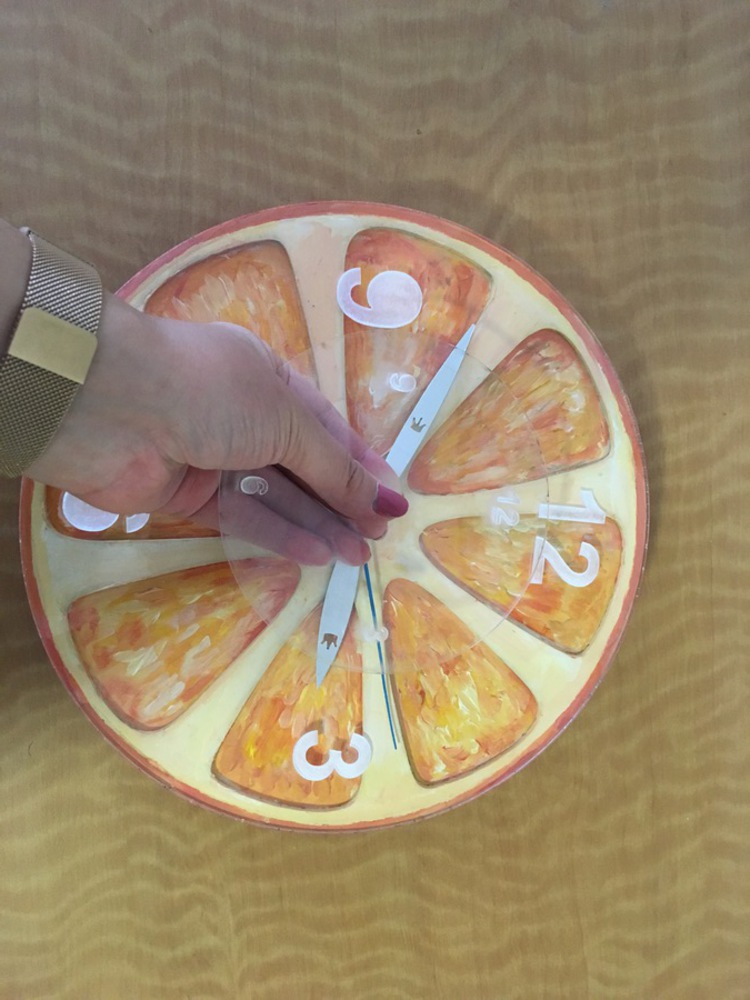
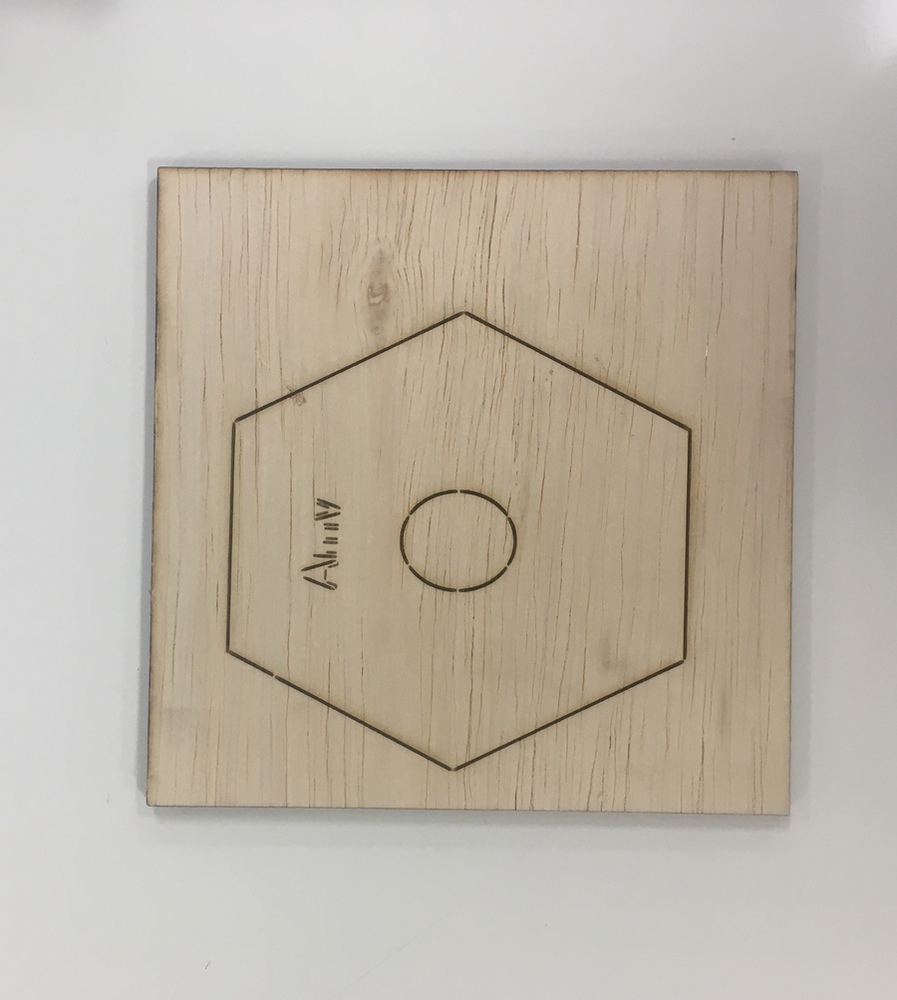
clock amy

Made by Amy Lin

Created: September 28th, 2017

0

Intention

I plan to make a wall clock that will brighten up a room and create a warm and happy environment. It is almost winter :( and winters in Pittsburgh are grey and sad. Because of this, I am inspired to make a clock that will brighten up a wall. My favorite season is  summer, and summer reminds me of bright happy colors and citrus patterns. 

0

Context

For this project I am planning on making an orange clock. The orange shape resembles a basic wall clock, and I plan to make the clock of the inside of a halved orange. I am planning on making an orange clock that will brighten up a wall during the Pittsburgh winter.

0

Process

Below is my sketch and plan for my wall clock. I plan on making a laser cut orange out of wood, and then painting it to look like an orange. My first layer is the orange and will be the base of my clock, the second layer will be a cut out detailing the orange and will separate each slice. The last layer will go on top and it will be etched clear acrylic of the numbers. 

0

The pictures below are my pre-painted laser cut wooden clock pieces that will resemble my citrus clock.

0

Product

I created multiple layers of my clock in fusion 360, I created a base, my top citrus slice layer, and then an additional clear acrylic top layer with my clock numbers on the program. My orange clock layers are all 10 inches. I originally created a 5 inch top clear acrylic layer, but I decided to create a 10 inch top layer after I laser cut it instead.

I painted the two wooden clock layers with paint after they were laser cut. 

For my final product I stacked the three layers on top of each other and then attached the clock kit.

0

Below is a screen shot of my clock layers on fusion 360

0

Below are my three layers of my clock before attaching the clock kit together

0

Below is my clock attached in the final form 

0

Below is my clock documented in the setting 

0

Reflection

I really enjoyed learning how to laser cut for this project. I have never laser cut before this class, and I was alway intimidated by the process. Now after laser cutting the pieces for the clock I am comfortable laser cutting and using fusion 360! Even though I was stressed about how to use fusion 360, I am very glad that I got to learn how to use the software.

There was one mistake I made during my process that I ended up changing. I originally made the top layer 5 inches, but after printing I didn't like how it looked. So, I made the top layer 10 inches to make it consistent. That is the only thing I deviated from my original plan.

 Below is a picture of the 5 inch acrylic over my clock. I thought it looked bad, so I re-did a sketch in fusion and re-printed my layer to be 1o inches so it would match the other layers. Below is a picture of me holding up the 5 inch acrylic compared to my clock. But I am glad that I did the extra step of re-lasering the acrylic in the end because I feel like the clock looked better in the end. 

0

Below is an example of scoring

0

Collaboration or Attribution

I received a lot of help from my instructor Louise Larson about the problems I ran into in fusion 360, and I also received advice from her about how to use the laser cutter. In addition I received support from my classmate, Jennifer Chou! I was really stressed about my project because initially I didn't know what to do concept wise. I was nervous my project might look weird because it is an orange. However, she told me to just make something that I wanted to make and that there is no such thing as a dumb idea. Thanks Jen! 

x
Share this Project

Courses

62-478 digiTOOL

· 65 members

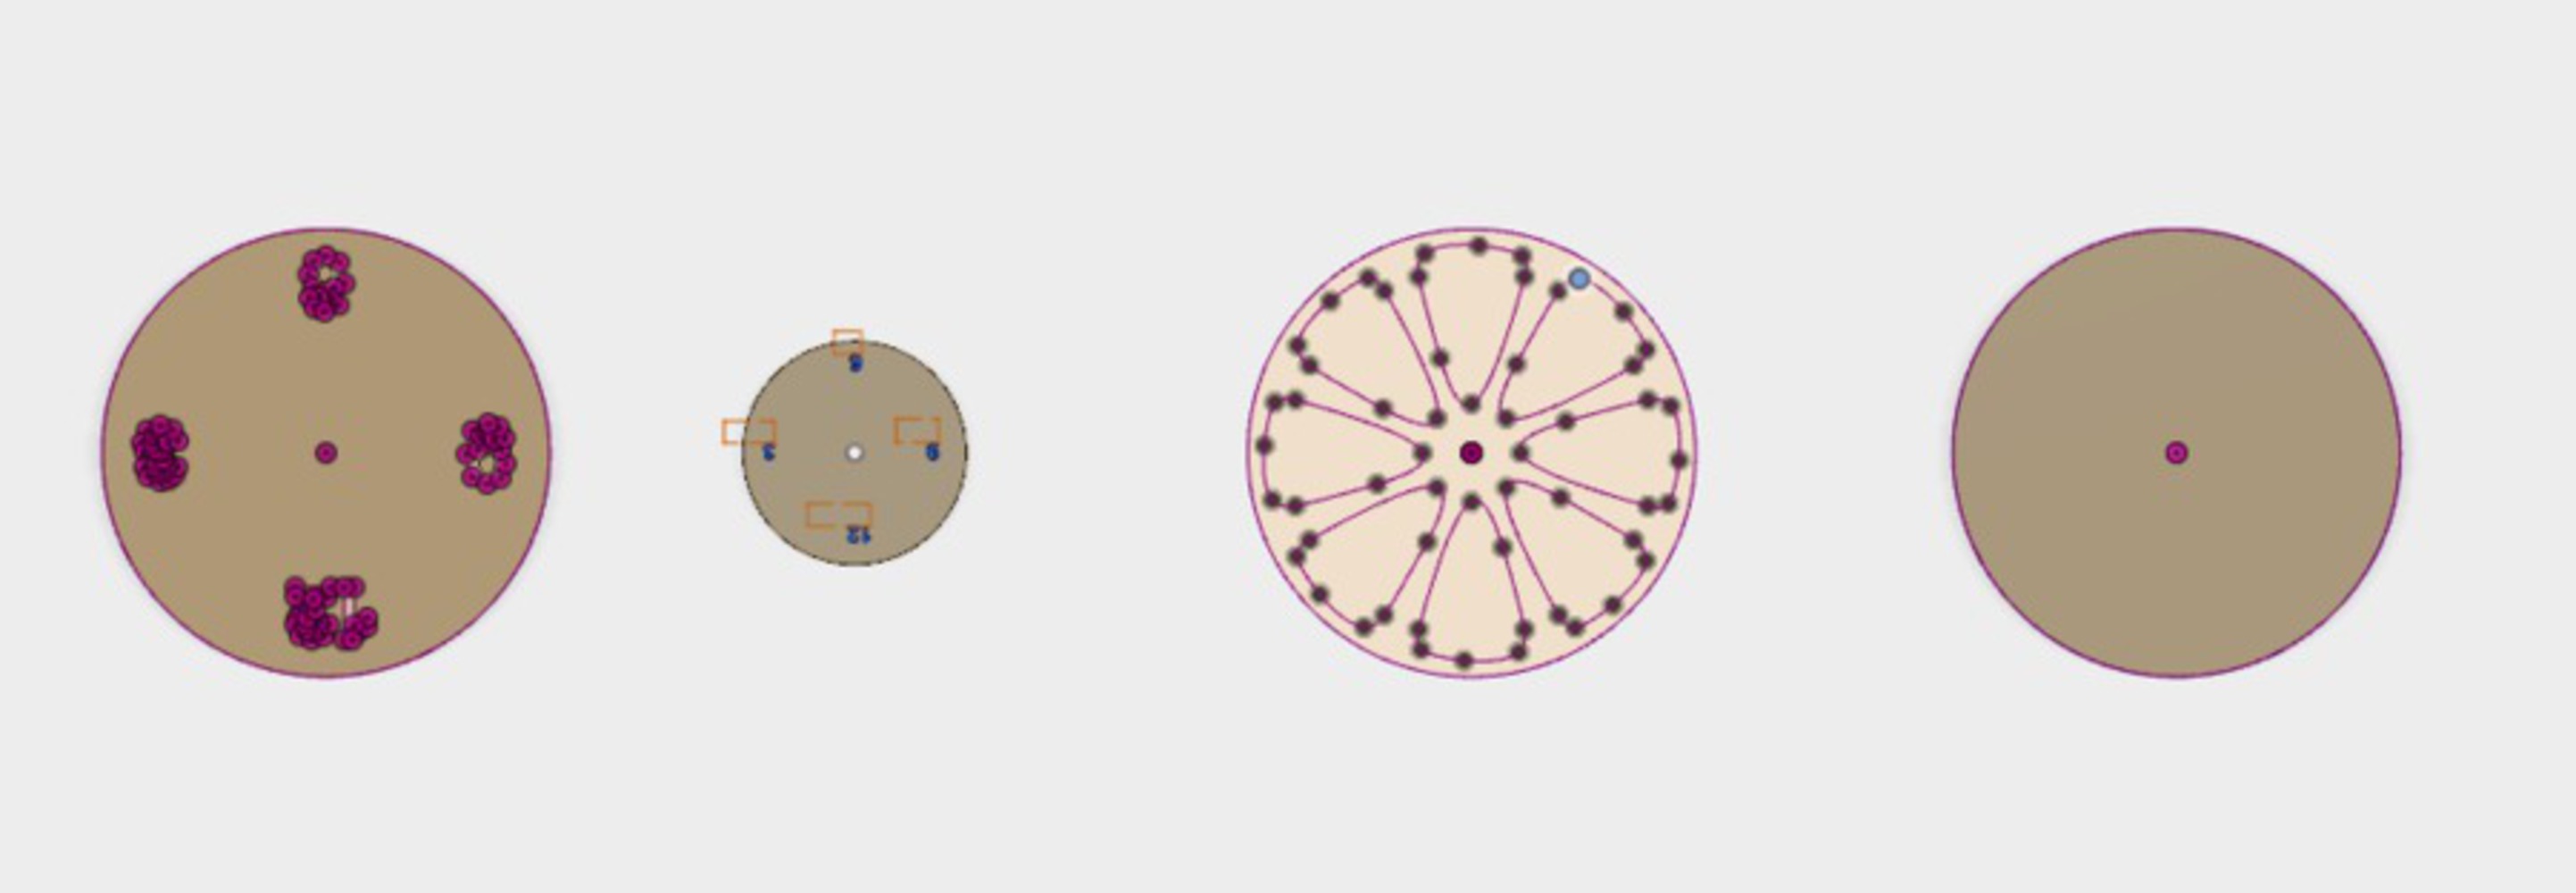
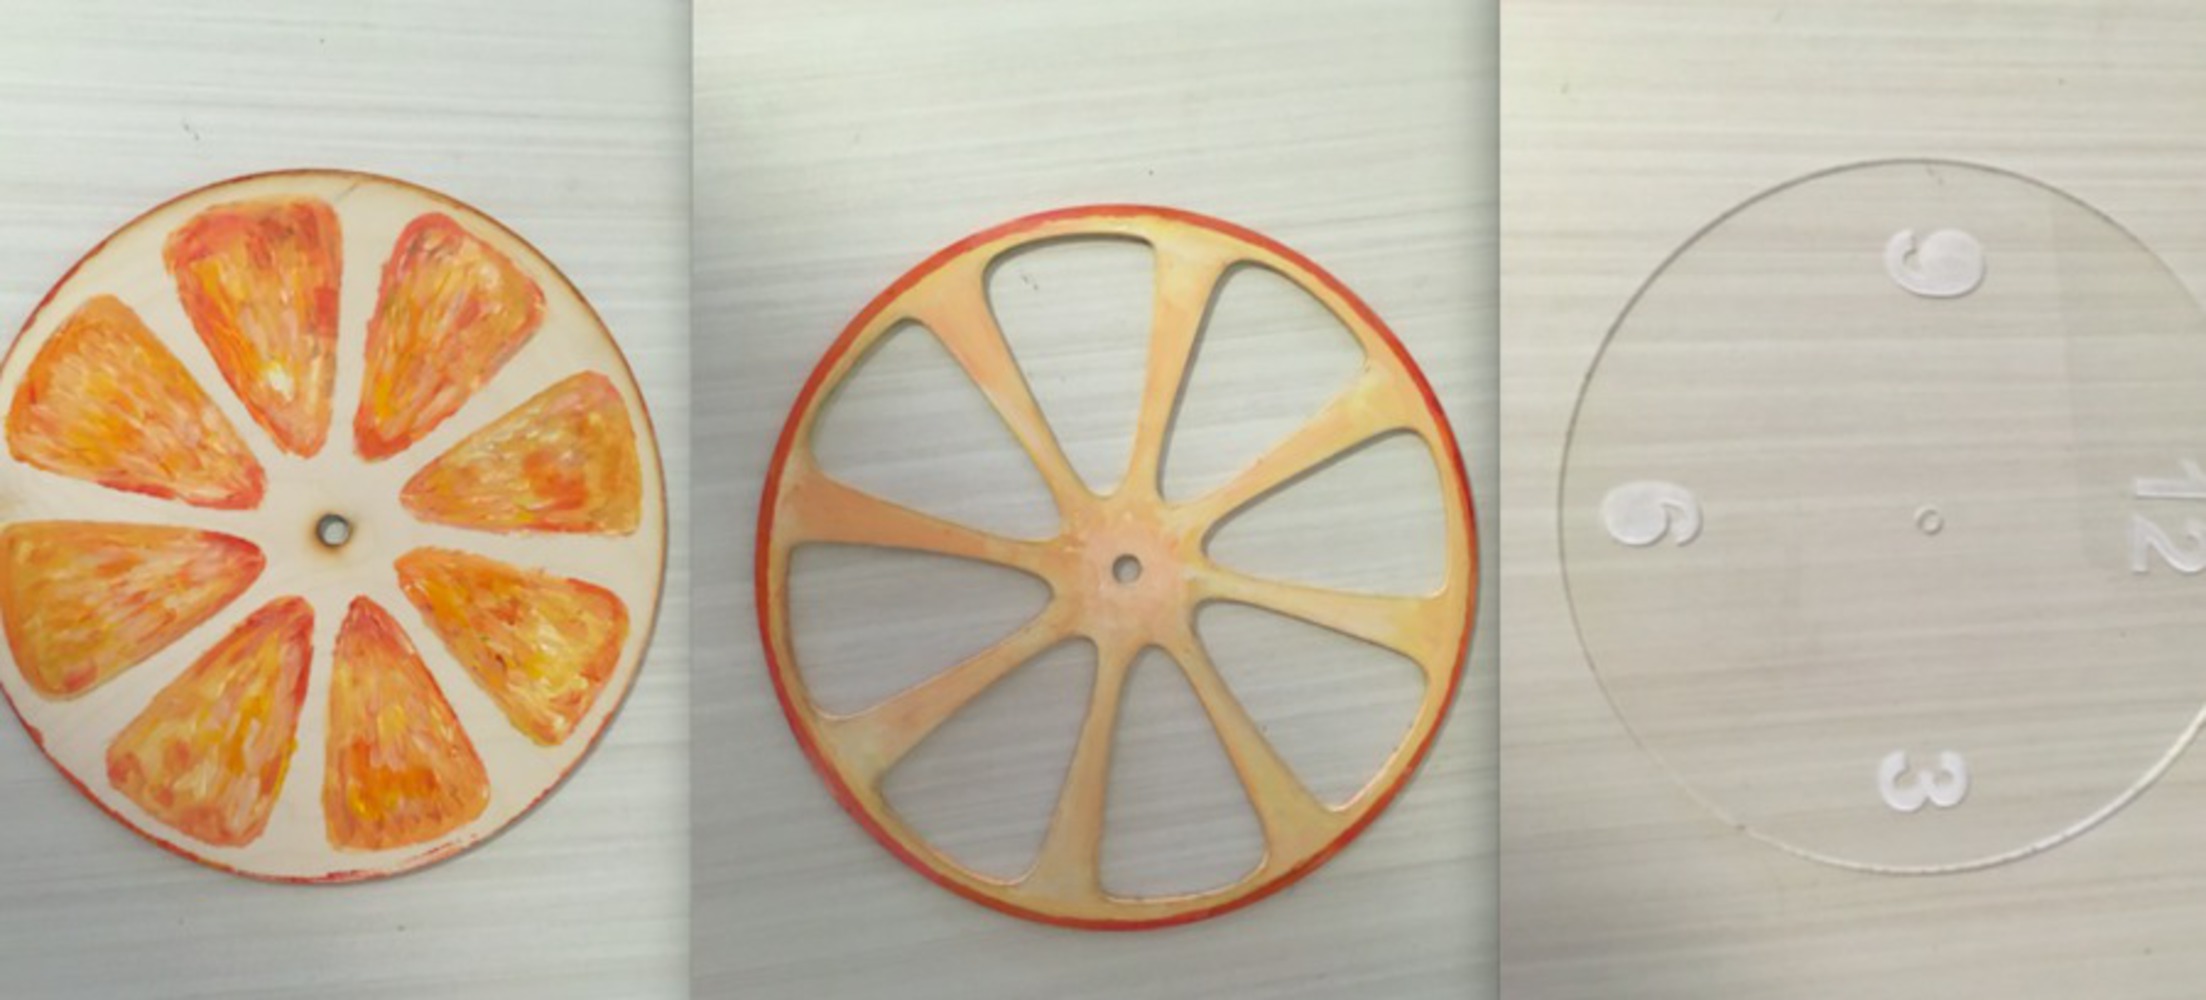
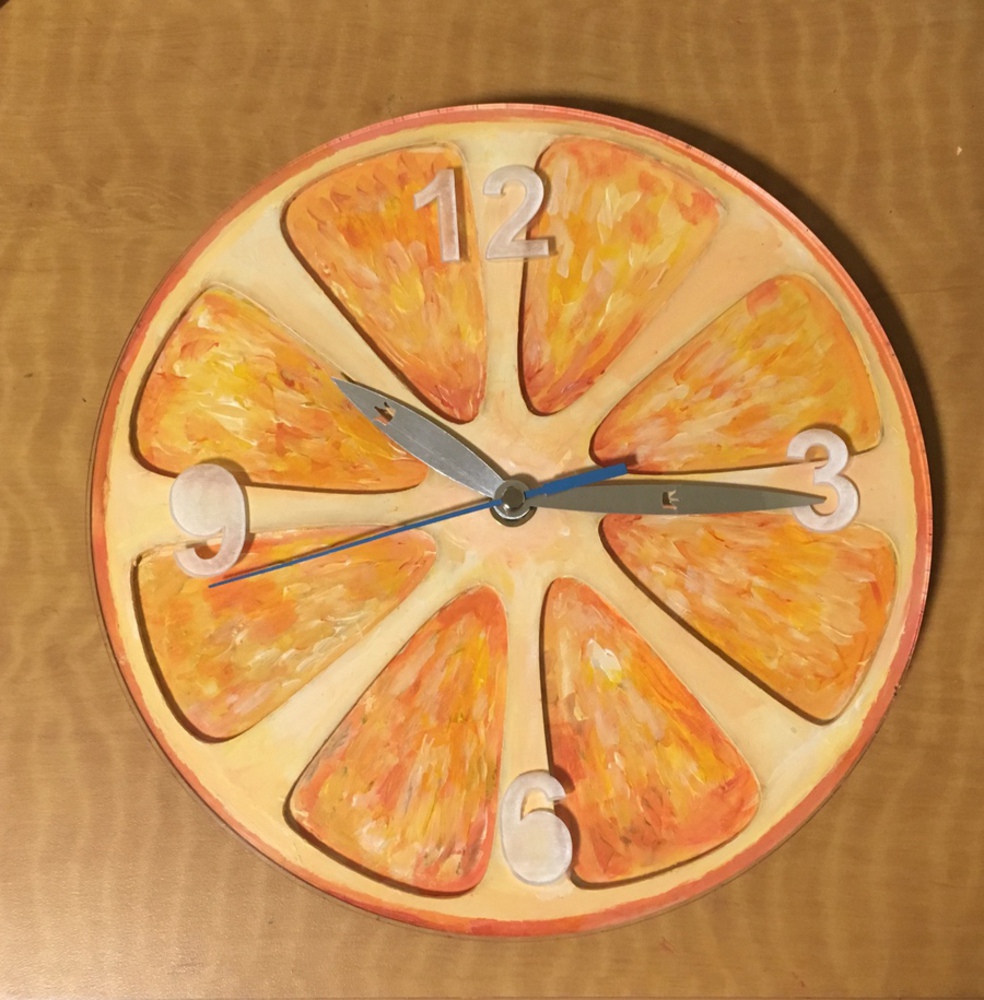
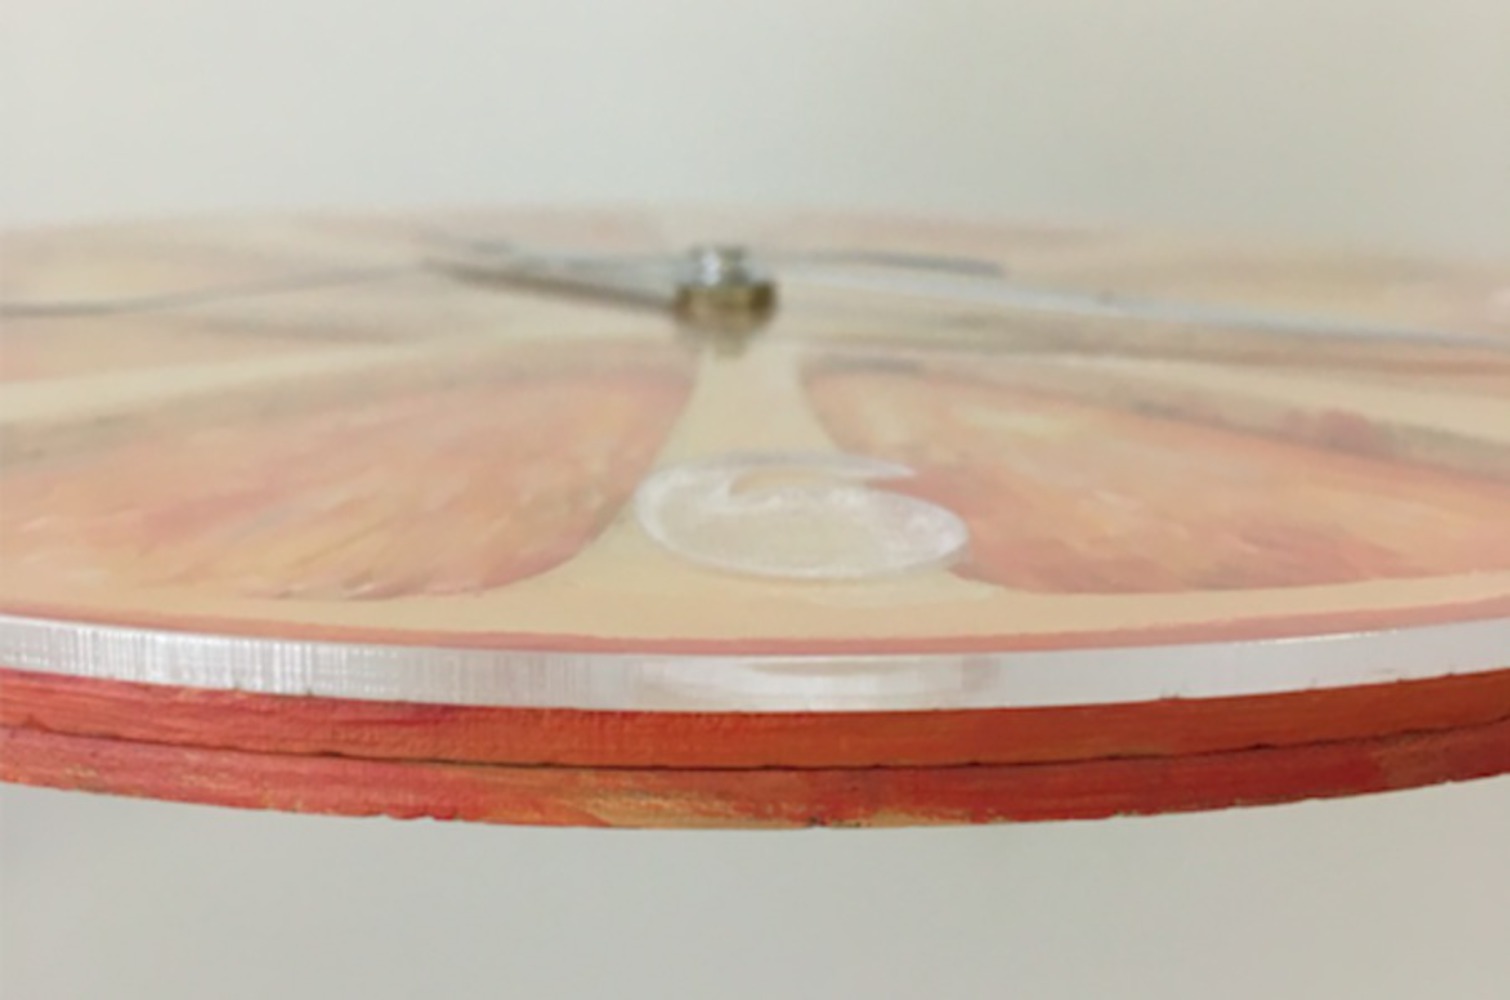
Digital Tooling (DigiTool) provides a platform for any CMU student to learn Digital Fabrication processes; all of which are very hands-on. Like these processes, this class is also very hands-on. I...more


About

~