Clock (tsheng)

Made by Lillian Sheng

Created: April 15th, 2018

0

Intention

I wanted to create a clock that would be in harmony with any household of any culture and style. Essentially, I wanted to create a clock that would be minimalistic and simple, but also contain some form of character on its own.

0

Research & Context

My research concentrated on visual inspirations found online:

- I collected various clock patterns derived from the common circular clock, with the “3”, “6”, “9” and “12” values printed, while the other numbers are denoted by hatch marks.

- Many of the minimalist clocks had only one or two accents that defined its style, such as a popping color, or an unconventional shape.

- I looked for material that could be feasibly laser cut, while not commonly used. I came to the conclusion that leather would be most suitable for my concept, given its sleek nature and sophisticated vibe.

0


Aesthetic Inspiration

My inspiration comes from my everyday appreciation of minimalism. I think it’s a special work of art to be able to create something that is simple yet unique, as well as functional in use. As I was researching for design inspirations, I noticed that many of the clocks had only one or two features that defined its character. For example, it may be the red color of a number that pops amidst the black and white body of the clock, or it may be the unique geometry that the clock is carved out of.

In the case of my clock, the features that differentiate it from other clocks are: 1) the shape, and 2) the alignment of the numbers.

I chose to create a square clock, because I like change and I like symmetry. I wanted to carve out the numbers and align them on the outer edge, so to allow for more space on the body of the clock. I think space is very valuable when it comes to consumer products that are used on a daily basis. It should allow for comfort to the eyes, as well as ease of access to the time. 

0
Figure 1. Initial sketches of clock inspirations
Scannable document on apr 15  2018 at 18 50 15.thumb
0

However, I realized that the readability decreased with this method, so I sketched some more designs that were simpler and had more geometry to them. However, I eventually decided to settle on having numbers circle the outer edge of the clock:

0
Figure 2. Sketches of clocks based on inspiration
Scannable document 3 on apr 15  2018 at 18 50 15.thumb
0
Figure 3. Iterations of the clock
Scannable document 4 on apr 15  2018 at 18 50 15.thumb
0


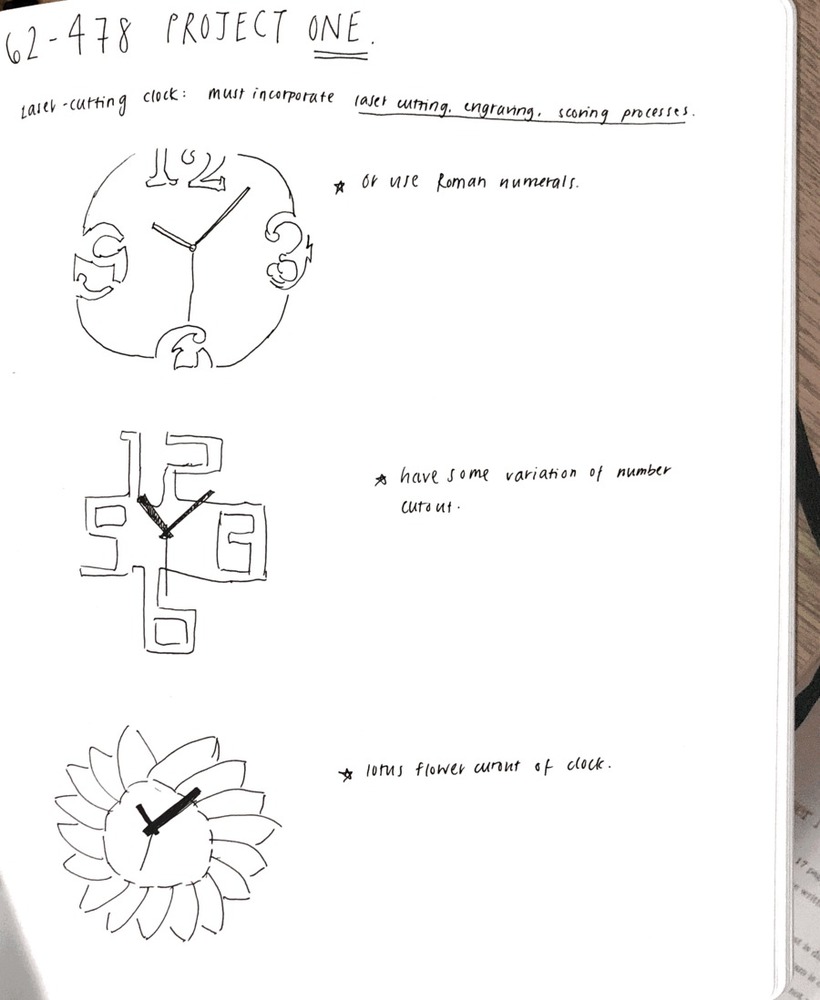
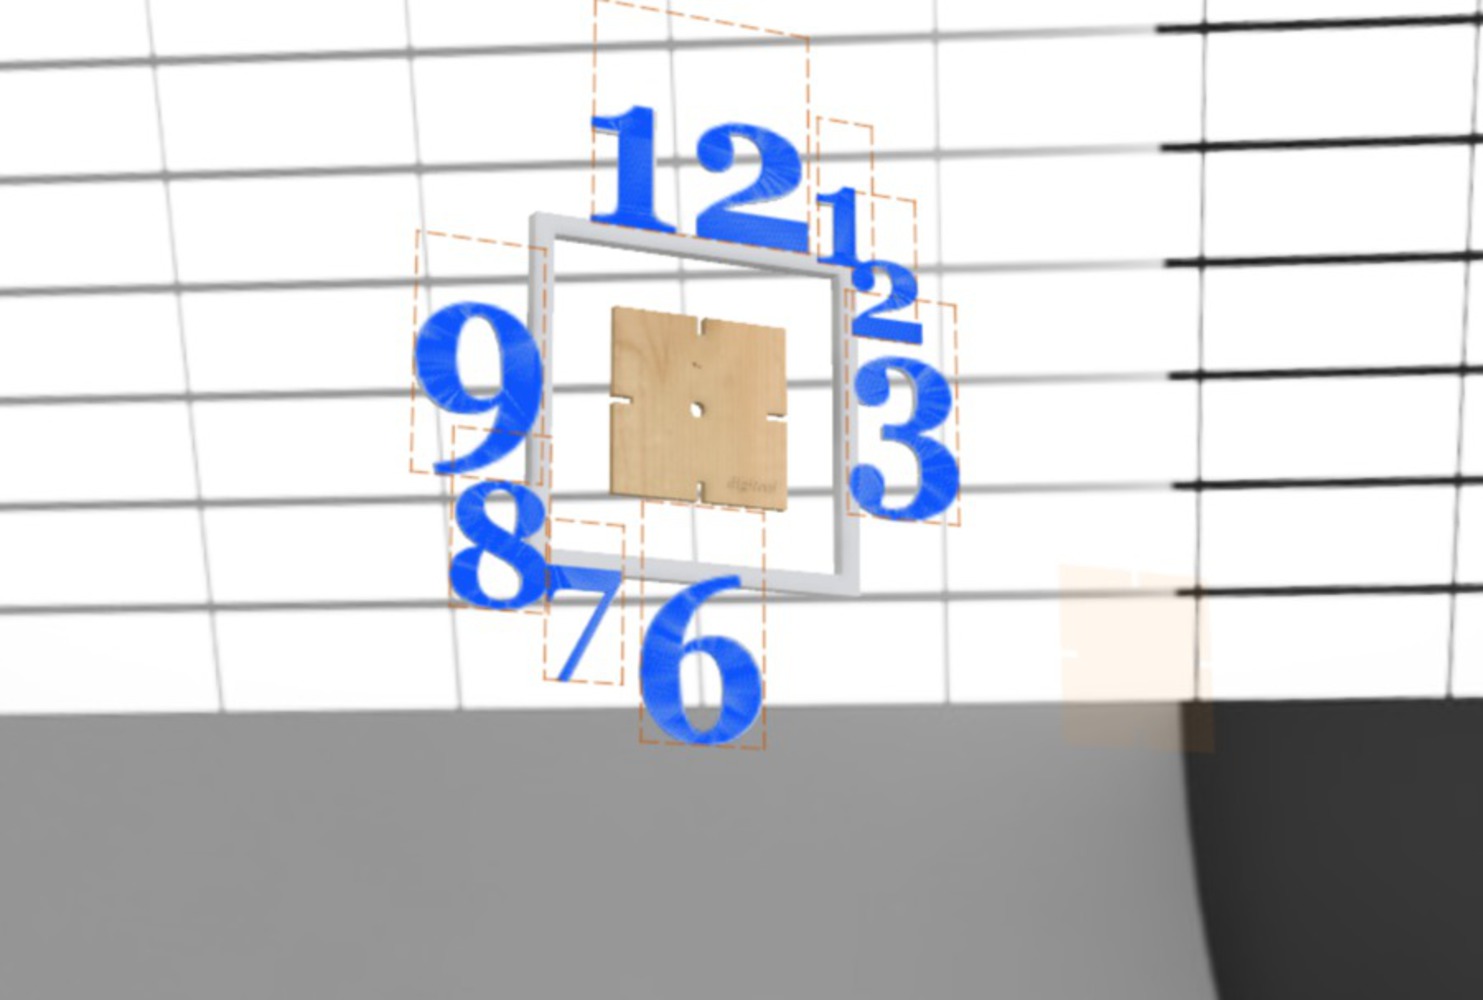
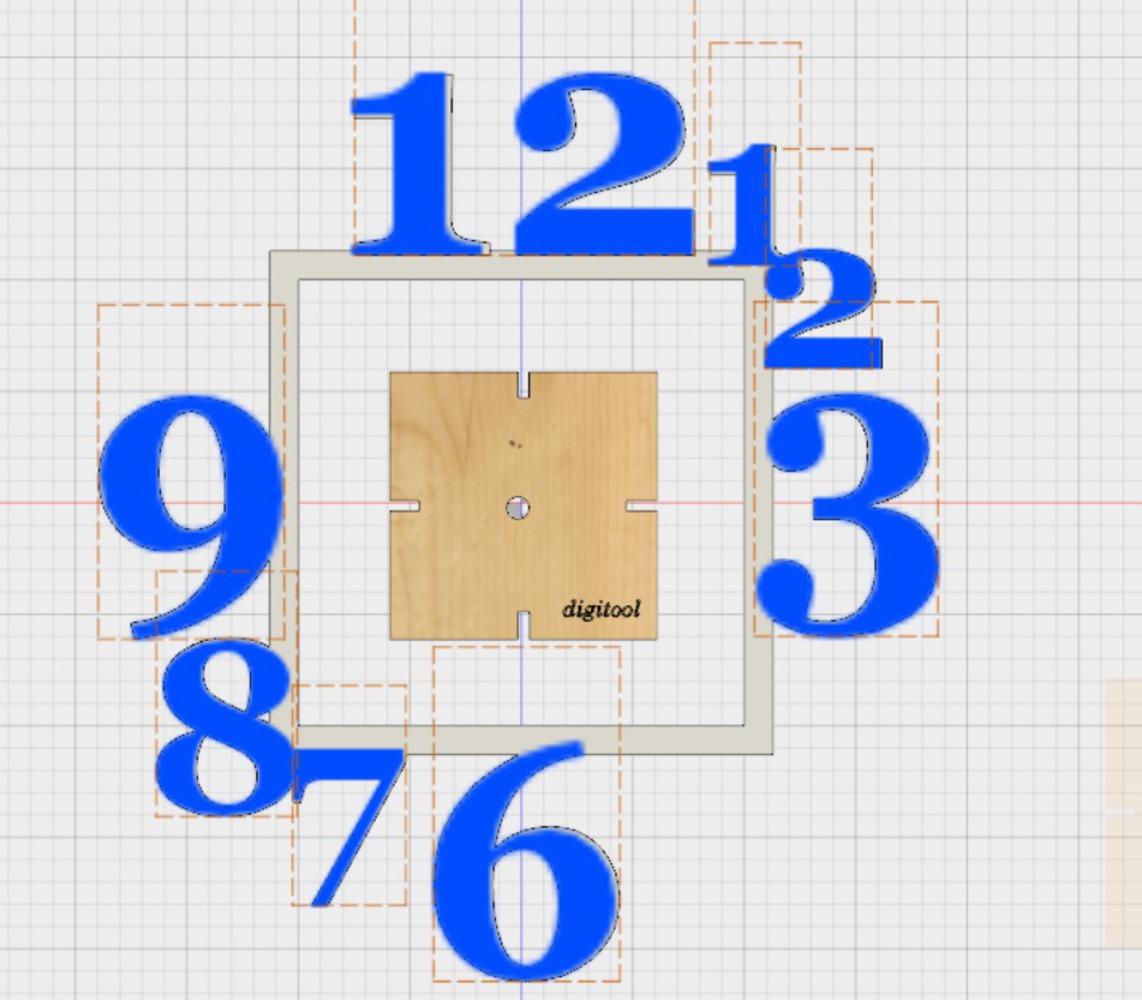
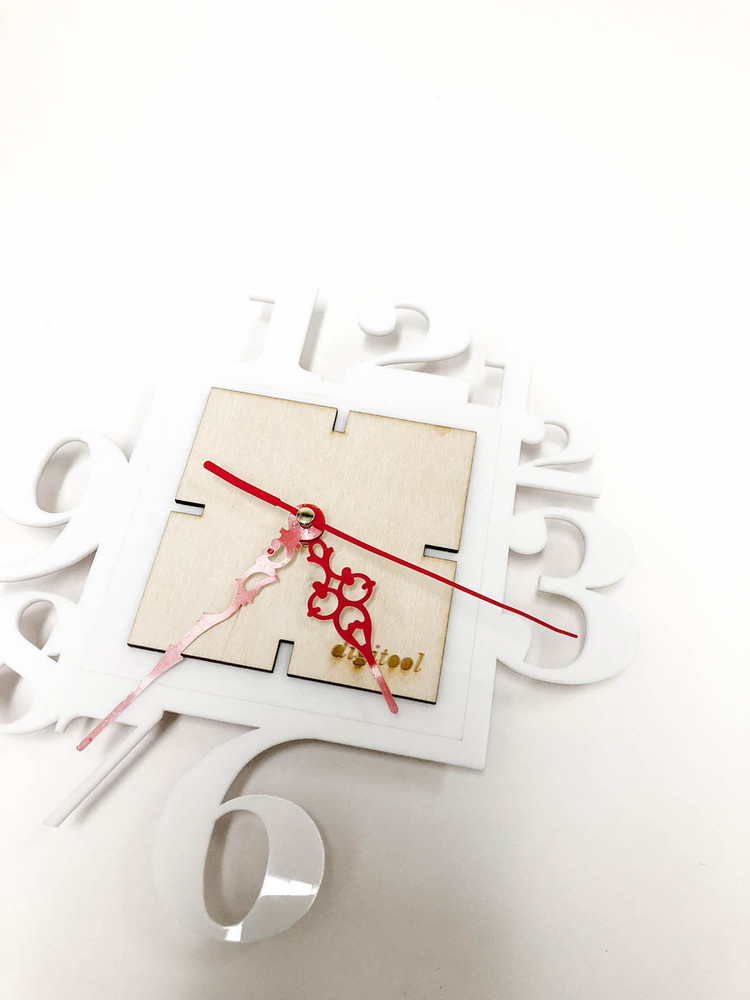
I was very torn as to how many numbers to include on the outer edge, because I wanted there to be enough numbers so that the clock would have enough detail, but I didn’t want to go overboard to the point where the user wouldn’t be able to decipher the time. I eventually settled on having the 12-3 o’clock and 6-9 o’clock times circling the outside of the clock, because it seemed to be the most suitable amount of text.

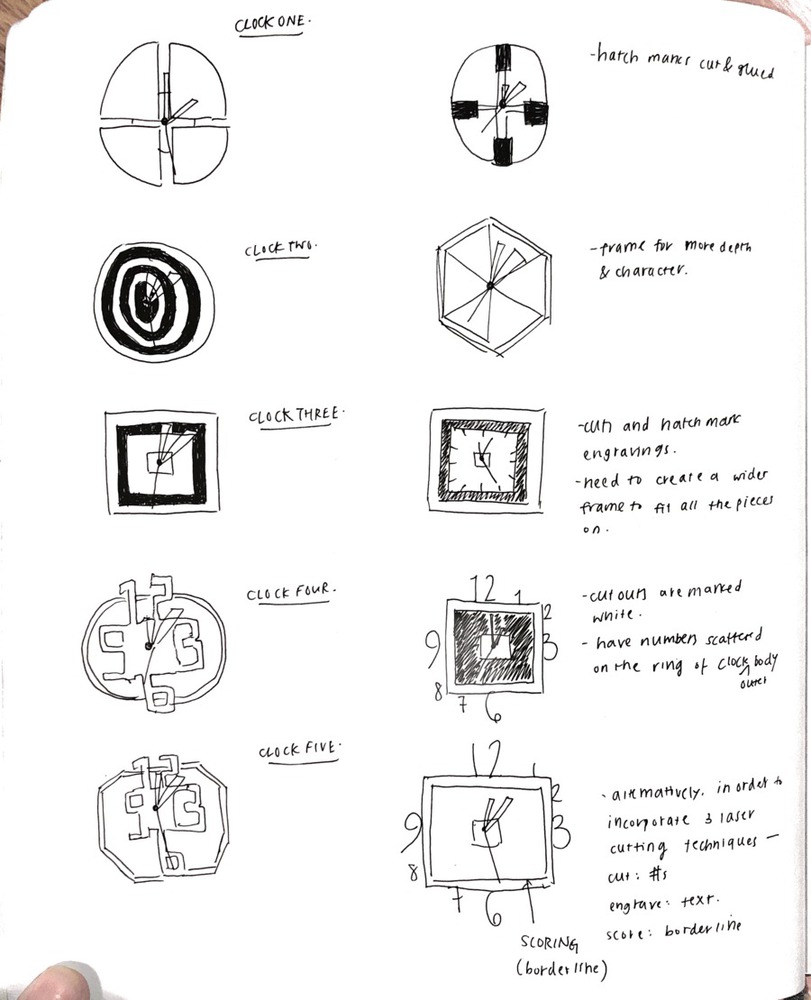
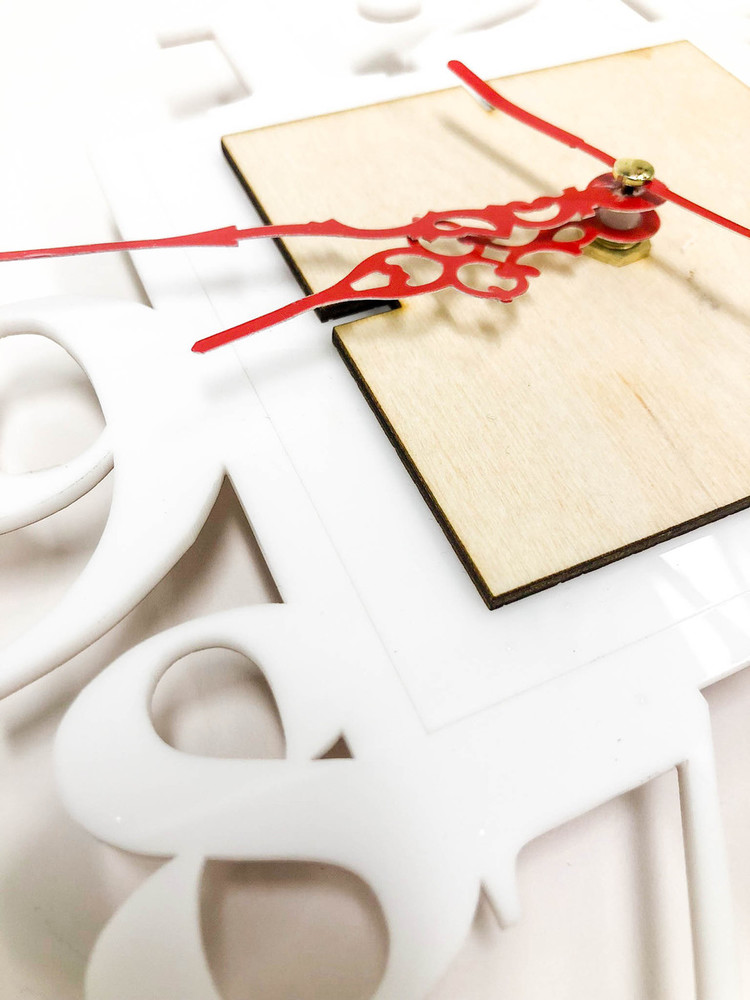
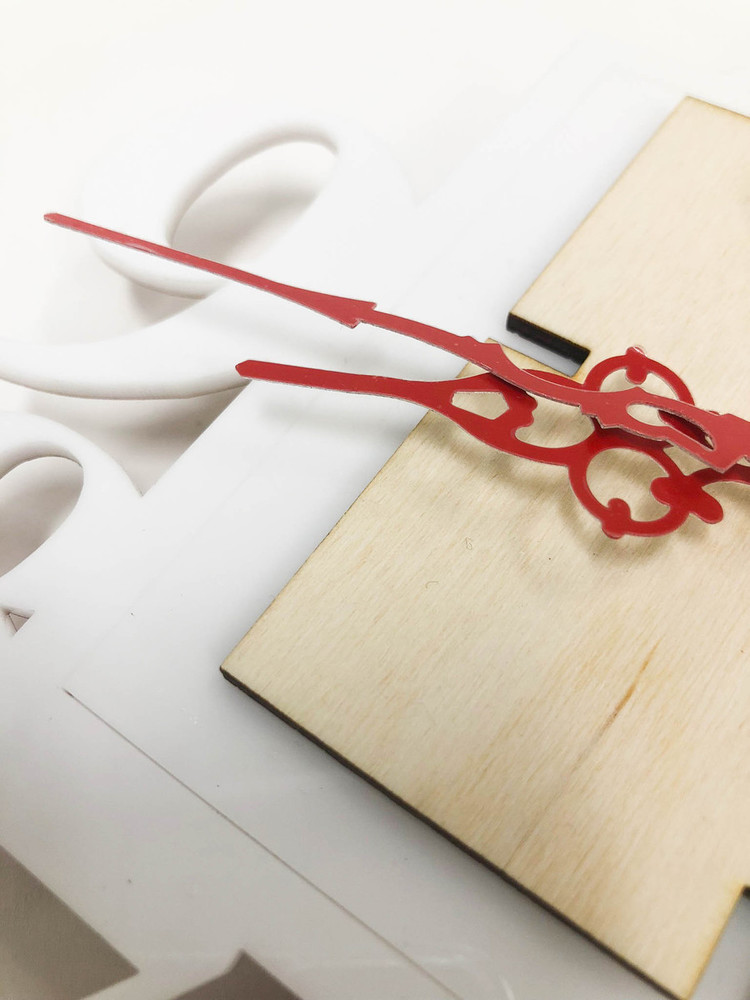
The inner piece also has 4 teeth cut out, hence adding more depth to the shape. I also wanted to add more clear-cut geometry to the clock.

I experimented with various sizes of the clock by using a ruler and Fusion360. I also had to measure the clock kits to ensure that the spindle would fit with the body of the clock.

A major challenge I encountered in this project was the process of editing the DXF and Illustrator files to ensure that the cuts would be perfect. The following describes the steps I took from Fusion360 to Adobe Illustrator to finally importing the DXF files for cutting:

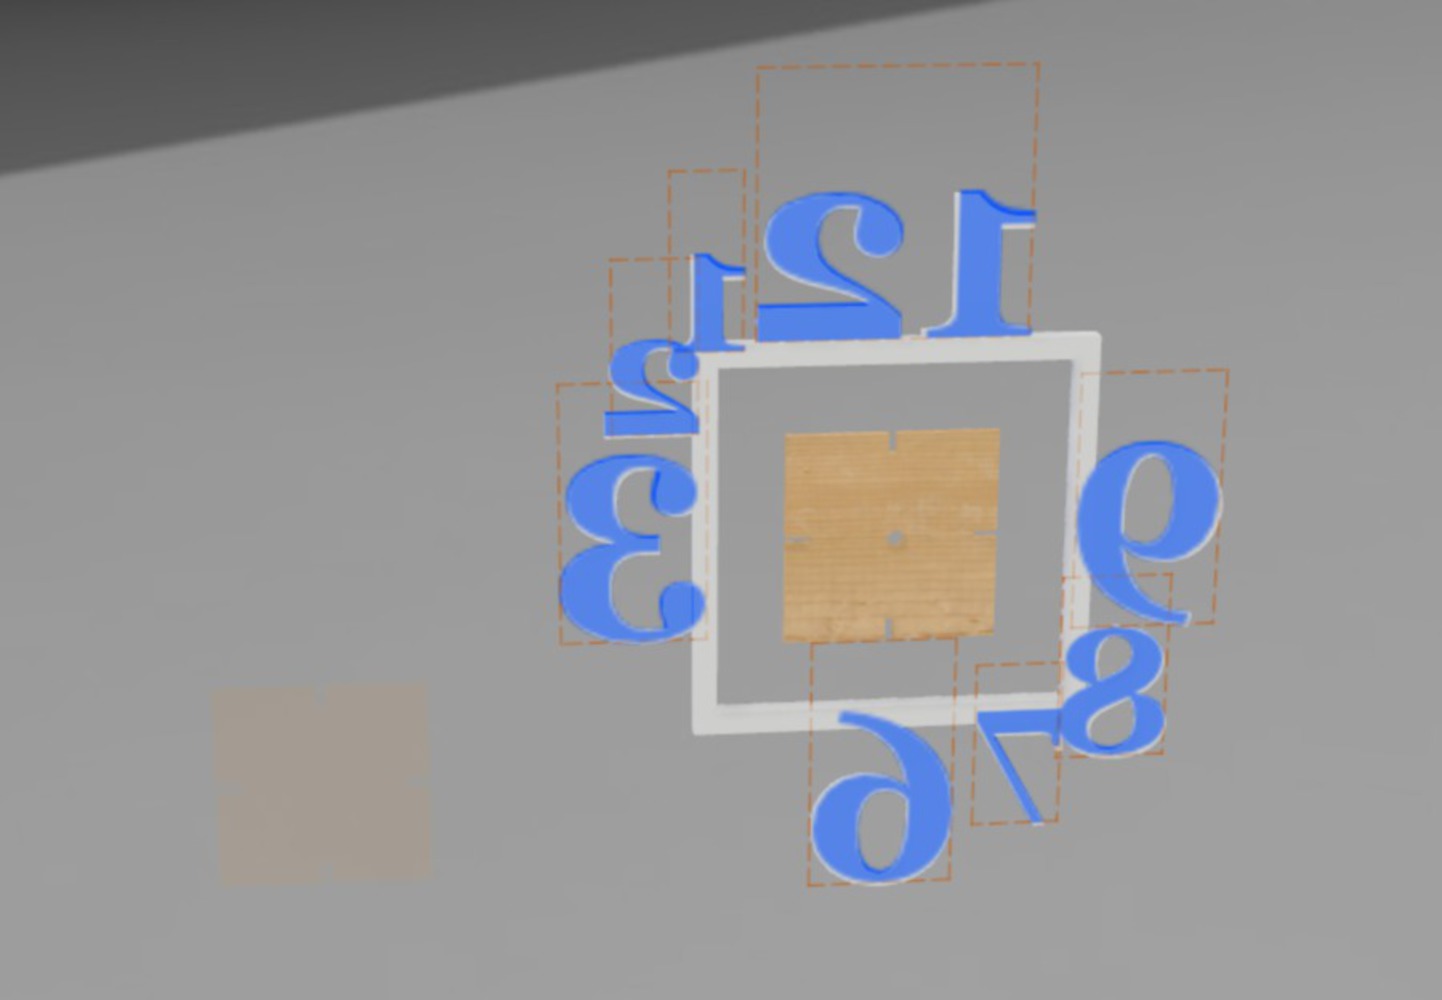
1. After exporting the files from Fusion360 to Illustrator, I had to outline all of the lines to ensure that the body of the clock and the outer numbers would be from a single cut. I made the edit using “Pathfinder” -> “Outline”.

2. I also had to go back to edit the files to ensure that both layers had a hole to which the clock spindle would be attached.

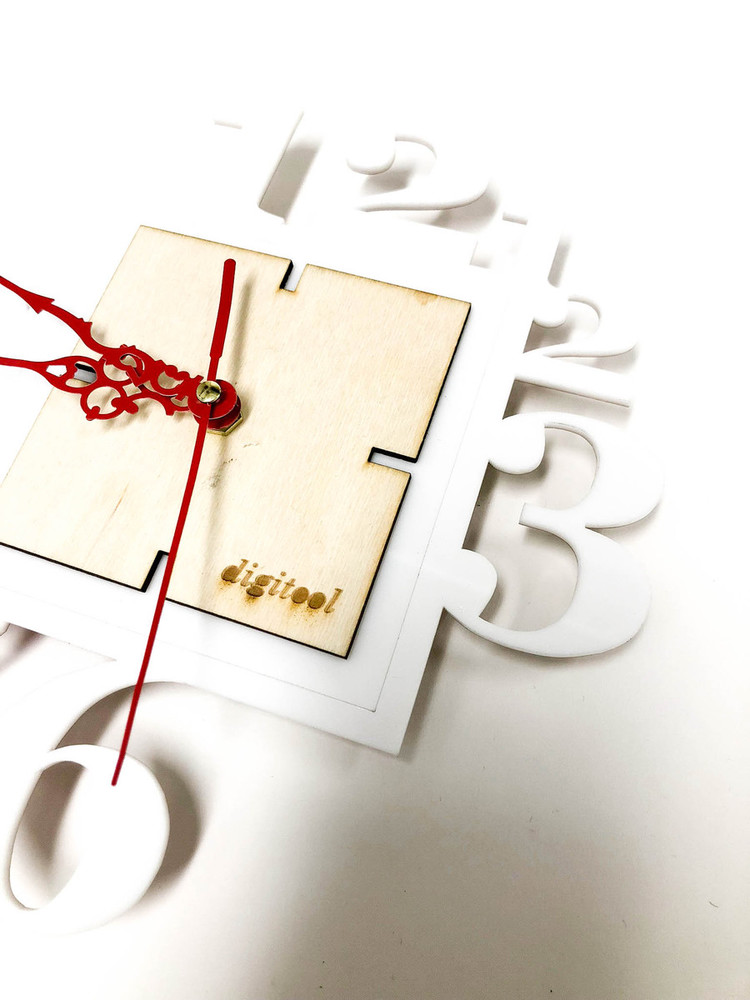
3. In LaserCut 5.3, there were several steps taken to ensure that the cutter would calibrate with the material used, and that the fine difference between cut, engrave and score are differentiated based on the speed and power settings.

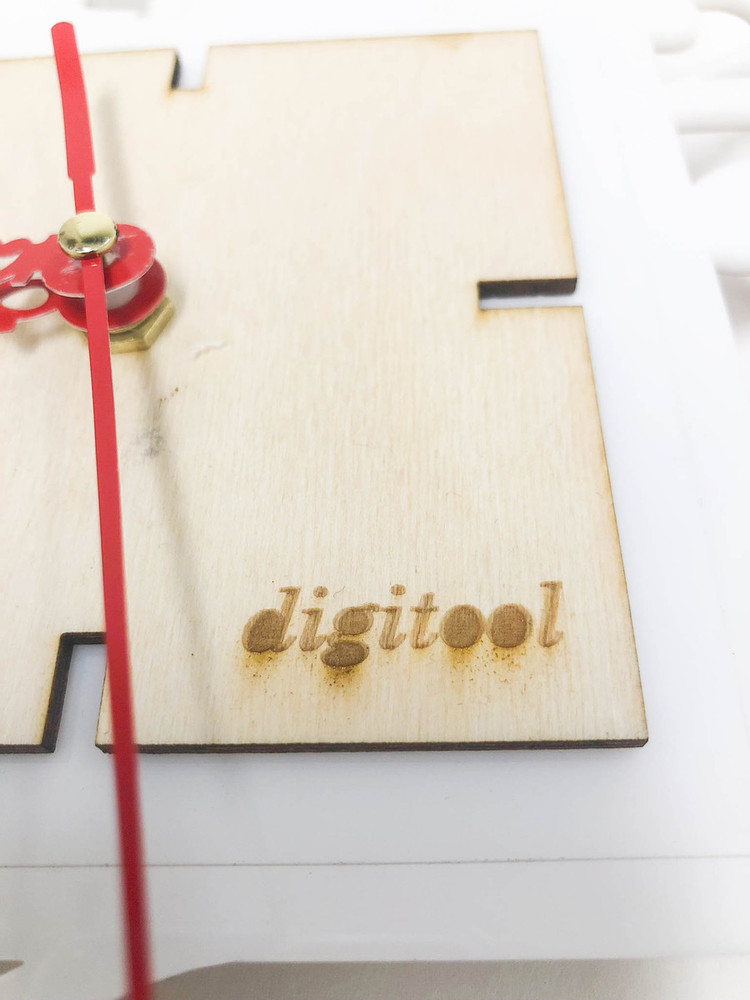
The project requires that there be three laser cutting techniques: cutting, scoring and engraving. I chose to cut the outer ring of numbers, score the inner frame to create a borderline, and to engrave the text.

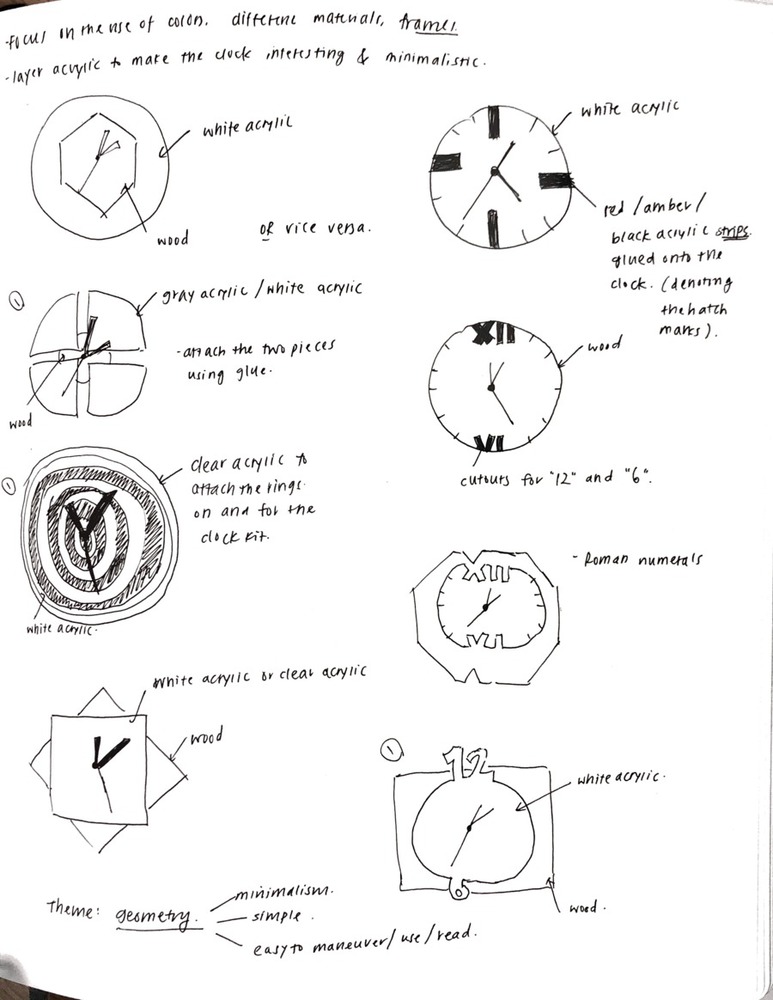
I chose to use white acrylic for the outer layer and wood for the inner layer. The reason being, first of all, I like how acrylic and wood mesh well in terms of their textures and colors. I also chose to have two different materials because I wanted to create a clock that would amalgamate the sleek vibe of white acrylic, as well as the warm tone from wood. 

0


Process and Procedure

I went through several sketches and iterations before settling on this final design. When I first began designing, I wanted to carve the numbers on the body of the clock, as opposed to having them circle the outer edge:

0
Renderings
0
Figure 4. Rendering 1 of the clock
Screen shot 2018 04 15 at 18.01.31.thumb
0
Figure 6. Model of the clock
Screen shot 2018 04 15 at 20.59.20.thumb
0
Figure 5. Rendering 2 of the clock
Screen shot 2018 04 15 at 17.57.11.thumb
0

Photos

0
Figure 7. Body of the clock
Img 1794.thumb
0
Figure 8. Engravings of the clock
Img 1796.thumb
0
Figure 9. Body of the clock
Img 1793.thumb
0
Figure 10. Details of the cut of the clock
Img 1795.thumb
0
Figure 10. Hands of the clock
Img 1797.thumb
0

Reflection

I had some difficulty coming up with compatible designs that involved engraving and scoring. As a result, the text and the borderline look somewhat awkward, so next time, a better alternative design would be optimal.

In retrospect, I learned a lot about laser cutting and the processes involved in transferring an intangible file into a tangible object. I encountered numerous troubles with LaserCut 5.3, such as how to make the engraving and scoring components actually appear (using “Tools” -> “United lines”), or experimenting with different speed and power settings for the various laser cutting techniques. Eventually, for each problem, I was able to resolve it after discussing with the instructor.

x
Share this Project

Courses

62-478 digiTOOL

· 65 members

Digital Tooling (DigiTool) provides a platform for any CMU student to learn Digital Fabrication processes; all of which are very hands-on. Like these processes, this class is also very hands-on. I...more


About

~