Diming light with a sensor
Made by Brian Hernandez
Made by Brian Hernandez
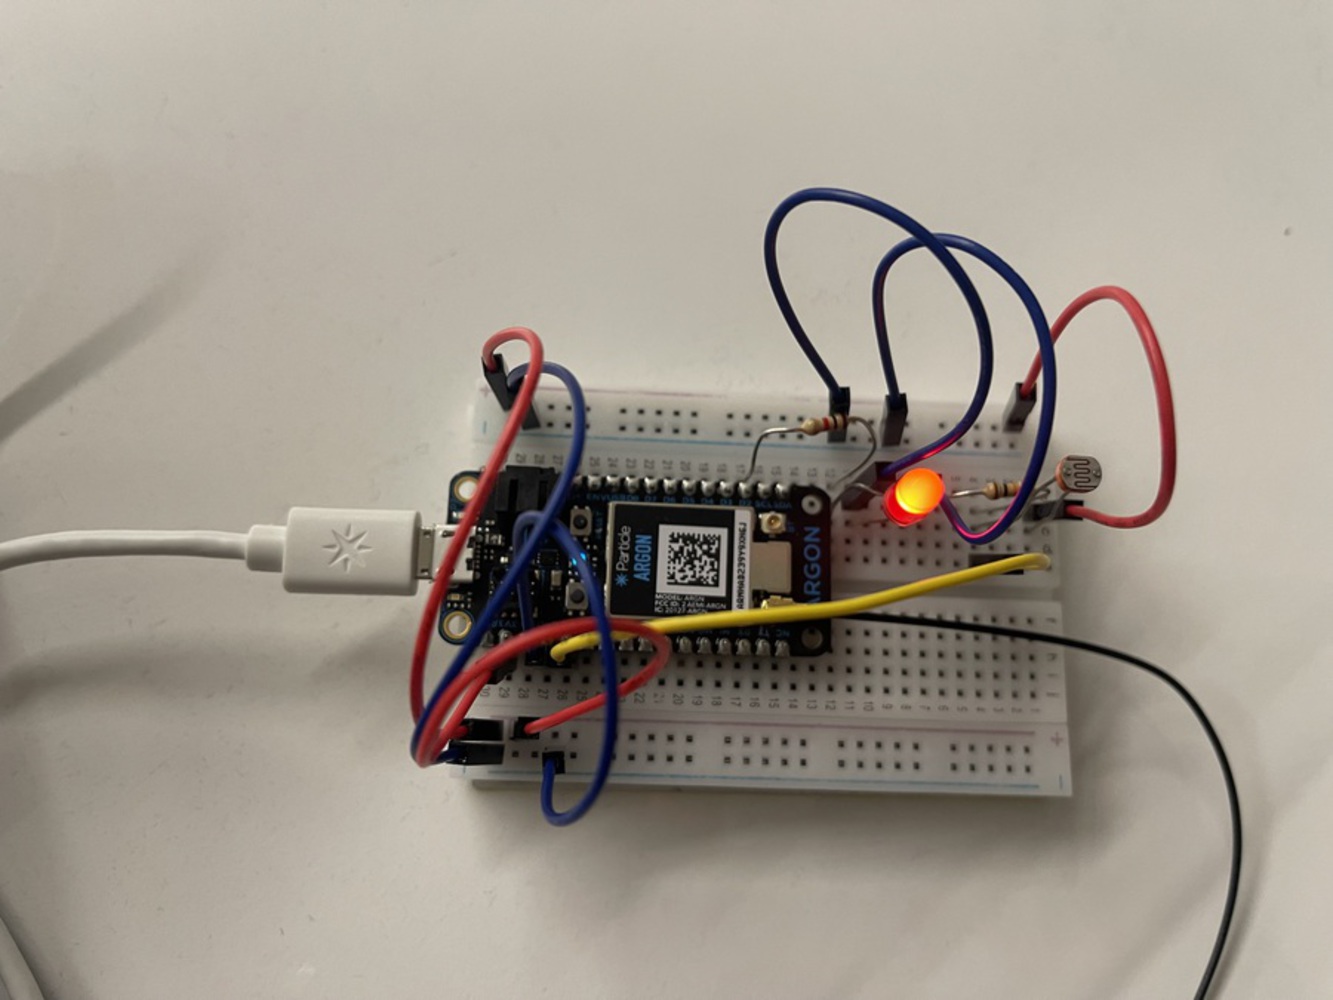
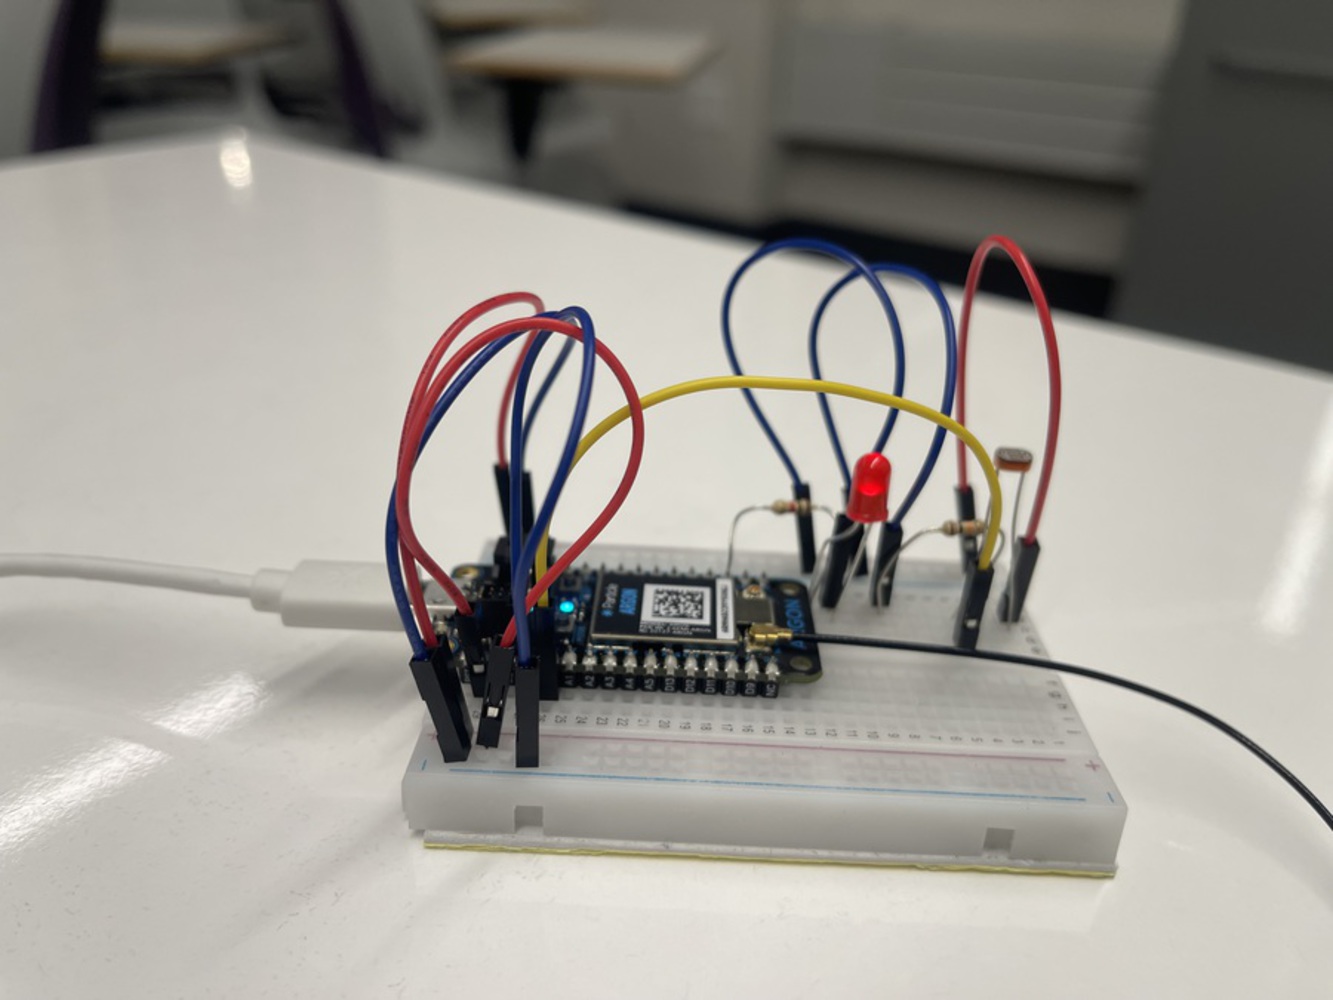
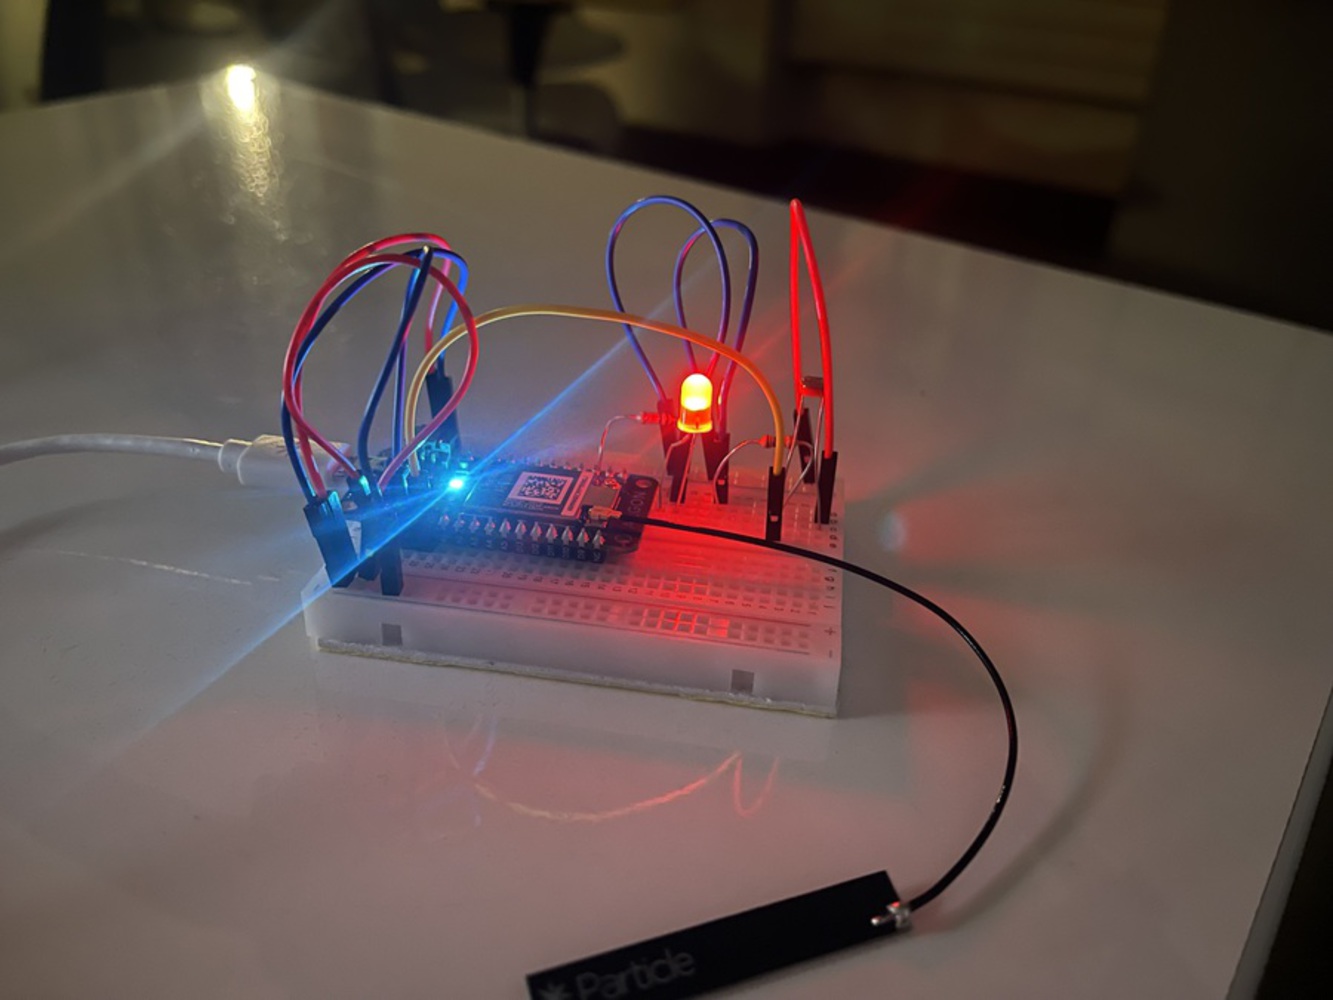
The objective is to make the LED light slowly light up when there is not a lot of light and vice versa.
Created: December 6th, 2023
A hands-on introductory course exploring the Internet of Things and connected product experiences.
The objective is to make the LED light slowly light up when there is not a lot of light and vice versa.