Pittsburgh In View

Made by yingyanz, Alex Lin, Ghalya Alsanea, Paggy Zhu and Jason Zhu

Created: December 13th, 2018

0
RSMA 2018 Final Project
Paggy Zhu - https://youtu.be/8cM7kAofxAM
0

Overview

Pittsburgh In View is an interactive installation that aims to rejuvenate the barren common space of Studio 3577 by bringing to life the vibrant city around it.

The installation is housed in one of the filled window frames and transforms the wall into a dynamic window. In front of the covered wall are several frames that each peel back layers of the city; the first panel shows what is directly behind the wall while the last panel shows the greater downtown area.

Finally, the installation is interactive in nature; when users near the installation, the image distorts (frames sway slightly). This is a commentary on how no matter how close a user gets to a photo, they will never have the same experience as if they travelled to the real location.

0
Location of our planned project.
Image1 copy.thumb
0
Site as found.
Dsc 0887.jpg.thumb
0
Architectural diagram of our planned project.
Image5.thumb
0
One render of what our project might potentially look like.
Image4.thumb
0
Another render of what our project might potentially look like.
Render.thumb
0

Process: Prototyping

As our project got underway, we ran into some bumps on the road as well as encountered some unforeseen circumstances in the prototyping phase. In particular we found a few key insights: (1) ink comes off of acetate really easily (2) lateral motion looked better than a dragging motion (3) weights were required to get the proper movement and prevent the acetate from bending. 

You can get a sense for these issues in the video below.

0
Hardware setup for our base prototype.
Img 6727.thumb
0
Video of our prototyping responding to hand gestures.
0

Process: Creating the Final

Having taken note of the issues from our prototyping phase, we moved on to creating the final. We made several adjustments during this phase.

(1) Use a lateral motion system instead of the dragging system. This required us to create a rail system using stepper motors and simple carts.

(2) Print on a higher quality plotter. We used a plotter in the art department to do this. This will help reduce how easily ink comes off of the acetate.

(3) Have less prints. 6 prints was a lot and given the rail system, we decided that 3-5 might be a better number to aim for.

(4) Add acrylic top and bottom frames to our final acetate prints in order to give it the necessary weight it needed in order for the lateral motion to work as well as keep the acrylic from folding.

0

Process: Issues

We ran into some issues while putting together our final creation. 

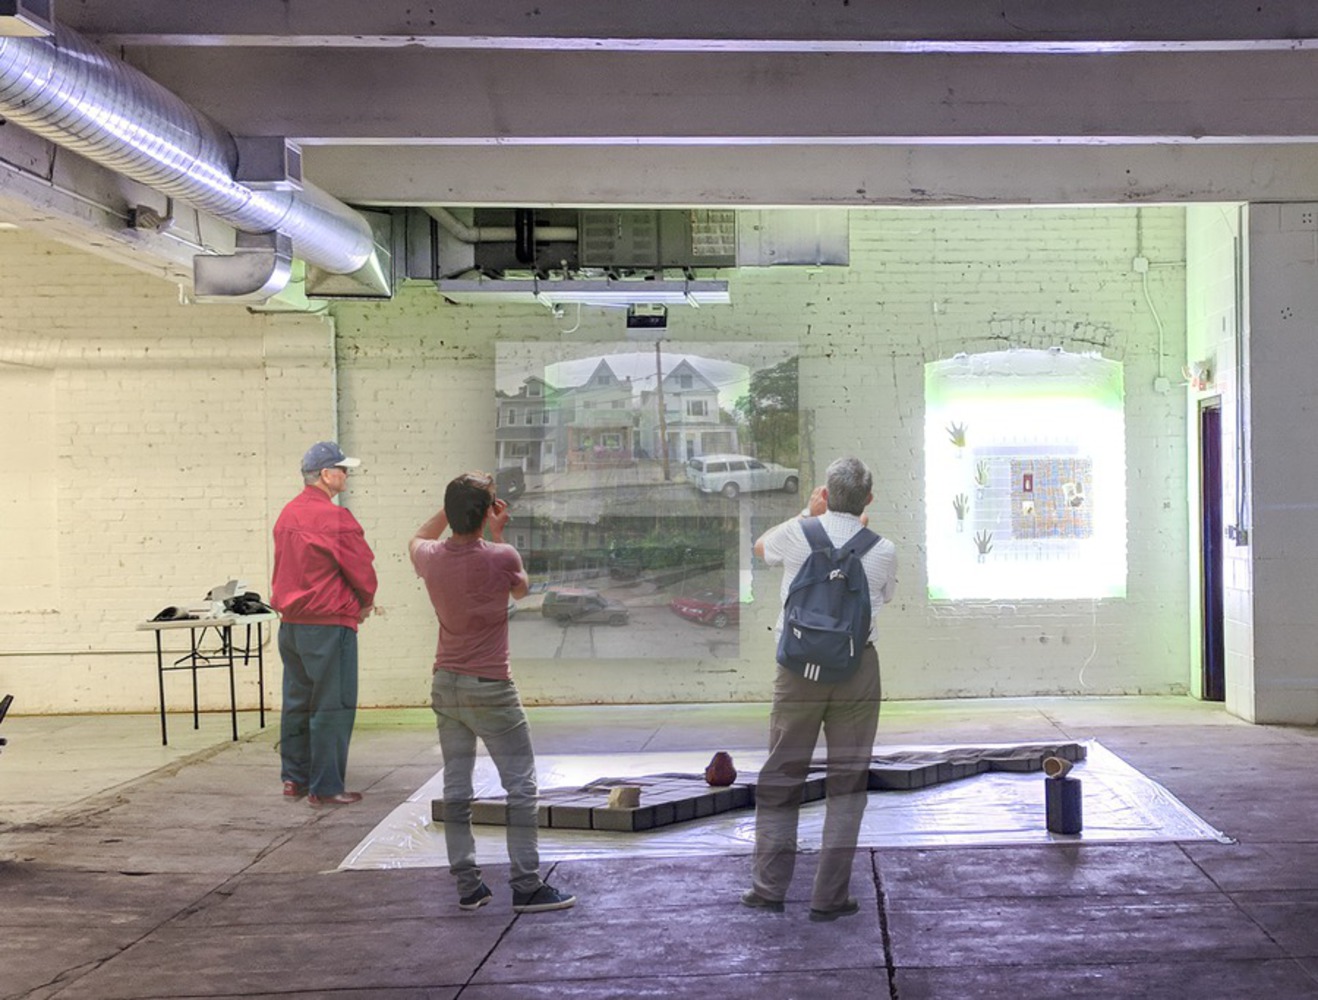
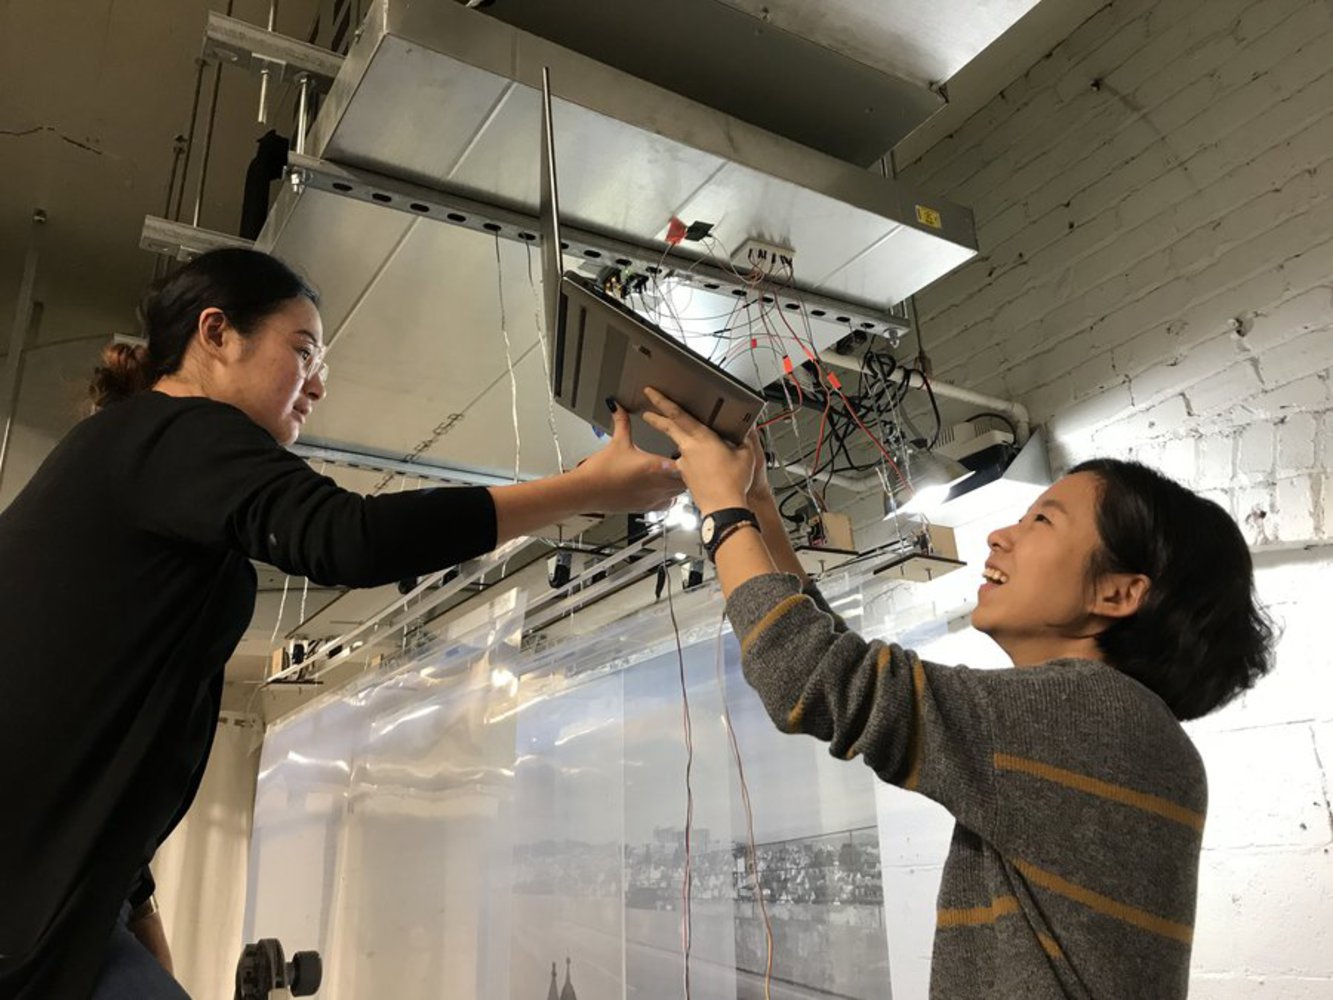
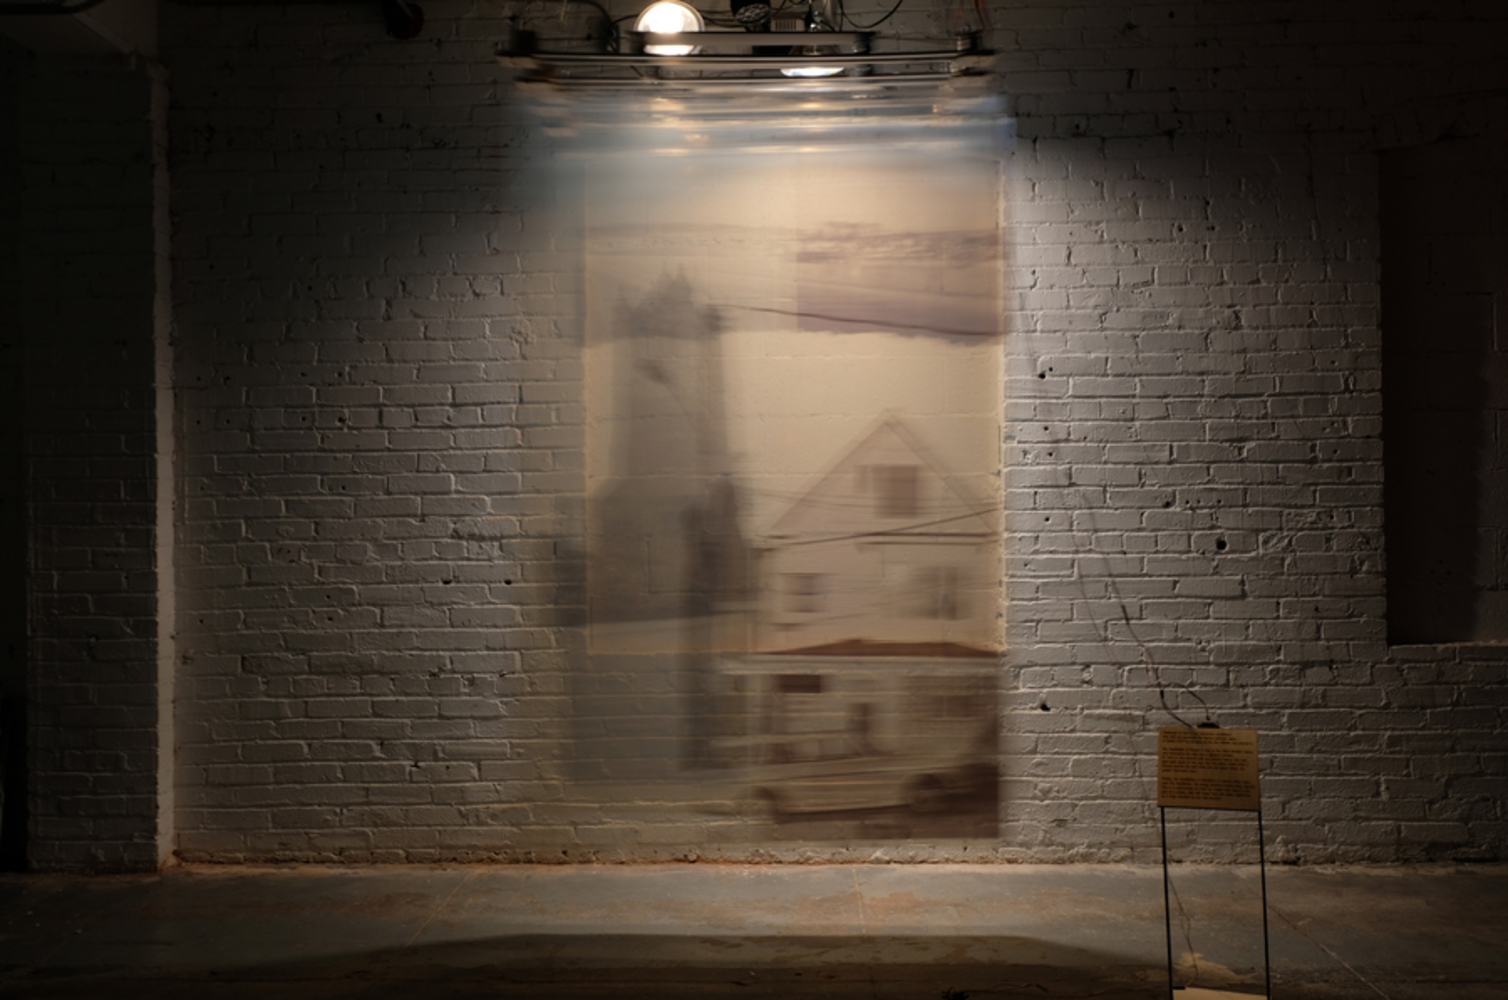
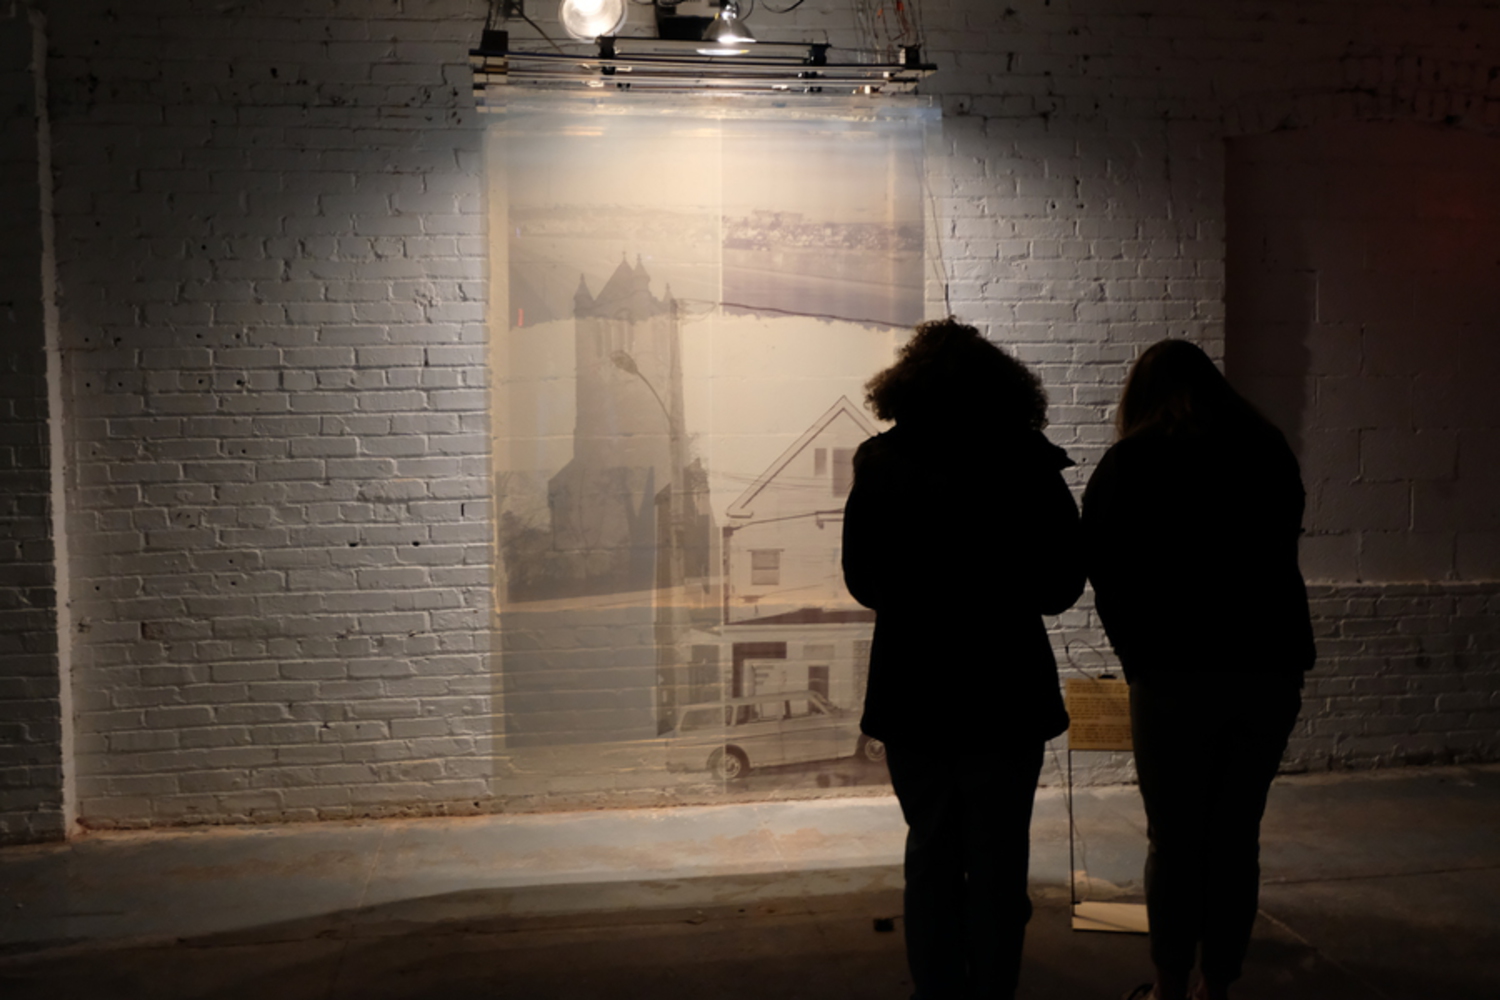
(1) The acetate we ordered did not work on the art department plotter we planned on using. Instead, we had to settle for acetate from the art department which had a slight blue tint and was not as translucent as we had hoped.

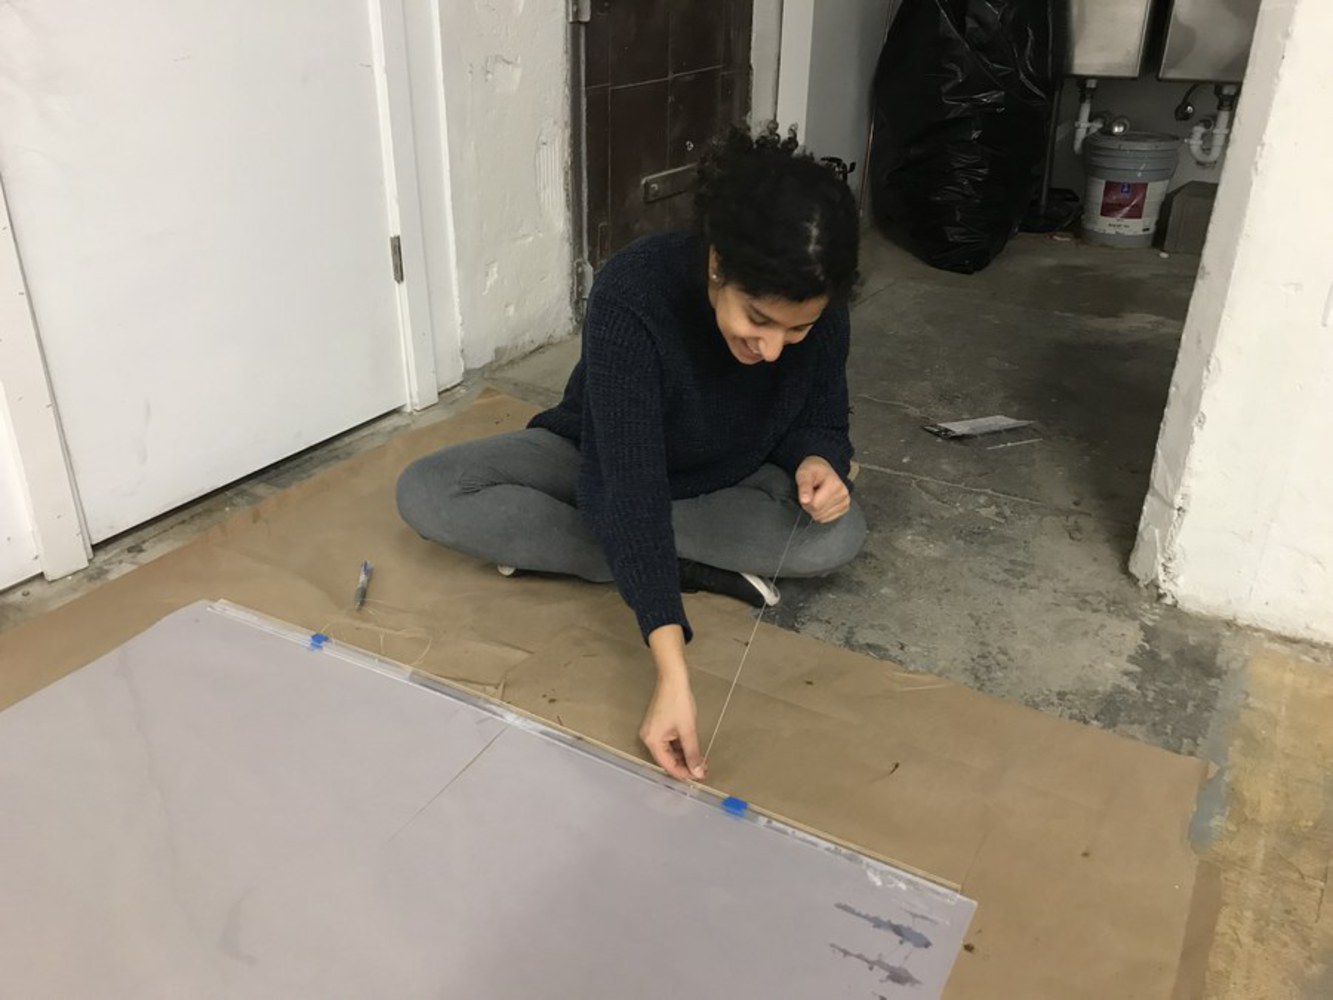
(2) The acetate at the art department plotter was not nearly as long as we had hoped for. instead, we had to make do by splitting our original prints into two sheets. We later had to glue these sheets to acrylic top and bottom frames (to add weight) which also proved to be tedious.

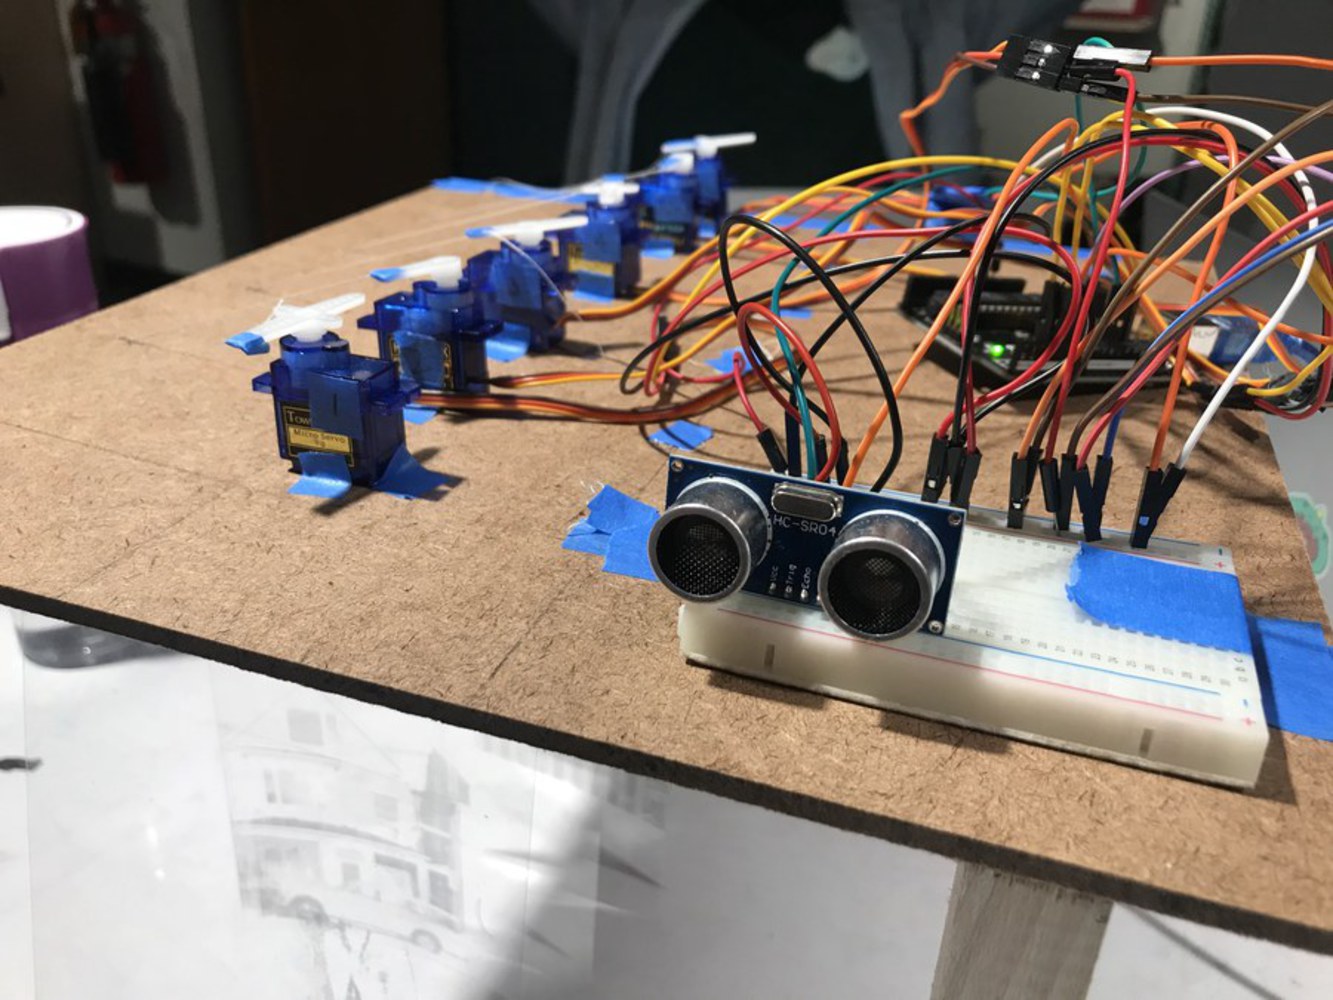
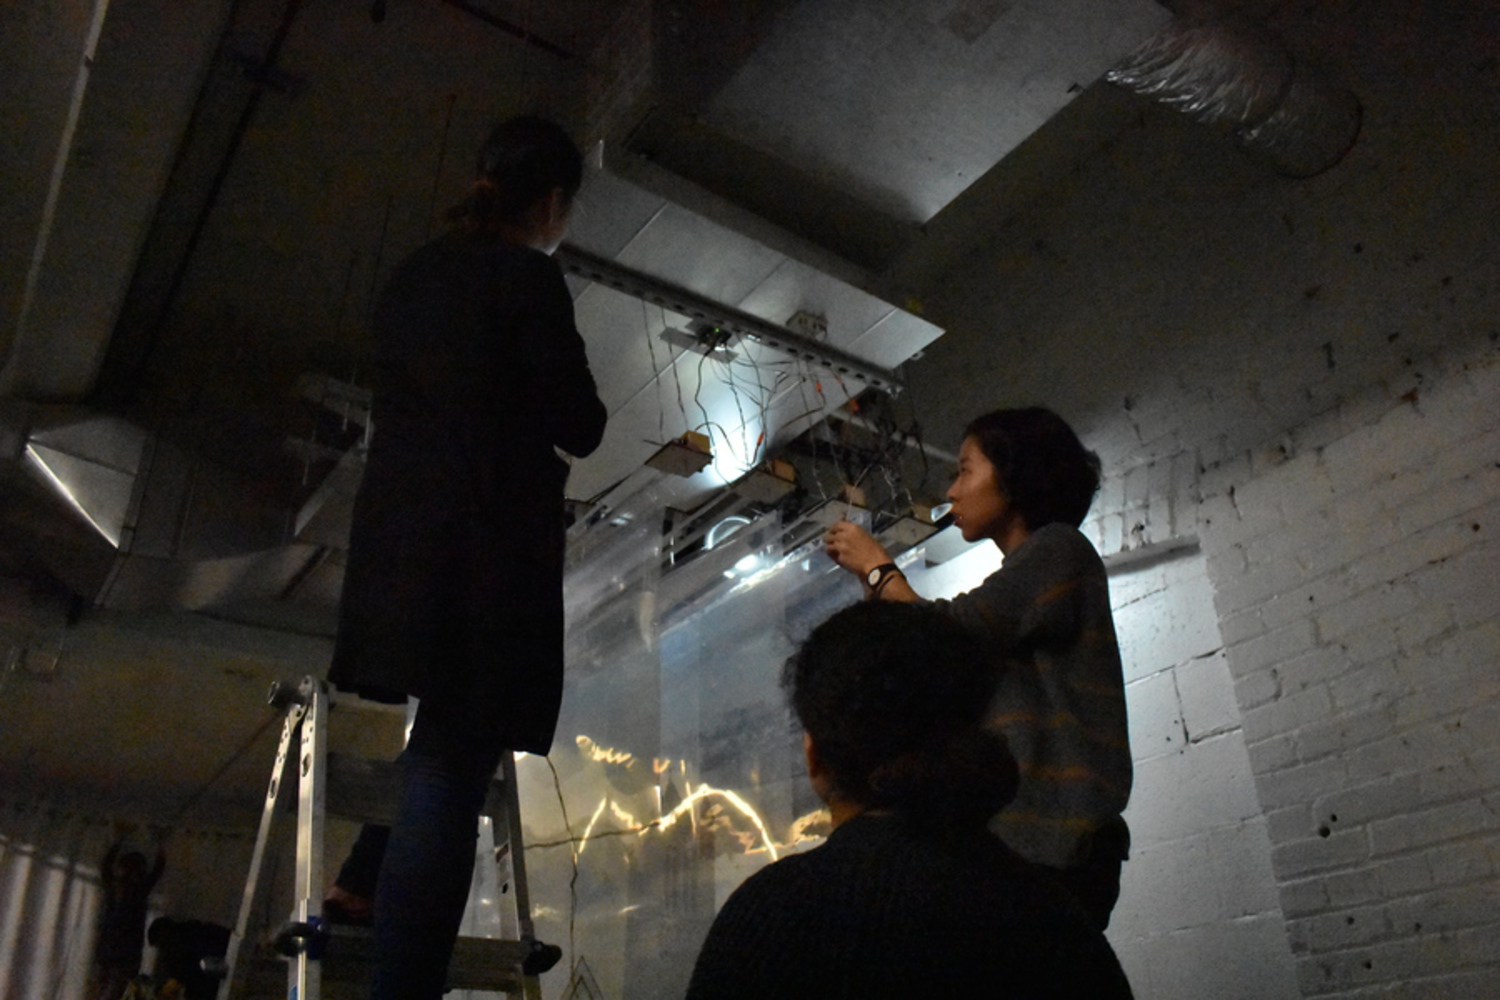
(3) We had some issues with wiring and were unable to resolve it for our final show.

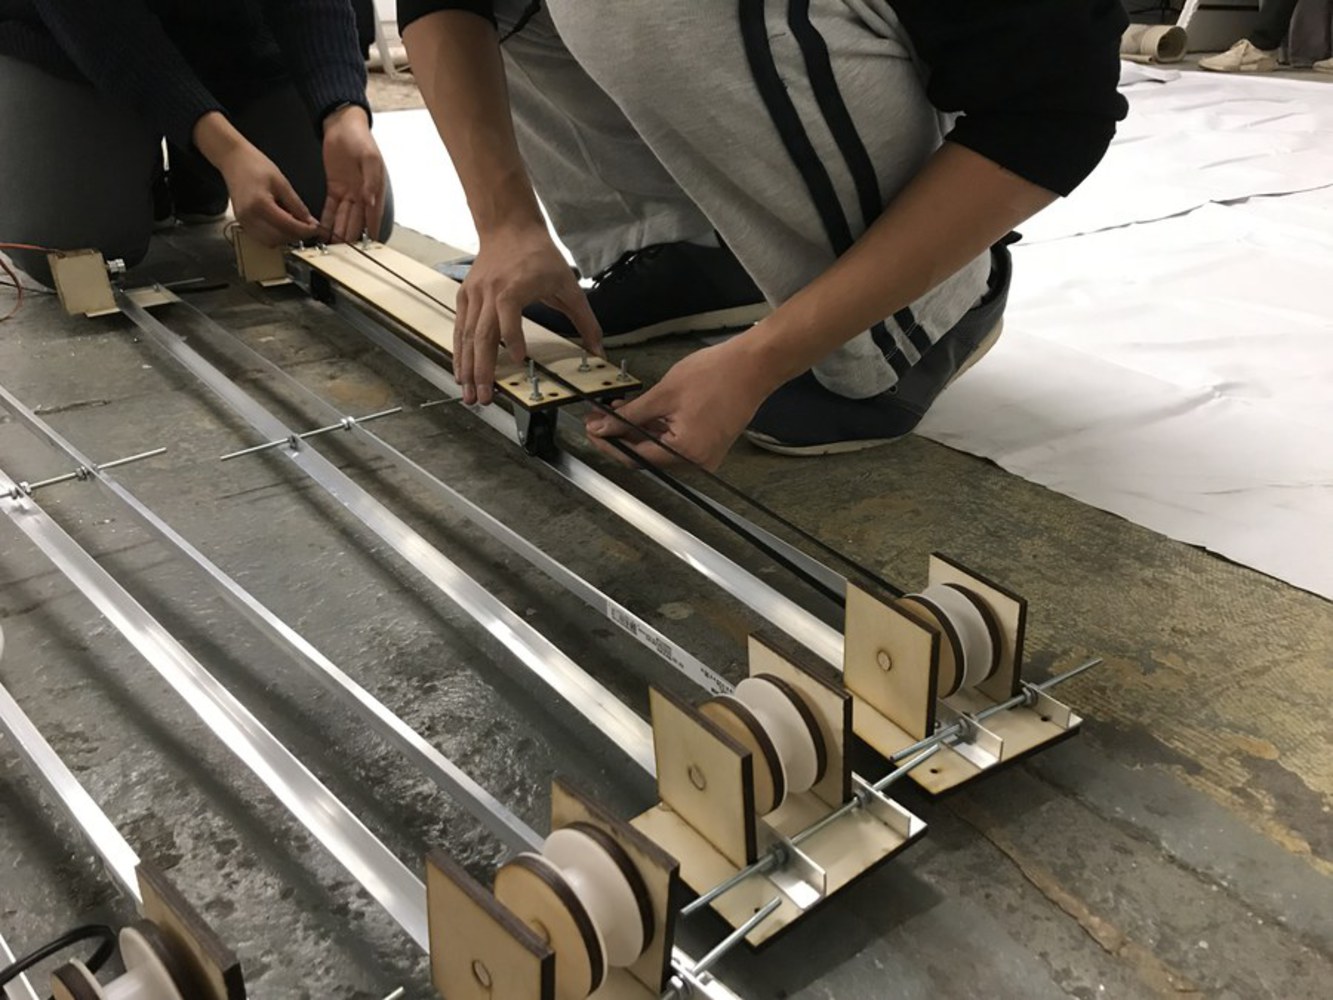
(4) We underestimated how far to move the acetate in our original planning and thus when the acetate panels did move it was minimal and far less than what we had hoped for. 

(5) The amount of power we needed to supply for all of the servo motors to be able to move all of the acetate sheets was much greater than what we were able to provide, causing discrepancies in the functionality of the motors.

0
Gluing the acetate to the acrylic frames.
Img 8069.thumb
0
Creating the rail systems on which the acetate would ultimately rest.
Img 8072.thumb
0
Adding the wiring and coding component to our project.
Img 8082.thumb
0
Last minute touch ups!
Dsc 0564.jpg.thumb
0

Final Work

Though we ran into our fair share of issues, our final project turned out well. We ended up creating four acetate panels and accommodated for lighting and other spatial factors in our final installation.

0
Long Exposure shot of the project in motion.
Dscf2433.thumb
0
Image of spectators viewing the project.
Dscf2380.jpg.thumb
0
// Reactive Space and Media Architecture Final Project
// Pittsburgh in View
// Yingyang Zhou, Alex Lin, Ghalya Alsanea, Paggy Zhu, Jason Zhu

int degree1 = 0;
int degree2 = 175;

#include <Servo.h> 
int servo11Pin = 11;
int servol2Pin = 2;
int servol3Pin = 3;
int servol4Pin = 4;
int servol5Pin = 5;
Servo Servol1;
Servo Servol2;
Servo Servol3;
Servo Servol4;
Servo Servol5;

#define sensor0 A0
#define sensor1 A1
#define sensor2 A2


void setup() {
  Serial.begin(9600); // Starts the serial communication
  Servol1.attach(servo11Pin); 
  Servol2.attach(servol2Pin); 
  Servol3.attach(servol3Pin); 
  Servol4.attach(servol4Pin); 
  Servol5.attach(servol5Pin);  
}

void loop() {

  float volts0 = analogRead(sensor0)*0.0048828125;
  int distance0 = 13*pow(volts0, -1); 
  
  float volts1 = analogRead(sensor1)*0.0048828125;
  int distance1 = 13*pow(volts1, -1); 
  
  float volts2 = analogRead(sensor2)*0.0048828125;
  int distance2 = 13*pow(volts2, -1); 

  if(distance0 < 50 || distance1 < 50 || distance2 < 50){
    Servol1.write(degree1);
    Servol2.write(degree1);
    Servol3.write(degree1);
    Servol4.write(degree1);
    Servol5.write(degree1);
    delay(1);
    Servol1.write(degree2);
    Servol2.write(degree2);
    Servol3.write(degree2);
    Servol4.write(degree2);
    Servol5.write(degree2);
    delay(10); 
  }
}
Click to Expand
x
Share this Project

Courses

48-734 Reactive Spaces and Media Architecture

· 25 members

How can embedded computation change the way we experience our surroundings? This class will focus on the design and prototyping of reactive spaces. Over the course of several small projects and one...more


Focused on
About

~