Final Reality Computing Project
Made by Rachel Wong
Made by Rachel Wong
Created: May 10th, 2017
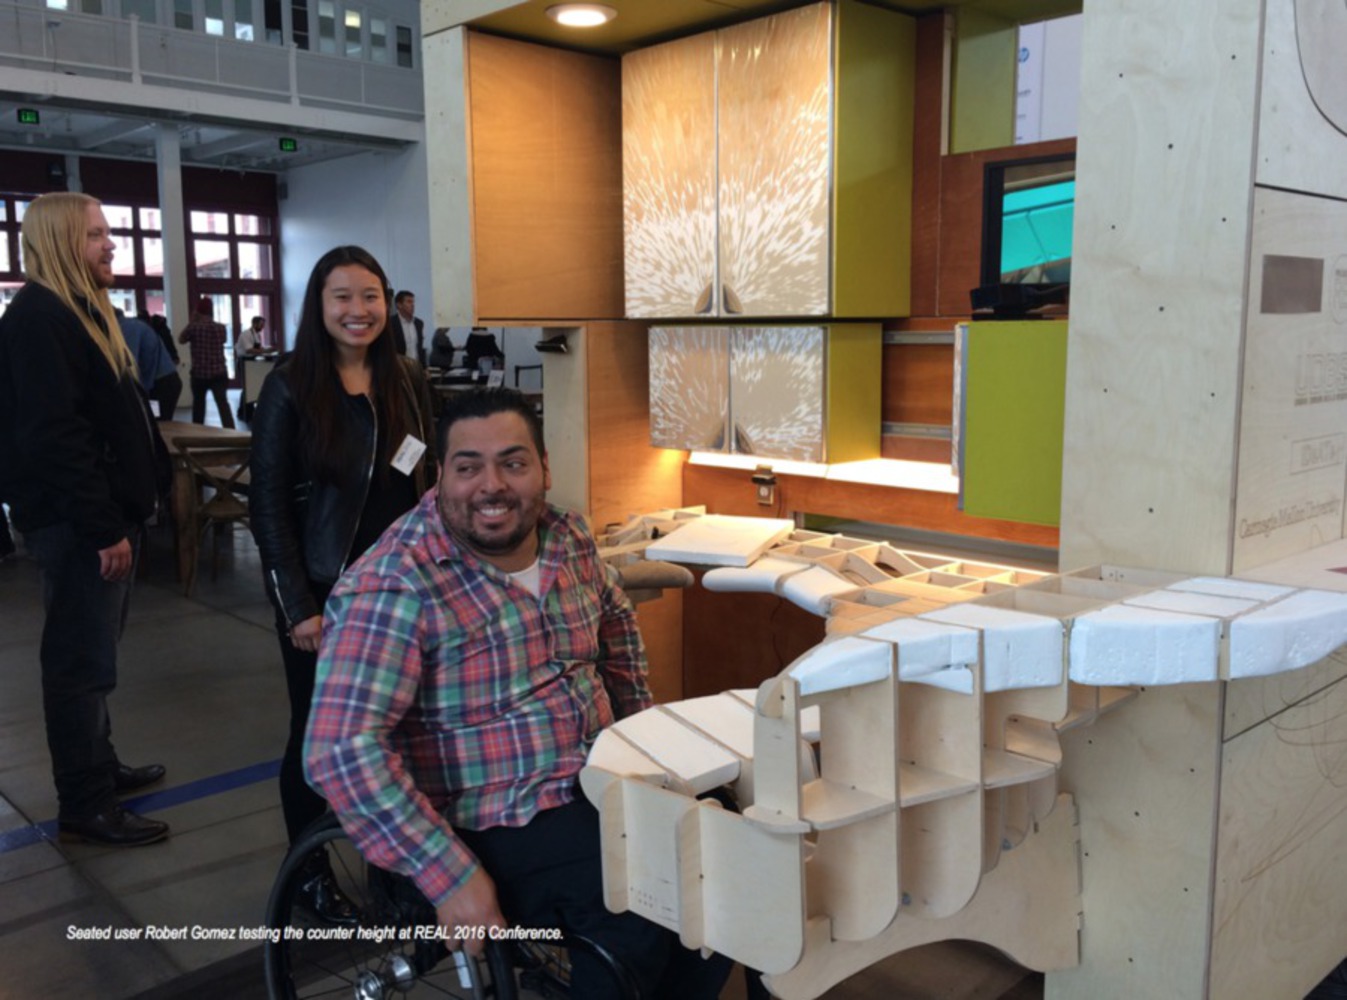
My final project for 16-457 Reality Computing is a continuation of a larger project from the previous semester. In collaboration with the Urban Design Build Studio, the previous students physically created the Adaptive Kitchen-- a kitchen that addresses the needs of disabled veterans in ways that commercially available kitchens do not.
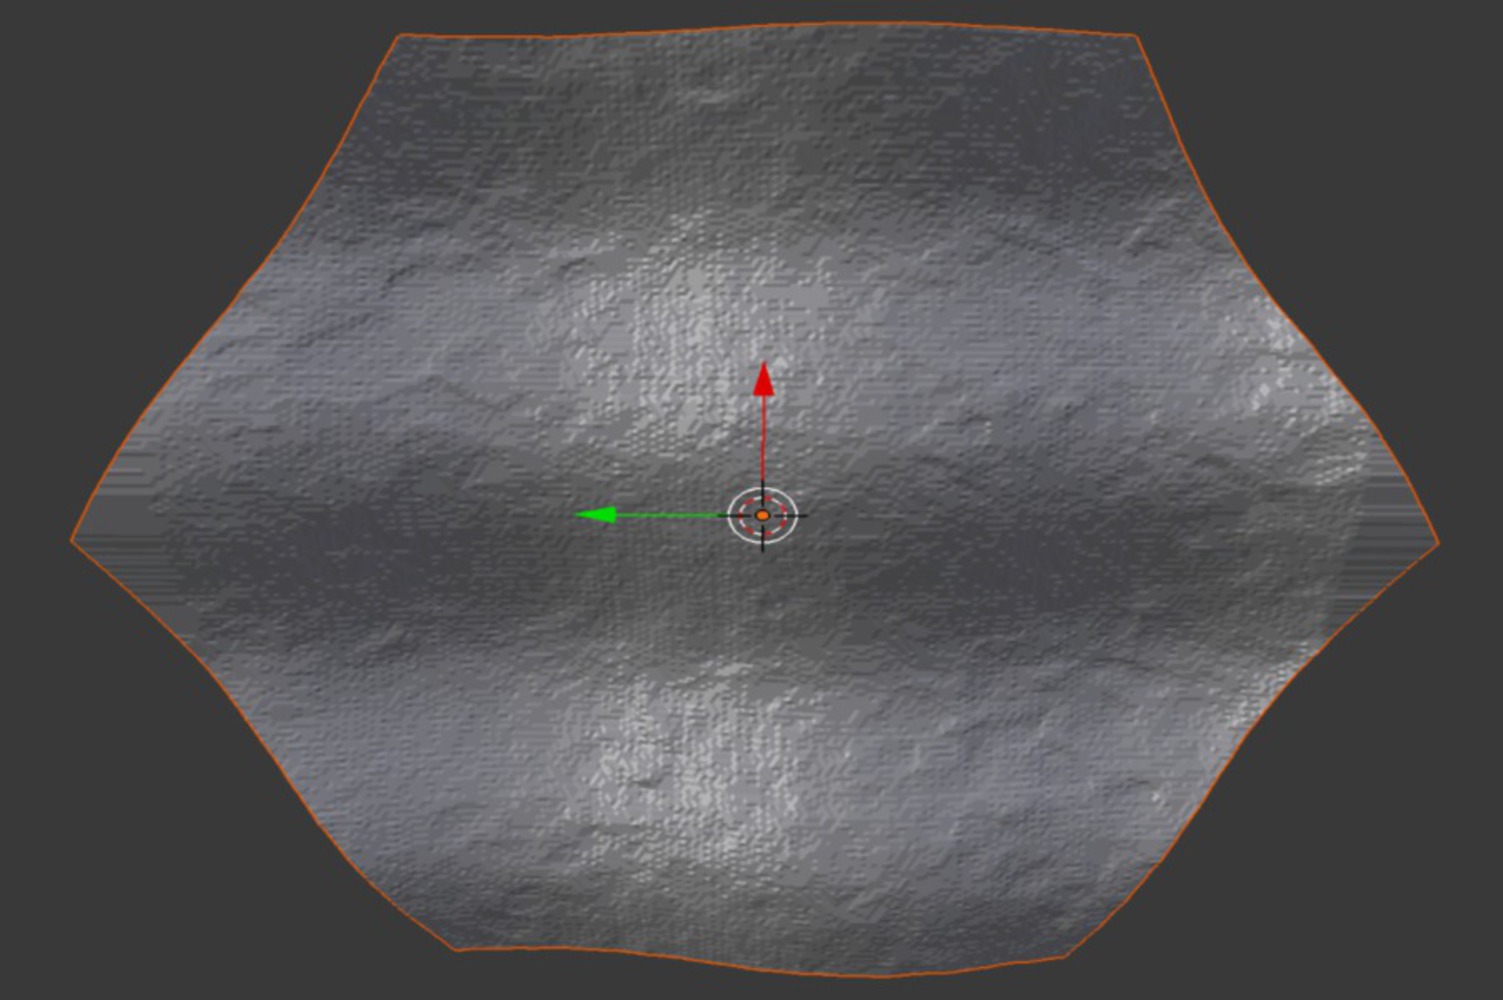
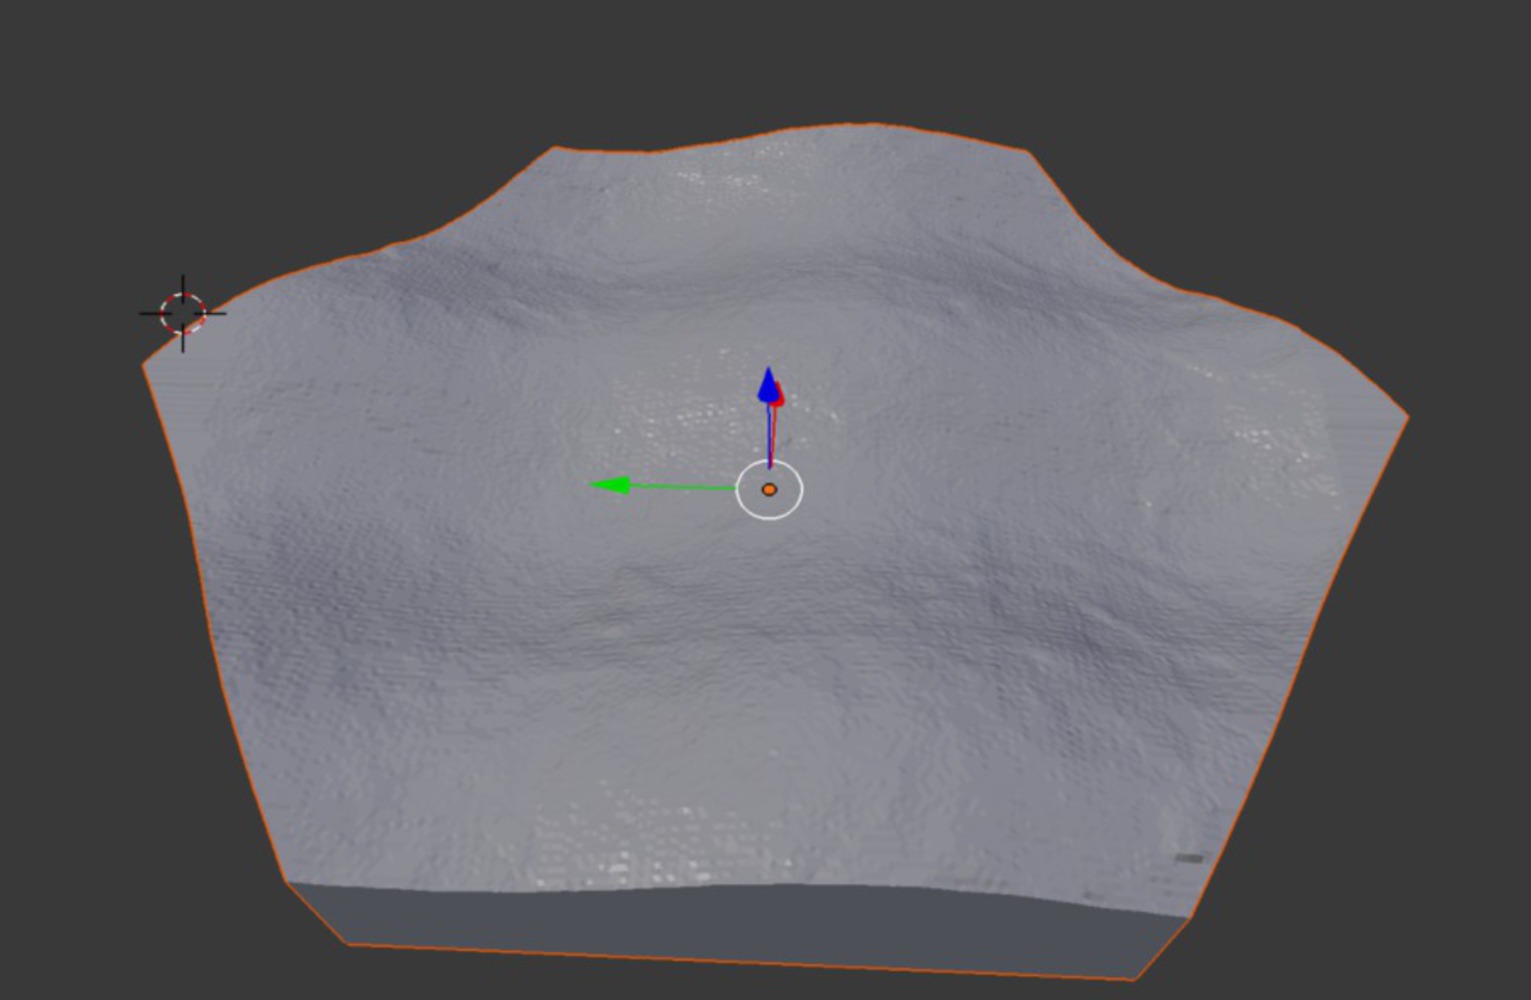
My extension of the project was to continue integrating wayfinding techniques for the counter edges. I chose to do this by combining textures found in nature and textures created programmatically by mathematical functions.
"Based on the command center layout and functional zones, tactile cues are placed in strategic locations where a visually impaired user would seek to orient themselves. Tactile cues, in this case, are regions of textural variations (tiny ridges), a contrast and deviation from the smooth texture of the counter surface. These cues indicate the centers of the different programmatic zones." [From the NavAdapt Publication]
AFRAME.registerShader('depth-shader', {
  schema: {
    color: {type: 'vec3', is: 'uniform'},
  },

  vertexShader: [
    'varying vec3 viewPos;',
    'void main(void) {',
    '  viewPos = (modelViewMatrix * vec4(position, 1.0)).xyz;',
    '  gl_Position = projectionMatrix * modelViewMatrix * vec4(position, 1.0);',
    '}'
  ].join('\n'),

  fragmentShader: [
    'varying vec3 viewPos;',
    'uniform vec3 color;',
    'void main() {',
    '  float depth = -viewPos.z - 18.0;',
    '  gl_FragColor.rgb = vec3(depth, depth, depth);',
    '  gl_FragColor.a = 1.0;',
    '}'
  ].join('\n')
});<html>
<head>
<script src="https://aframe.io/releases/0.5.0/aframe.min.js"></script>
<script src="js/pano_material.js"></script>
</head>
<body>
<a-scene>
<!-- Asset management system. -->
<a-assets>
<a-asset-item id="mesh" src="texturesfinal/untitled.obj"></a-asset-item>
<a-asset-item id="texture" src="texturesfinal/untitled.mtl"></a-asset-item>
</a-assets>
<a-camera user-height="1.6" fov="10" look-controls-enabled="false"></a-camera>
<a-entity position="0 1.6 -20" rotation="-90 0 0" scale="0.1 0.1 0.1"
obj-model="obj: #mesh"
material="shader: depth-shader;color: 1.0 1.0 1.0">
</a-entity>
<a-sky id="sky" color="#AAAAFF"></a-sky>
</a-scene>
</body>
</html>import math
import numpy as np
import cv2
img = cv2.imread('depthmap.jpg', 0)
img = np.array(img, dtype = np.float64) / 255.0
width,height = img.shape
x,y = np.meshgrid(range(height), range(width))
F = np.cos(12.0 * x / float(width)) + np.sin(12.0 * y / float(height))
F = (F * .25) + 0.5
image = (img + F) / 2.0
cv2.imwrite('newtexture.png', image * 255.0)import math
import cv2
import numpy as np
def twiddle_tile(srcfile, destfile, twiddlefunc):
for line in srcfile:
gps = line.split()
if len(gps) == 4 and gps[0] == "v":
vert = [float(v) for v in gps[1:]]
if vert[1] < 0.0: # don't twiddle bottom of tile
dest.write(line + "\n")
else:
vert_prime = twiddlefunc(vert[0], vert[1], vert[2])
dest.write("v {} {} {}\n".format(*vert_prime))
else: # line is not a vertex, so write it back unchanged
dest.write(line + "\n")
def make_image(image):
stored_image = image
width,height,channels = stored_image.shape
def twiddle(x,y,z):
u = int(((x/35.0) + 1.0) * (float(width)*.5))
v = int(((z/35.0) + 1.0) * (float(height)*.5))
if u < 0:
u = 0
if v < 0:
v = 0
if u >= width:
u = width - 1
if v >= height:
v = height - 1
xp = x
yp = y + (stored_image[u, v, 0] * .05)
zp = z
return (xp, yp, zp)
return twiddle
if __name__ == '__main__':
srcfn = "tile_blank_hires.obj"
destfn = "computed_tile.obj"
image = cv2.imread("newtexture.png")
with open(srcfn, "rt") as src:
with open(destfn, "wt") as dest:
twiddle_tile(src, dest, make_image(image))Given my time constraints, I was unable to proceed to the testing portion of this project.
The next steps to continue this project would be to restart the work flow by collecting an assortment of natural textures. Instead of overlaying a mathematical function over a natural texture, it would be interesting to alter to code to create a large set of different combinations of the natural textures overlaid on each other. There would then need to be experiments run to see which textures allowed people to guide themselves around the kitchen with ease and speed. This could be done using motion tracking sensors and timers.
~