Harry Clock

Made by Harry Shao

Make a clock with laser cut

Created: November 27th, 2017

0

Intention

Write about the big ideas behind your project? What are the goals? Why did you make it? What are your motivations?

I made this clock to decorate my bedroom. I want my clock to look simple and creative and has a tone that fits well with my bedroom furniture. 

1

Context

Describe what informed your ideas and your outcome? How does your outcome relate to other work in the field? What are the precedent projects?

My idea was motivated by the image below, where the numbers flow out of the clock face but still stay in their relative positions. This design breaks the convention that numbers have to stay inside while remains simple and clean. The clock doesn't need to have fancy patterns or images because it's meant to have a simple design. I think a combination of black background and a light wood on top would produce a nice tone. 

0

Supporting Context Materials

Include photos/media documenting inspiration, influences, and proposed installation. 

0

Sketch of design.

Include sketch with as much details as possible, like: approximate dimensions, materials, layers, textures, colors, and aesthetic influences.

0

Process + Procedure

Outline your approach to the project. What steps did you take to design, model, sketch, and prototype this projects? What ideas did you generate and how did you refine or reject them? What challenges were encountered and how did you resolve them? Include photos of prototypes, redesigned sketches, design worksheets, and failed trails.

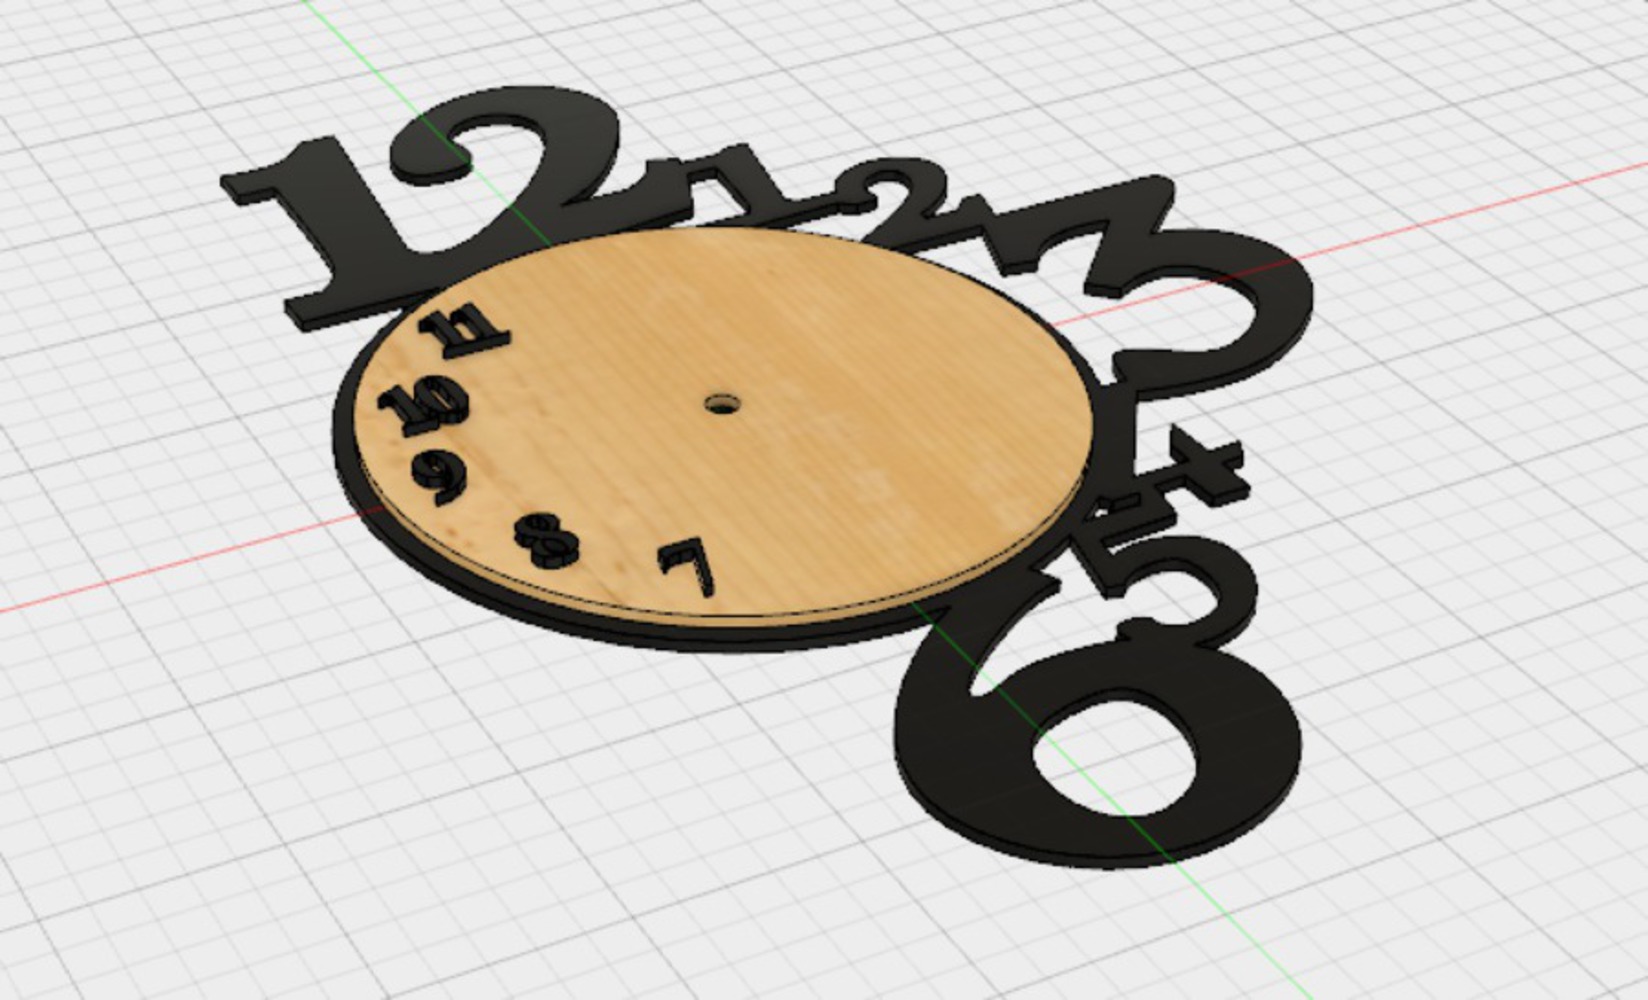
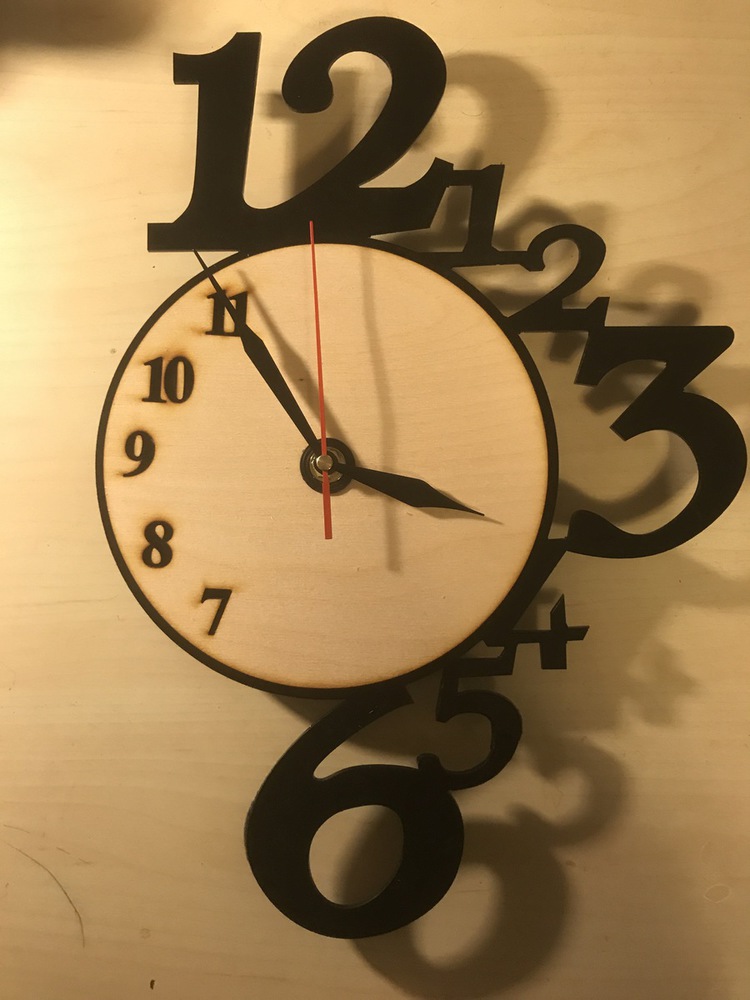
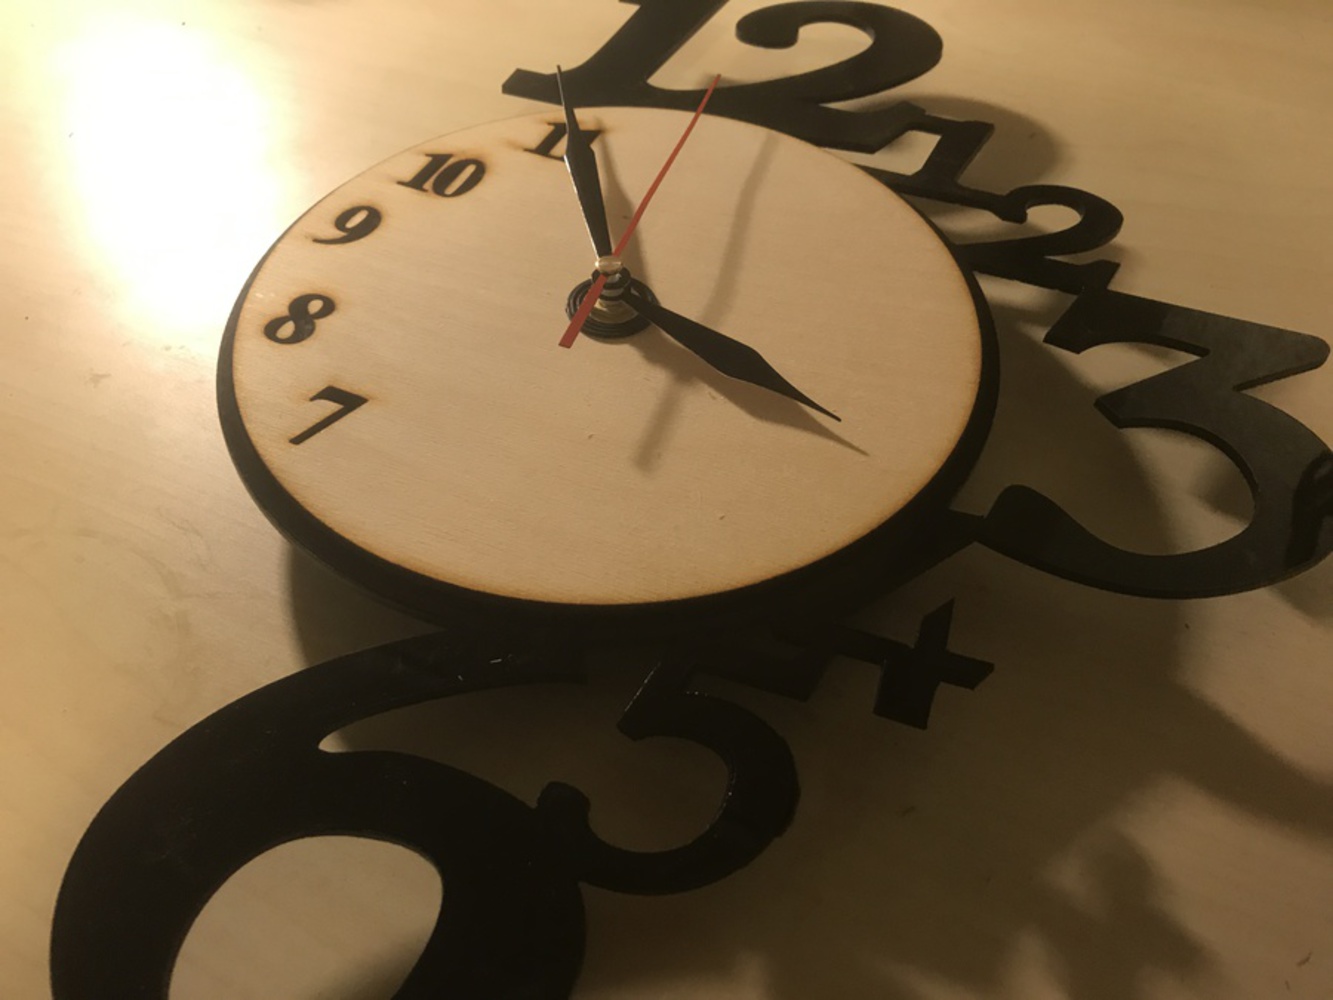
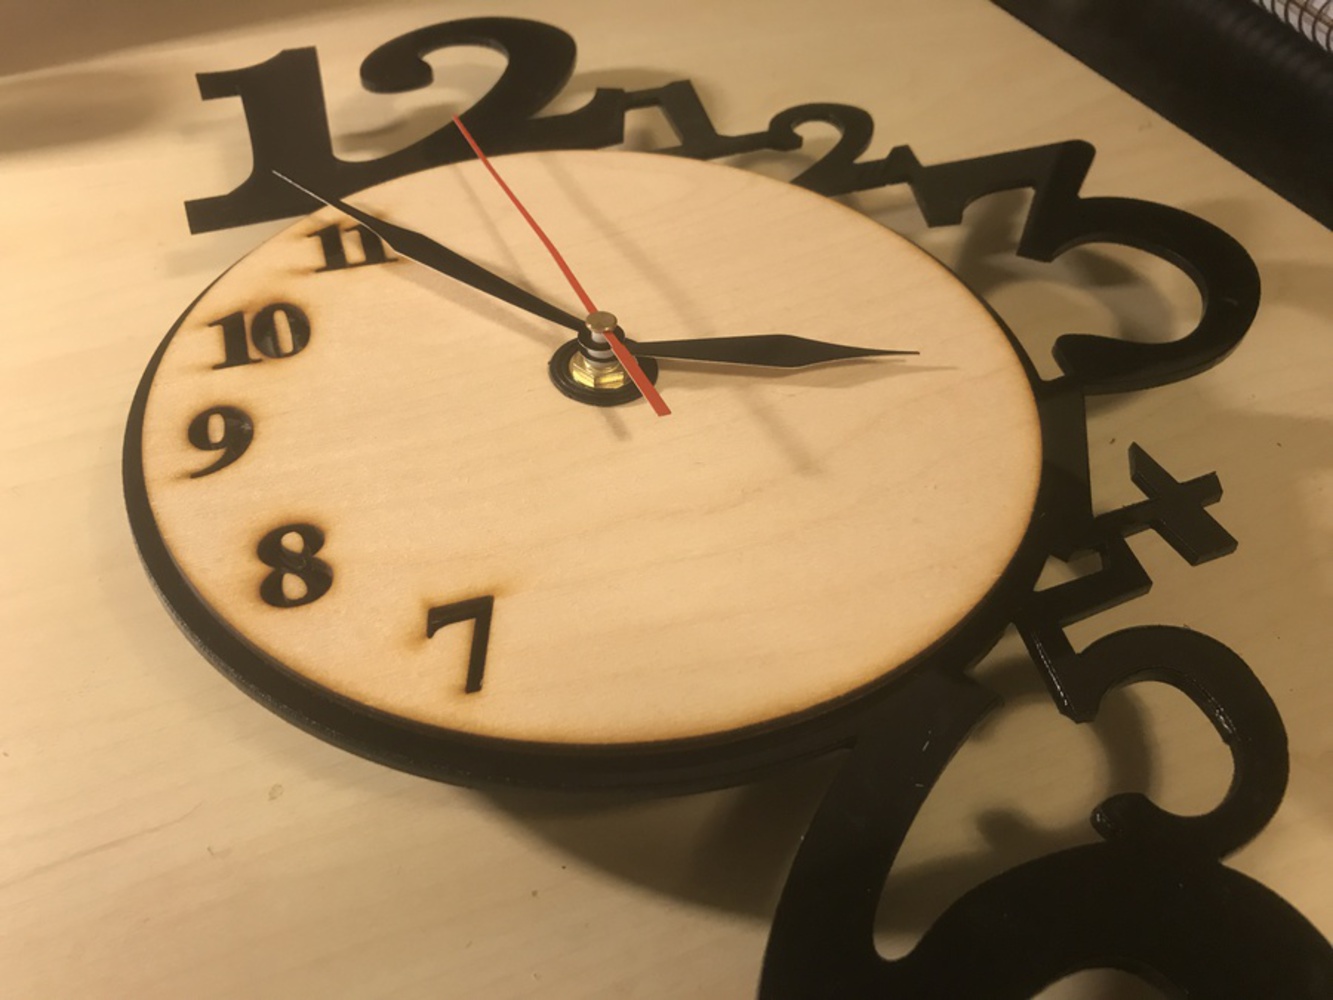
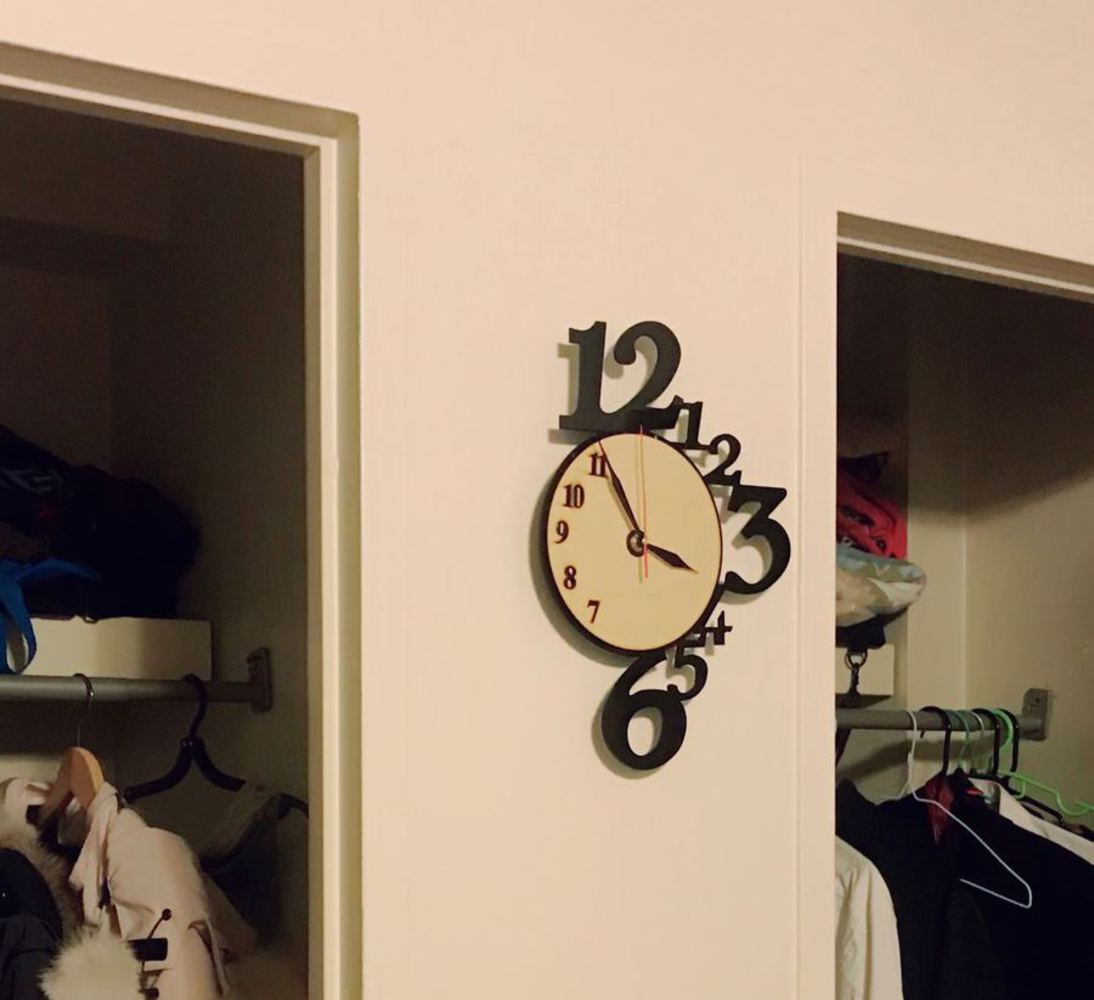
Steps I took to make the clock:

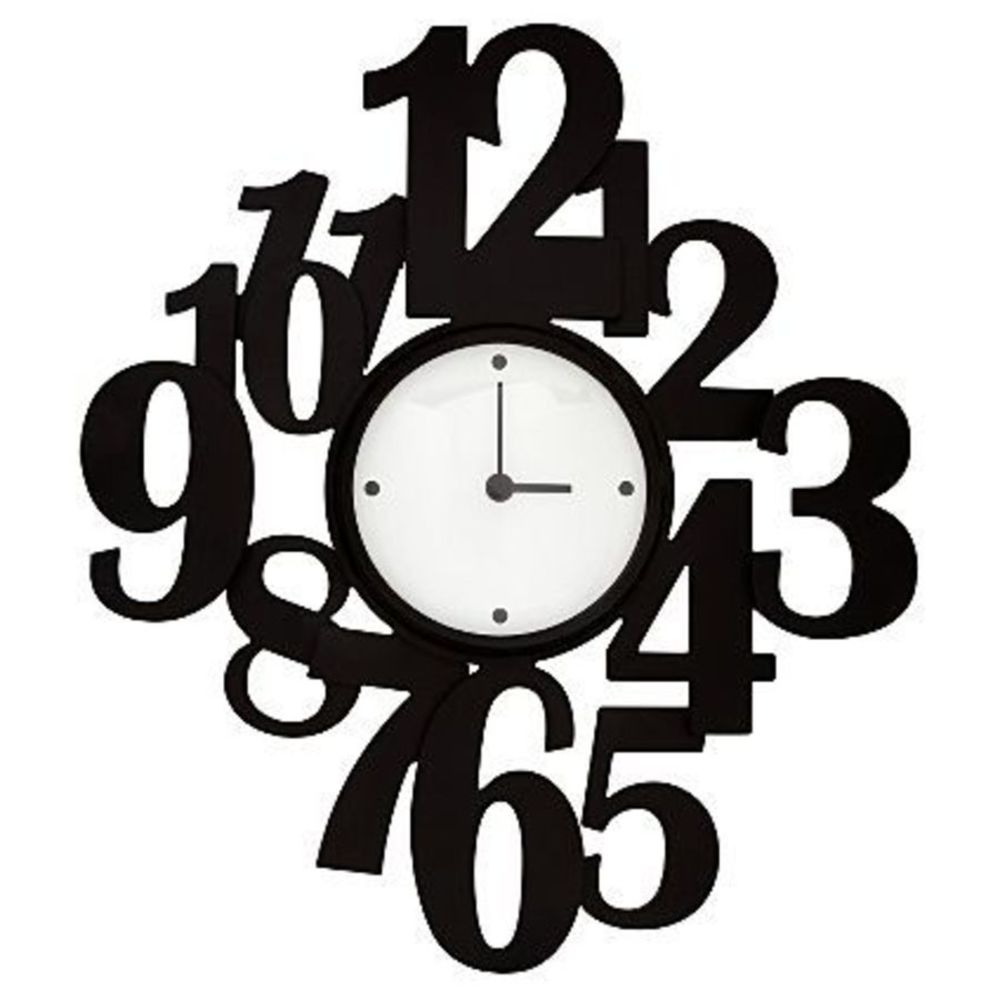
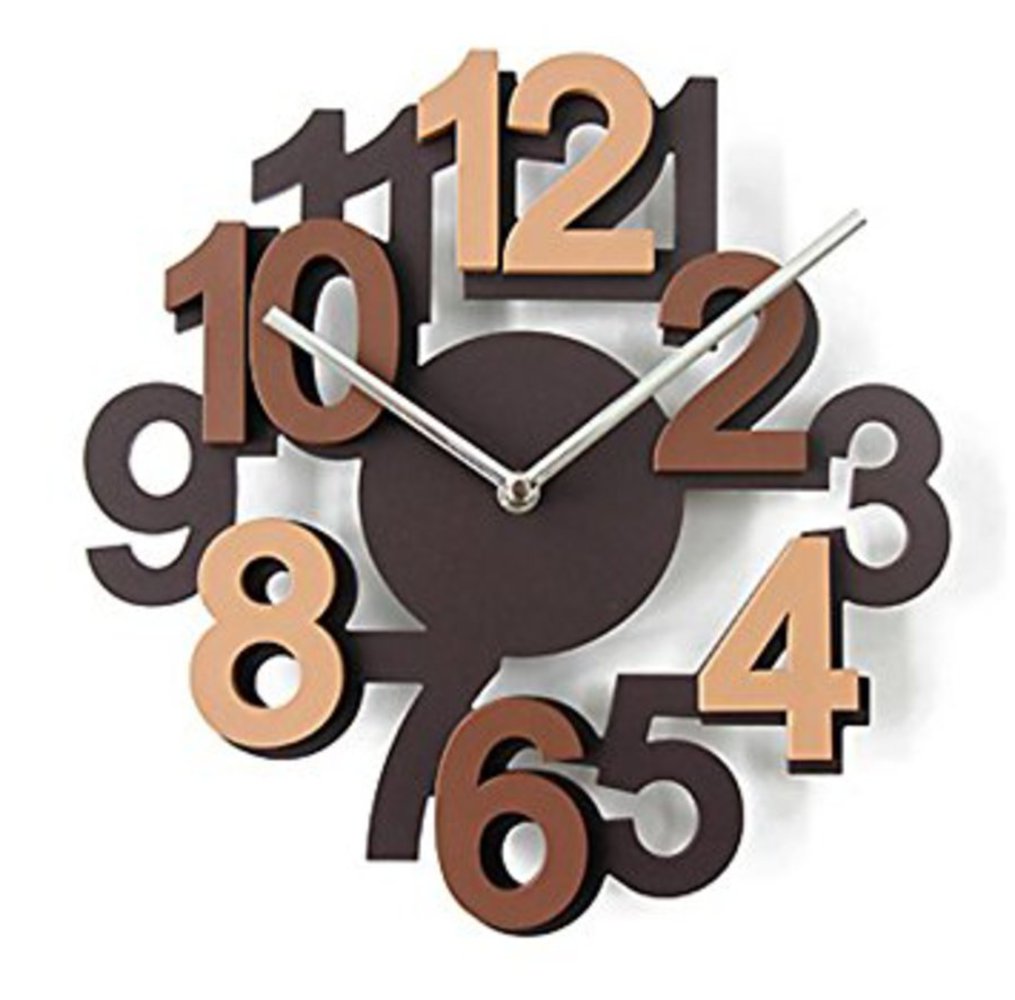
a. I brainstormed ideas by looking at a lot of clock designs on Google image.

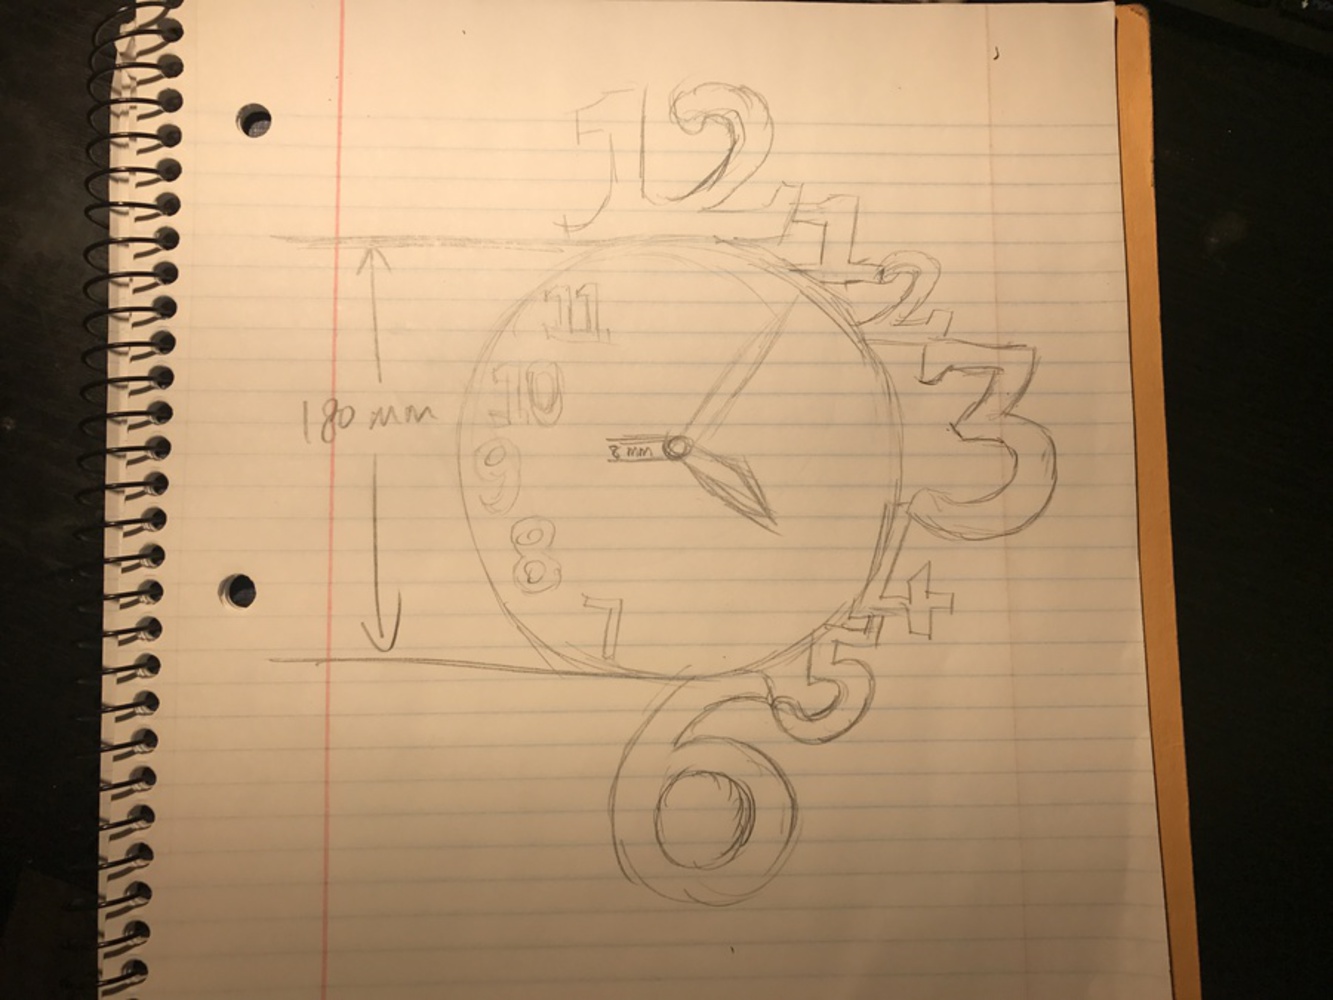
b. I measured the size of the clock kit the empty space on the wall to decide how big to make the clock and how big to make the center hole. 

c. I made a rough sketch of my clock design on a piece of paper

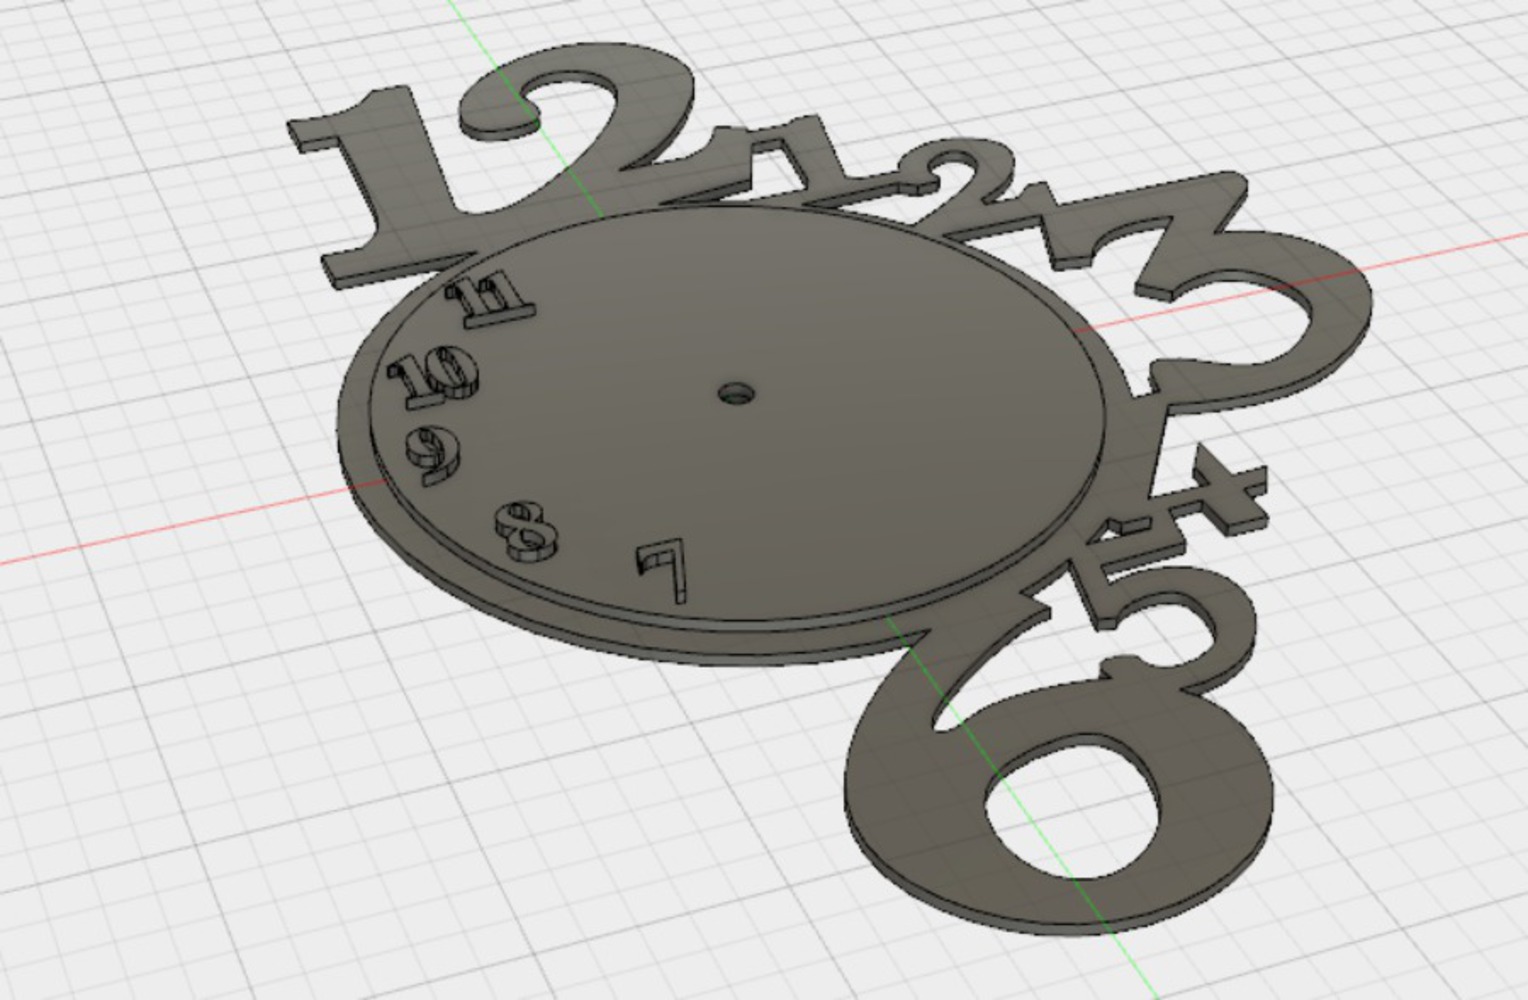
d. I made the clock model in Fusion360.

e. I got the materials I needed from the lending library and laser cut the top and bottom parts of the clock face.

f. I glued parts together and install the clock face to the clock kit. 

0

Product

Detail what you created. What methods or techniques did you use? What tools and technologies were involved? Include images, code or video.

0

Reflection

Reflect on the process of making this project. What did you learn? What would you do differently?

This is the first fusion360 project I did independently. After finishing it, I found myself more skilled in creating and manipulating models in fusion360. I gained more experience in using the laser cutter. 

One problem I ran into when using the laser cutter is that the laser didn't cut through the material the first time and I got a bit panic. But after I consulted professor Larson, it turned out it's normal. I just needed to fix the position of the material and cut it again with the same power and speed. 

The edge of the plywood was a bit burned after it's cut, which made the final product not perfect. Next time I would flip the pattern before I cut so that the back of the material got burned instead of the front. 

0

Collaboration or Attribution

Who helped you design? Test? Brainstorm? 

I designed the clock by myself. But Professor Larson answered a lot of my questions along the way. Without her, no clock would ever be made. 

0

Include final DXF files

Renderings also encouraged

For some reason, I can't upload DXF files. Please email me at yizhous@andrew.cmu.edu if you are interested in the final DXF files. 

x
Share this Project

Courses

62-478 digiTOOL

· 65 members

Digital Tooling (DigiTool) provides a platform for any CMU student to learn Digital Fabrication processes; all of which are very hands-on. Like these processes, this class is also very hands-on. I...more


About

Make a clock with laser cut