Layered Flower Clock

Made by slessing

Lasered cut clock based on a childhood sketch of a flower with never-ending petals.

Created: May 2nd, 2018

0

Intention

When I was in elementary school, I would doodle a flower on the back of my tests when I would finish them until they were picked up. I wanted to use this project to immortalize this tradition in my life. The flower was not a standard flower, as it followed a pattern of four triangular petals around a circle forming a four pointed star, then in every space between two petals a new petal is added, until it reaches the end of the page. In making this shape a star, and not a circle, it changes the theme of a traditional clock and gives this design more individuality.

0

Research & Context

Most clocks are circular. This clock will still follow a symmetrical pattern, but with a star as the main shape instead of a circle. Since my design is based on a childhood sketch, there was not much research regarding the actual shape. However, thinking about the way clocks are typically setup allowed me to come up with the shape of the clock being centered on a star than just a free form flower, so that 4 points can specify the 12, 3, 6, and 9 of the clock face.

Another thing to consider is with my design, the petals of the flower will multiply under each layer by 2, and also decrease in size. This is not seen in many flowers, and flower shaped clocks as well. With this design, it will give the shape of the clock a sense of uniqueness, but still allow for it to be easily understood as a clock and as a flower shape.

0

Sketch

0

Aesthetic & Inspiration

I looked at flowers that already have the four star petal approach and also laser cut clocks that resemble flowers to understand how to set up my clockface. The gold star gave me the idea of having a separate layer for the center circle of the flower.

0

Process & Procedure

Initially I did not sketch my design by hand, but dove straight into the software. This caused me to have a very complicated design as I was not too familiar with the software, and also did not provide the aesthetic I wanted to achieve.

Taking a step back I sketched out the flower a few times the way I normally draw it, and the tried to see how a clock could form from the petals. I established that the first layer of petals would become the clockface, with successive, smaller layers underneath.

0

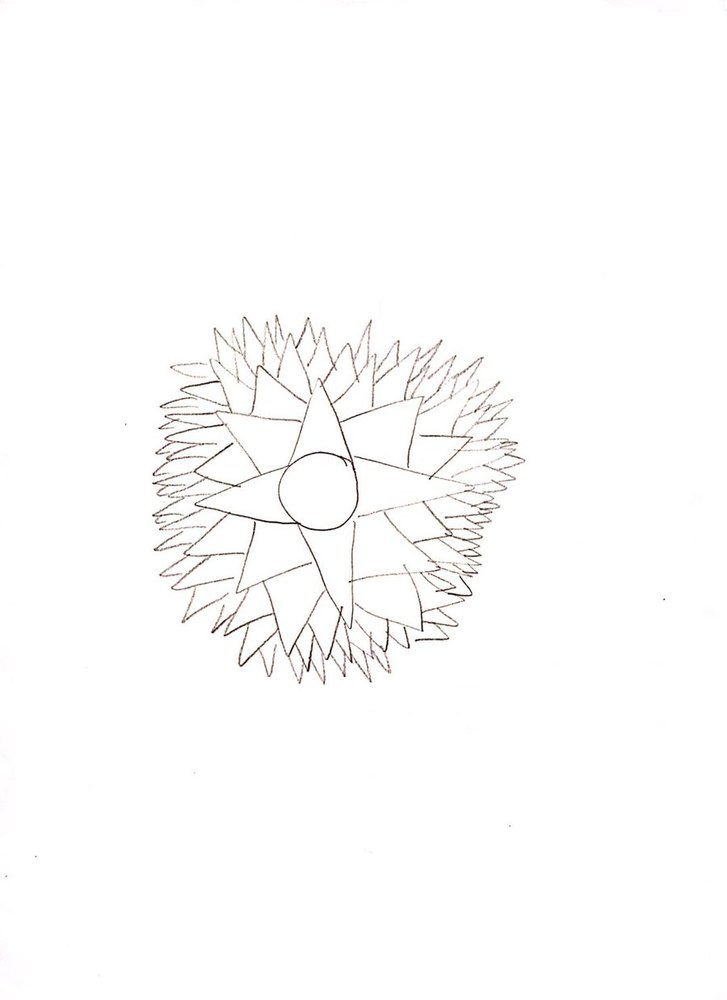
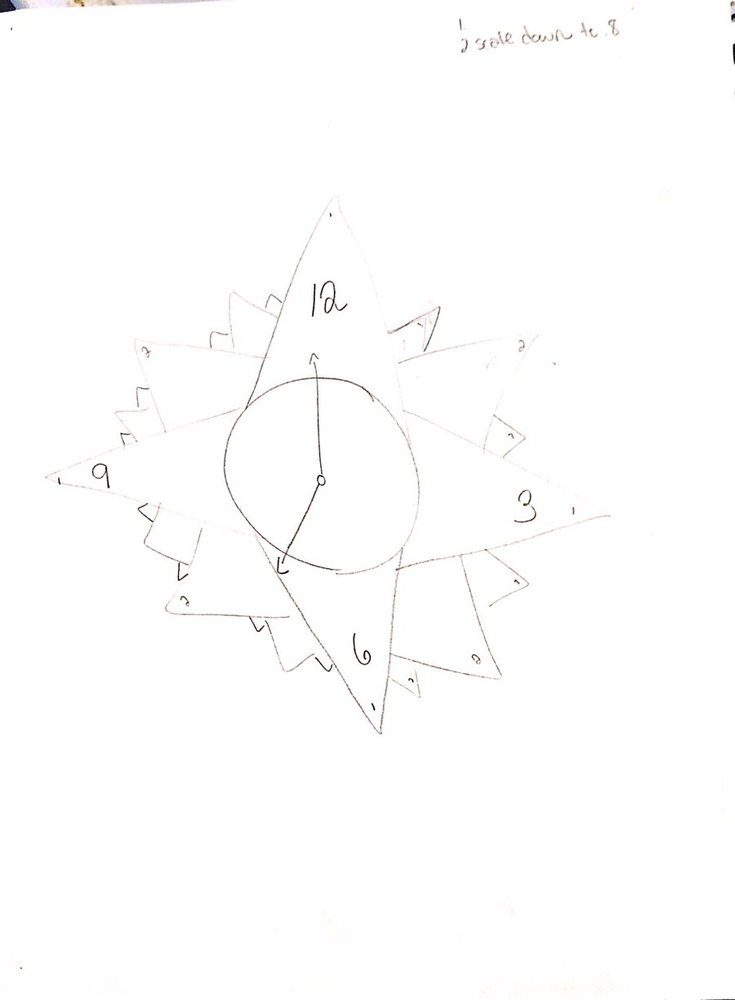
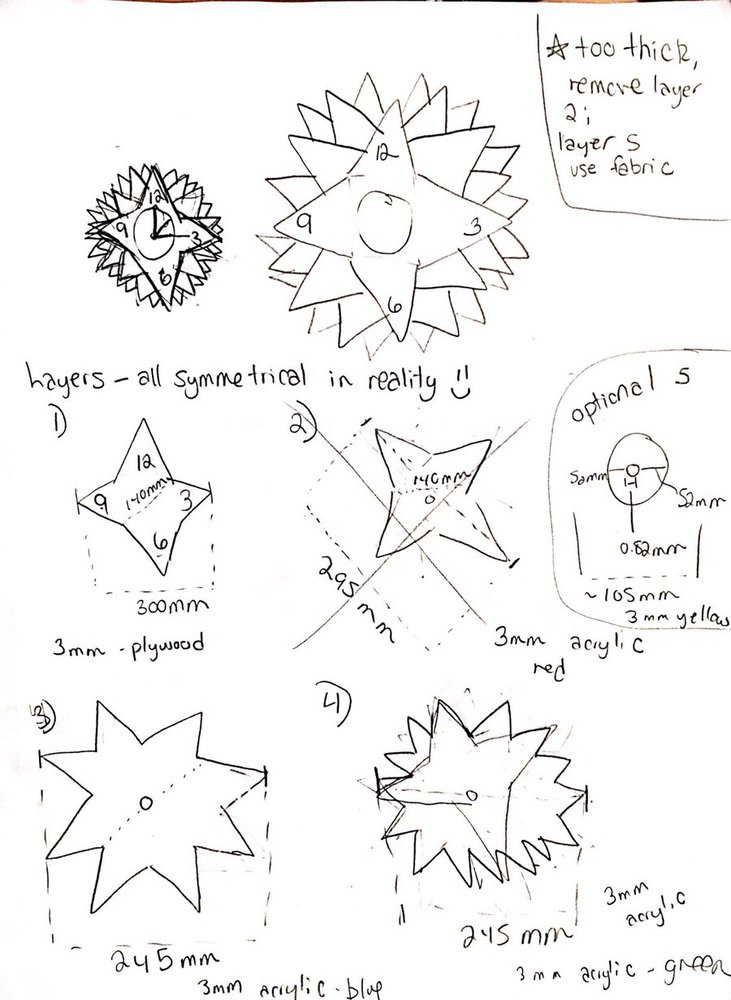
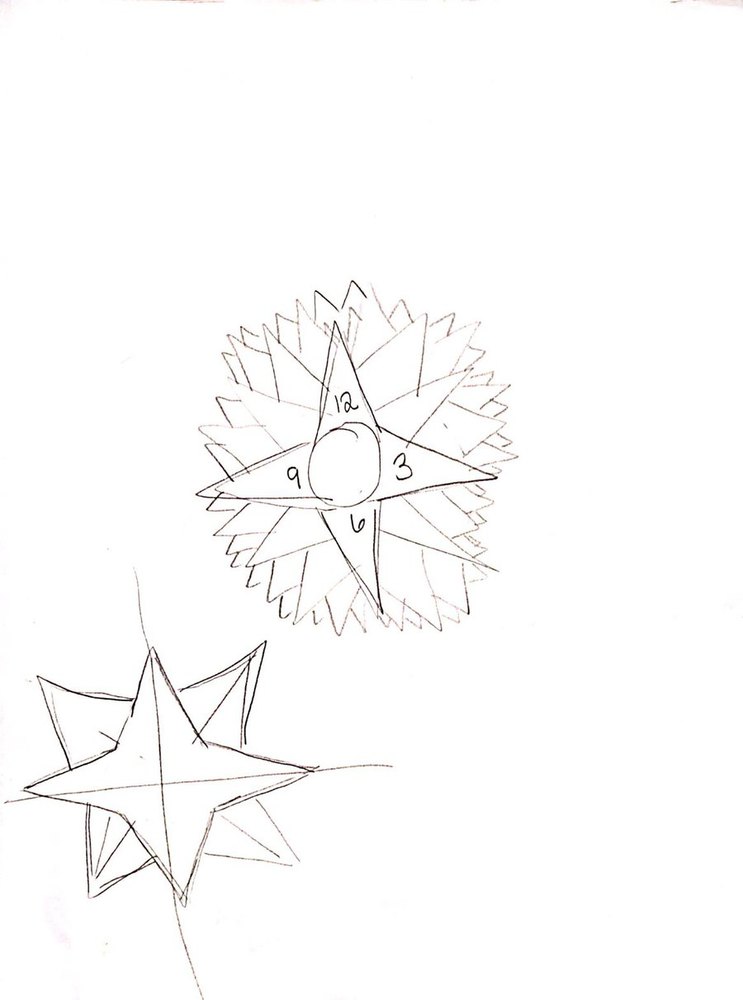
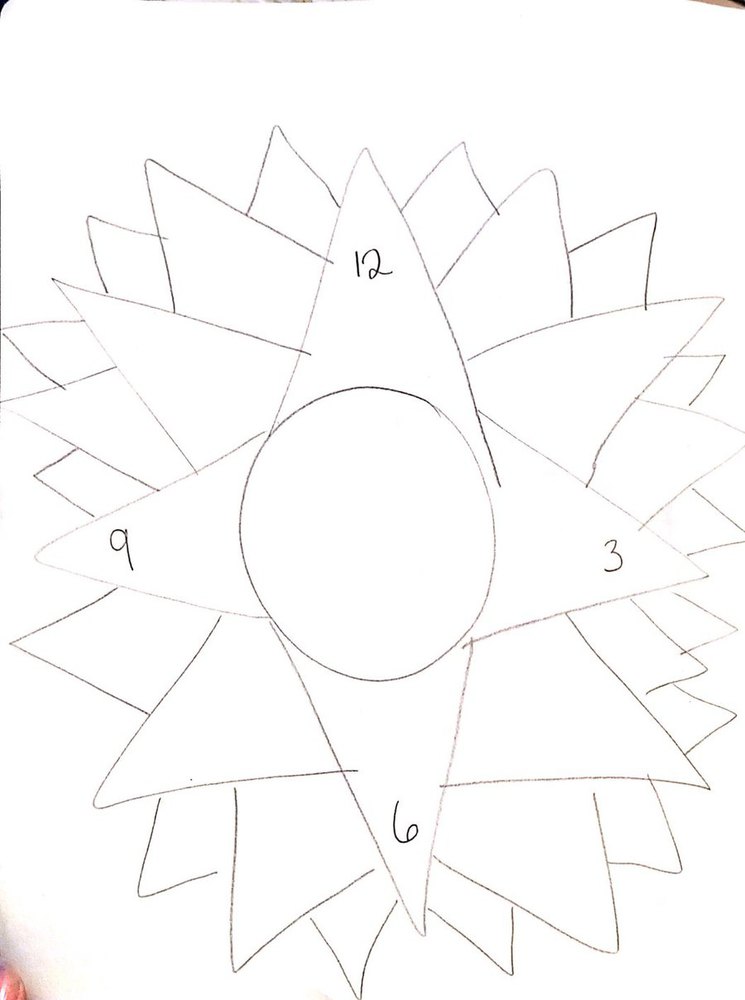
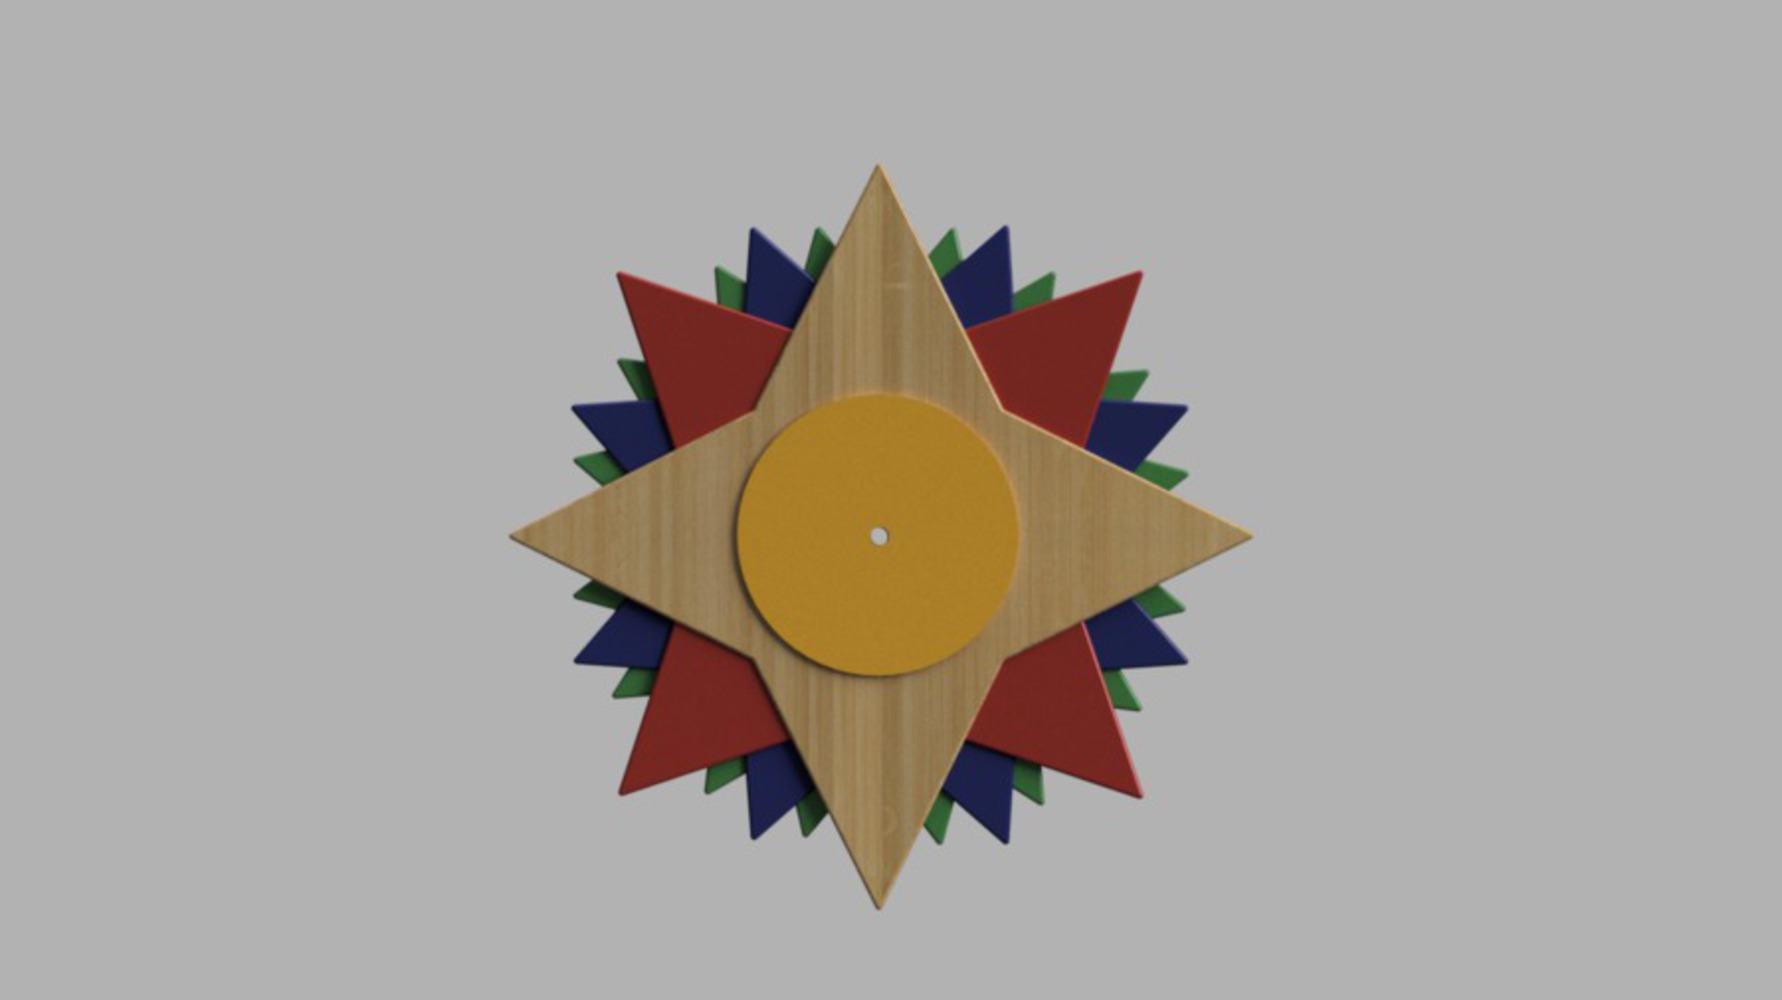
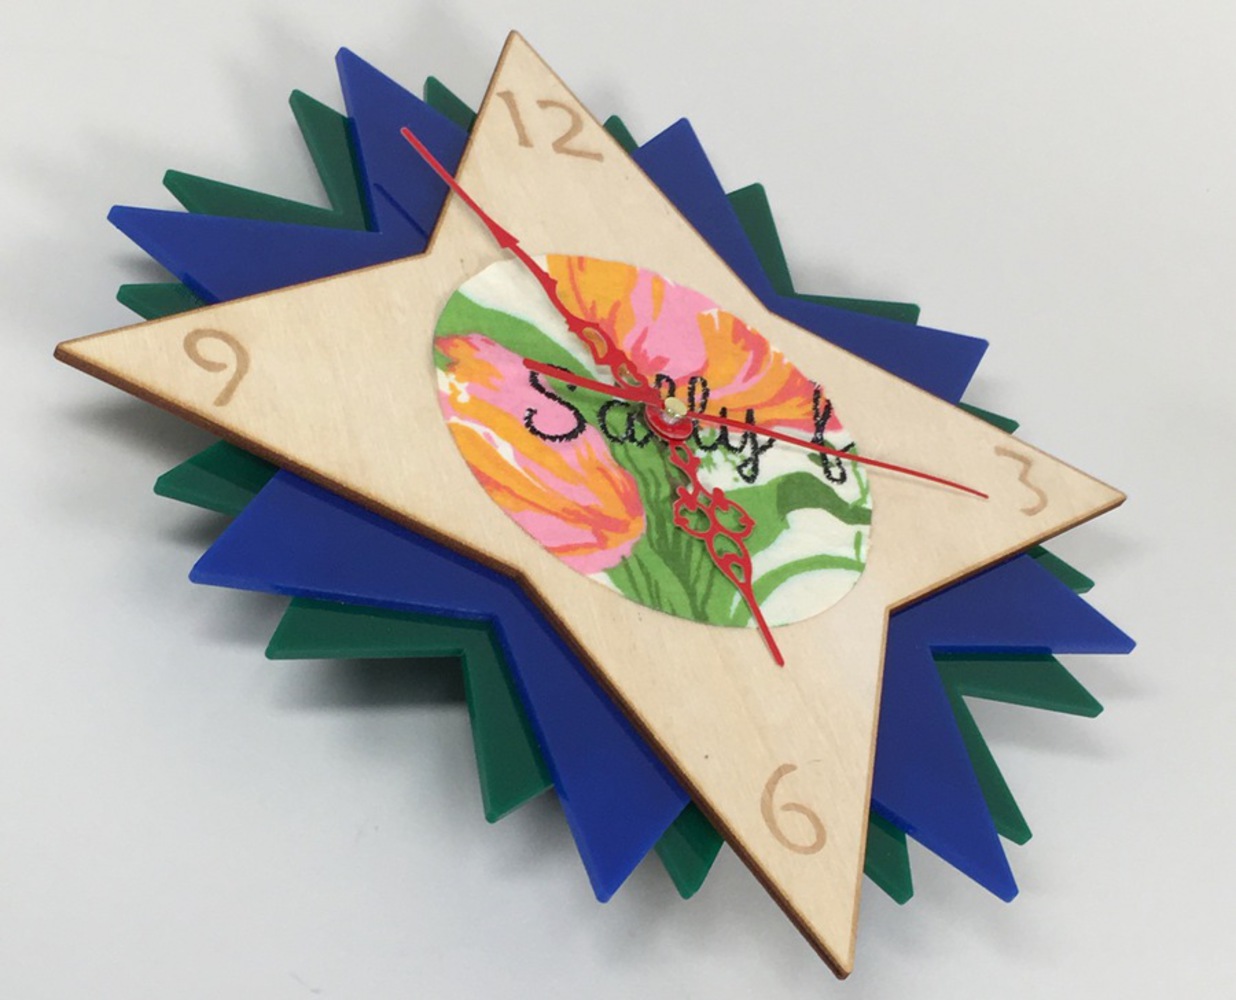
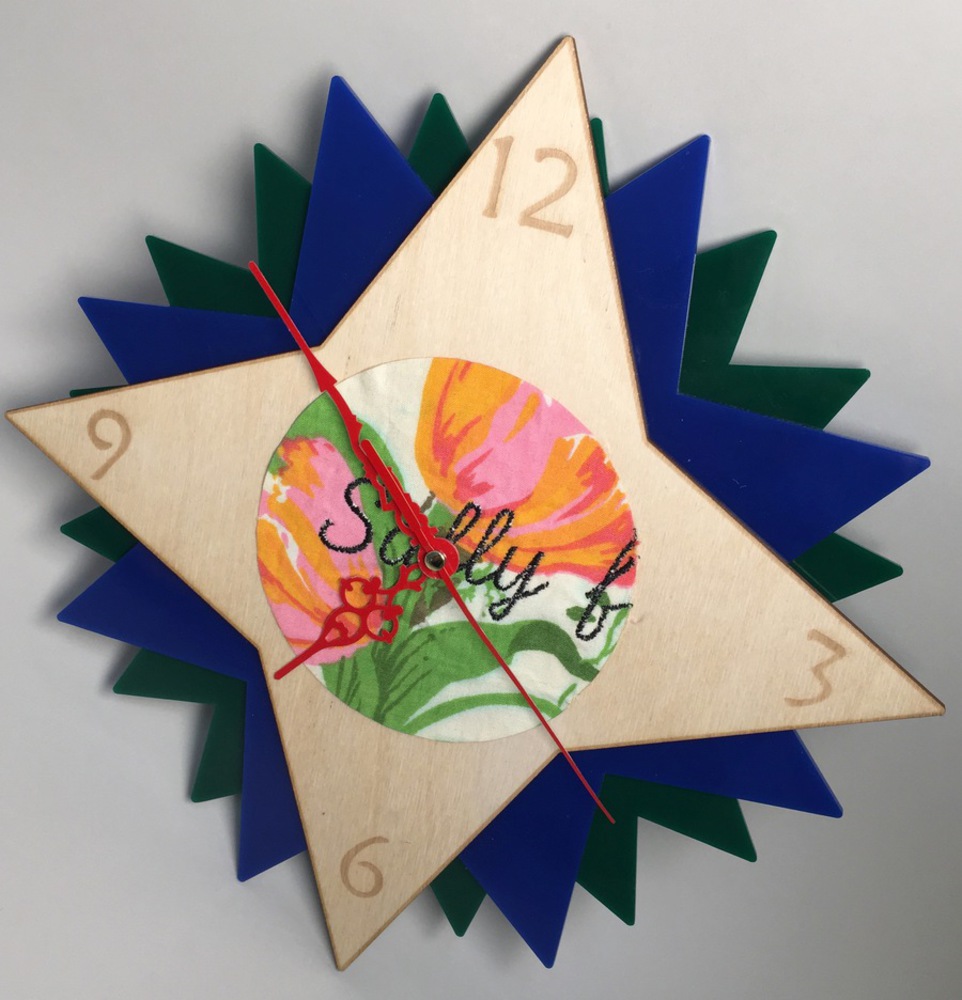
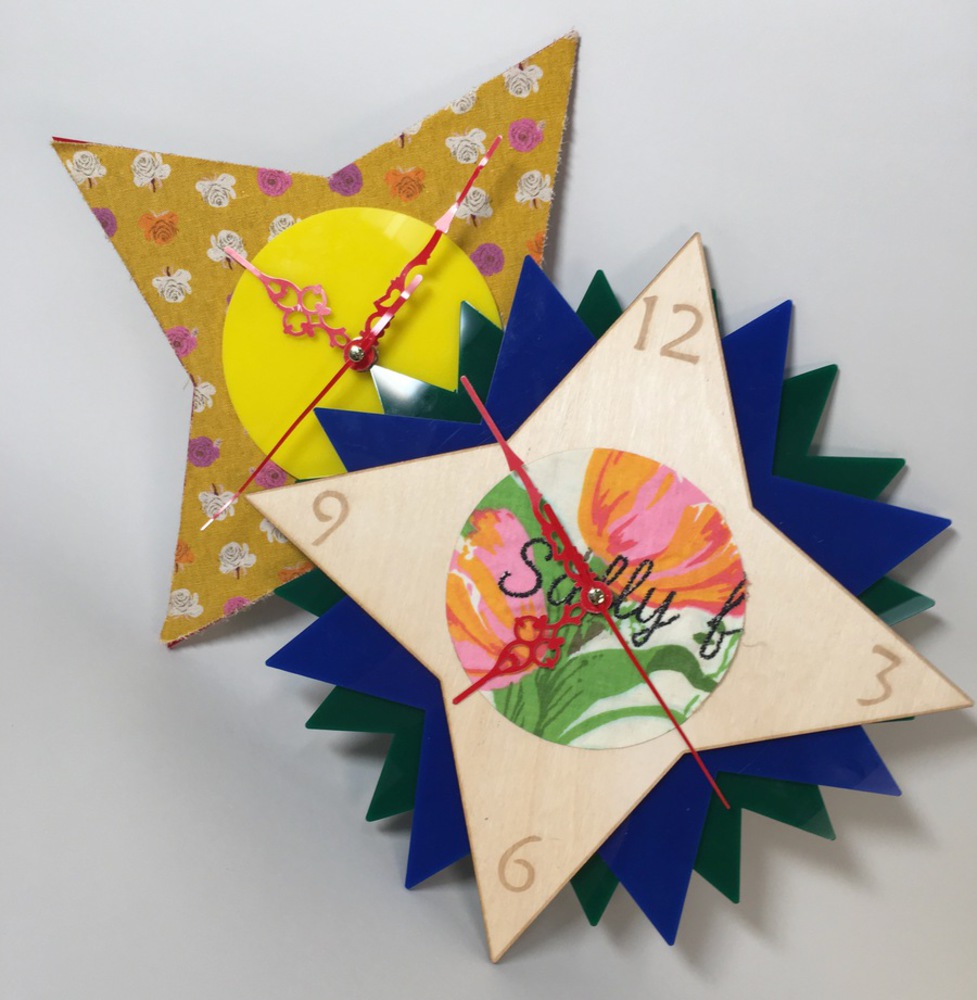
To implement the shape of the petals, I created a base star. For each additional layer, I copied, rotated, and scaled down the star so that the clockface was the largest star, and to add more petals in each layer. The design below is the initial design I created. 

I wanted each layer to have it's own thickness. I originally thought about each layer being cut out with fabric except the clockface, but after cutting the fabric, it proved to be too flimsy to support the additional layer underneath the plywood clockface. I wanted the clockface to be made of wood to get a nice etched engraving of the numbers as I really enjoy the engraved wood texture. 

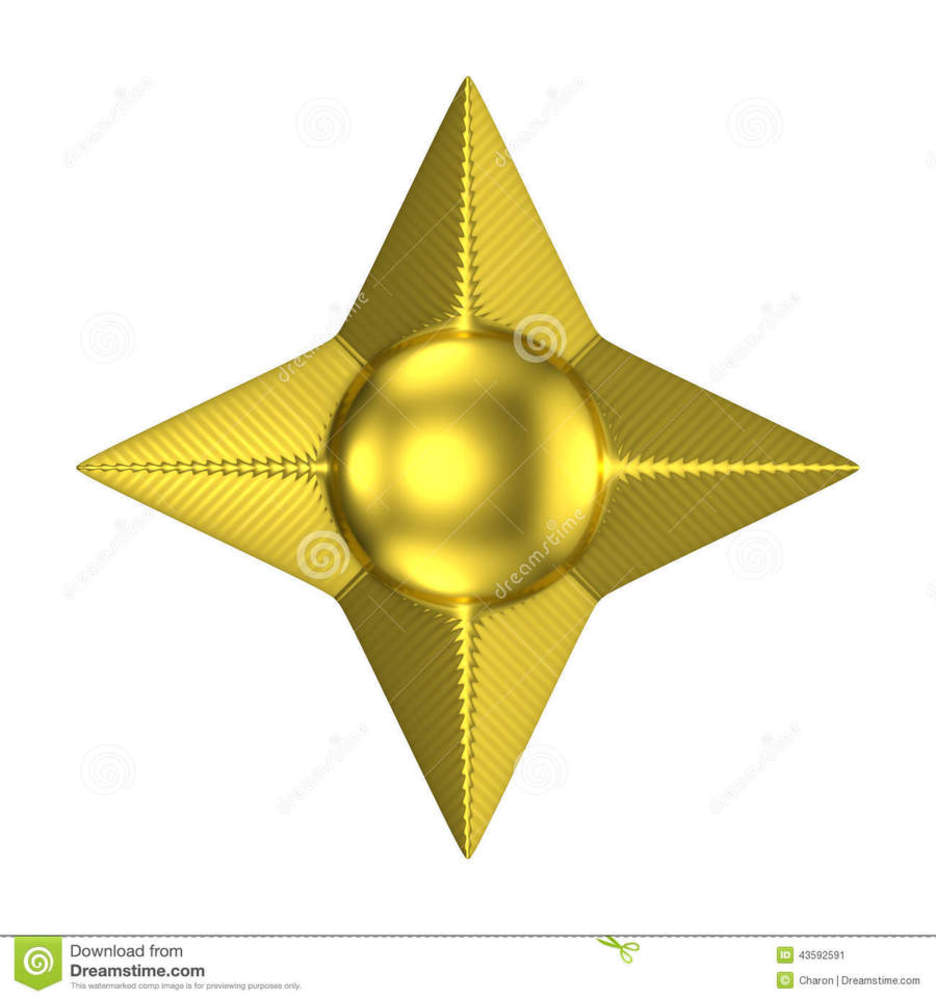
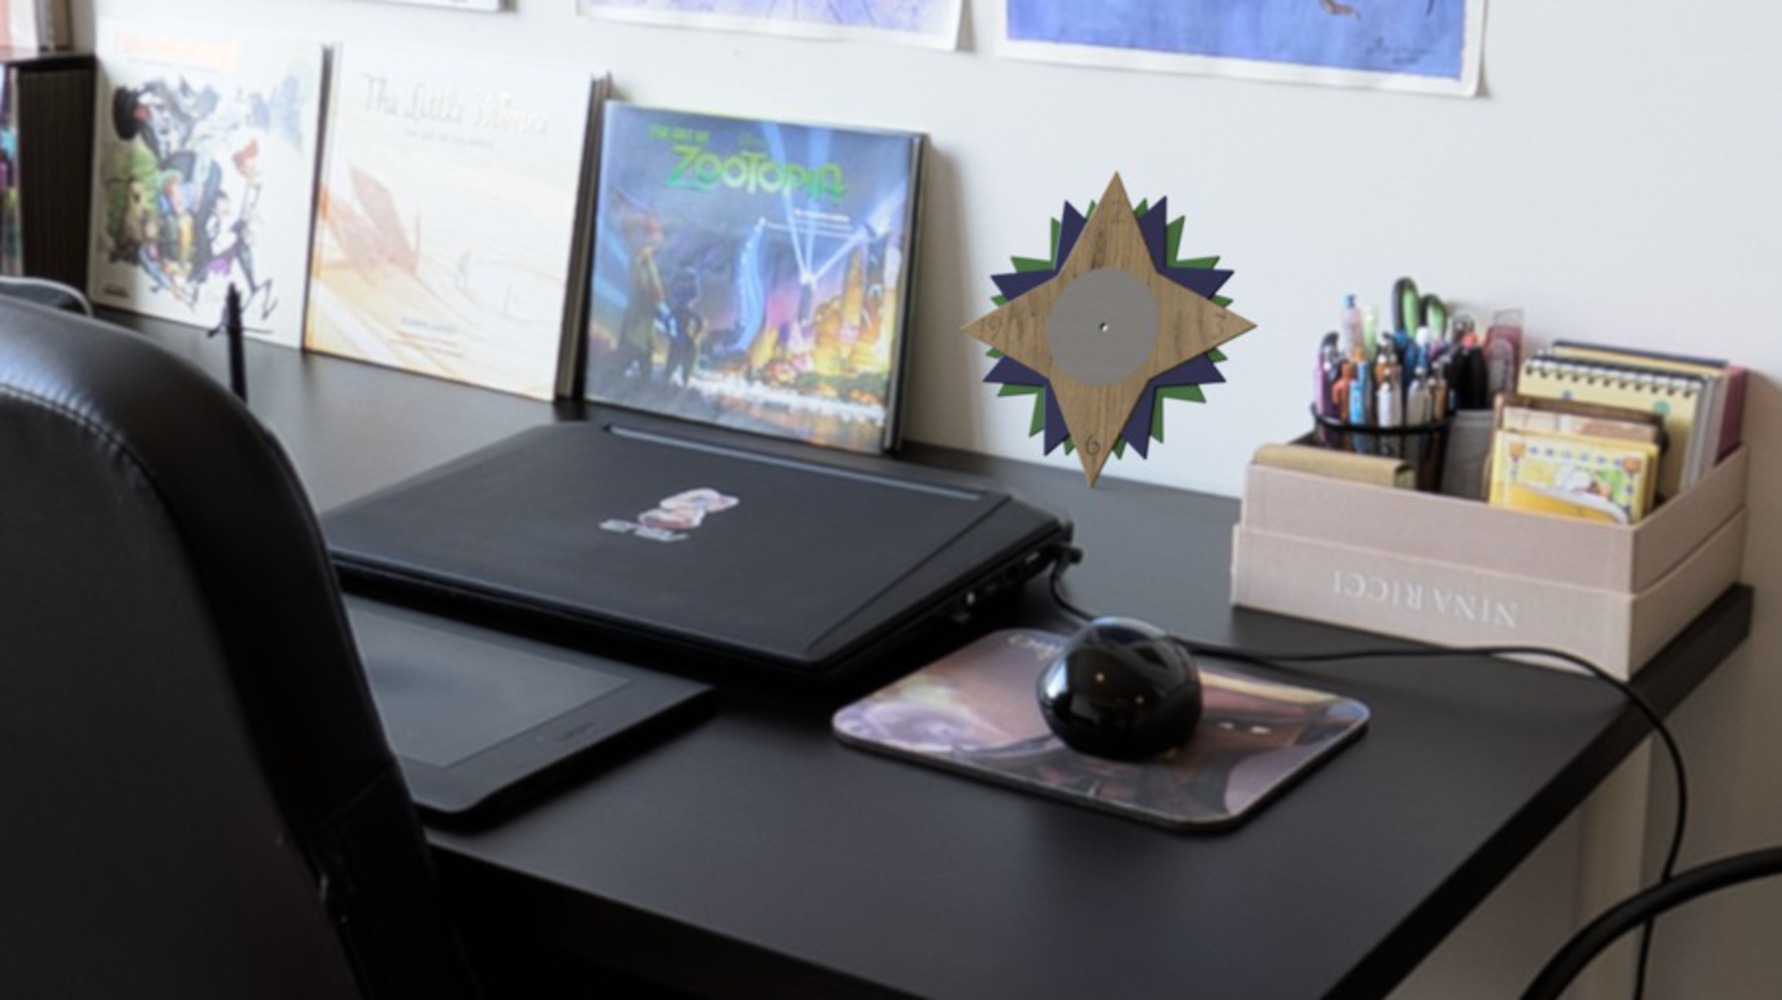
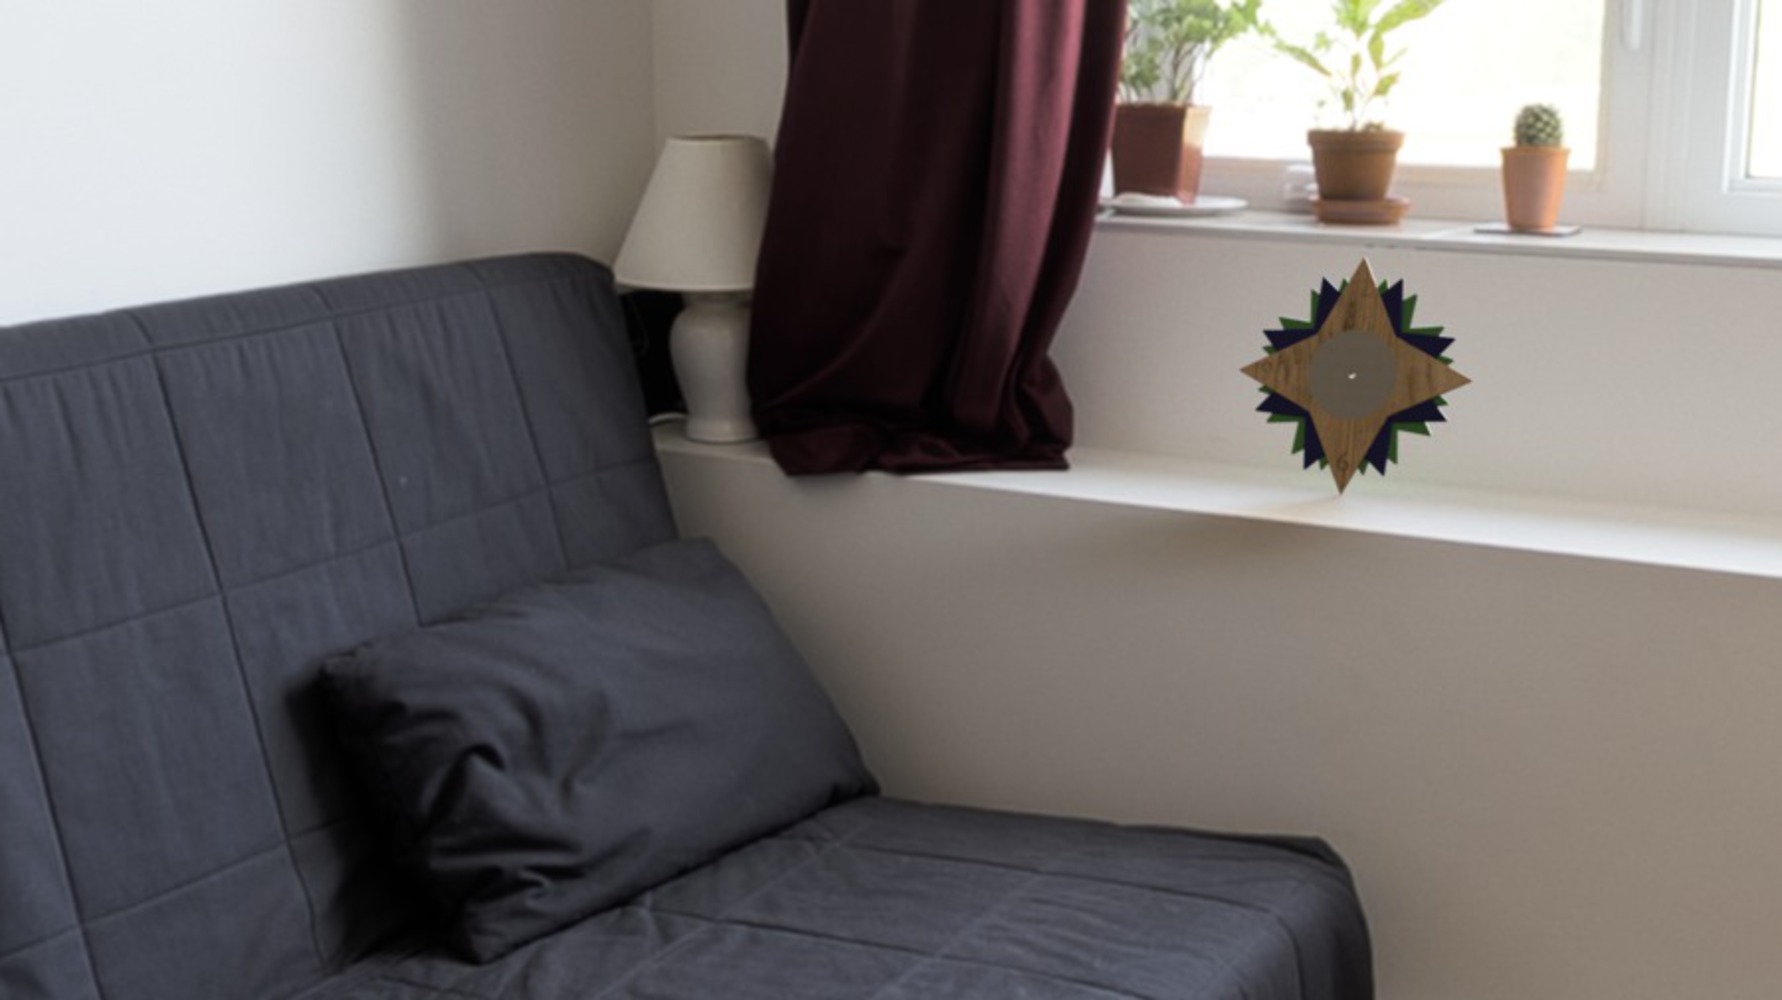
I ended up changing my material to acrylic for the other layers, with varying colors (green in the back to represent the leaves). I used fillet to score each edge on the sides since the star is very pointed and the acrylic star could be used as a shuriken since it was already the same shape and sharp. 

However, I did not measure the clock kit properly, and the amount of layers of 3mm acrylic were too thick for the clock kit to fit in comfortably. To resolve this, I removed the red second layer and the yellow circle top layer, and replaced the yellow circle with a fabric circle instead. The fabric worked out nicely as it happened to ready "Sally forth" and my initials are SAL, so I based that on the center of the clock.

The unused fabric, red star, and yellow circle, were then combined to create a different clock just for fun.  

0
Original clock design before removing the yellow circle and red layer to fit the clock kit.
Originalclock.thumb
0
Two Renderings
0
Five semi-pro photos
0
Used extra material from removing the two layers to create their own clock.
Clock4.thumb
0
Reflection

I struggled in the beginning with this project. I am not familiar with 3D tools, and I had a hard time thinking about sketching in 3D. Once I realized that the general shape of the star would just repeat, it was much easier to sketch.

If I had to do this again, I would make sure to triple check my measurements. Not measuring the length of the clock kit lead to unnecessary material and time being wasted. I would also explore etching lines onto the front of the clock-face to give the flower a more natural look.

x
Share this Project

Courses

62-478 digiTOOL

· 65 members

Digital Tooling (DigiTool) provides a platform for any CMU student to learn Digital Fabrication processes; all of which are very hands-on. Like these processes, this class is also very hands-on. I...more


About

Lasered cut clock based on a childhood sketch of a flower with never-ending petals.