Picture Frame and Trinket Box

Made by Justin Belardi

The goal of this project was to combine a Box and picture frame into a single standing object that can be used to hold trinkets, jewelry or other small items.

Created: March 8th, 2018

0

Intention:

I wanted to take the concept of a small rectangular box for the top of a nightstand or dresser that can be used to hold small things such as jewelry, valuables, or other small knick-knacks that is combined with a picture frame that is attached to the back of a box at an angle similar to a regular picture frame. The movable part of the piece will be an acrylic cover that slides in and out of the frame to hold the picture in place.

0

Research, Context, and Aesthetic Inspiration:


0

The box is intended to resemble a small rectangular box similar to the one on the left. The only difference is that the box will not have a lid. The picture frame aspect of the frame was intended to be similar to the wooden frame pictured in the middle. It will be angled similarly to a normal frame but instead of having a support in the back it will be attached to the back of the box. It will also include a slot for the piece of acrylic that slides over the picture. The sliding lid of the frame was modeled after the one pictured here on the right; but the lid on the top is made of acrylic. 

0

Sketch:

My final project did not deviate much from my original sketches other than a few minor dimension changes.

0

Process and Procedure:

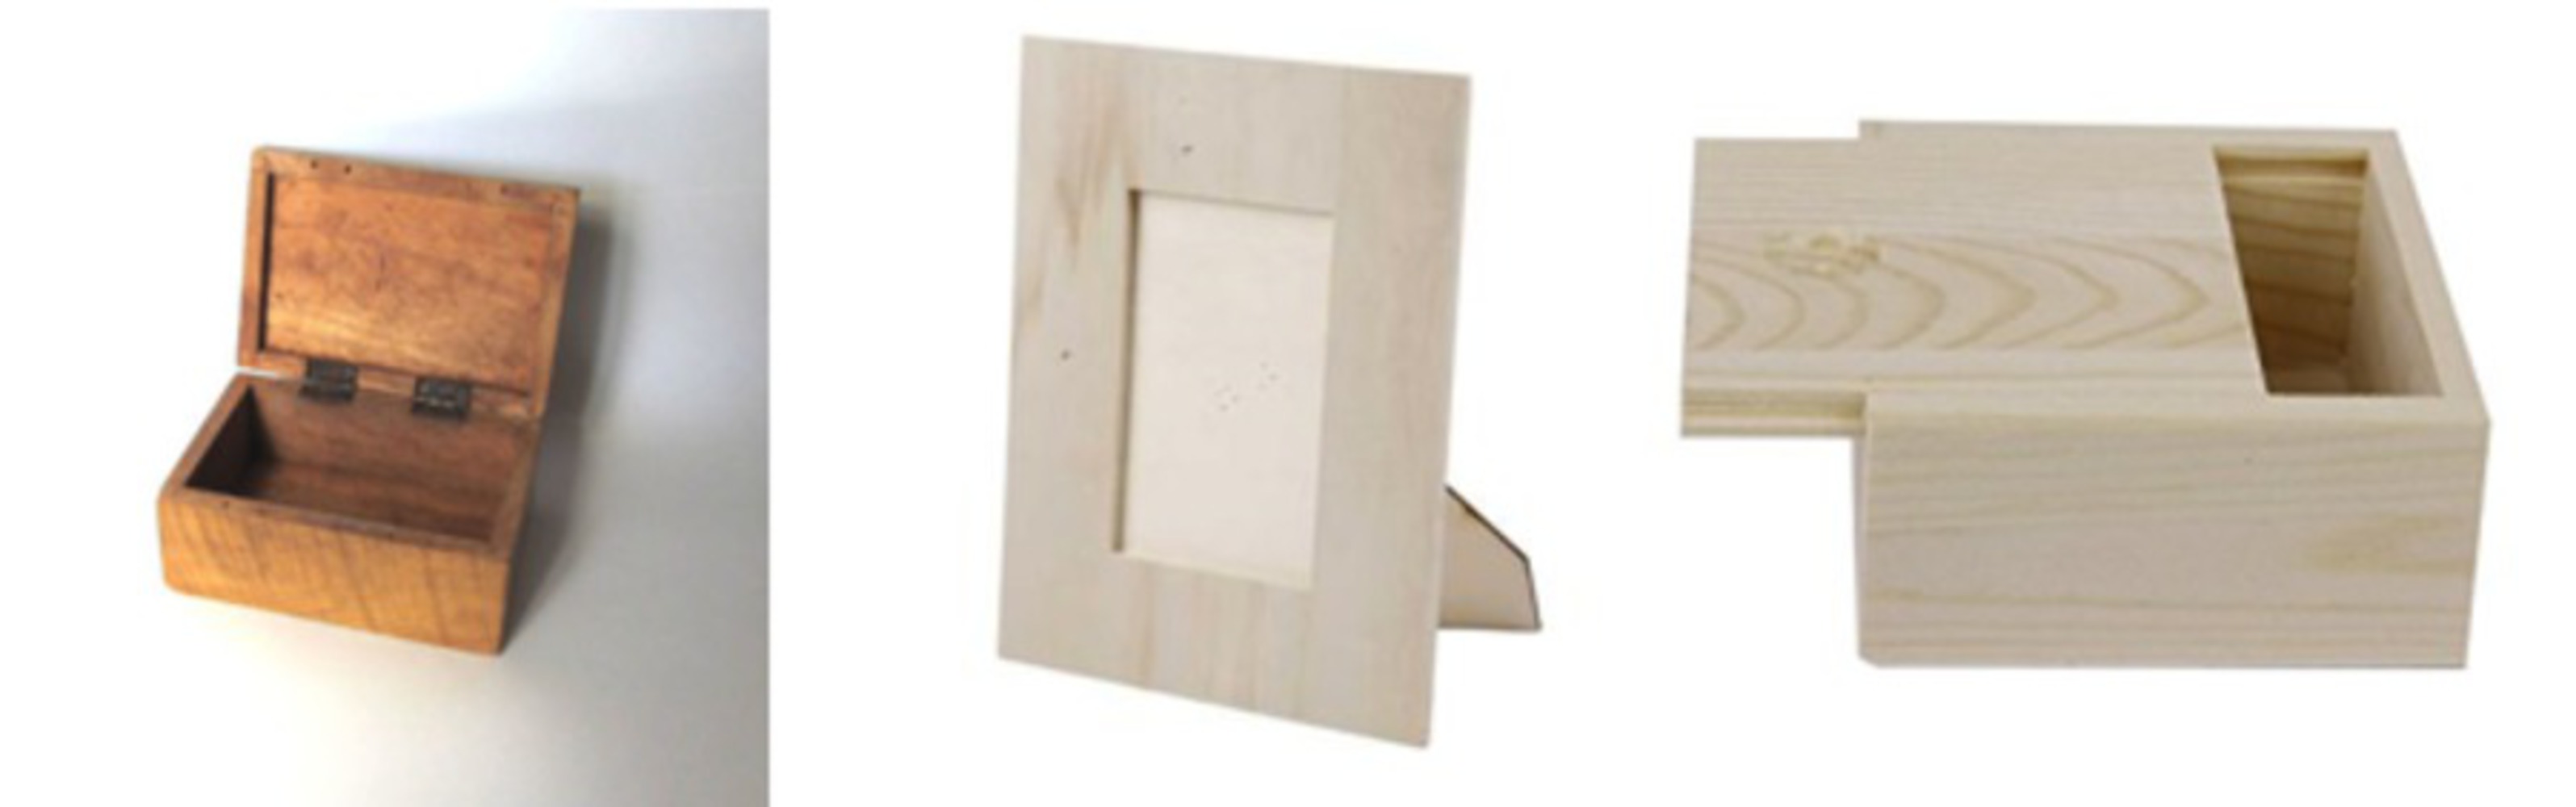
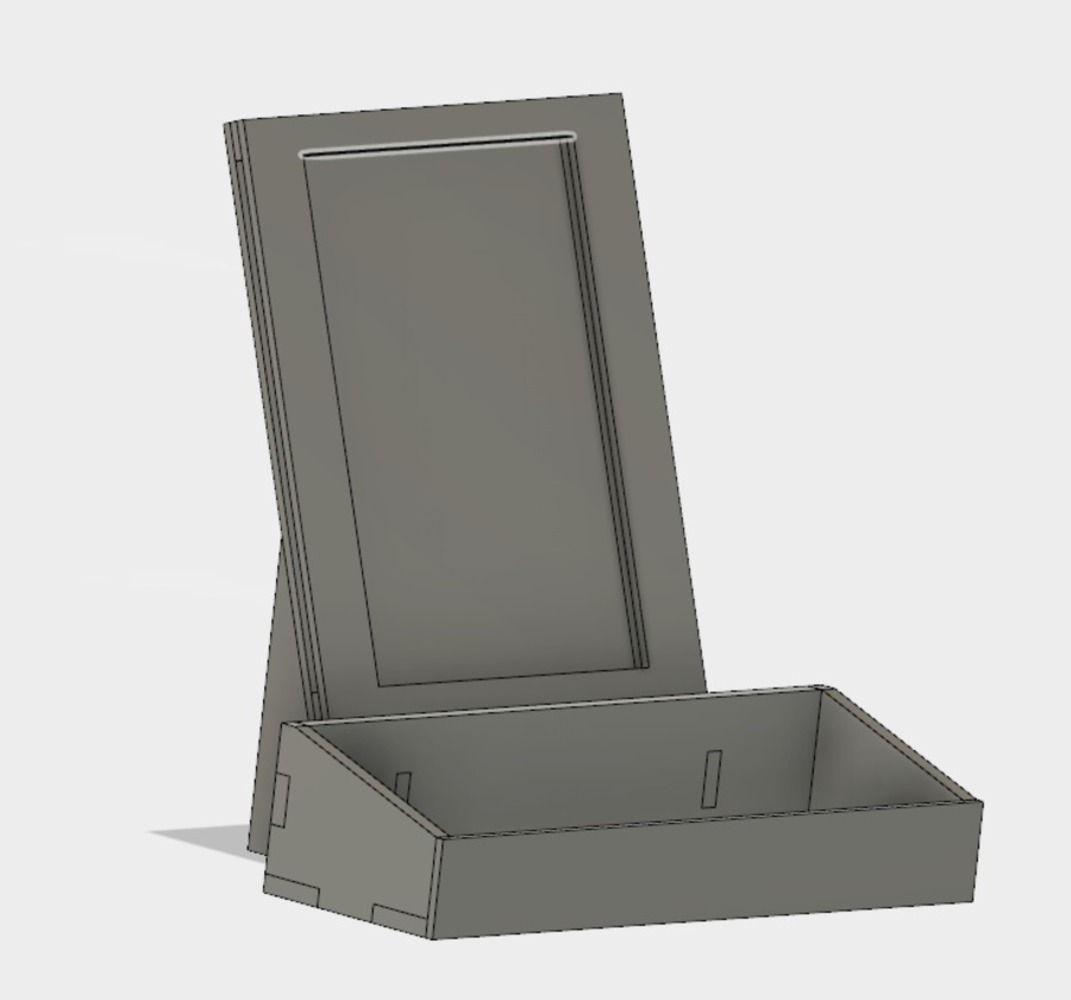
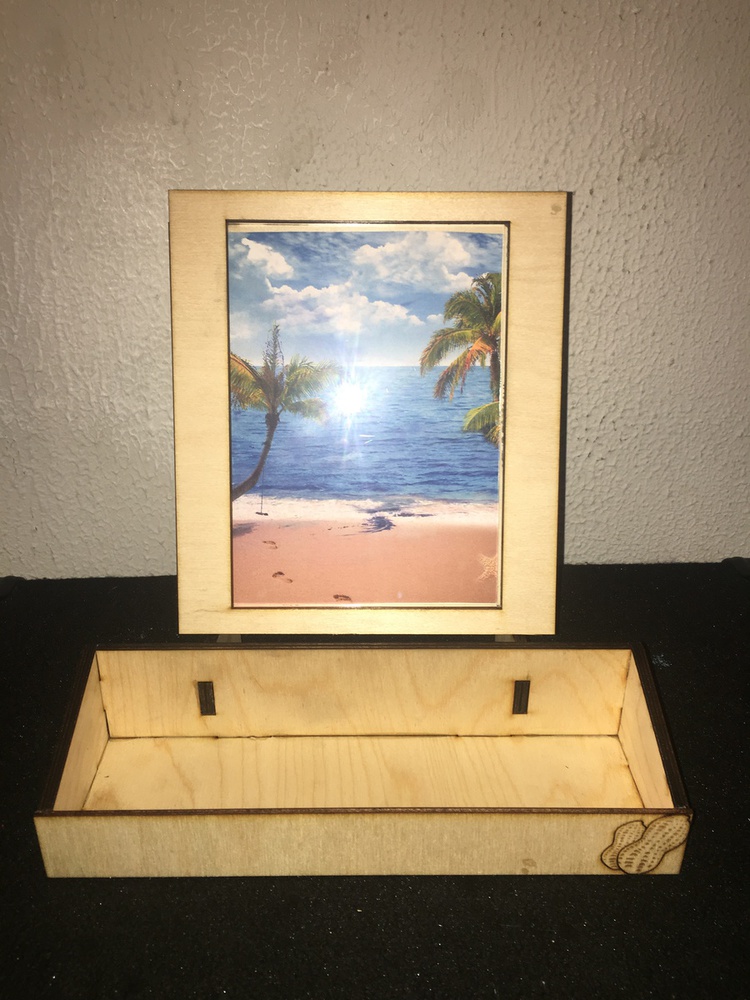
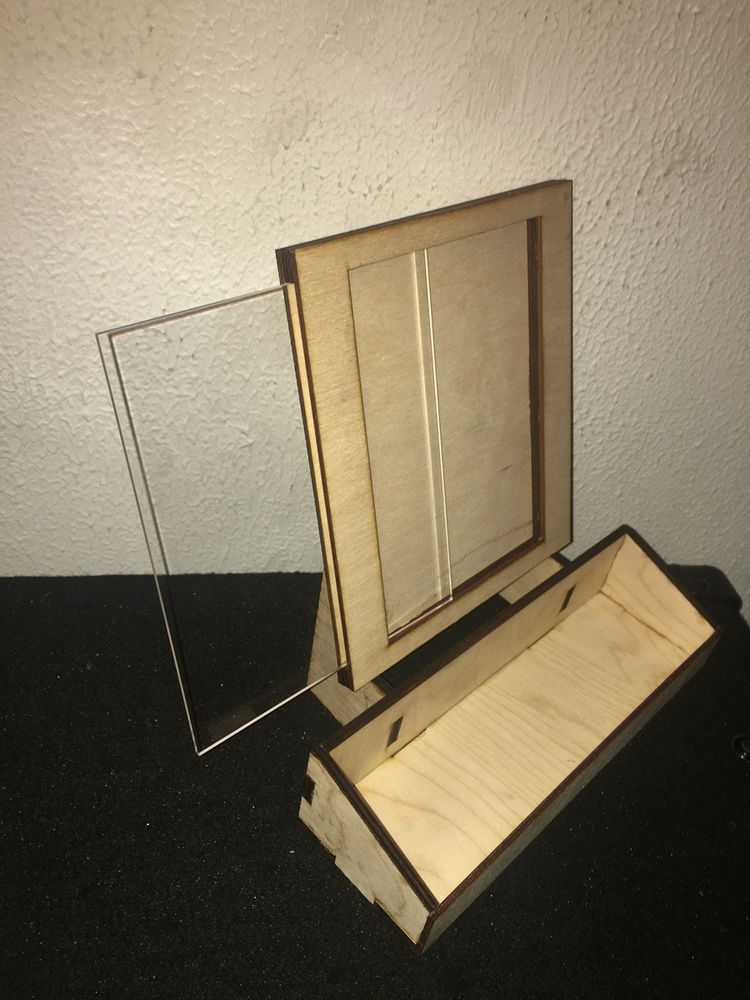
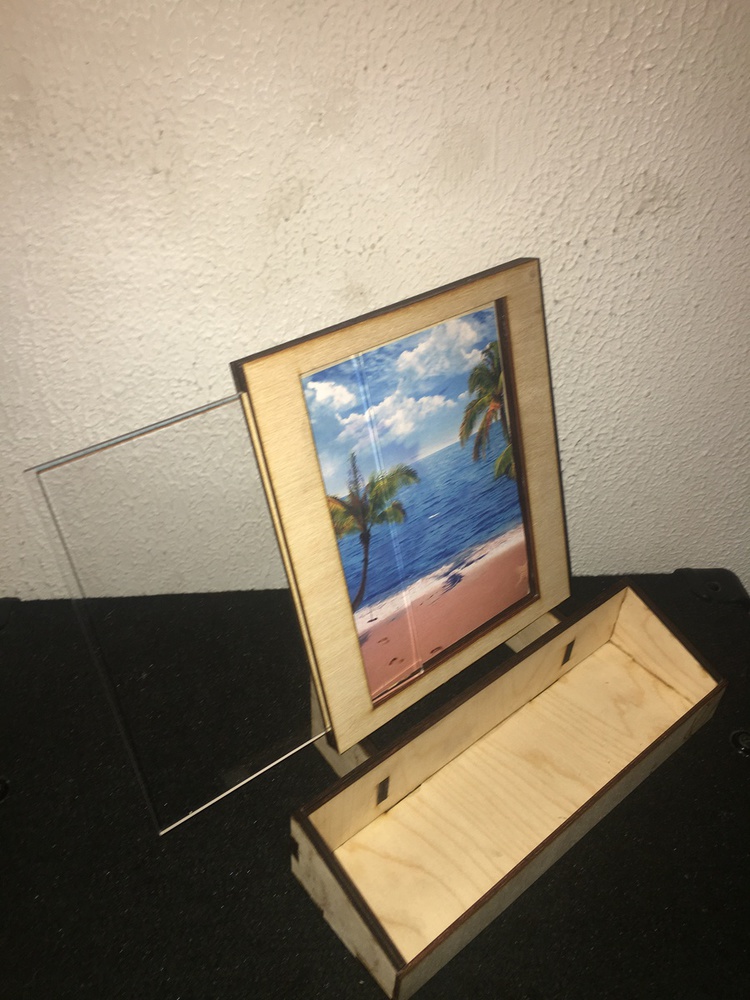
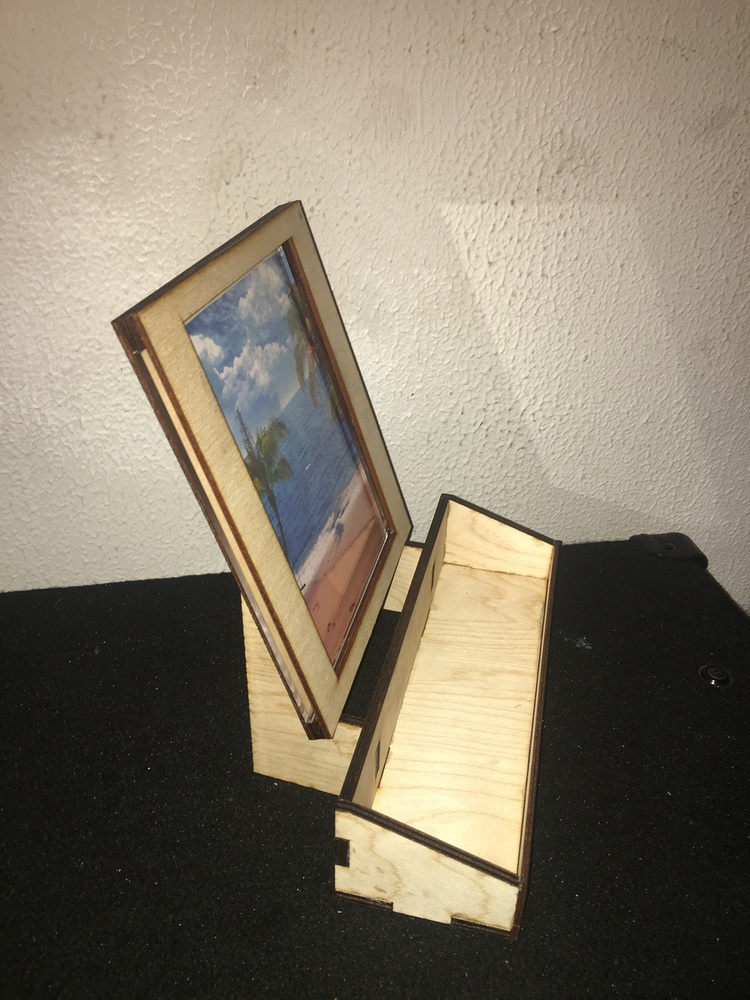
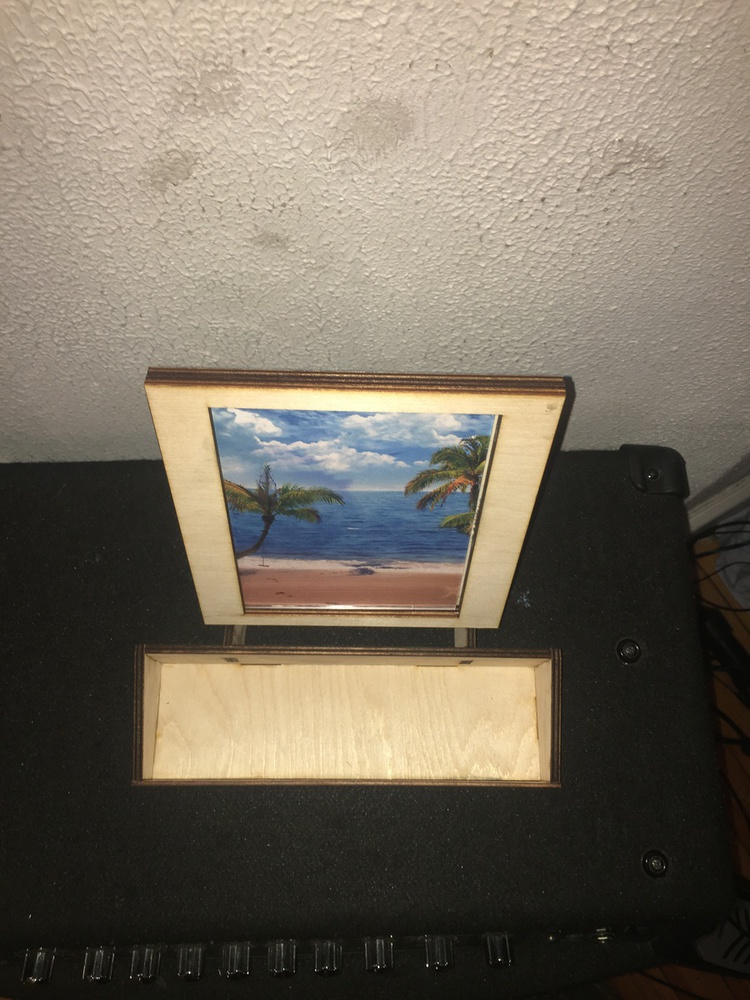
After sketching the design, I began modelling it in Fusion. I first started with the Box portion of the design. I modeled it using techniques similar to that of the laptop holder. The edges of the box have teeth that fit together wherever there is a 90 degree angle so ensure more accurate connections. Next I modeled the frame support features on the back of the box. They too have teeth that go into the back of the box to ensure a connection that is both accurate and straight. Then I created a plane on the slanted edge of the support where I modeled the different layers of the frame. After all of the Modeling was done, I added a graphic to be engraved on the front of the box and proceeded to laser cut all of the parts. Once everything was cut out I sanded and cleaned the edges and fastened the box together using glue. I fastened in the same order that I modeled the piece: box first, then support, then frame. Once everything was together and the glue dried, I added a picture to the frame and slid the piece of acrylic over top of it.

0

Reflection:

This project and DigiTool as a whole have opened my eyes to the possibilities that exist in the world of fabrication and prototyping. This project and class, aside from teaching me the technical skills of another CAD aoftware, 3D printing, and Laser Cutting, have taught me many new techniques in designing and fabricating different parts. They have also given me an outlet to utilize these tools outside of the classroom. I am grateful for the creative outlet that this class has provided me and I am sure that I will continue to use the skills it has taught me.

x
Share this Project


About

The goal of this project was to combine a Box and picture frame into a single standing object that can be used to hold trinkets, jewelry or other small items.