Sample Book & Cricut Fabric Cutting Project
Made by klavery · UNLISTED (SHOWN IN POOLS)
Made by klavery · UNLISTED (SHOWN IN POOLS)
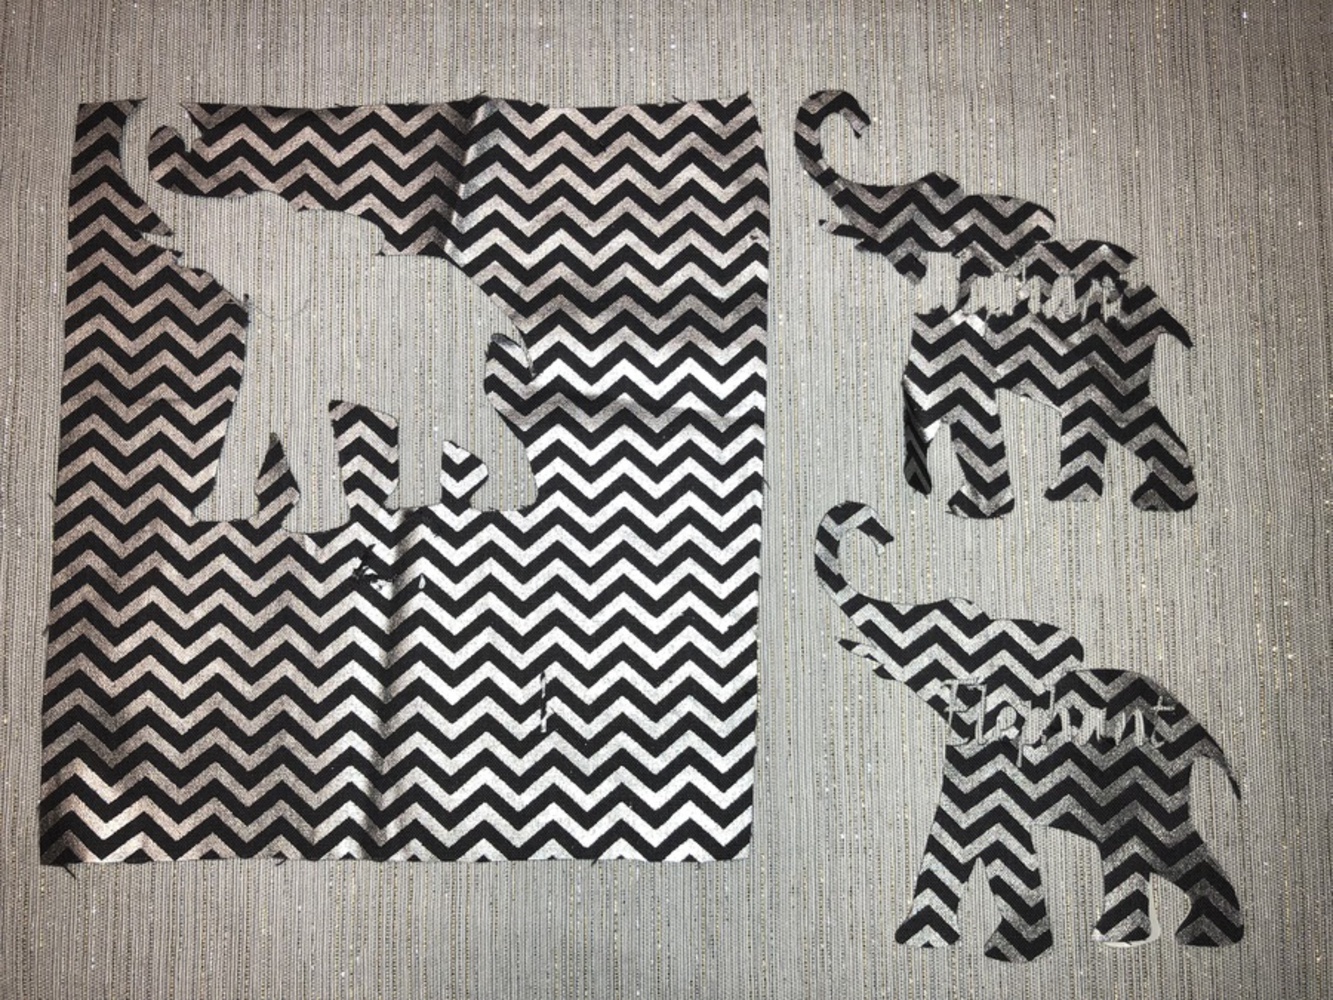
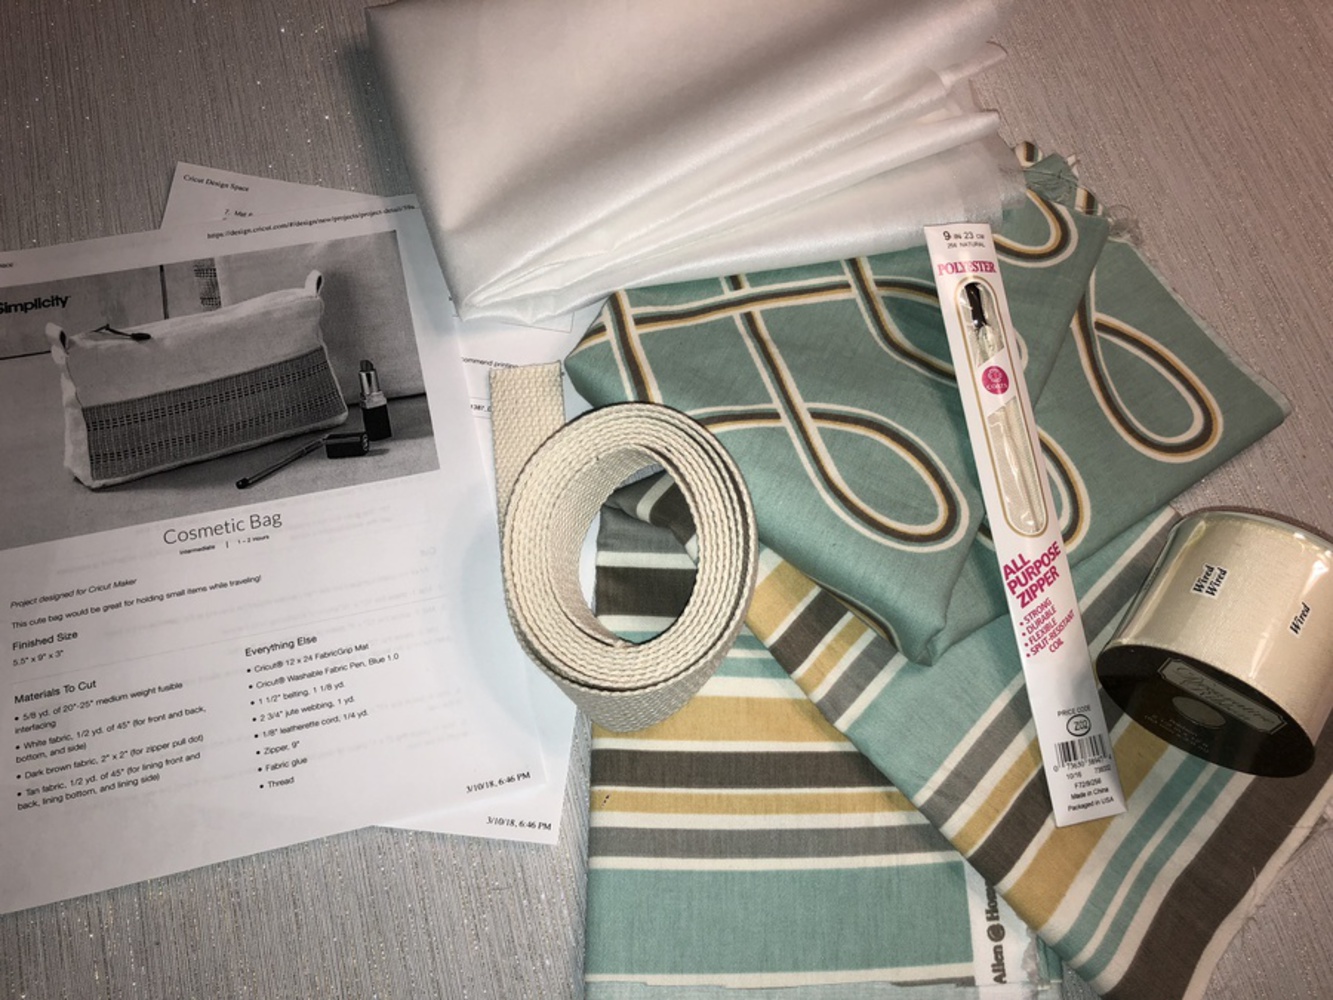
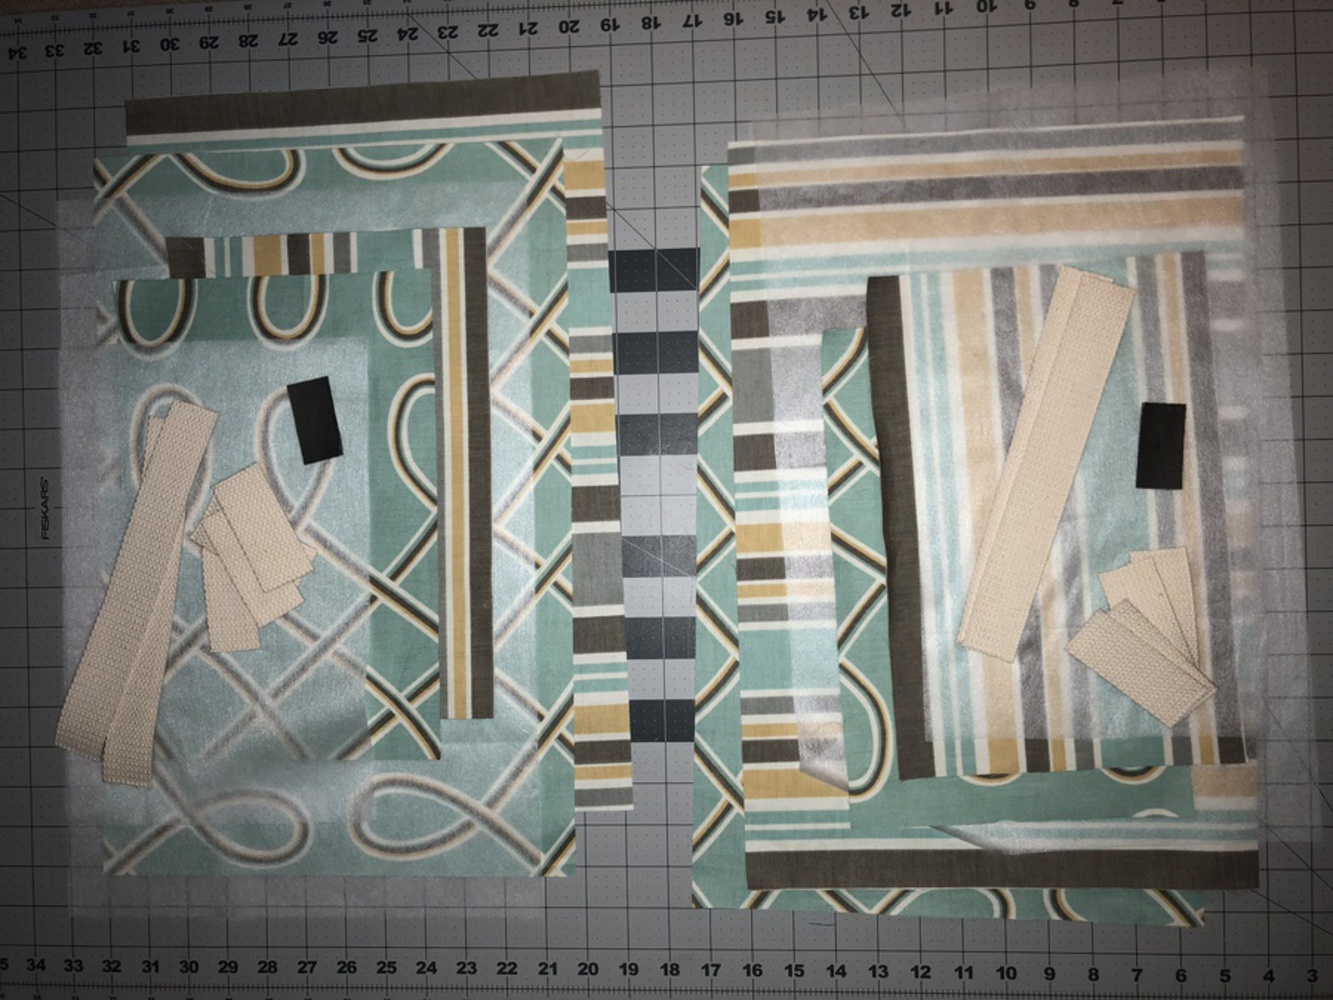
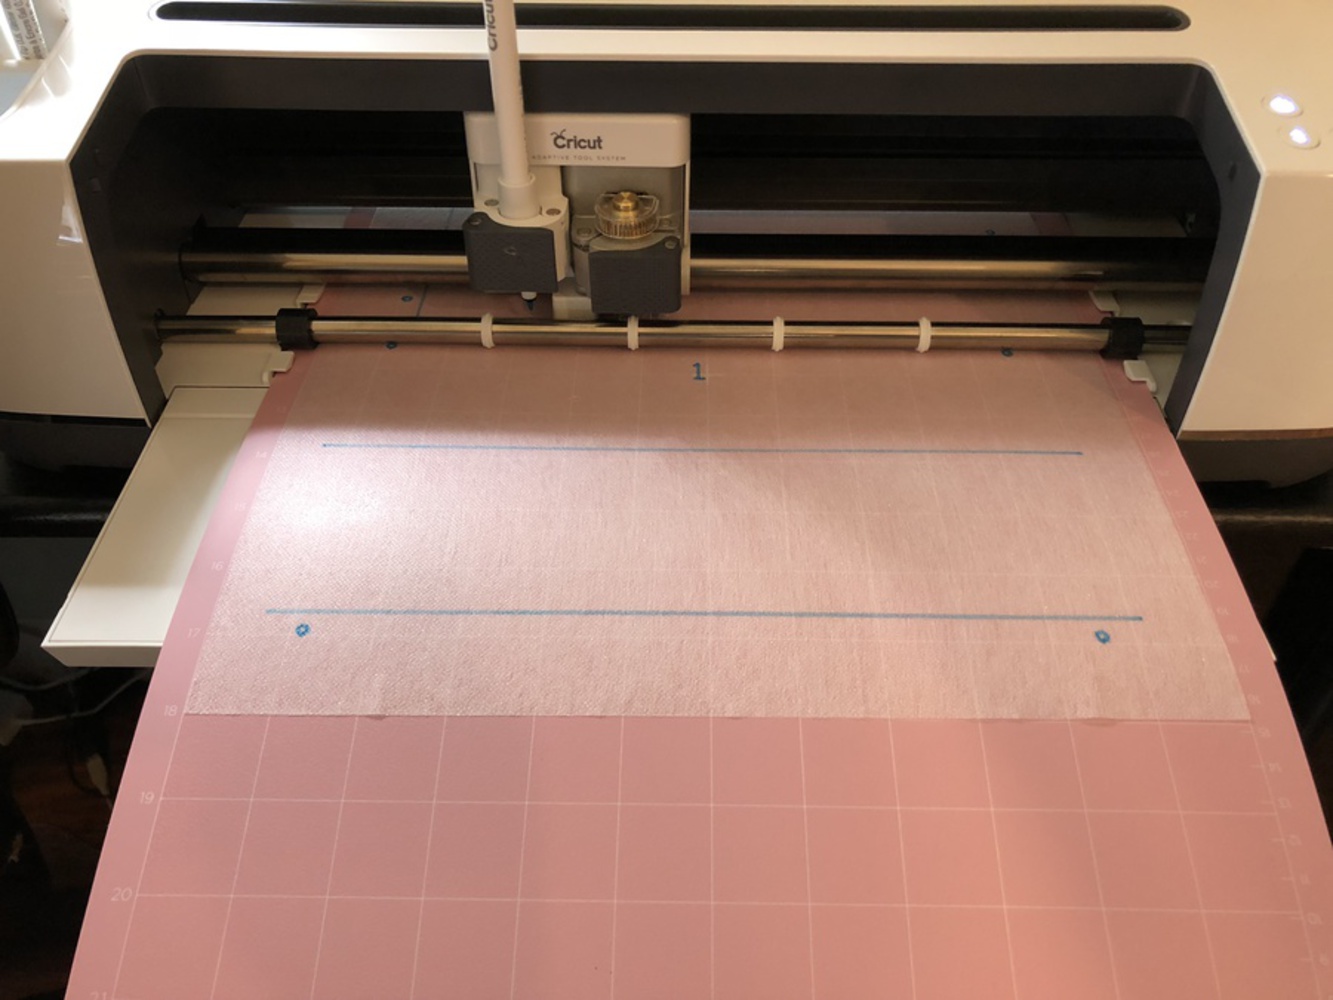
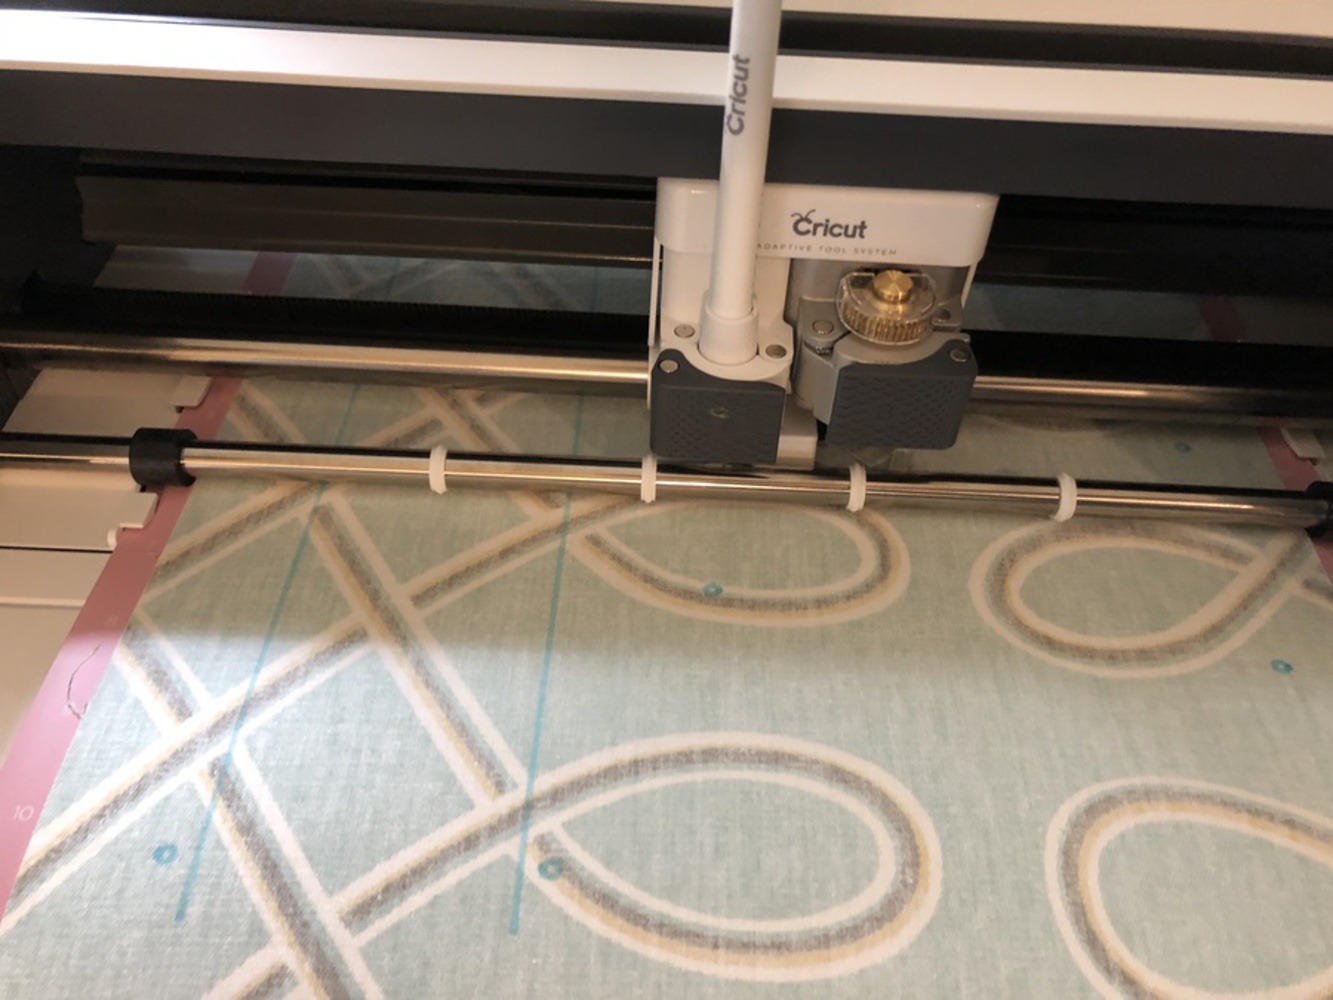
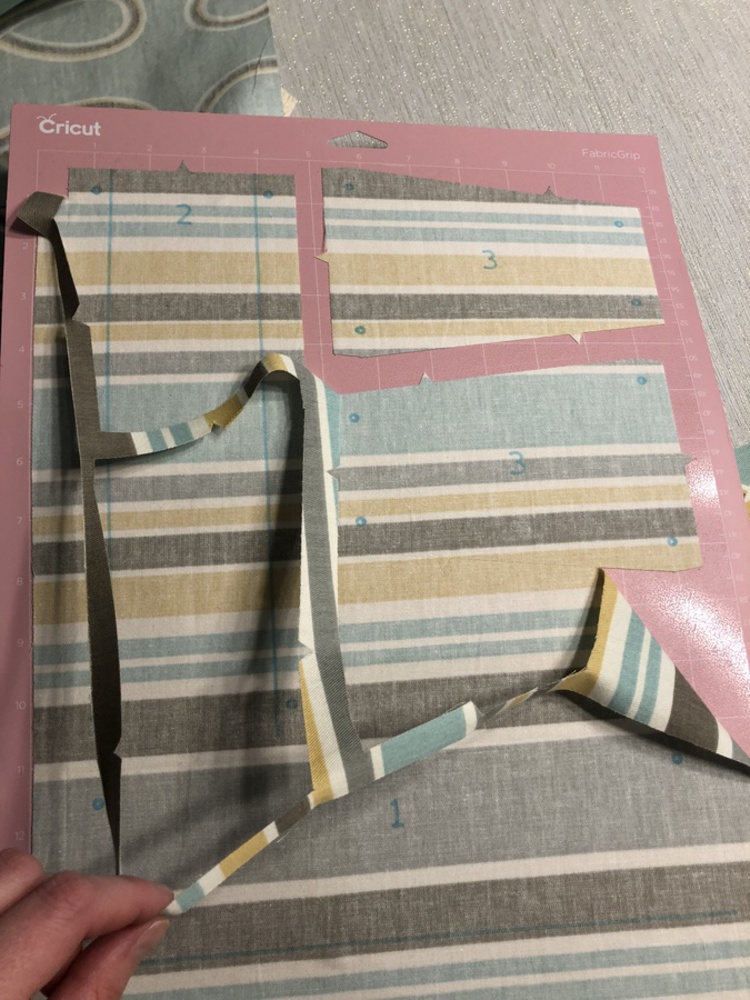
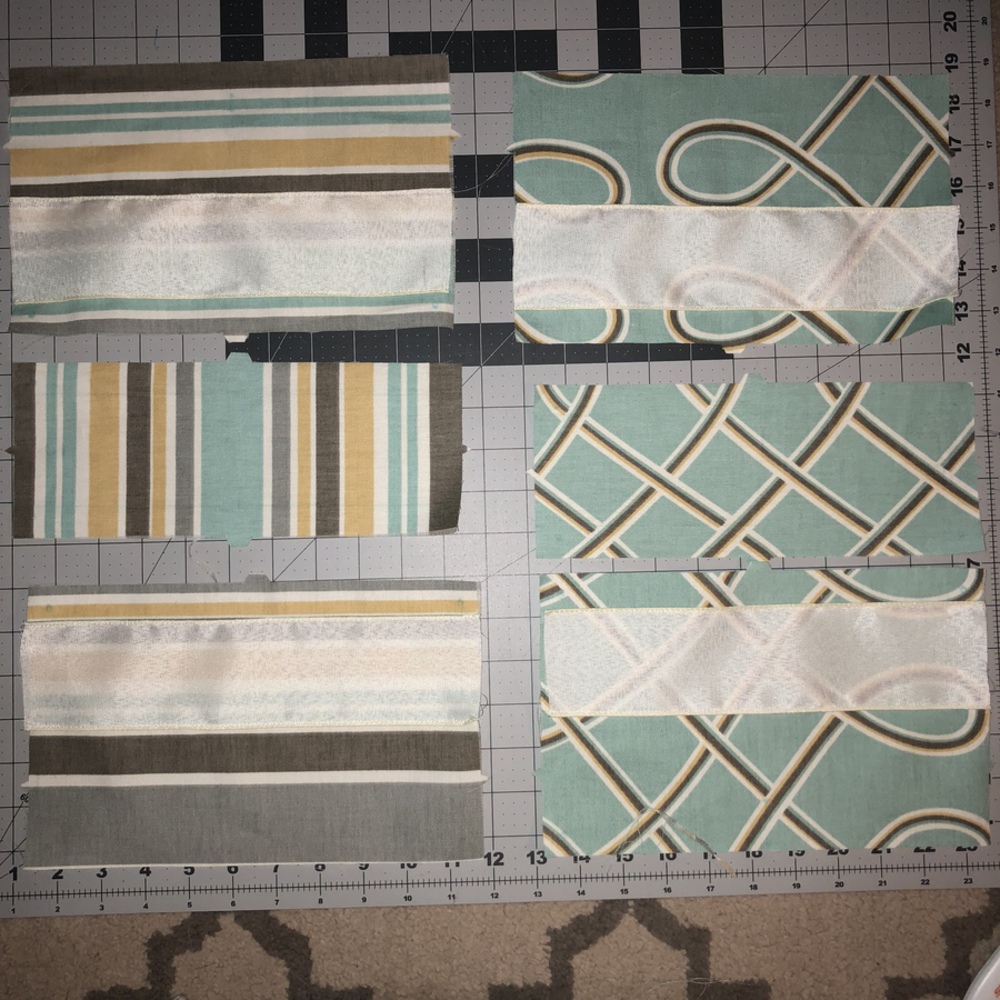
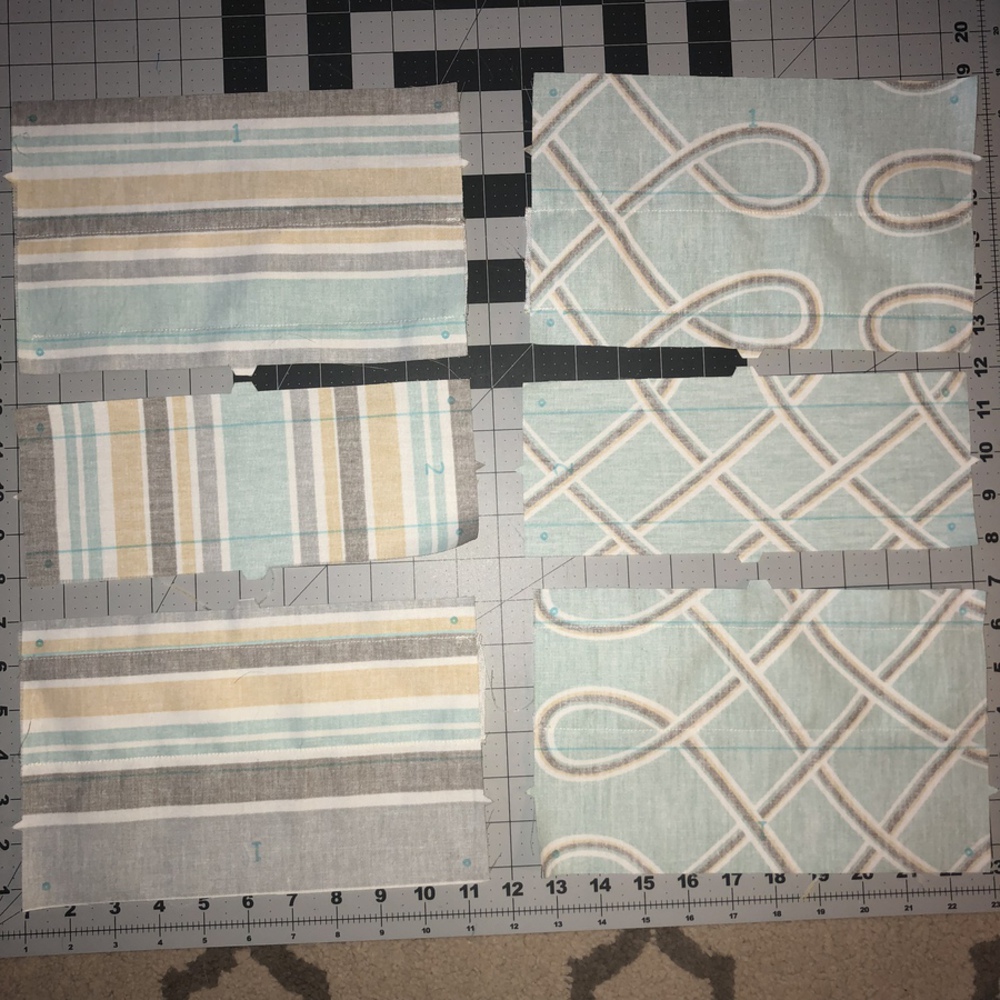
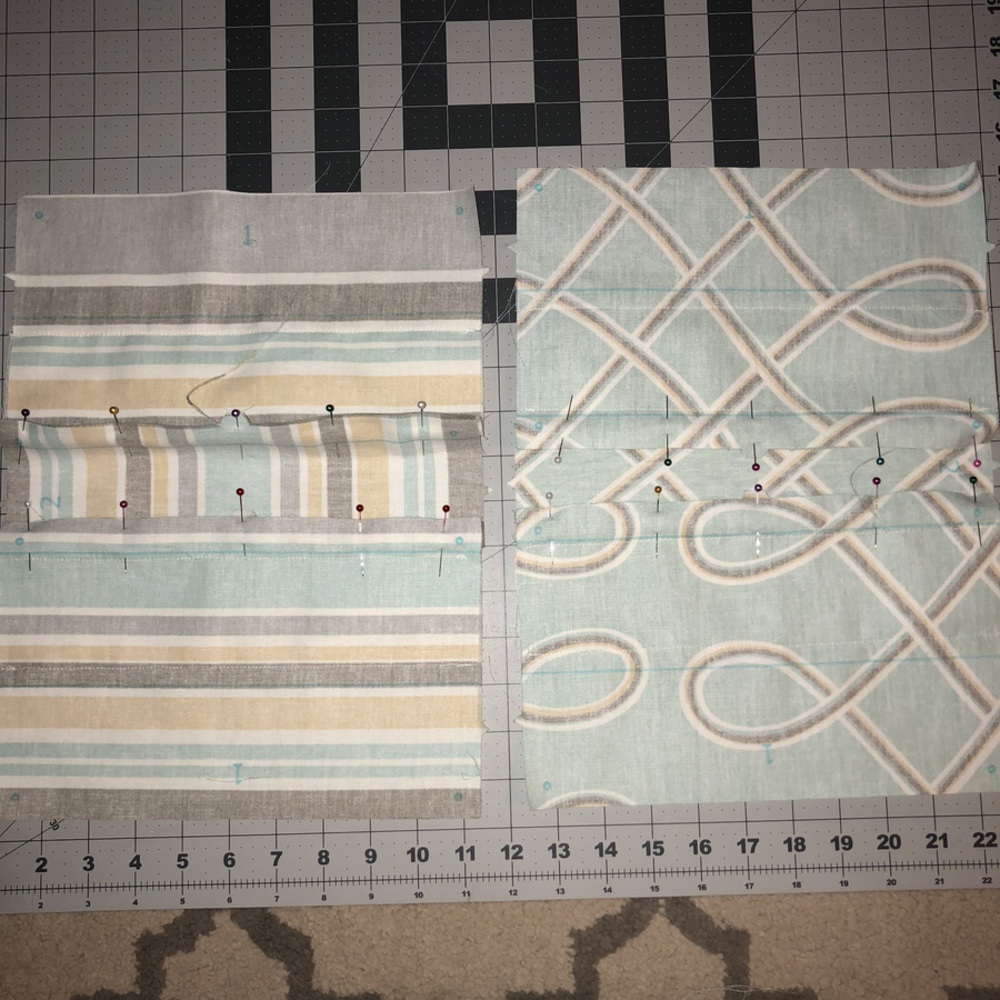
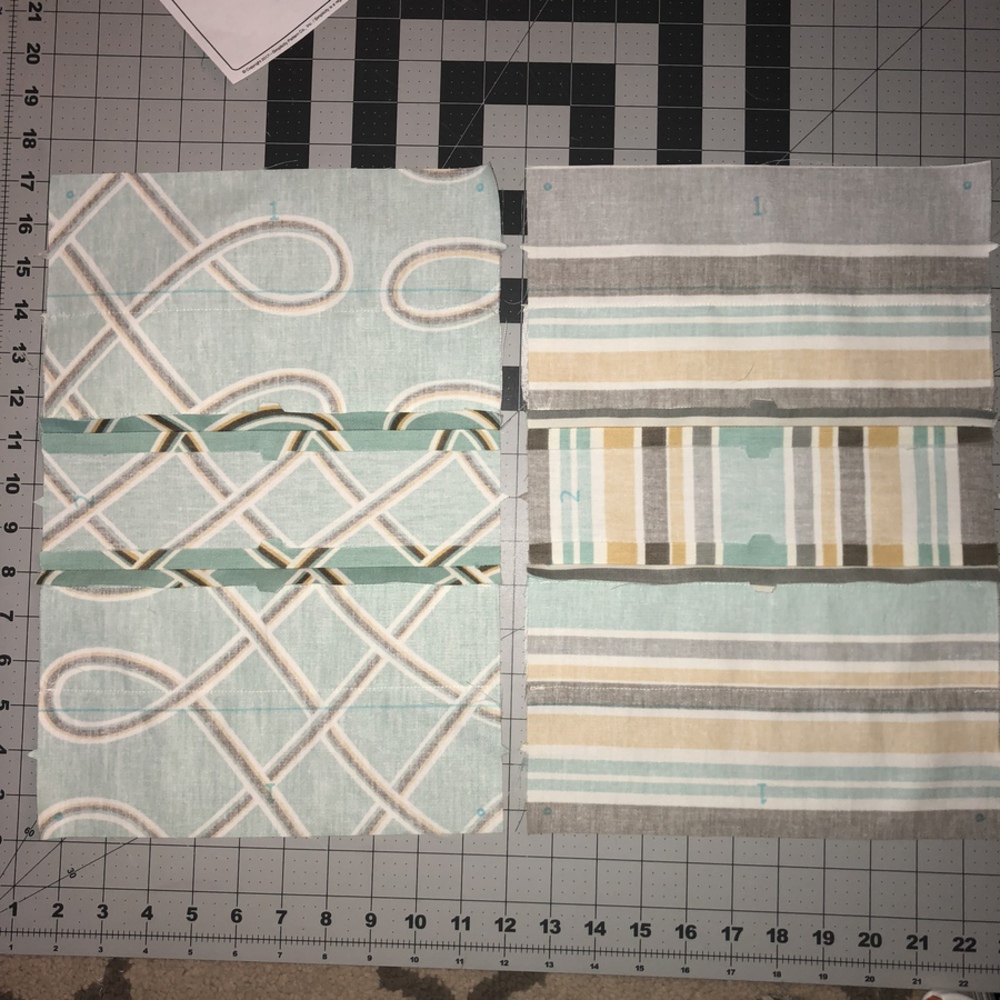
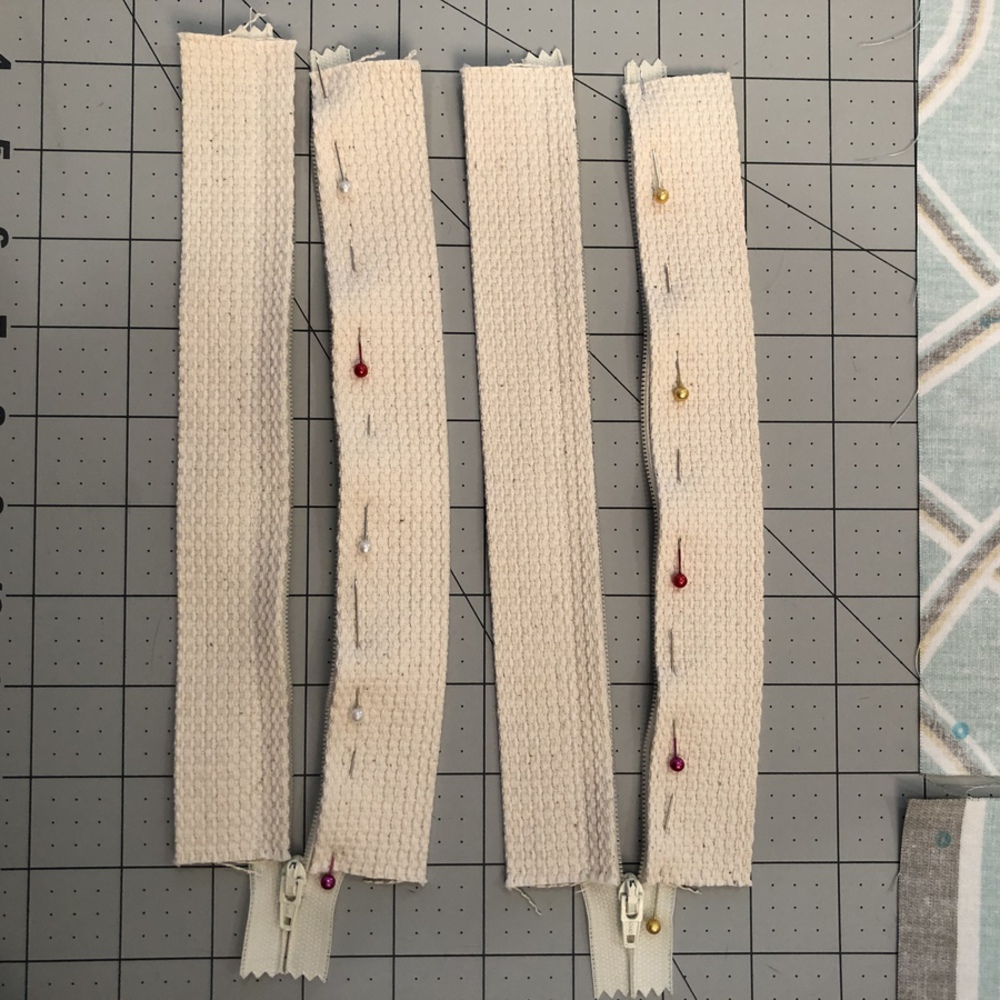
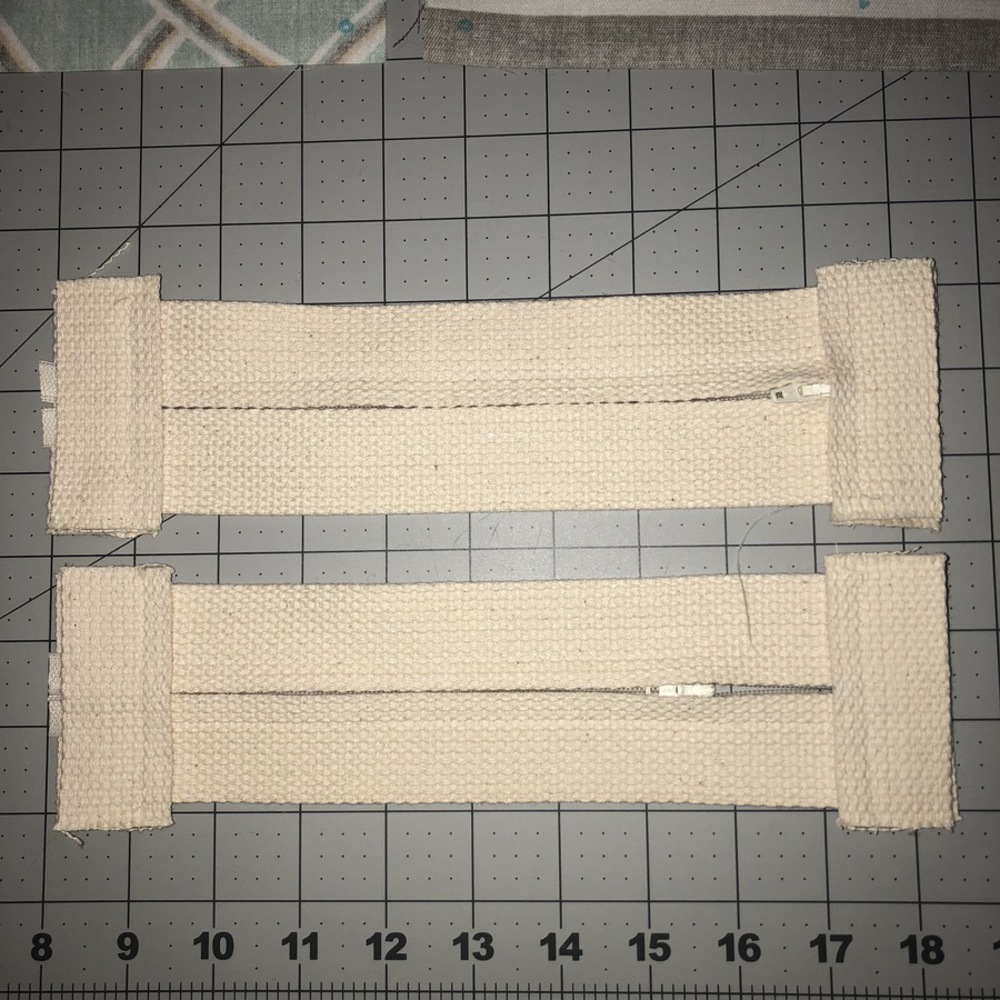
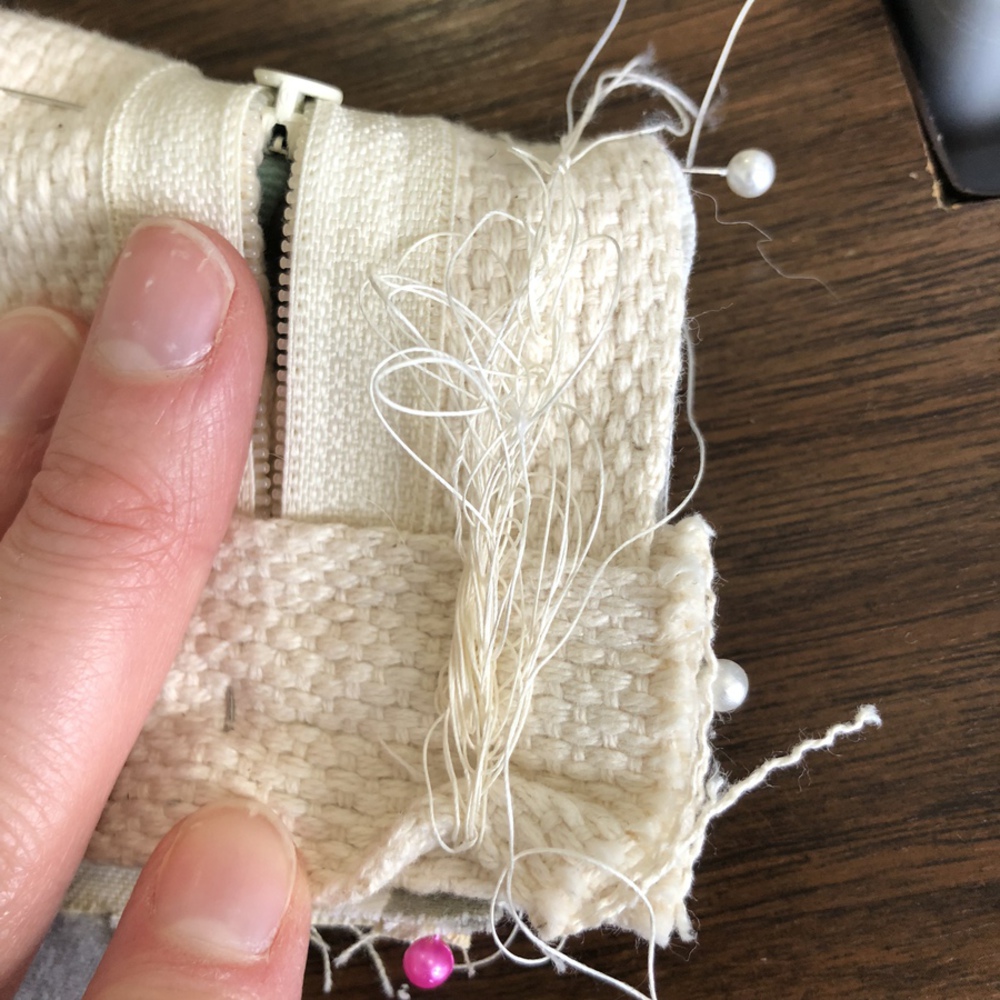
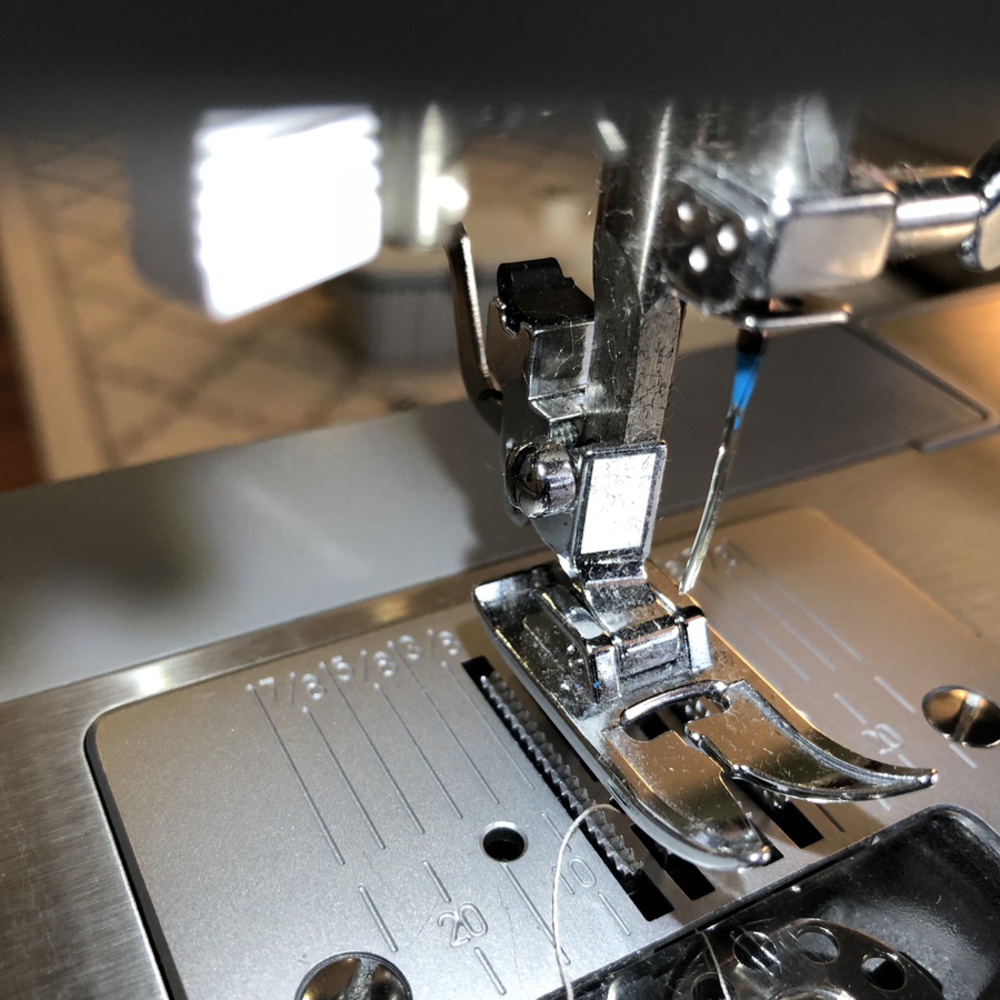
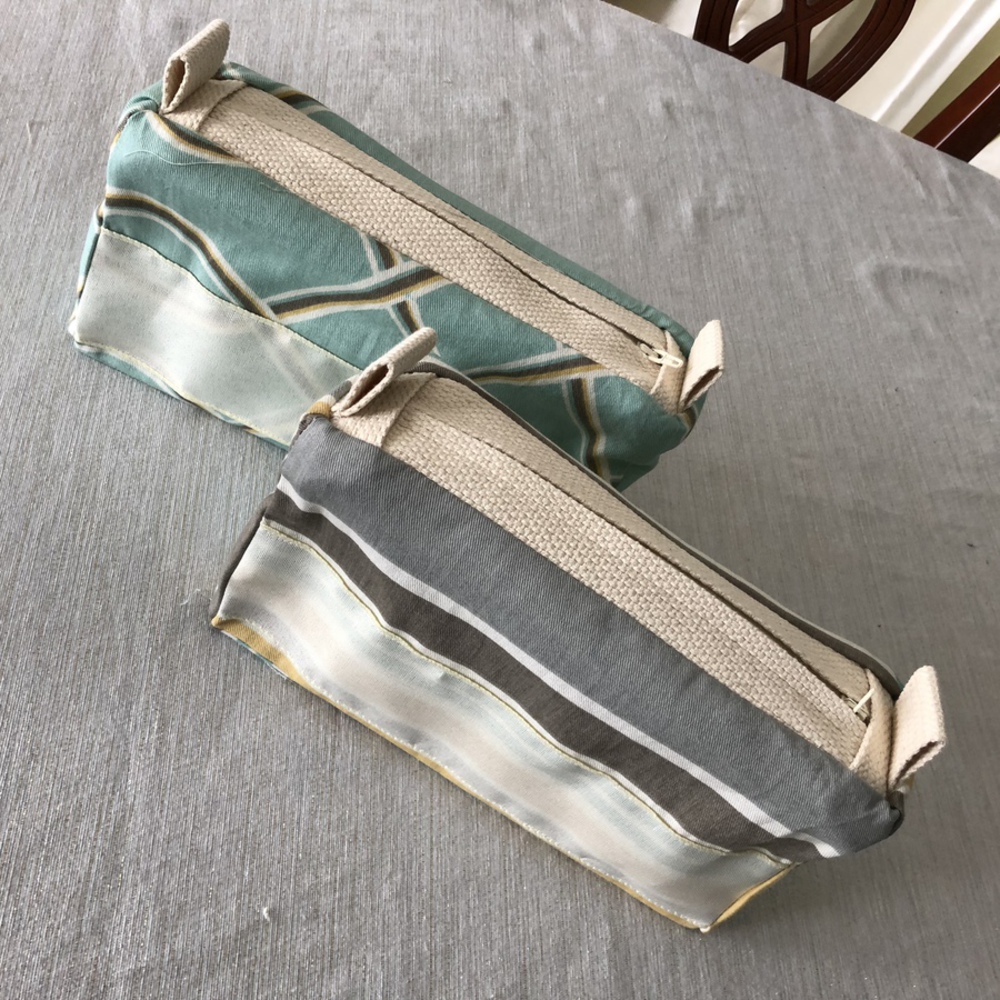
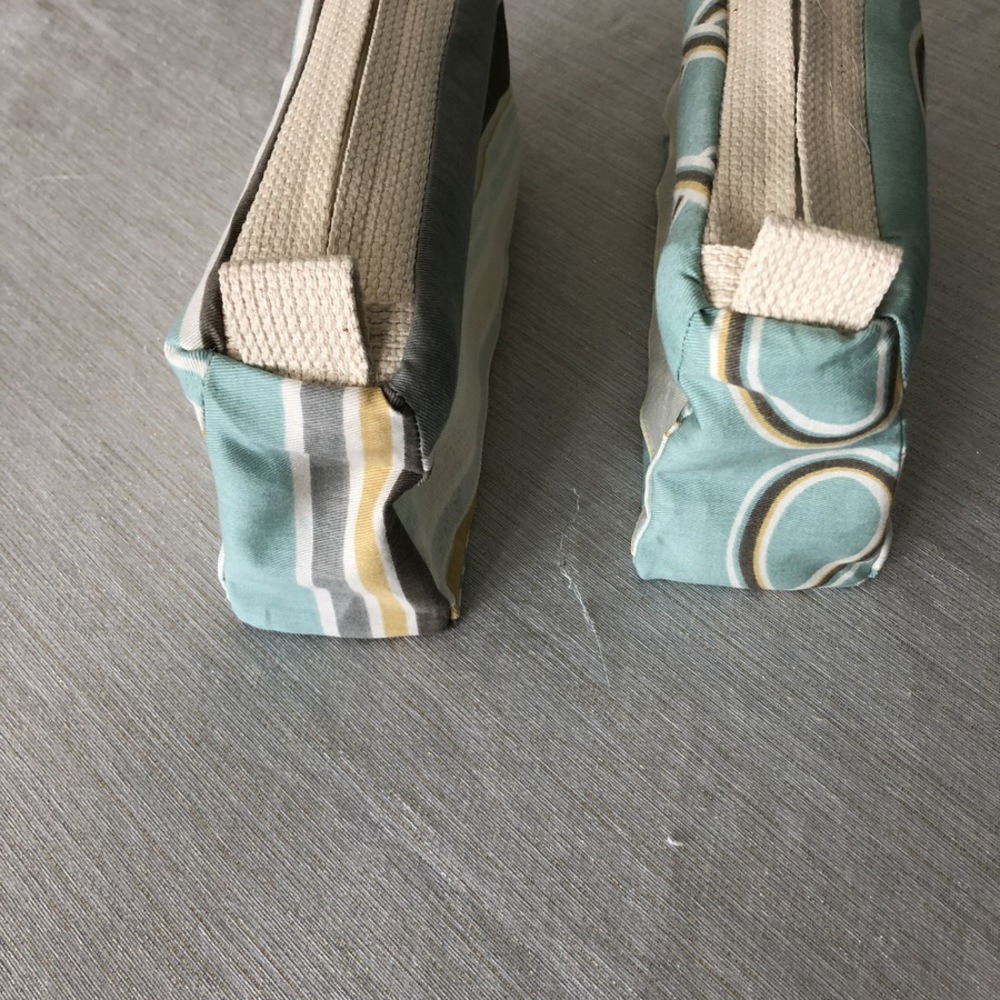
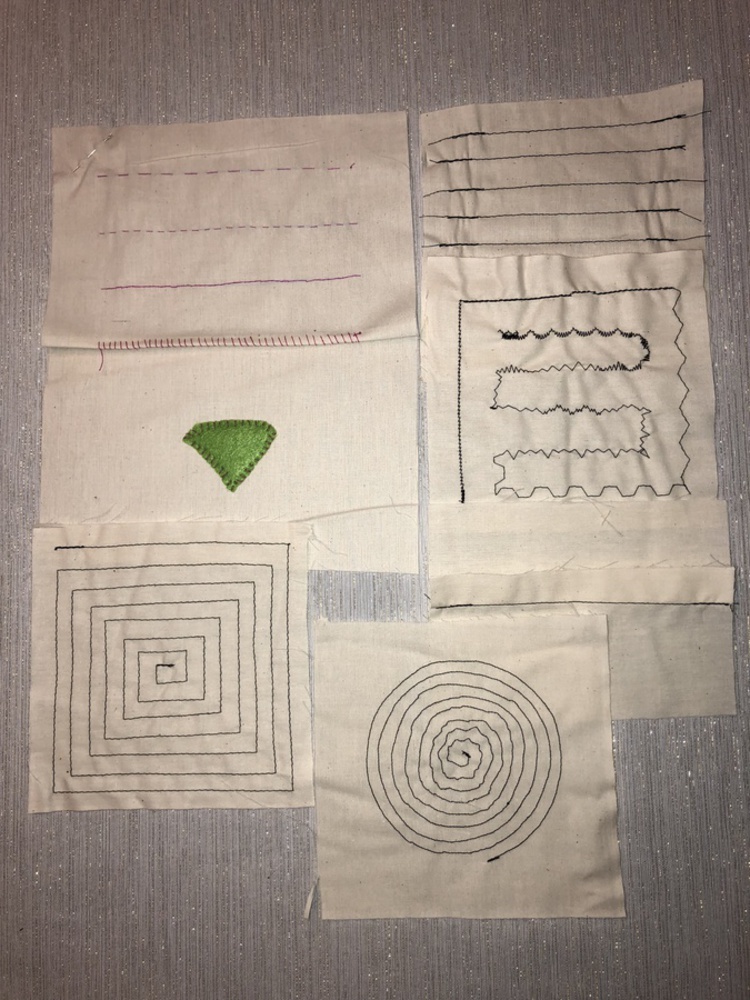
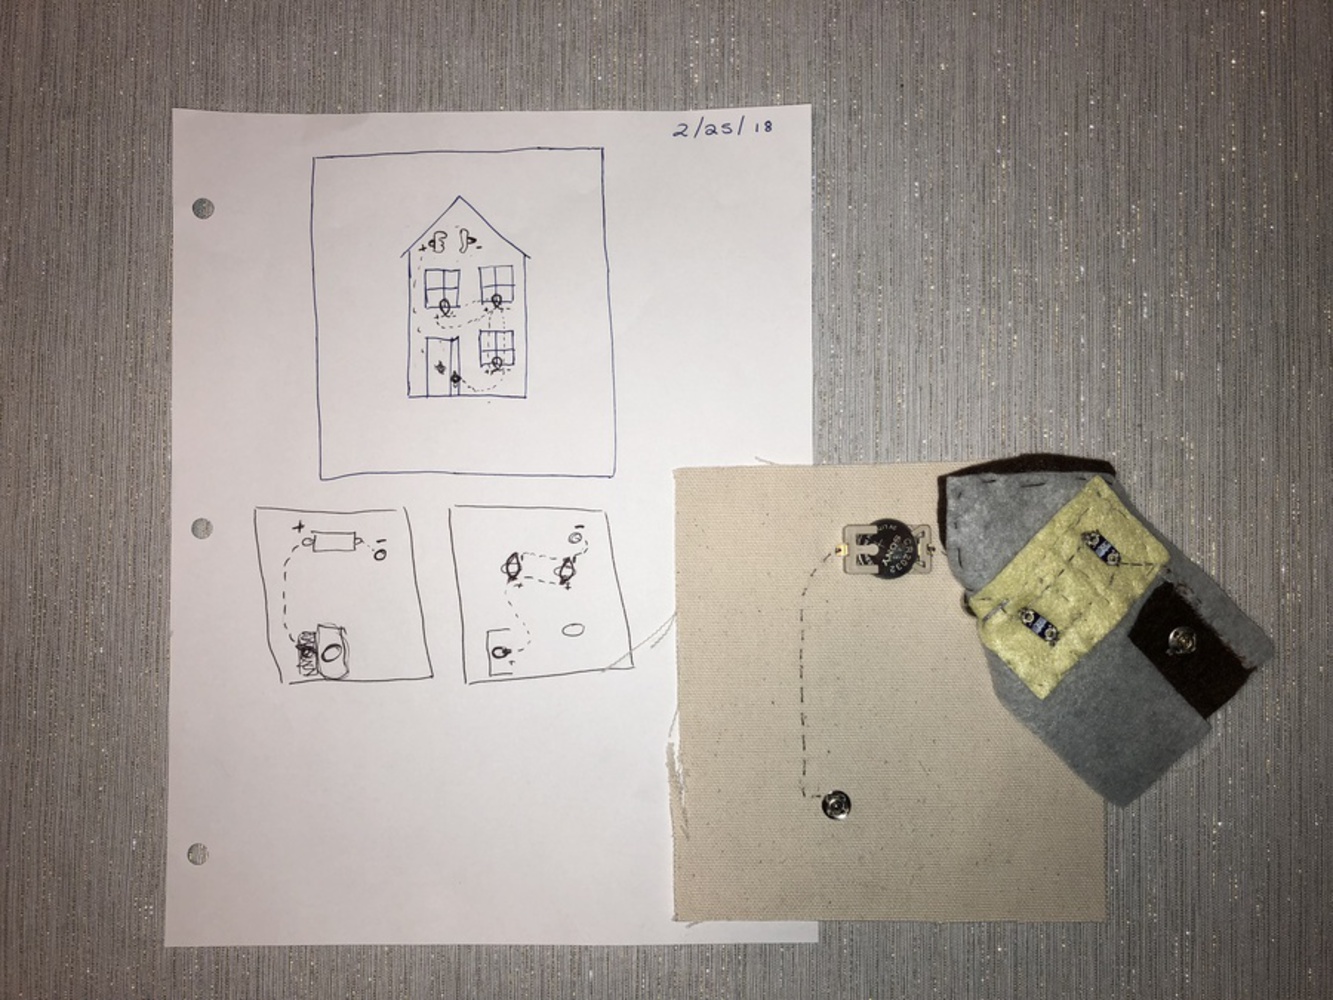
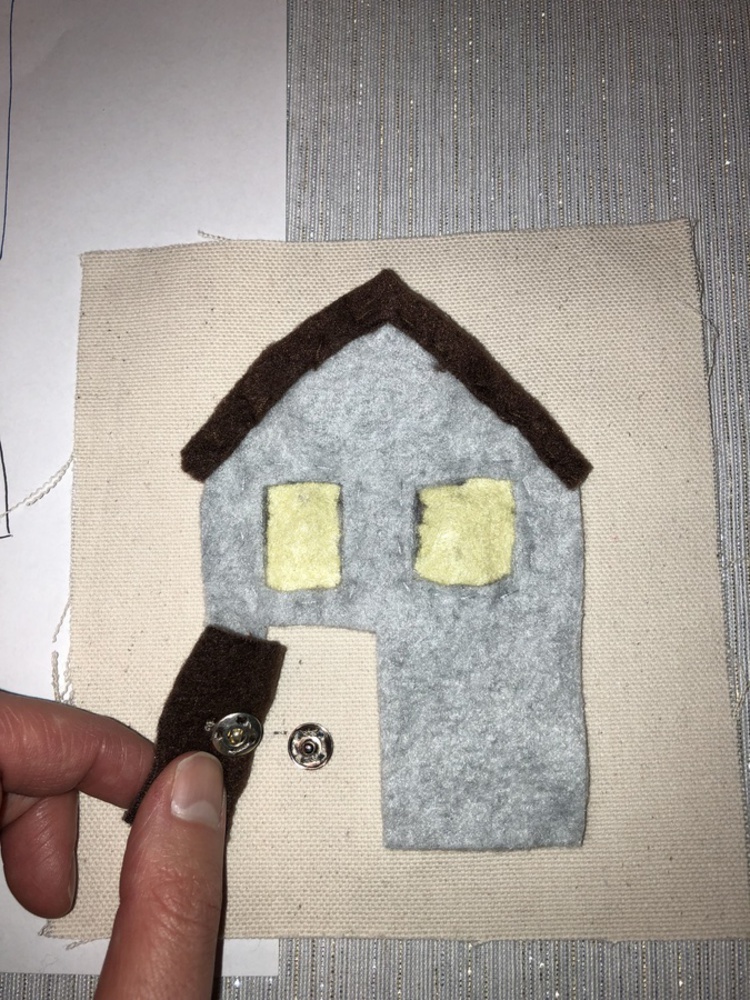
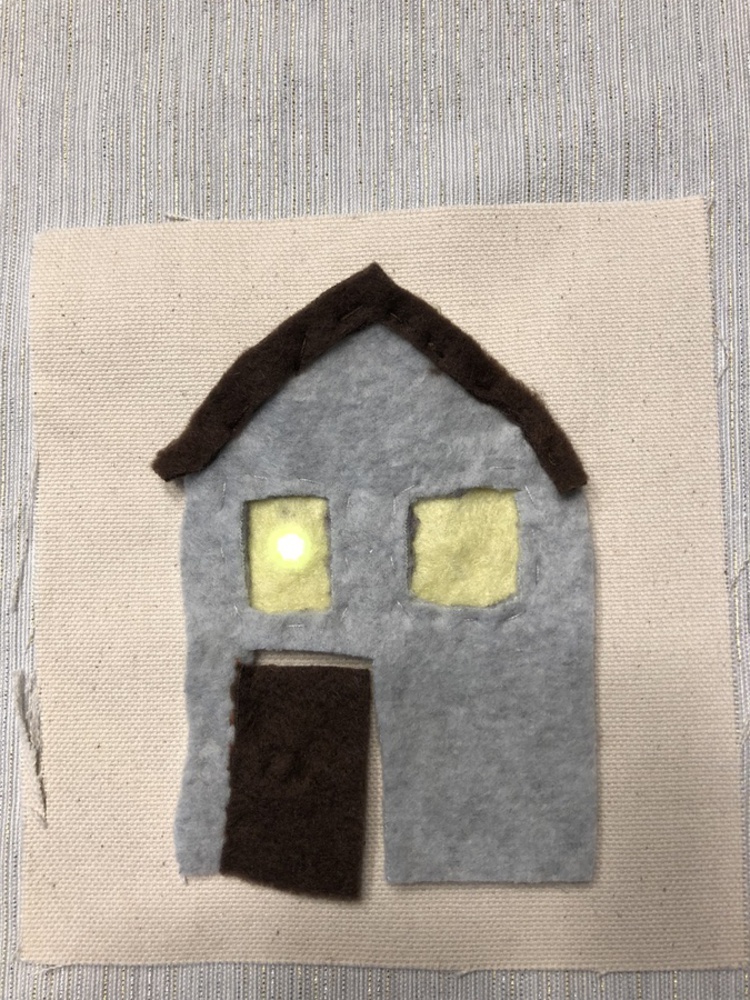
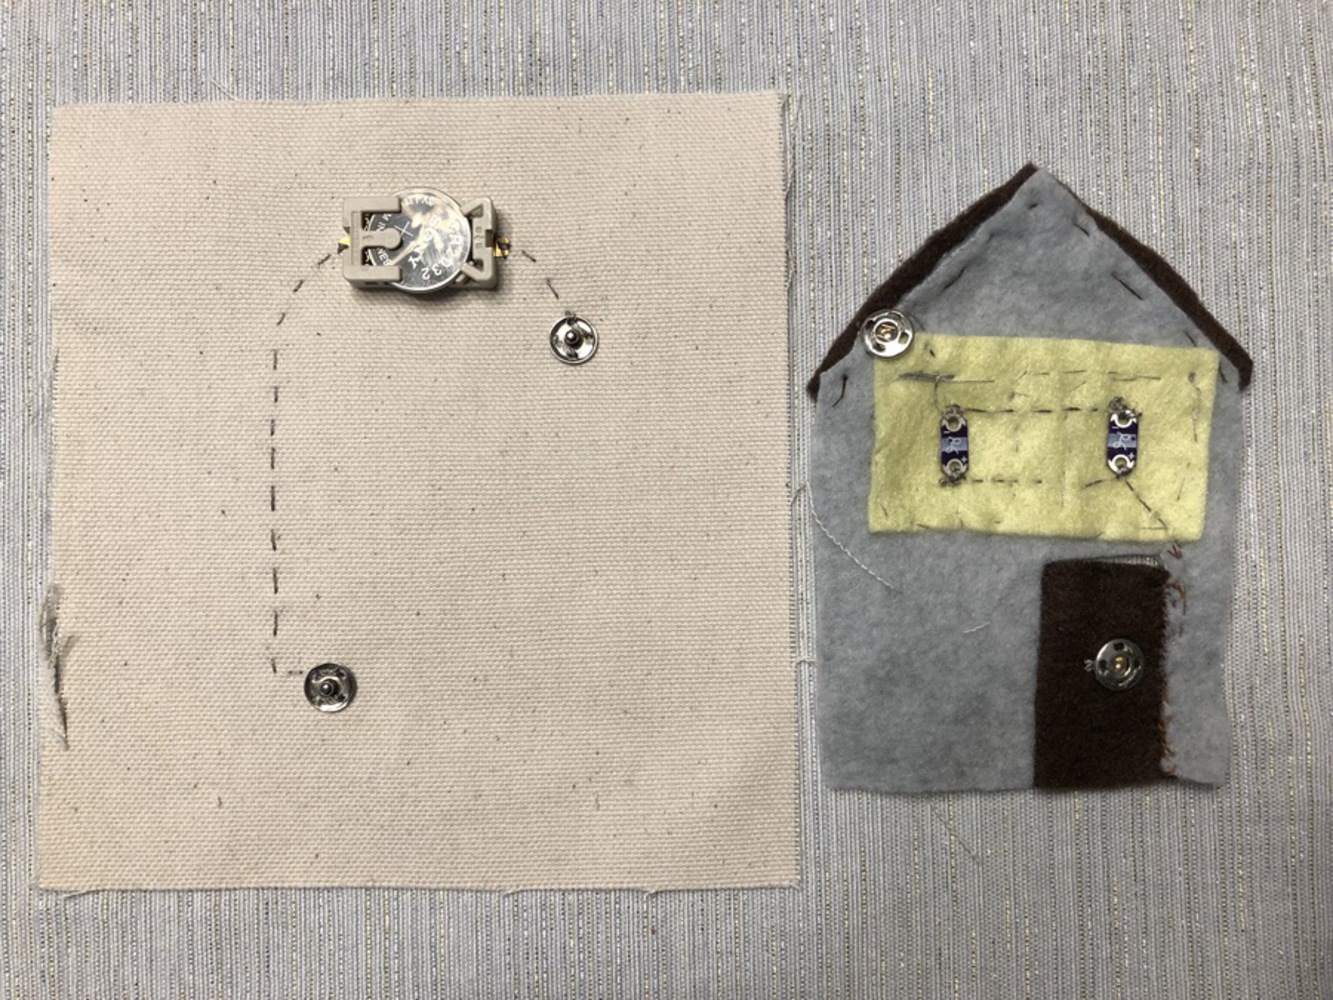
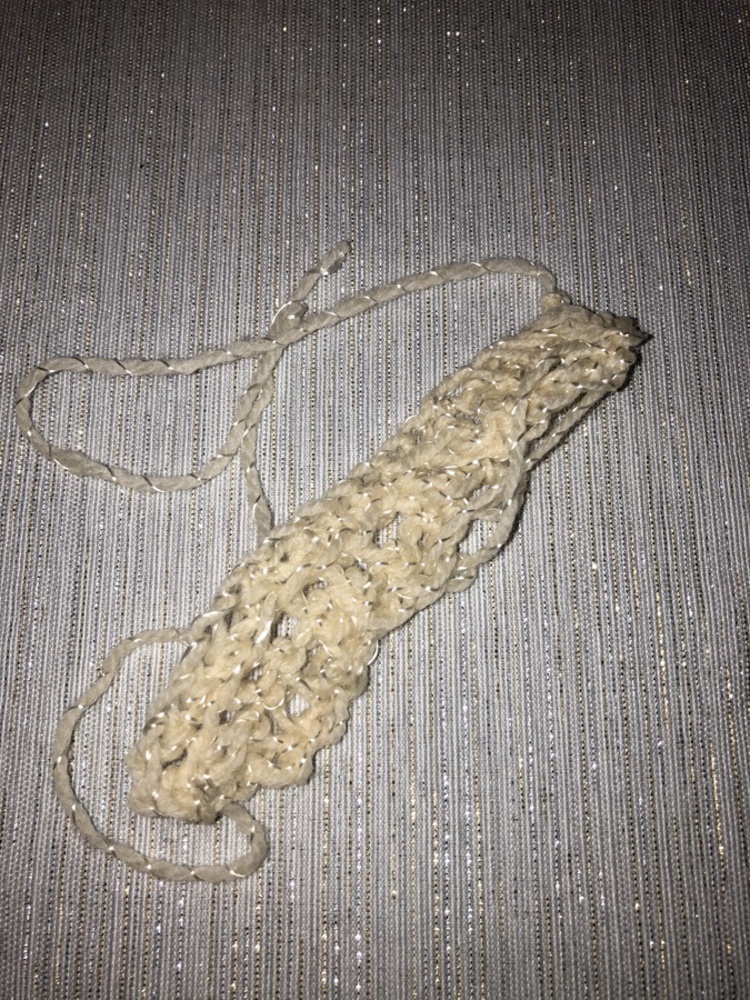
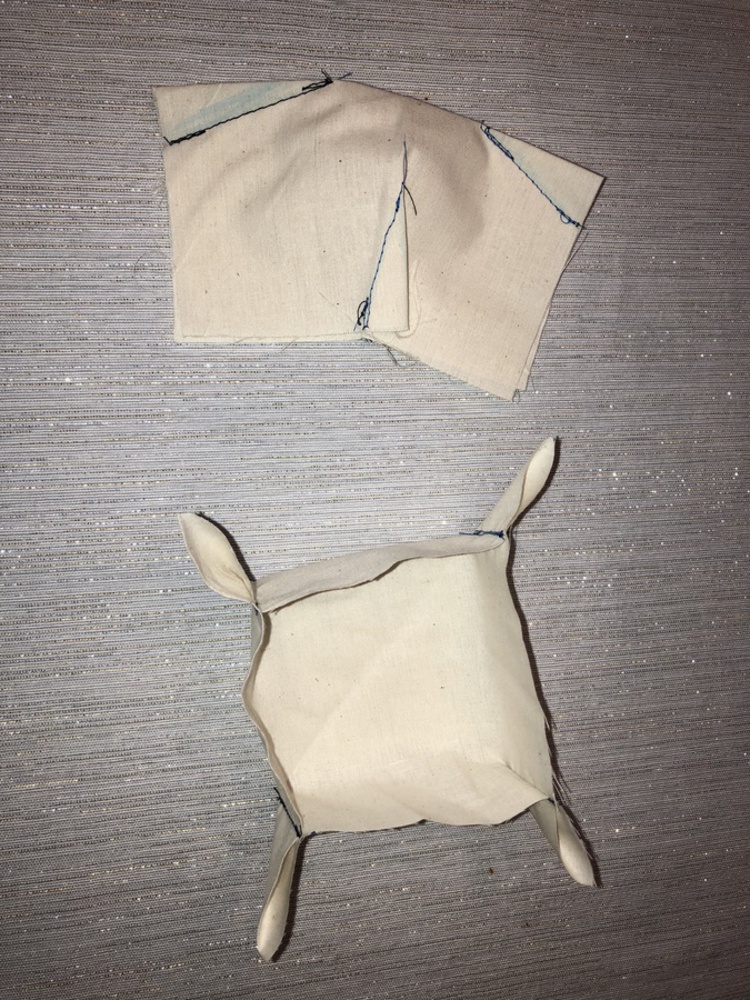
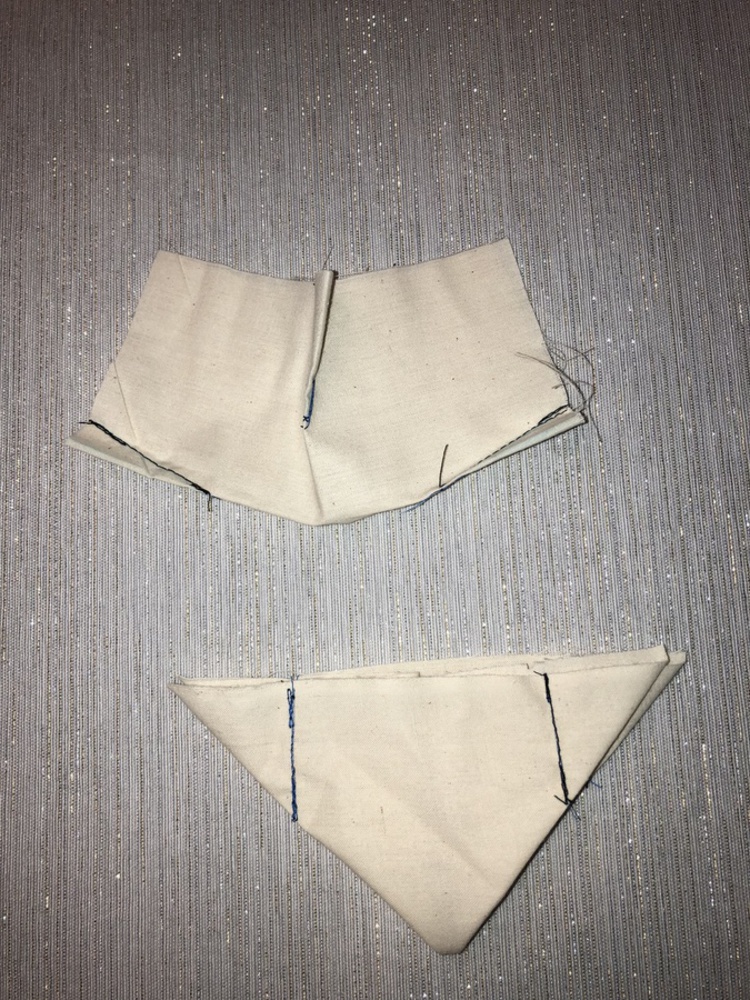
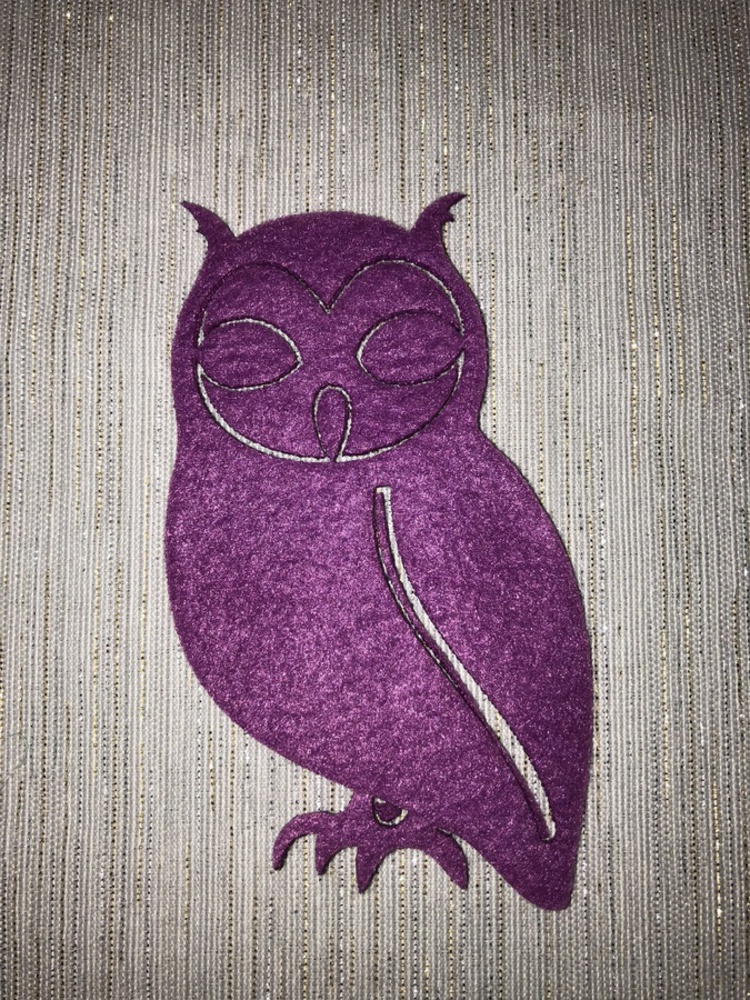
Included in this project are photos and details from my sample book and the skill investigation project that I did using the Cricut Maker to cut out fabric for a cosmetics bag.
Created: March 11th, 2018


This project is only listed in this pool. Be considerate and think twice before sharing.
Included in this project are photos and details from my sample book and the skill investigation project that I did using the Cricut Maker to cut out fabric for a cosmetics bag.