Skill Dev I: A Simple Internet Appliance
Made by kharsono
Made by kharsono
Objective: Get familiar with Particle & LED Connections
Created: October 28th, 2021
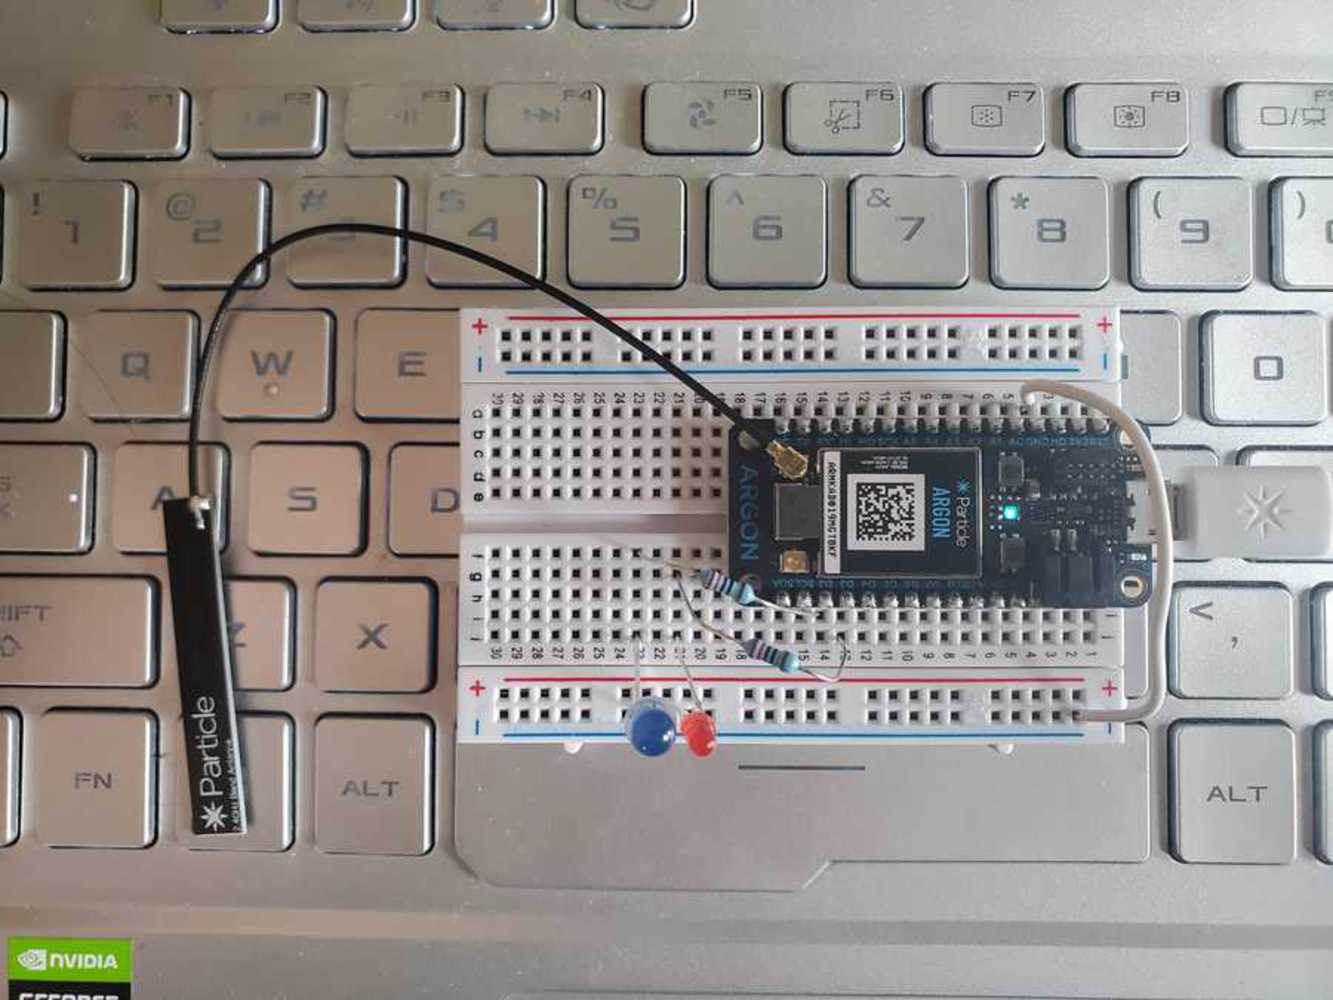
The Particle & LED integration project portrayed how Particle can be used to remotely control different experiments on LED: Blinking, Multiple LED Testing & Use of Functions.
// Making an LED Blink

void setup() {

    pinMode(D2, OUTPUT);
    pinMode(D3, OUTPUT);

    digitalWrite(D2, LOW);
    digitalWrite(D3, HIGH);

}

void loop() {

    // // Excercise 1: On & off every 3 secs
    // digitalWrite(D2, HIGH);
    // delay(3000);
    // digitalWrite(D2, LOW);
    // delay(3000);

    // // Excercise 2: Blinking & stop
    // for (int i=0; i<5; i++) {
    //     digitalWrite(D2, HIGH);
    //     delay(500);
    //     digitalWrite(D2, LOW);
    //     delay(500);
    // }
    // delay(2500);

    // Excercise 3: On & off every 3 secs for 2 LEDs
    digitalWrite(D2, HIGH);
    digitalWrite(D3, LOW);
    delay(3000);
    digitalWrite(D2, LOW);
    digitalWrite(D3, HIGH);
    delay(3000);
}int ledPin = D2;
int ledPin2 = D3;
void setup()
{
pinMode(ledPin, OUTPUT);
pinMode(ledPin2, OUTPUT);
digitalWrite(ledPin, LOW);
digitalWrite(ledPin2, LOW);
Particle.function("led3x", ledControl);
// Particle.function("ledUser", ledTimes);
Particle.function("led3x2", ledControl2);
}
void loop()
{
// Nothing
}
// Ex 1 & 3: Blink LED 3 times
int ledControl(String command)
{
int state = LOW;
if(command == "HIGH") {
for(int i = 0; i < 3; i++){
digitalWrite(ledPin, HIGH);
delay(300);
digitalWrite(ledPin, LOW);
delay(300);
}
}
else if(command == "LOW") {
state = LOW;
}
else {
return -1;
}
// write to the appropriate pin
digitalWrite(ledPin, state);
return 1;
}
// // Ex 2: Blink LED USer input
// int ledTimes(String command)
// {
// int num = command.toInt();
// for(int i = 0; i < num; i++){
// digitalWrite(ledPin, HIGH);
// delay(300);
// digitalWrite(ledPin, LOW);
// delay(300);
// }
// return 1;
// }
// Ex 3: Blink 2nd LED 3 times
int ledControl2(String command)
{
int state = LOW;
if(command == "HIGH") {
for(int i = 0; i < 3; i++){
digitalWrite(ledPin2, HIGH);
delay(300);
digitalWrite(ledPin2, LOW);
delay(300);
}
}
else if(command == "LOW") {
state = LOW;
}
else {
return -1;
}
// write to the appropriate pin
digitalWrite(ledPin2, state);
return 1;
}
o Following the tutorial is immensely helpful in learning how Particle works, and especially to get everything set up and code implemented on the circuit.
o Connecting Particle, and writing the code is documented beautifully in the documentation.
o It was a little challenging to understand the Particle.function as apparently only integers can be sent back as the ‘return_value’ variable, preventing fun messages to be exported like “Complete!”.
o Finally, it was really fun to use the command line to access the functions. Finding the access token was a little challenging to jump into several other webpages.
o Aside from the return_value variable lesson, the command can only be in the String format, and not able to be changed at all.
o Implementation on the code can be much faster when understanding C/C++ better.
o Particle signal can be disrupted, especially in Exercise 3 of Making a Connected LED. When one LED is blinking, a signal to turn on the second LED will cut out the first LED, causing the first LED to wait for the second LED to finish blinking before it can complete its full blinking cycle.
Next Steps
o Testing out timing of the LED blinks to prevent disruption would need more exploration.