Sample Book & Skill Investigation: smart textiles

Made by tianhony

The objective of this project is to study and understand smart textiles, using conductive thread, conductive fabric and sewable LEDs.

Created: February 16th, 2018

0

Intention

This Project was supposed to be the demo for the topic of Smart Textiles, and since I invested much time into finishing the demo, it became my skill investigation project. Here is the Blinking Poop Queen.

0

Process

I started from sketching what I wanted my Blinking Poop Queen to look like. (the upper left corner in the picture)

After I decided to use a combinition of conductive thread and conductive fabic, I outlined the shapes of the the conductive fabric and non-conductive fabric. I also marked the positions of the 3 LED lights. (the middle one in the picture)

Then I drew the circuit. (the upper right corner one in the picture)

After the design part, I picked the fabrics and LED lights I needed and began making the Blinking Poop Queen. 


0

Product

Meet the Blinking Poop Queen!

A small modification of the actual product from the design is that I changed greating box "Hi" to a heart. When the pink heart is pressed, the crown and the eyes(blink) light up.

0

The LED light used for the crown is yellow, and the LED lights used for the eyes are white.

In the picture below, you can see that a piece of conductive fabric is missing, and the missing part actually is where the conductive fabric is cut in half so that all the positive sides of the LEDs can be on the same piece of fabric.

0

Another opening of the conductive fabric is the "switch". 

Since there is a piece of relatively thick non-conductive fabric between the two pieces of conductive fabric, When the pink heart is pressed down, the two pieces of conductive fabric touch each other, and thus the circut is complete.

0

Conductive thread is used to connect the battery to the conductive fabric.

0

Conductive thread is also used to connect the LED lights to the conductive fabric.

0

Reflection

What did I learn?

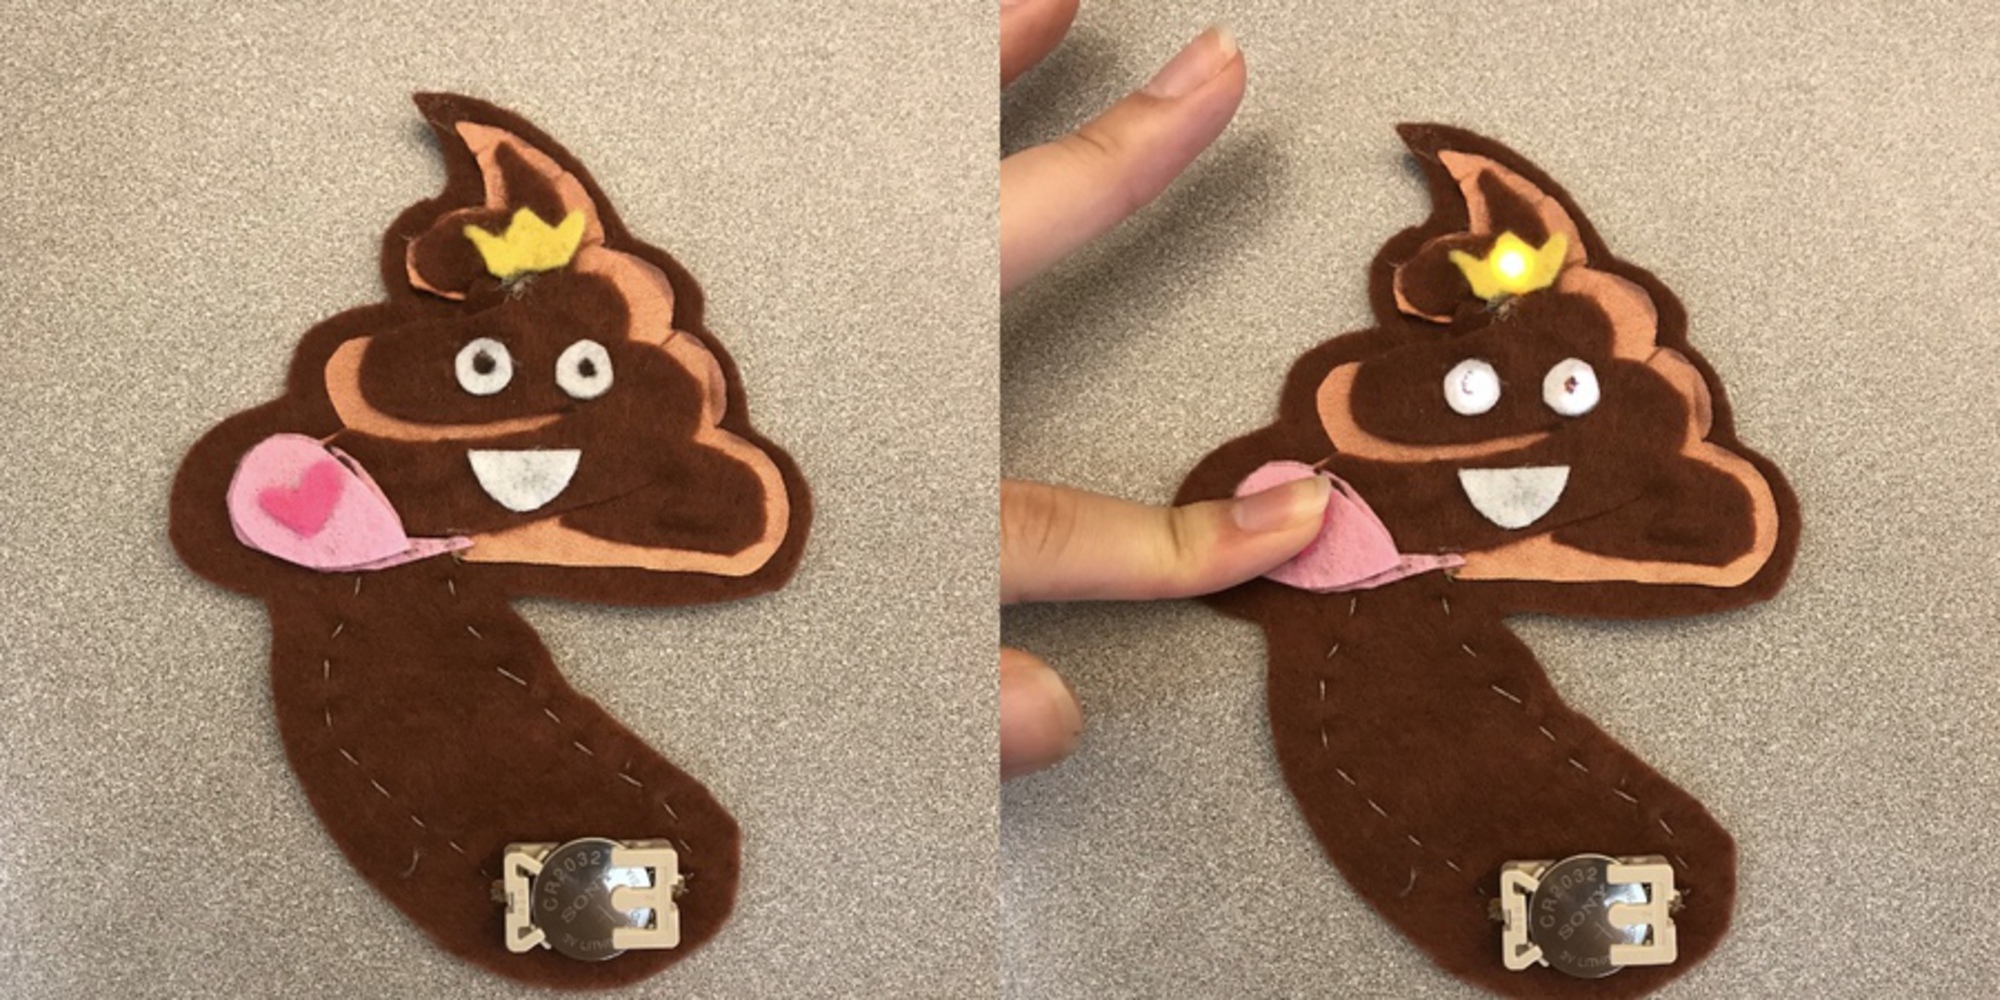
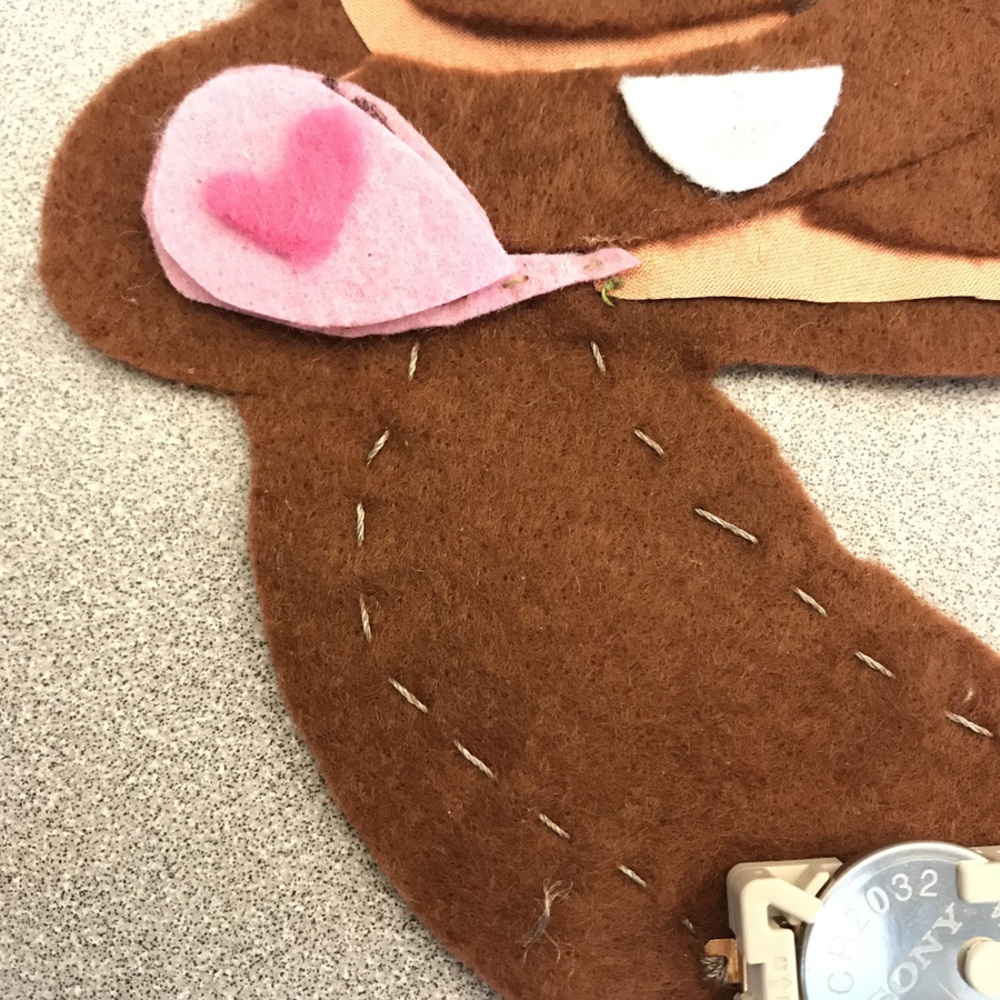
I learned how to work with conductive thread and conductive fabric and how to manipulate them according to my design. 

What would I do differently?

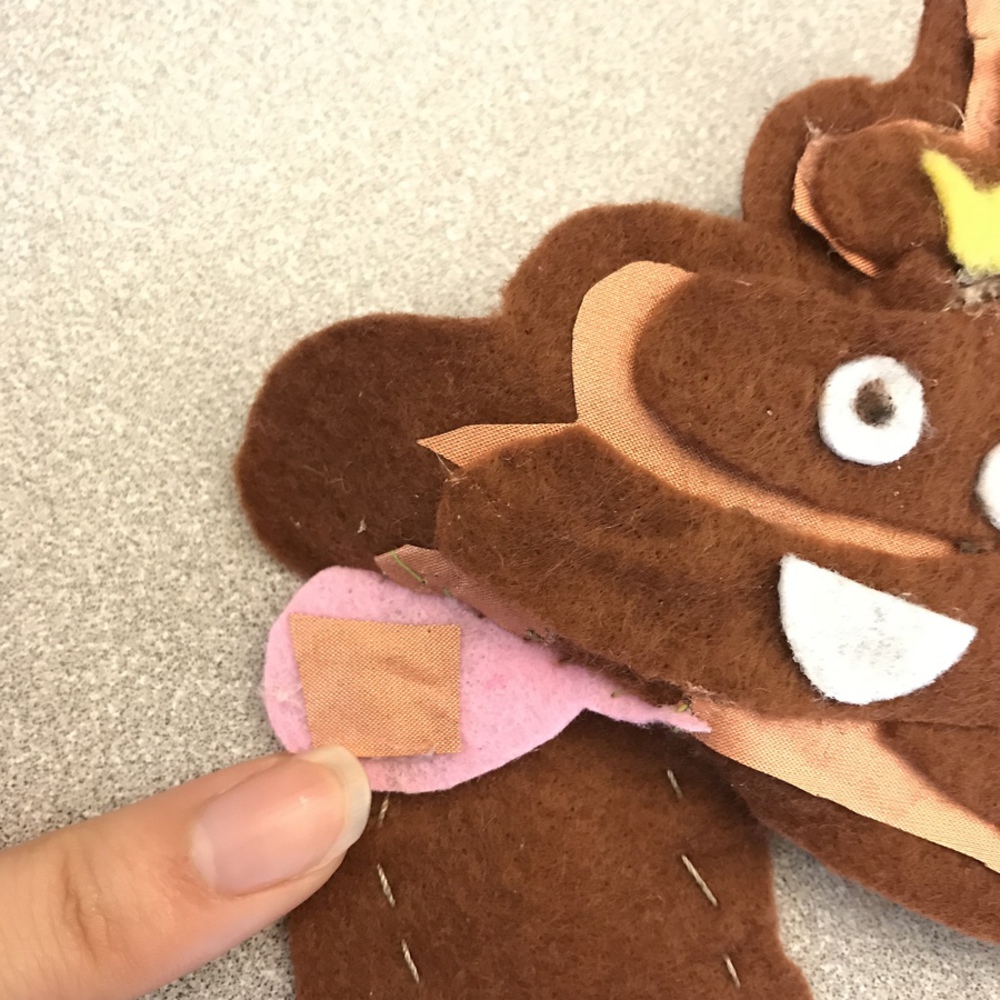
I chose to cut the conductive fabric and first and then ironed the adhesive sheet. I found that since my product is so small, that ironing was rather difficult. If I ironed the adhesive sheet onto the fabric before I cut into the shape I wanted, the problem would be solved.

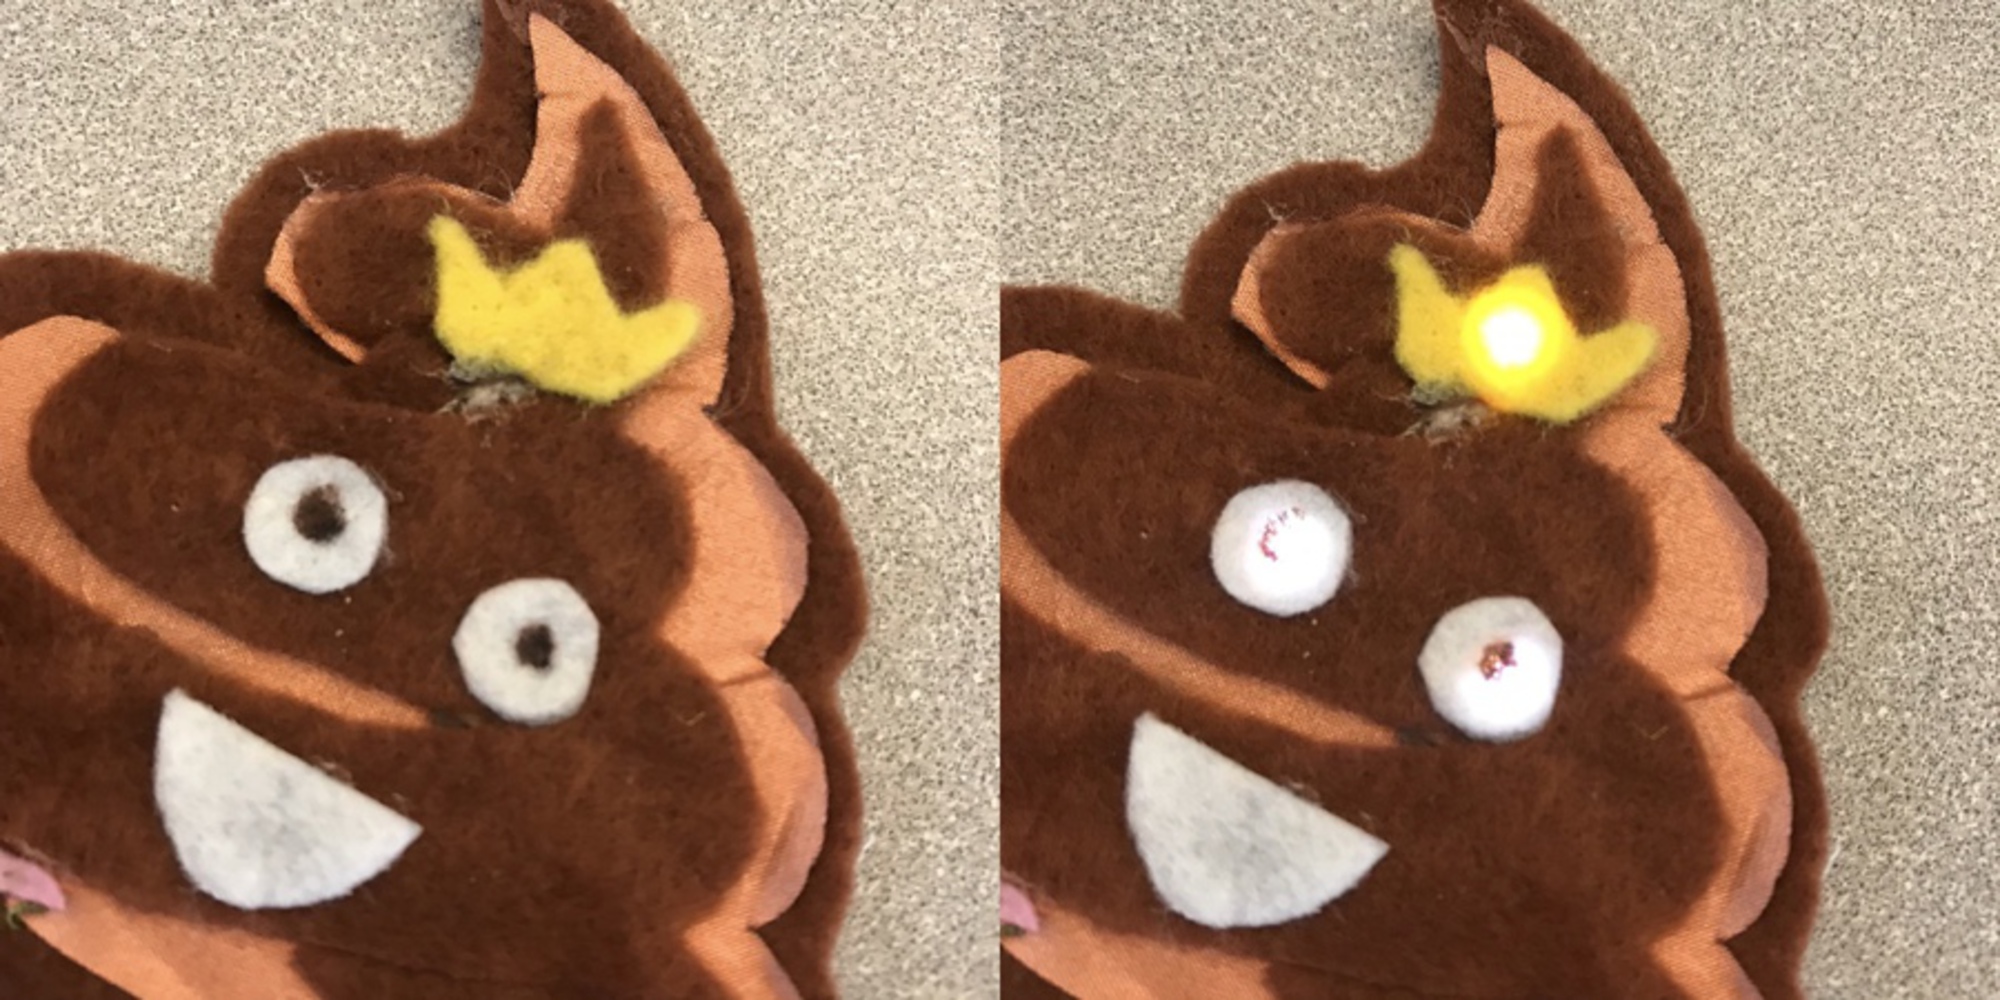
I messed up on the positive and negative sides of my LED lights multiplies times. I would be more careful and confirm that the right side is being sewed .

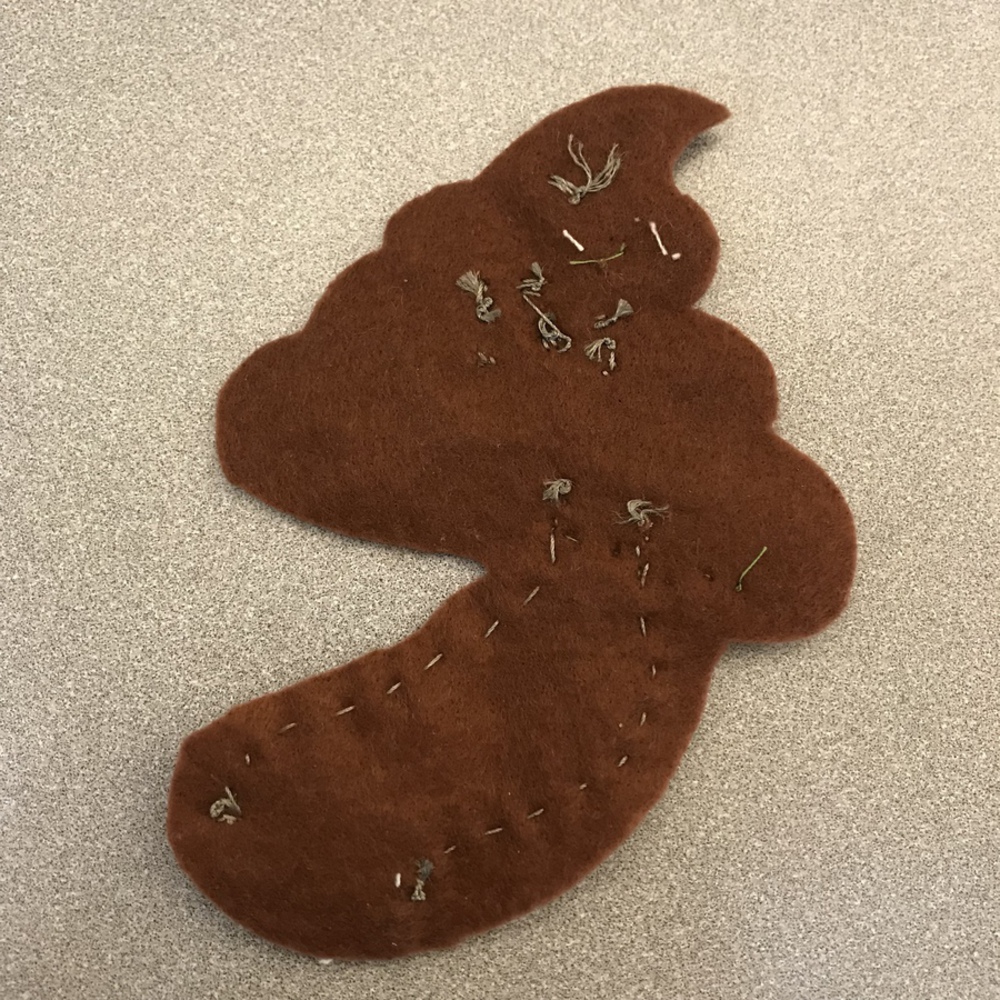
I would label where my LED lights are suppose to be before I cut the conductive fabric into two pieces. A difficulty that I ran into was when I was trying to sew on the last LED "eye", I realized the opening that I had was not where I wanted the "eye" to be. Although I solved the problem by adding a piece of nonconductive yarn in between the LED light and the LED light, the product could have looked neater if the planning was done better.

I chose to use the combinition of the conductive fabric and conductive thread to explore different conductive materials and for the metallic look. But I think this project could have been much simpler if I only used conductive thread. That being said, if I do similar projects in the future, I would probably make several designs with different combinitions of conductive materials, and then balance between the difficulty and its aesthetic.


0

Sample Book


x
Share this Project


About

The objective of this project is to study and understand smart textiles, using conductive thread, conductive fabric and sewable LEDs.